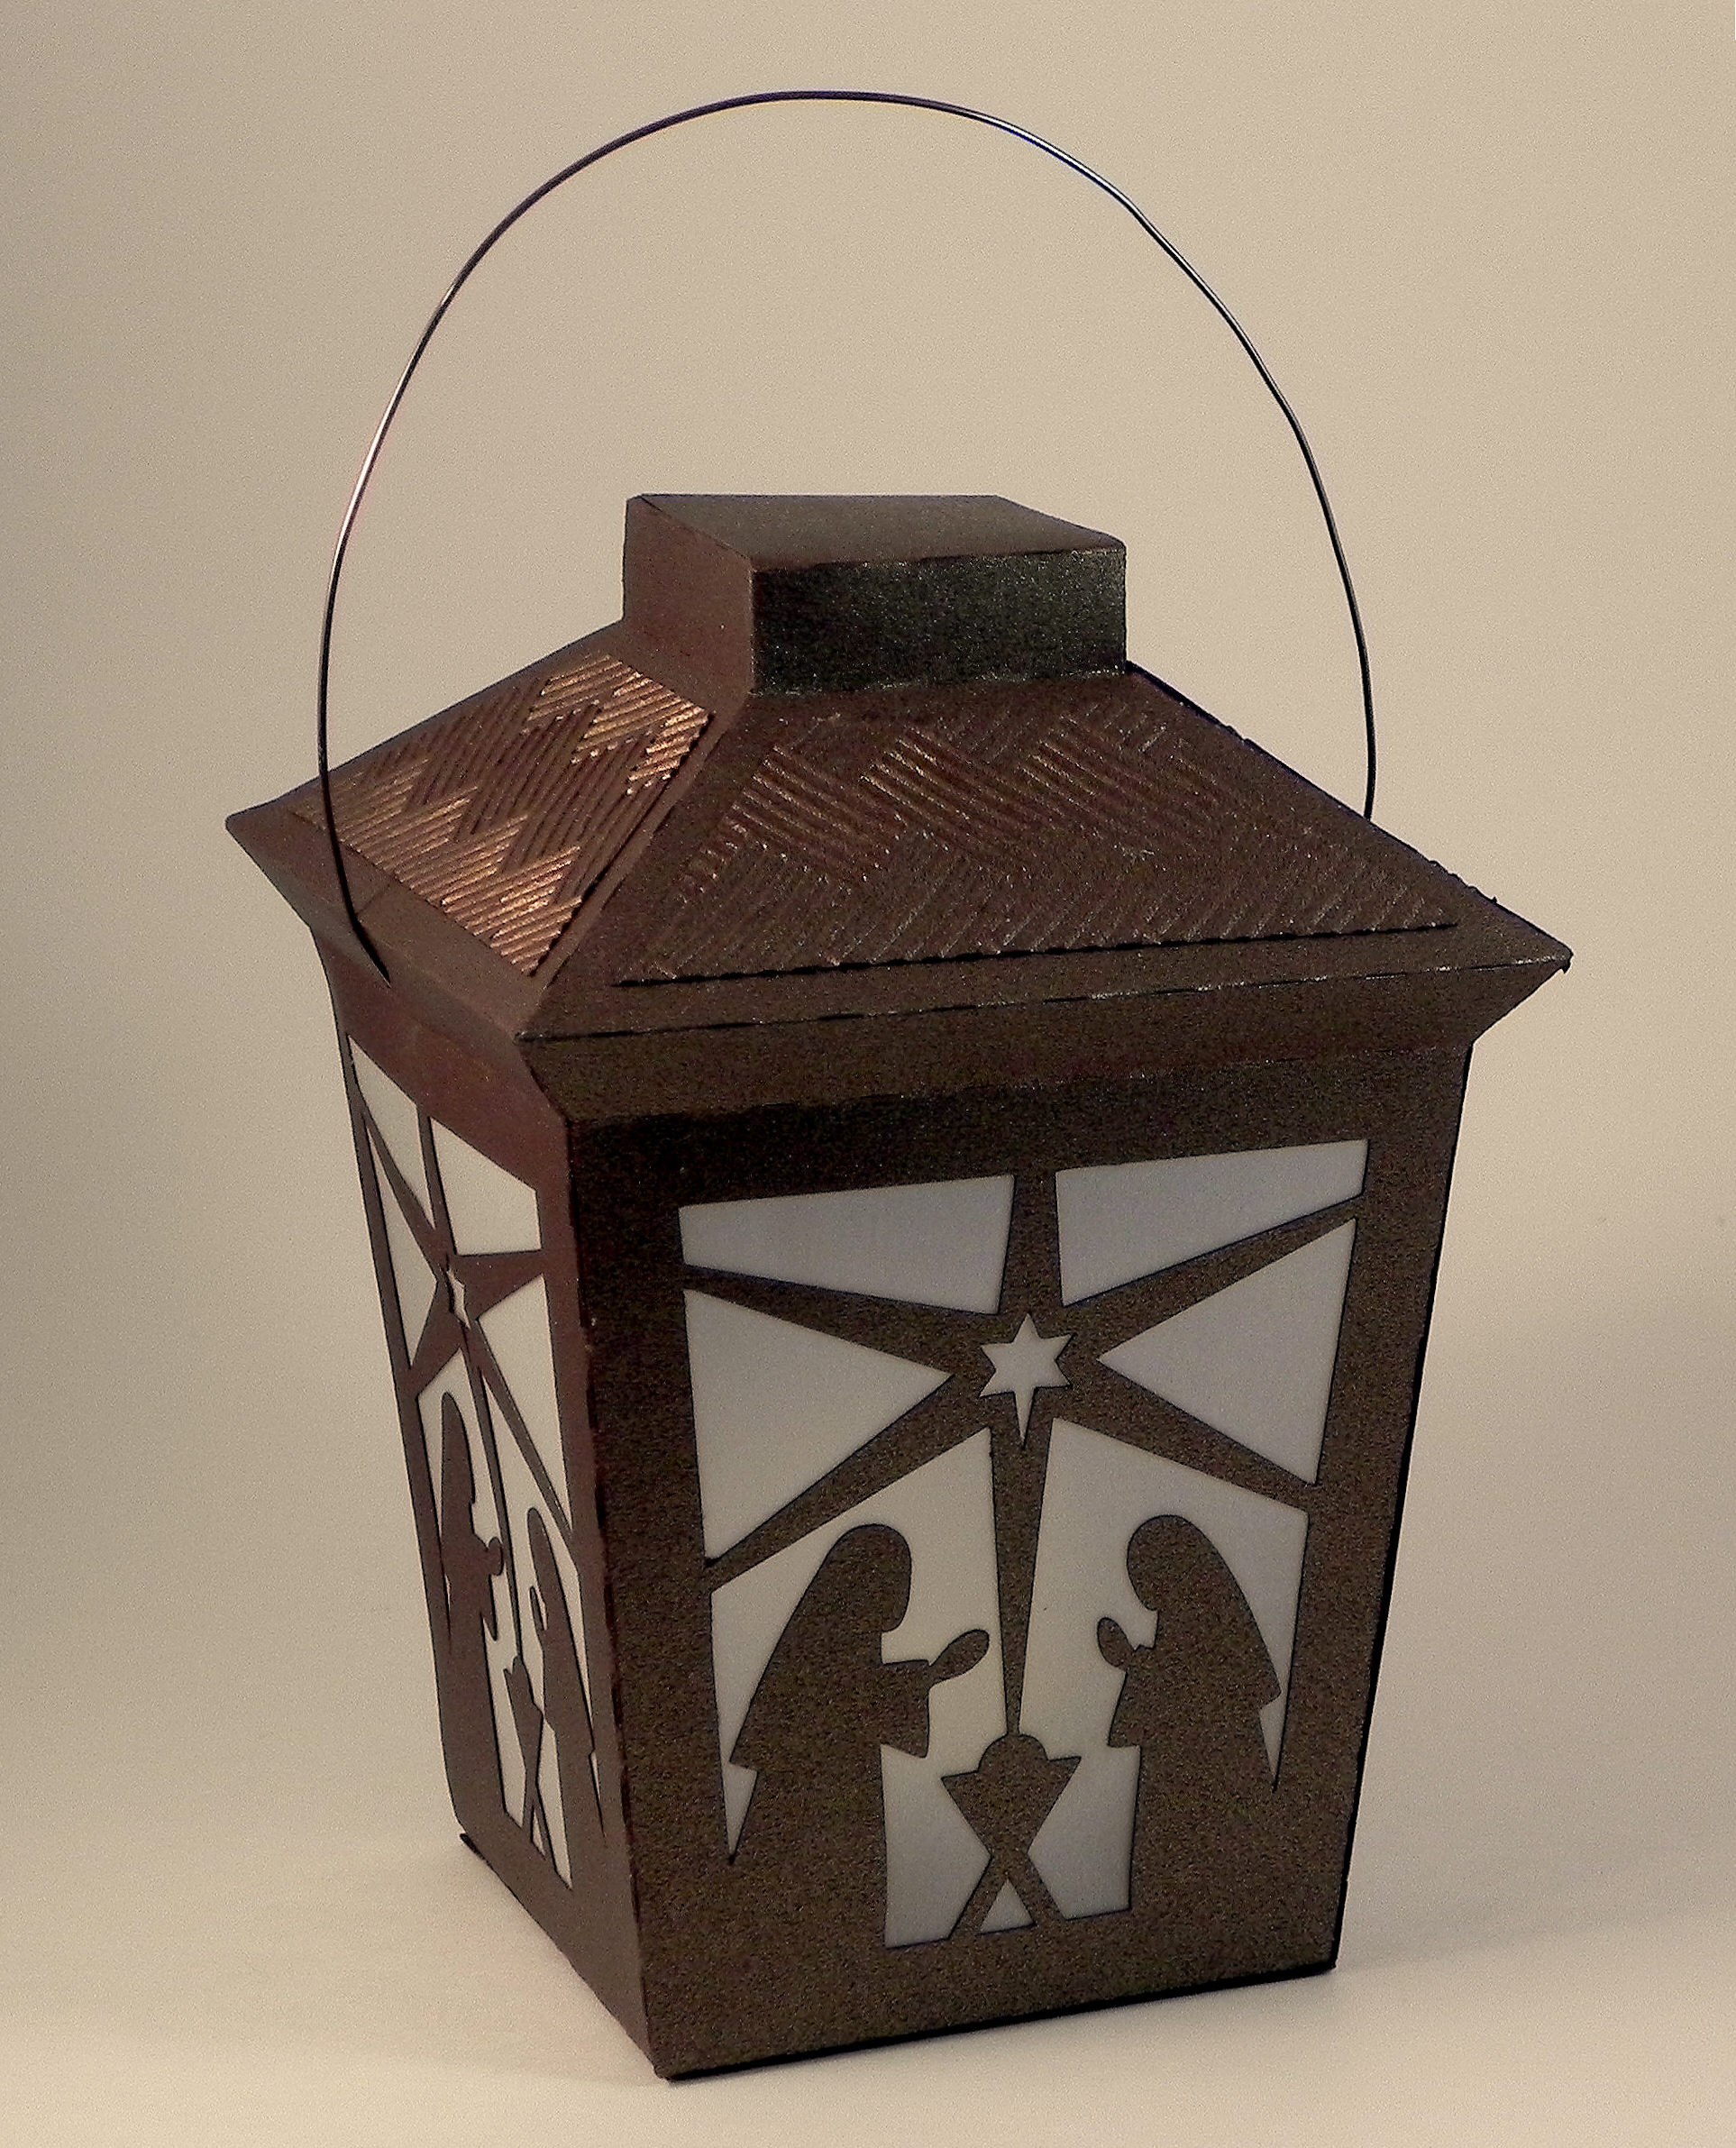
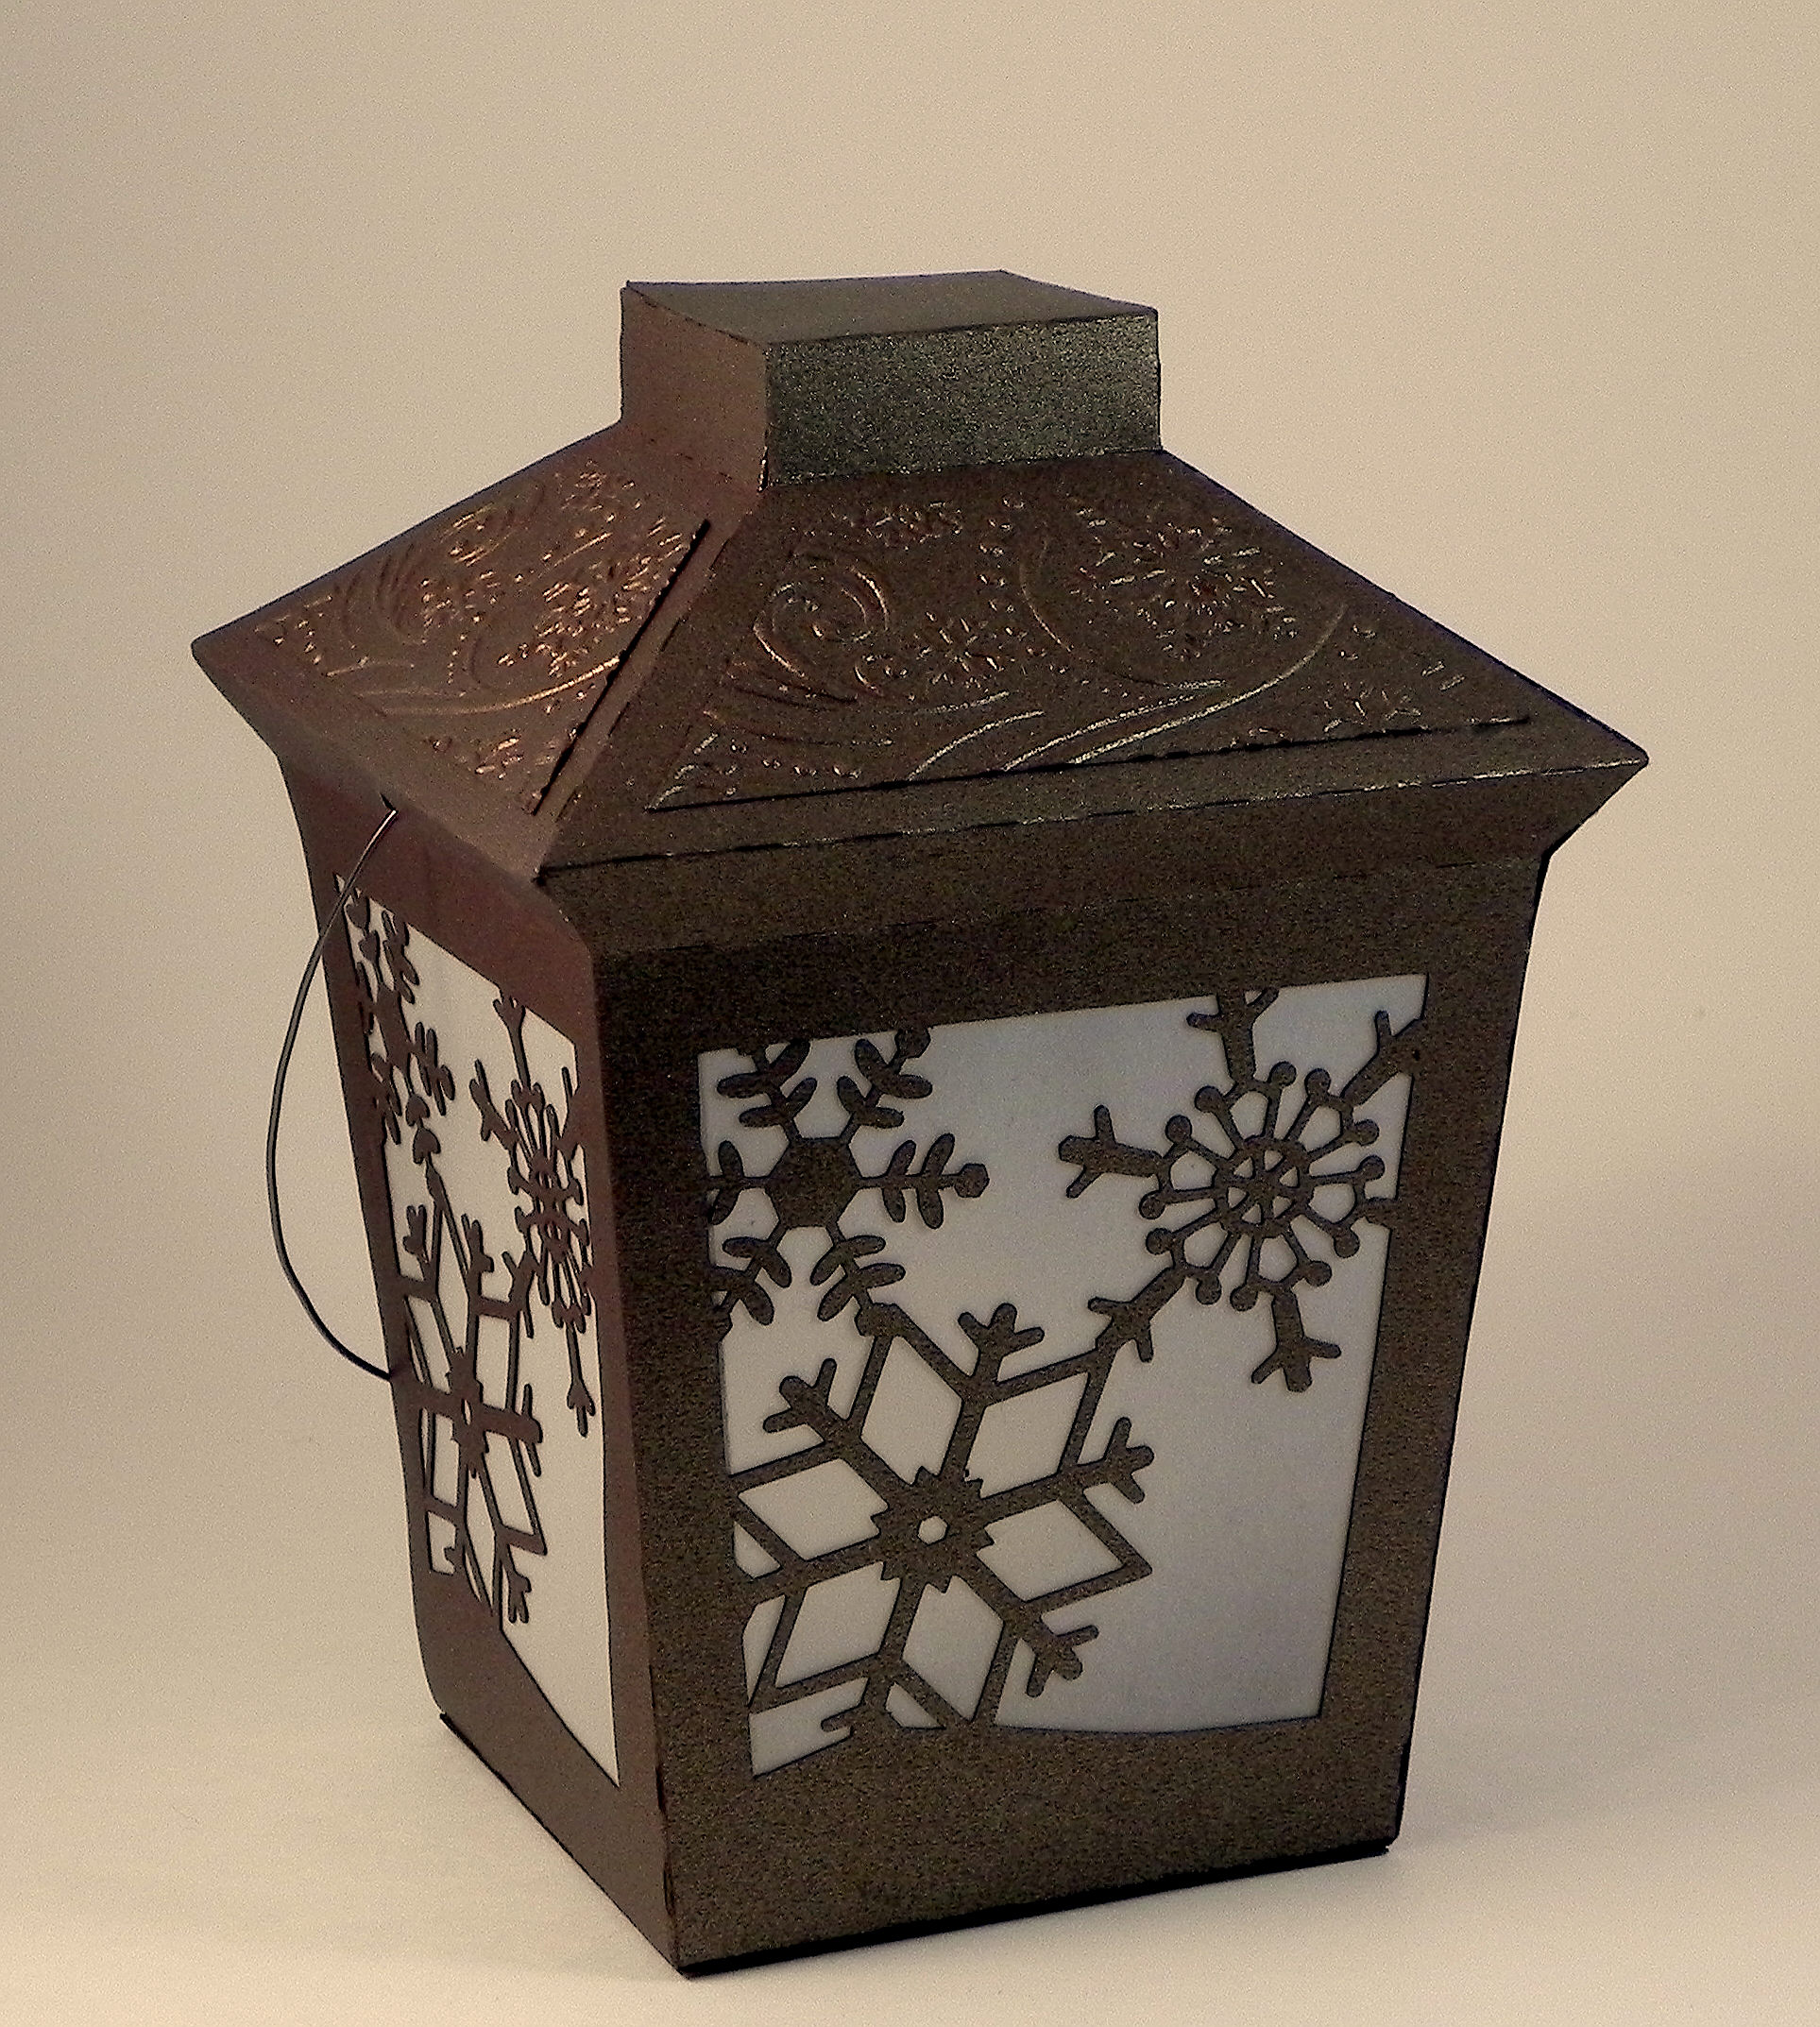
Nativity Lantern

Nativity Lantern

Nativity Lantern zDSCN7100

This lantern is a Christmas version of a lantern I previously posted.  It was made from a kit from svgcuts call Crisp Days of Fall SVG Kit.  The kit contains the cut files to make this lantern with fall leaves, but also provided is a plain panel to which you can add your own design so it can be made for a variety of occasions.  I used the plain panel and added the nativity scene to it.  I made a bunch of these lanterns (with permission from svgcuts) for the Rolling Green Holiday Boutique, and they were big sellers!

at show DSCN6316

The nativity panel I used for this project was a cut file I purchased from the Silhouette store called Nativity Luminary (#53021) by Lori Whitlock.  The nativity scene for her luminary is in a square panel, so I needed to adapt it slightly to fit in this lantern panel.  (I purchased a commercial license directly from Lori Whitlock’s site for this file.)  Here is her luminary:

Nativity Luminary

I used metallic bronze card stock  (Recollections) and vellum for this project.  Once all of the pieces were cut out by my Silhouette electronic die cutting machine, I assembled and glued everything together. A battery operated tea light placed inside makes the lantern glow.  (Don’t use a real candle!!!)

wDSCN7103

SVGCuts has a great tutorial video to help with assembly of this project.  (HERE  is the You Tube video link for this project tutorial, or you can watch it on their site as well.)

In addition to the nativity theme, I also made one with snowflakes which are from the “extras” file from the “Christmas Box Cards” SVG kit by svgcuts.

Snowflake Lantern wDSCN7110


Thanks for checking out my post!

This content uses referral links as described in the disclosure policy on my sidebar.


I Play In The Low 80’s… Jr. Legal Pad Cover

I Play In The Low 80’s… Jr. Legal Pad Cover

zzzDSCN6123

Here is another golf-themed notepad cover design I created.

The sentiment is a quote that I found online by comedian Joe E. Lewis , and I used it to create a custom made stamp from RubberStamps.net.  The image is an Art Impressions stamp called “Goldie Golfer.”  I stamped the sentiment and image with Memento Tuxedo Black ink and colored it with Copic Markers (hair: E50, E42, E43 and E44; skin: E50, E53, E71 and E04; clothes: BG15, Y21, Y23, and Y11; golf club and glasses: C4) and a Sakura clear glitter pen.  The grass was stamped with Gina K Grass Green ink with a stamp from the “Work of Art” set from Stampin’ Up.

The cover was made with white card stock.  Then I created a decorative panel and adhered it to the front.  The argyle patterned paper is called “Summer Argyle” from the “Golf Collection” line by Adorn It – Carolee’s Creations.  I also used Gina K Sweet Corn and Turquoise Sea card stock.

I paper pieced her shirt.  I needed a smaller print than what was on the patterned paper since the shirt was so small so I scanned the paper and used the Silhouette software to create a “fill pattern” for the cut file I created of the shirt.

I have boxes of ribbon but never seem to have the right color when trying to finish off my projects!  I recently purchased the Alison’s Ribbons die plate by Cheery Lynn Designs and was able to create a faux ribbon with the card stock I used.  A perfect match!

zzzDSCN6123 cropped tighter and tilted

The jr. legal pad was purchased at Staples.

wDSCN6131

HERE is a YouTube video tutorial by Melissa The Stamp Doc  showing how to make a notepad cover.

Thanks for checking out my project!

This content uses referral links as described in the disclosure policy on my sidebar.

Manipulate the Data… Jr. Legal Pad Cover

Manipulate the Data… Jr. Legal Pad Cover

uvDSCN6151

Here is another notepad cover design I created.

The golfer is a stamp from a set called “Gordon Golfer” (sku#4325), and the sentiment is called “Manipulate the Data” (sku# F2623).  Both are by Art Impressions.  I stamped the sentiment and image with Memento Tuxedo Black ink and colored it with Copic Markers (hair: C5; skin: E50, E53, and E71; socks and shoes: BV02, BV08, C2, and C4; club: C4 and BV08).  The grass is a stamp called “Easy Grass Background” by DRS Designs and was stamped with Gina K Moonlit Fog.

The cover was made with white card stock.  Then I created a decorative panel and adhered it to the front.  The multi-colored card stock is called “Easygoing” (item #2003) from the “happy-go-lucky” line by Fancy Pants Designs.  The purple plaid card stock is by Kite Tails Designs called “Dart Board” (item: 12-101) from the “Man Cave” collection.  I also used Gina K Edible Eggplant and Stampin’ Up Pistachio Pudding card stock.

I paper pieced his pants, hat and shirt.  I needed a smaller print (than what was on the patterned paper) for the pants and hat since they were so small so I scanned the paper and used the Silhouette software to create a “fill pattern” for the cut files I created.  For the shirt, I used the dropper in the “Fill Color” window and got the color from a spot on the pattern I used for the pants and hat.  I then added a little extra color with Copic G21.

wDSCN6146

HERE is a YouTube video tutorial by Melissa The Stamp Doc  showing how to make the notepad covers.

Thanks for checking out my project!

I Have Just One Problem… Jr. Legal Pad Cover

I Have Just One Problem… Jr. Legal Pad Cover

vvDSCN6118

Here is another notepad cover design I created.

The sentiment is adapted from a quote by professional golfer, Sam Snead, and I used it to create a custom made stamp from RubberStamps.net.  (I believe his original quote started with, “You have just one problem…”)  The image is an Art Impressions stamp called “Vera.”  I stamped the sentiment and image with Memento Tuxedo Black ink and colored it with Copic Markers (hair: E71, E74 and C2; skin: E50, and E31; clothes: BG18, BG15, BG10, E79, E71, E74, and C2; golf bag and clubs: BG18, C4. C2. E71, E74, and E77; grass: BG13).

The cover was made with white card stock.  Then I created a decorative panel and adhered it to the front.  The plaid card stock is called “Suave” from the “A Boy’s Life” line (item #BL25003) by echo park paper co.  The brown polka dotted card stock is by My Mind’s Eye and is the back side of the “So Sophie “We Are Family” Floral Swirl Paper.”  I also used Gina K Ocean Mist and Charcoal Brown card stock.

xDSCN6136

HERE is a YouTube video tutorial by Melissa The Stamp Doc  showing how to make them.

Thanks for checking out my project!

This content uses referral links as described in the disclosure policy on my sidebar.

Holiday Accent Lamp

Holiday Accent Lamp

zDSCN9070

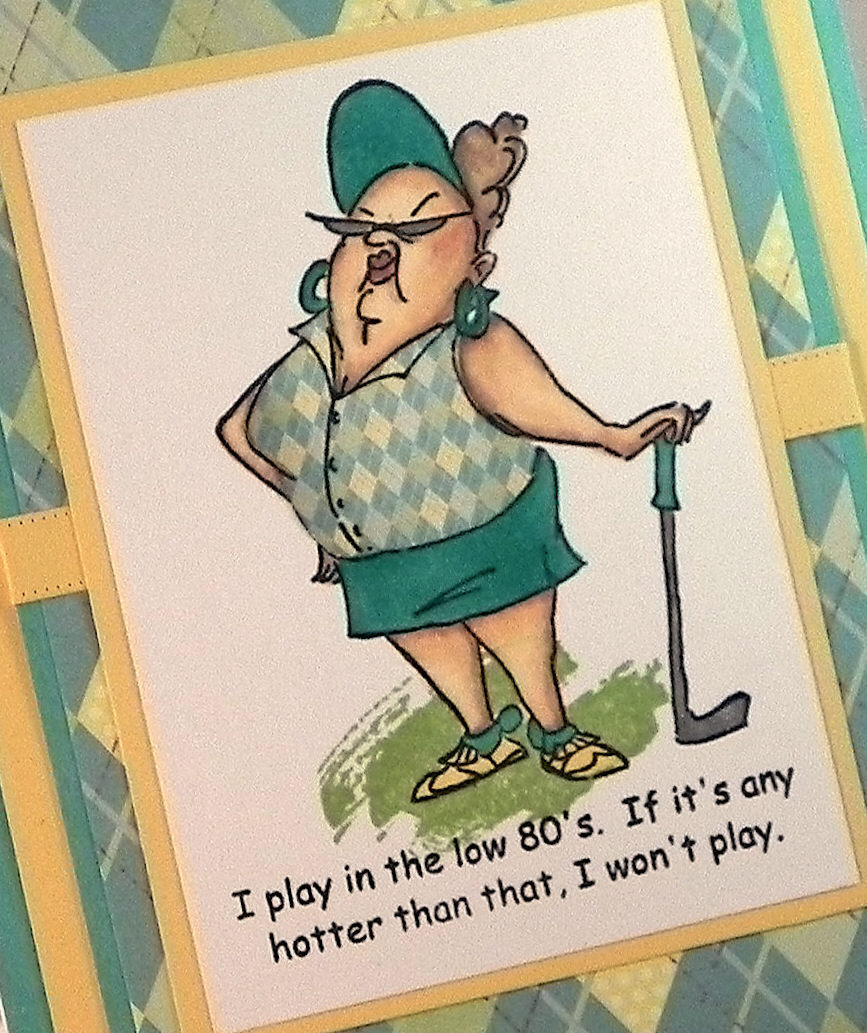
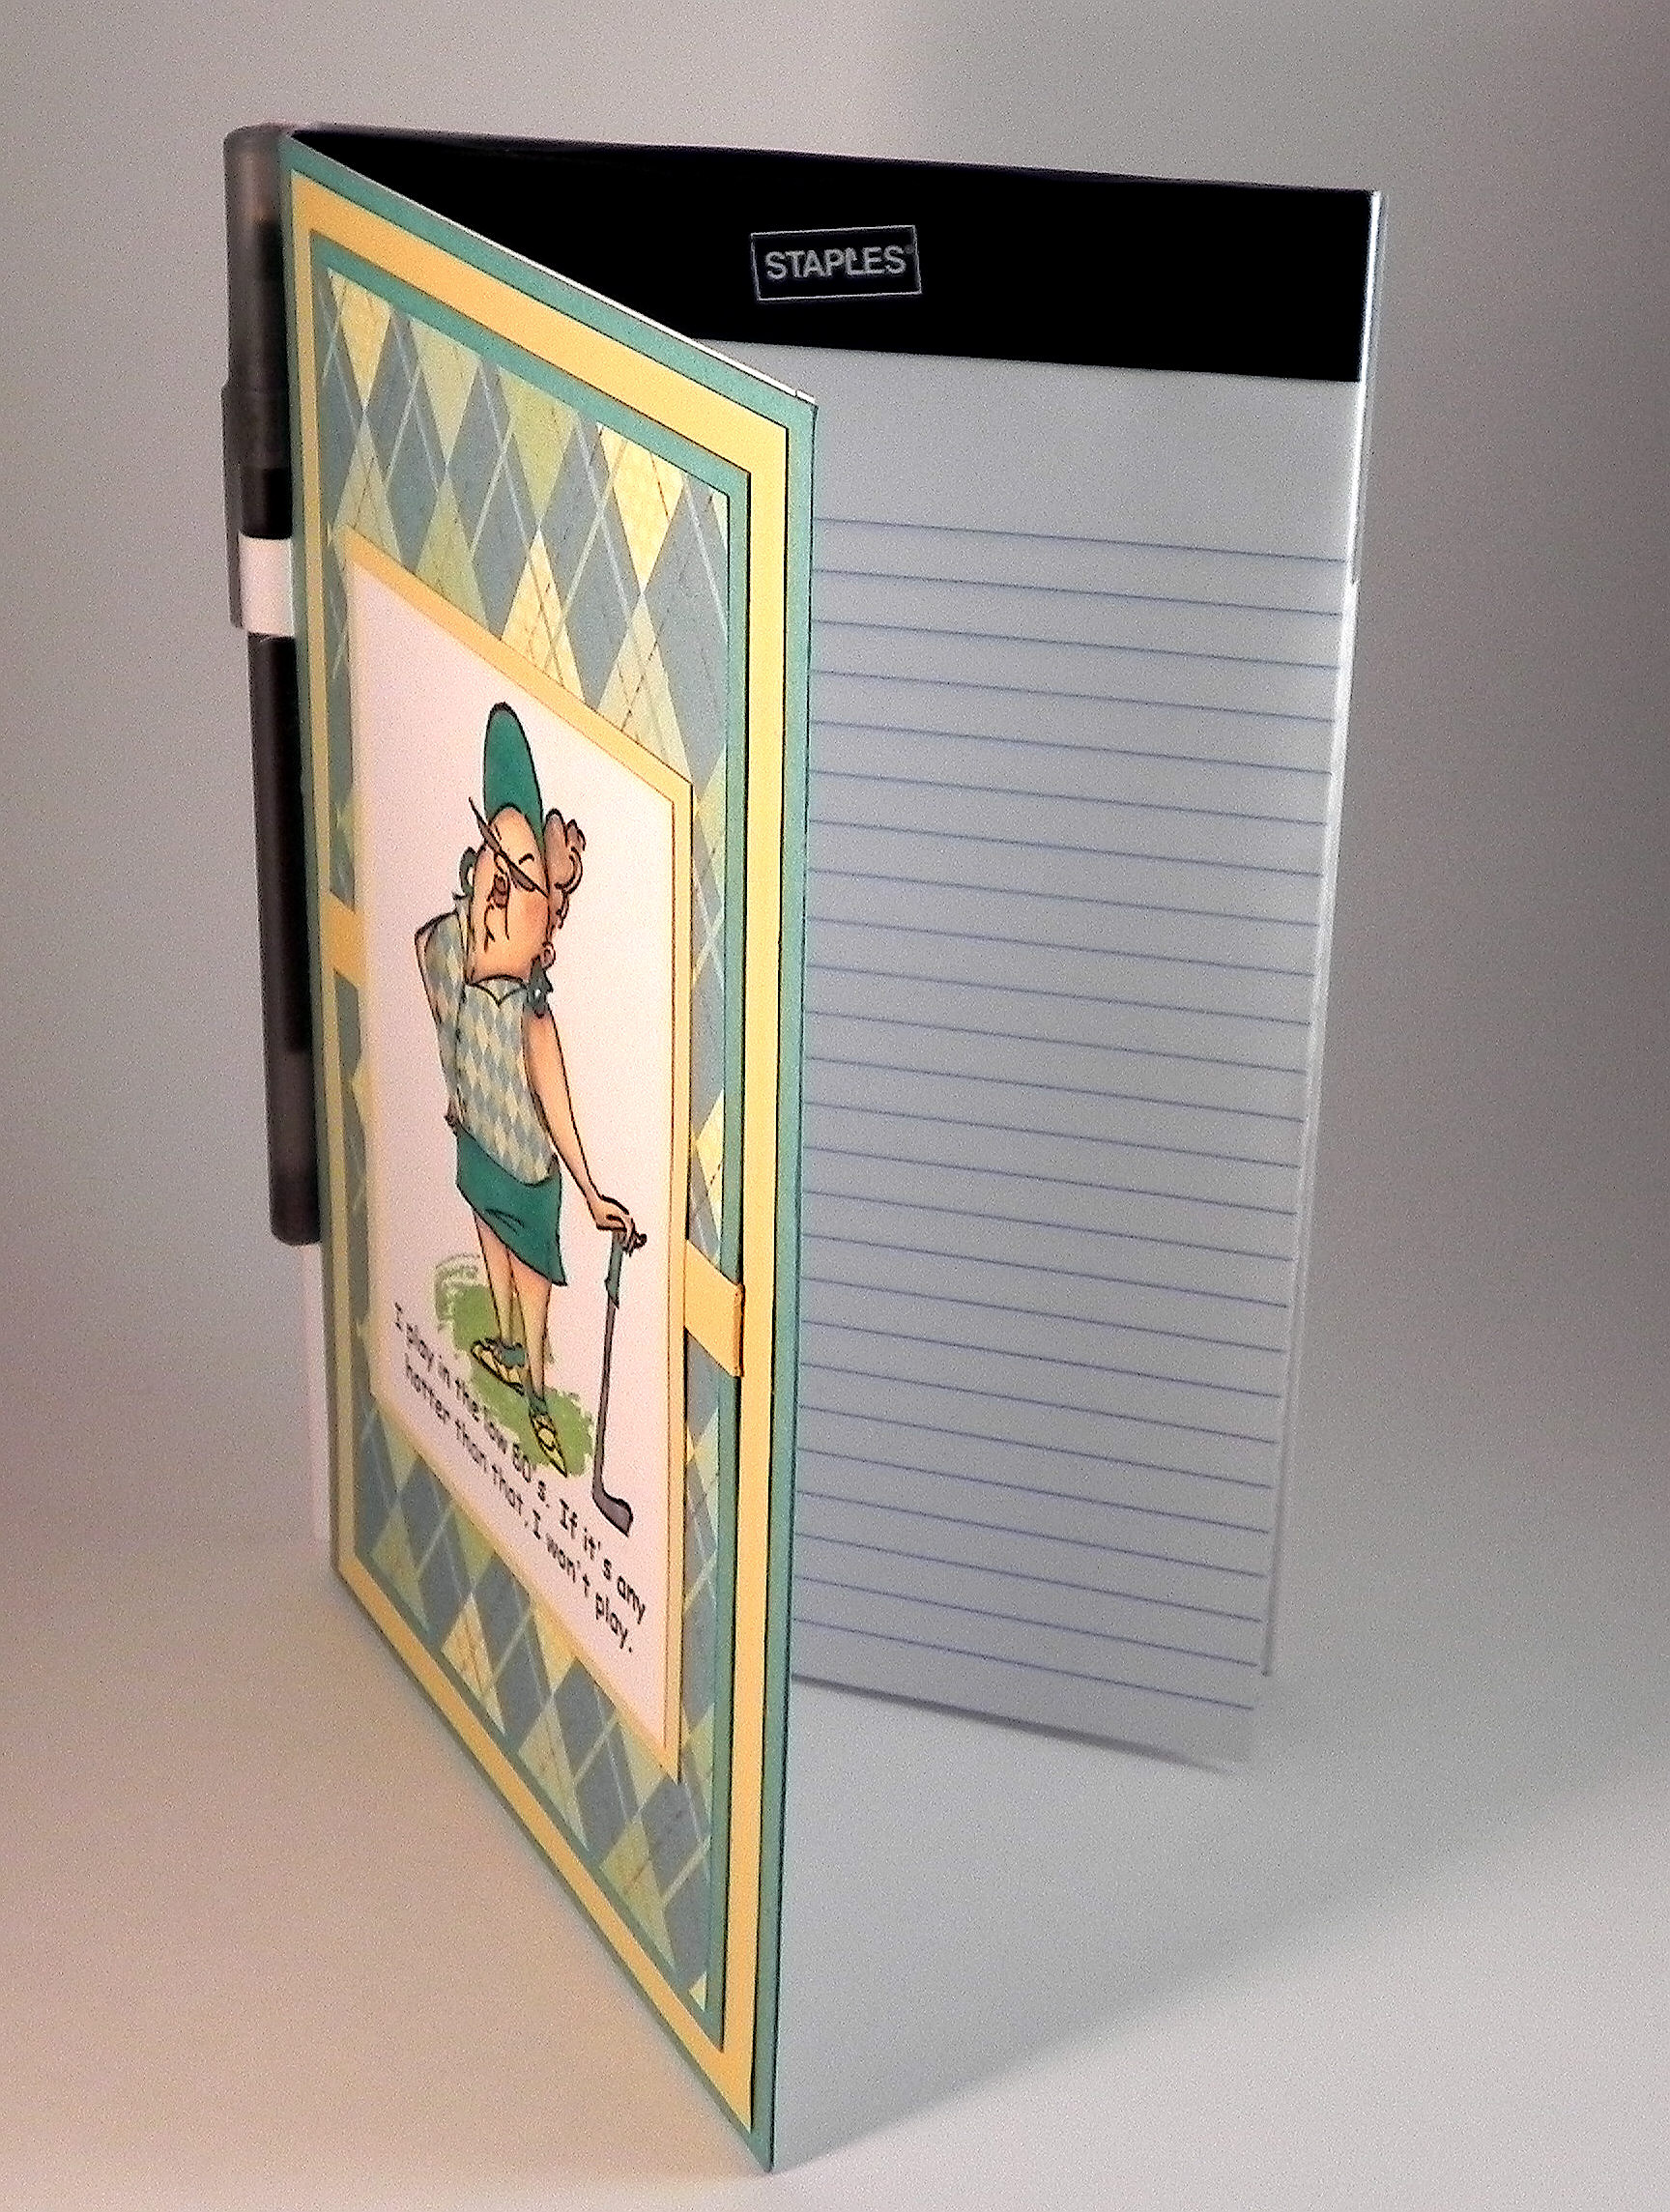
I thought I’d take a quick break from golf cards to make this Tiffany-inspired lamp project which I’ve been wanting to try for a while.  It was made with my Silhouette electronic die cutting machine, an svg file from the “Boho Butterflies SVG Kit” by svg cuts, an electric candle, card stock and vellum.  The original design had dragonflies on the lamp shade, but I wanted to make my lamps as holiday gifts and decorations, so I altered the cut file to include holly leaves instead.  The basic holly leaf design (which I manipulated to fit on the lamp shade panel) came from the “Comet’s Candy Land SVG Kit” which is also by svg cuts.

lampshade

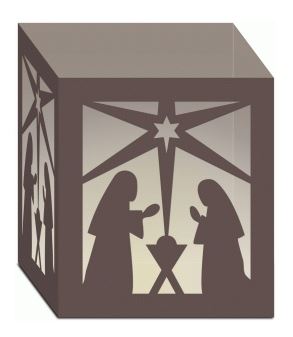
(original lamp shade design)

It’s hard to believe this lamp is made out of paper!  I used Recollections brown (chocolate) shimmer paper (which looks like bronze/metal), Recollections black card stock, and vellum.  I used Copic Markers (G29, R59, and Y28) to color the vellum panels.

*POST ADDITION – I found it tedious and difficult to color 36 panels, front and back, for each lamp I wanted to make.  The vellum kept shifting so the colors didn’t line up with the black lines perfectly, and this was messy/obvious when the lamp was assembled and lit.  (I’m not sure why I didn’t have that much trouble with my first one!)  I ended up creating two print and cut files so I could either color in my panels by hand with lines visible on the vellum, or I could just print and cut the already colored panels.  Much easier!!

Print and Cut with no color  Print and Cut with color

You can see the tutorial on how to assemble the lamp HERE.

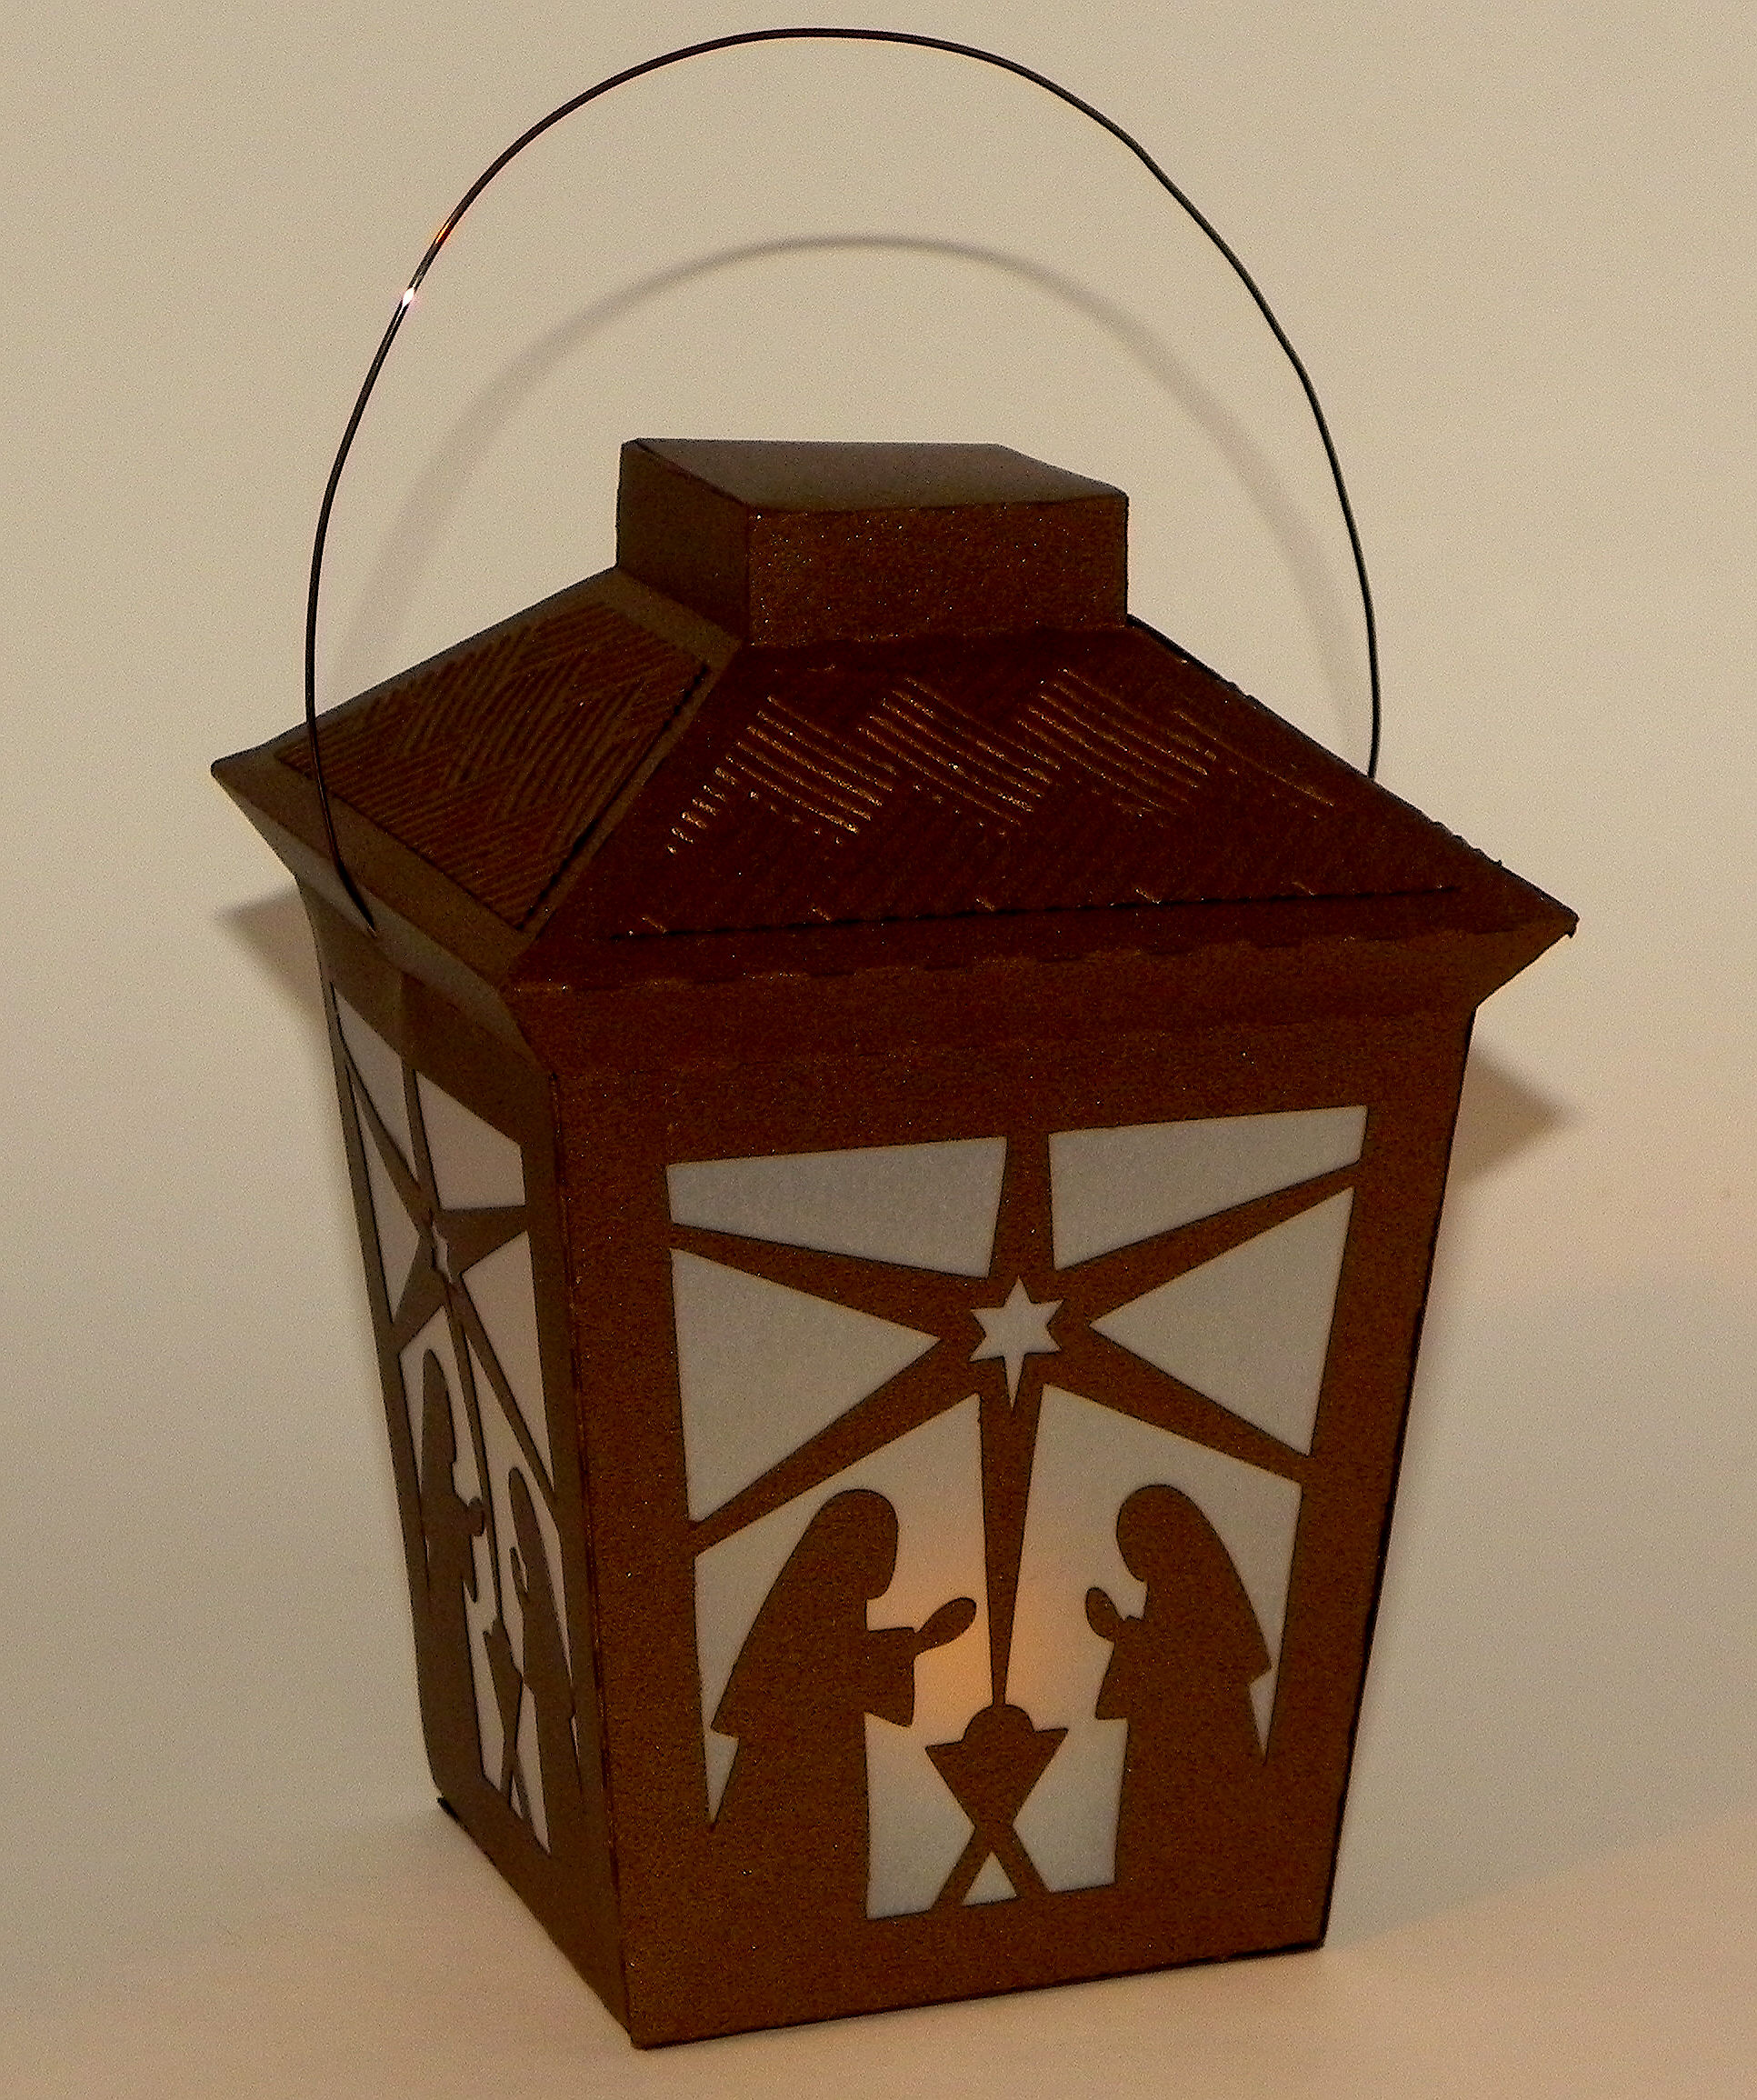
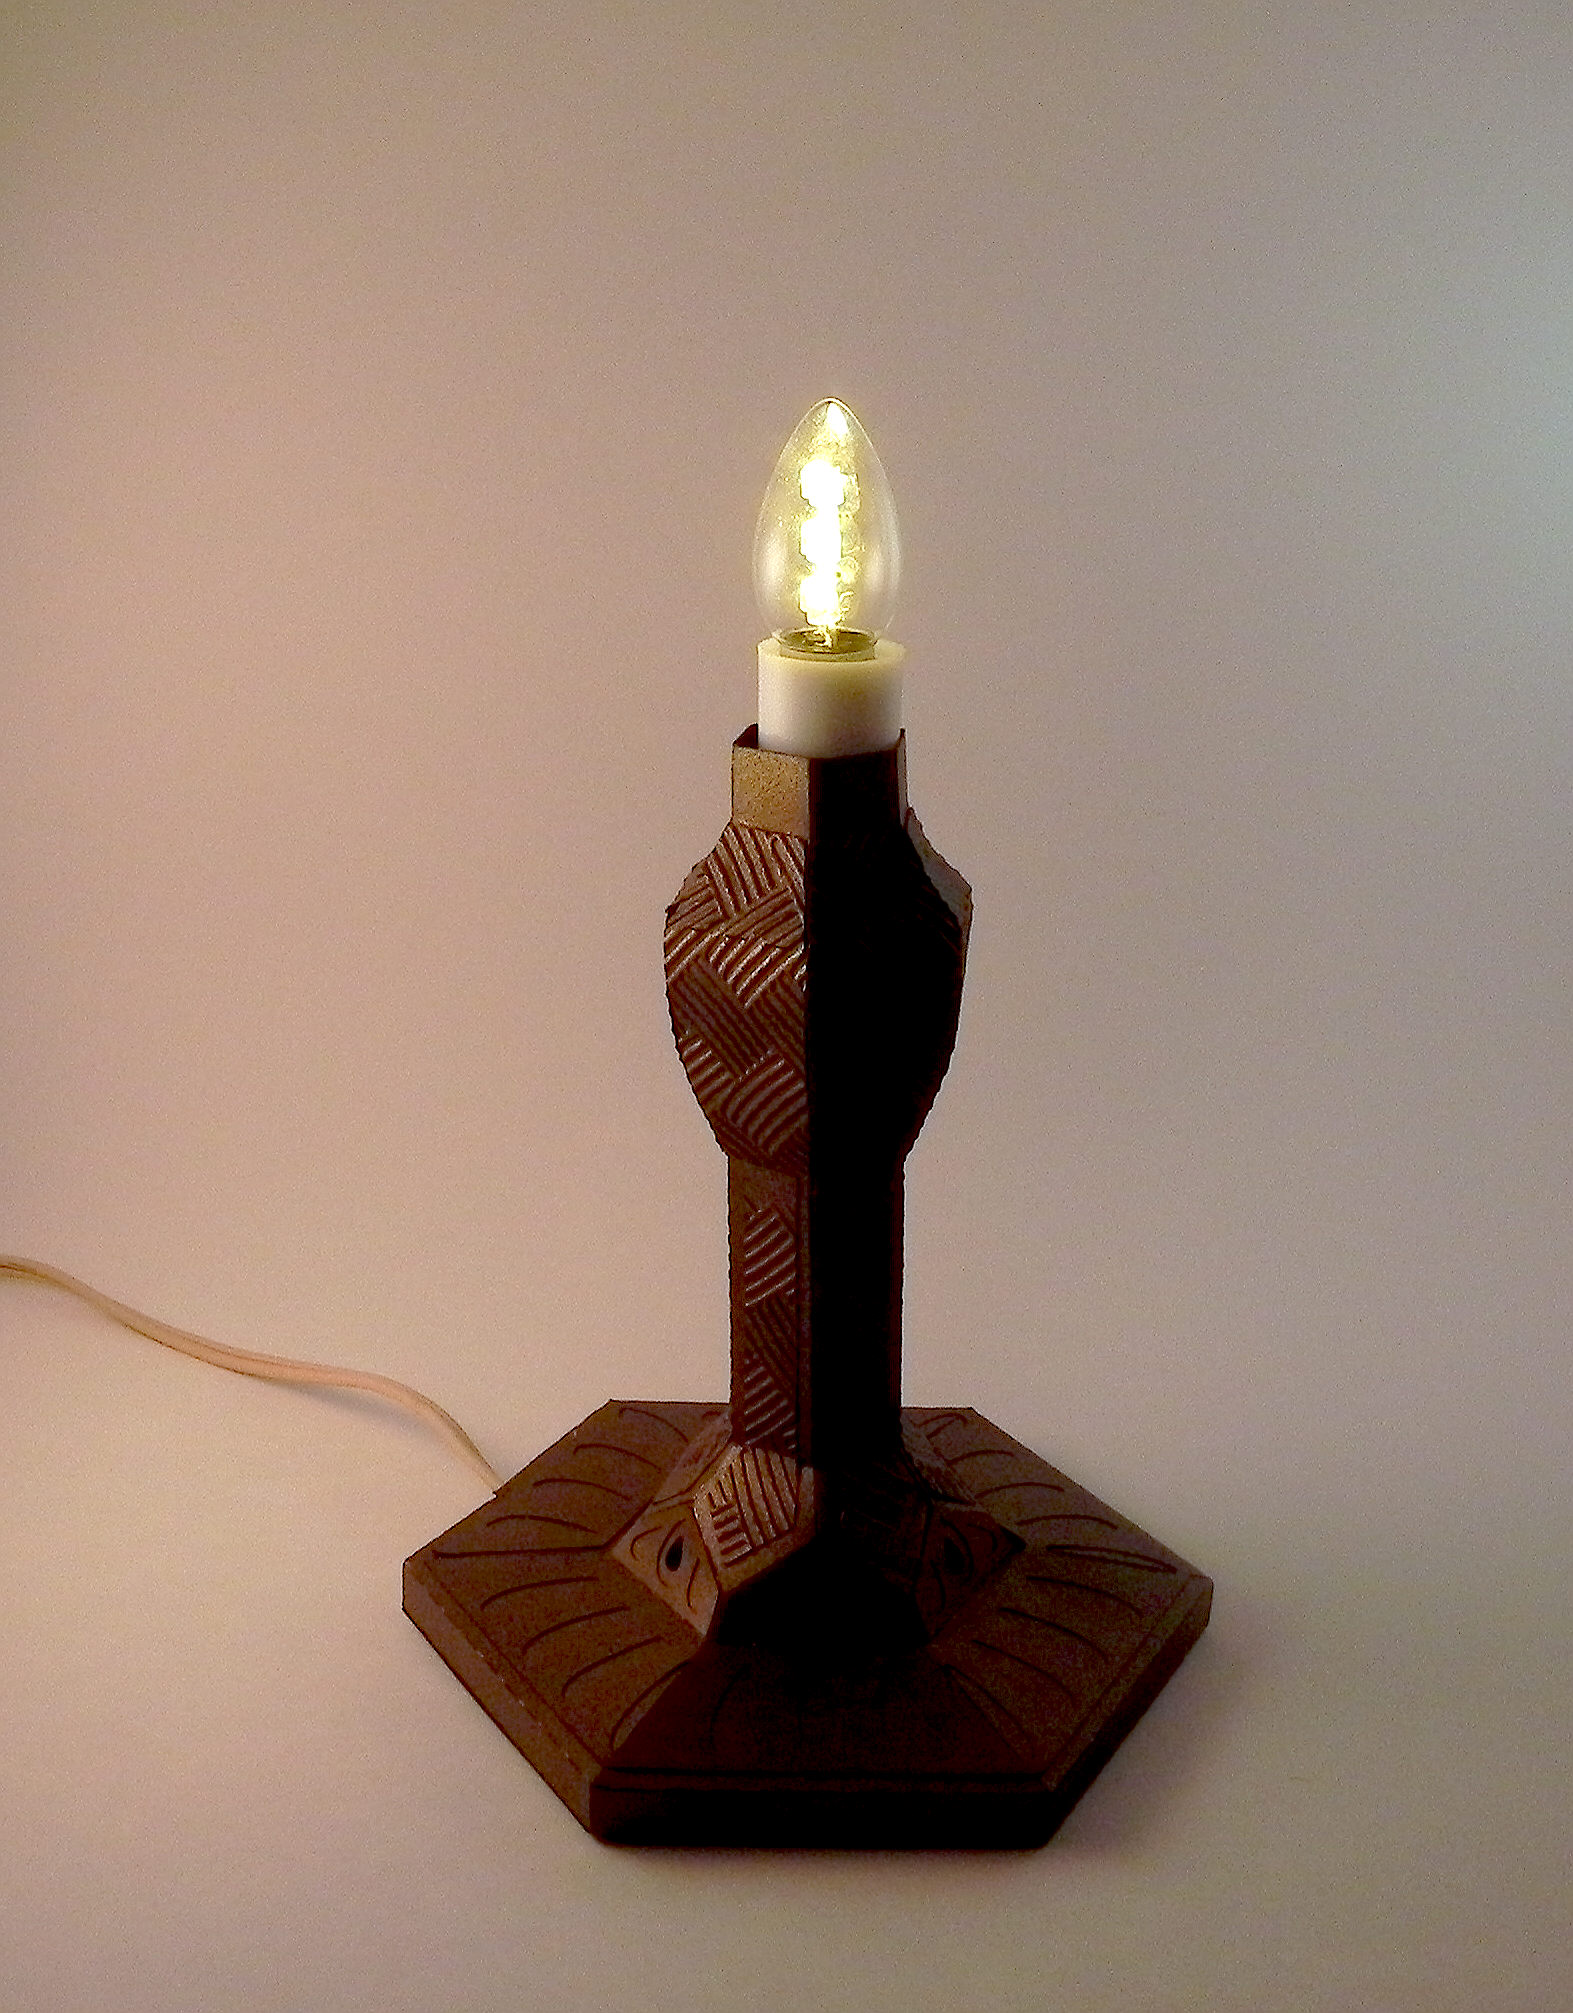
There is a 9 inch electronic candle “built in” to the center of the lamp base which came with a 7w bulb. I replaced this bulb with an LED bulb so it didn’t get hot since it will be lit so close to the paper.  (The original bulb seemed to work fine and didn’t really seem to get that hot, but I didn’t want to take any chances.)

wwDSCN9082

I used the Darice 5×7 Basketweave embossing folder for the decorative panels on the base of the lamp.

wDSCN9110

The design details on this lamp are incredible!  The lamp shade fits on the lamp without touching the bulb.  And the decorative knob on the top is pretty cool!

wDSCN9097

wDSCN9119

Some sad news…

As I’ve mentioned in previous posts, I LOVE svg cuts; there is a huge variety of projects (2-d and 3-d), and they are all AWESOME!!!  It’s the first place I look when I need an idea or element for a special occasion or project.  I LOVE watching Mary do her project tutorials which takes a lot of the frustration out of creating these projects.  (I tried to wing it a few times and ended up wishing I had just gone straight to Mary for some of the more complicated designs!)  And, I don’t think I’d even have any idea at all about electronic die-cutting with svg’s if it weren’t for Leo’s tutorials on Sure Cuts A Lot and all the customer support/questions answered by him over the years.  So… I was extremely saddened by the news that Leo and Mary are going their separate ways and will no longer both be working together at svg cuts.  Leo has decided to start a new svg company called Dreaming Tree (3DSVG) while Mary will continue to run svg cuts.  (Leo explains this in a letter on his new site, HERE).  I’m sad for them that things didn’t work out, and I’m sad that the company as I’ve known it will not be the same.  However, I am excited with the idea that there is a new company out there that will be providing svg files, am hoping this works out well for both of them, and am looking forward to visiting both often.

Thanks for checking out my post!

This content uses referral links as described in the disclosure policy on my sidebar.