Goodbye Sassy Cheryl’s – Snowman Wiper Card (and some other sites to find digital stamps)

Happy New Year!
Digital stamps are images you download and print from your computer to use on your cards/projects. You can color them (just like with traditional line art image stamps), but since they are digital, you can also size them to suit your needs.
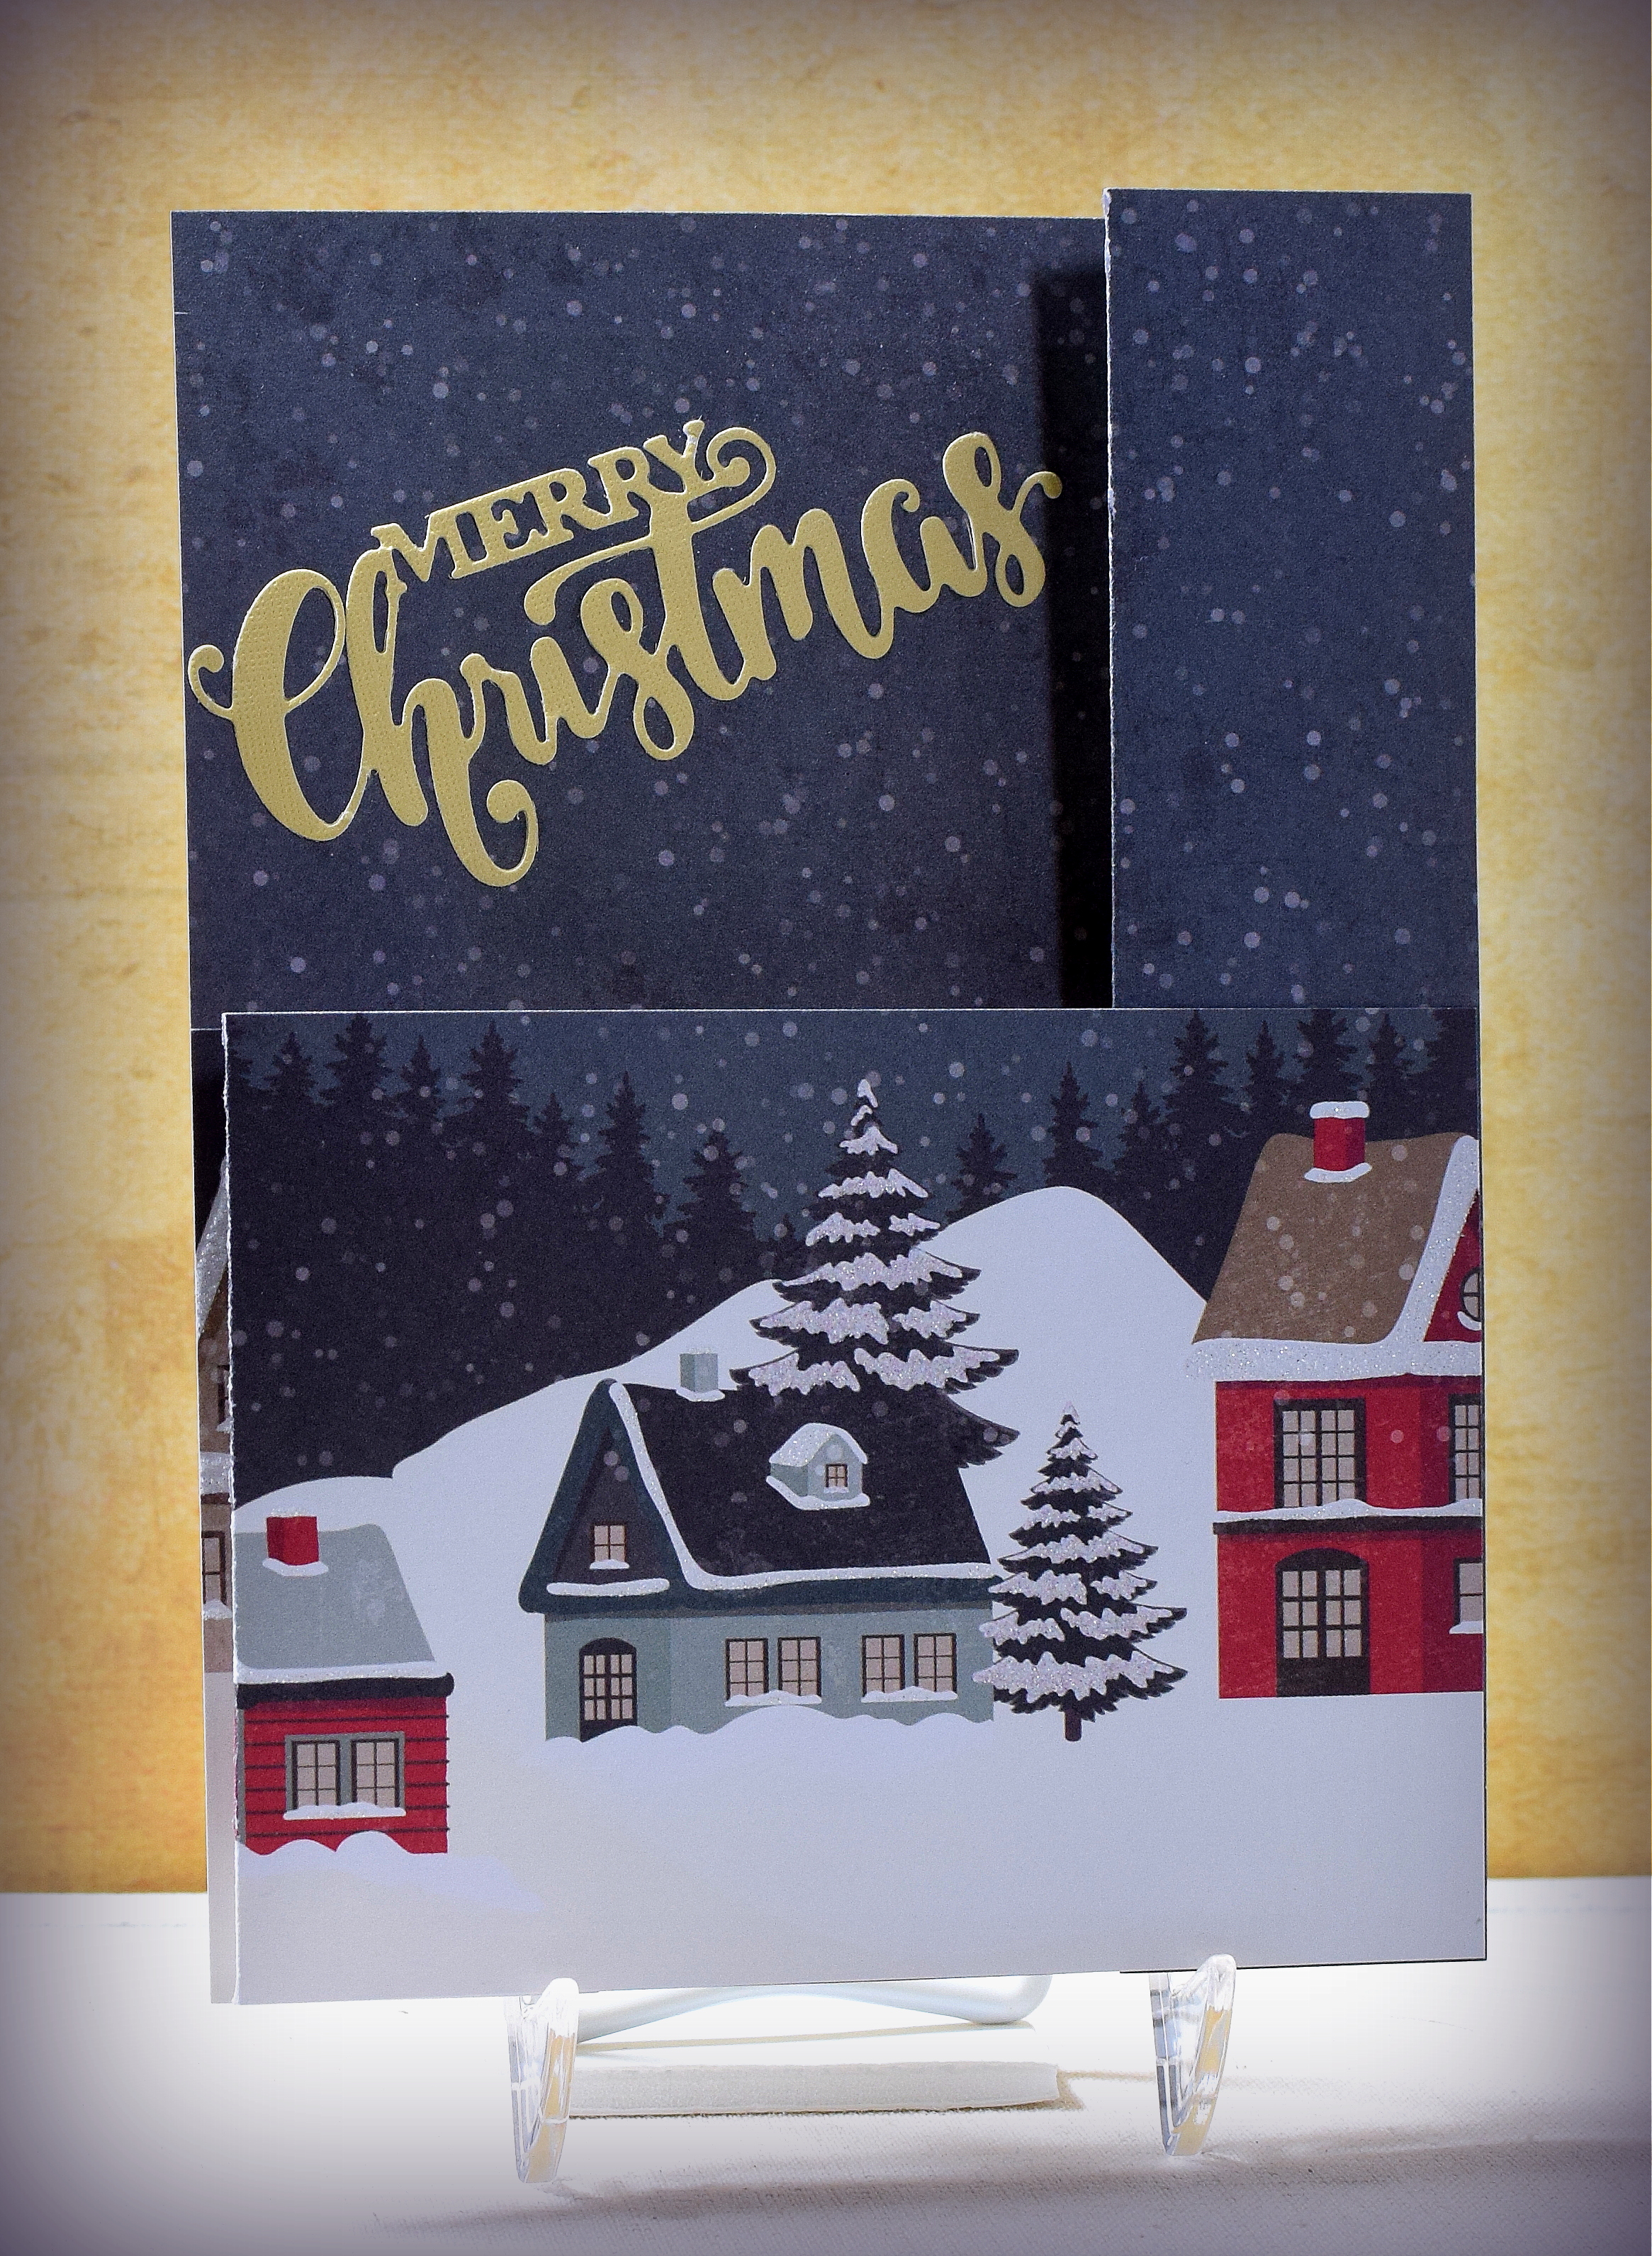
The snowman on the wiper card above is a digital image from an online shop called Sassy Cheryl’s (that, sadly, just closed down). What I loved about the images on that site (besides that I thought they were adorable) is that most were also available as pre-colored illustrations so if you didn’t want to color the images yourself, you could just print them in color and use them as is. The image used on the card above is the pre-colored version of “Fa-la-la-la Snowman” and was “traced and cut” with my Silhouette electronic die cutting machine. And while this site is no longer operational, there are lots of other companies/shops that offer digital stamps (some pre-colored).
Etsy is a great place to begin looking.
Here are some other sites to check out:
Whimsy Stamps (This site actually has some of Sassy Chery’s designs)
Imagine That Digistamp
and
… to name a few! (Google Digital Stamps for more options.)
The digital paper I used is called “Snowflake Background – Snowy Paper” by SBdigitalDesigns from Etsy. The “Festive Mini Expressions – Warmest Wishes” die from Creative Expressions was used for the pop-up greeting.
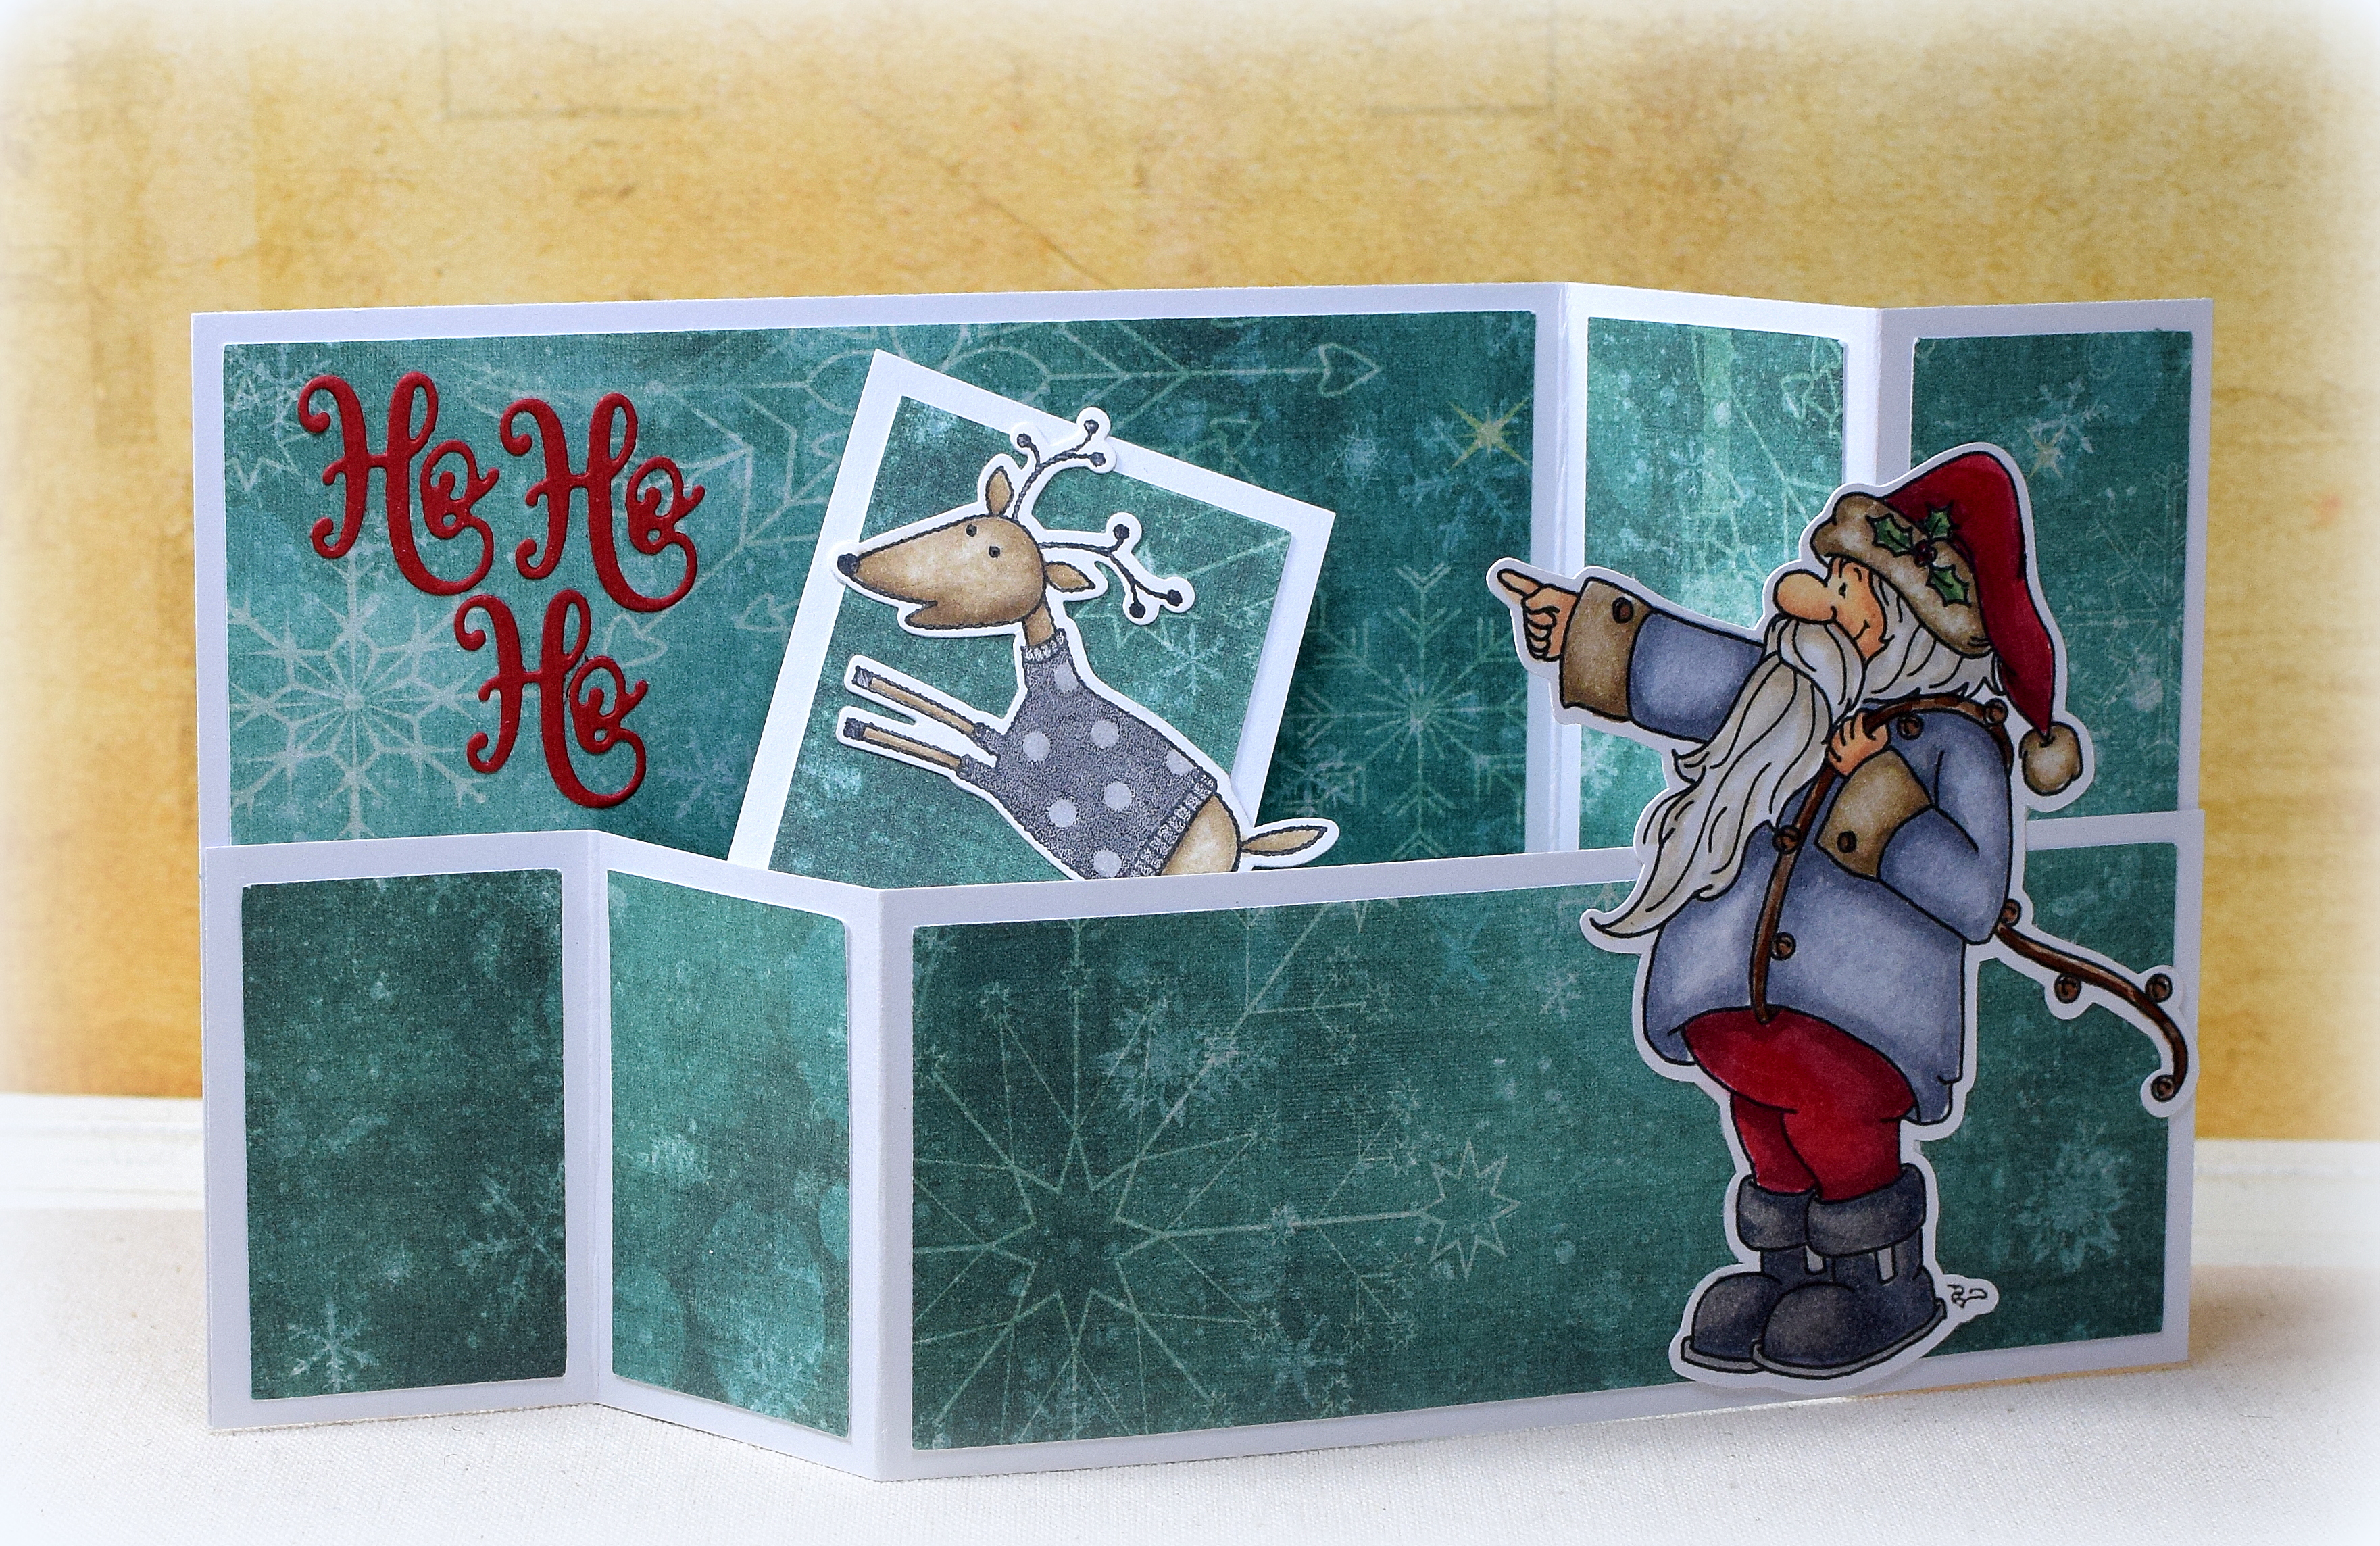
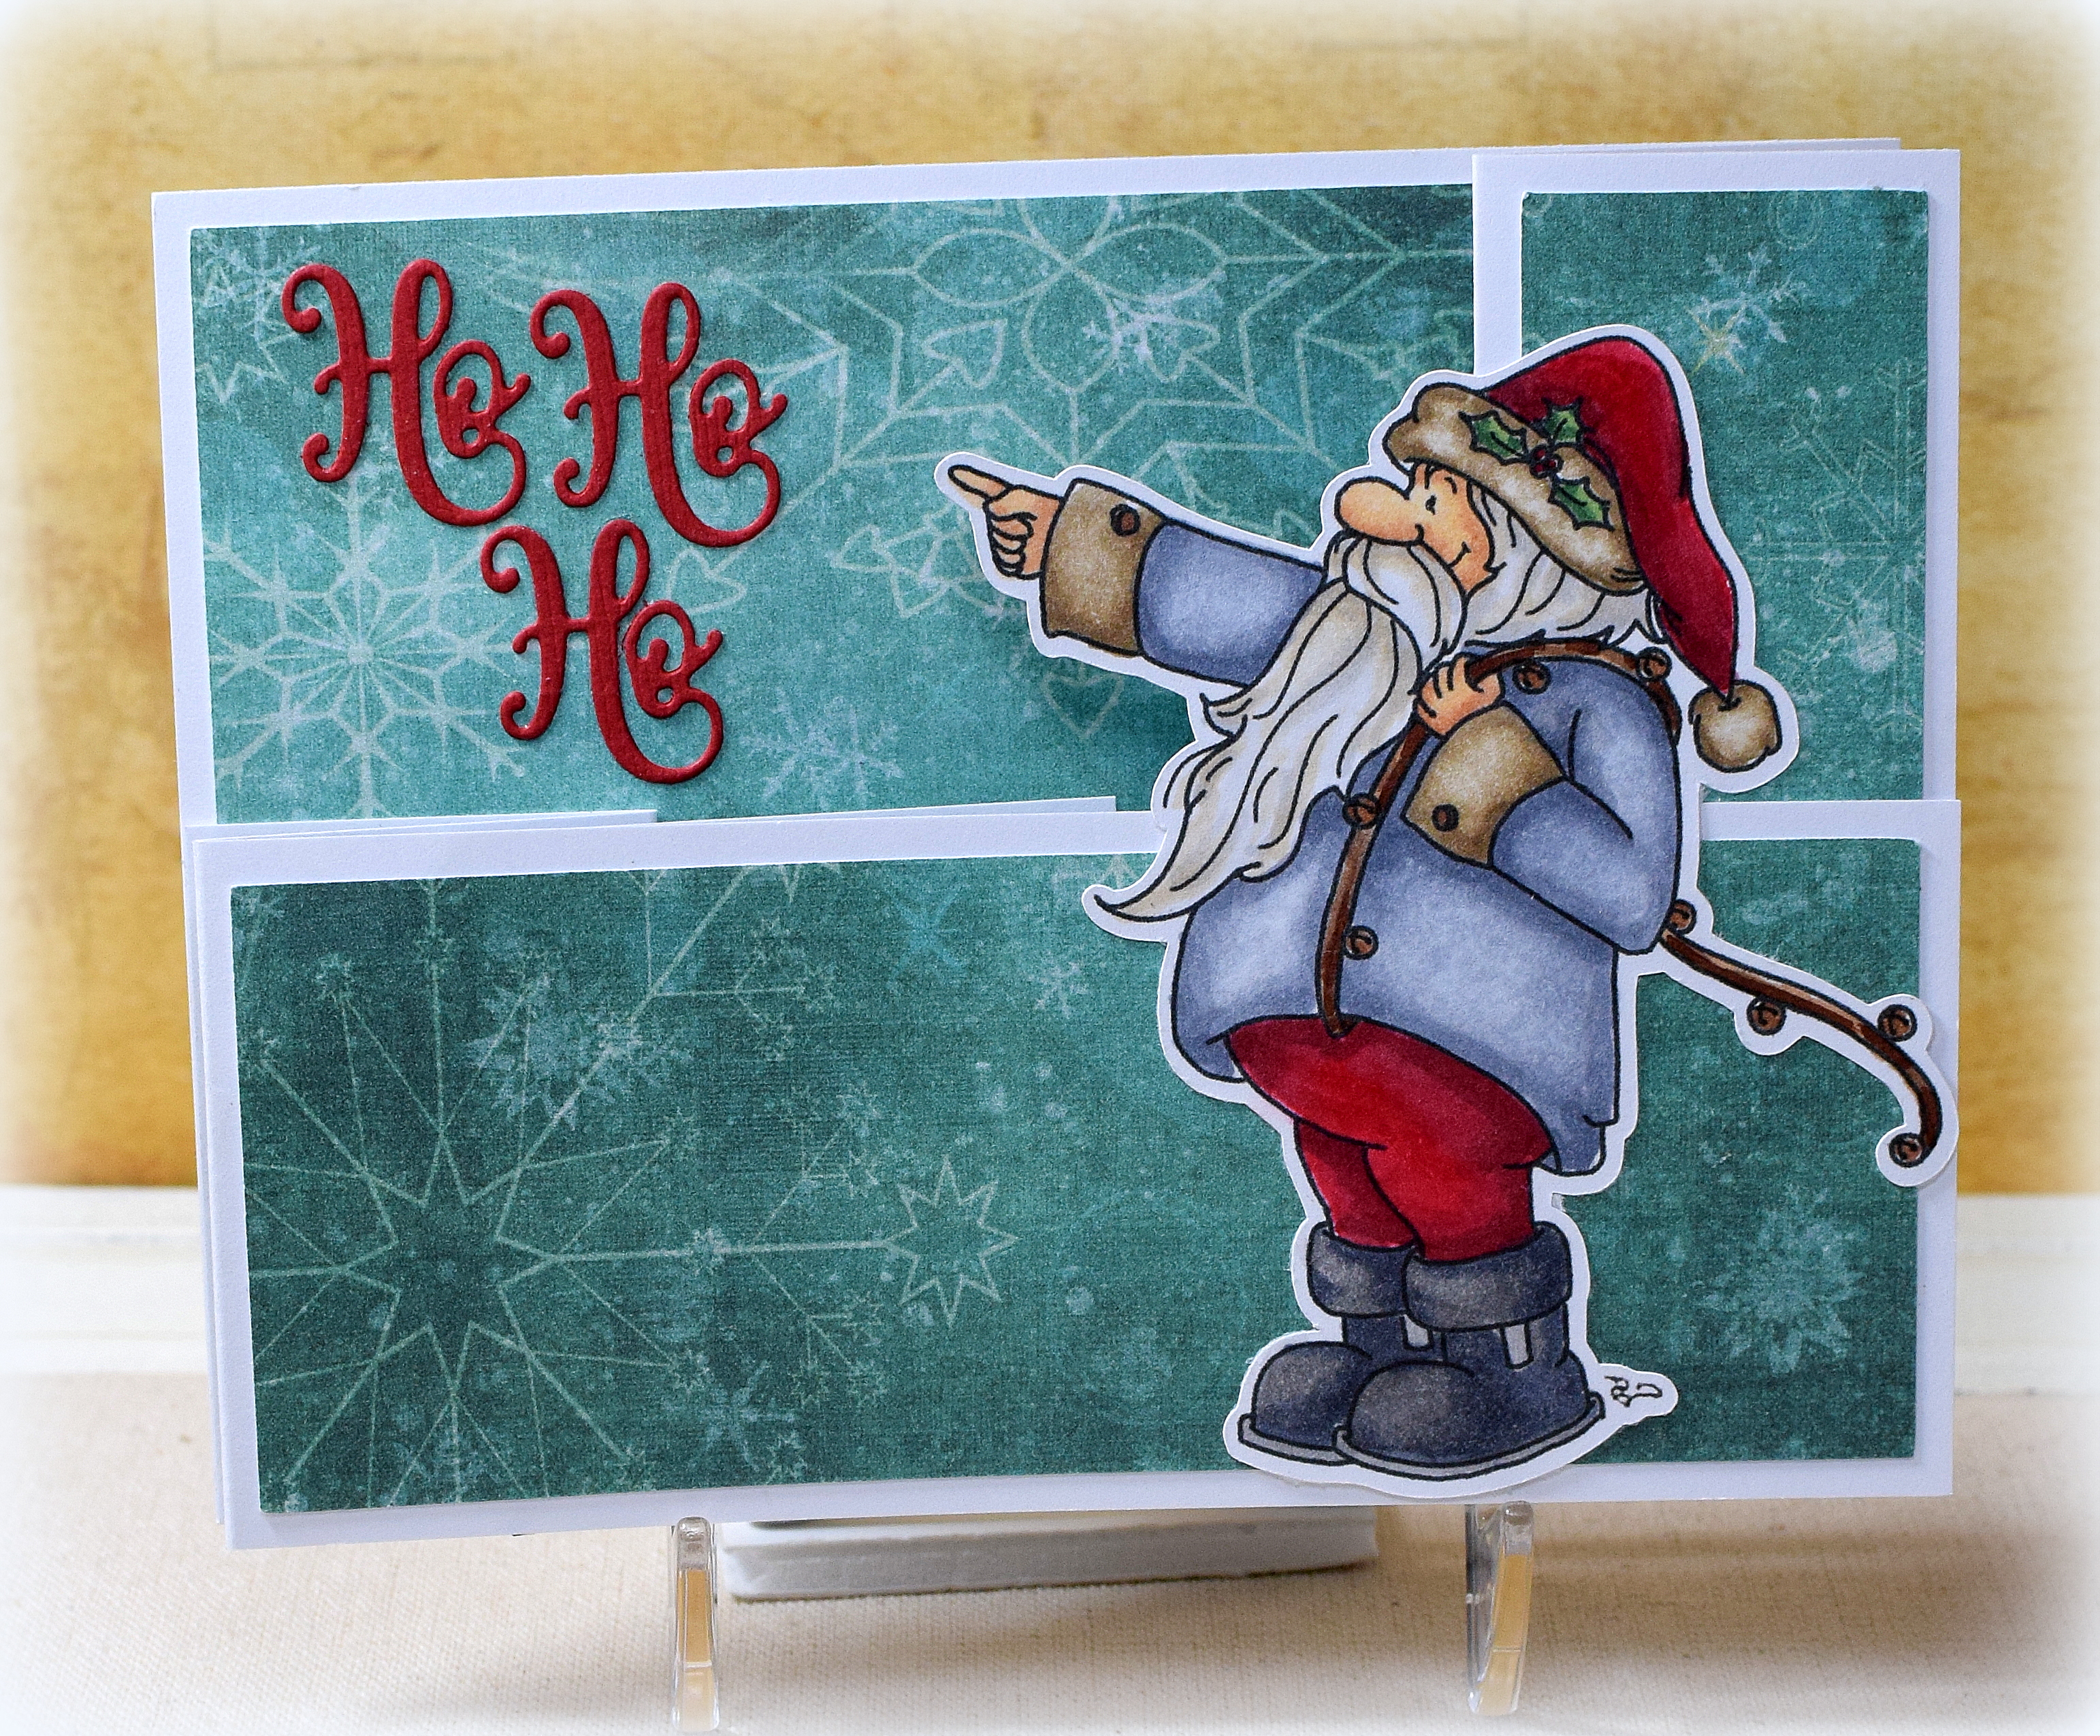
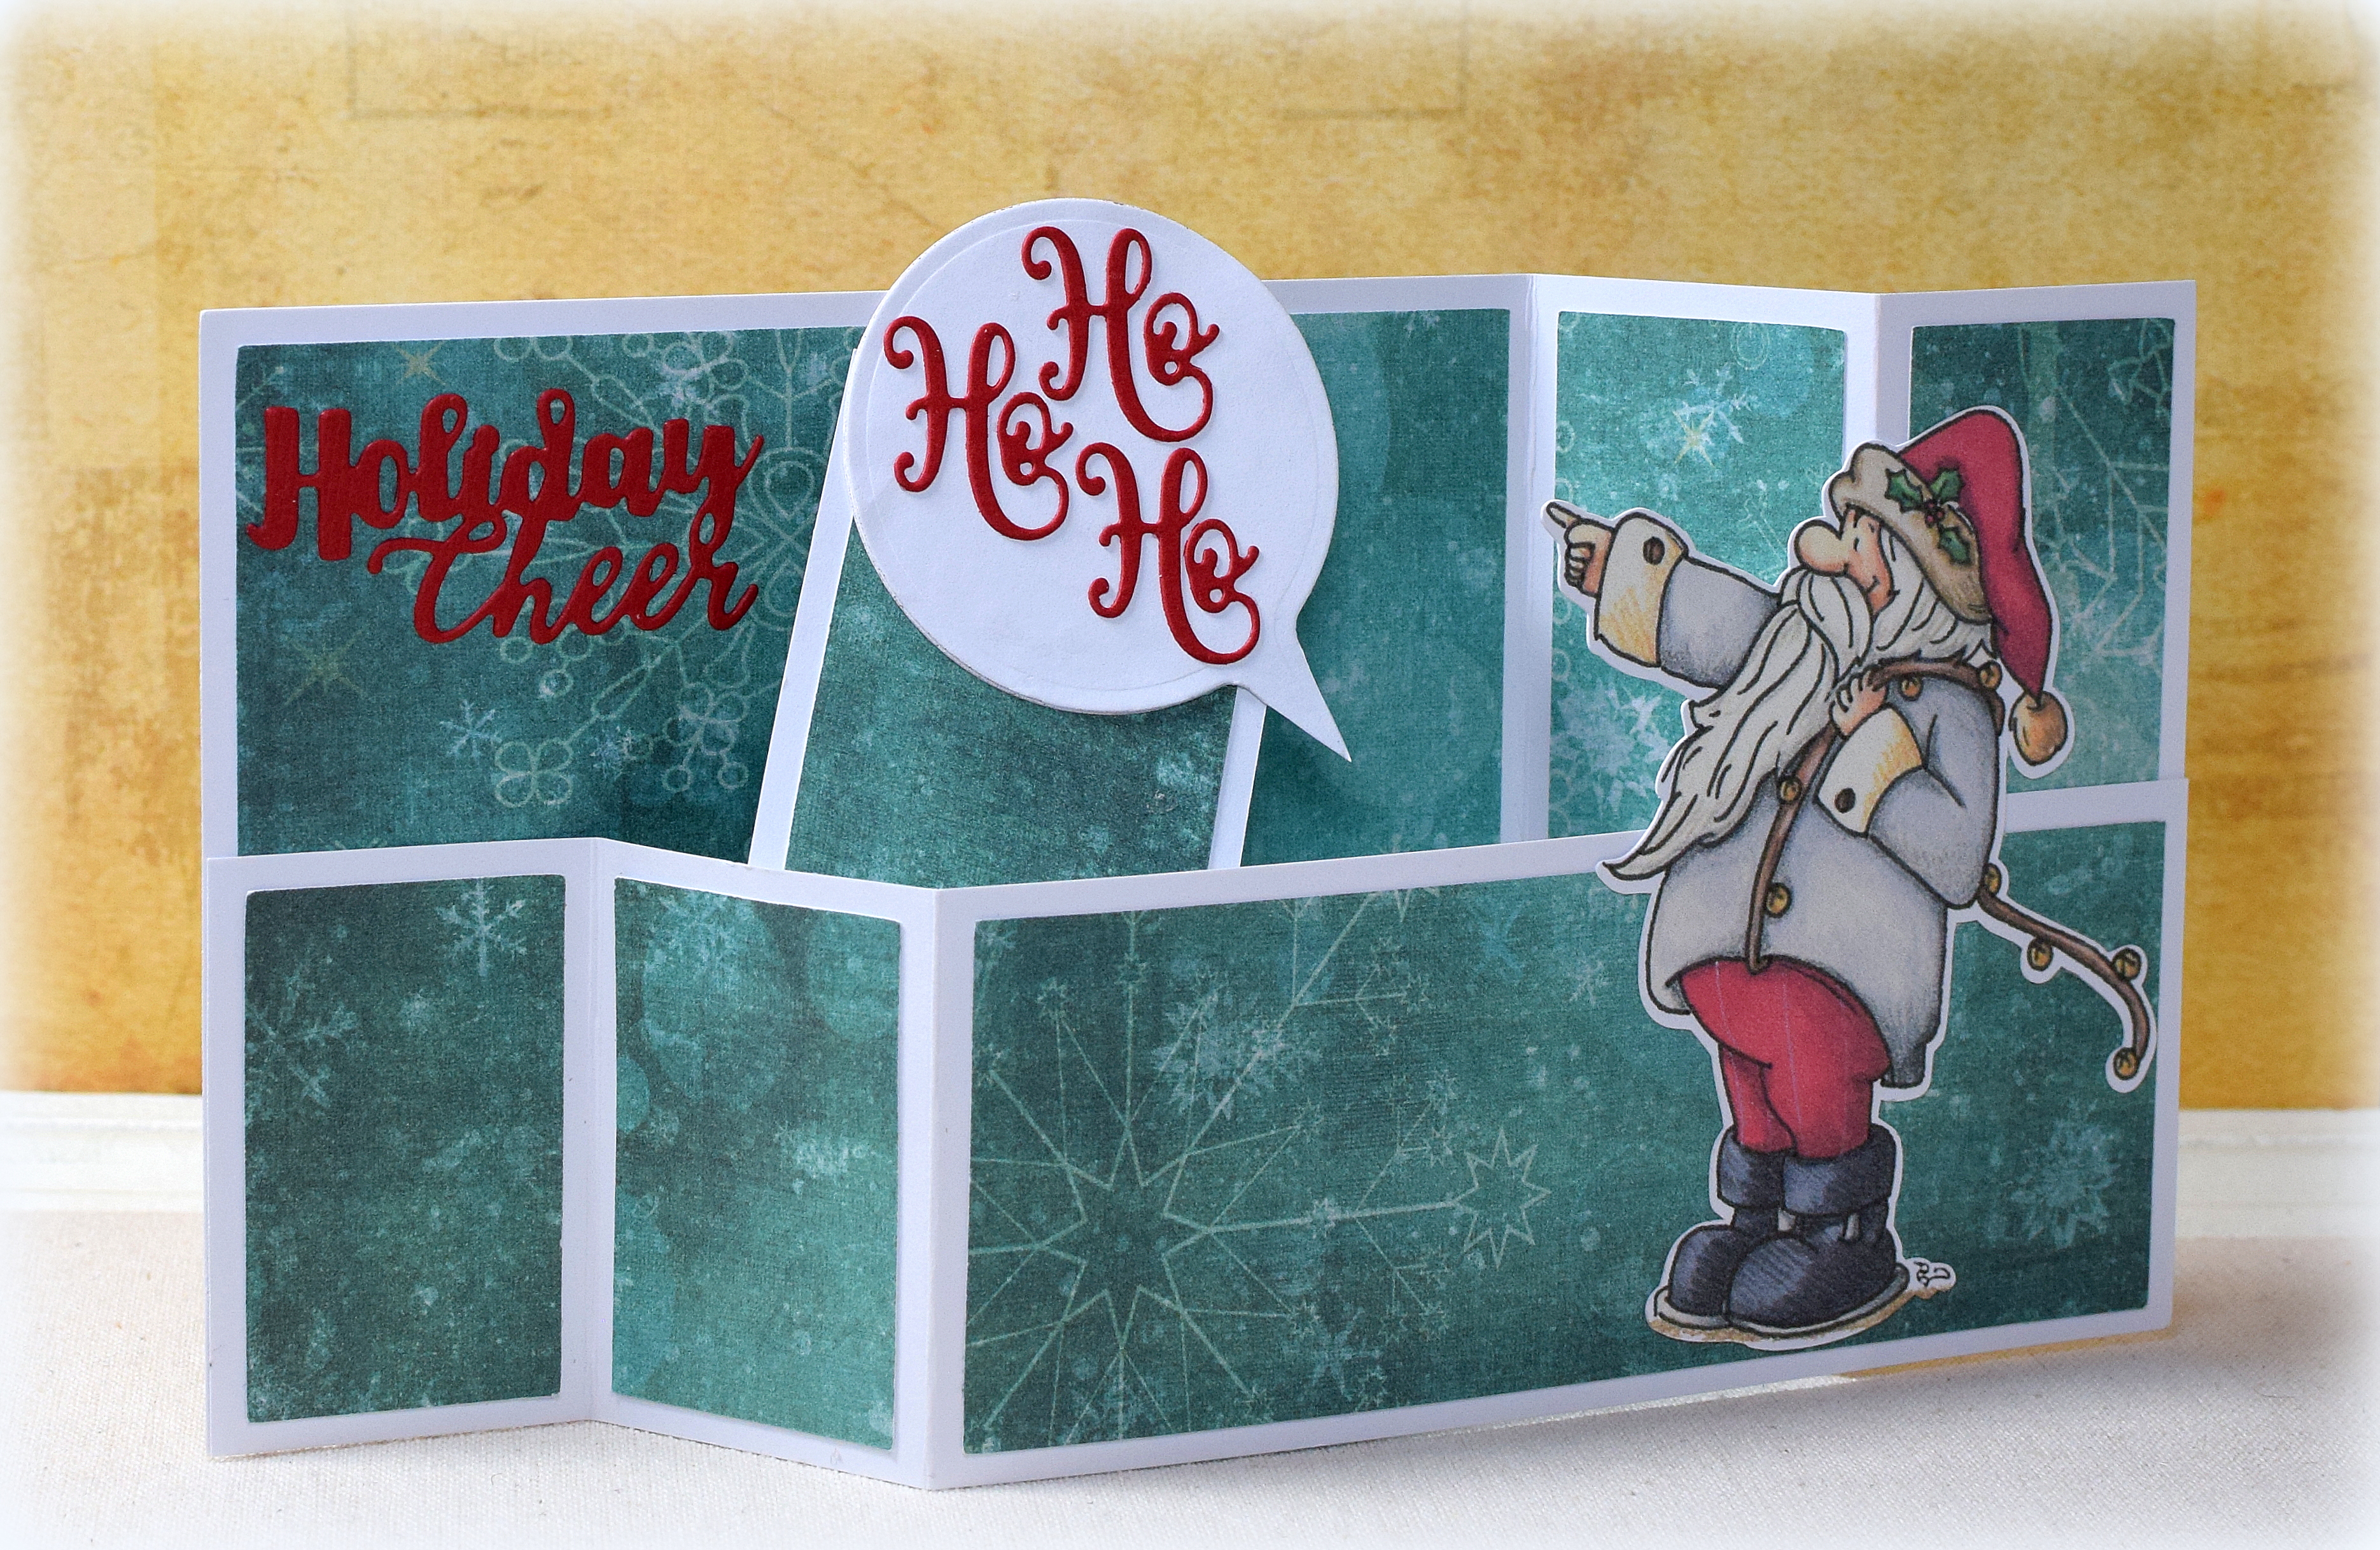
The following sample (previously posted here) shows how the wiper element works on my snowman card above and features another of Sassy Cheryl’s designs called Once Upon a Star Santa.

I colored this image myself and used a reindeer image from the “Reindeer” stamp and die cut set (#657780) from Hero Arts/Sizzix (retired) in place of the star in the original design.
Thanks for checking out my card project and post!