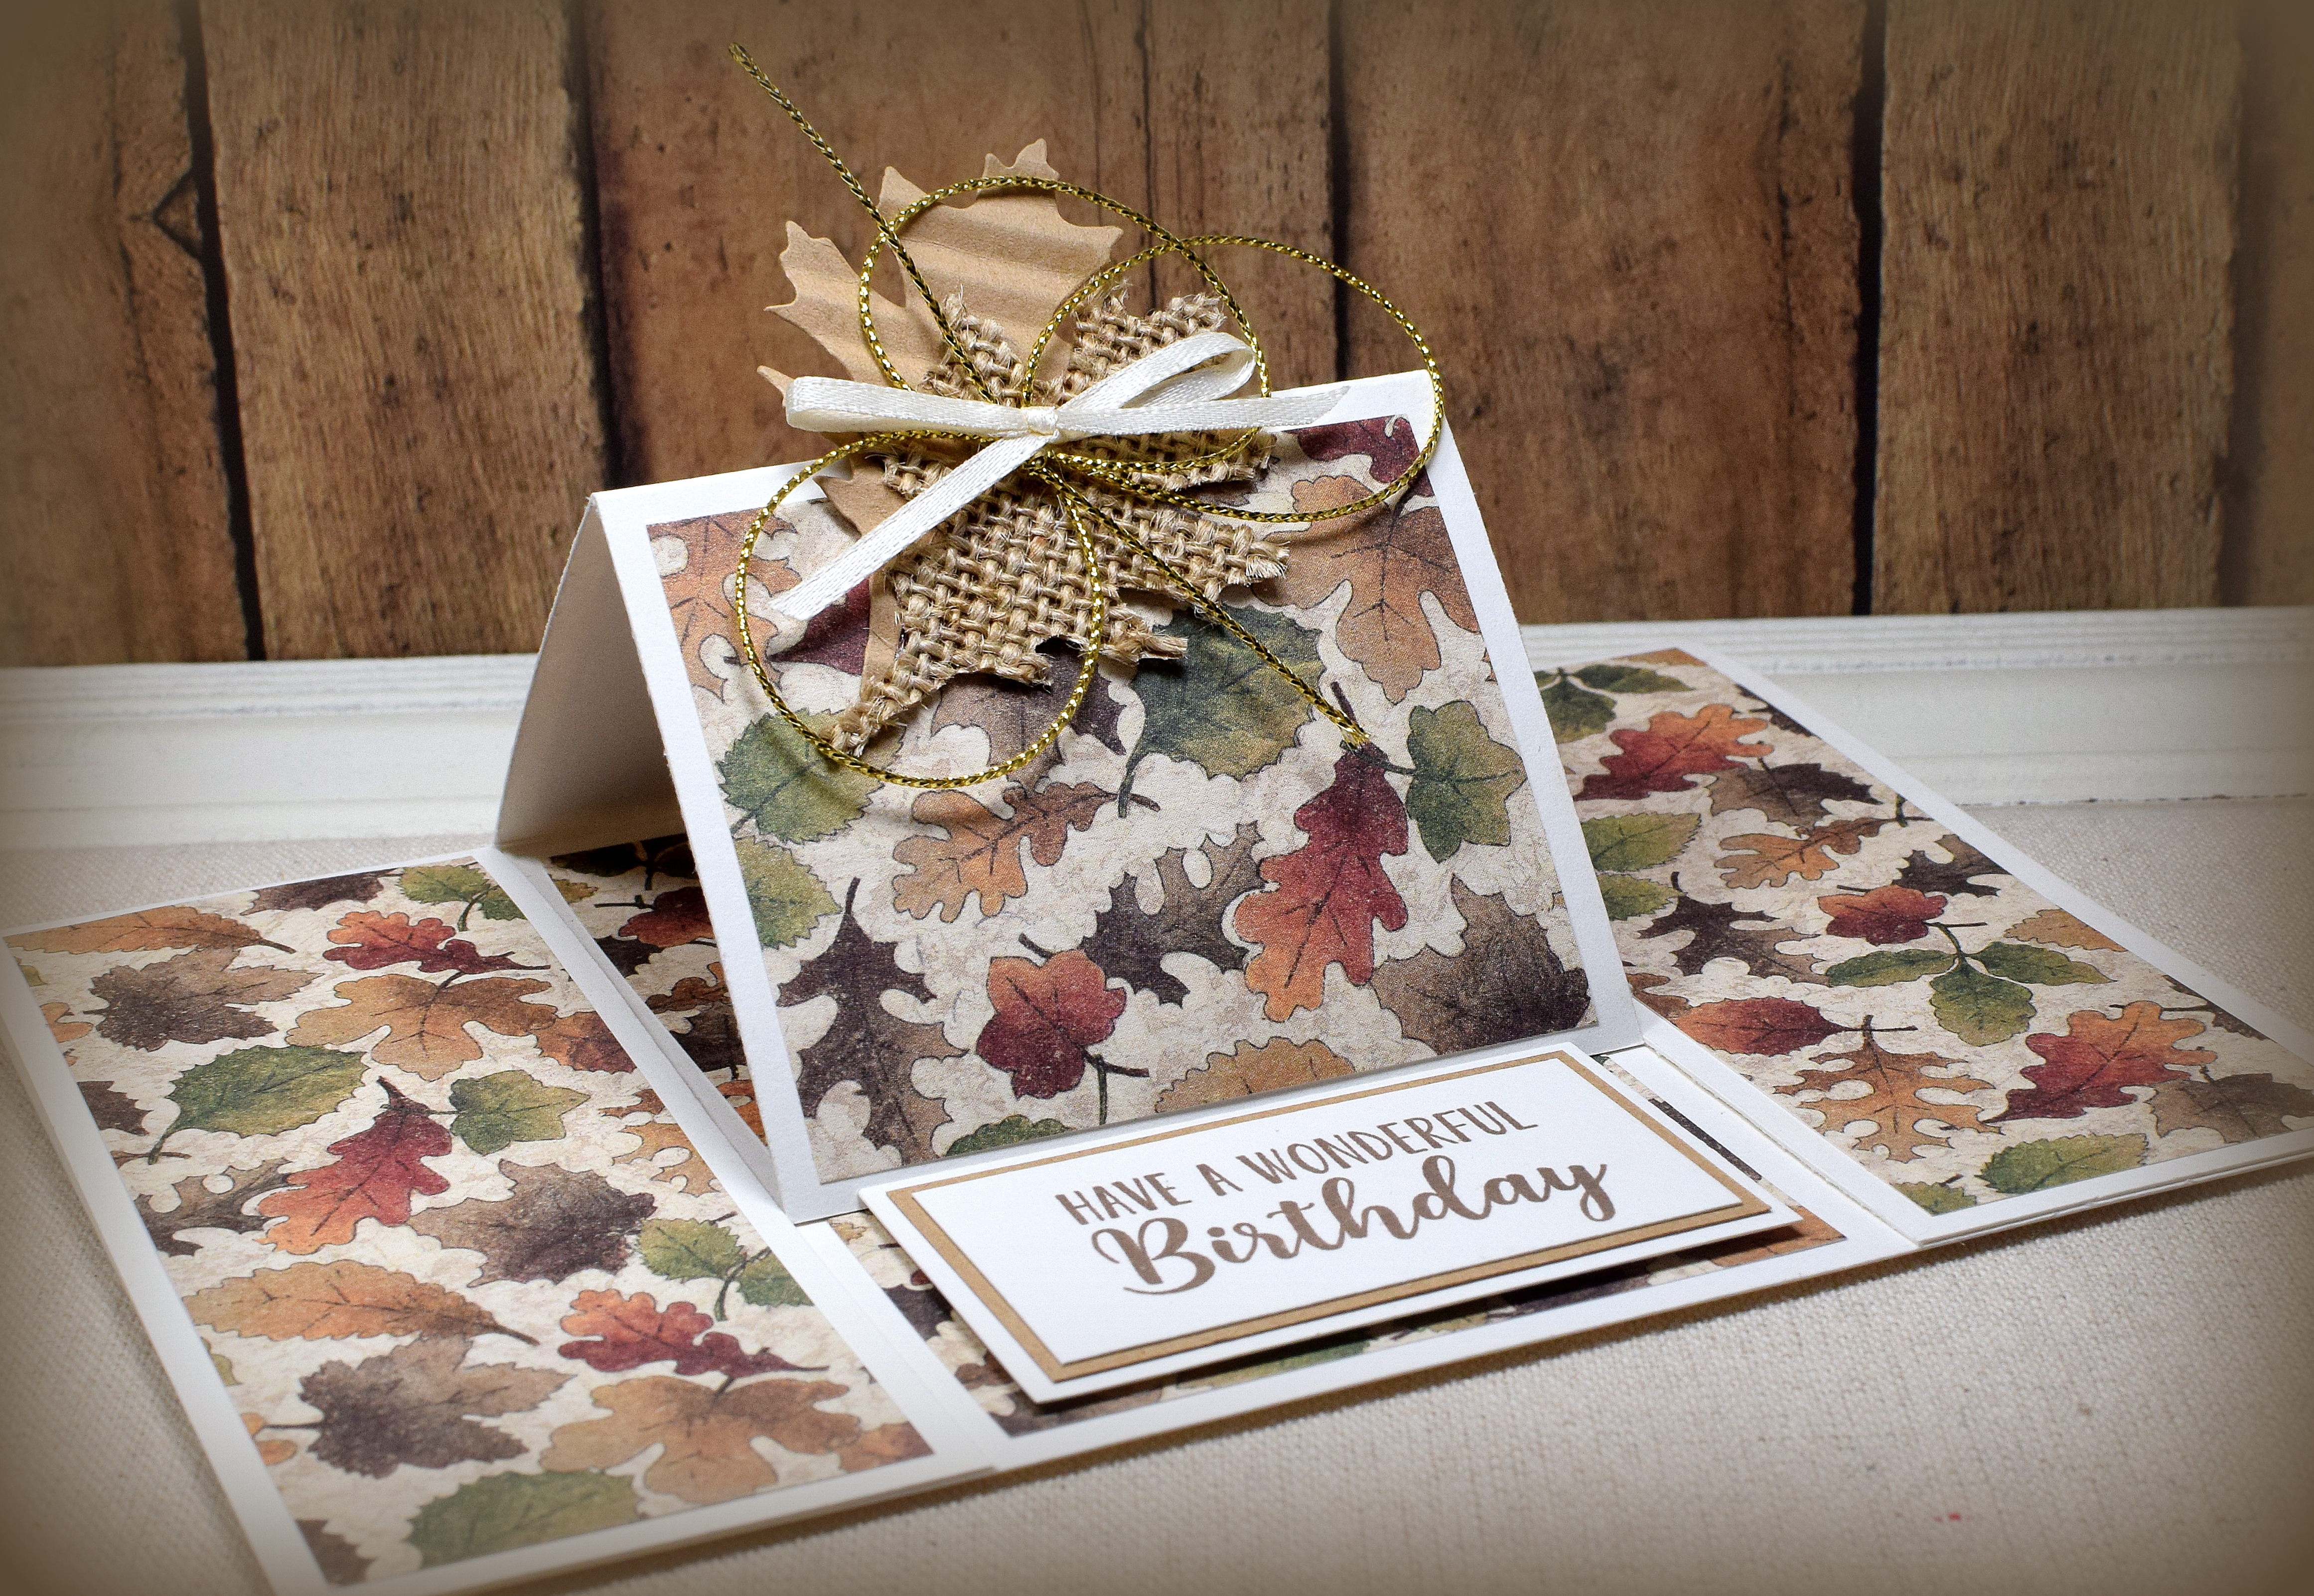
Fall Leaves Center Easel Card (and a word on Movers & Shapers Dies)

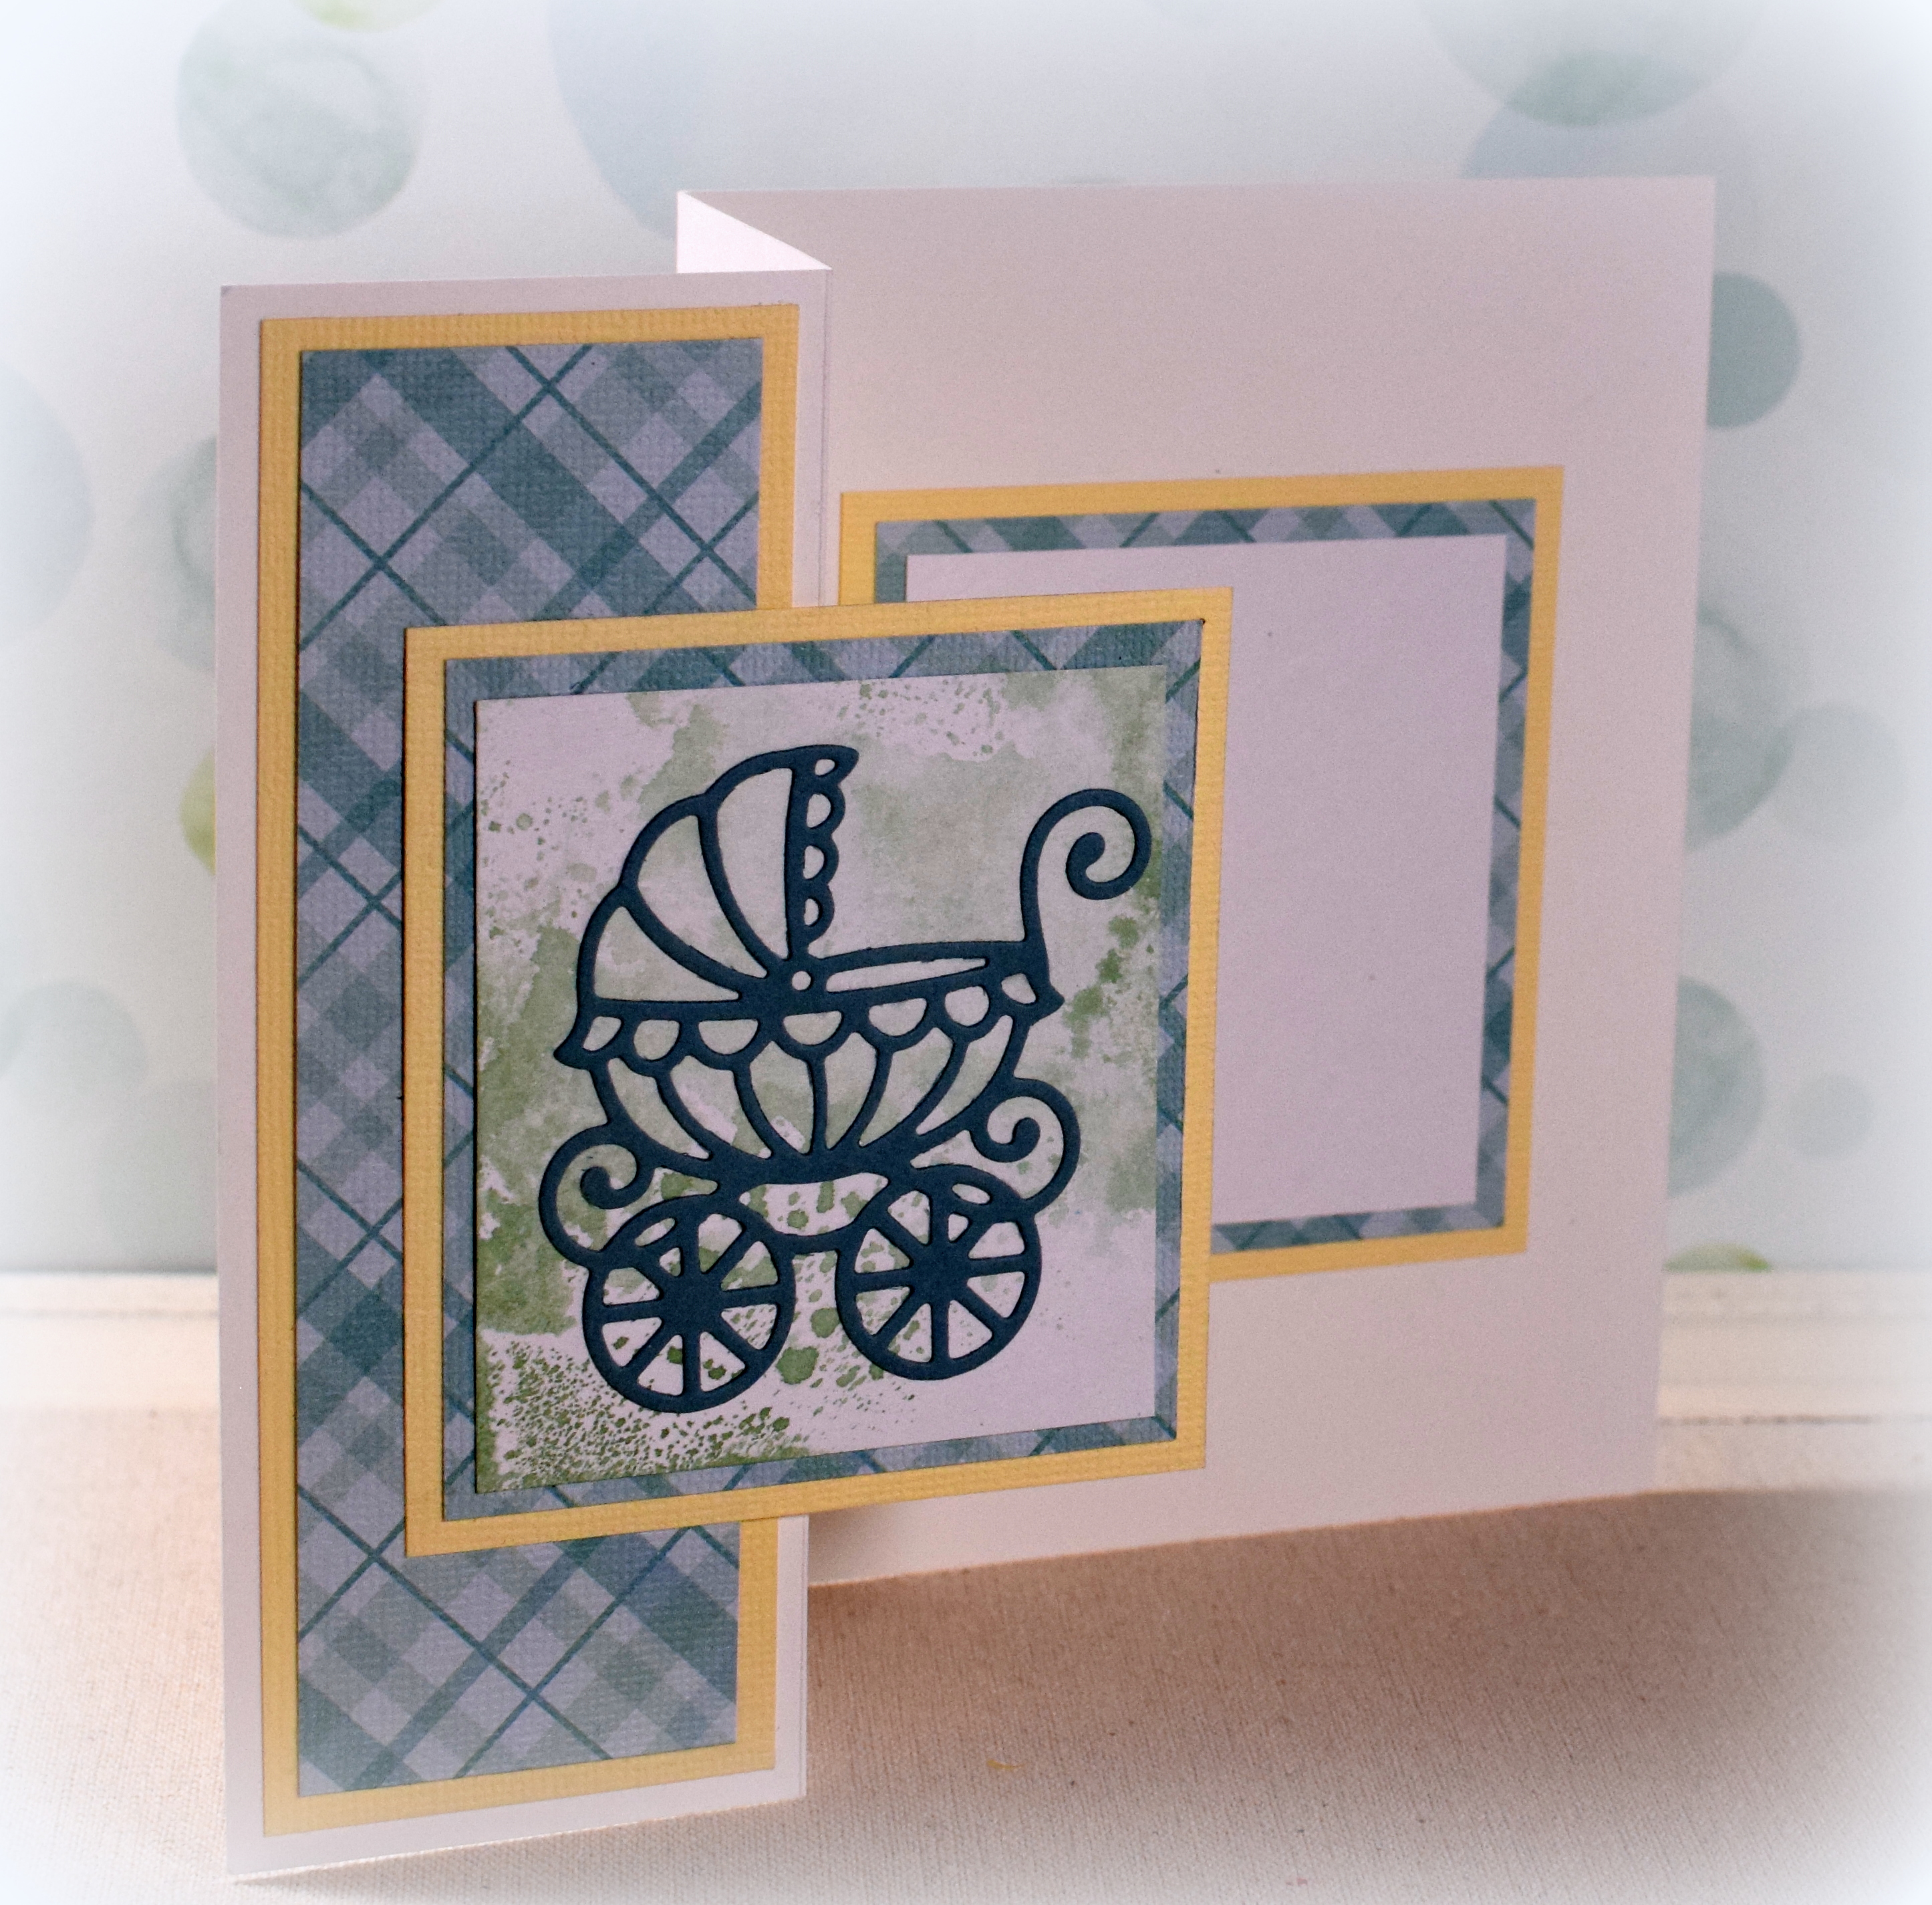
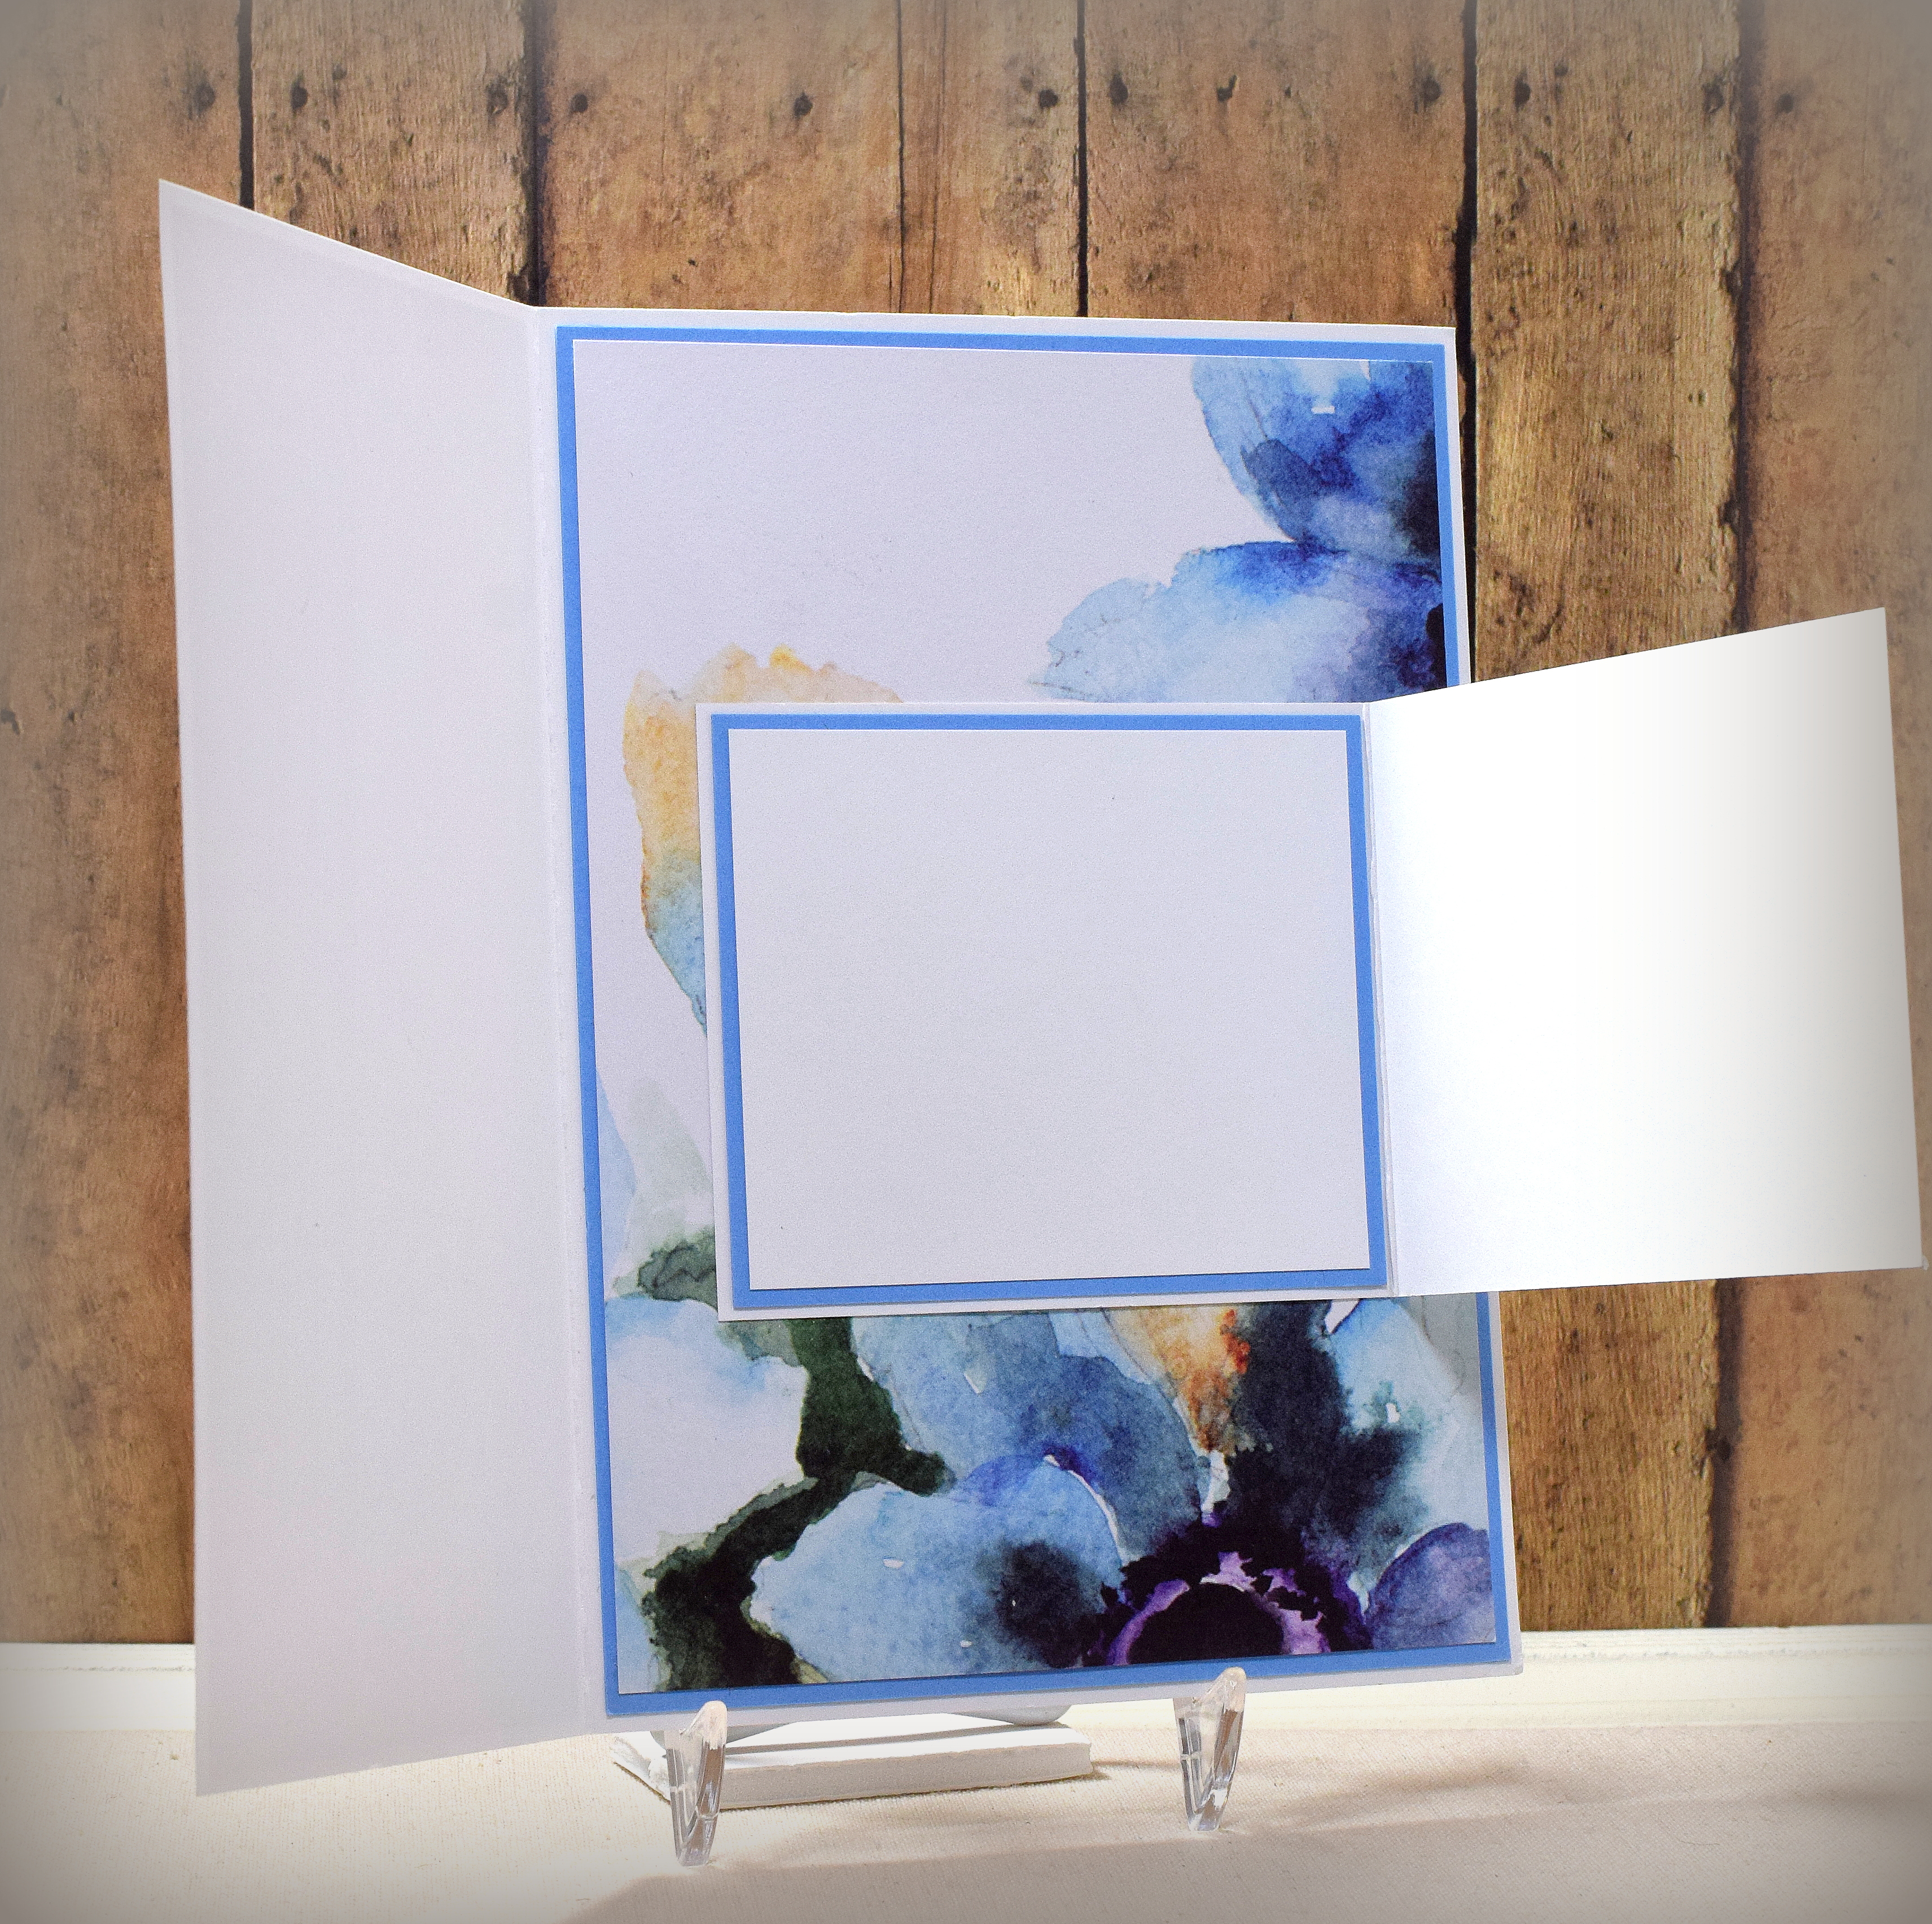
I had shared a center easel card (along with a template for how to create one) a while back. I decided to try another one with fall themed paper and embellishments.
The patterned paper is called “Fall Leaves” (#676908) from the Paper Studio. Heavy weight ivory and kraft card stock was also used.
To create the leaf embellishments for the center of the card, I used my Uchida Corru-Gator paper crimper to add some texture to the leaf cut from the kraft card stock, some American Crafts paper backed burlap for additional texture, a piece of ivory ribbon, and a piece of gold cord. Since I was cutting burlap (in addition to the plain card stock), I thought I’d get a cleaner cut using a steel rule die instead of a wafer thin die so I used one of the Sizzix “Movers & Shapers Mini Tattered Leaves” dies by Tim Holtz.

A word on Movers & Shapers dies: The small insert dies (like these leaves) can not be used by themselves in a standard die cutting machine with standard plates. They were designed to cut shapes from the larger Movers & Shapers base dies (steel rule dies), and as a result, are not the proper thickness to be used alone. If you don’t have a base die that accommodates the insert die, they now sell a Movers & Shapers Shuttle which is a 6 inch wide magnetic plate that is the correct thickness for these Mover’s & Shapers dies. (This shuttle was designed to be used specifically with these insert dies and in the Sizzix Big Kick machine; I am not sure if it fits in other machines, like the Cuttlebug, because I do not own one of these plates. I used one of my base dies to cut the leaves for this project.)
Below is a photo of one of the base dies called Postage Stamp Frame. It could be used alone to cut the postage stamp shape. (The little magnetic square in the center is removable and does not actually cut anything but is used to make it easier to release the die cut from the die after cutting. Don’t throw it away; it is not trash! It keeps the paper a little higher than the die itself, and without it, the die cut may get wedged inside the die and is hard to get out.)

In this next photo, I replaced the little square with one of the magnetic leaf insert dies. Now, the leaf is cut along with the postage stamp frame.

So, in order to use these insert dies, you either need one of the available base dies or the shuttle adapter. Personally, it makes more sense to me to purchase a base die because then you have an additional die in your collection. The shuttle adapter has no other use than to be a carrier for the small insert dies. Plus, if you choose a base die that is narrow enough, you can use other die cutting machines. The die above, for example, fits in the Cuttlebug. Just a thought….
Thanks for checking out my card project!
This content uses referral links as described in the disclosure policy on my sidebar.