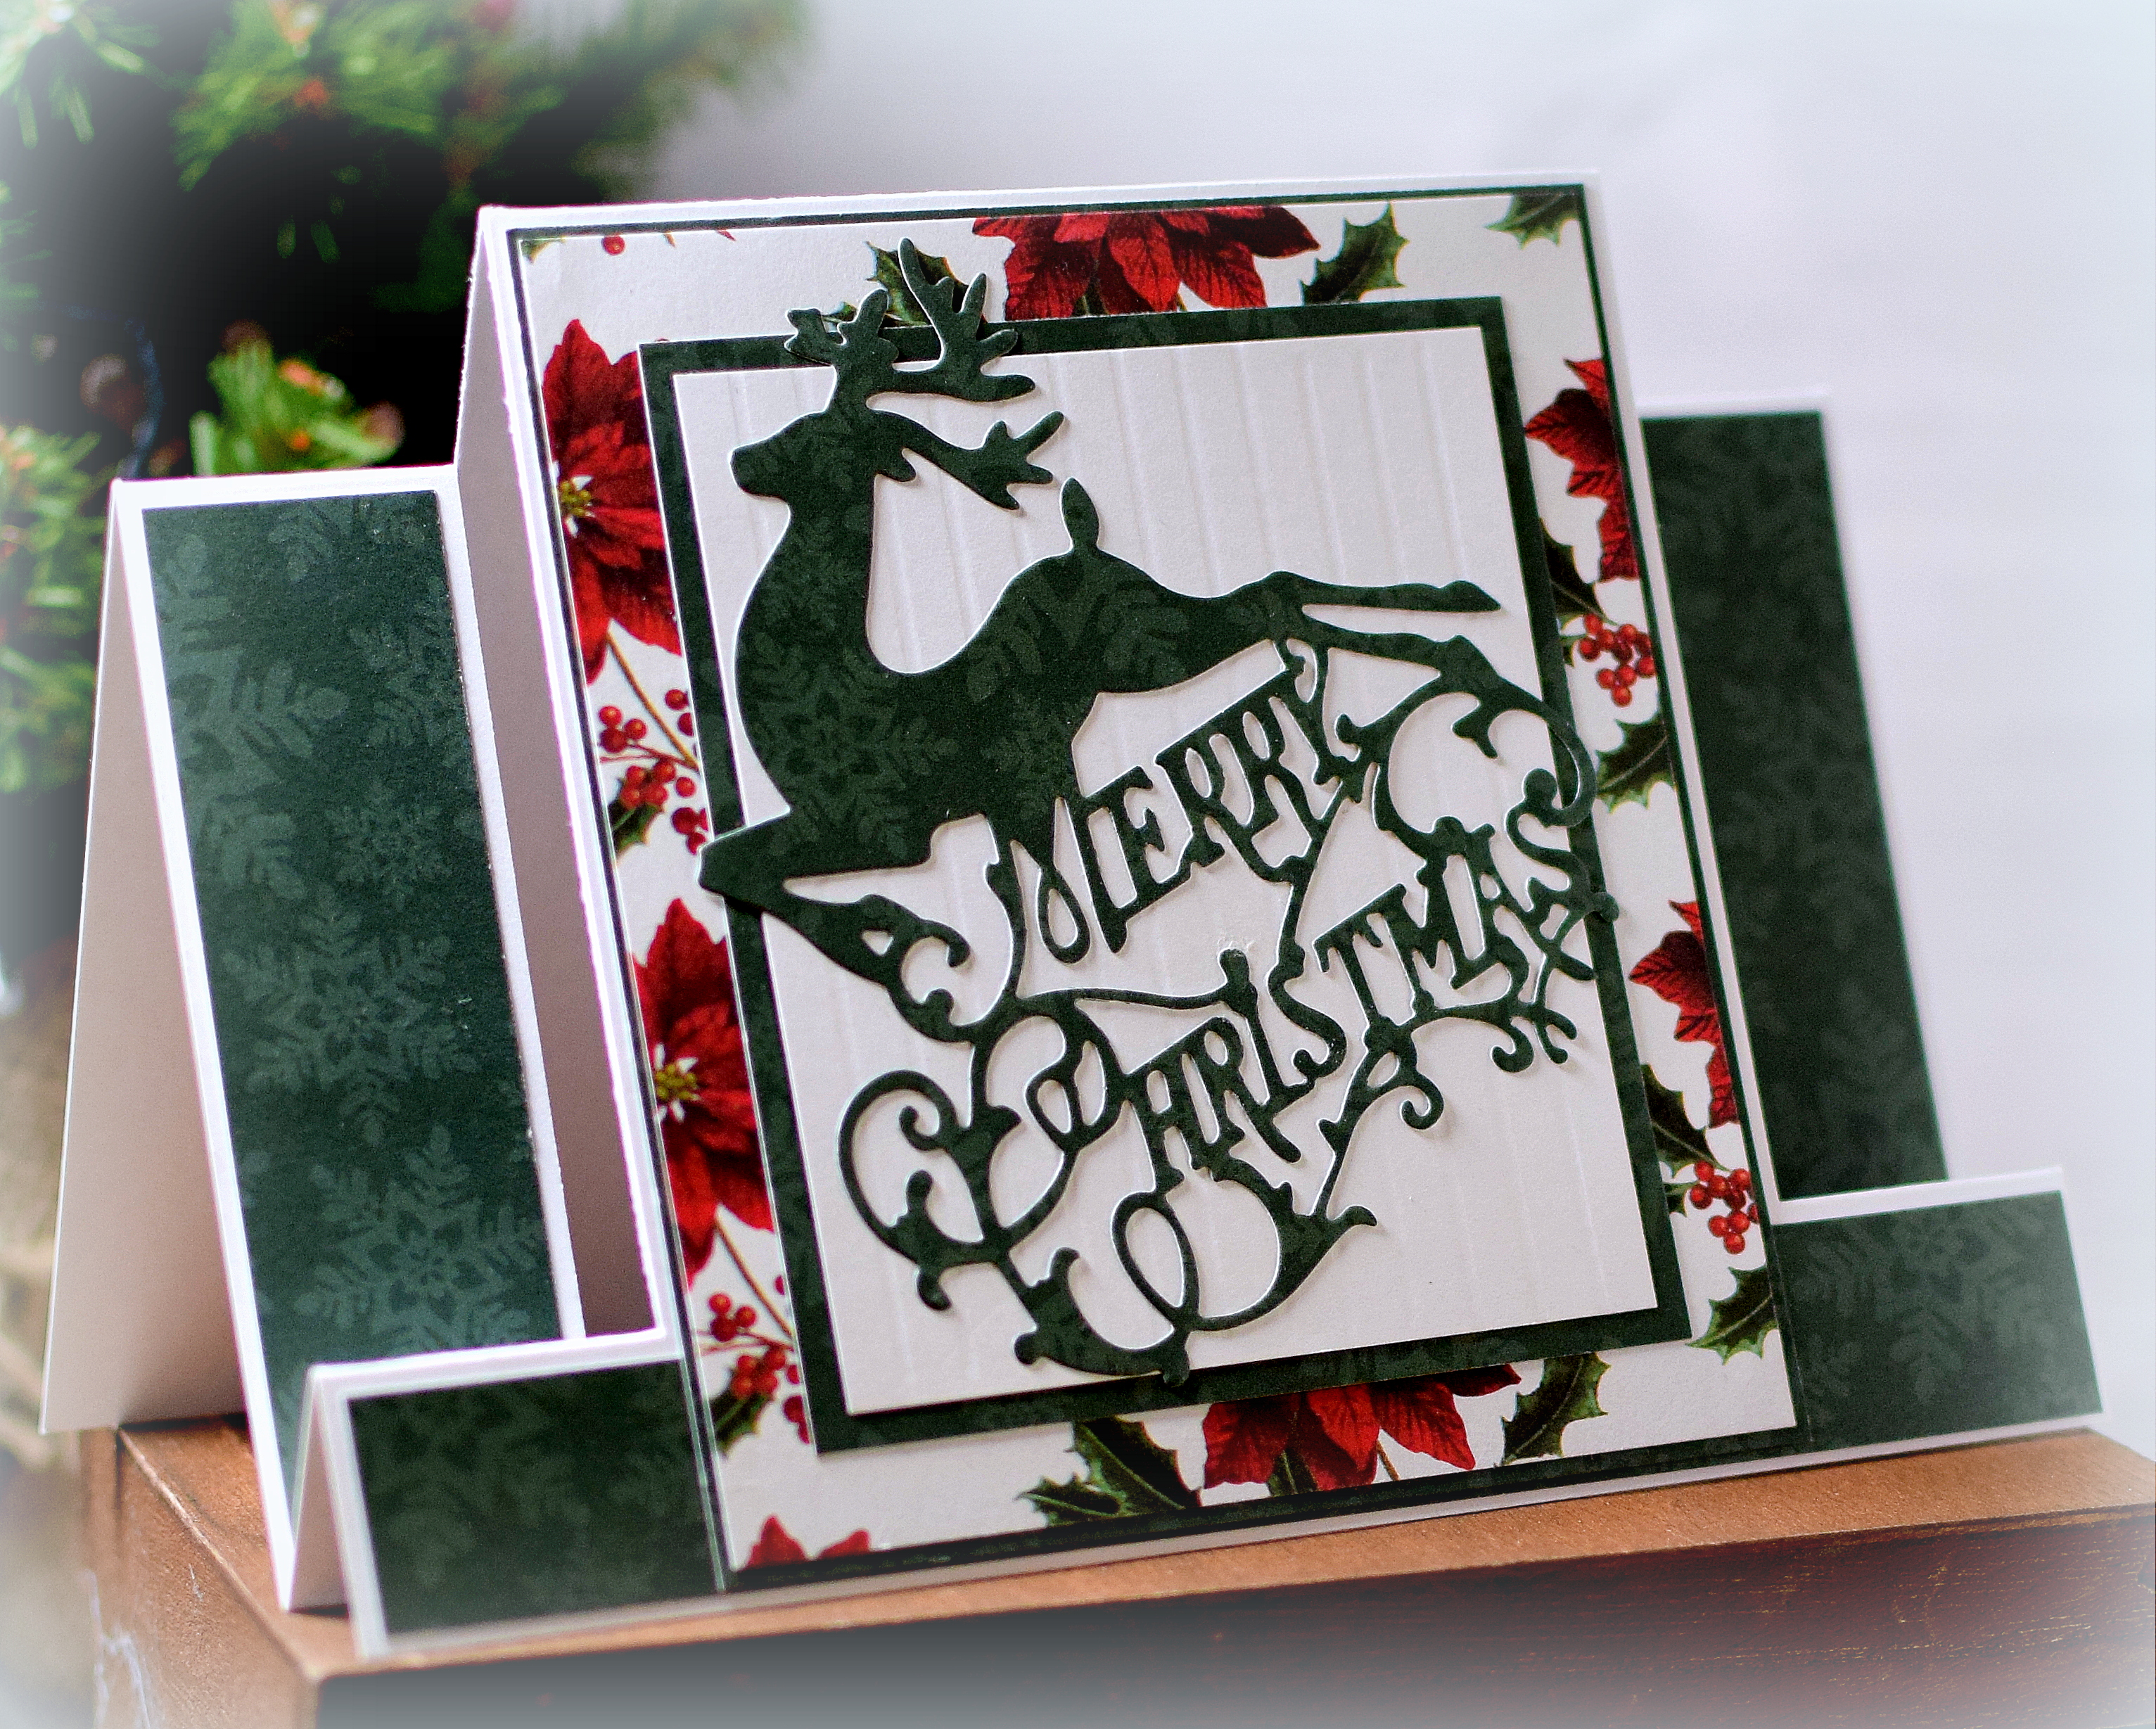
Double Z-Fold Card… with a Twist (Wiper Card)

This “double z-fold” card with a fun pop-up panel is another project I designed for the course I am teaching.

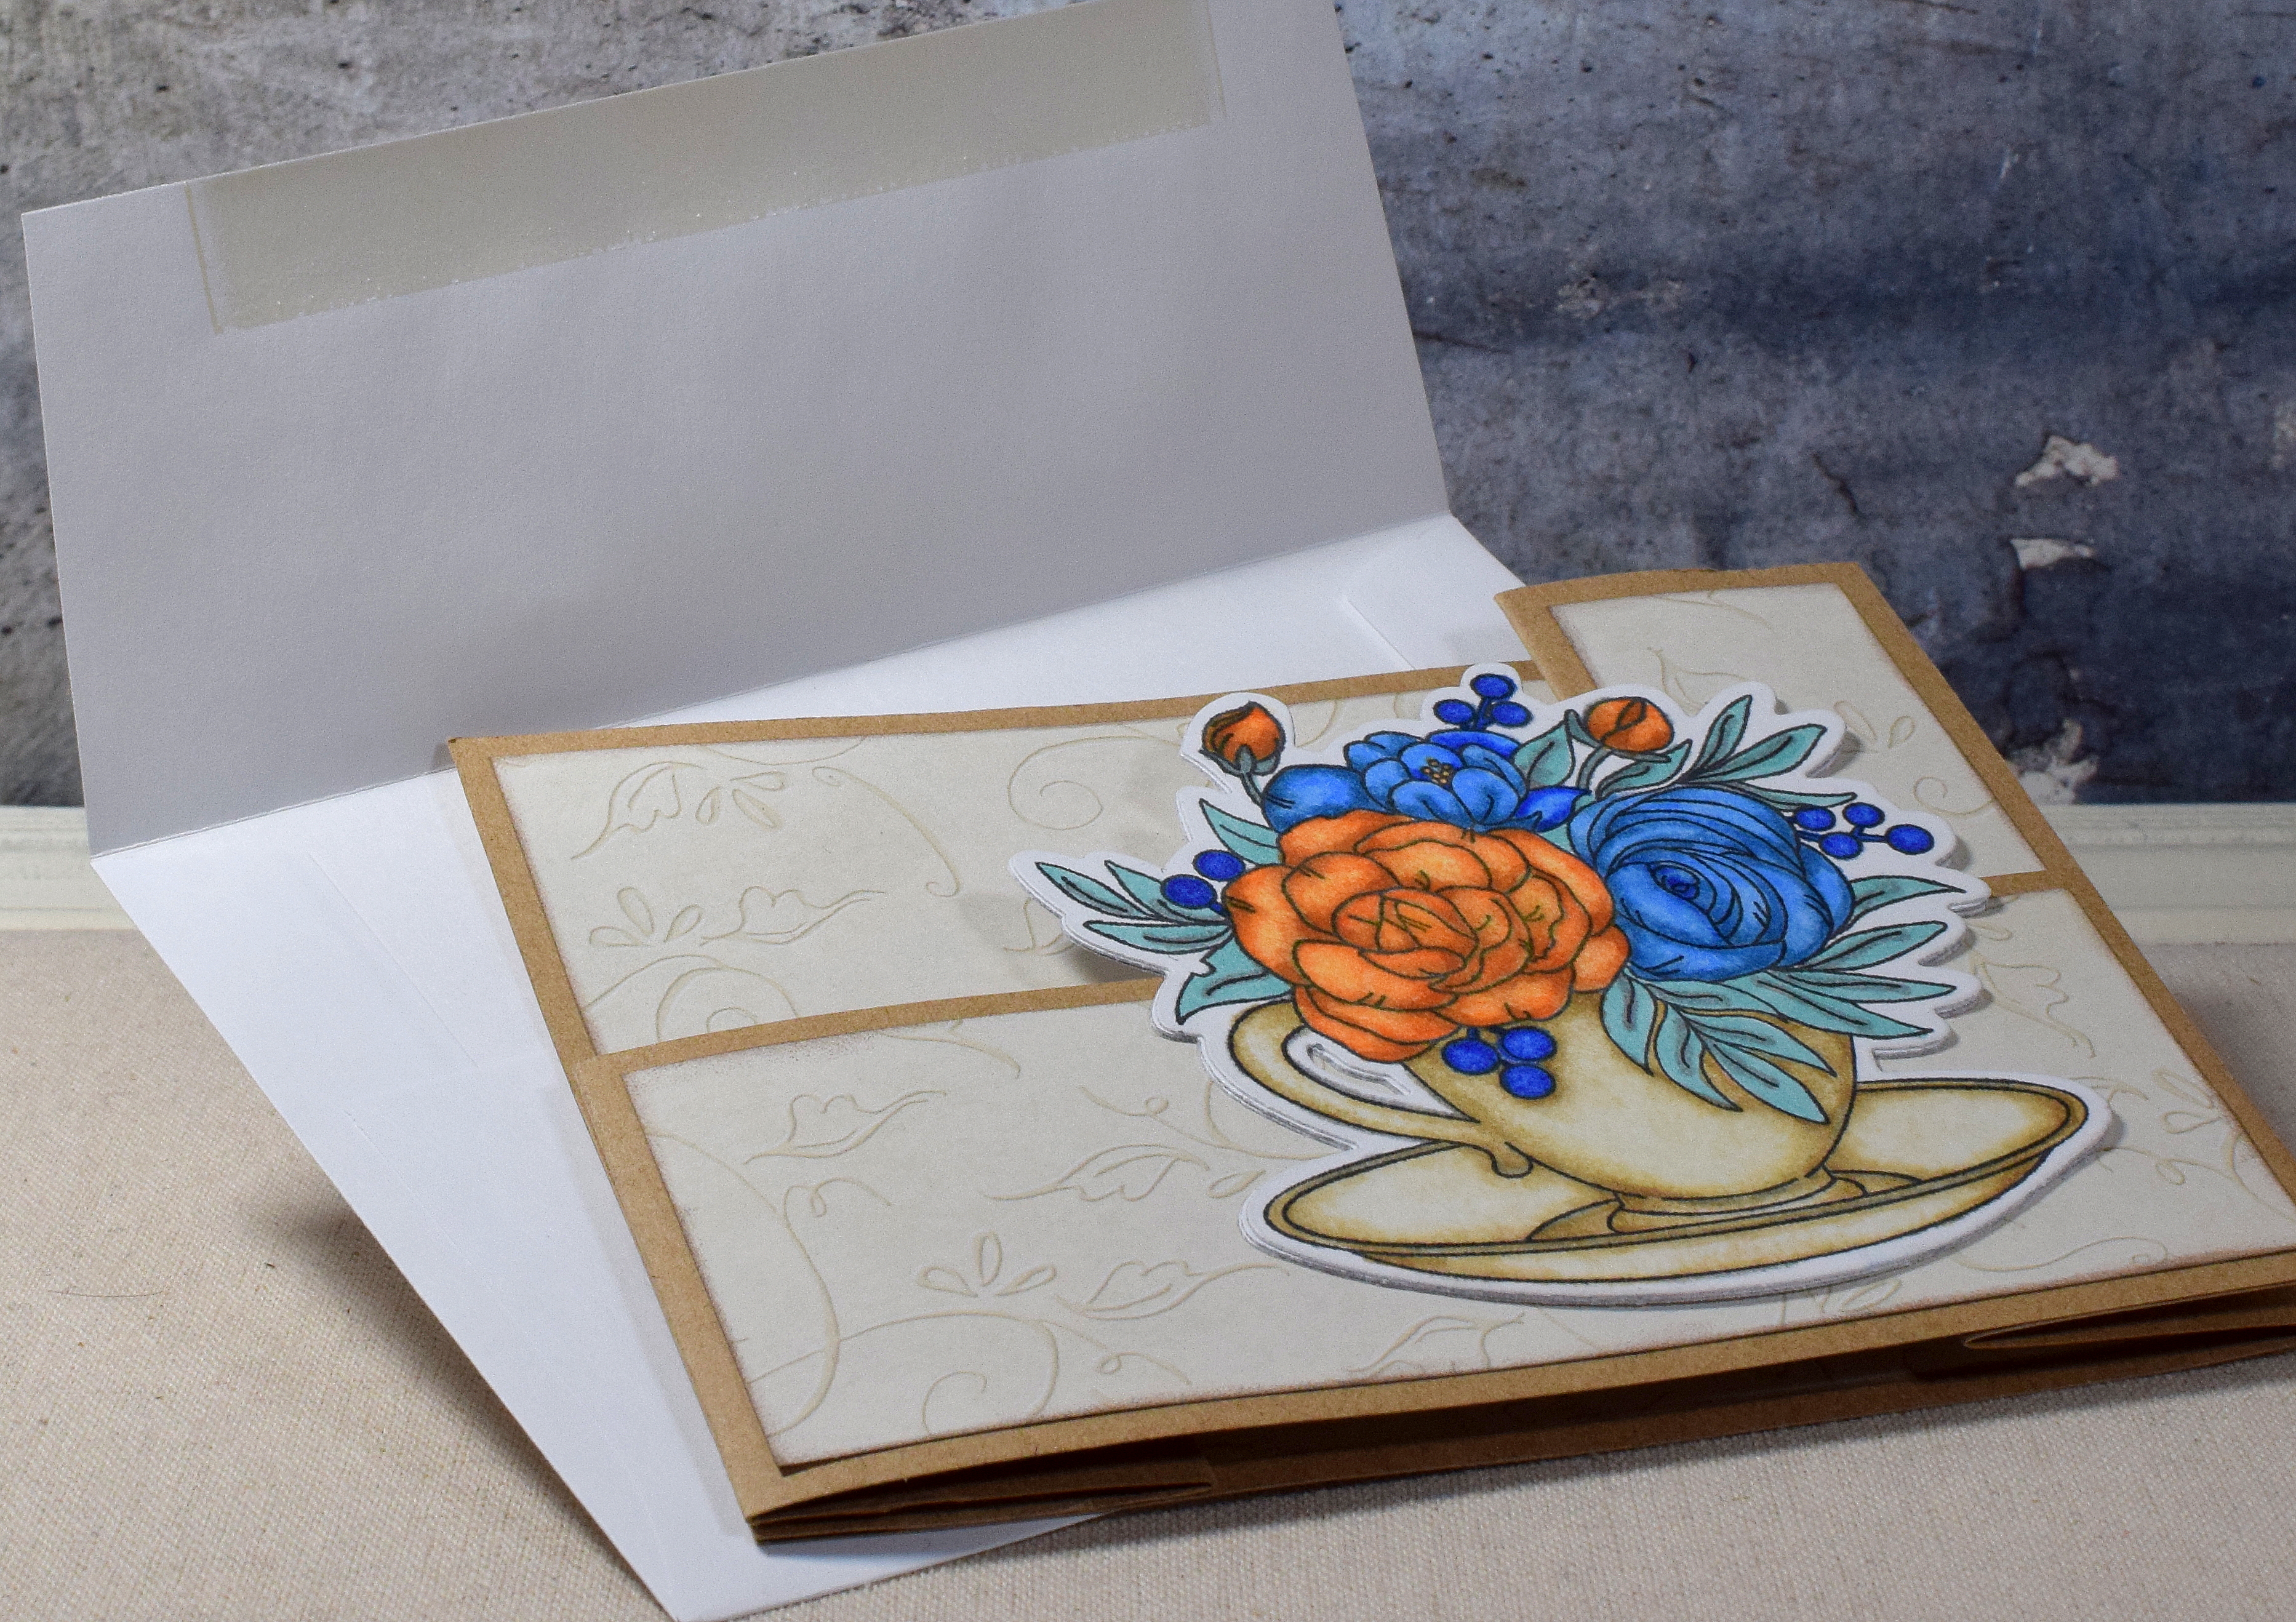
I recently saw digital cut files, designed by Lori Whitlock, for cute Valentine’s Day cards with this type of pop-up mechanism. She called them wiper cards. I started thinking about other elements that would work well on this type of card base and thought this large image from the “Cup of Thanks” stamp set by Studio Katia fit nicely and would be a fun one to color. I watched Lori’s assembly video to get a better idea of how the mechanism worked, and I figured out how to create an A2 size card using a trimmer and score board (instead of the Silhouette). I’m not sure why it didn’t occur to me to look on YouTube to see if wiper card tutorials existed – they do. Nothing like “reinventing the wheel!” It’s a good thing I like playing with paper – LOL!! (Anyway, if you wish to see how I made my pop-up card base, look HERE.)
For this next version, I “smooshed” Memento “Danube Blue” ink spritzed with water onto white card stock. I love this technique because it is quick and easy to do, it looks great (I think), and it allows you to customize your panels to match your image with the inks you have on hand. I inked the edges so the panels would stand out against the white card base.

I colored the stamped image with Bic Marking Fashion Permanent alcohol markers (harvest orange, adobe orange, summer melon, ocean view blue, misty blue, deep sea blue, traquil teal, cloud nine grey, and tiki hut tan), and a blender pen.
Double Z-fold cards fold flat for mailing, and this one fits in a regular A2 size envelope.
*
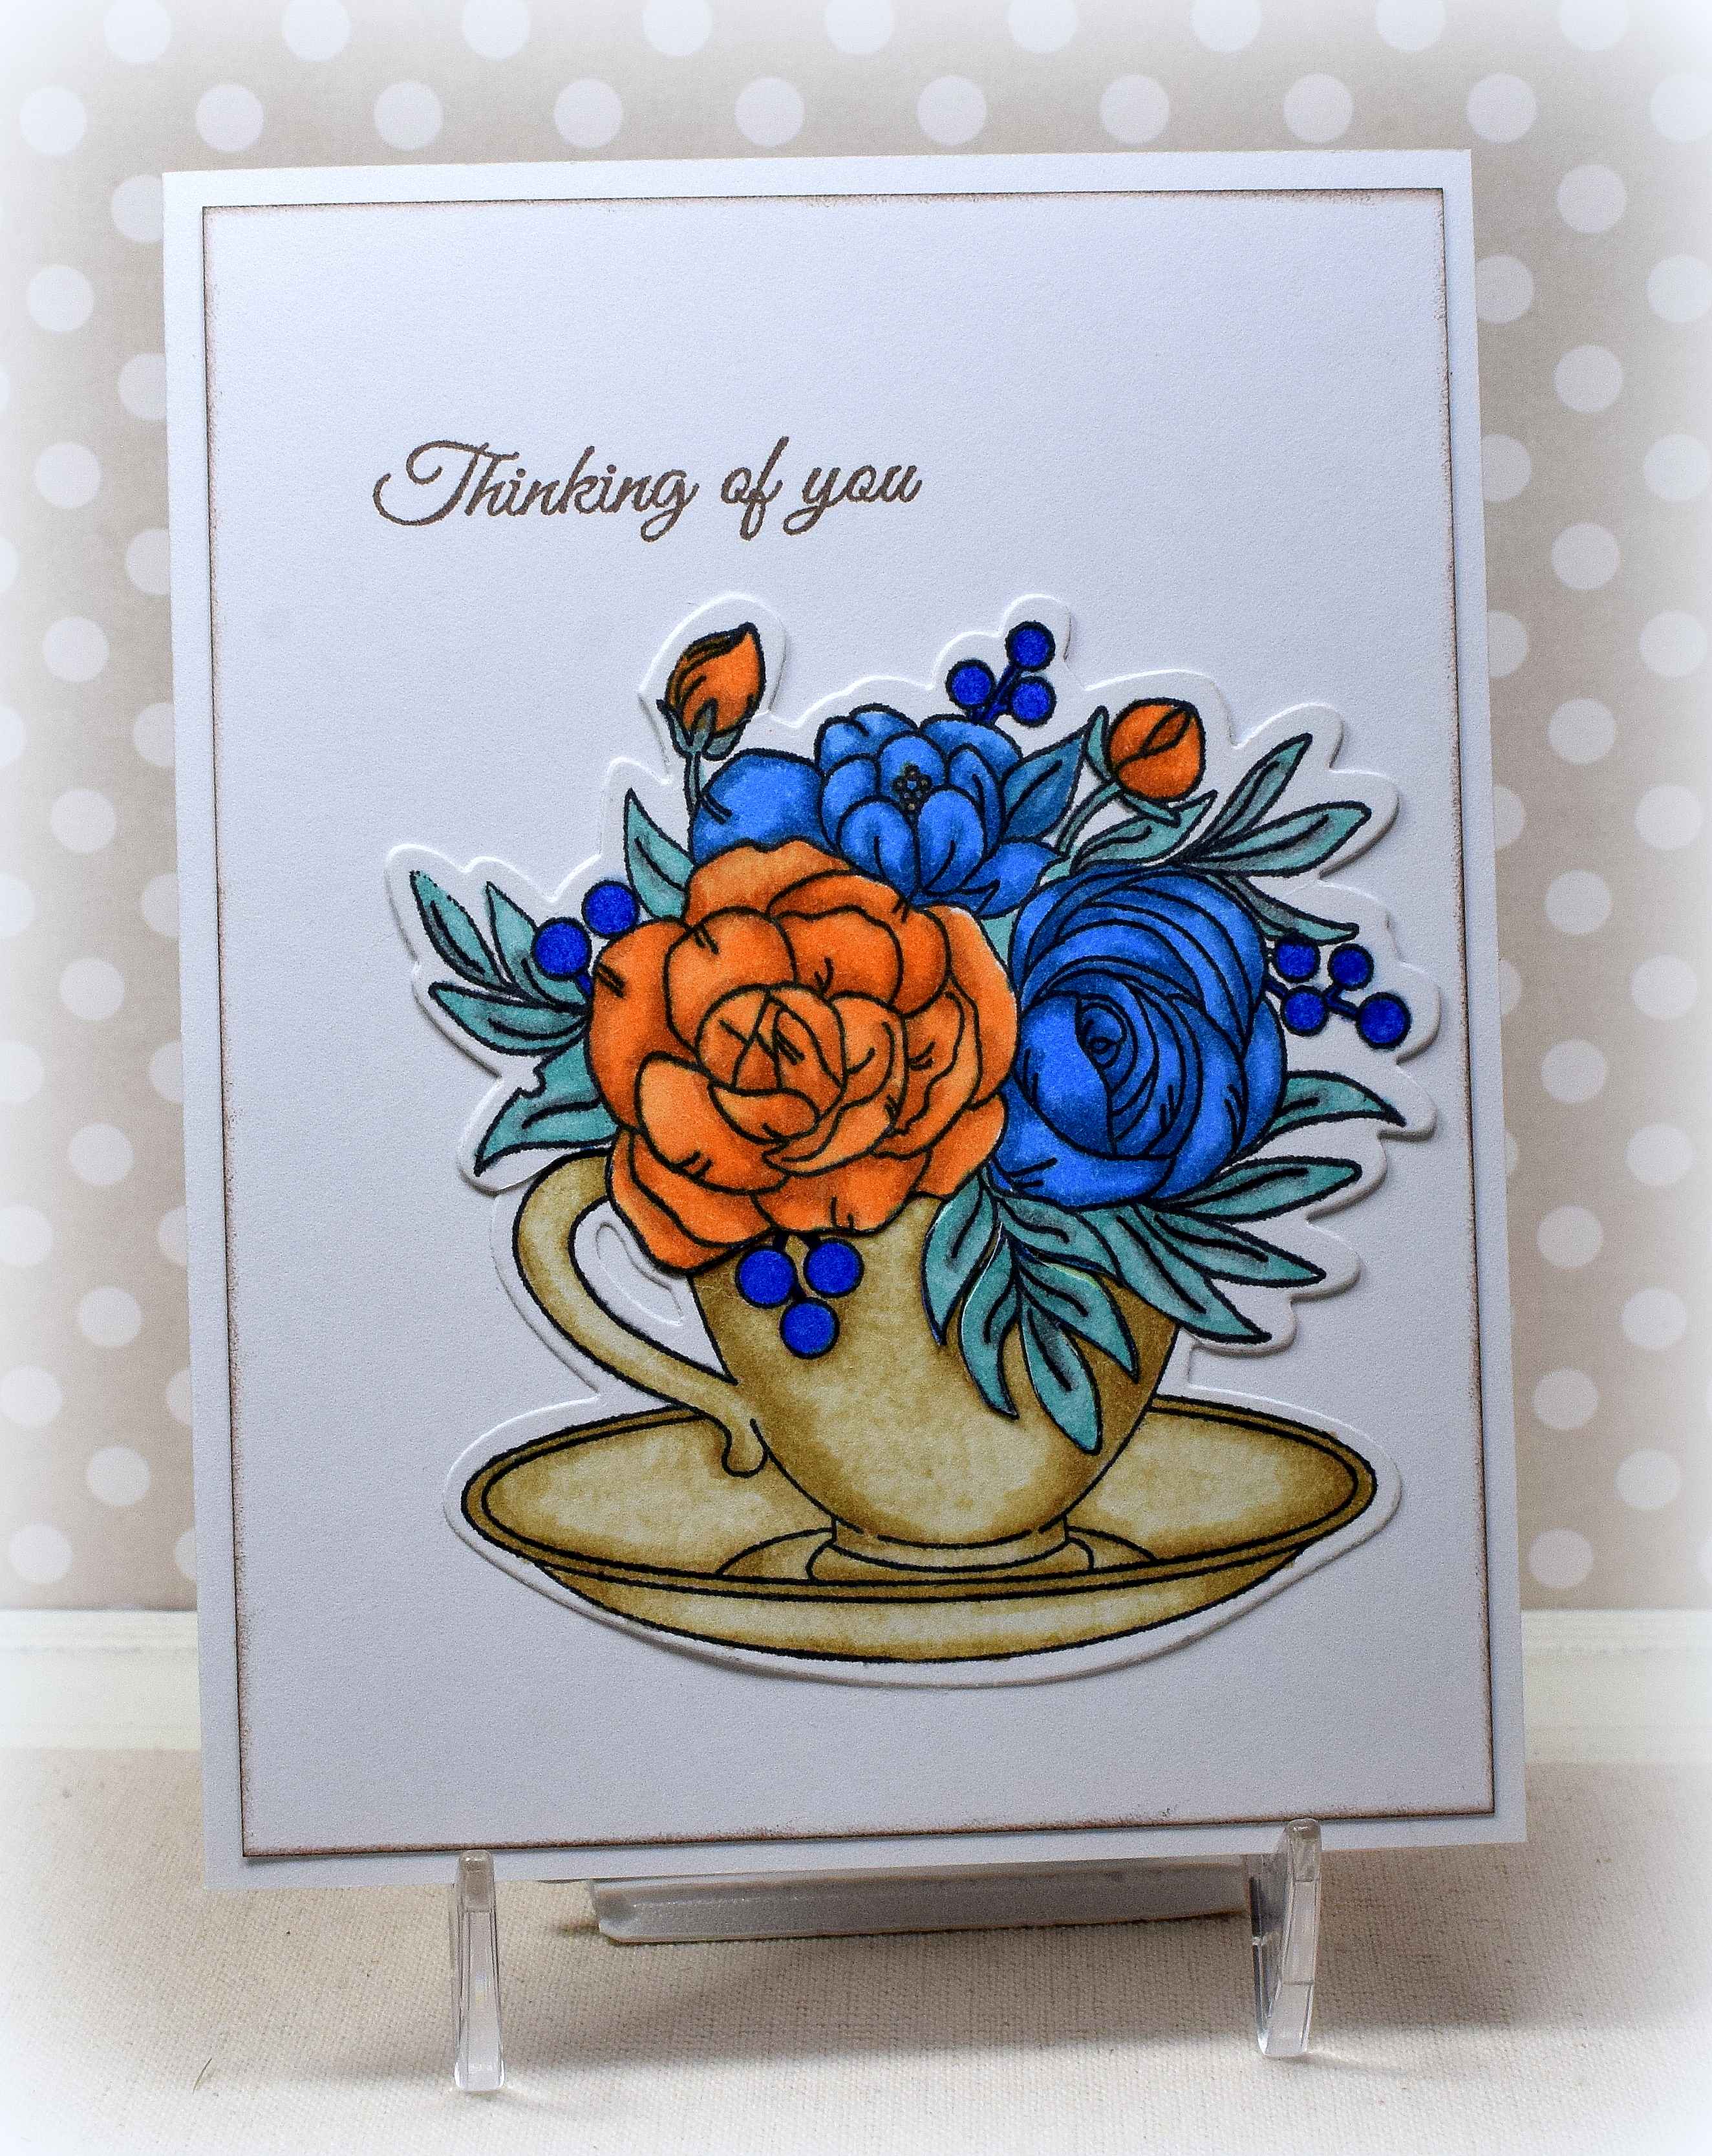
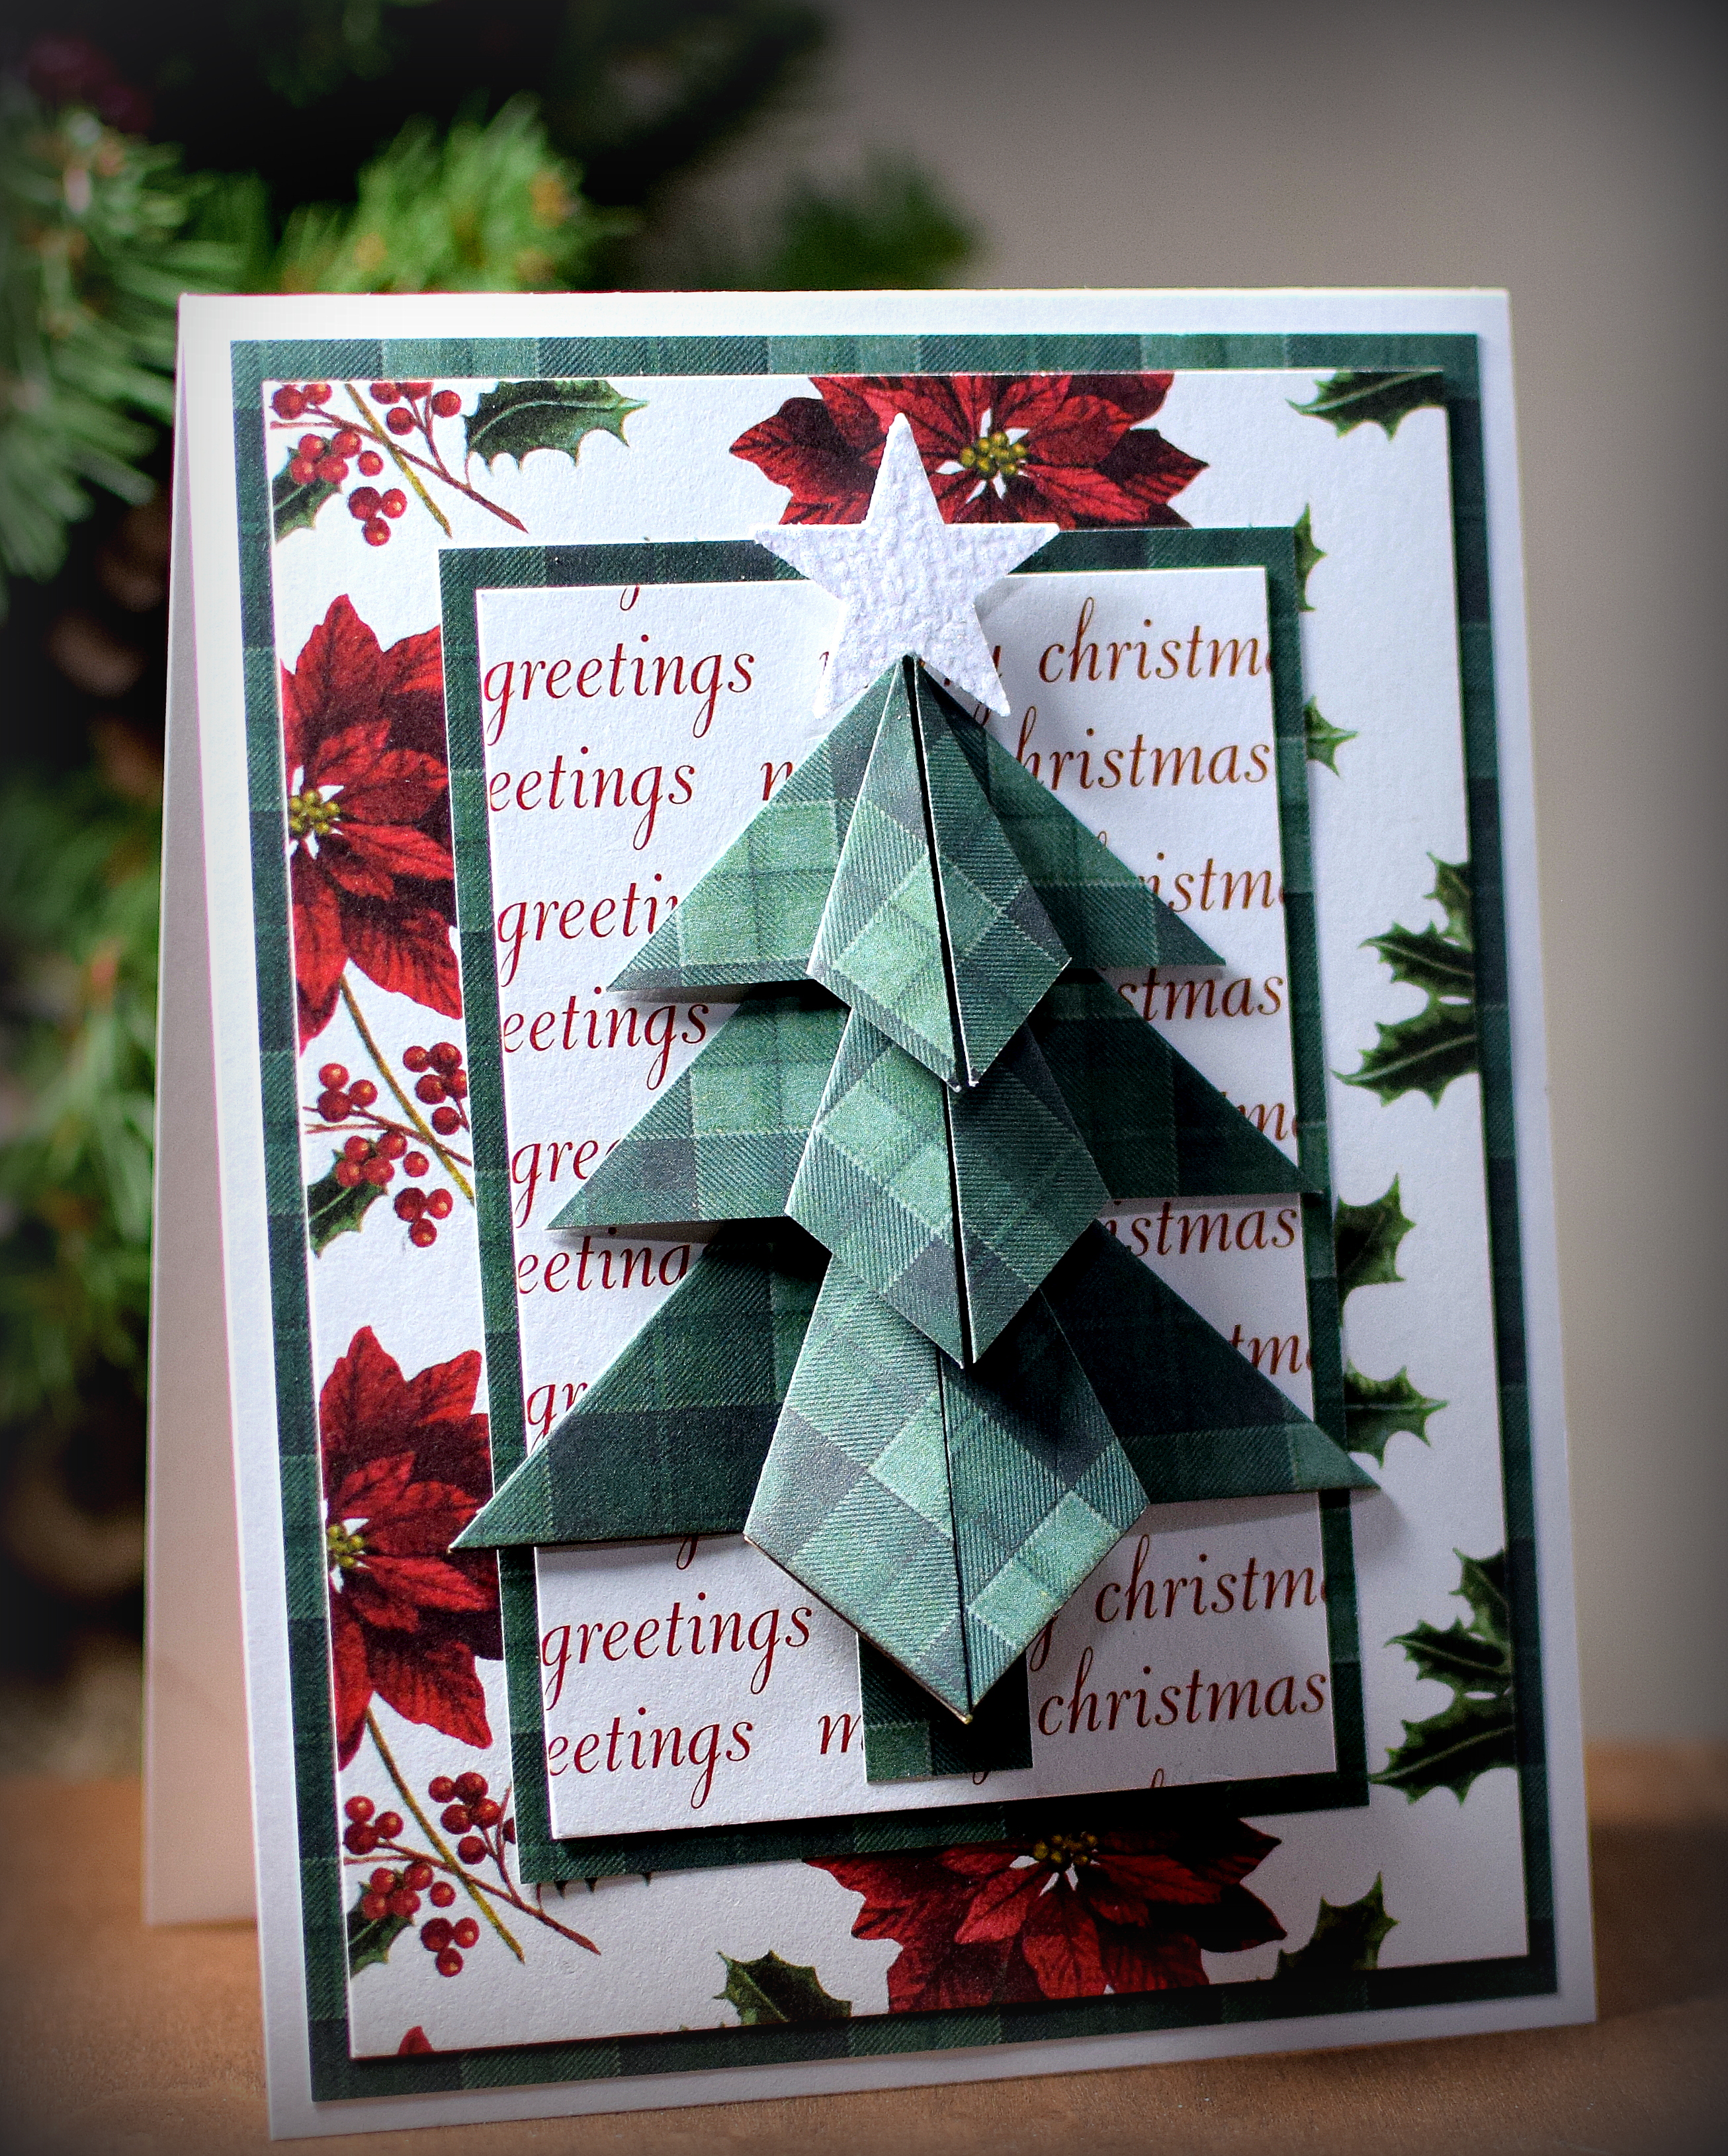
Here is one more CAS card design I came up with while playing with this image:
Thanks for checking out my card projects!
This content uses referral links as described in the disclosure policy on my sidebar.


