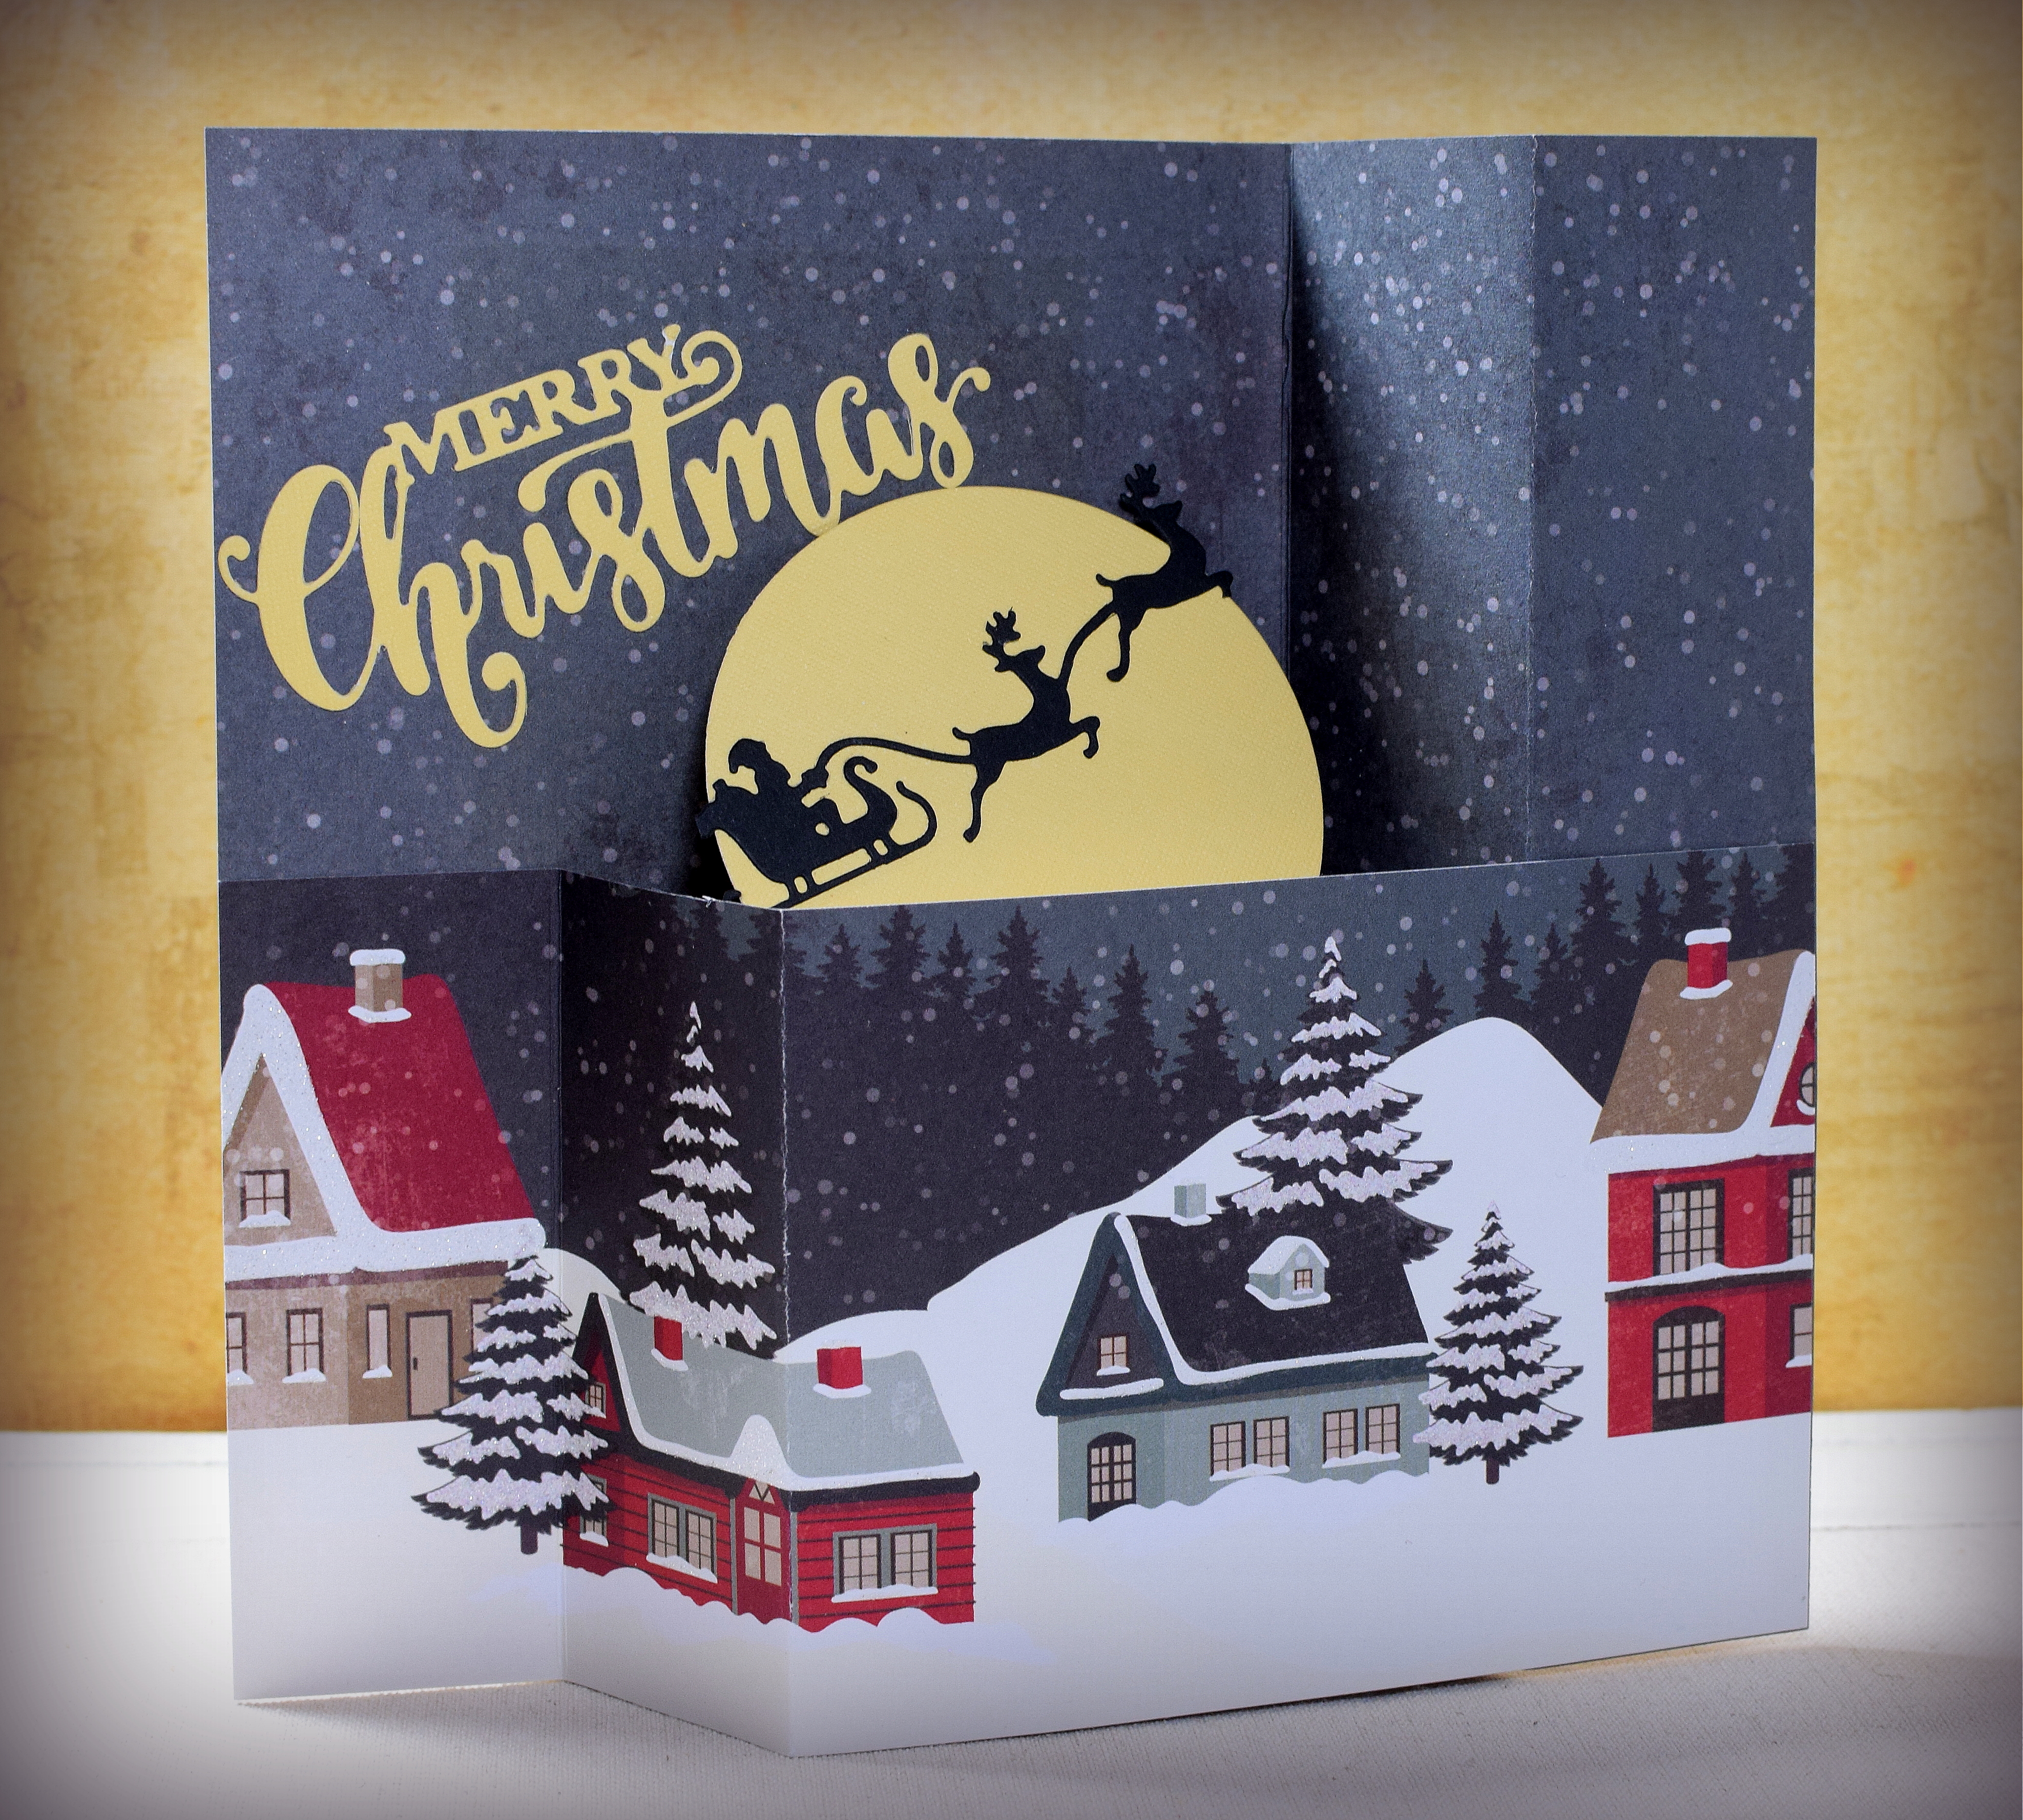
Practicing for the Big Night – Wiper Card
Here’s another holiday wiper card…
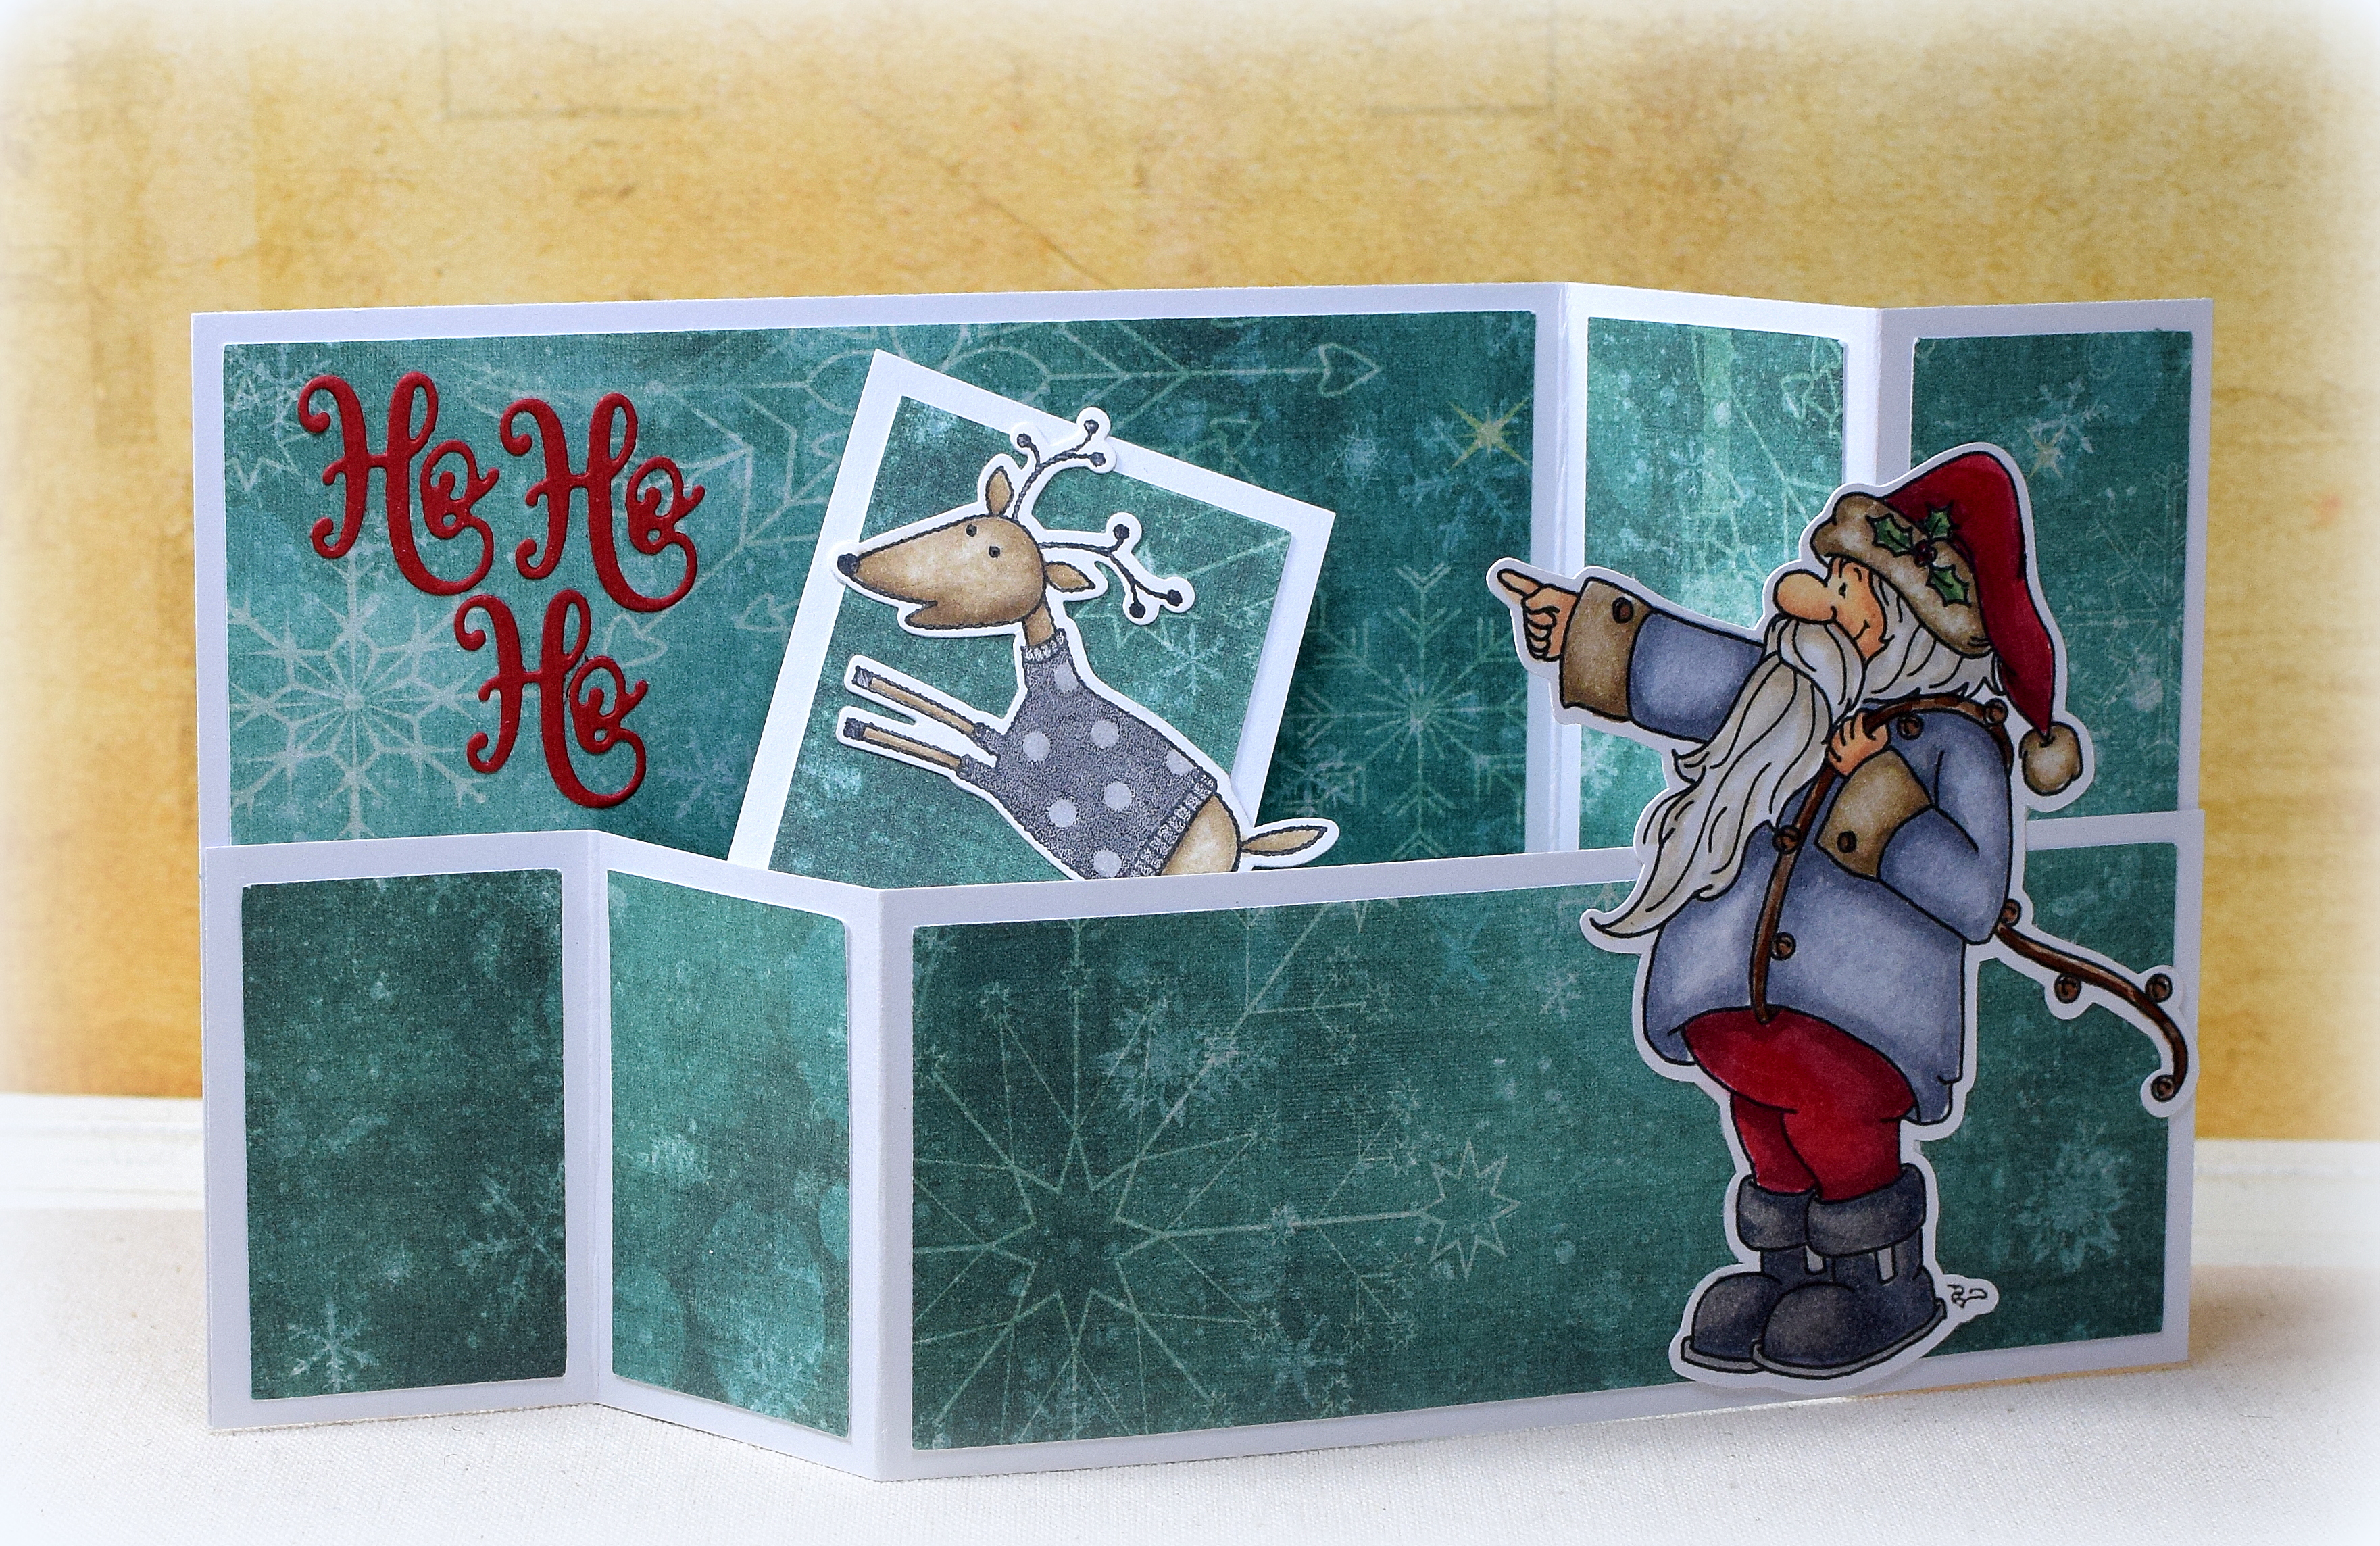
For this one, I used a digital image called “Once Upon a Star Santa” (no longer available) from Sassy Cheryl’s Illustrations (shop now closed). A flying reindeer appears when the card is pulled opened.
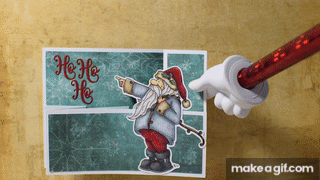
The reindeer is from the “Reindeer” stamp and die cut set (#657780) from Hero Arts/Sizzix (retired). He was stamped with Memento Tuxedo Black ink, cut with the included die, and colored with Copic markers (T2, T4, E43, E44, and a colorless blender).
The Santa image is available as both a line art image and a colored image. For this card, I used the line art image but CASED Chery’s colors. I flipped him to be facing towards the left and colored him with Copic markers : hat, pants, and fur – R46, R56, R59, G24, G29, E43, E44, 0; jacket – C3, C4, C5, C7, 0, E47: Boots – T2, T3, T4, C7; hair – T0, E42; Skin – E50, E21, E13; reins – E23, E25, E27, E29). It has been a while since I did any coloring, and I really enjoyed it! I used my Silhouette software to trace and cut him out.
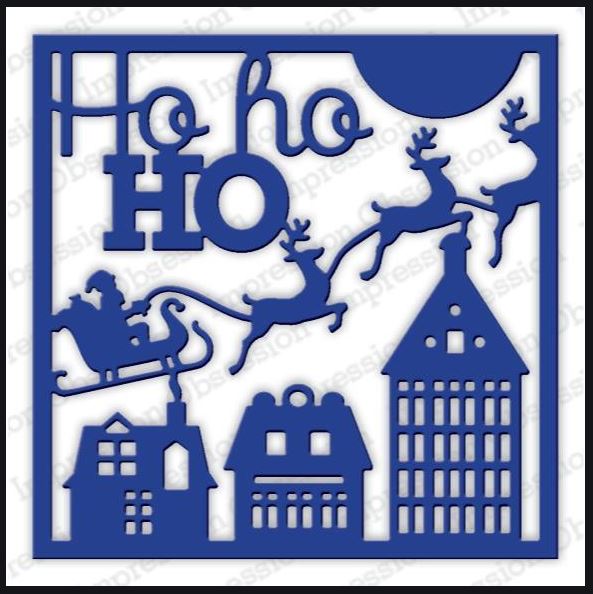
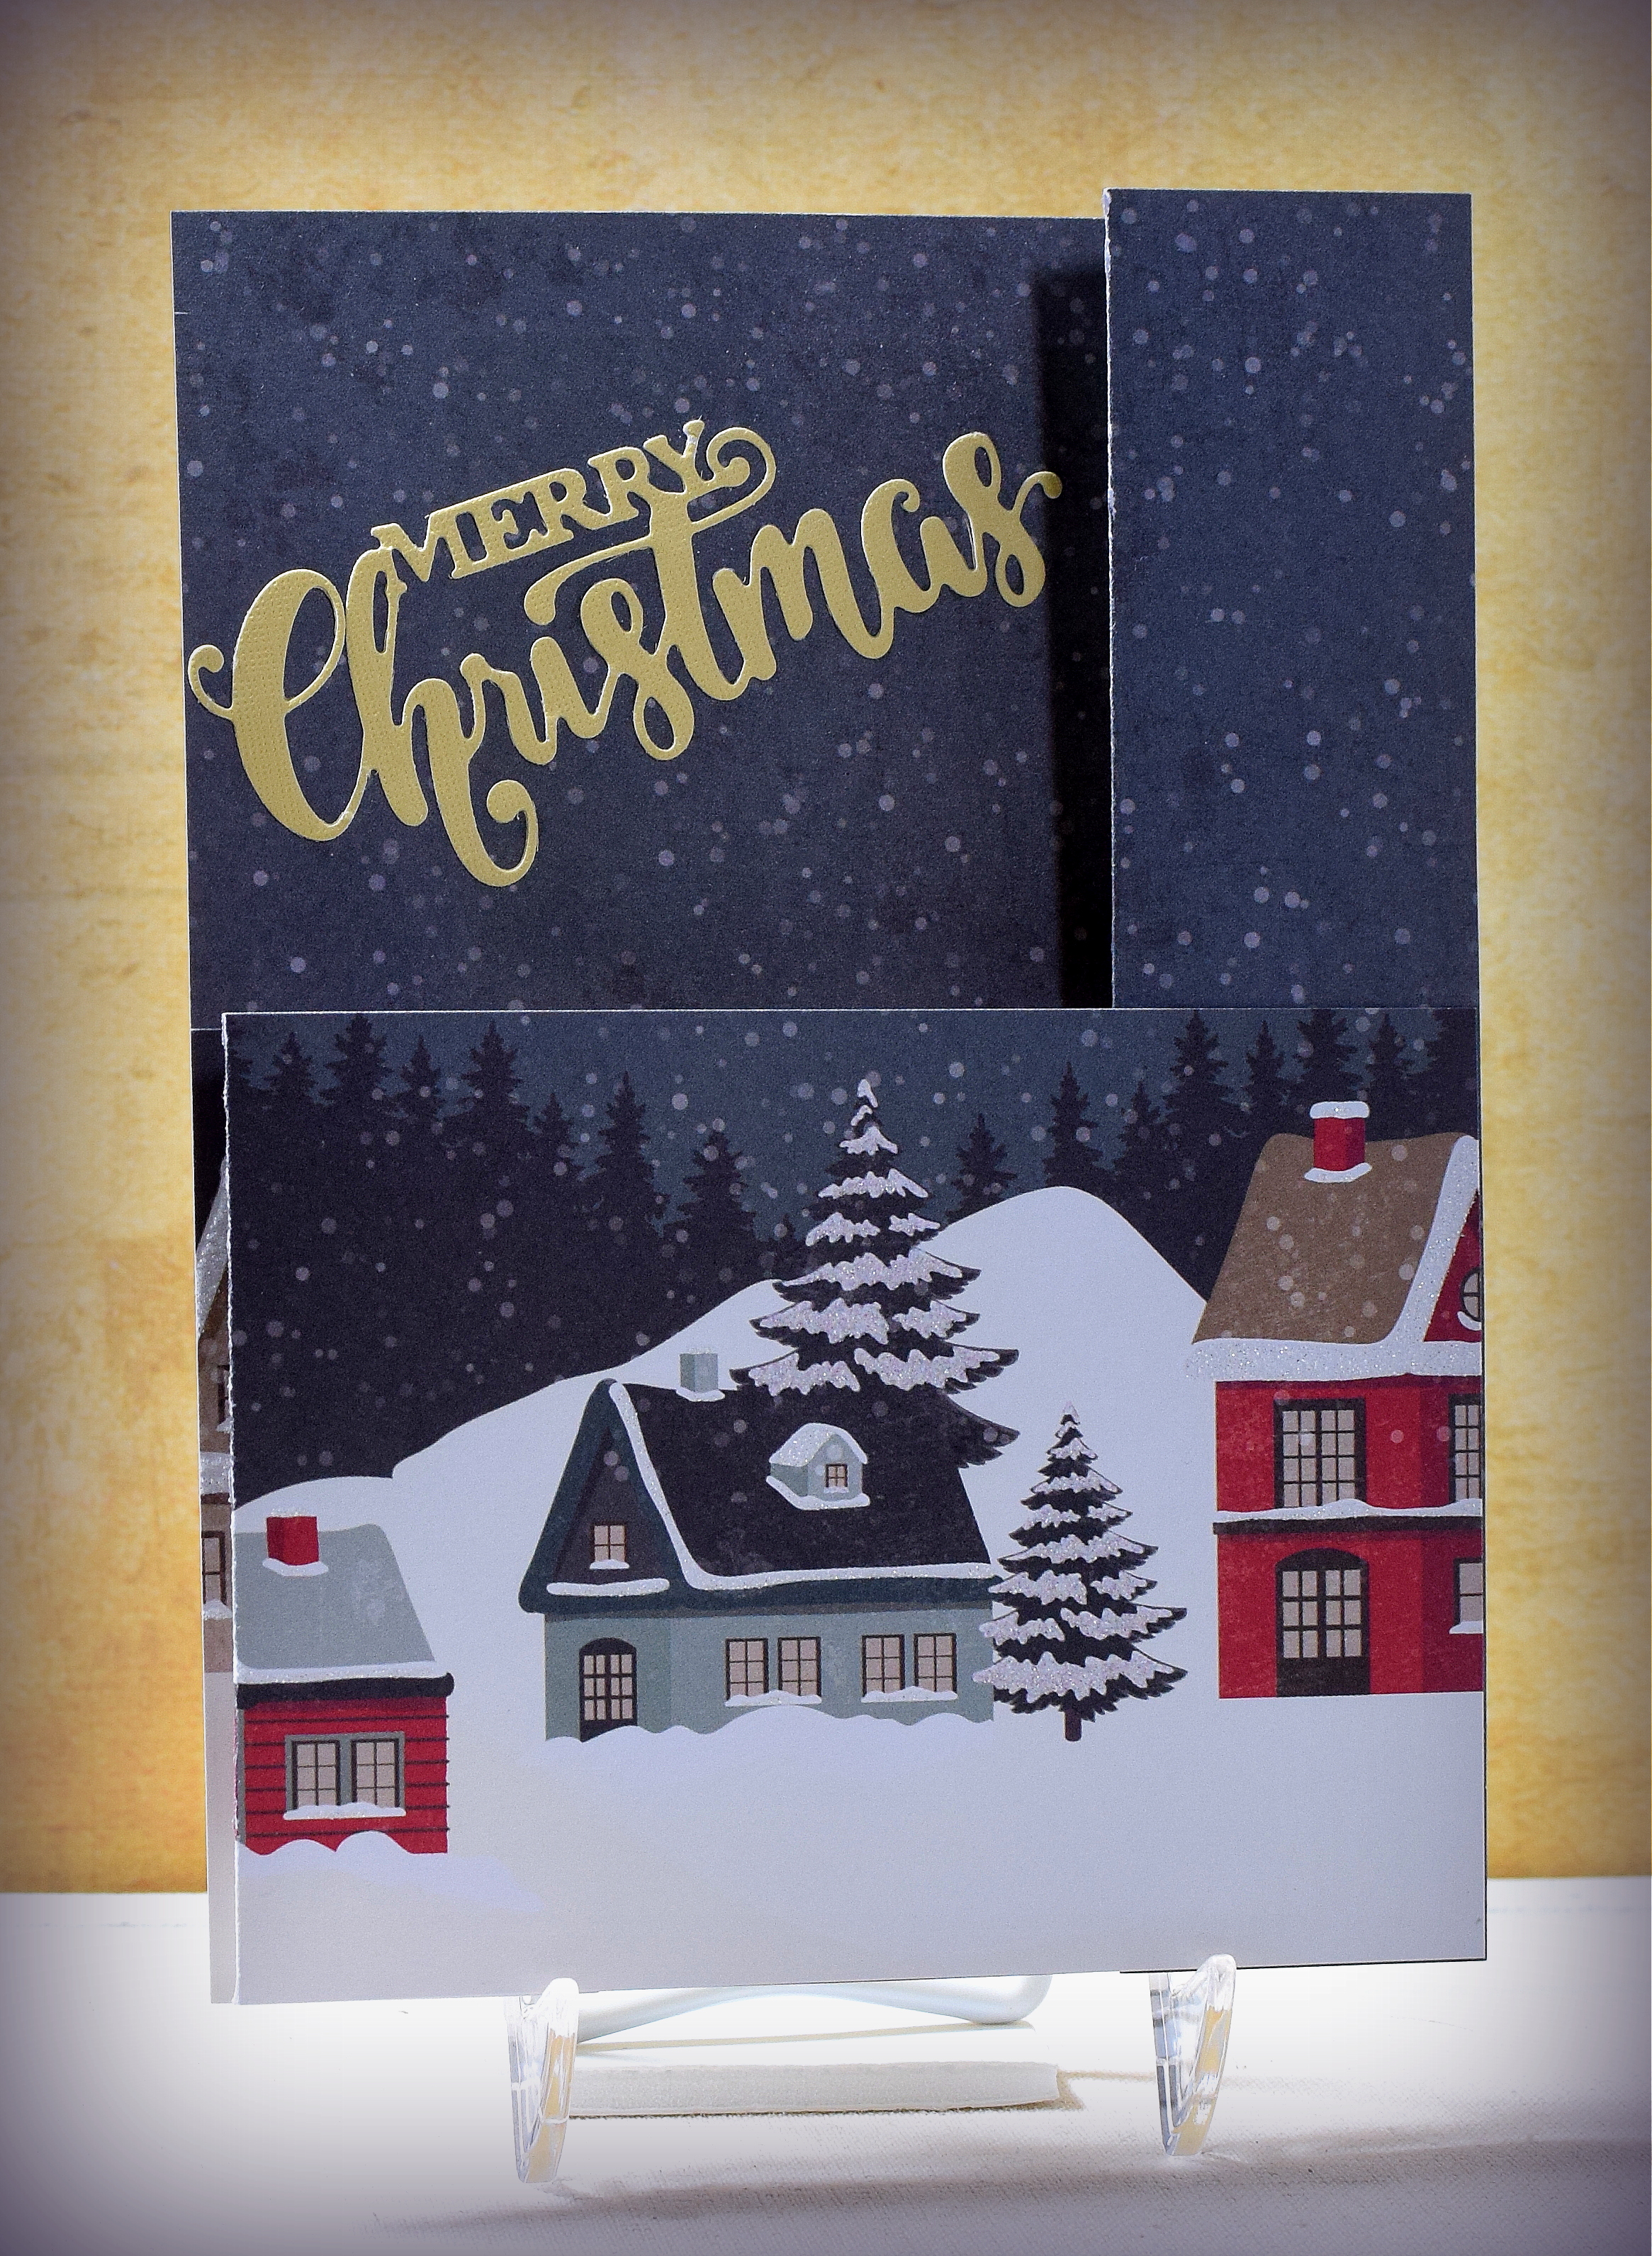
The greeting die cut is the “Festive Mini Expressions – Ho Ho Ho” by Sue Wilson/Creative Expressions.
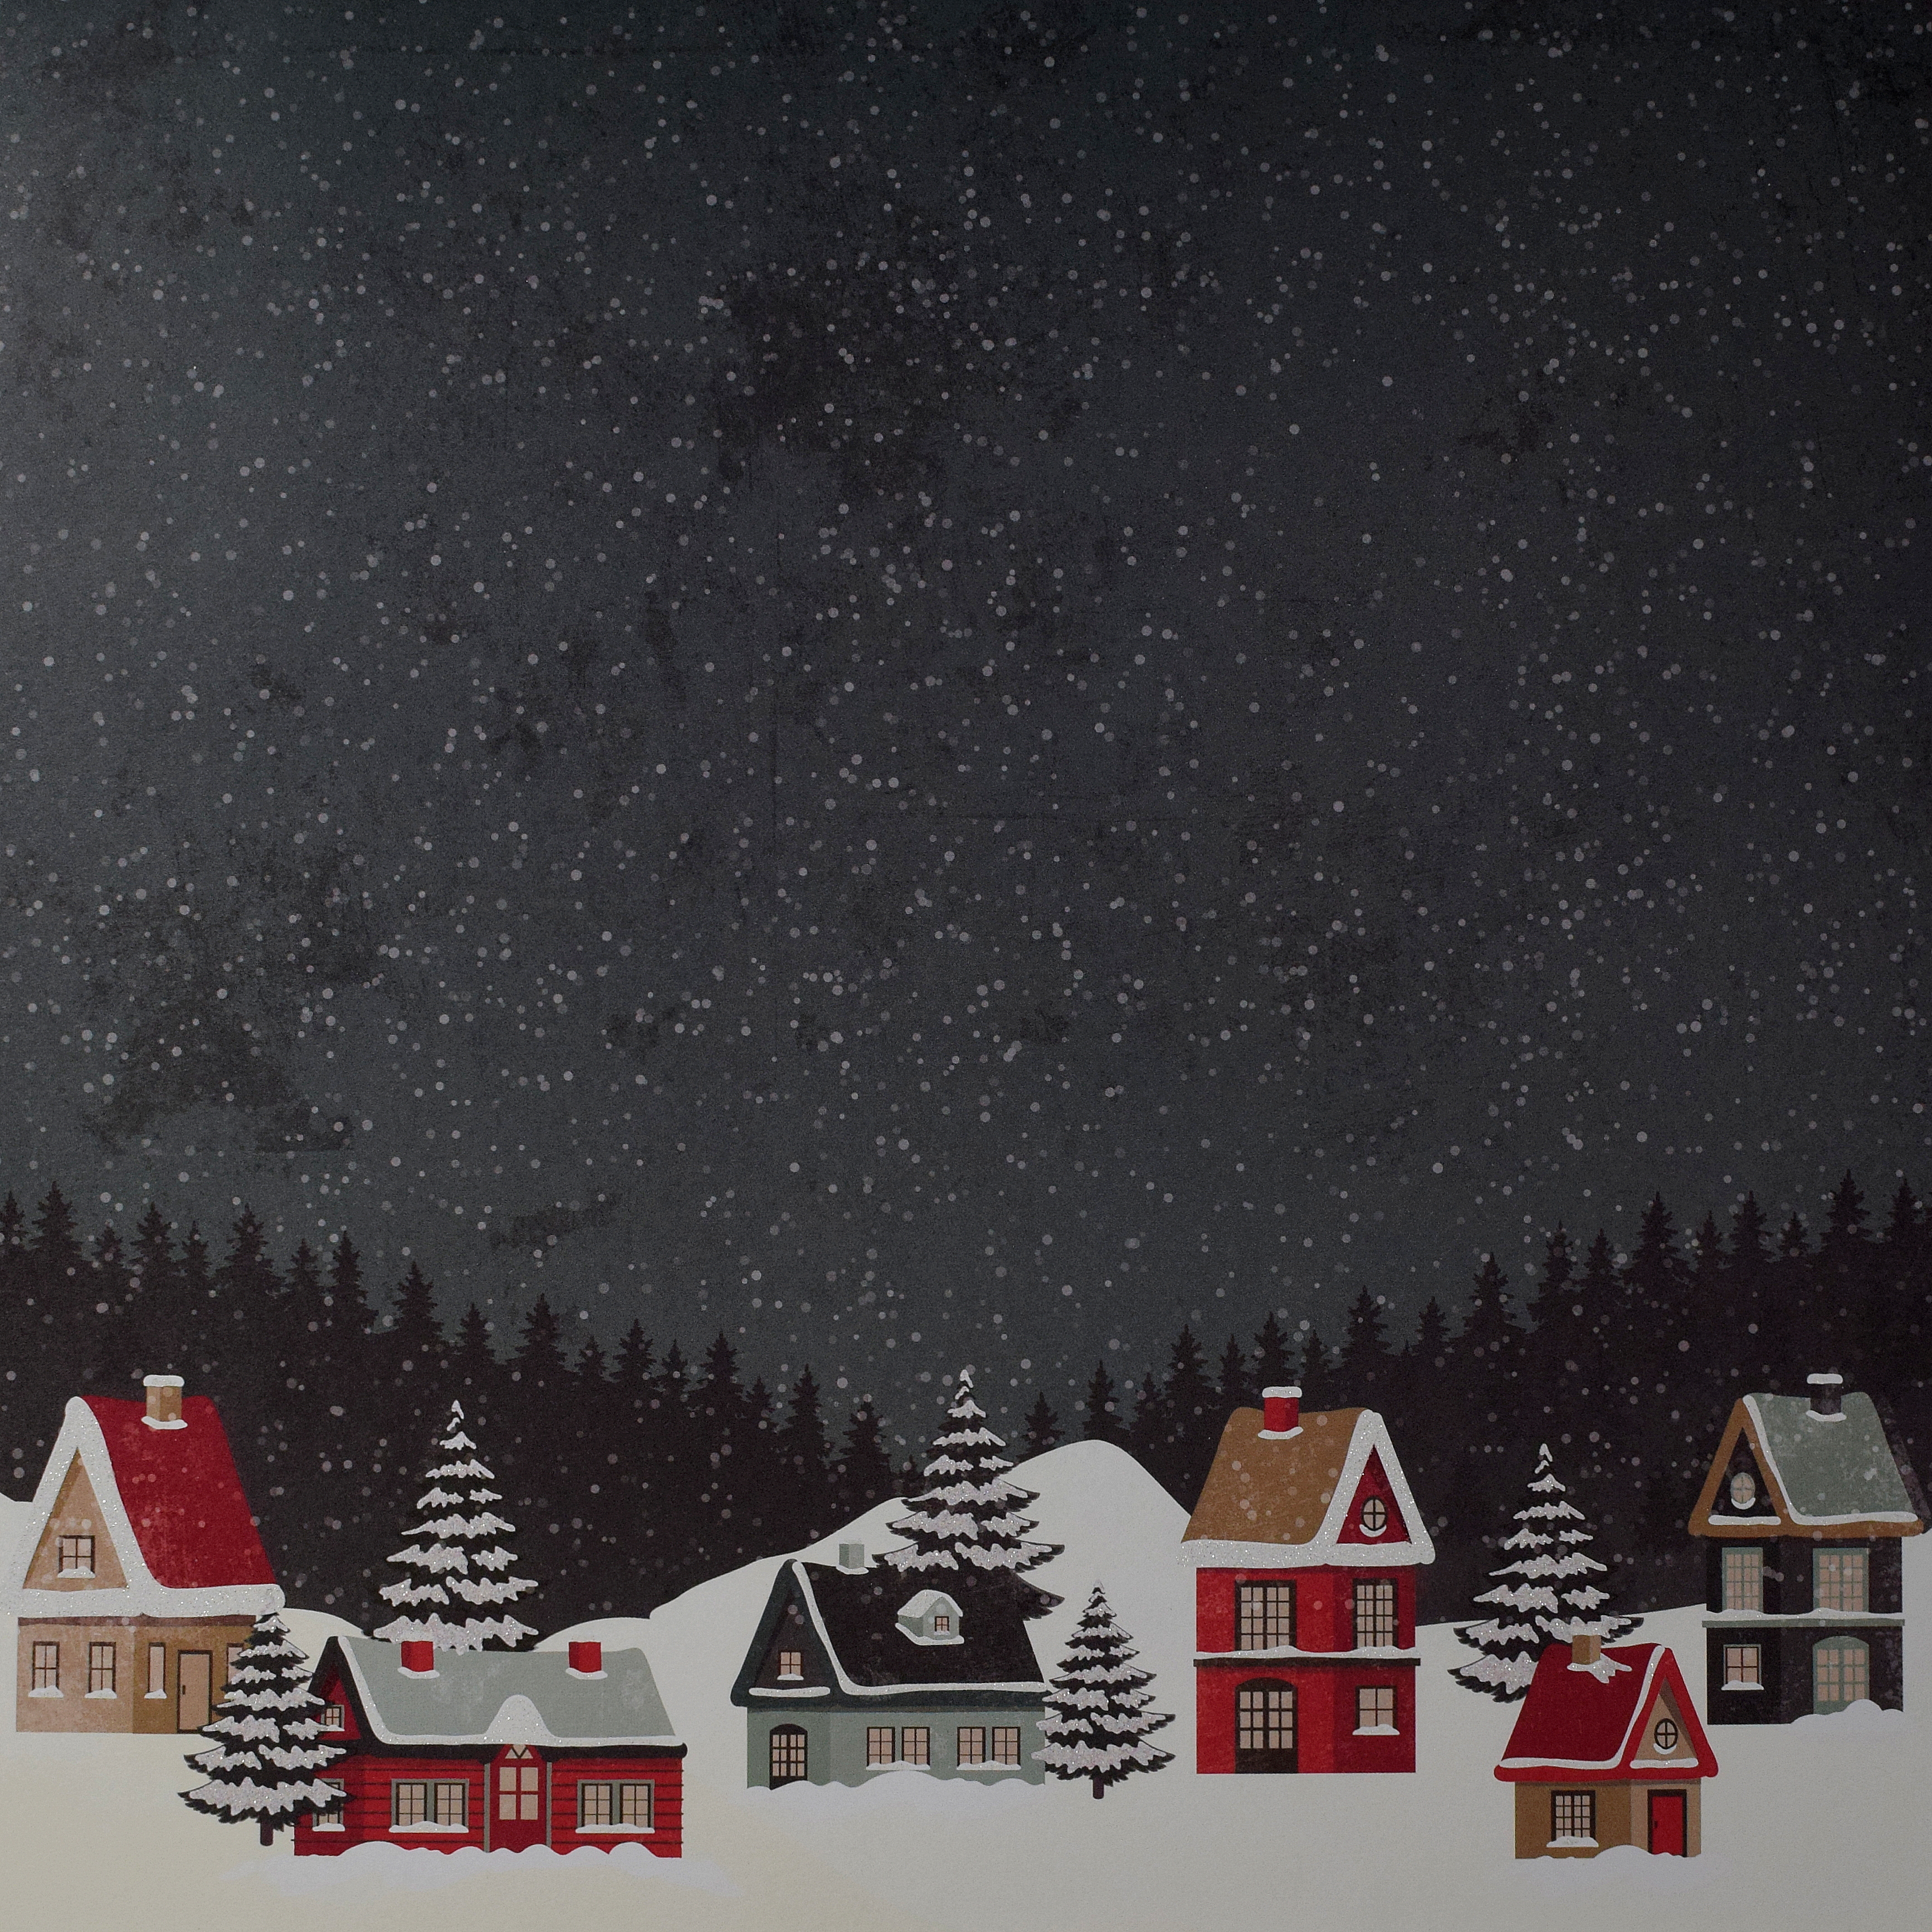
The patterned paper is from a digital file called “Snowy Paper” by SBDigitalDesigns that I purchased on Etsy.
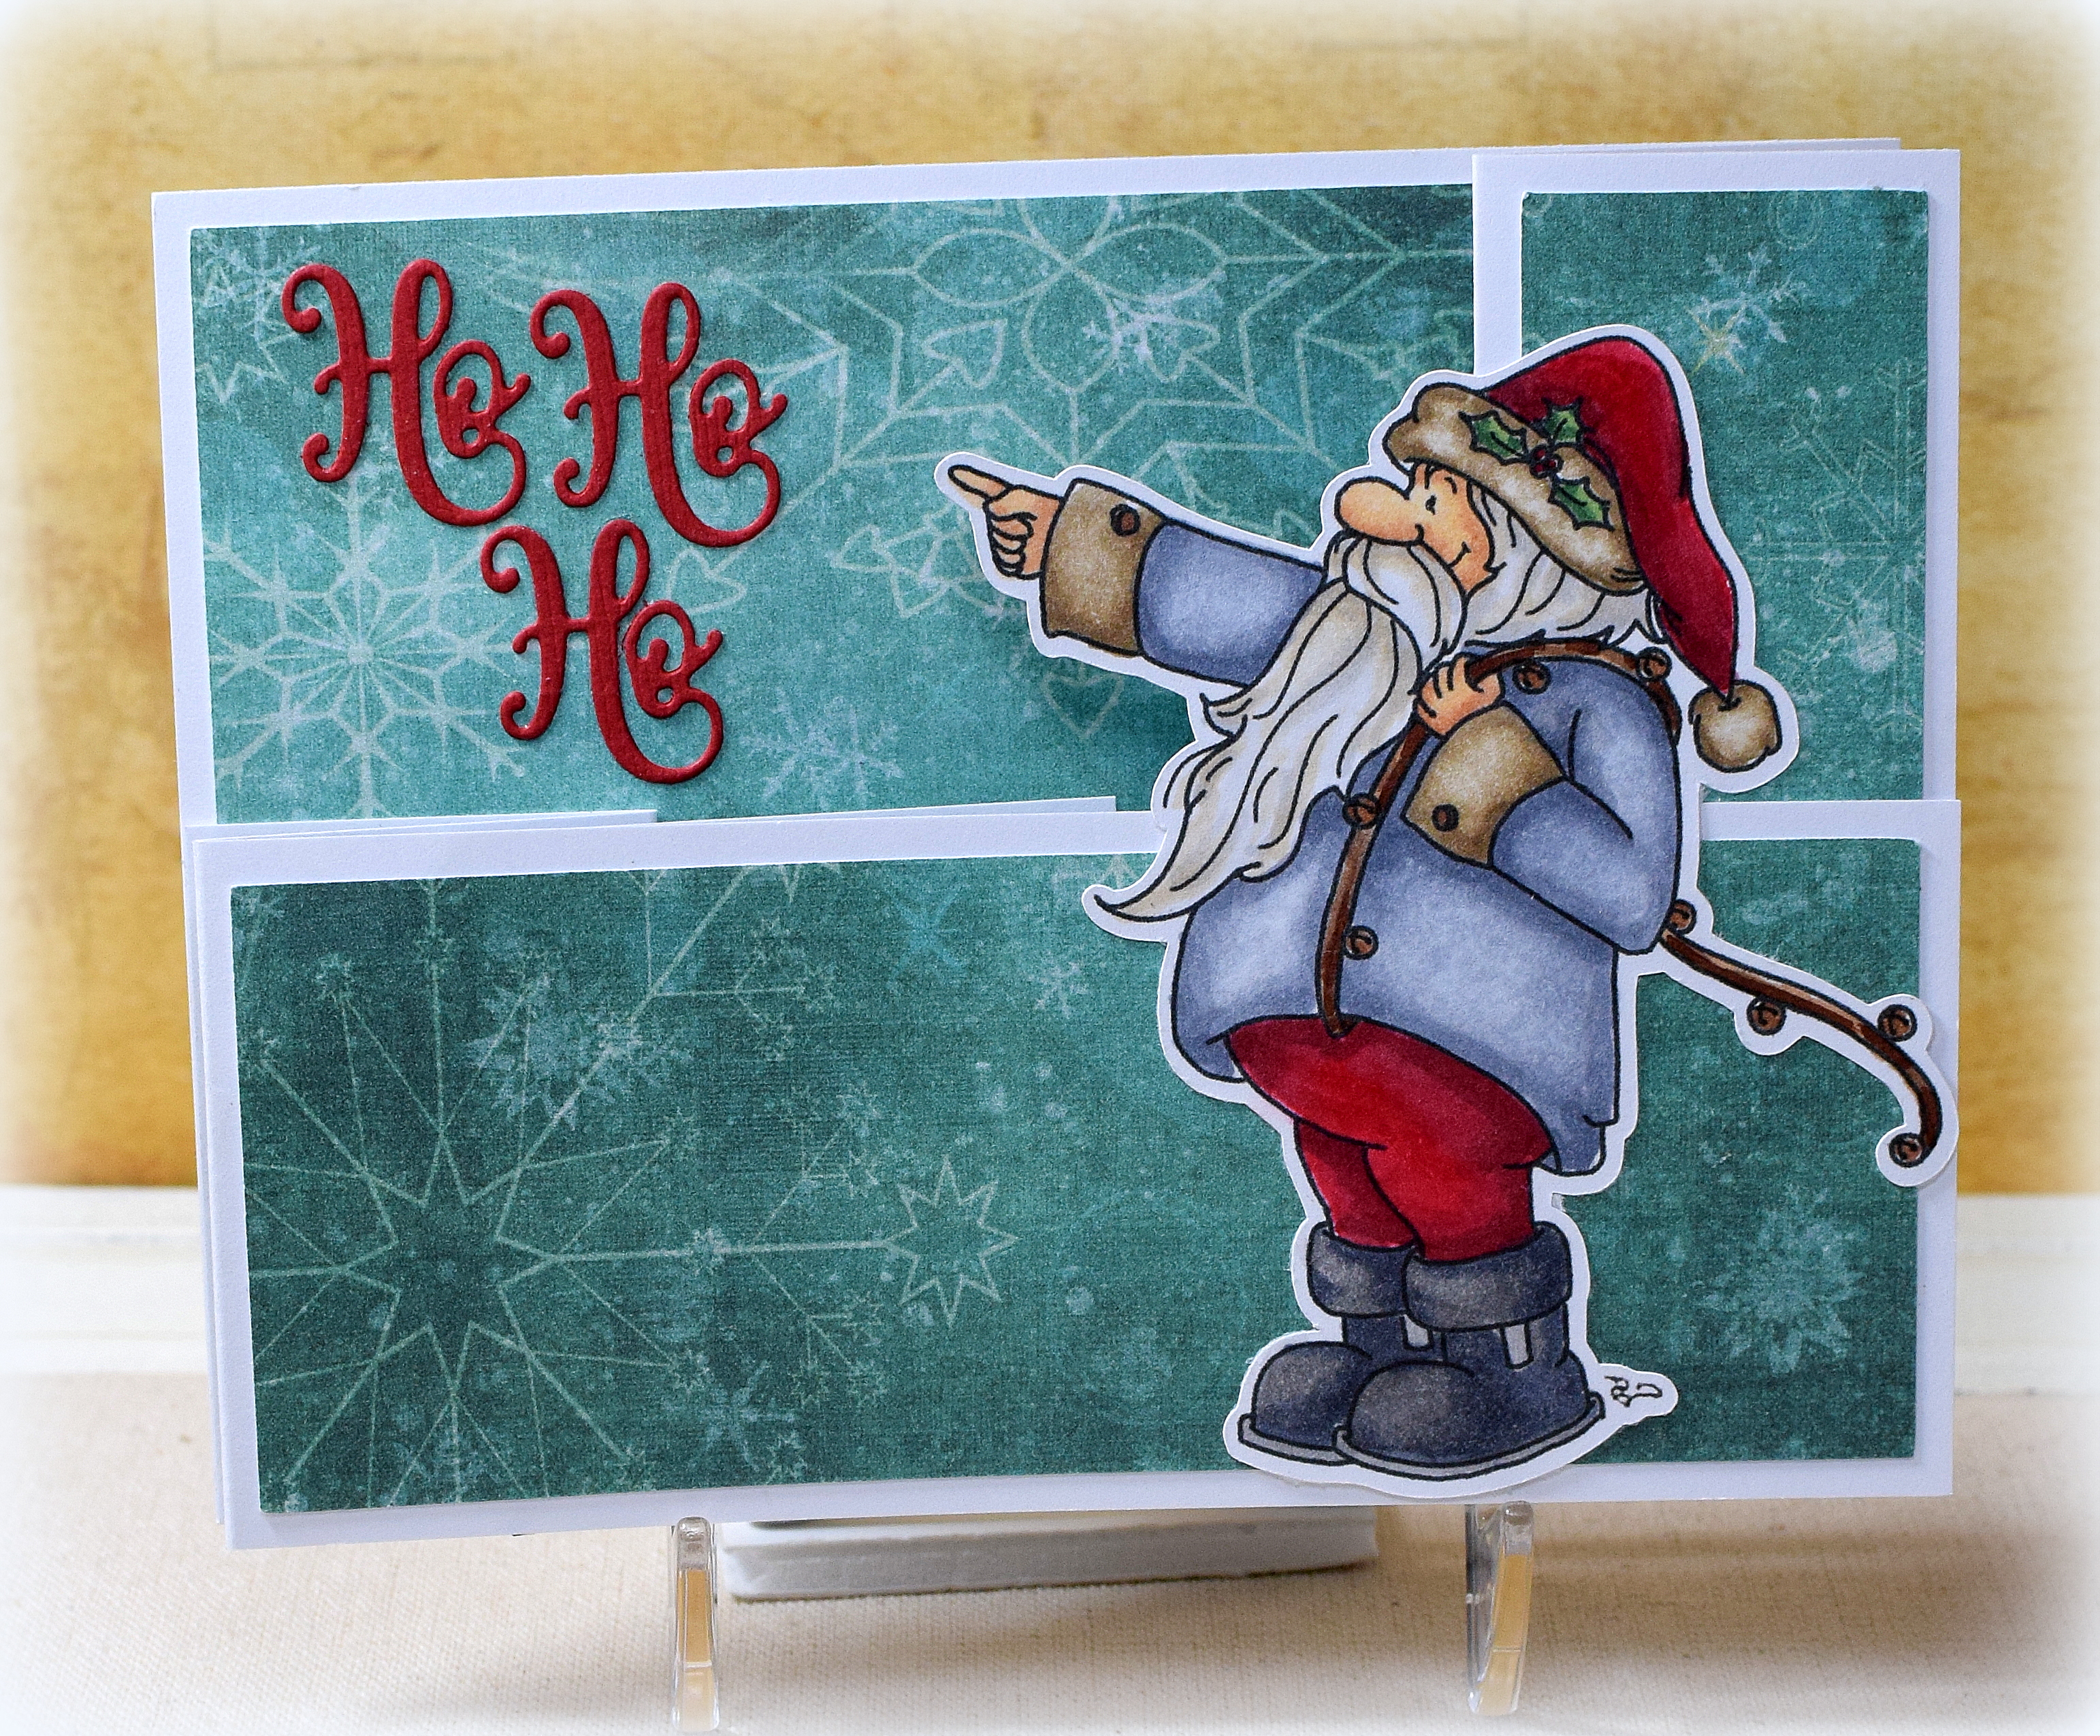
This A2 size card has room on the back for a handwritten or stamped message and folds flat for mailing.
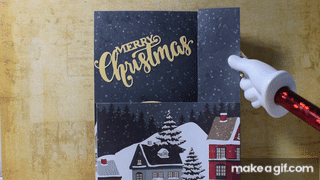
Here is a slight variation using the pre-colored version of the Santa image:
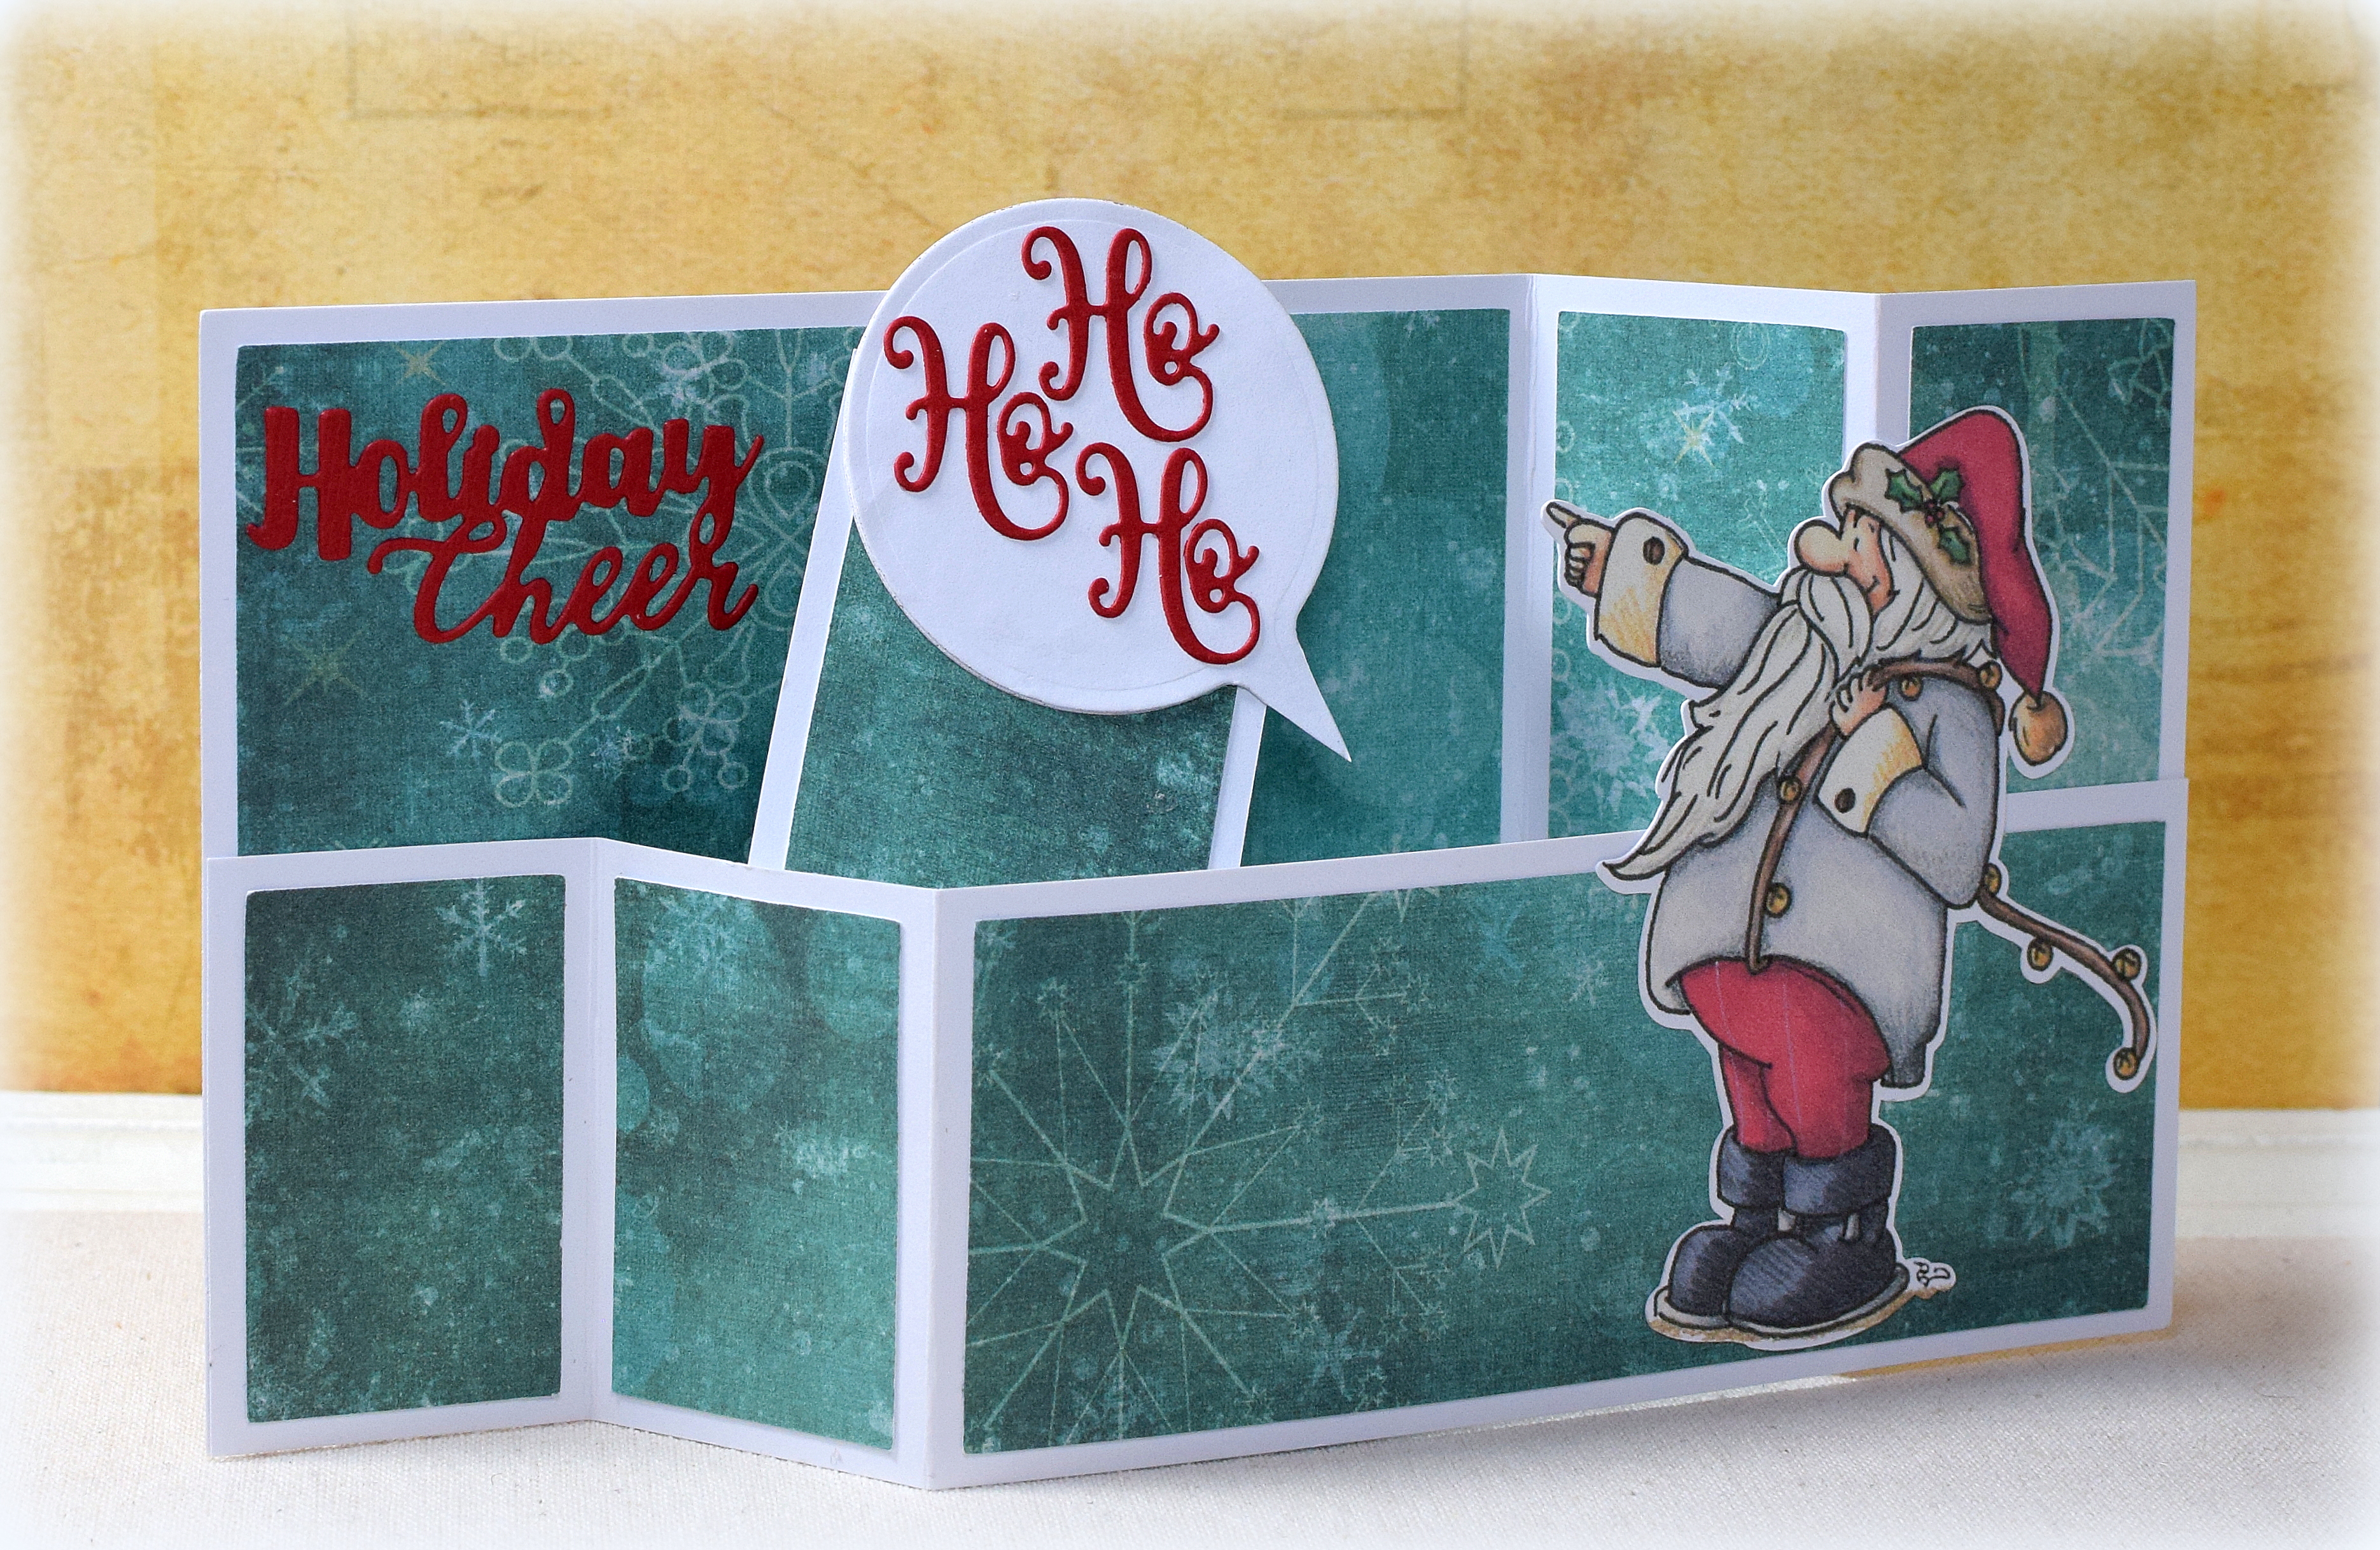
The “holiday cheer” die cut is from the Sizzix “Christmas Tree Flip and Fold” set (#662281), and the speech bubble is from the Spellbinders “Tag That!” set (SCD-022) (trimmed to fit).
If you care to see the instructions on how I made this wiper card, you can check out my previous post.
Thanks for checking out my card project!
This content uses referral links as described in the disclosure policy on my sidebar.