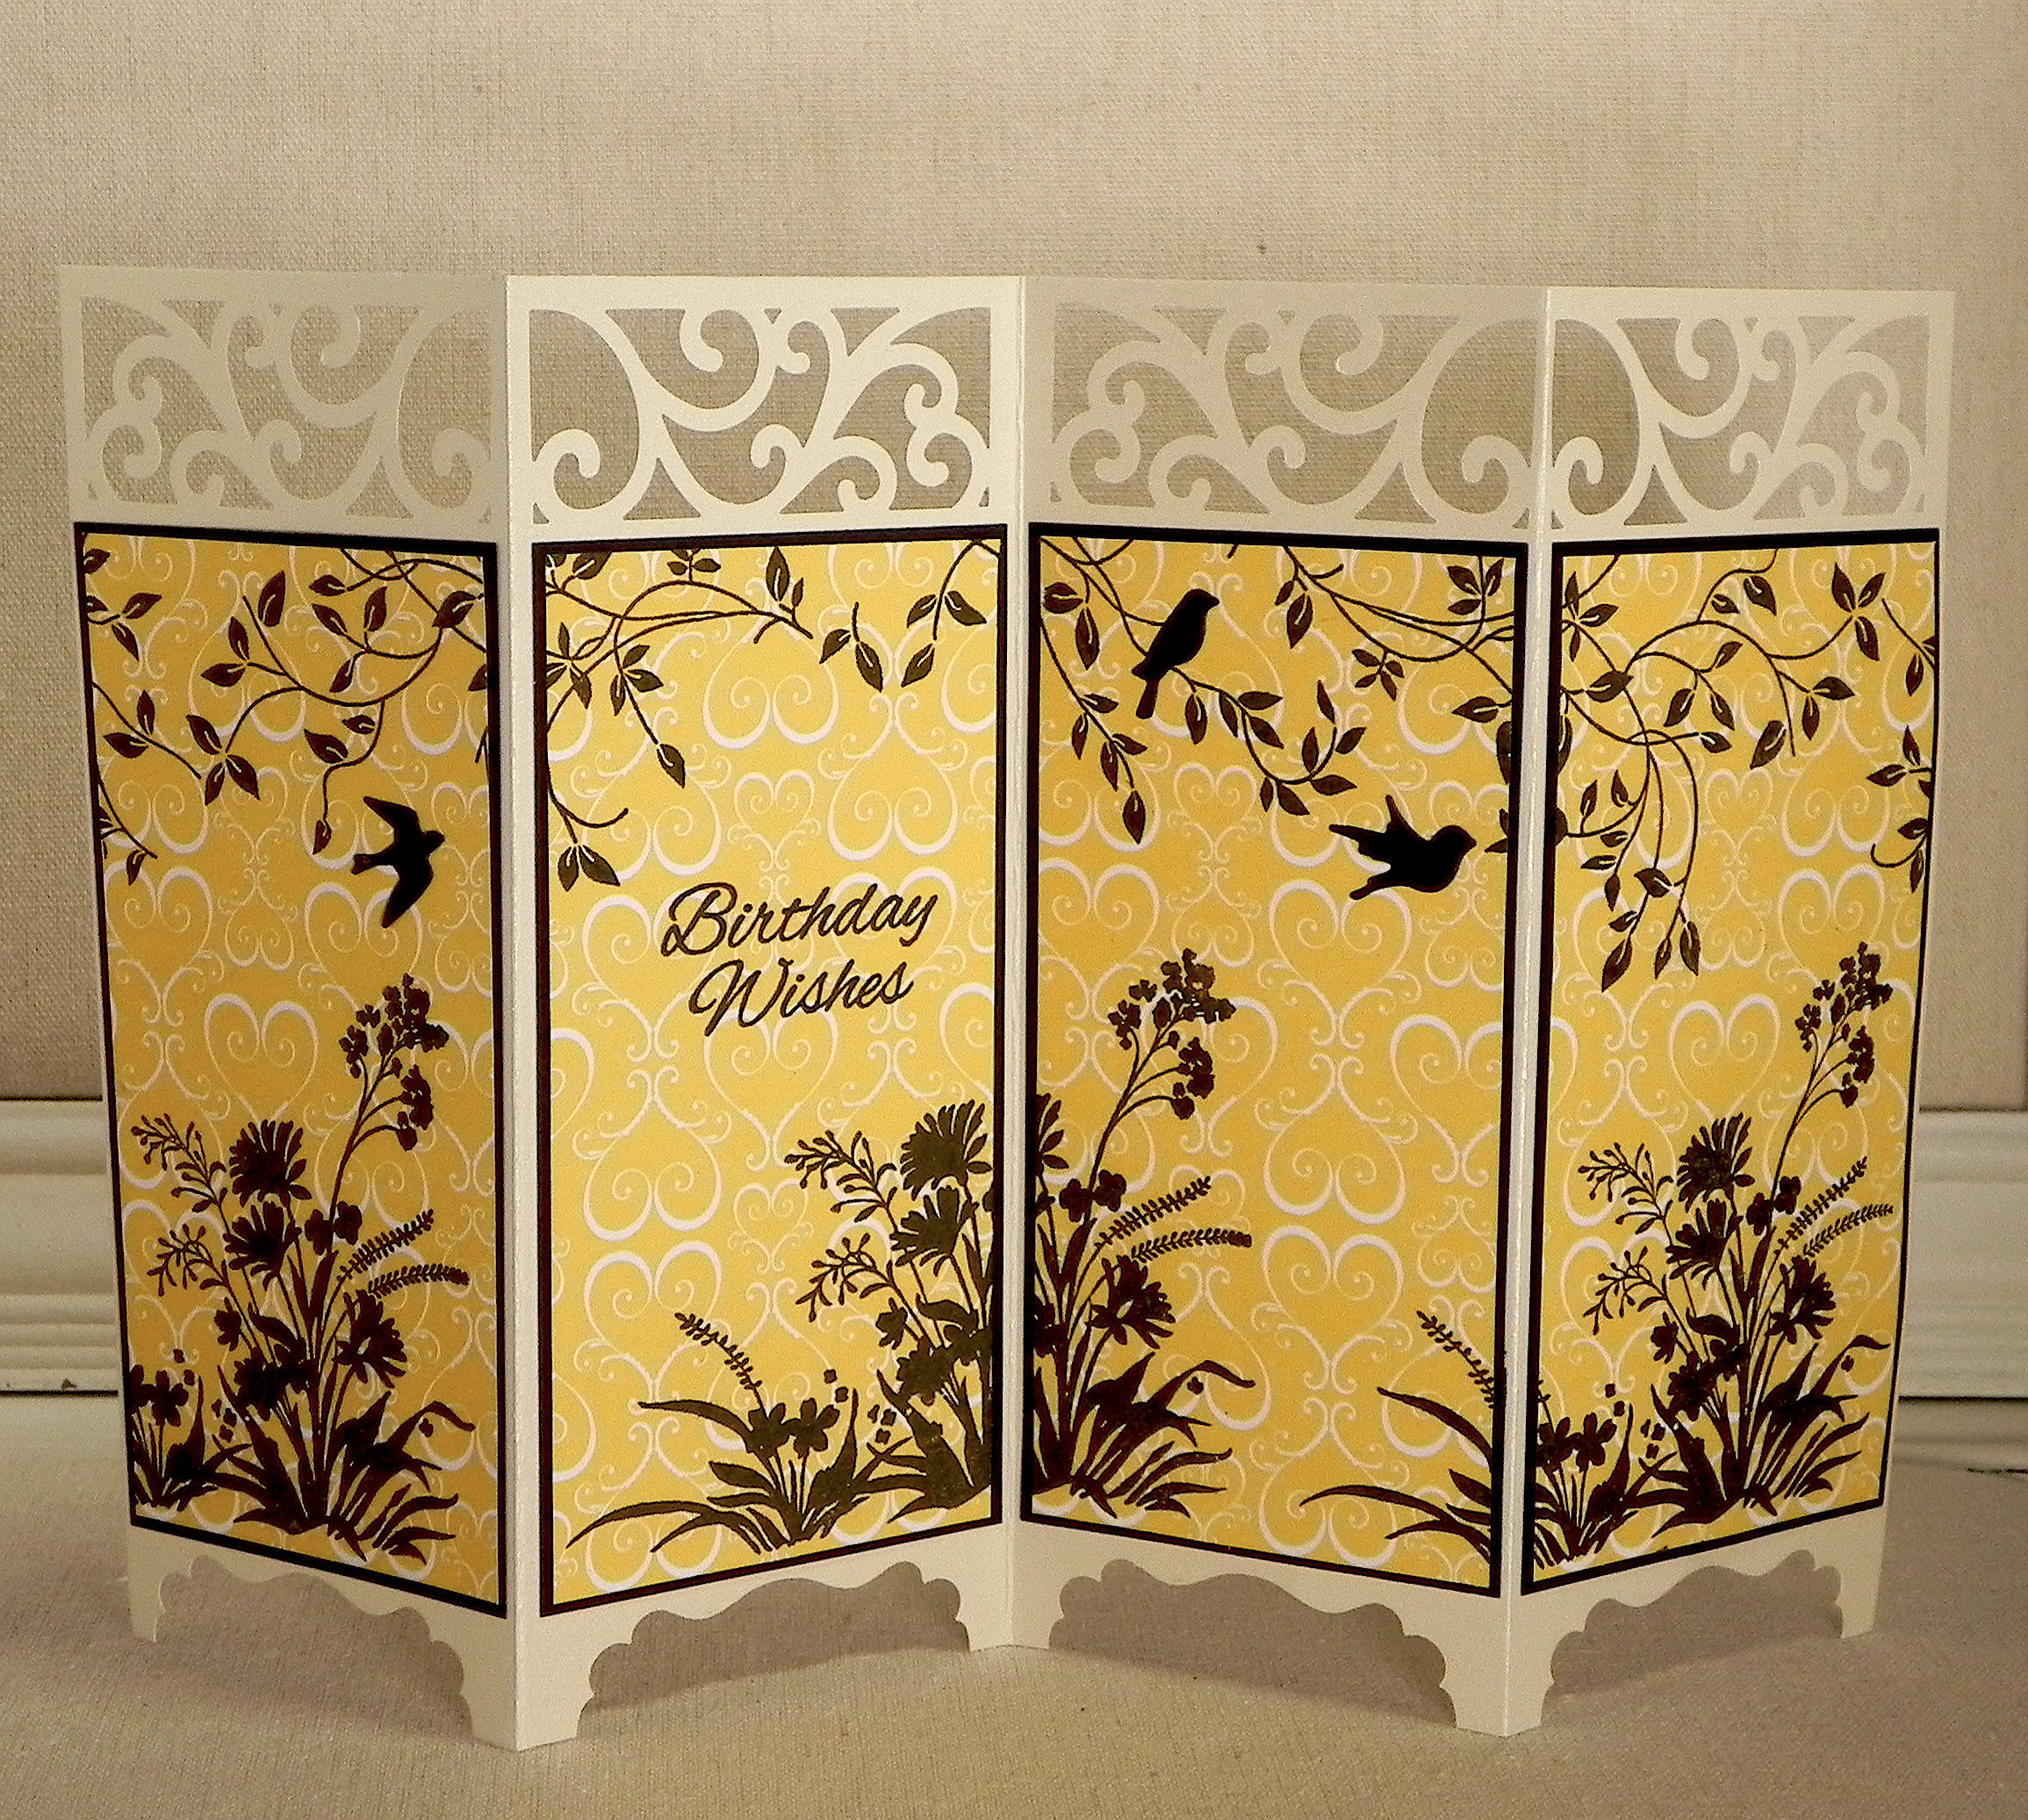
Floral Wreath Mother’s Day Card
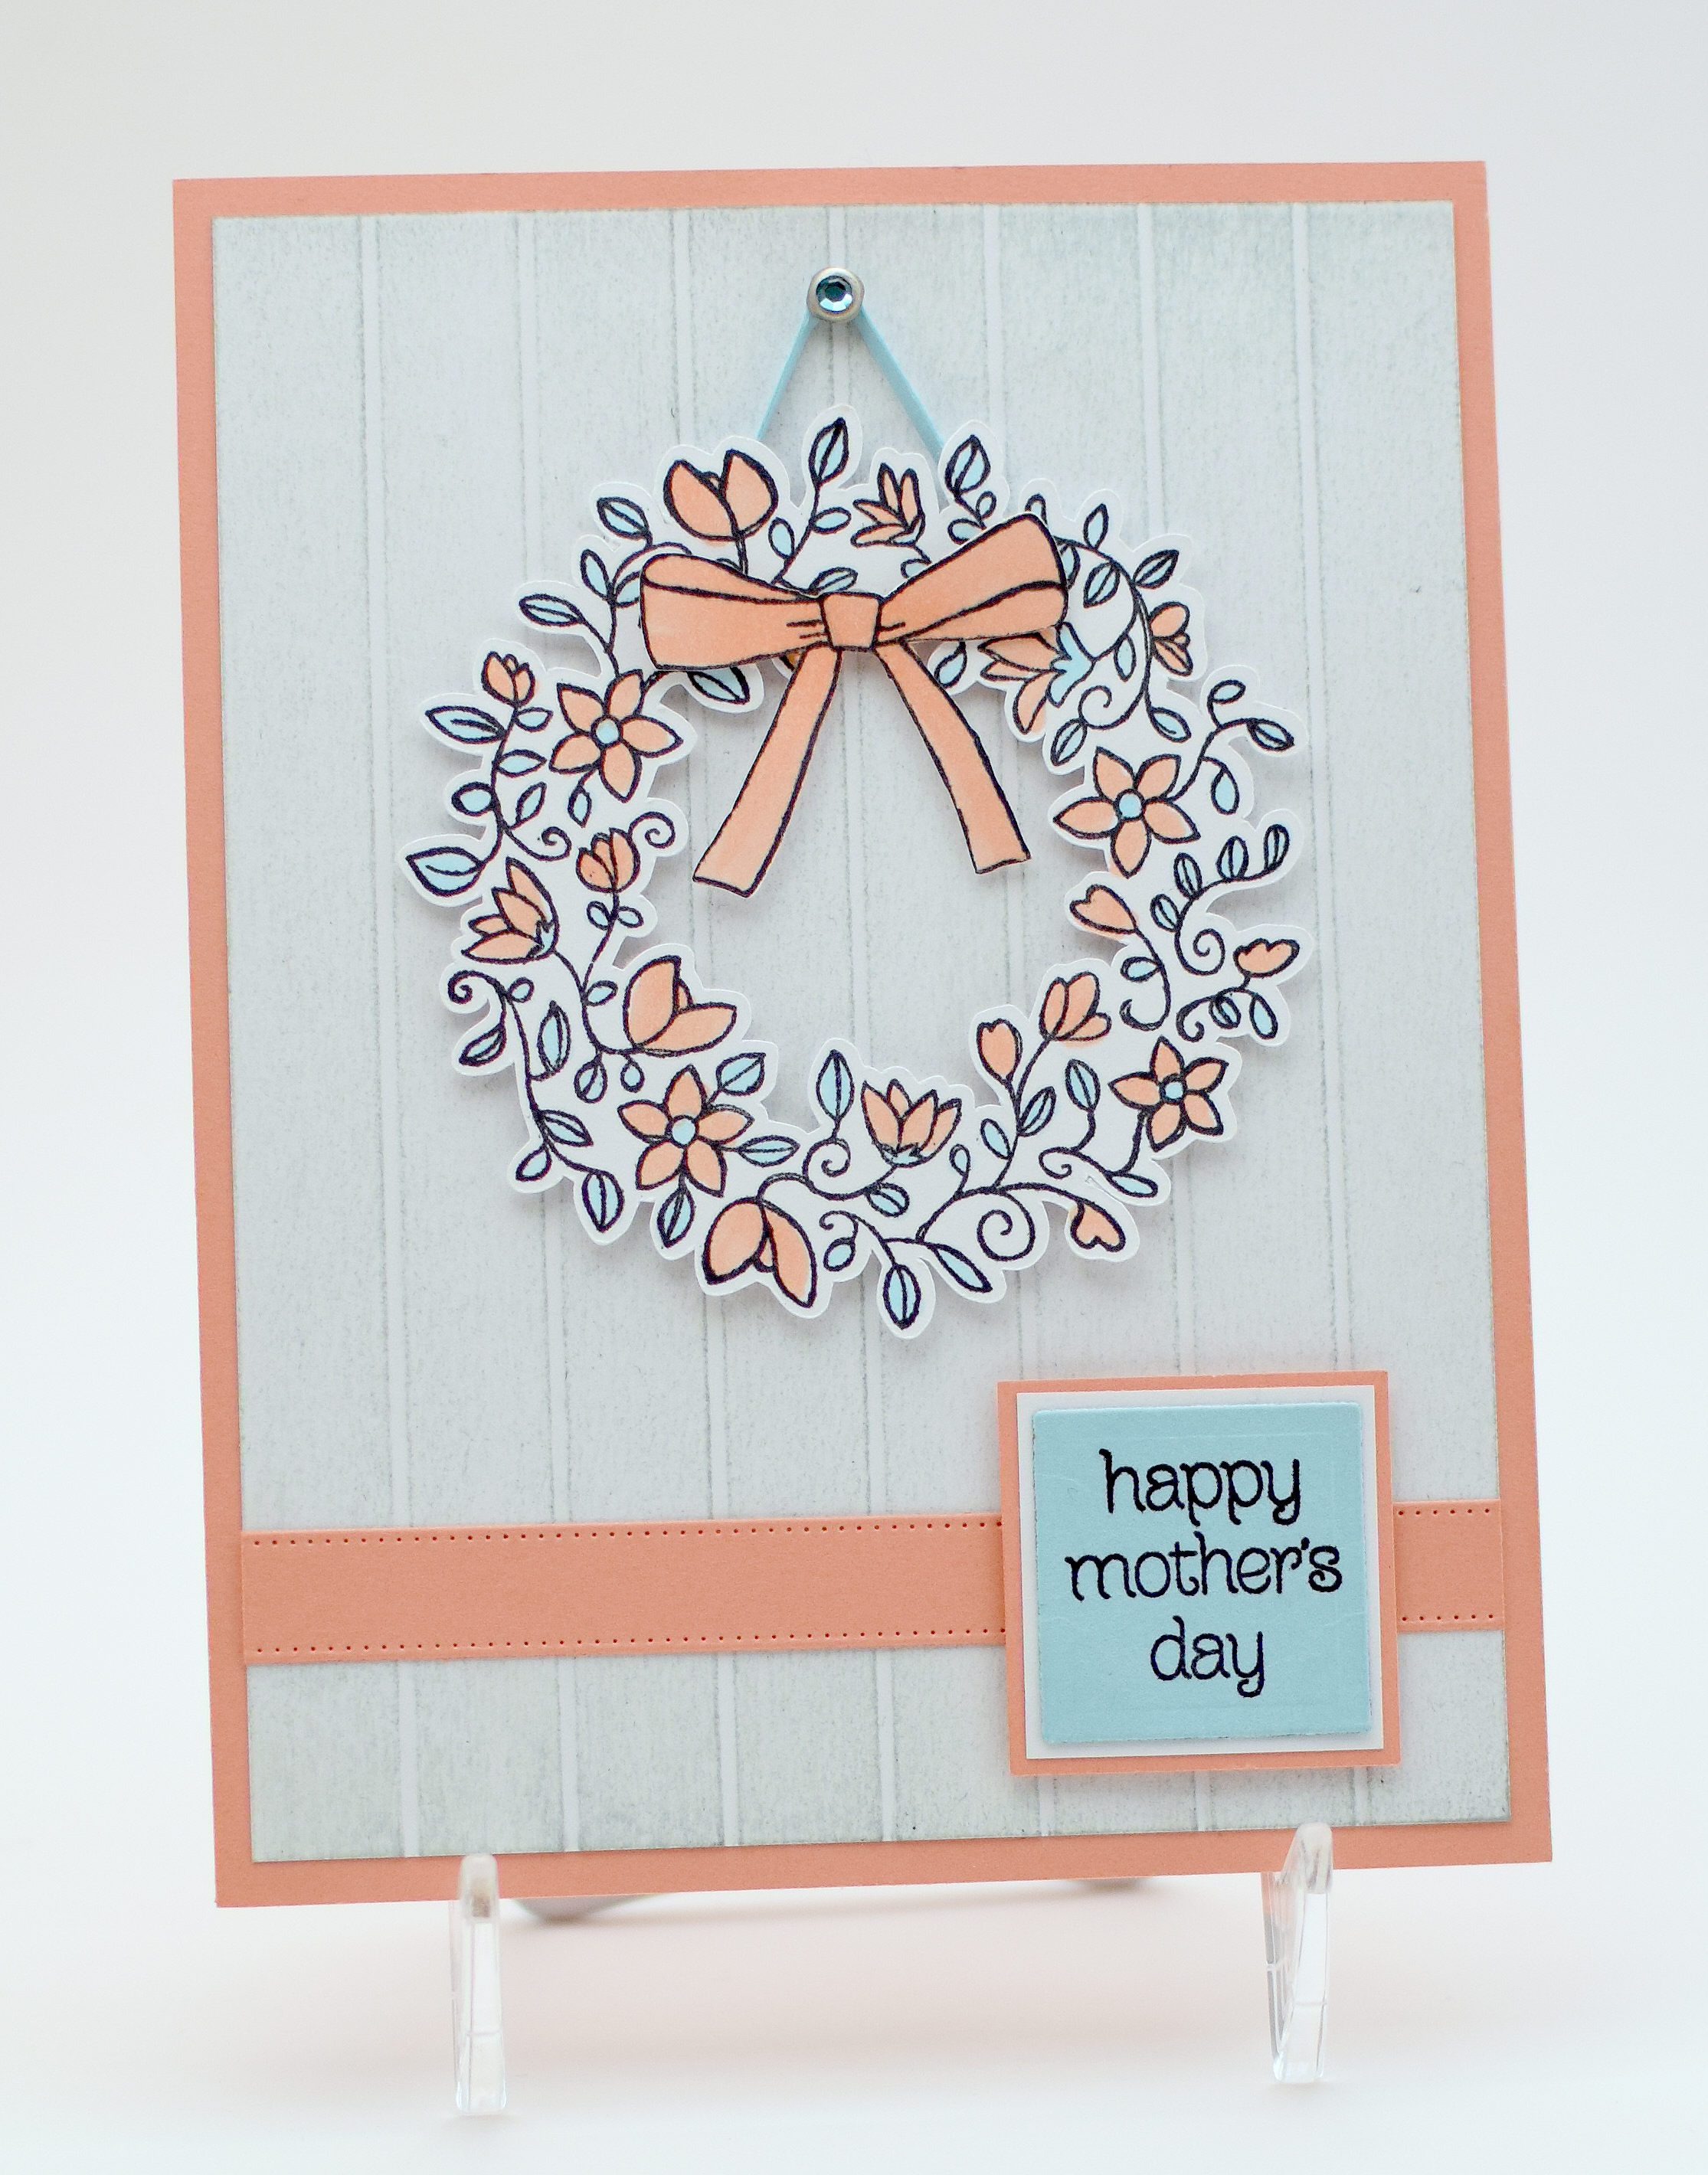
This Mother’s Day card features stamps from the “Circle of Spring” set by Stampin’ Up. I really love this delicate wreath image and chose to keep the layout simple to highlight the wreath.
I created a faux wood-grained background by scoring a piece of white card stock with my Martha Stewart Scoring Board and then swiping Papertrey Ink Soft Stone ink across the surface. I also used Gina K Designs Peach Bellini and Ocean Mist card stock along with the white.
I created a cut file of the wreath with my Silhouette. Then I stamped the image onto the die cut with Memento Tuxedo Black ink and colored it with Copic Markers (E93 and B00). I know, it’s a bit weird that I chose blue for the leaves, but I LOVED these two colors together!
I created the “ribbon” with the “Alison’s Ribbons” die by Cheery Lynn Designs and used a die from the “Classic Squares (large)” set by Spellbinders for the greeting block. (The mats were cut with my trimmer.) The finishing touch was a “string” created with a thin strip of the Ocean Mist card stock and a jeweled brad by Recollections.
Thanks for checking out my card project!
This content uses referral links as described in the disclosure policy on my sidebar.