“I Do” Wedding Box Card

“I Do” Wedding Box Card (with photo of new card design added)

wDSC_5742c lucky plus picasa

You’ll see as you read further, that I was not happy with the dimensions of the “finished” design that I originally posted.  After posting that version of the card, I went back and reworked the design, and I’ve amended this post to include the “new finished” card (above).

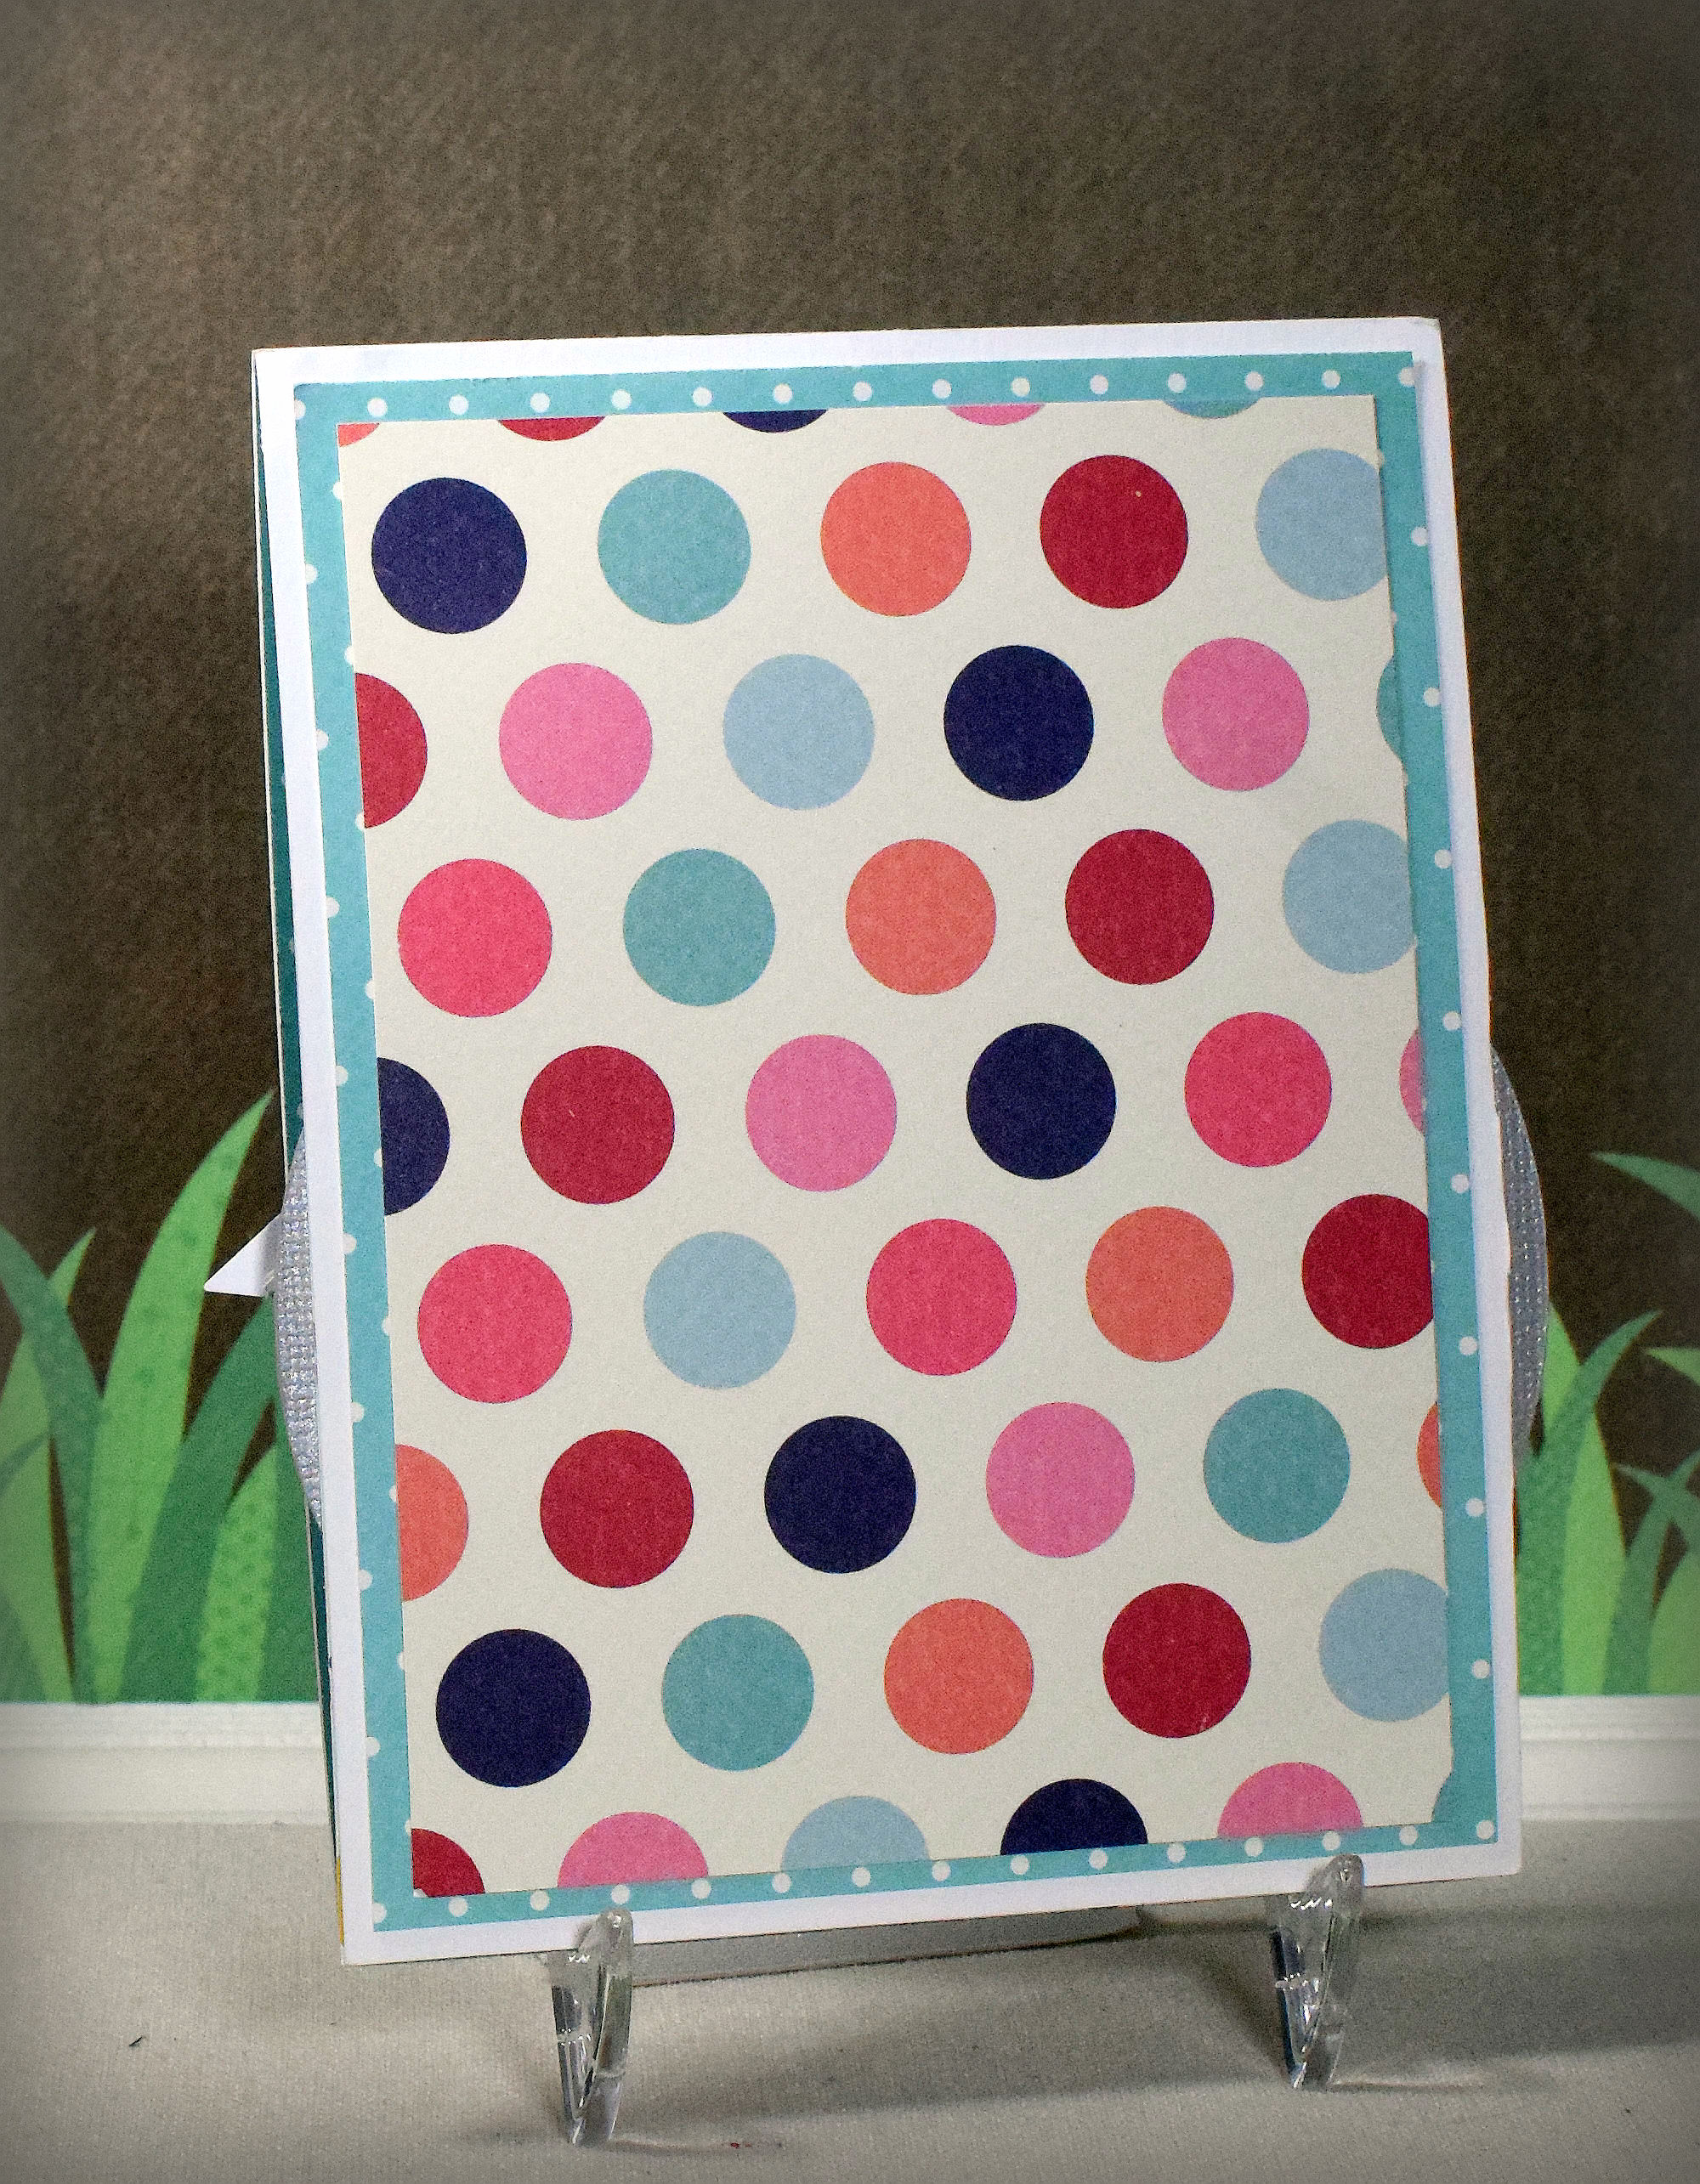
Here’s the version I thought was my finished card at the end of day 1 (and the card I originally posted for this post):

wDSC_5704c lucky picasa

This version is still quite different from my original idea!

When I first sat down to make a wedding card, I knew I wanted to try a white on white, monochromatic card.  I’ve tried this on several occasions in the past and always ended up adding another color.   I was determined to stick with one color this time, and that’s about all that was left from my original idea for this initial version!

My first thought was to attach a few wedding themed die cuts to an embossed card front.  In order to help my die cut layers stand out from one another, I cut them several times and stacked/glued them together creating chipboard-like cuts.  They were so sturdy that I started thinking that they could very easily stand on their own and then tried to create a z-fold card inspired by this sample I found online:

Foxy-Baby-d

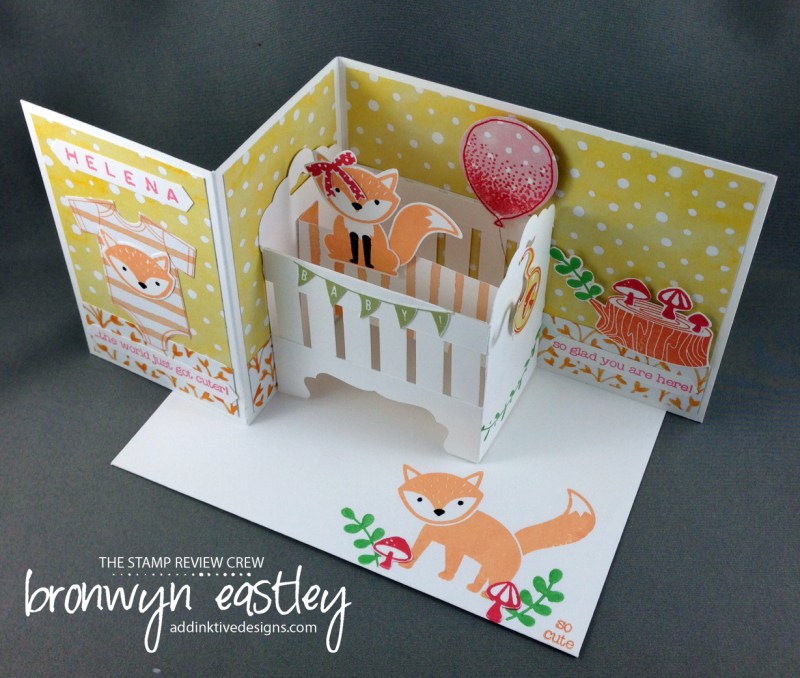
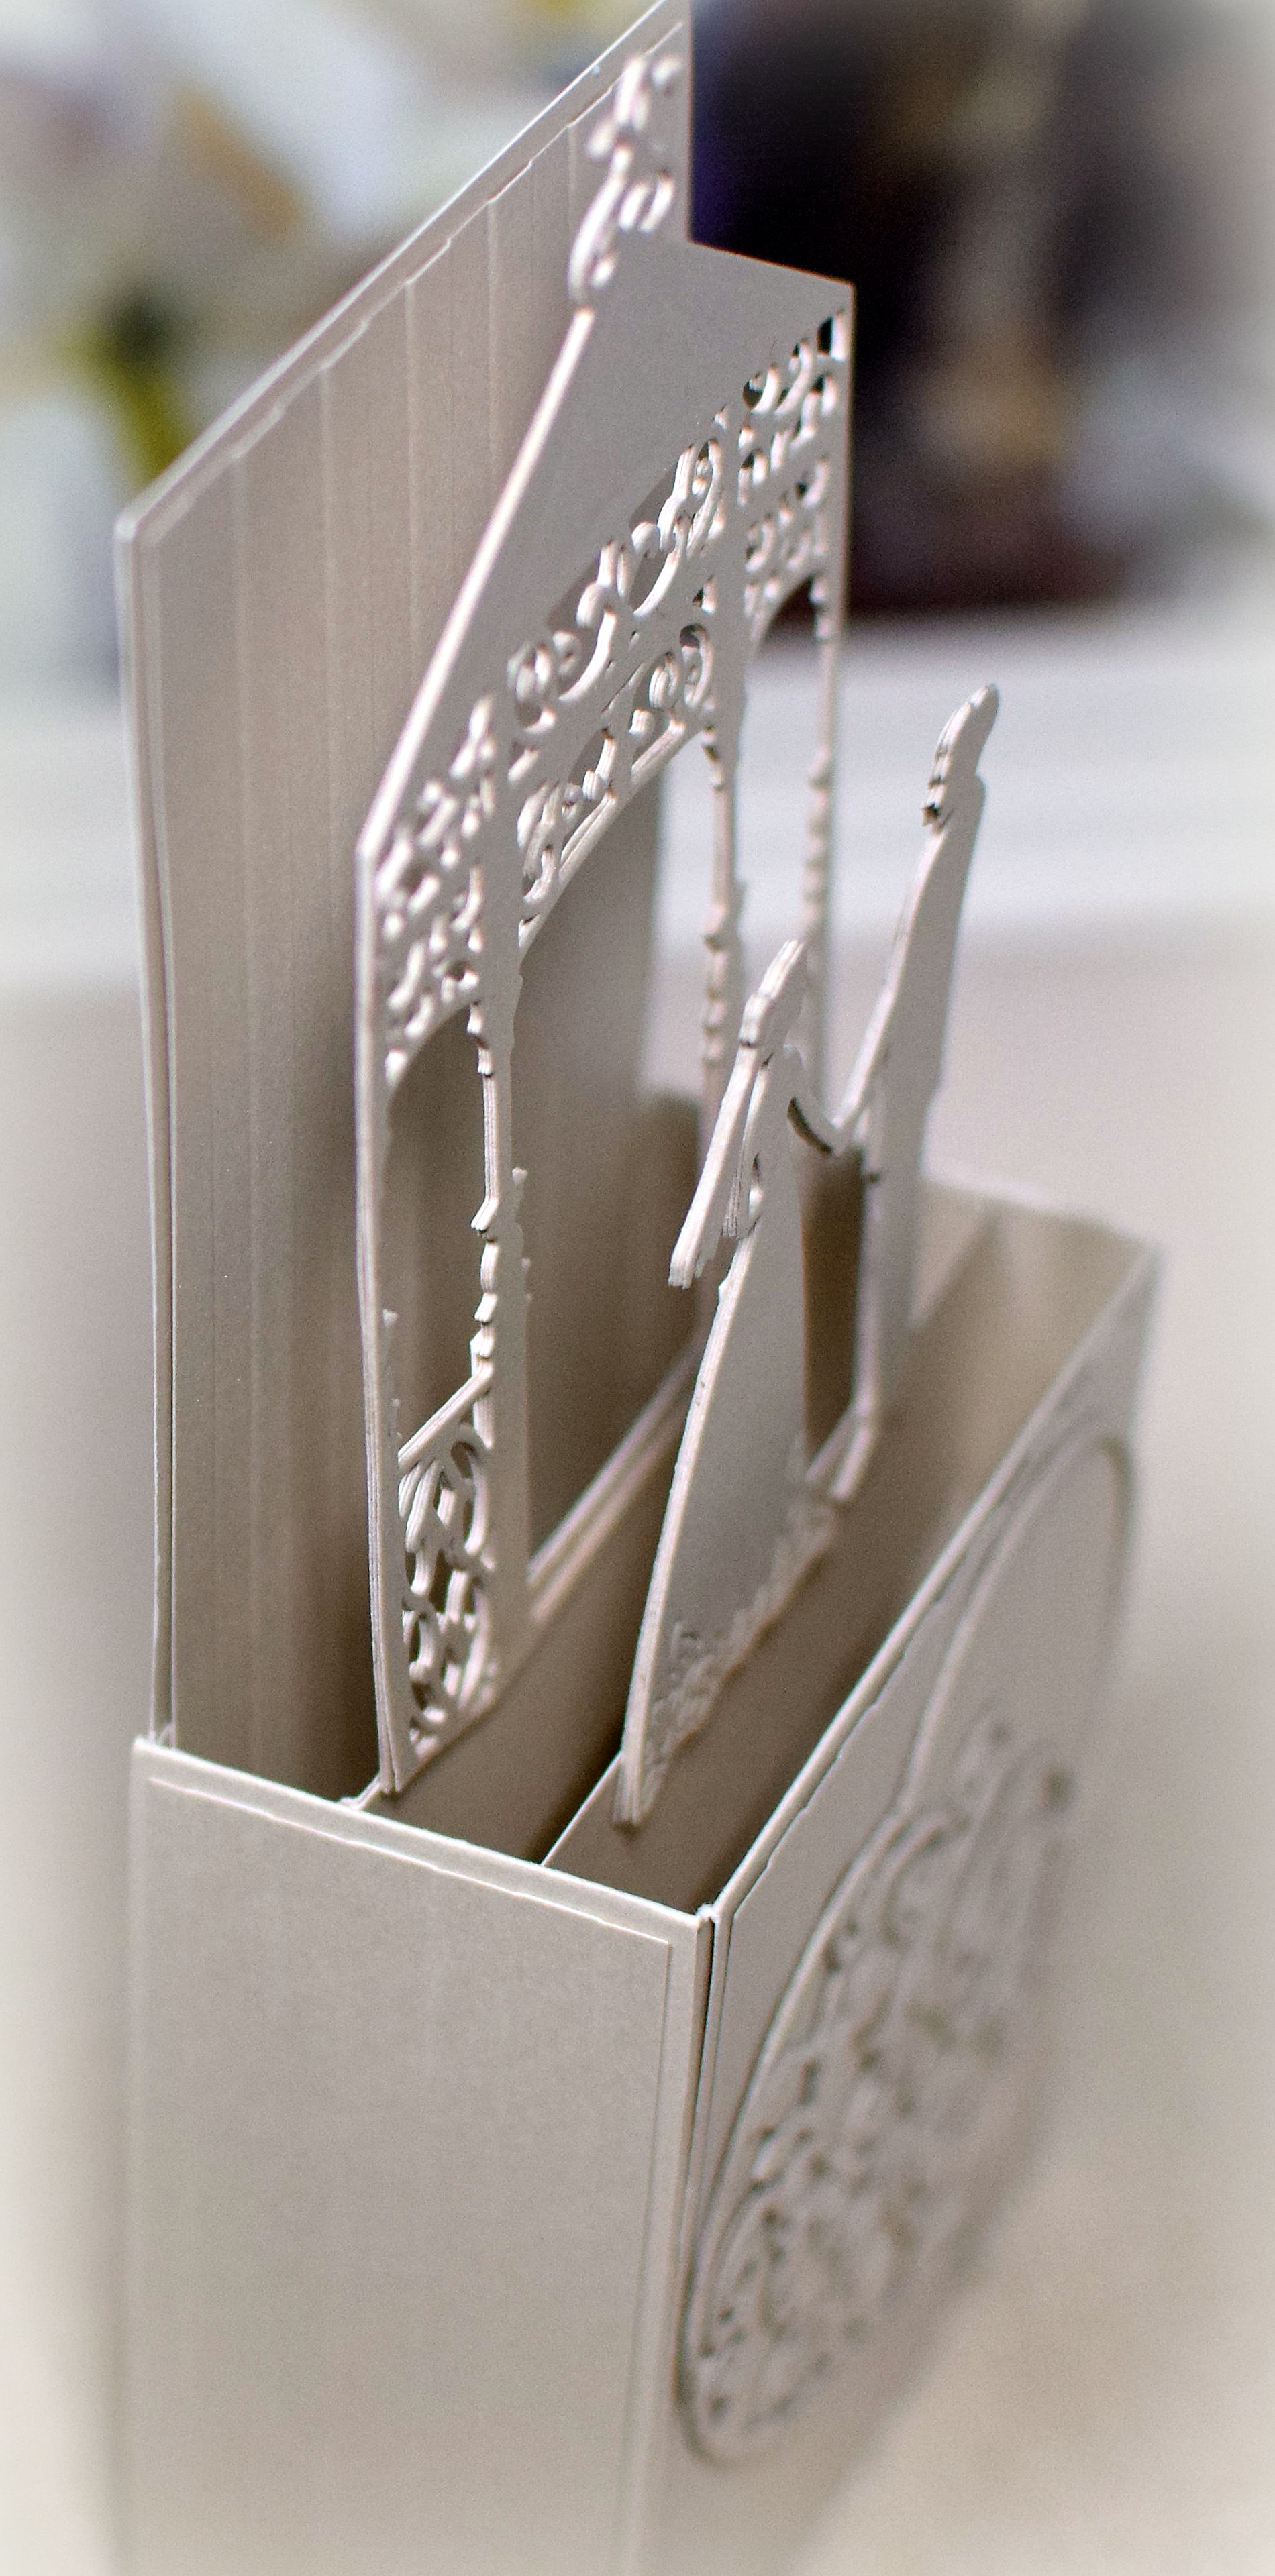
Isn’t it just the cutest?!  Anyway, I created my pop-up mechanism (similar to the crib above with the three parallel panels but made with very short, plain strips instead) and attached the gazebo and the bride and groom die cuts to it.  (I planned to use the heart on the front when the card was closed.)  The problem was that I wanted my inner pop-up pieces to be completely hidden when my card was closed, and I just couldn’t figure out how to make that work with this z-fold type card base and the size of my pop-up structure.

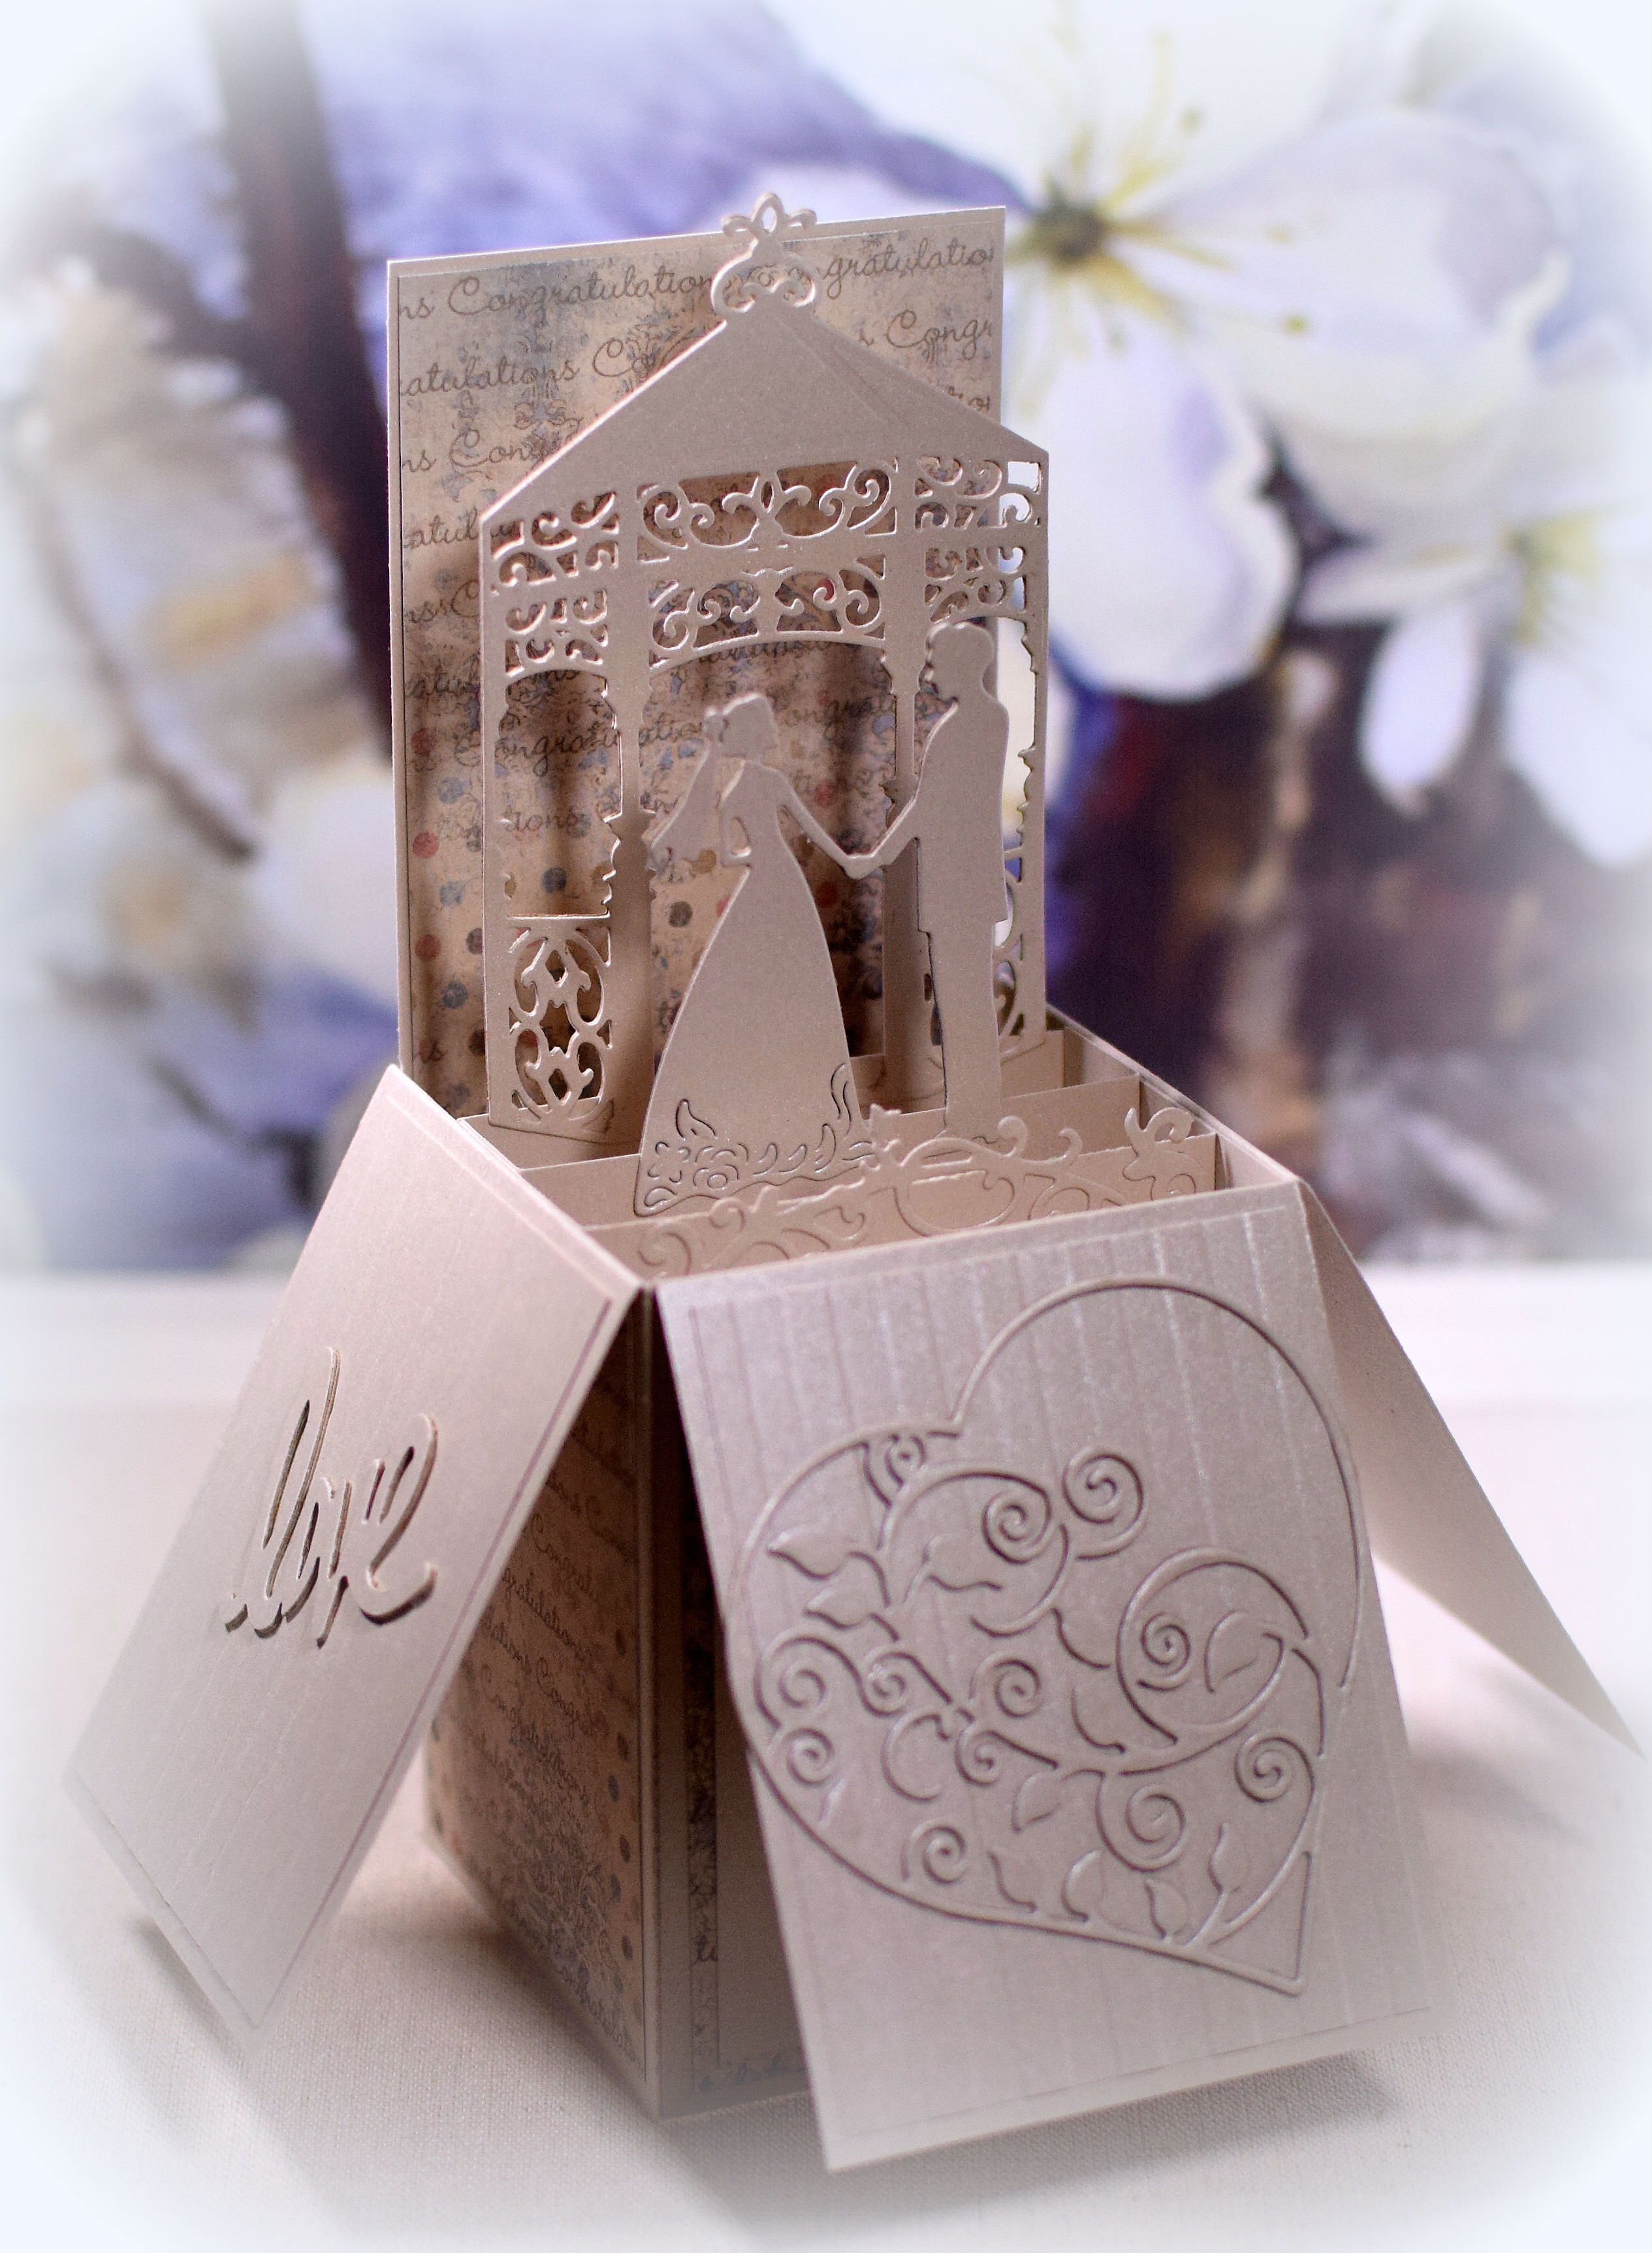
So my next thought was to use my pop-up mechanism to create a box card.  It ended up skinnier than most box cards (because it was supposed to be in the z-fold!), and it also became super tall when I decided to put the heart on the front flap.

wDSC_5701c lucky picasa

I was not quite ready to give up on the z-fold design, so I glued the flaps down (mistake?!) and wasted quite a bit more paper and time trying to come up with a card base that would work with my box card.  No luck so I finally decided to leave it a “skinny” box card and call it a day.  (It’s the weird size that is still bugging me.  Sigh…..)

The card stock was from the Recollections “Shimmer Champagne and Silver” pack.  I embossed the background panels with the Sizzix/Stampin’ Up “Stripes” embossing folder.  I used the “Gazebo” d-lites die from Spellbinders, the “Hollowout Heart” die from Whitelotous, and the “Bride and Groom” die from Otgo.

wDSC_5703c picasa

There is space on the back for a message to the bride and groom.  This card folds flat for mailing, and when folded, it measures about 7.75×4.5 inches.  I created a custom envelope for this card, but it would have fit (with extra room) into an A9 (5.75 x 8.75 inches) envelope.

wDSC_5704c lucky picasa

Thanks for checking out my card project!

This content uses referral links as described in the disclosure policy on my sidebar.

Basket of Easter Eggs

Basket of Easter Eggs

(inside: Have an egg-cellent Easter!)

I found this AMAZING tutorial (great idea and easy to follow) by Lyssa Zwolanek to make a basket weave background and CASED the basket and liner she created.

I was so excited to try this technique that I didn’t give much thought to the size of the basket I created.  As a result, I ended up with a 6×6 inch card that required a handmade envelope, a card base that needed to be pieced together from two heavy weight panels since my 12×12 inch paper was too flimsy, and a trip to the post office due to the square shape.  But I LOVE the way the basket came out, so it was all worth it!

DSC_5667c close

For the basket, I used Gina K Kraft card stock, the Stampin’ Up/Sizzix Brick Wall embossing folder, the Stampin’ Up Woodgrain background stamp, Stampin’ Up Early Espresso and Soft Suede ink, and water.

To attach my handle, I used a Recollections brad (# 10290115).  I rounded corners with a Fiskars small corner rounder.  The pleated liner was made with strips of Paper Pizazz/Hot Off the Press “Garden Scattered Flowers” patterned paper (HOTP 20163) and my score board.

I used Gina K Grass Green card stock and a Fiskars continuous border punch for the grass.  The eggs were cut with one of the dies from the Spellbinders Classic Ovals – Large set (S4-110) from patterned paper/card stock I had on hand (Basicgrey Plumeria/Moonstone and June Bug/Kaleidoscope card stock, Recollections Green Pinstripes paper, and My Mind’s Eye Memorable “I’m With…” Together card stock).

I used The Paper Studio Antique Brocade, Basicgrey Plumeria/Moonstone, and Core’dinations Bright White paper and card stock for the background panels.

I was really having a hard time finding Easter stamps suitable for the insides of cards.  I have a bunch of “Happy Easter” stamps and a few verses that I’ve already used on past cards.  The sentiment I ended up using is from the “Easter Chick” stamp set by Inky Antics – a little corny, I know, but it went well with the eggs on the front.    I will need to start looking earlier for next year’s cards!

Thanks for checking out my card post!

Happy Birthday Puzzle Card

Happy Birthday Puzzle Card

Puzzle Card wDSC_5639c lucky picasa.jpg

This card features a piece of patterned paper (either store bought or hand-made) and a greeting stamp.  I saw a tutorial for this type of card HERE and realized that it was a great way to use patterned paper that is too pretty to cover up.  Random, non-repeating patterns or scenes work best for this technique. Basically, you start with a piece of the patterned paper that you cut apart into several pieces, mat each piece, and then arrange them so the pattern looks the way it did before it was cut.  One of the panels is left off so a greeting could be added in the open space.  (The remaining piece was attached to the inside of the card on the sample I saw.)

My card above was cut and arranged similarly to the sample in the tutorial.  After I finished that card, I decided to try a few different layouts with different colors, cuts and arrangements….

wDSC_5640c auto contrast picasa  wDSC_5643c lucky picasa

wDSC_5644c lucky picasa

The possibilities are endless!

All of these cards were made with a piece of The Paper Studio “Watercolor Floral” patterned paper (#230094 from Hobby Lobby) and a stamp from the “Made With Love” set by Gina K Designs.  Either Gina K Blue Lagoon or Lipstick card stock and ink was used.

Thanks for checking out my card project!

Double Sided Step Card for Easter

Double Sided Step Card for Easter

Center Step Easter Card wDSC_5622c picasa.jpg

Here is another card which features the “Avant-Garden” stamp set by Stampin’ Up.  It was a free set with a $50 purchase (and retired after March 31, 2017).  The flowers were stamped with Gina K Lemon Drop, Jelly Bean Green, and Warm Cocoa ink.  Card stock is Gina K Lemon Drop, gray from the Recollections Neutrals pack, and white.  I embossed the tiny white panel with one of the folders from the Sizzix Textured Impressions “Flourish, Dots & Ribbons” set.

wwwDSC_5626c picasa

I got the measurements and instructions for this type of step card HERE on Sabrina Radeck’s blog.  I was inspired by her color combination as well!

Thanks for checking out my card post!

This content uses referral links as described in the disclosure policy on my sidebar.

Pop-up Birthday Wishes

Pop-up Birthday Wishes

I made 3 interactive birthday cards inspired by THIS card that Karen Hasheck posted on her blog and THIS video tutorial posted by Maymay that shows how to make the pop-up feature.  What’s fun about these cards is that when they are closed, the are flat and look like ordinary cards…

wDSC_5550c picasa

…but when they open, the animals’ arms pop out.

These cards were for my triplets who celebrated their birthday several weeks ago.  I know they are not babies anymore (this was their 18th birthday – YIKES!!), but they are good sports and humor me when they know I am trying out a new card design.  (And they actually seemed to get a kick out of them – opening and closing them repeatedly!)

Here are the other two designs…

and

elephant wDSC_5566c picasa.jpg

and their fronts…

wDSC_5560c picasa

wDSC_5563c picasa


The animal designs were adapted from files I purchased in the Silhouette Store.  I had the most trouble making the elephant work because the head, with the big ears, was either too big for the card (the trunk got in the way of the center folds and the ears extended too far over the sides) or too small for the rest of his body.  An elephant’s body is also pretty plain so I struggled with an idea to jazz him up a bit.  The overalls finally helped him come together.

I kept my card fronts super simple by just using the designer paper I used on the insides, but obviously, you can make them as elaborate as you want.

Over at the Die Cut Divas this month, the challenge theme is “for the love of animals/pets” where our projects must include an animal and must also include at least one die cut or embossing folder.  (Die cuts made from electronic die cutting machines are permitted.)

Here are the supplies used for each of the designs:

Continue reading