Happy Birthday Puzzle Card

Happy Birthday Puzzle Card

Puzzle Card wDSC_5639c lucky picasa.jpg

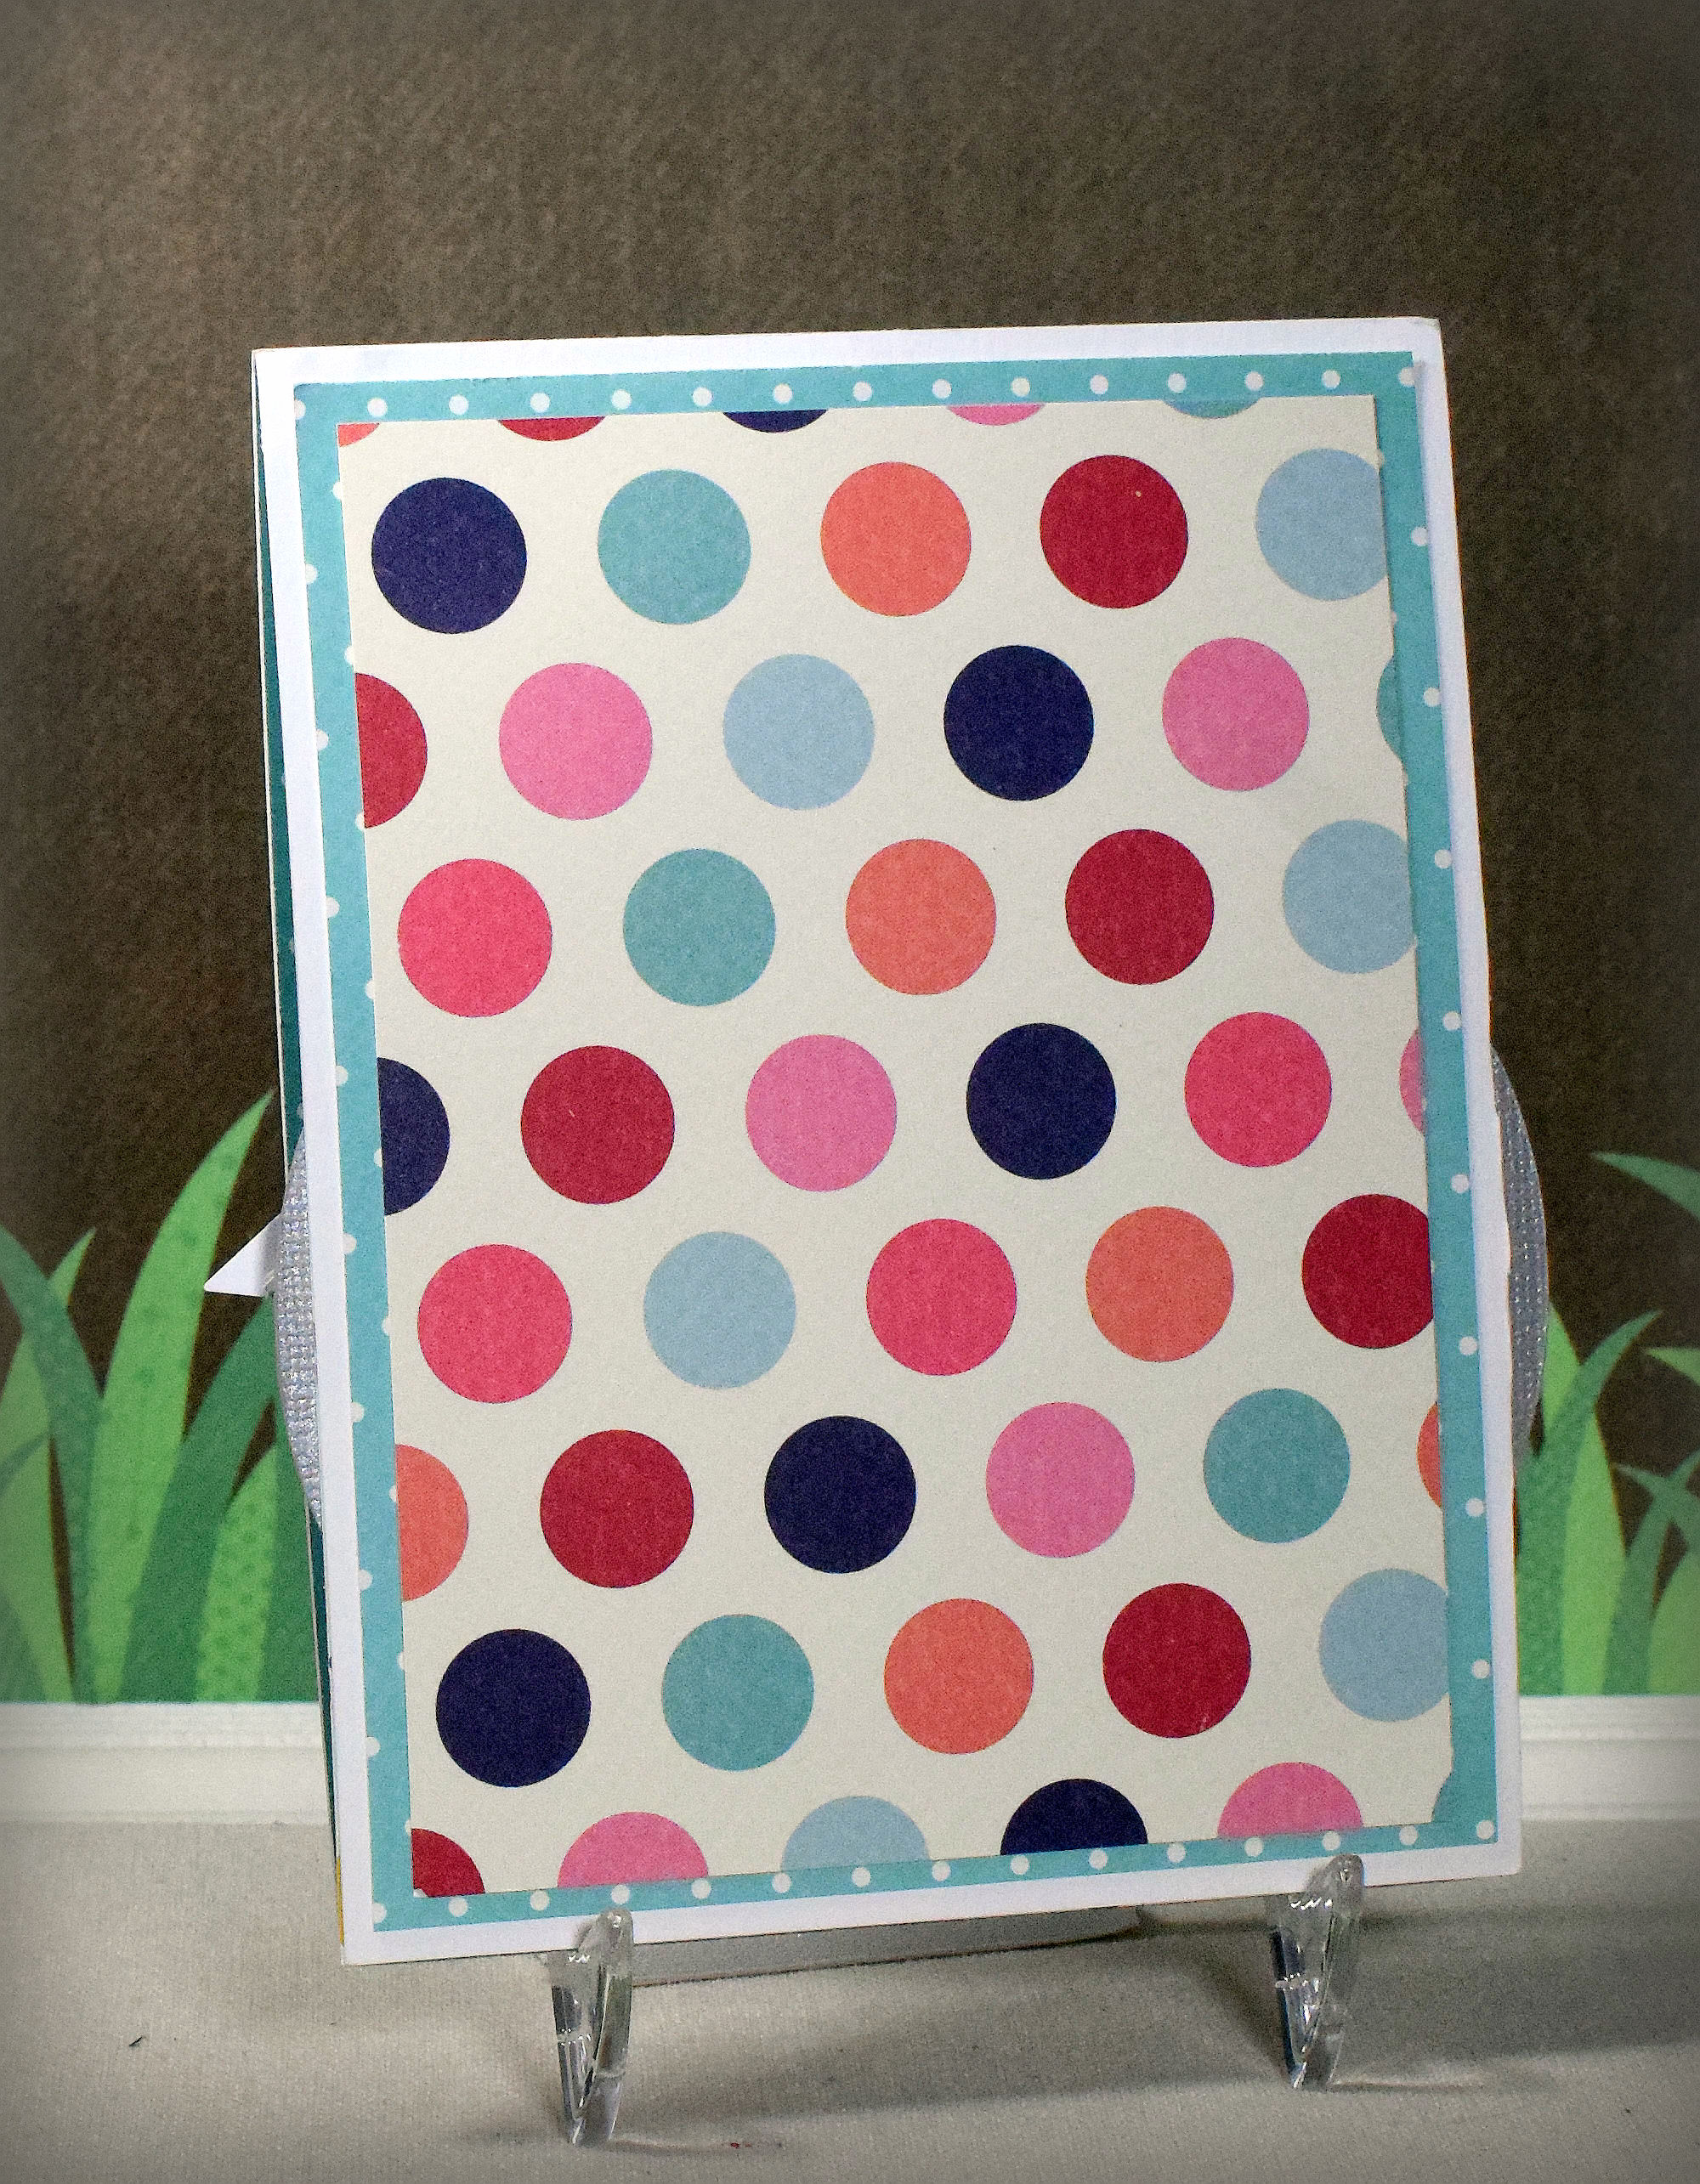
This card features a piece of patterned paper (either store bought or hand-made) and a greeting stamp.  I saw a tutorial for this type of card HERE and realized that it was a great way to use patterned paper that is too pretty to cover up.  Random, non-repeating patterns or scenes work best for this technique. Basically, you start with a piece of the patterned paper that you cut apart into several pieces, mat each piece, and then arrange them so the pattern looks the way it did before it was cut.  One of the panels is left off so a greeting could be added in the open space.  (The remaining piece was attached to the inside of the card on the sample I saw.)

My card above was cut and arranged similarly to the sample in the tutorial.  After I finished that card, I decided to try a few different layouts with different colors, cuts and arrangements….

wDSC_5640c auto contrast picasa  wDSC_5643c lucky picasa

wDSC_5644c lucky picasa

The possibilities are endless!

All of these cards were made with a piece of The Paper Studio “Watercolor Floral” patterned paper (#230094 from Hobby Lobby) and a stamp from the “Made With Love” set by Gina K Designs.  Either Gina K Blue Lagoon or Lipstick card stock and ink was used.

Thanks for checking out my card project!

Double Sided Step Card for Easter

Double Sided Step Card for Easter

Center Step Easter Card wDSC_5622c picasa.jpg

Here is another card which features the “Avant-Garden” stamp set by Stampin’ Up.  It was a free set with a $50 purchase (and retired after March 31, 2017).  The flowers were stamped with Gina K Lemon Drop, Jelly Bean Green, and Warm Cocoa ink.  Card stock is Gina K Lemon Drop, gray from the Recollections Neutrals pack, and white.  I embossed the tiny white panel with one of the folders from the Sizzix Textured Impressions “Flourish, Dots & Ribbons” set.

wwwDSC_5626c picasa

I got the measurements and instructions for this type of step card HERE on Sabrina Radeck’s blog.  I was inspired by her color combination as well!

Thanks for checking out my card post!

This content uses referral links as described in the disclosure policy on my sidebar.

Pop-up Birthday Wishes

Pop-up Birthday Wishes

I made 3 interactive birthday cards inspired by THIS card that Karen Hasheck posted on her blog and THIS video tutorial posted by Maymay that shows how to make the pop-up feature.  What’s fun about these cards is that when they are closed, the are flat and look like ordinary cards…

wDSC_5550c picasa

…but when they open, the animals’ arms pop out.

These cards were for my triplets who celebrated their birthday several weeks ago.  I know they are not babies anymore (this was their 18th birthday – YIKES!!), but they are good sports and humor me when they know I am trying out a new card design.  (And they actually seemed to get a kick out of them – opening and closing them repeatedly!)

Here are the other two designs…

and

elephant wDSC_5566c picasa.jpg

and their fronts…

wDSC_5560c picasa

wDSC_5563c picasa


The animal designs were adapted from files I purchased in the Silhouette Store.  I had the most trouble making the elephant work because the head, with the big ears, was either too big for the card (the trunk got in the way of the center folds and the ears extended too far over the sides) or too small for the rest of his body.  An elephant’s body is also pretty plain so I struggled with an idea to jazz him up a bit.  The overalls finally helped him come together.

I kept my card fronts super simple by just using the designer paper I used on the insides, but obviously, you can make them as elaborate as you want.

Over at the Die Cut Divas this month, the challenge theme is “for the love of animals/pets” where our projects must include an animal and must also include at least one die cut or embossing folder.  (Die cuts made from electronic die cutting machines are permitted.)

Here are the supplies used for each of the designs:

Continue reading

A Few Simple Notecards

A Few Simple Notecards

group zDSC_5604c picasa.jpg

I was almost embarrassed to post these cards since they are so simple.  Each of these cards was made because I needed a card, and fast.  And as I mentioned recently, I am trying to be “ok” with simple designs!

Yellow Daisies wDSC_5572c Picasa.jpg

This super quick thank you note features Paper Pizazz/Hot Off the Press “Yellow Daisies” printed paper, Core’dinations “Dark Blue Large Dot” card stock, and a stamp from the “Think Big Favorites #5” set by Papertrey Ink stamped in Gina K Blue Denim ink.  Recollections ivory card stock was used for the card base.  I LOVED the soft colors of the daisy paper and the font of the stamp and wanted to feature both. Cut, stamp, done.  This card practically made itself!

x

volleyball with embossing wDSC_5592c picasa

This next card features the “Volleyball” stamp by stampabilities and a greeting from the “Short and Sweet” set by Stampin’ Up.  The images were stamped with  Versafine Onyx Black ink.  I scored a line above the greeting and then partially embossed the panel above the score line with the Cuttlebug Swiss Dot embossing folder.

x

This card was made with card stock from both the  “Christmas – Holiday Printed Paper” pack (2014) and “Shimmer Champagne” by Recollections.  The greeting panel was cut with the EK Tools “Real Estate Sign” large punch and stamped with Gina K Kraft ink.  I did not have a punch to create a border, so I used a copic marker (E84) to draw one.  (Not really loving that, but I didn’t have time to do a “trace and cut” with the Silhouette since I needed to send this quickly.)  The stamp is from the “Little Branches” set by Gina K Designs.

x

I think it took me longer to photograph these cards than it did to make them!  🙂

Thanks for checking out my card post!

 This content uses referral links as described in the disclosure policy on my sidebar.

Brushstroke Valentine

Brushstroke Valentine

wwDSC_5523c picasa lucky.jpg

(inside: Happy Valentin’e Day)

Did you ever see a card sample online and immediately realized that you just HAD to have the stamp used on it?  I had seen this heart stamp (from the “Stamp Your Story – Brush” set by Hero Arts) on several cards last year when I was looking for Valentine’s Day card ideas.

Hero Arts Brush

I searched high and low and could not find the stamp set anywhere.  I finally gave up my search and came up with a different idea.  This year, I started looking at ideas again, and this same heart image popped up in my search!  I resumed my search for the stamp and eventually learned (from customer service at Hero Arts) that the stamp set had been discontinued and was extremely hard to find.  Just as I was about to give up… again…, a listing popped up deep into my Google search from a person in Ireland selling her used set, on a site I had never heard of before.  (It looked like it had been posted just a few days before I was ready to stop looking.)  Right place at the right time, I guess!  I am not quite sure what it is about this stamp that I love so much, but I am sooooo happy I found it!  🙂

I repeatedly stamped the hearts with Gina K Bubblegum ink on white card stock.  The greeting was cut from Gina K bubblegum card stock using the Fiskars Teresa Collins Love Punch.  I cut several of these die cuts and glued them together for added dimension.  The white panel was crimped using my Marvy Uchida Corru-Gator Paper Crimper.

Thanks for checking out my card project!

This content uses referral links as described in the disclosure policy on my sidebar.