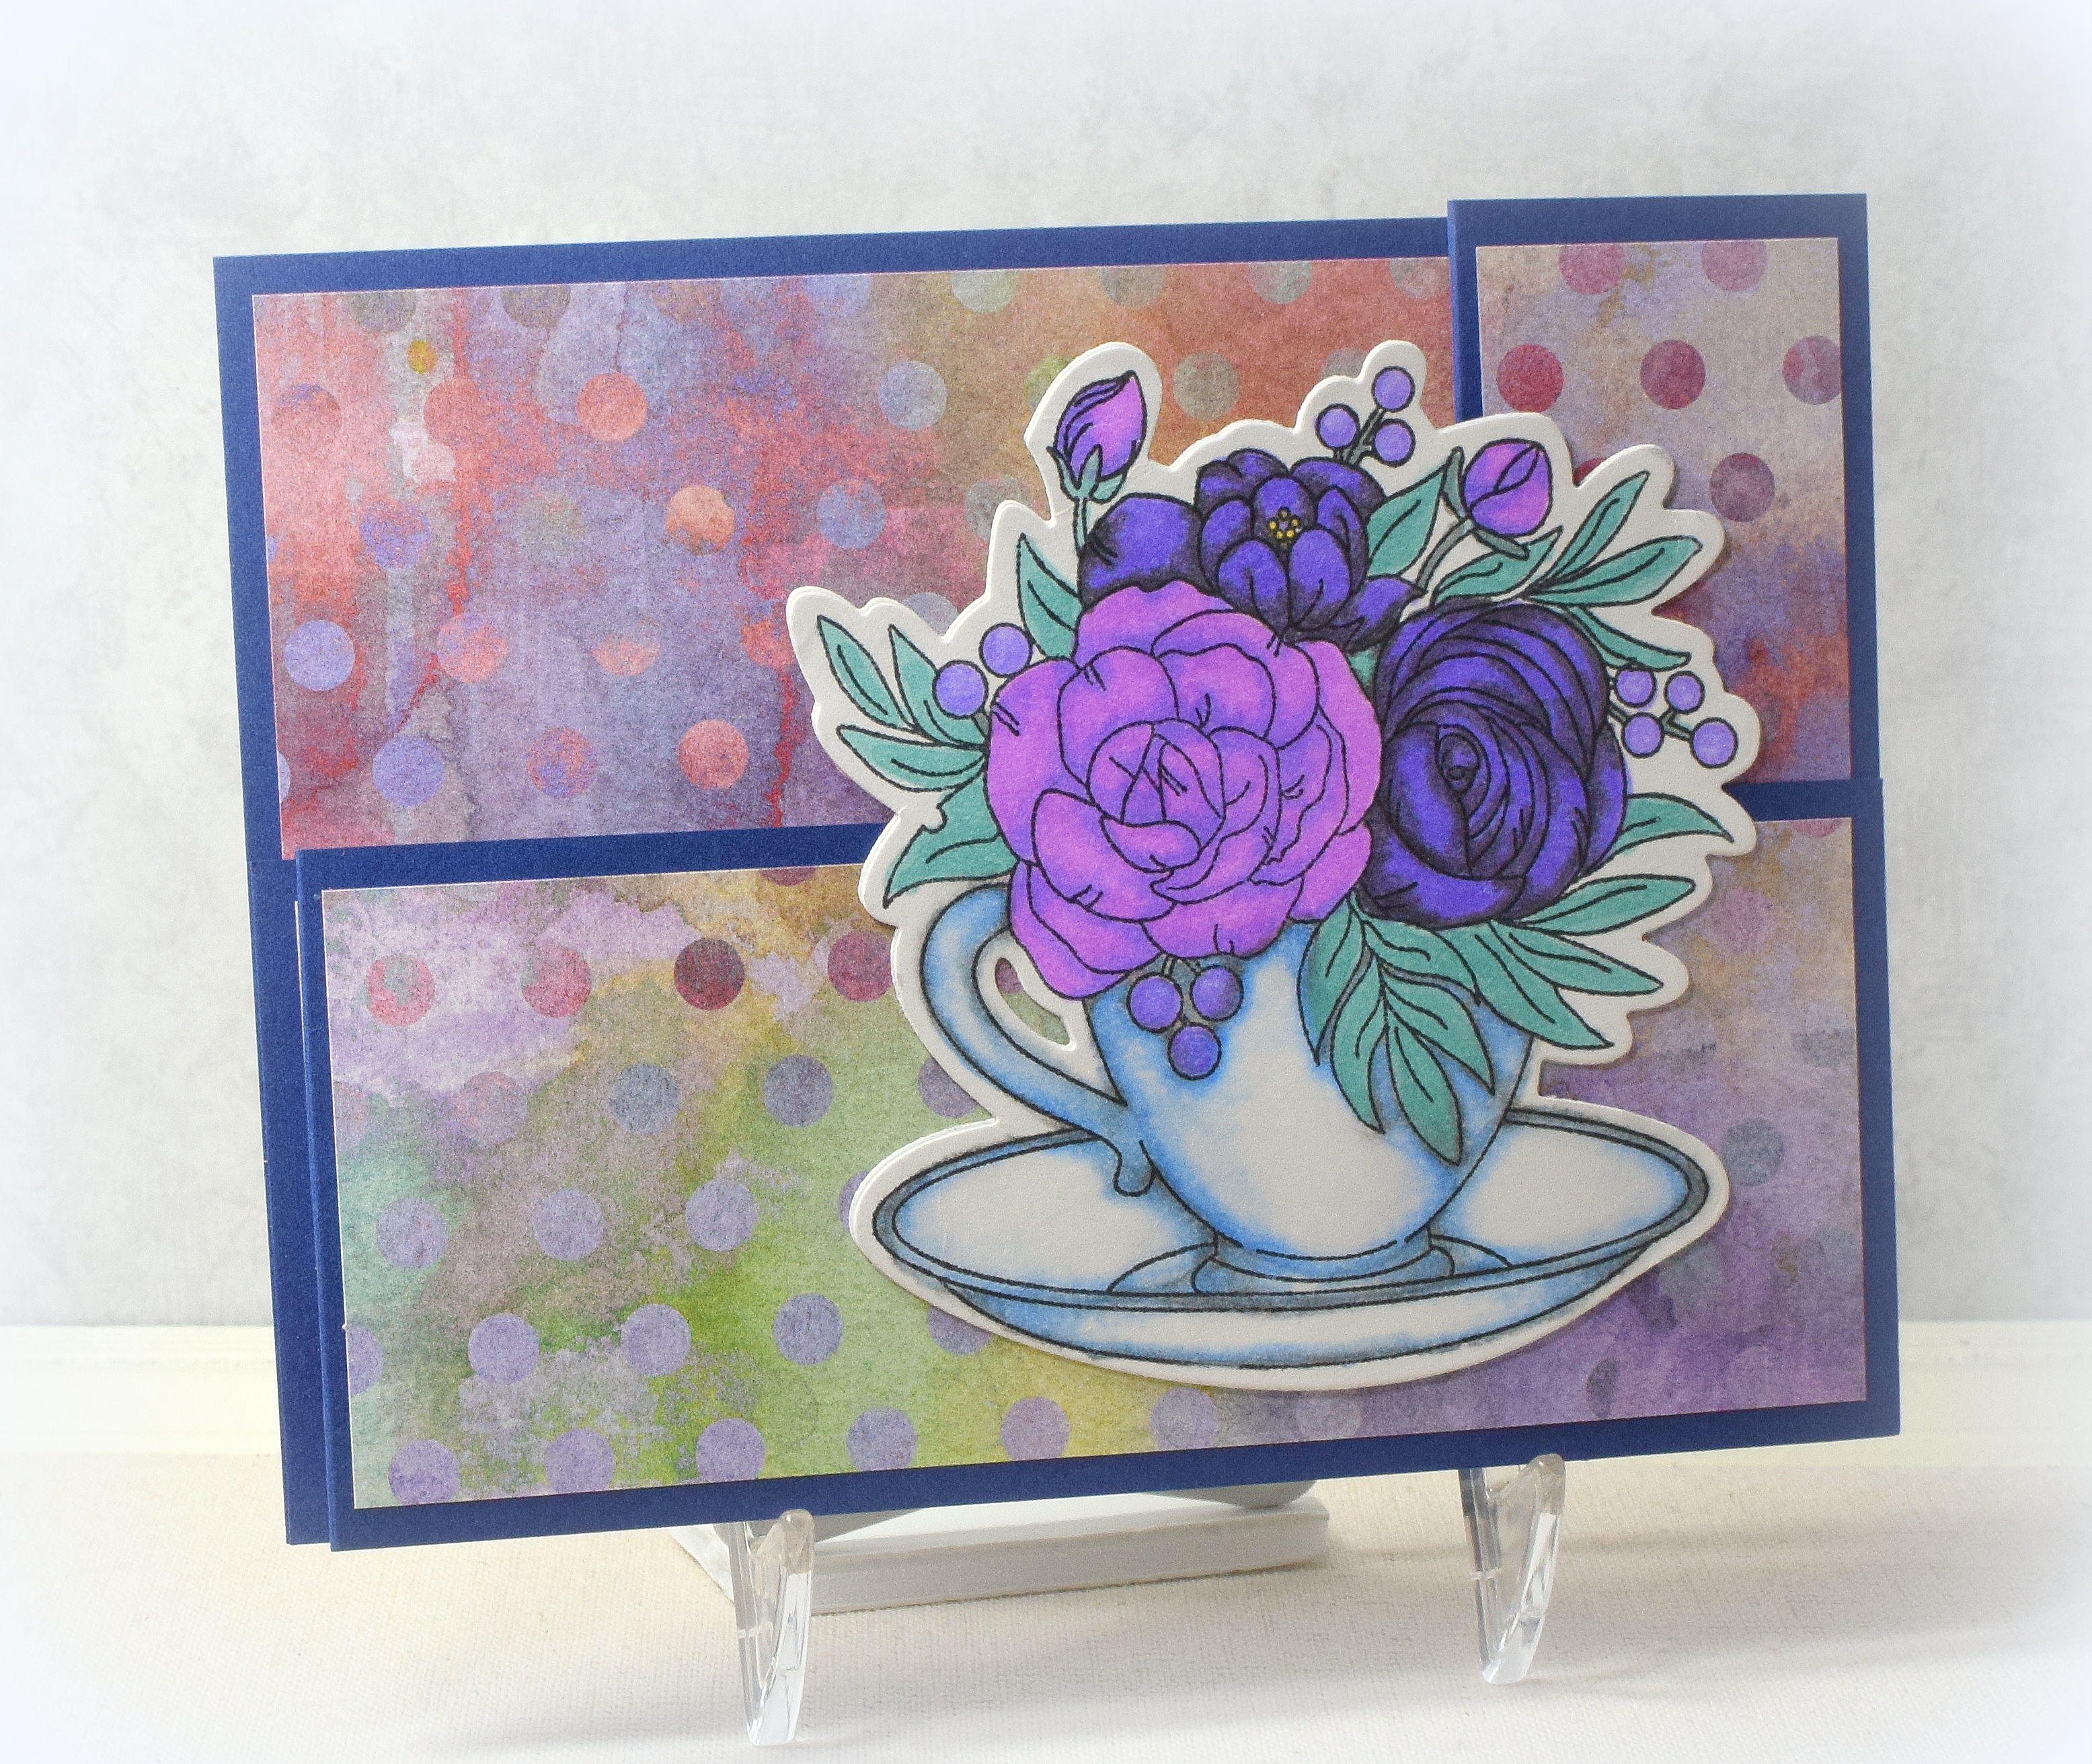
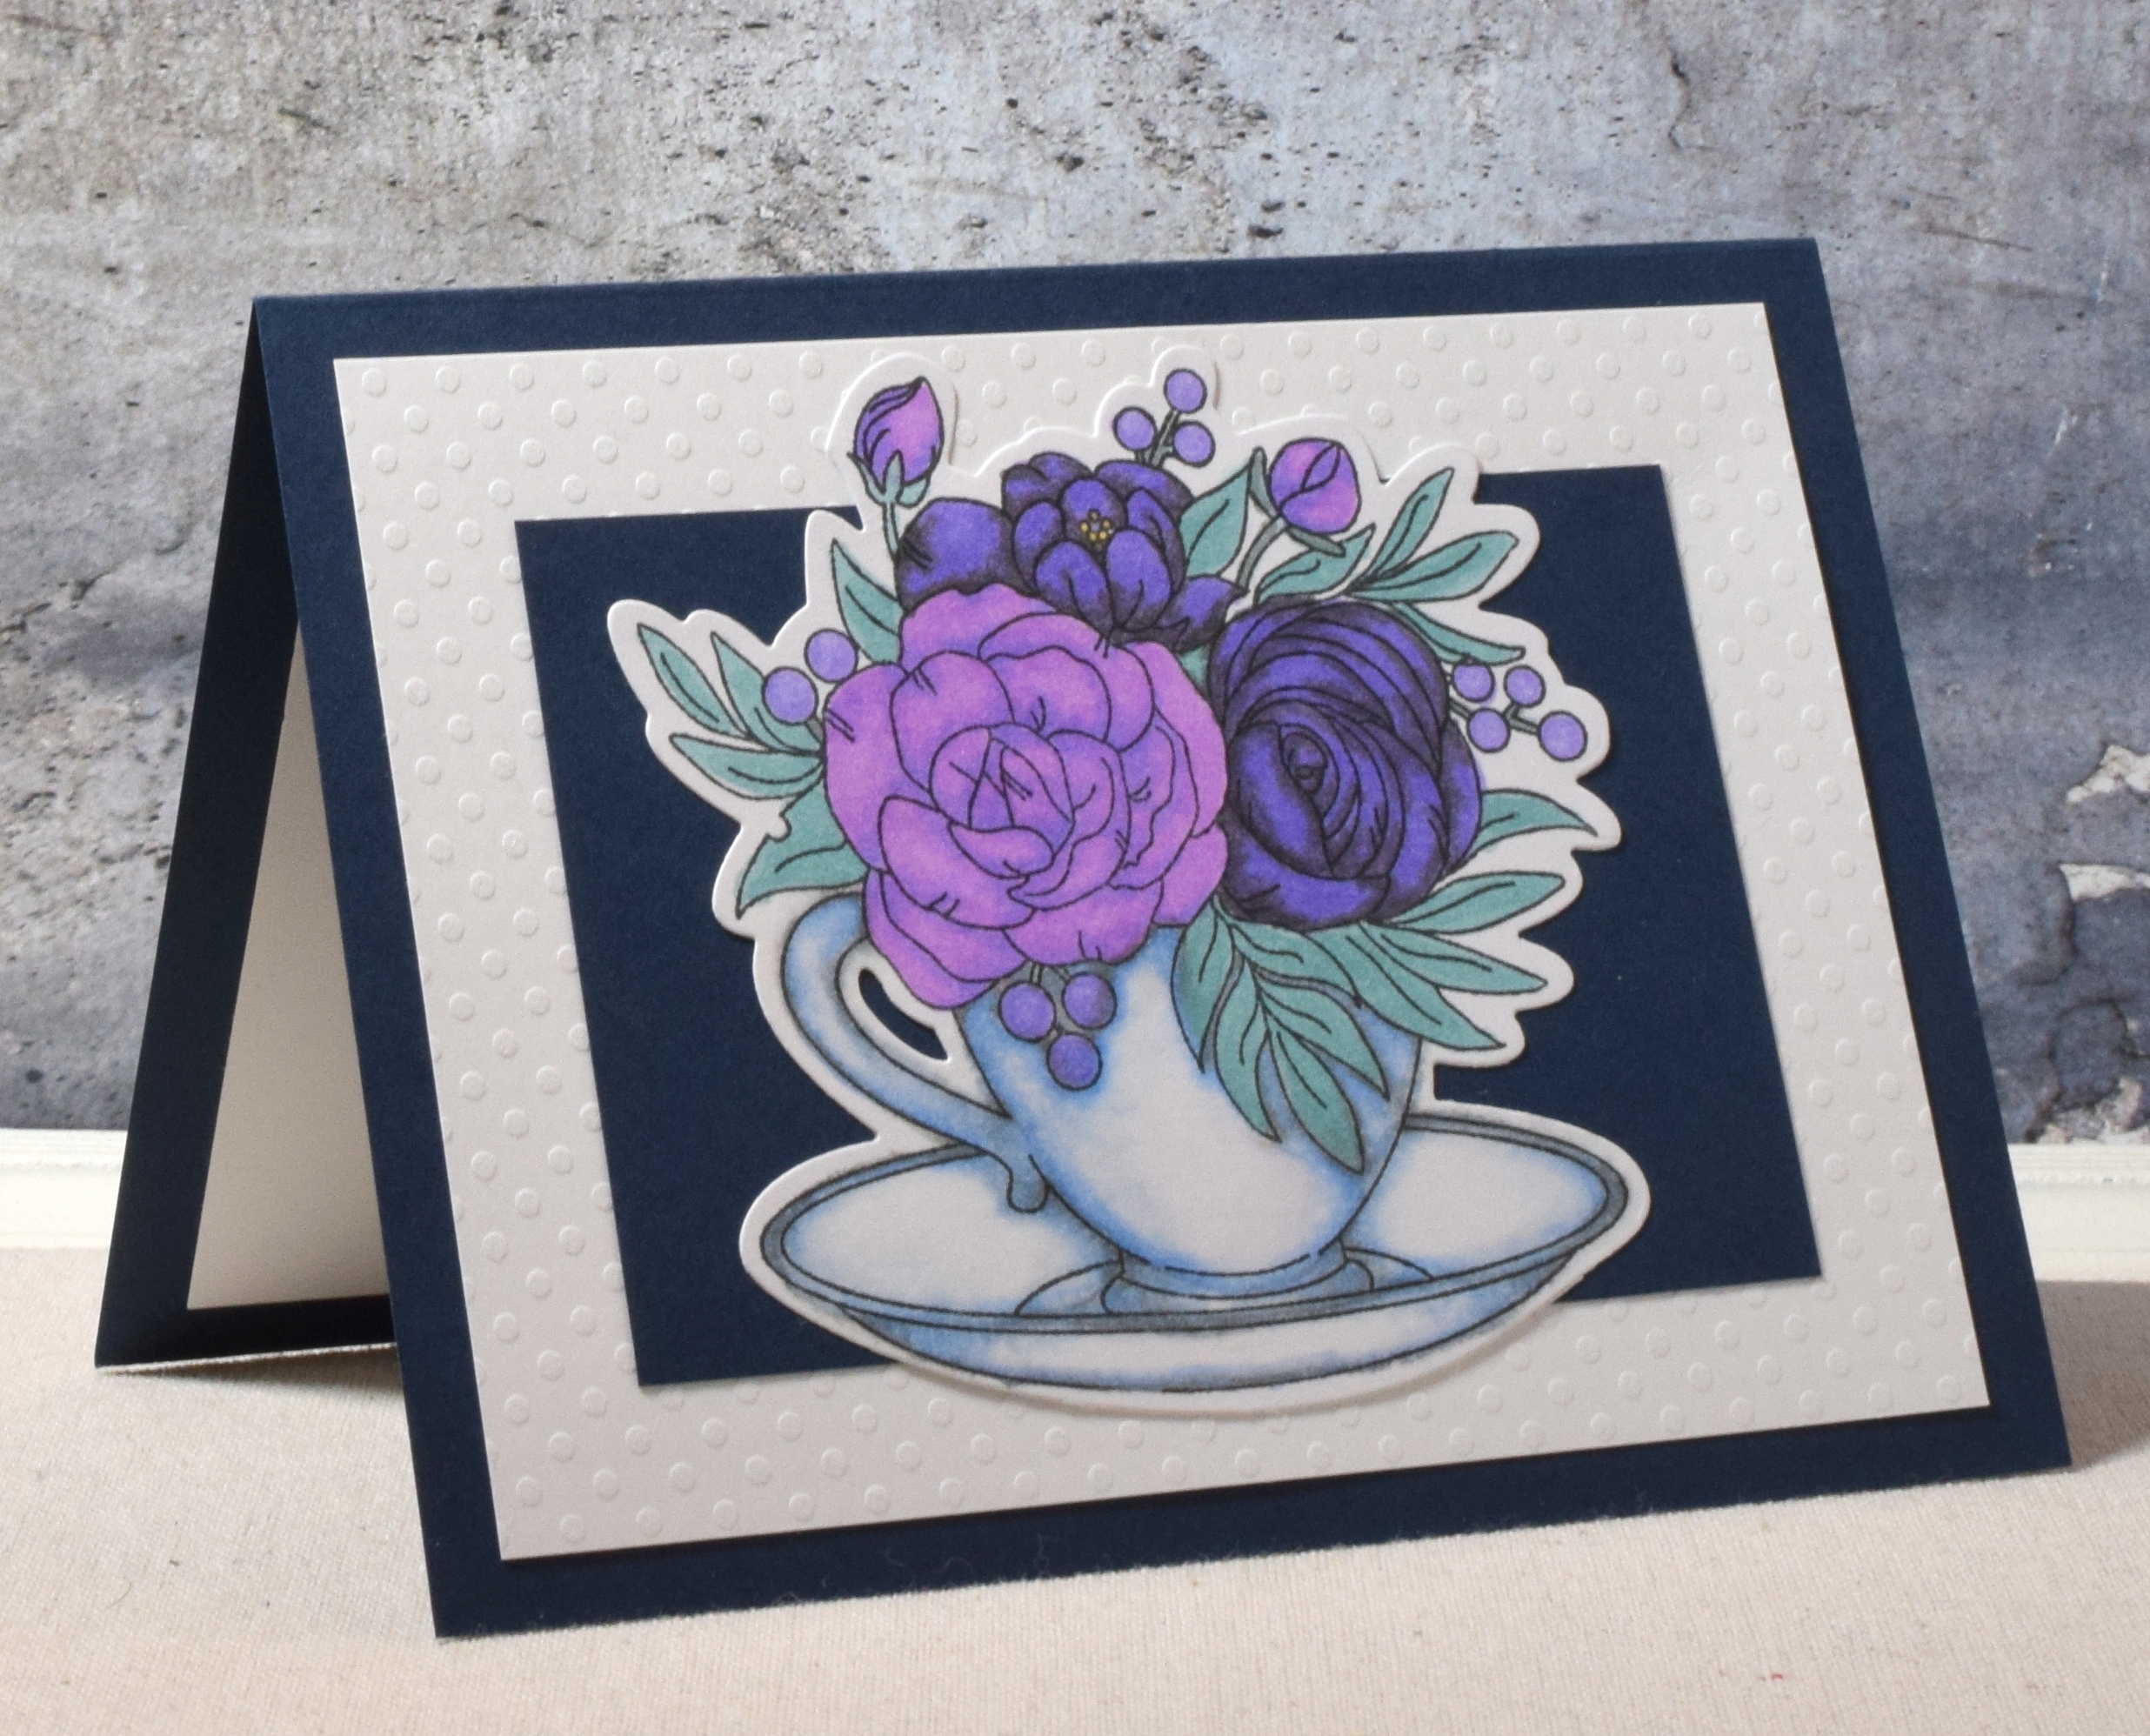
Floral Frame Napkin Card – with Tutorial

Recently, I had created a few cards with panels I made where I adhered napkins to card stock with cling wrap. It was suggested that freezer paper also works (thanks Bonnie and Verna), and I decided to give that a try. Oh my goodness – soooo much easier to work with! The freezer paper does not stick to itself (at all) or move around as much as the cling wrap does.
Another issue I had in the past was separating the back layer(s) from the front layer of the napkin. I discovered a tip (on this video at 12:20 mark) which is to use a piece of tape on the back of the napkin – near the corner, half on and half hanging over the edge. Use your finger nail or a bone folder to burnish/push it down on the corner really well. Then pull up on the tape. The portion of the back layer attached to the tape will begin to separate from the front layer(s). Once started, carefully pull the rest of the layer off. If there are two layers behind the front layer, use a second piece of tape to remove the second layer. Again – soooo much easier than fighting with the corners to get it started!
I used a pre-cut freezer paper sheet (instead of a roll) which I really liked because it did not curl and was easy to cut to size with either my paper trimmer or scissors. The freezer paper is shiny/coated on one side, and this is the side that “sticks” to the napkin when heat is applied either with an iron or when it is run through the minc (or laminator). (An additional layer of card stock was not needed as with the cling wrap method. Since there is only one coated side (that sticks to the napkin), there is nothing on the back to adhere to a card stock layer.)
If you care to see how I created my napkin panels with freezer paper, I’ve included complete instructions at the end of this post .
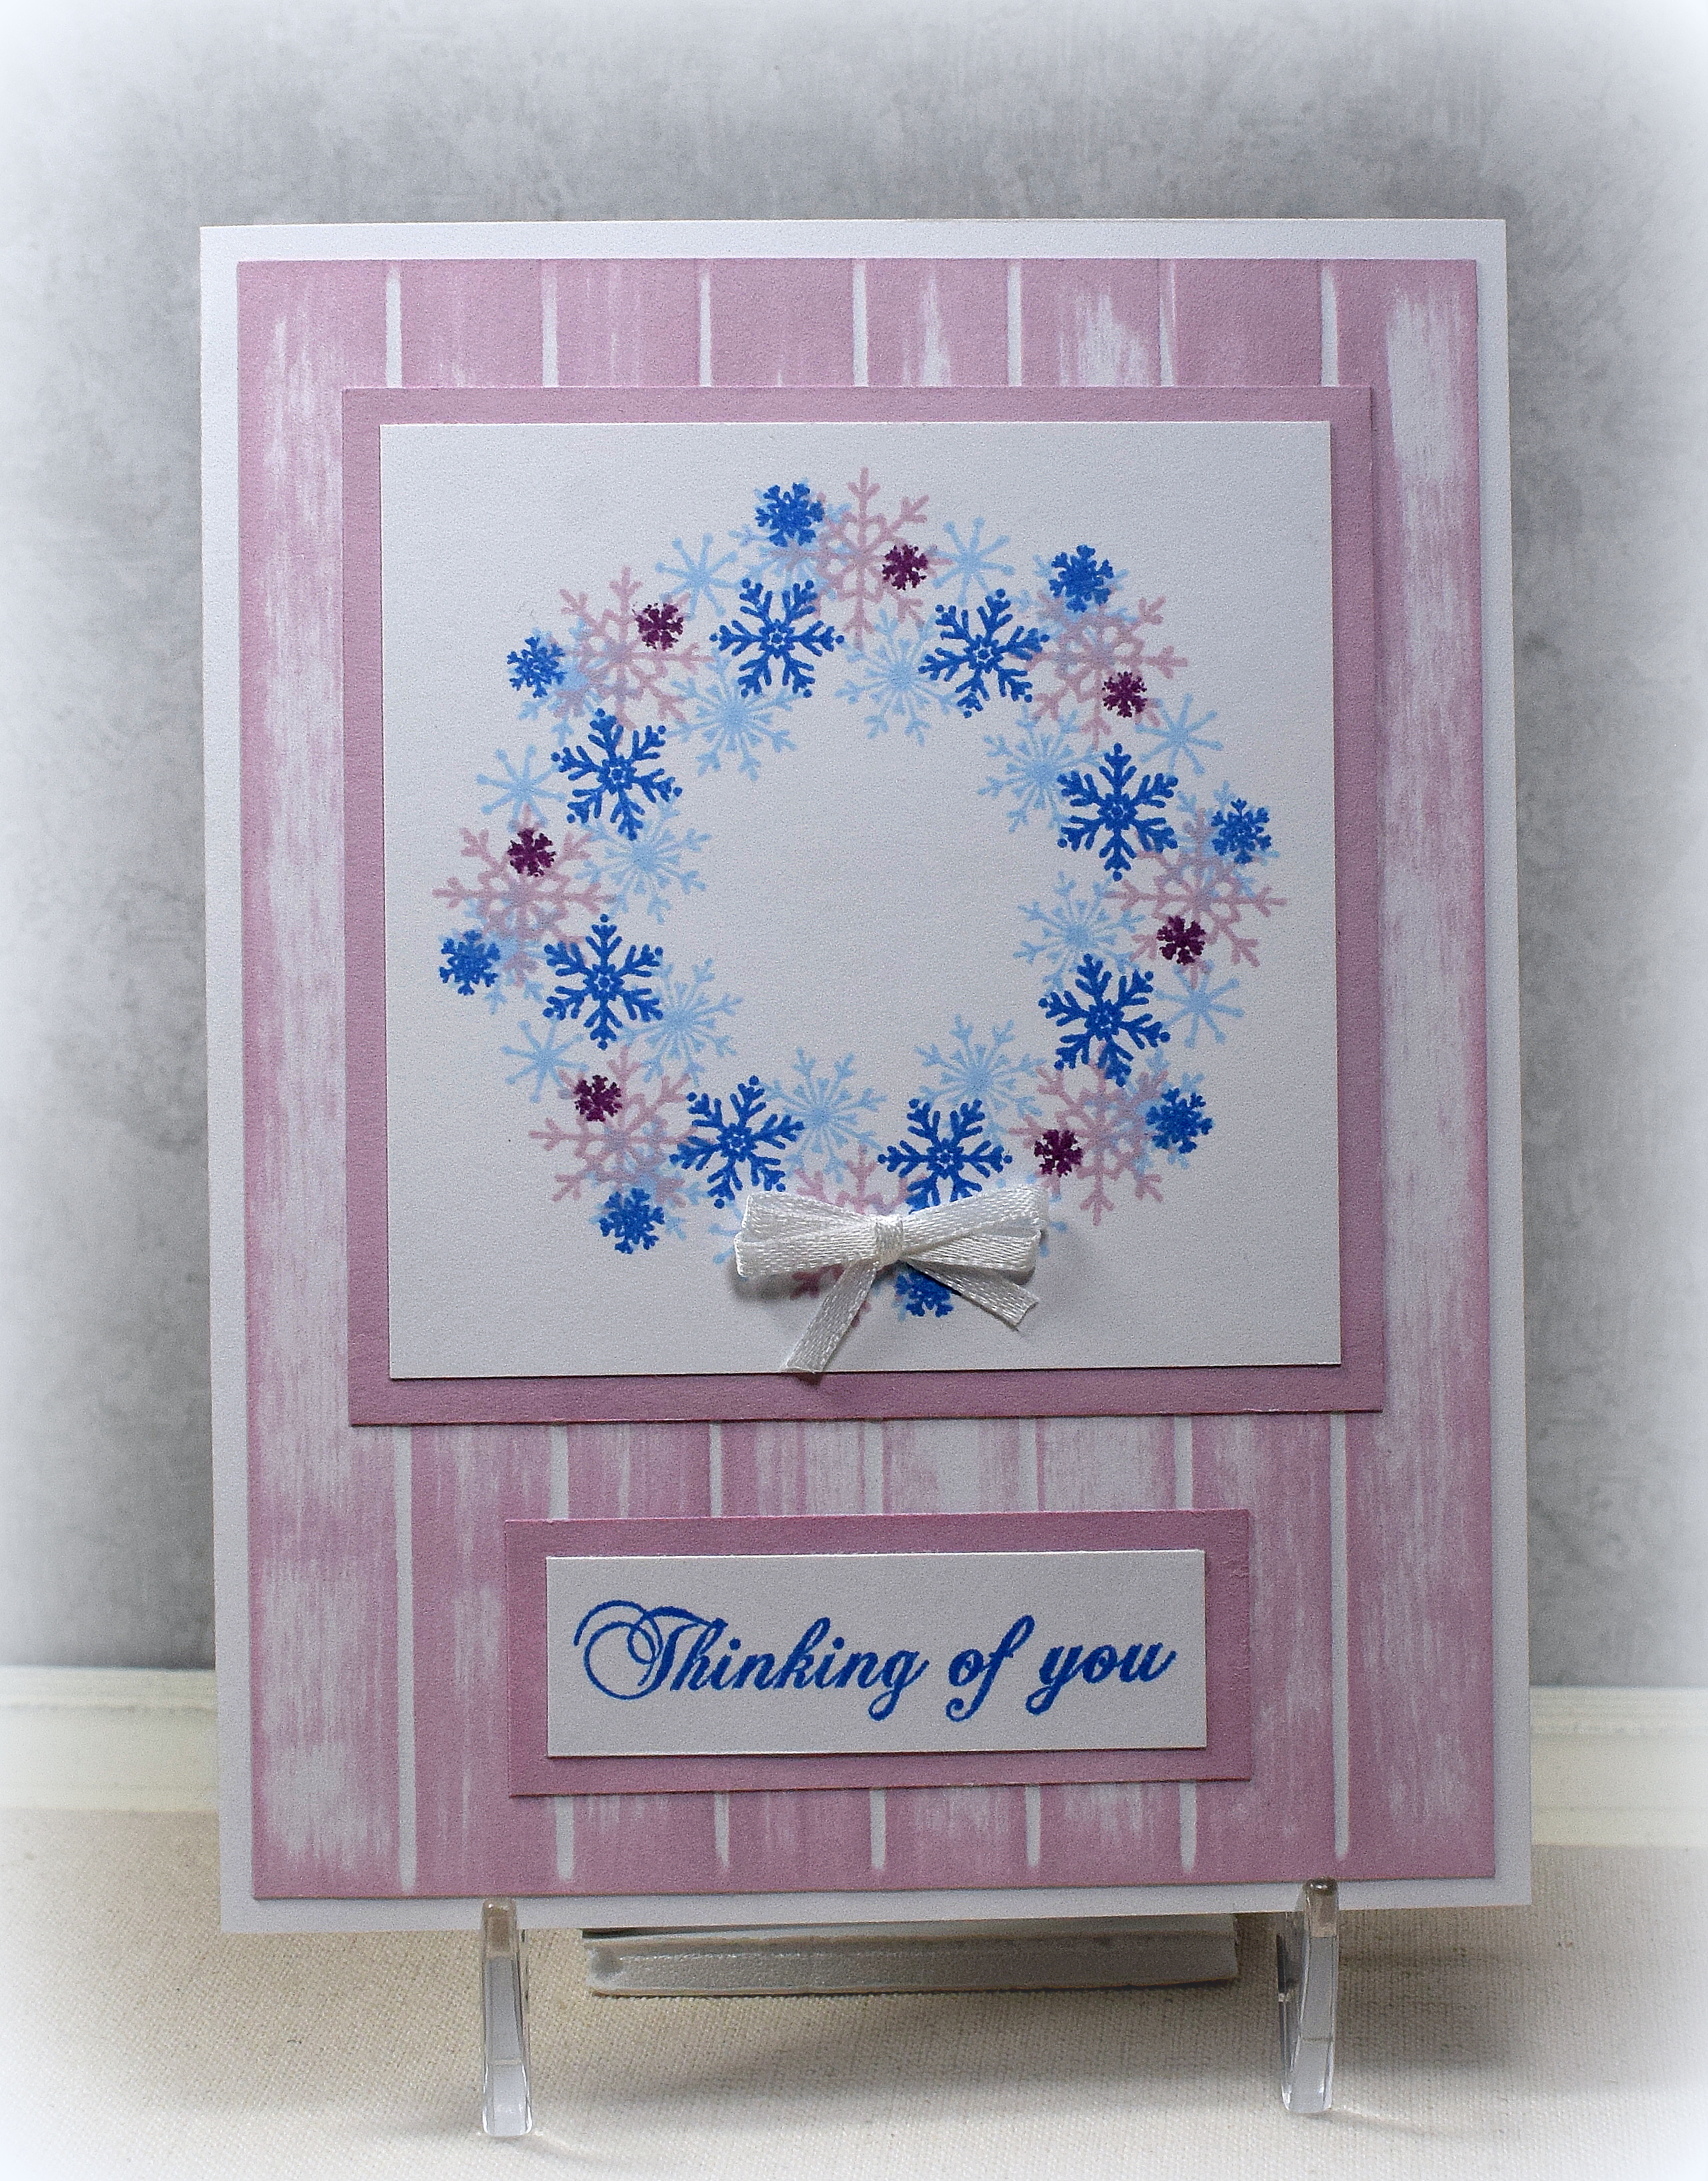
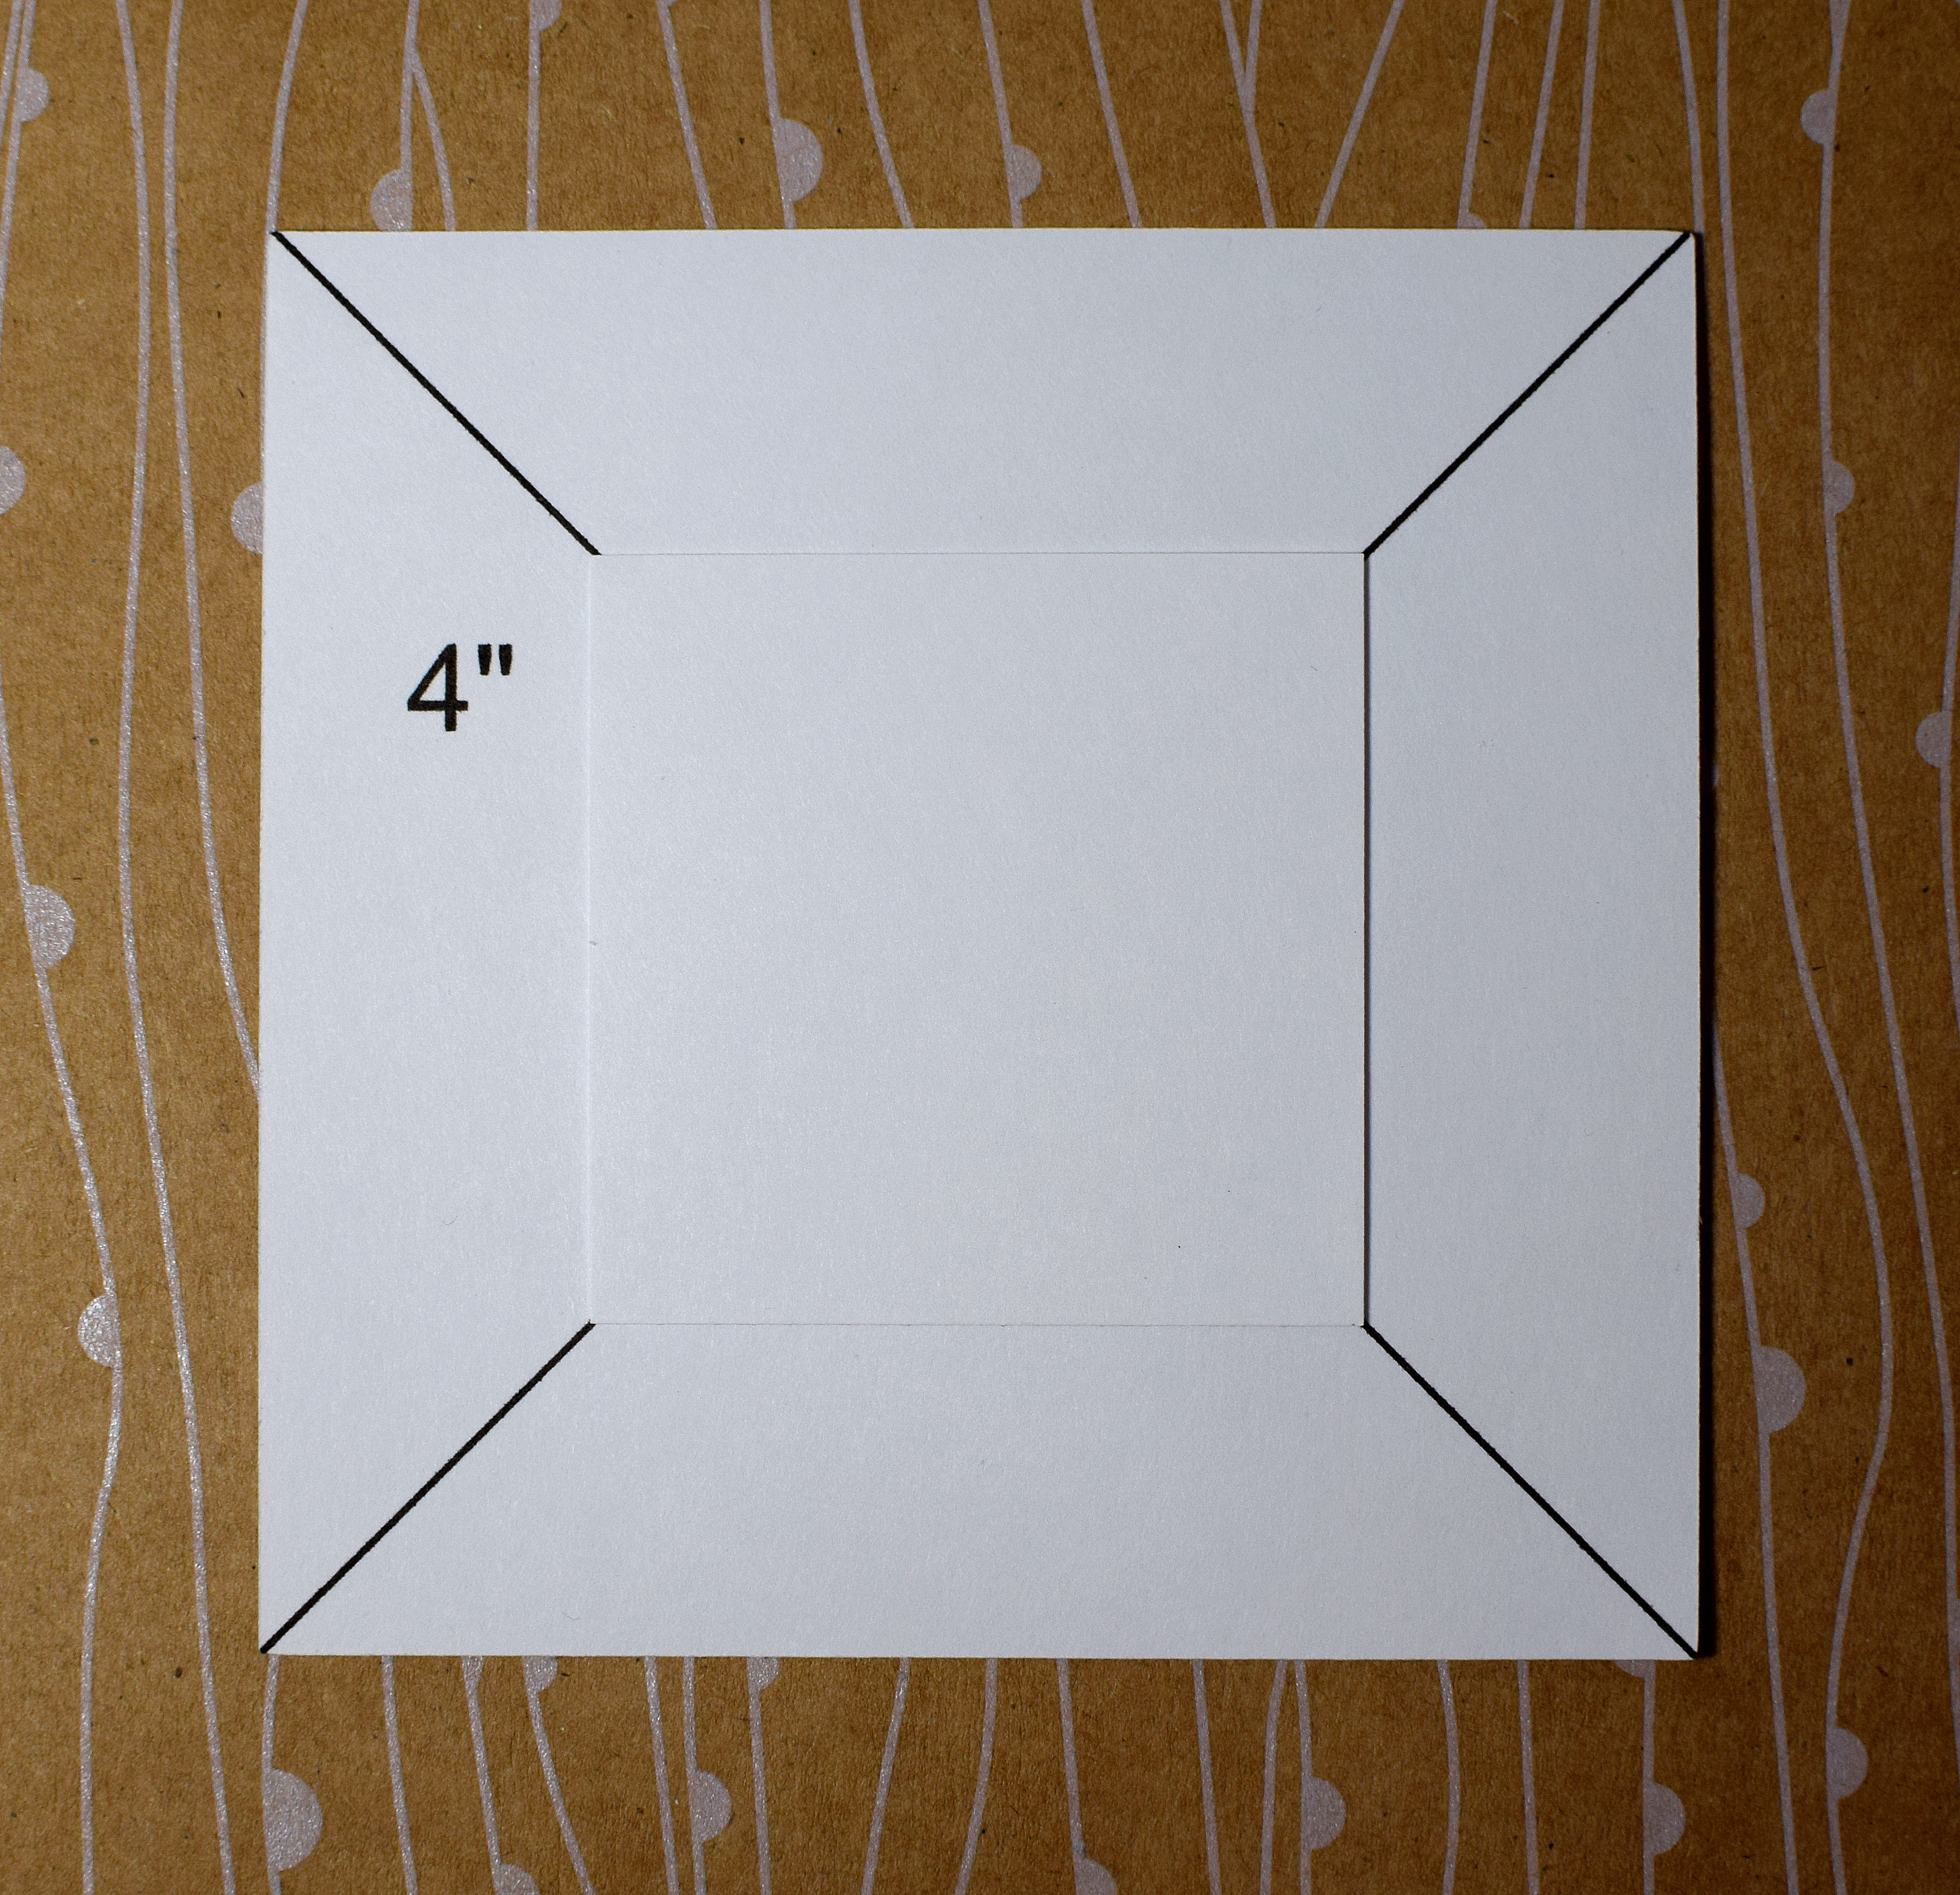
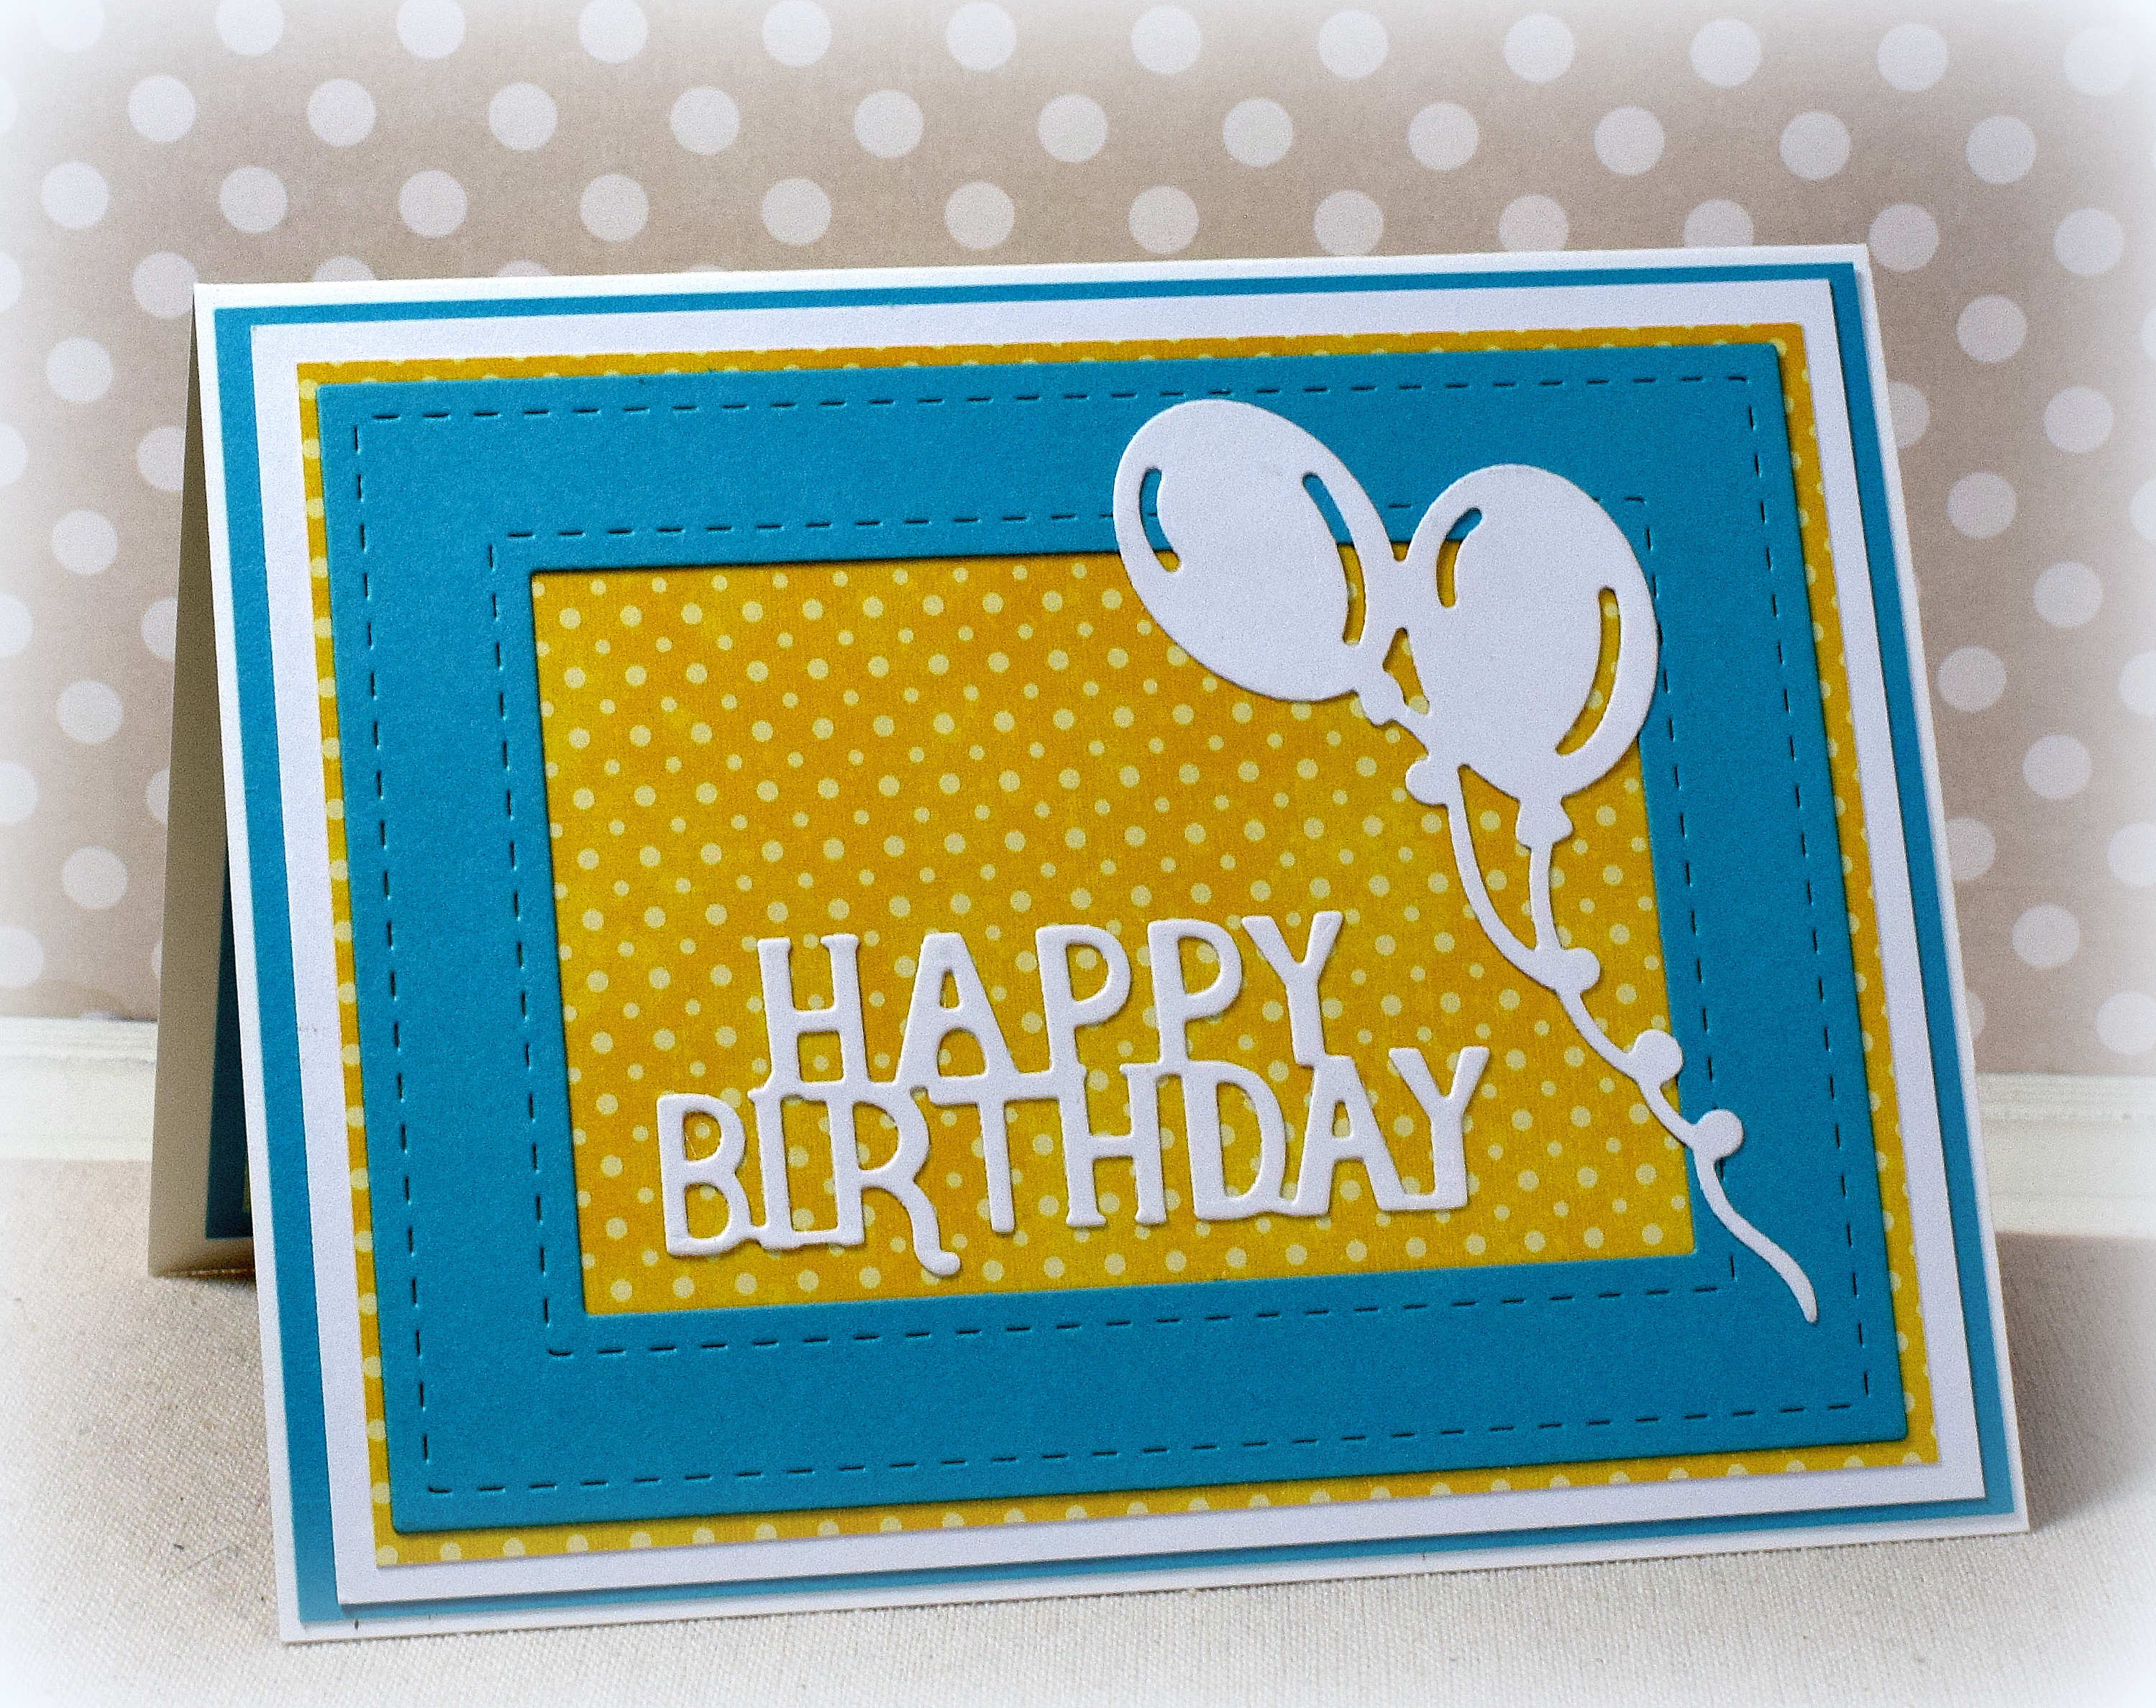
I die cut a square (with a peek-a-boo window die) from the napkin panel to create a frame on my 5 1/2″ x 5 1/2″ card. My Favorite Things has dies that cut either a square or a rectangle frame, and the cool thing about these dies is that the stitching is on the negative and not on the square itself which makes an interesting border around the opening of the frame.

I stamped my greeting on a smaller square panel 4 times in my MISTI. A die cut flower with a bit of stickles (glitter glue) in the center finished it off.
If you care to see how I created my napkin panels…