Baseball Note Cards

Baseball Note Cards

Baseball Note Card.jpg

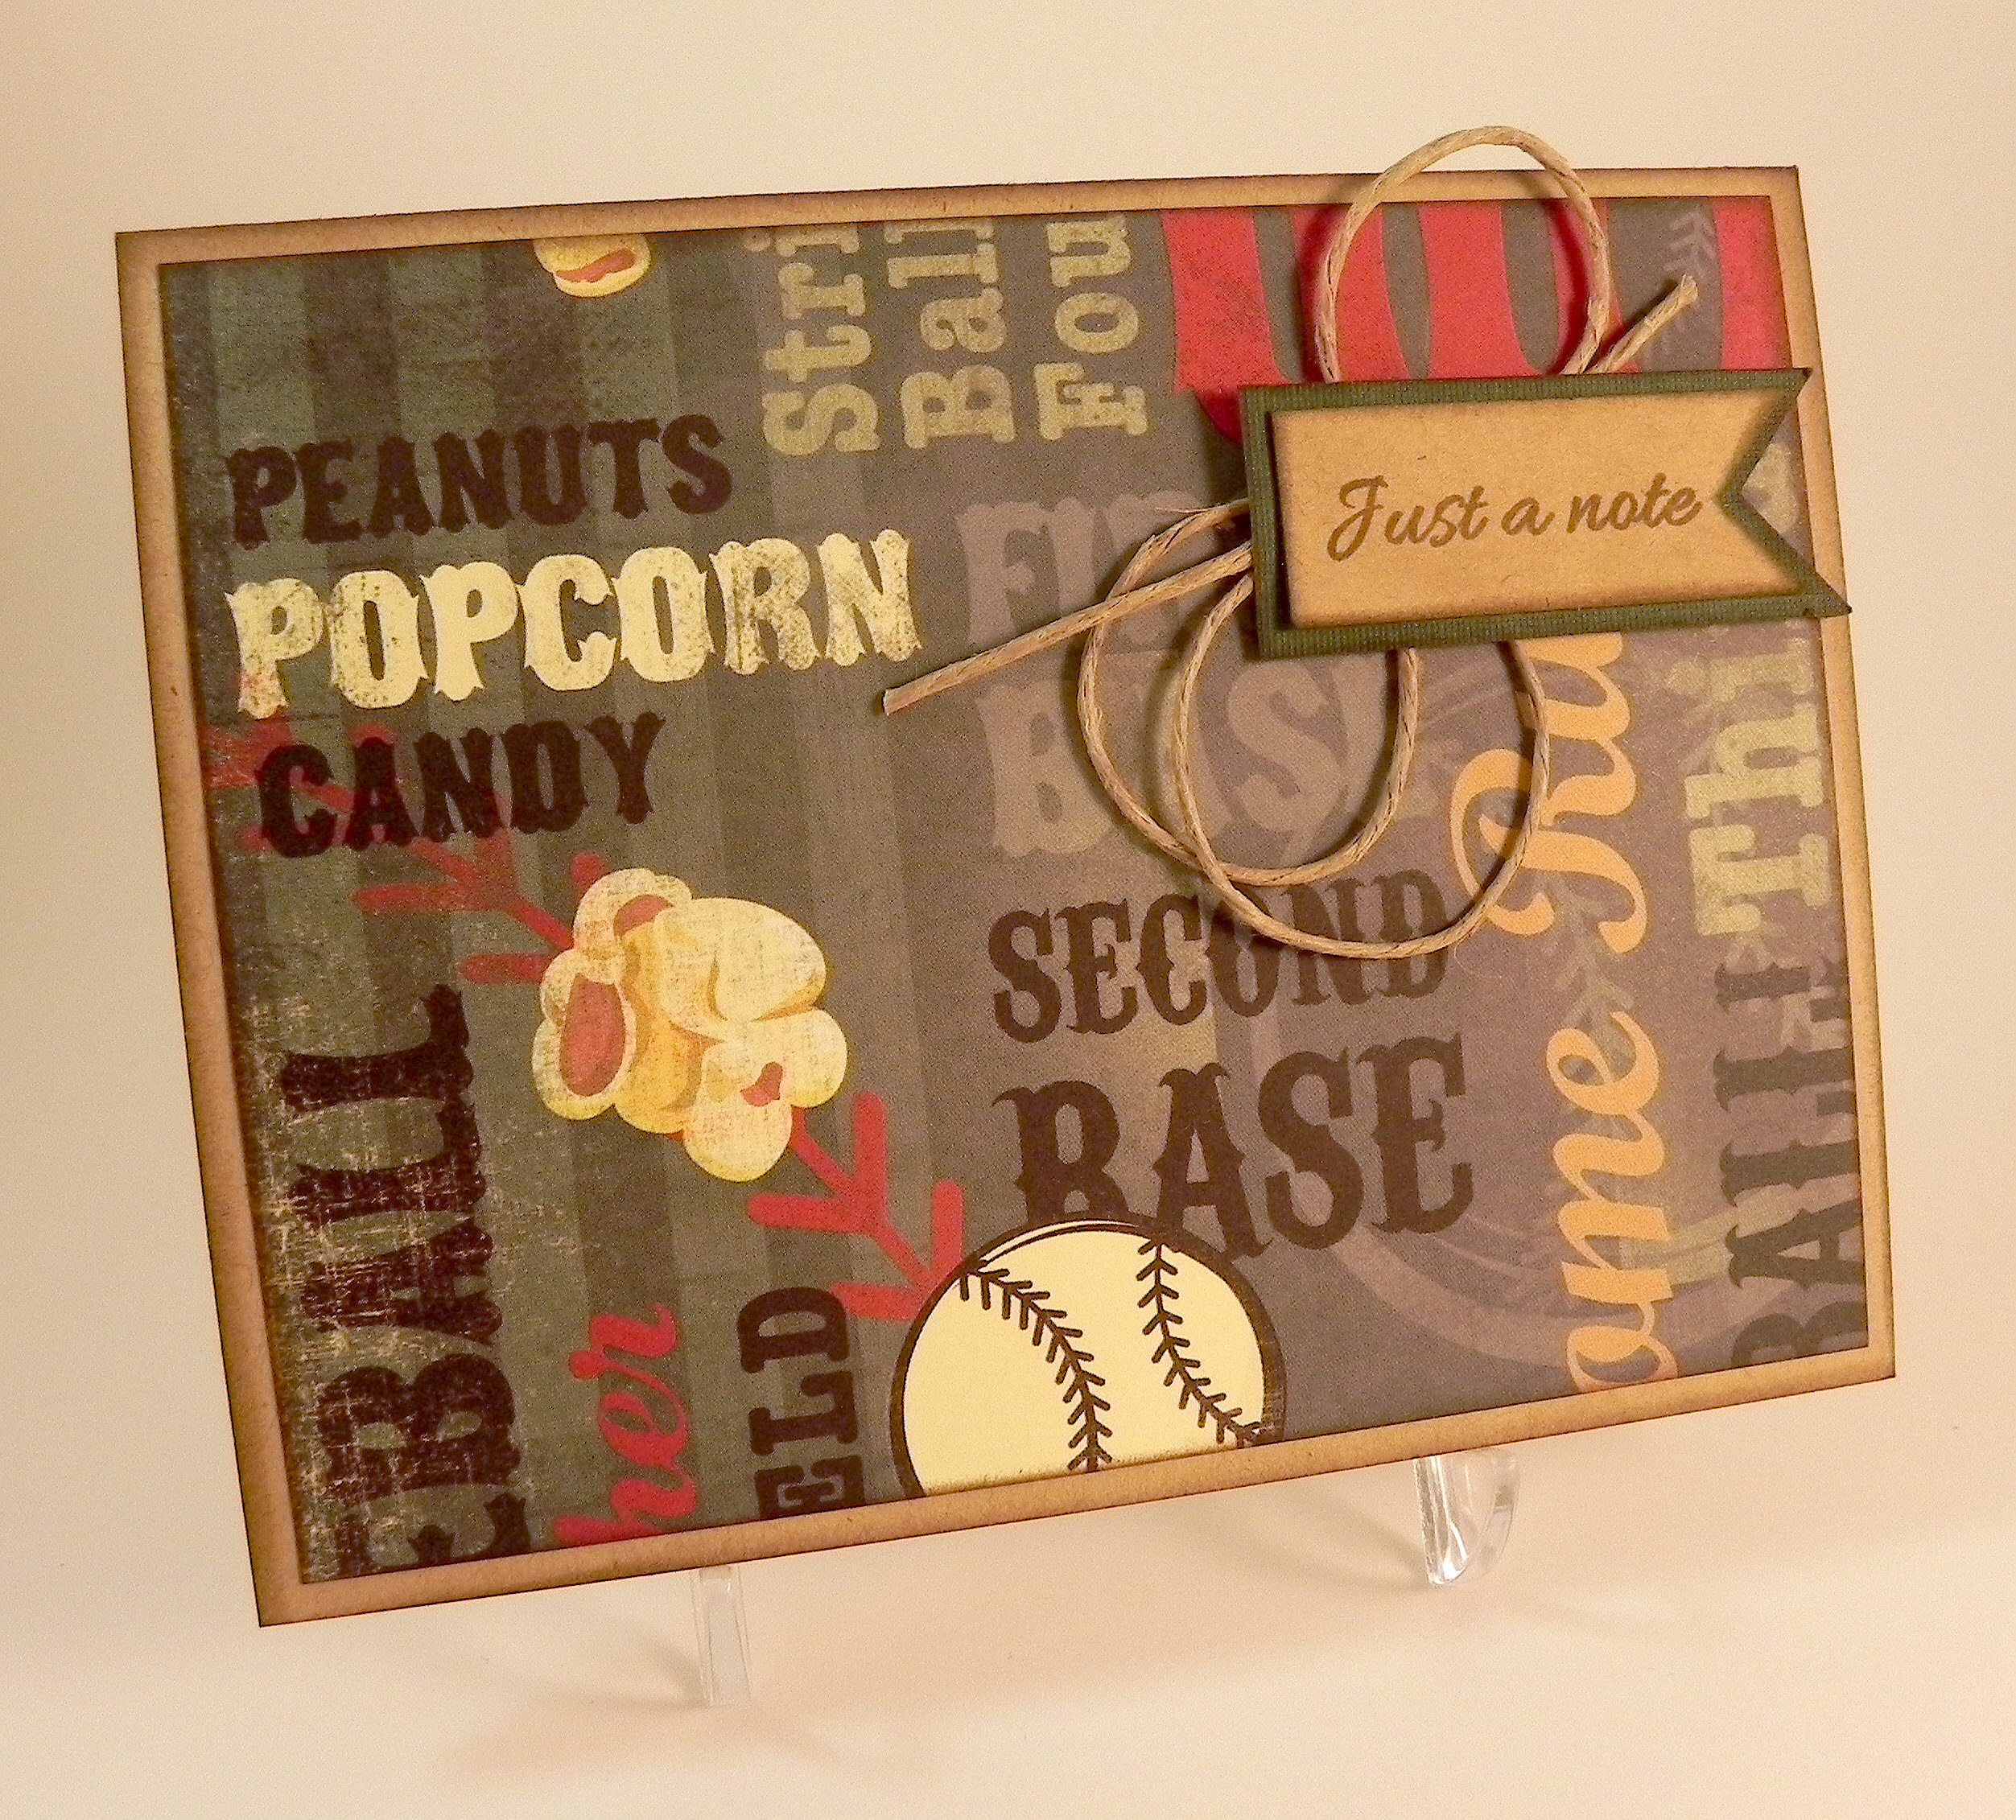
My son needed to send a note to someone who works in baseball, and I asked him if he wanted me to make him a card.  He said, “Yes, if you can but something simple/basic that can be sent in the next day or two.”  (He’s away at college so this included time for me to get it to him!)  My initial reaction was OH NO!!!  Simple/basic and quick aren’t words that usually describe my crafting process, especially since I don’t really have any baseball related supplies!!  Then I calmed down and got to thinking.  I ordered a few baseball stamps for which I am anxiously awaiting, although I knew when I ordered them that I wouldn’t have them in time for this project and look forward to using them in the future.  Then, I decided to go to a scrapbook supply store that is kind of near me (I wish it were closer!) to see what paper she had.  I have to say, her store is amazing!  She has a lot of gorgeous stuff that you don’t see in the big box stores near me.   I found this amazing sheet of vintage baseball paper by Karen Foster Design called Batter Up Collage, and the cards basically made themselves!  Here is the whole sheet of paper, from which I was able to make 6 note cards.

 wwDSCN7474

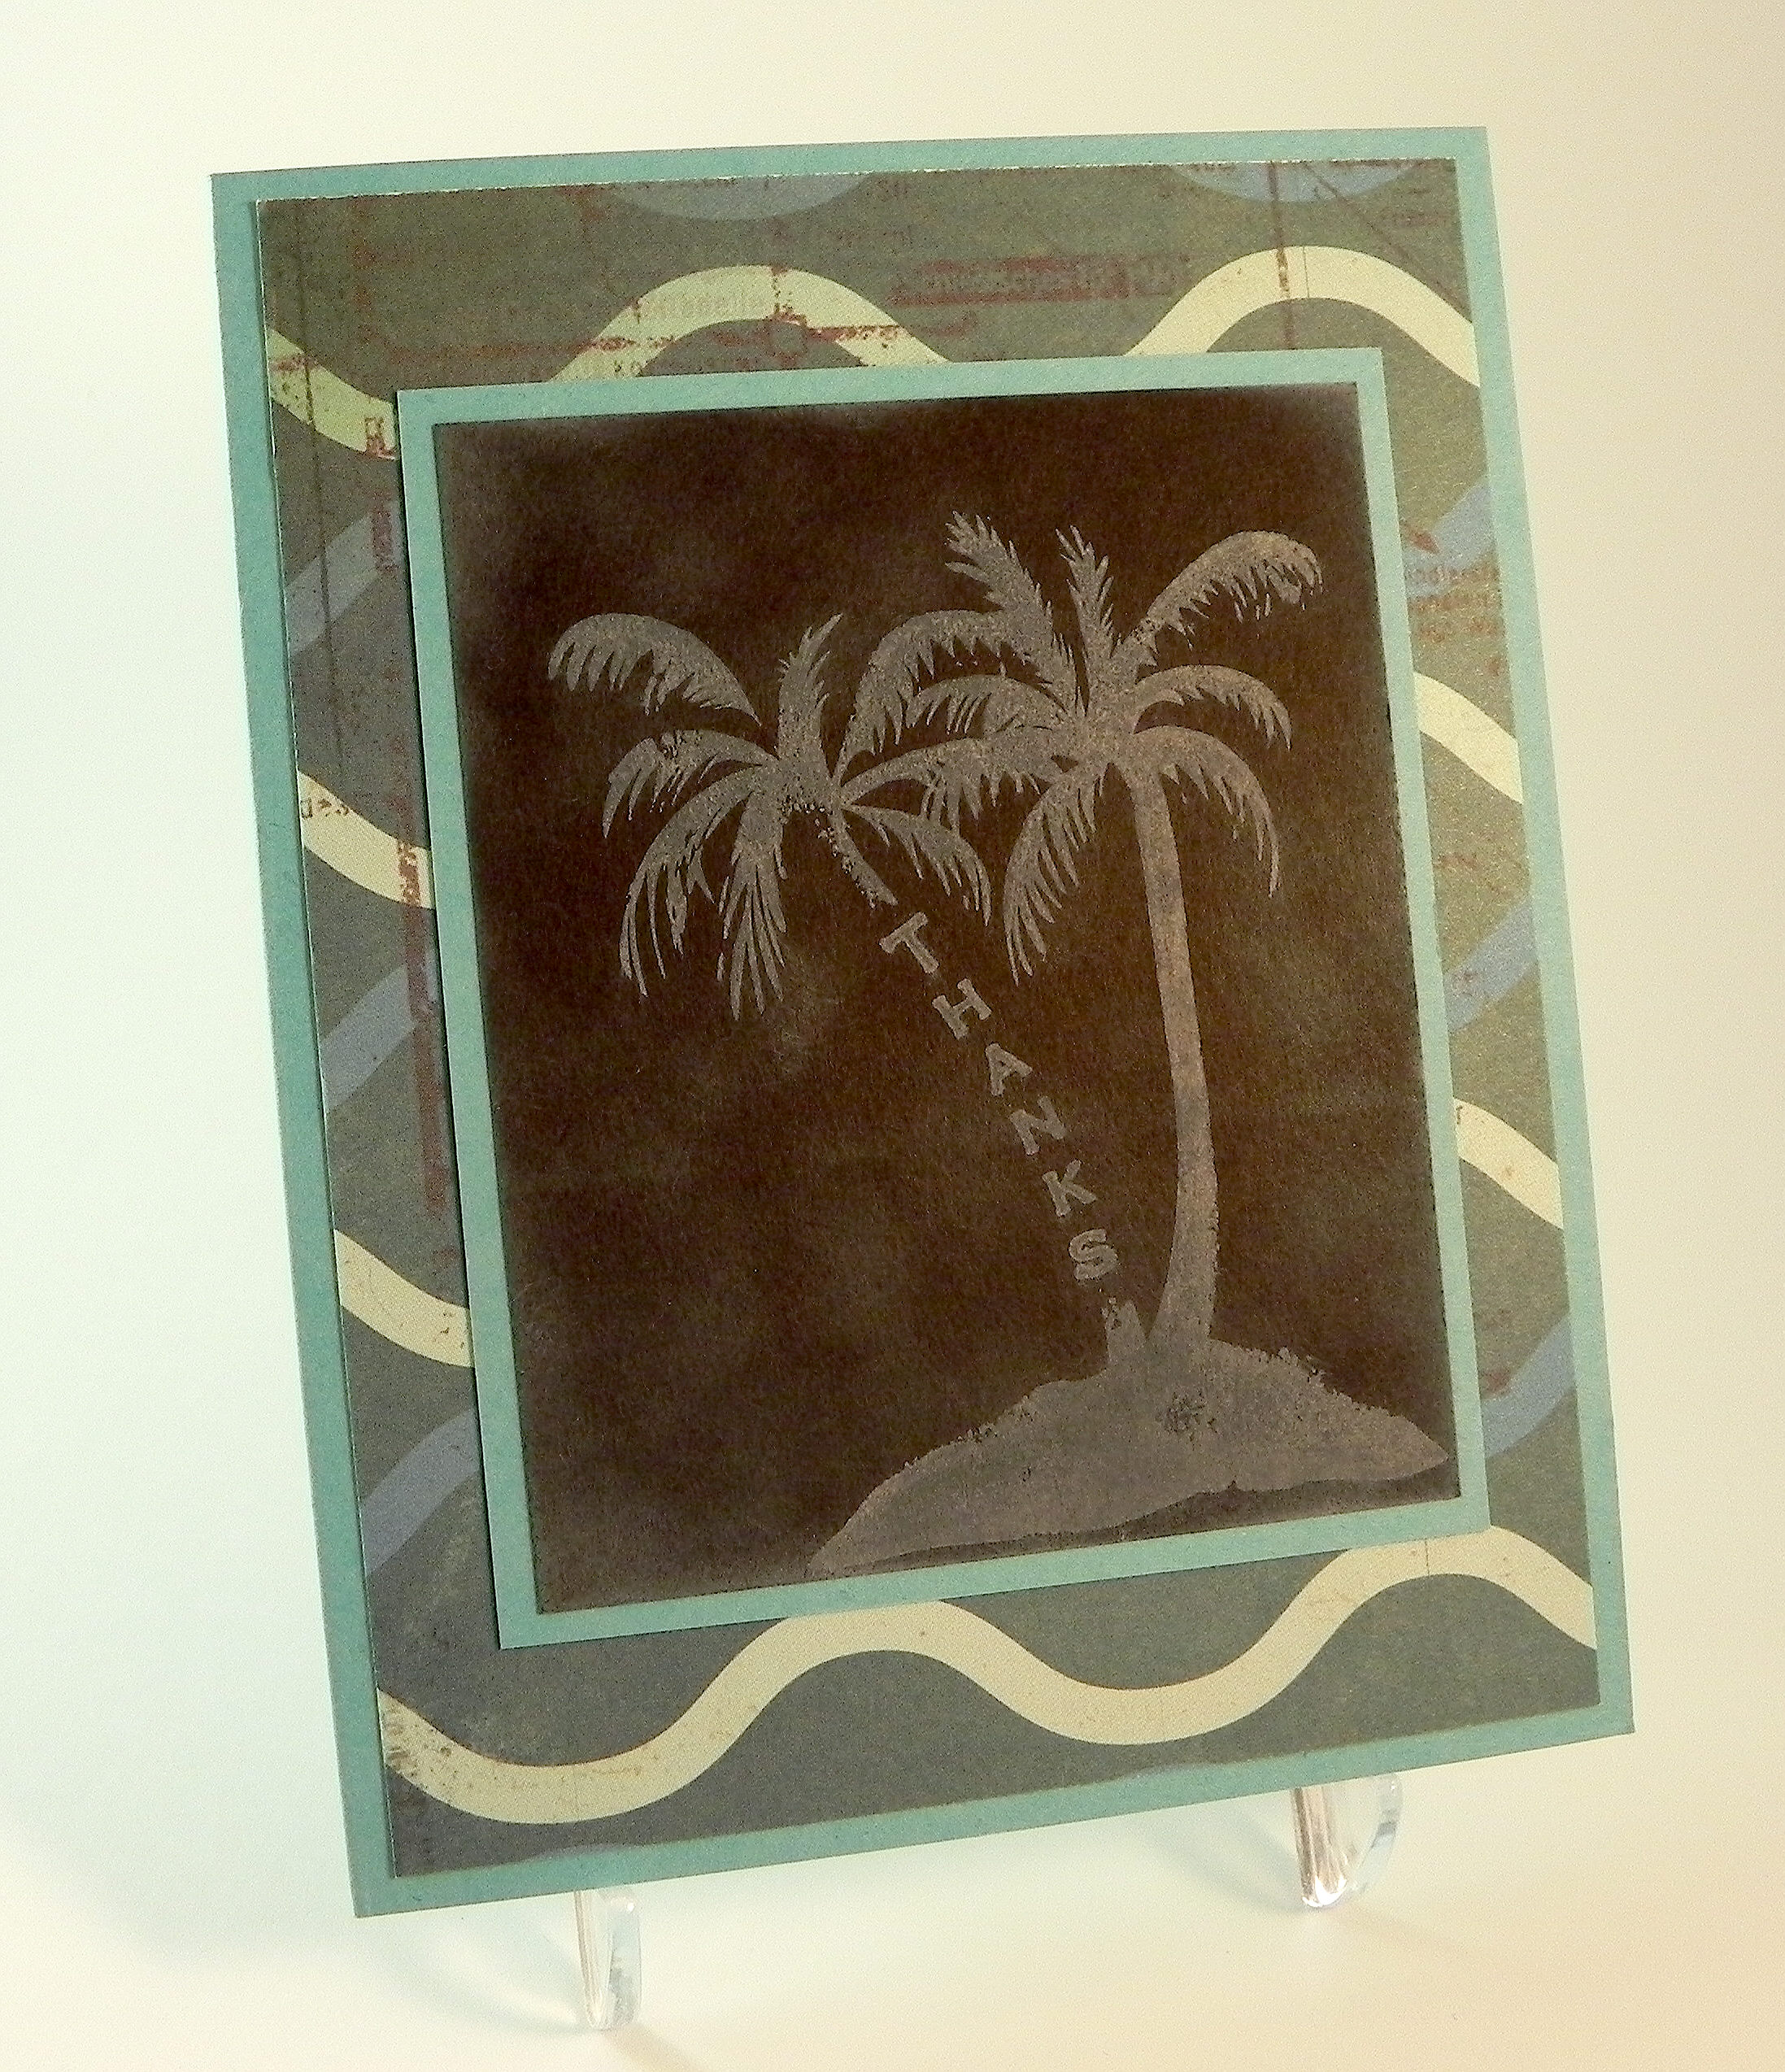
I cut the sheet into panels, inked the edges with Tim Holtz walnut stain distress ink, and adhered them to Gina K kraft card bases (which I also inked). Honestly, the cards could have been done at that point! But I felt guilty making something that required so little effort (I need to get over that!!!) and made a banner tag with a greeting from the Gina K Designs “Just A Note” stamp set (retired?) on kraft card stock and stamped with the Gina K charcoal brown ink. I matted the tag on a piece of green cardstock that I distressed with a bit of the charcoal brown ink, inked the edges and added a bit of twine behind it to help it stand out against the busy background.  Done!

Here is the whole set of cards:

Baseball Note Card   xDSCN7490   xDSCN7493

   xDSCN7495   xDSCN7498   xDSCN7502

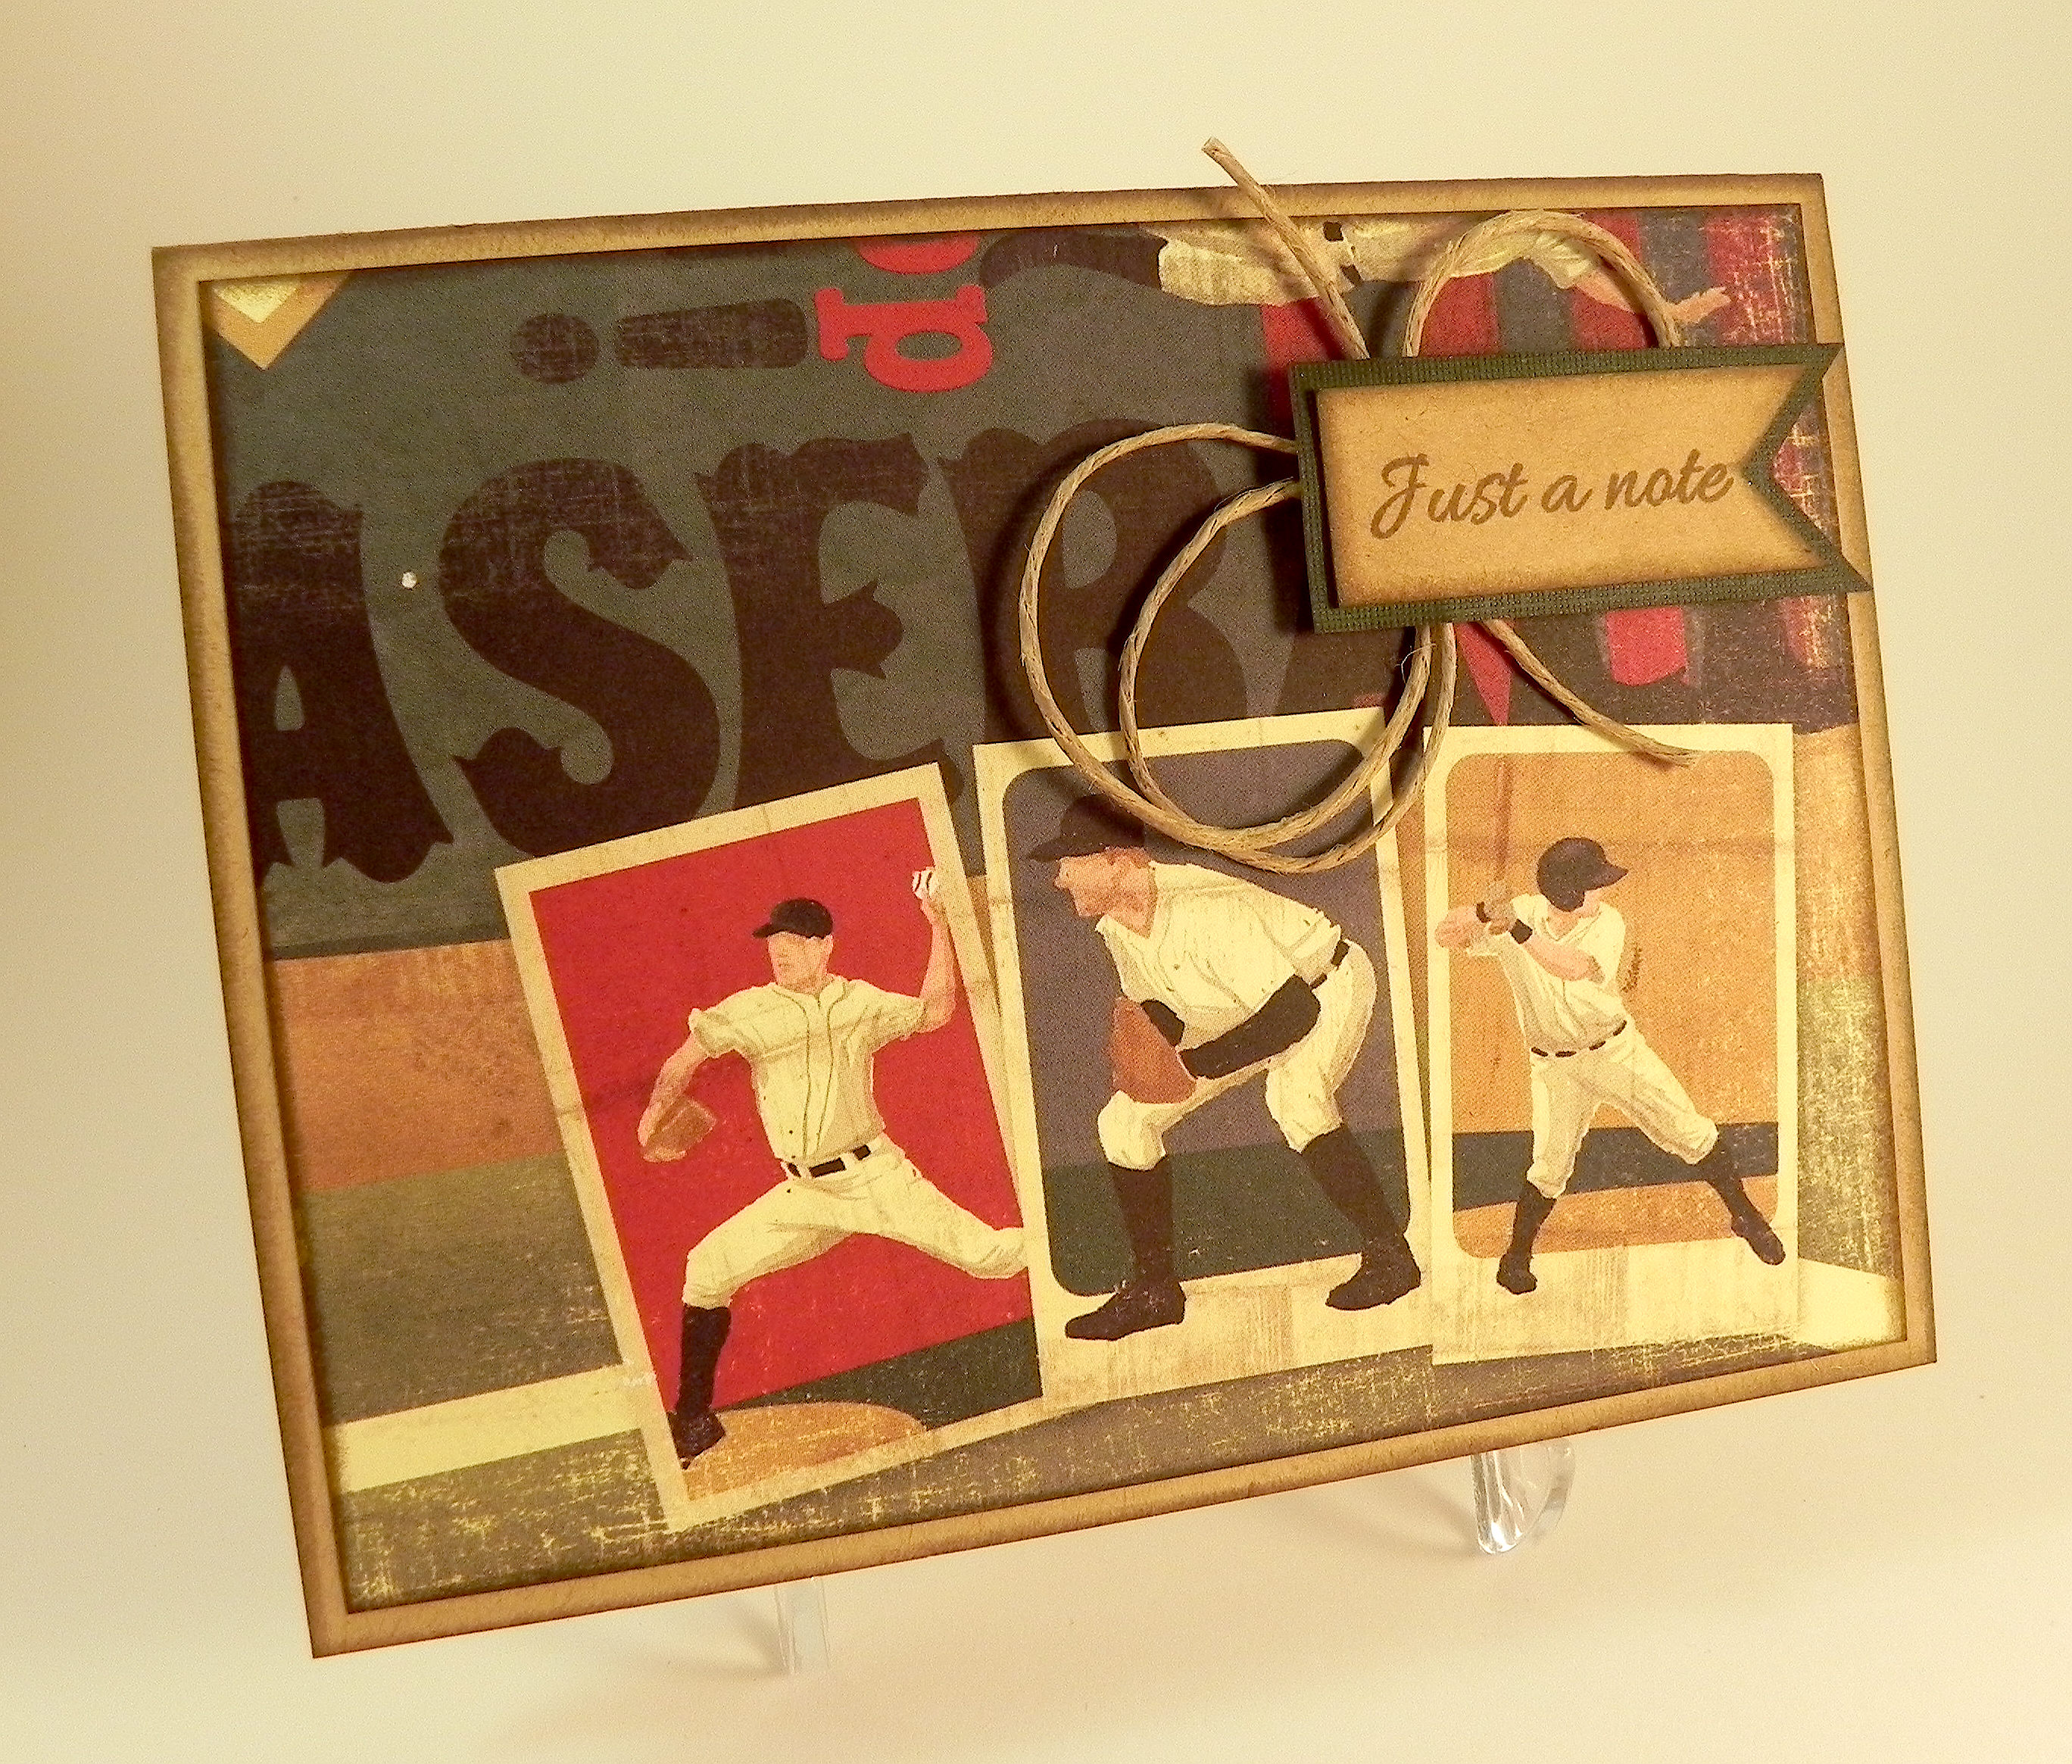
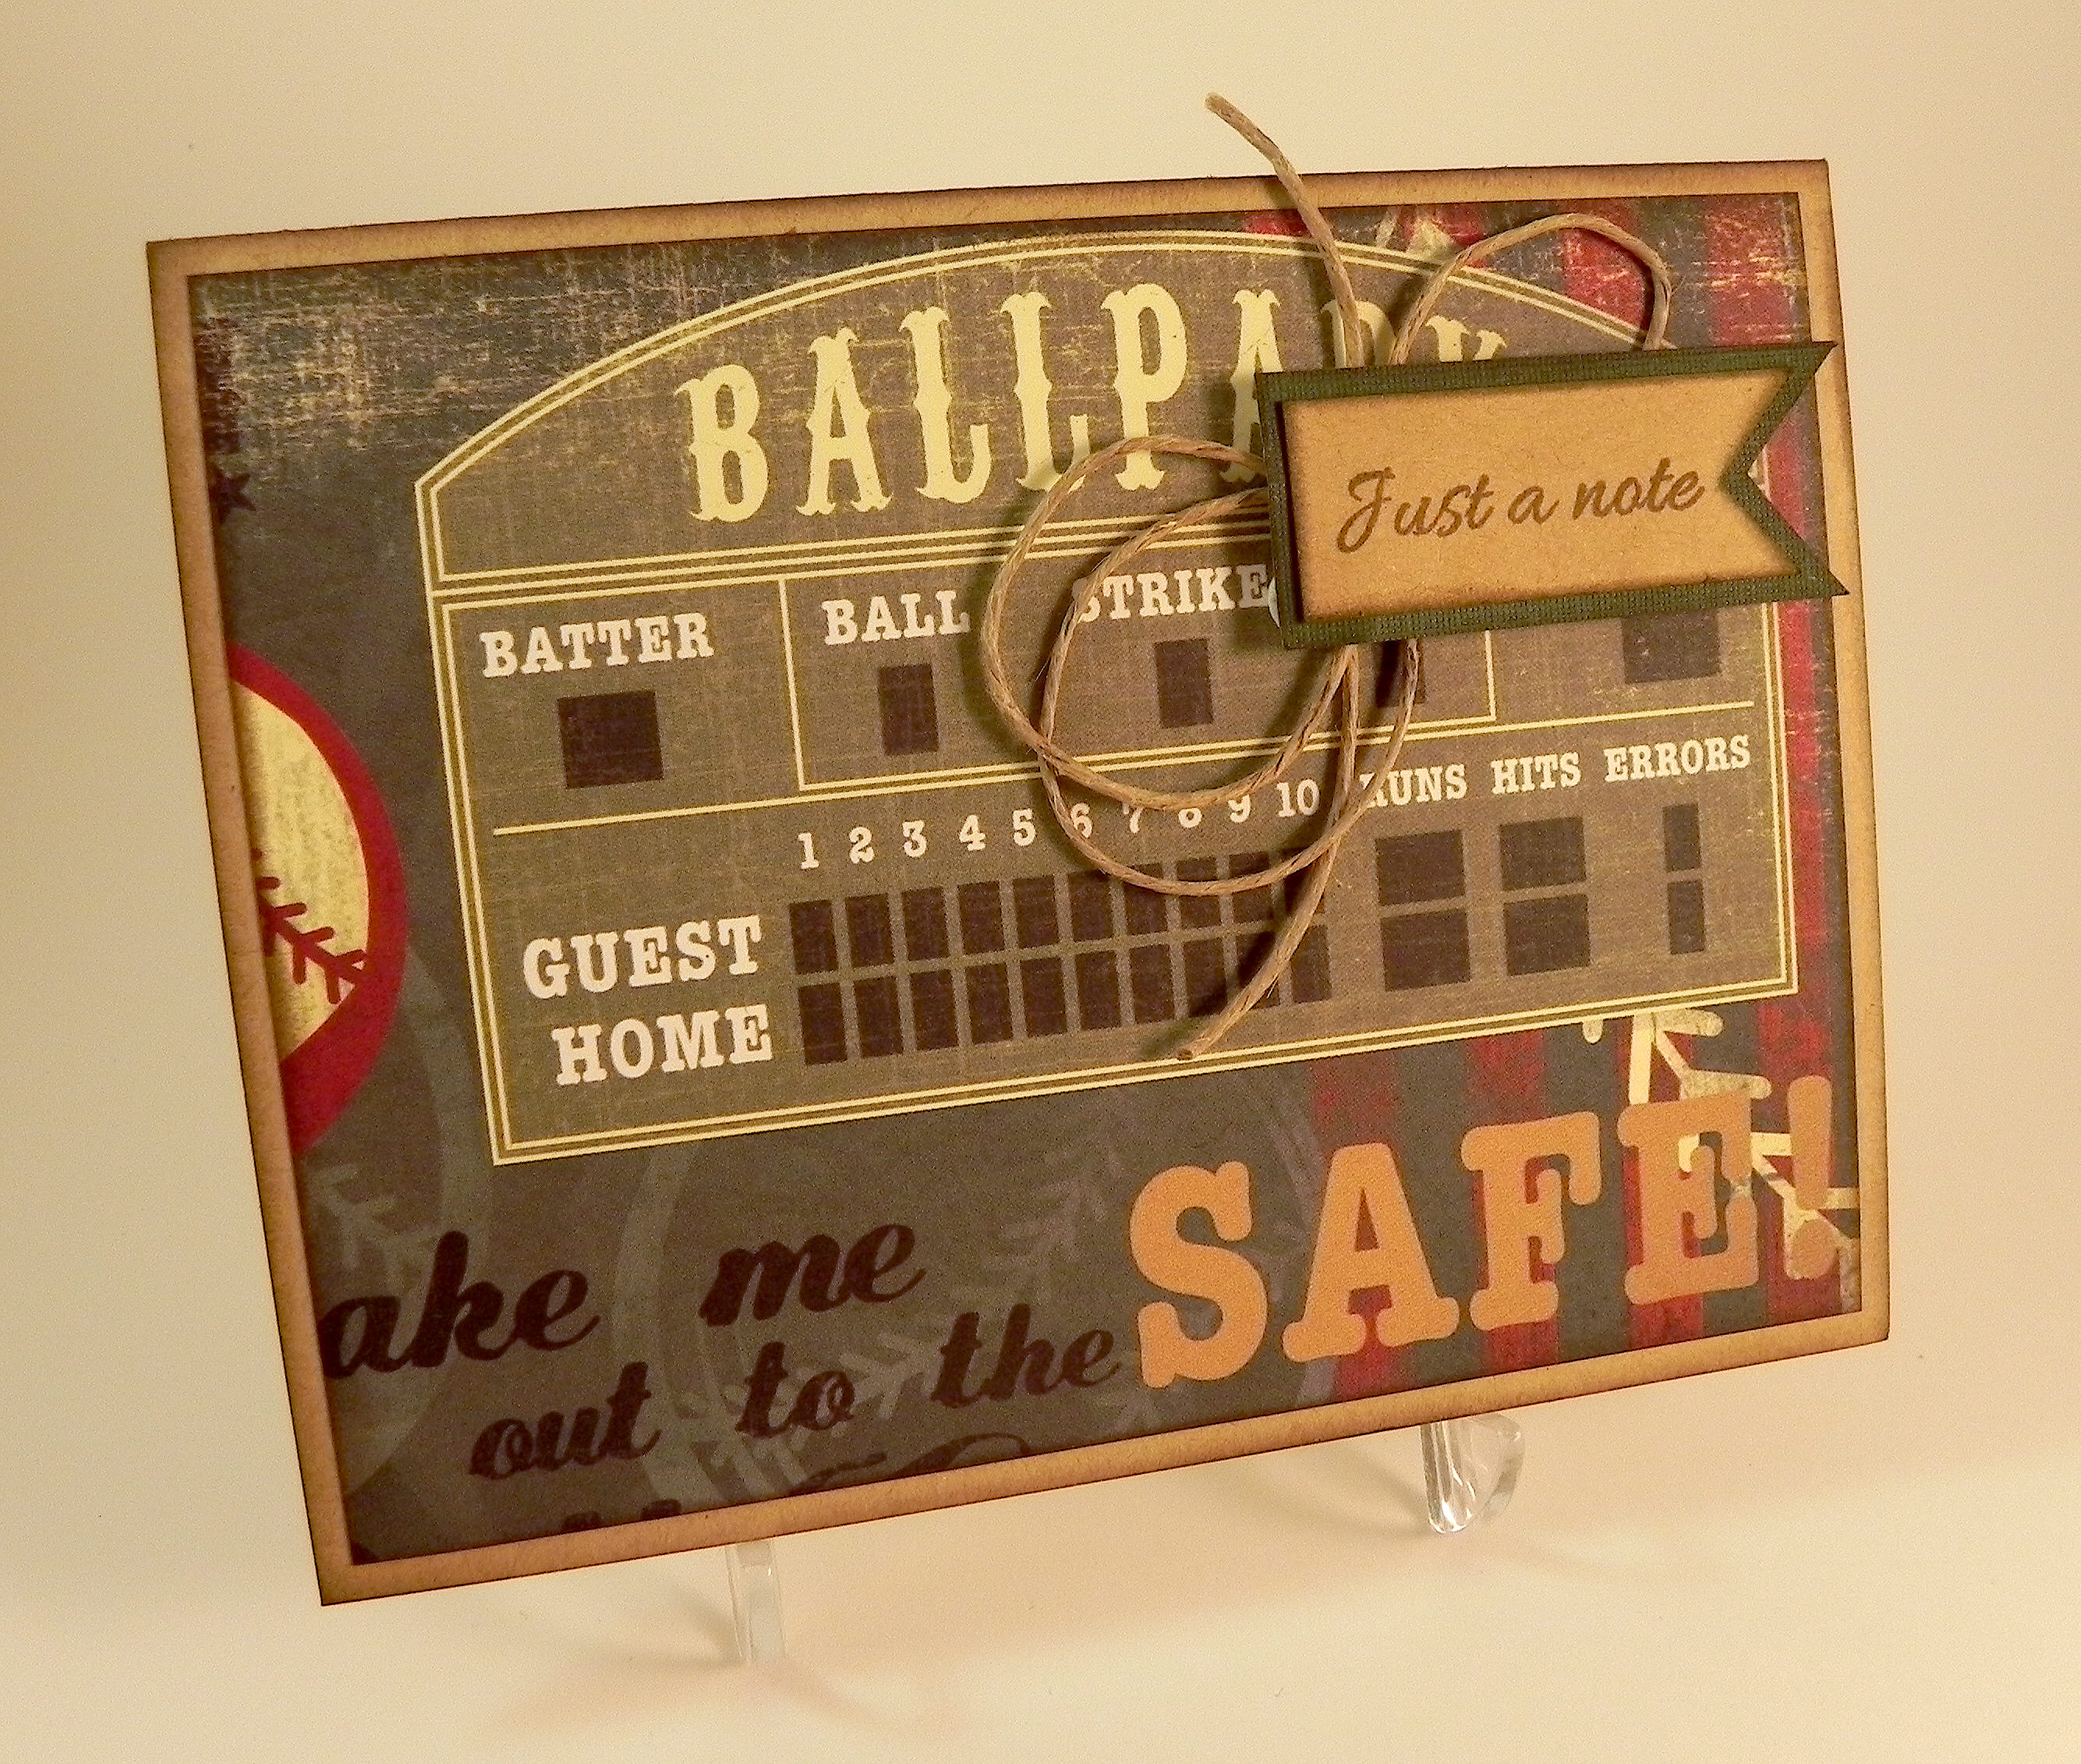
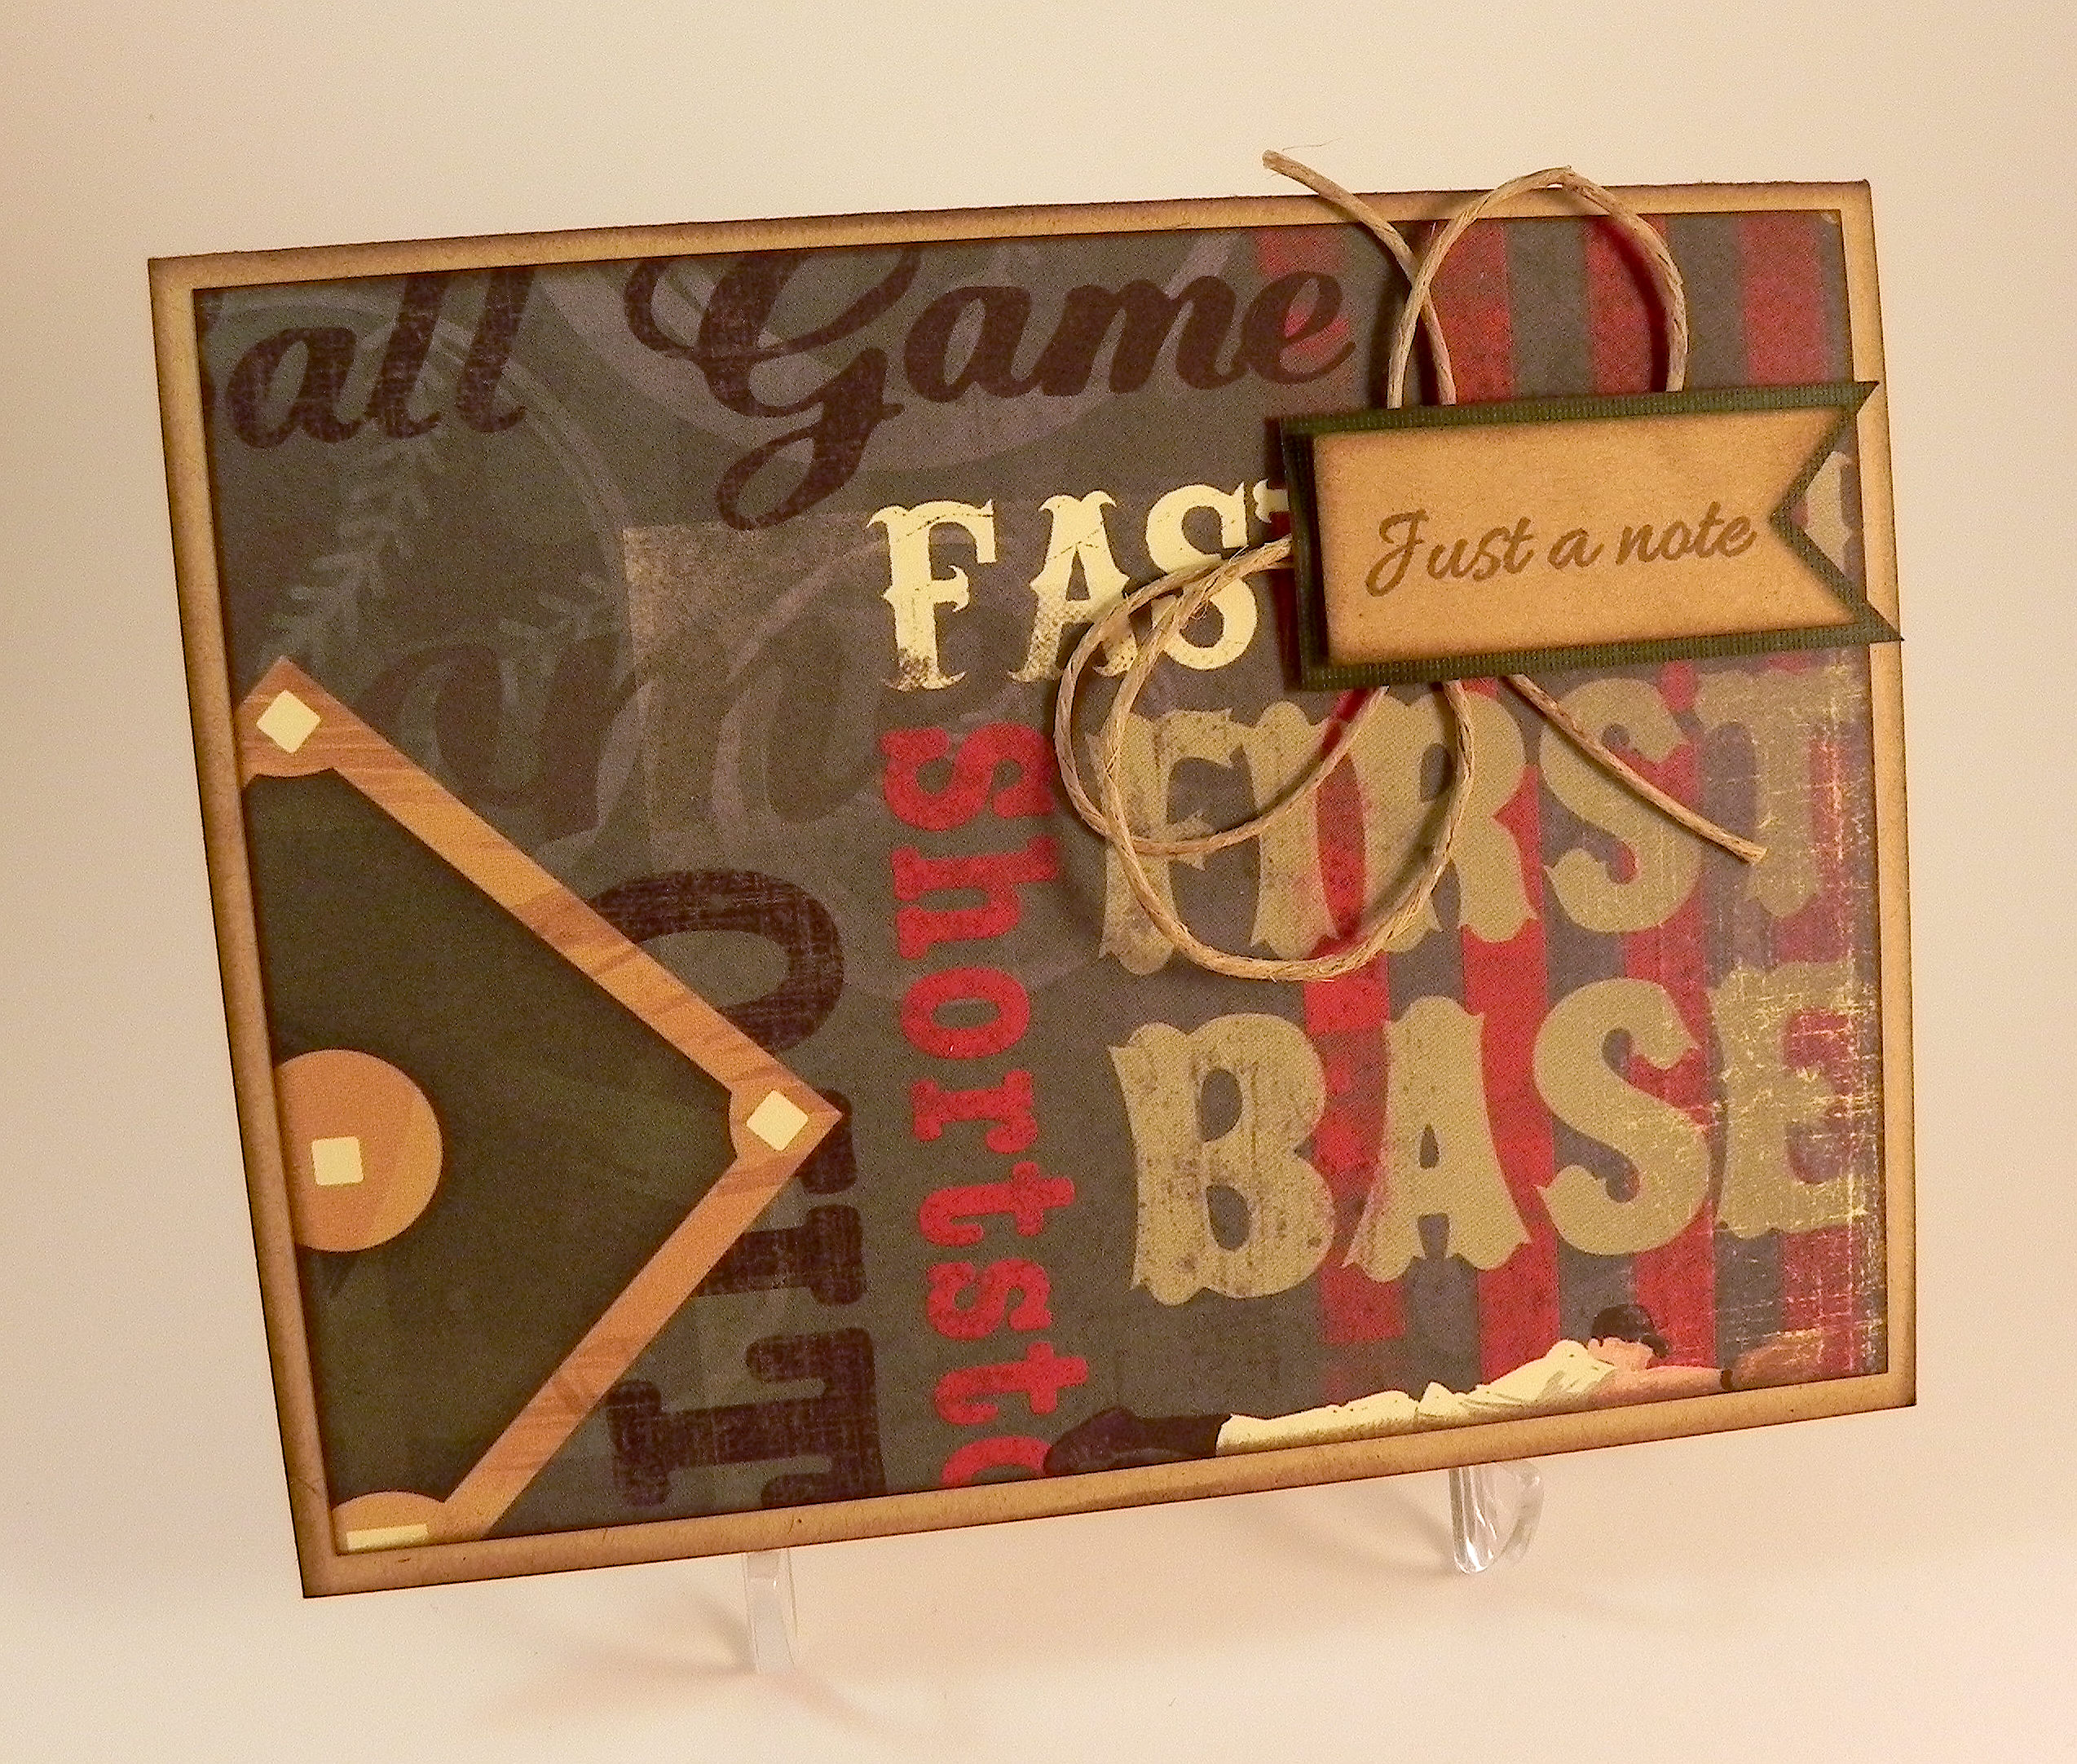
I’m not sure if I like the twine behind the greeting, but the greeting was lost without it.  Now that there is no time pressure, I may go back and try something different with the greeting.  We’ll see…

Thanks for checking out my card project!

And if you happen to be in my neck of the woods and are looking for a paper crafting supply store, it is called “Scrap and Beads” and is located in the Burlington Center Mall in Burlington, NJ (right off of Route 295 – exit 47A) .  Half her store is set up with tables to work, and half is set up to shop.  Check out her great inventory or her crop schedule!  (I am not affiliated with this company in any way; I’m just a happy customer!  Check it out for yourself, and decide if it would be good for you.)  Unfortunately, this store is no longer there.

This content uses referral links as described in the disclosure policy on my sidebar.

Baby Wobble-Head Card

Baby Wobble-Head Card

Baby Wobble-Head Card wwwDSCN7373.jpg

The papers on this baby card coordinate with the Baby Crib Box Card project I posted yesterday.  (I will be sending both of them together.)

The baby image was Googled and “traced” with my Silhouette software.  The baby’s head is mounted on a spring, and it wobbles when the card moves. (Yes, the blurry head is supposed to show movement! lol)

aDSCN7385       abDSCN7432

The spring is called an “Action Wobble Spring” and is a plastic spring with adhesive on both sides so it sticks to your card project and to the element you want to wobble.

wDSCN7842    wDSCN7839

I used the following paper and card stock for this project: Core’dinations April Lovely, Colorbok Heidi Grace Designs bgirl buggy (double-sided), Core’dinations light pink plaid, Gina K bubblegum, ivory and white.  I inked all the edges and stamped the greeting with Gina K bubblegum ink.  The greeting is from the Gina K Designs “Bundle of Love” stamp set.   The baby’s hair is made with a few strands of yarn and a ribbon, and I added a few pink pearls to finish it off.

Inspiration for this card came from two places.  First, I used the same baby (as a boy) with the wobble spring on a card I made a bit ago.  Here is the card that I had previously posted in my StampTV gallery.  (Sadly, this site is no longer active.)

Baby Boy Wobble-Head Card

Secondly, I used a sketch from the StampTV Sketch Book which is under the “Freebies” section on the StampTV Site (HERE – scroll down; the sketch book is a little below the photo of the swimmer).  This is a fantastic resource for layout ideas when you are stuck!  You may need to be a member of StampTV to view this Sketch Book, but membership is free.   (Sadly, this site is no longer active.)  Here is the sketch I used as a starting point for my card project:

sketch for baby card

wwDSCN7373

Thanks for checking out my card project!

This content uses referral links as described in the disclosure policy on my sidebar.

Baby Crib Box Card

Baby Crib Box Card

mDSCN7334.jpg


Well, Mary and Leo have done it again!  This adorable crib box card is from the svgcuts “Tiny Miracle SVG Kit” which you can see HERE.  The kit contains several adorable baby-themed projects including cards, a scrapbook layout, a diaper castle, and a bottle shaped gift box.  They provide the svg files that you can cut with your electronic die cutting machine, and you choose the papers and embellishments.  Once all the pieces are cut out, you assemble them into these amazing, handmade gifts for your next baby shower or to celebrate the birth of a new baby!  A tutorial VIDEO is provided to make assembly a breeze.

I plan to use this “card” (which opens and stands as a 3-D crib or folds flat) as a gift card holder which I will tuck inside a traditional card (which you can see HERE).  However, there is a space on the back of the crib for writing or stamping a message so this “card” can stand alone as well.

xyDSCN7345

zDSCN7353

I used the following paper and card stock for this girl-themed project: Core’dinations April Lovely, Colorbok Heidi Grace Designs bgirl buggy (double-sided), Melissa Frances Betty-Ann, Paper Pizazz green/pink plaid, Core’dinations light pink plaid, and white.  I inked the edges with Gina K Designs Bubblegum ink and used Copic Marker R83 for the bear’s face.  I added a few pink pearls to finish it off.


I also made a blue version of this project that I can use for an upcoming baby shower where a boy is expected.

 wwDSCN7368

The papers used on this one are: Core’dinations jaybird, Paper Pizazz mixing baby stars and moons (I think – I only have one sheet and cut through the paper description!), Colorbok blue stripe paper, Core’dinations light blue small dot, and white.  I used Gina K Designs In the Navy ink for the edges on this card.


xxDSCN7329

Thanks for checking out my card project!

This content uses referral links as described in the disclosure policy on my sidebar.


Palm Tree Thanks

Palm Tree Thanks

Palm Tree Thanks DSCN7876.jpg


Did you ever get stuck on an idea and even though it just isn’t working the way you envisioned it, you spend way too much time trying and trying?  I can be very stubborn and have been known to do this… a lot!  That’s what happened with this card.  My husband needed to send a thank you note to a friend he recently saw in Florida, and my daughter loves palm trees and needed some notes for her birthday which is coming up next week.  My original idea was to use the chalkboard technique to make a card using the palm tree stamp with the “Thanks” as the trunk.  (I was trying to avoid a realistic scene with a lot of sponging and coloring since I needed to make a number of these thank you notes, and I really wanted to use the wavy paper I just got on clearance at AC Moore.)

Here is my first attempt:

Chalkboard Palm Trees DSCN7871


It wasn’t bad, but I felt like it needed something more on the “chalkboard” panel, and in trying to make multiple copies, I just kept making a mess.  (I hate using pigment inks!)

I finally gave up on the chalkboard idea and the palm trees and tried to work around the wavy paper. Here is my second attempt:

Many Thanks DSCN7885


I actually really liked this design with the “Many Thanks” stamp (Gina K Designs “Lots of Lines” set) and was happy with the ease with which I could duplicate it.  However, my husband and daughter seemed to like the palm tree idea better.  So….

I ended up combining the two ideas and used the sponging and inking idea from the second card with the palm tree and greeting idea from the first card and ended up with my final project:

Palm Tree Thanks DSCN7876

A lot of time and wasted paper, but I am happy with the way it came out.  I guess it’s not so bad to be a stubborn crafter!  (Sometimes it just takes me a while to get to the end of the process!!)

The “thanks” stamp is from the Gina K Designs “Vertical Greetings” set, and the palm trees are by Recollections.  I created a mask to sponge the background and used Gina K turquoise sea and Tim Holtz pine needles distress inks.  The images were stamped with Memento tuxedo black ink.  The wavy paper is by Crate Paper called Poolside from the Pier Collection.  Gina K turquoise sea, black and white card stock was also used. I used my stamp-a-ma-jig and a mask to put the greeting where the trunk should have been, and these (along with the background mask) made it easy to make multiple copies of this layout.

Thanks for checking out my card project!

This content uses referral links as described in the disclosure policy on my sidebar.

Giraffe Birthday Card

Giraffe Birthday Card

Giraffe Birthday 1 DSCN7724.jpg

This card is being entered in the Perfectly Rustics – PR Design Challenge No. 39 – Animals, where we are to “go wild” with animals in our creations. (http://perfectlyrustics.com/2015/01/12/prdc-no-39-animals/)

The Stamp I used for this card is called “Cling Giraffe Savanna” by Stampendous which was stamped on white card stock with Memento tuxedo black ink.  The whole scene is on the one stamp.  The original image has the word “Giraffe” in the swirls by his neck.  I masked this and stamped the “Best Wishes” Greeting which is a Gina K Designs stamp from the “A Wish For You” mini stamp set.  The scene was colored with Copic Markers (E51, E33, E35, E37, YG97, YG99, and E44) and was inked with Memento desert sand and rich cocoa inks.

The background printed paper is DCWV “All Dressed Up Leopard Chic” which I lightly inked with the desert sand ink to make it match a bit better.  It was cut with a Spellbinders “Labels Eight” die.  The dark chocolate panel (Gina K) was embossed with a Darice “Stripes” embossing folder, and black card stock was used for the mats.  The card base is Gina K sandy beach.

Burlap, raffia ribbon and jute, and a few metallic stickers embellishments by K & Company finished it off.

Thanks for checking out my card project!

This content uses referral links as described in the disclosure policy on my sidebar.