Birthday FLowers

Birthday Flowers

Birthday Flowers Yellow wwwwDSCN8252.jpg

This card is being entered in the StampTV MIUM Challenge “Combine & Color” where we are to:

  • Use a combination of two different Gina K Designs stamp sets. One for the focal image and one for the sentiment.
  • Have a focal image that can be colored. The image you choose can be colored with whatever you choose.

(Sadly, this site is no longer active.)

This card is also being entered in the Mod Squad Challenge “Spring Forward” where we are encouraged to use flowers, birds, butterflies, hummingbirds, etc. and bright, beautiful colors to make a Spring themed card.   (Sadly, this site is no longer active.)

For this card, I used stamps from the Gina K Designs “A Little Something” (the vase of flowers) and “Sweet Tweets” (the greeting).  The images were stamped with Memento Tuxedo Black ink.  I colored the image with Copic Markers (Y23, YG09, V15, and V17).  I also did a little paper piecing to add color to the vase.  In addition to black and white card stock, the patterned paper I used is from the Gina K Delicate Essentials 6×6 paper pack.  I also used the Cuttlebug Swiss Dots embossing folder, a clear Wink of Stella glitter brush pen (hard to see in photo), and a few self sticking rhinestones.

I ended up doing a second card as well by mixing up the colors a bit.  Here it is:

birthday flowers purple xxxxDSCN8237.jpg

I’m not sure which I like better!

Thanks for checking out my card projects!

This content uses referral links as described in the disclosure policy on my sidebar.

Quilled Iris

Quilled Iris

w Quilled Iris DSCN8105

It had been a while since I had done any quilling, so I thought I’d make a quilled card to enter in this week’s Mod Squad Challenge called “Spring Forward” where we are encouraged to use flowers, birds, butterflies, hummingbirds, etc. and bright, beautiful colors to make a Spring themed card.  (Sadly, this site is no longer active.)

I sponged Gina K Wild Lilac ink on white card stock and glued my quilled iris and decorative swirls on this panel.  Then, I created a recessed frame with thick fun foam and Spellbinders oval dies.

zDSCN8176

The printed paper is from a digital set I bought from a store on Etsy called The Pixel Posy. The set is called “Vintage William Morris digital paper designs//Art Nouveau background paper pack//Blue and purple flower digital paper.”   HERE is the link.

This card used a number of quilled shapes:  teardrops, half circles, marquises and wheatears (leaves).  I used instructions by “Quilled Creations” to create the iris.


I had made a few other quilled cards in the past that I had posted in my StampTV Gallery.  (Sadly, this site is no longer active.)  I’m including them here as well.

Quilled Sympathy Card DSCN5557

This sympathy card was the first one I did back in May 2013.  I used a basic marquise shape for the flowers and leaves.  The sentiment was from the Gina K Designs “All Occasion Tags” Stamp set.  The tag was cut with a die from the Spellbinders Grommet Tag set, and the embossing folder is Darice Corner Scroll.

I used the same embossing folder and marquise shapes to create two more – a wedding card and a confirmation card.

Quilled Wedding Card DSCN5602.jpg

DSCN5609

The sentiment on the wedding card is from the Gina K Designs “Always and Forever” duo stamp set.  I purchased the stamp for the confirmation card on Ebay, and it is unmarked so I have no idea what company made it.

The next card I made was for a bridal shower.  I used teardrops to make the umbrella.

Quilled Bridal Shower Card DSCN5666.jpg

The bride and groom stamp is called “Happy Couple” by Stampendous!  The greeting was done on the computer.  I used the Darice Stripe embossing folder on this card.


Quilled Creations makes a great tool called “Circle Template Board” that makes it easy to create consistent and perfectly proportioned quilled shapes. I also use their slotted quilling tool to roll the circles; the slot makes it easy to get the paper rolls started.

circle template board  slotted tool

I forgot how much I LOVE quilled designs; I will definitely need to do this more often!!

Thanks for checking out my card projects!

This content uses referral links as described in the disclosure policy on my sidebar.

Pop-Up Hearts

Pop-Up Hearts

POP UP HEARTS 2

This card is being entered in the Mod Squad Challenge “Pop-Up Card” where we are to make a pop-up card of any kind.   (Sadly, this site is no longer active.)

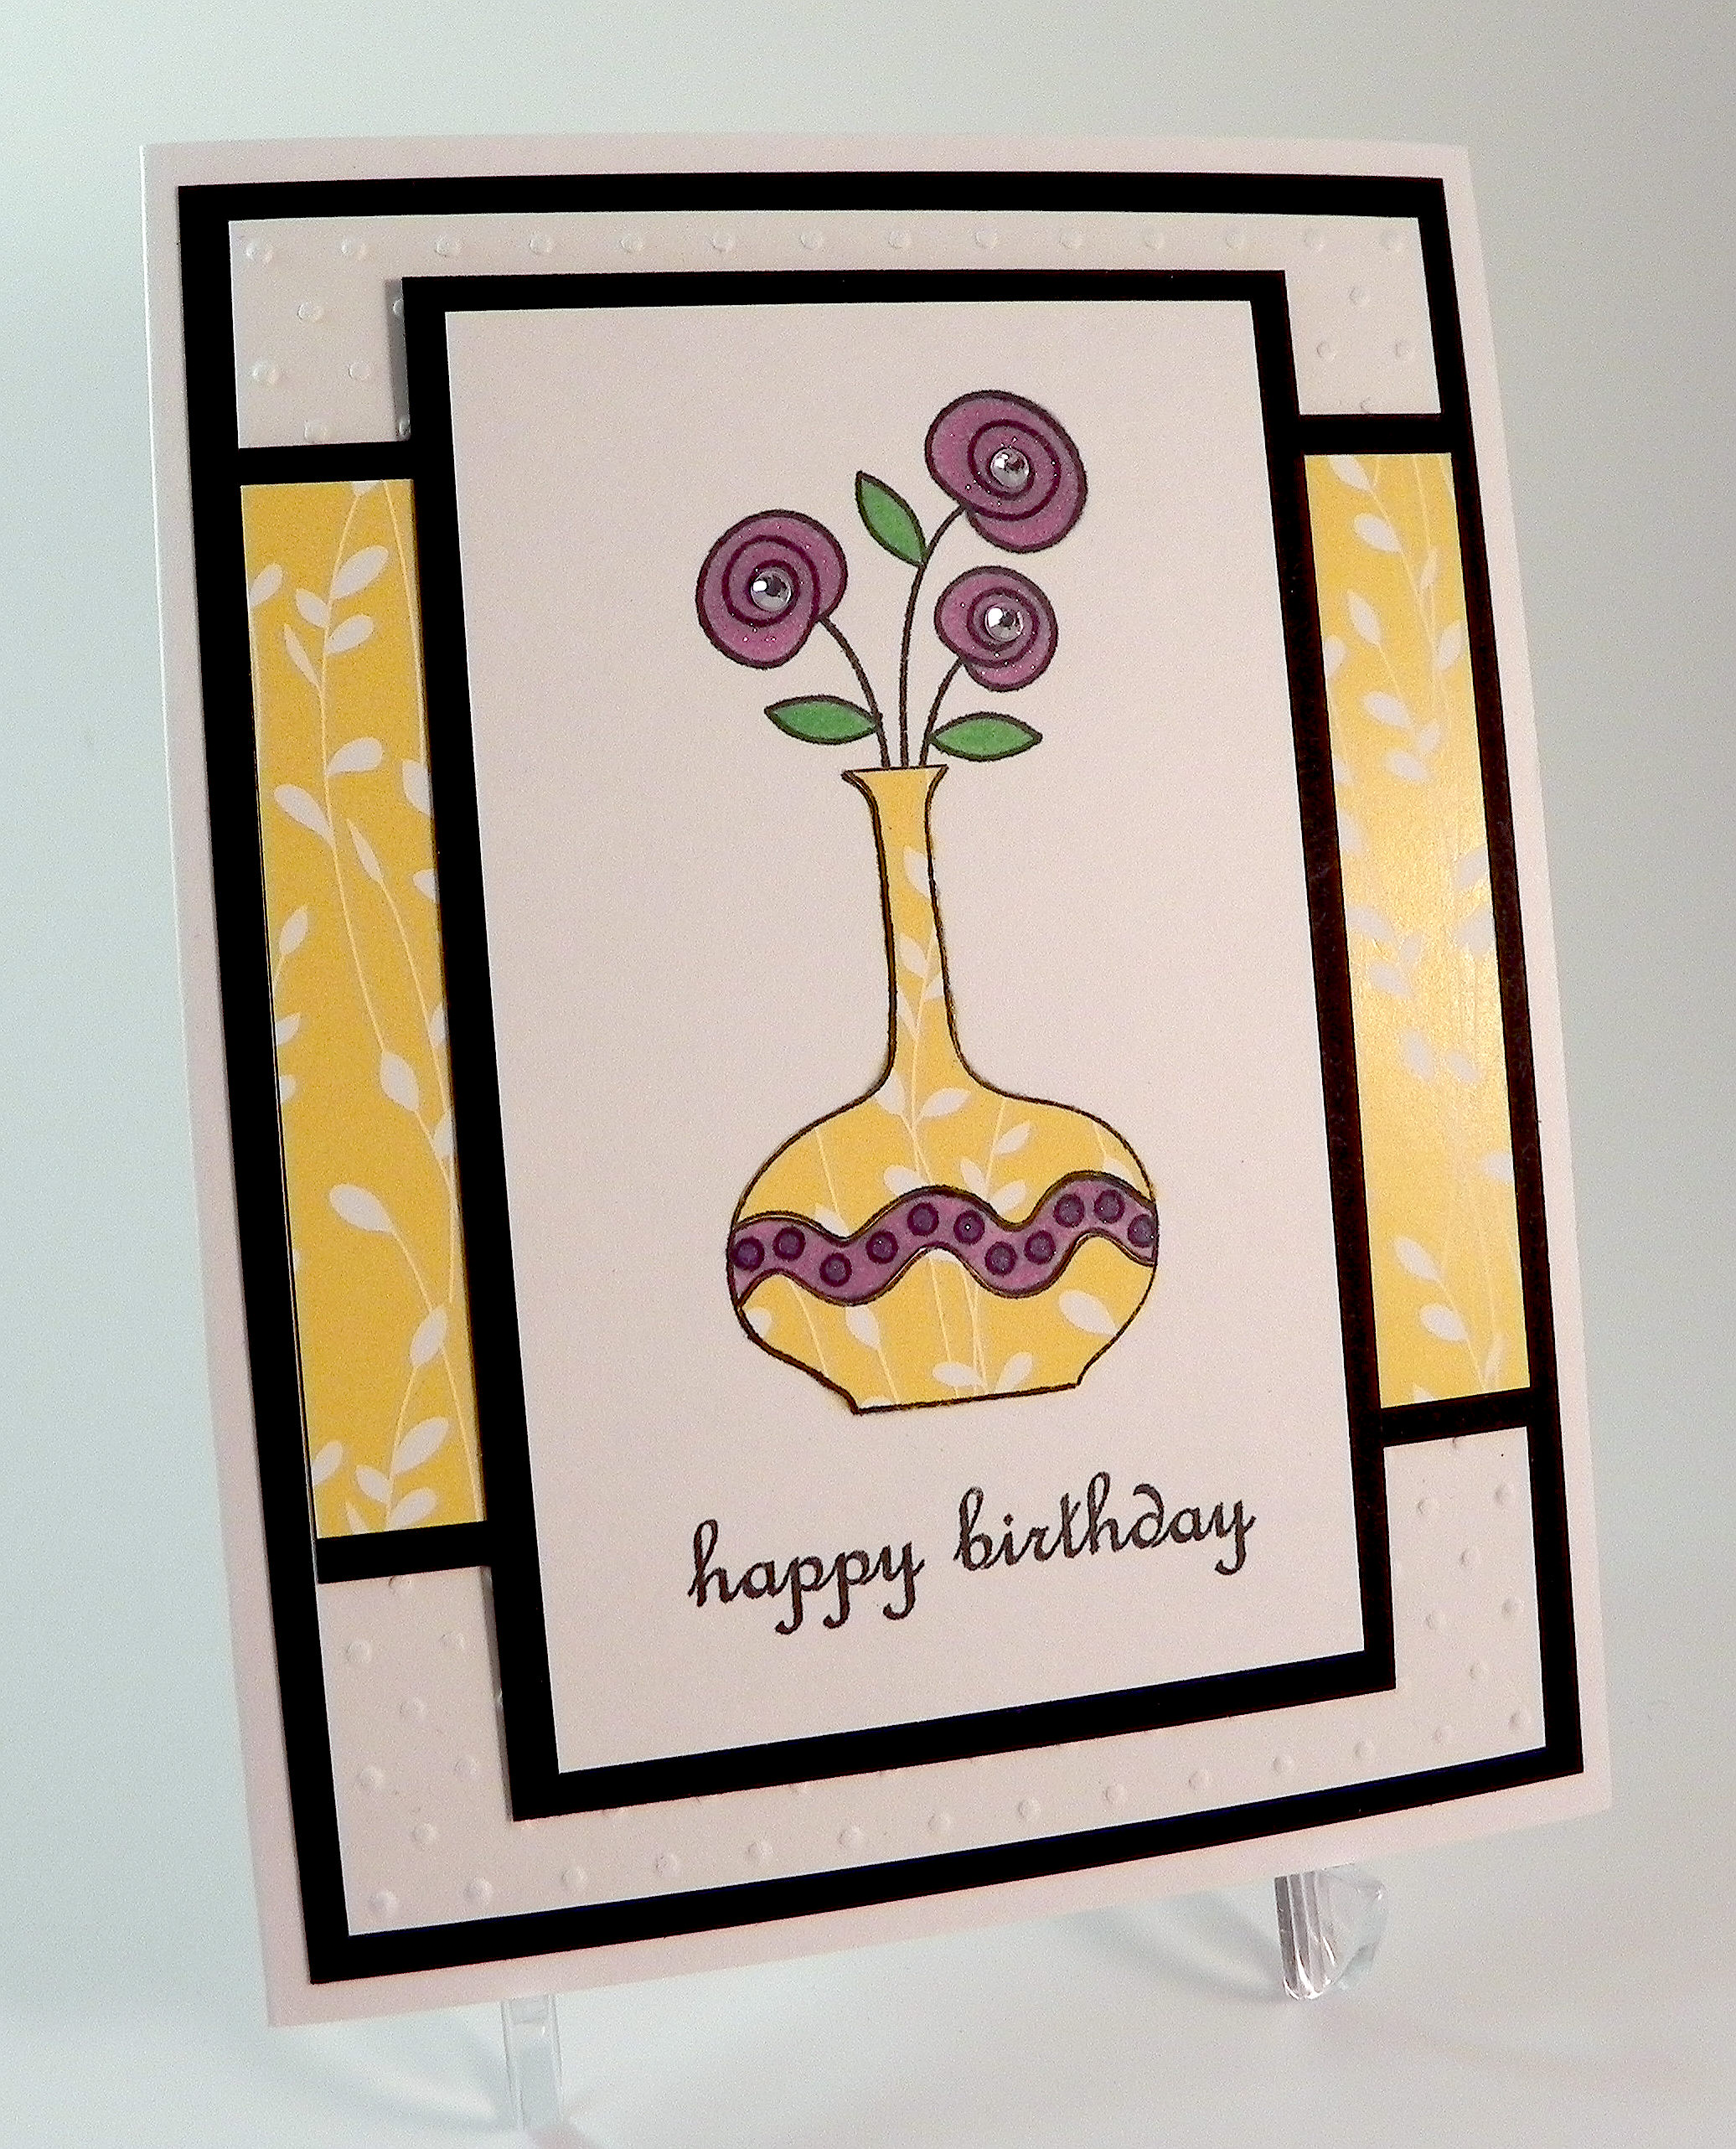
I made this as a Valentine’s Day Card, although with no greeting on the front, it could also be used for an anniversary, a wedding, or a “just because” card for someone special.

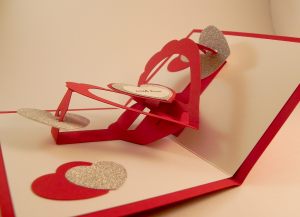
The inside pop-up element was made with the Sizzix “Hearts-a-Plenty 3D (Pop-Up)” die.  Card stock used on the inside was Gina K heavy base weight white and cherry red along with Recollections silver glitter paper.  The stamp is from the Gina K Designs “Bundle of Love” stamp set and was stamped with Memento tuxedo black ink.  In addition to the sizzix die, a Creative Memories double heart punch was used as well.  I used score tape to make sure the pop-up element was adhered well to the base.  I didn’t have any “Happy Valentine’s Day” stamps that fit in the white space or on the white heart; I need to fix that!!!  The card pictured is my sample; on the cards I actually sent, I hand-wrote that along with a short message in the upper left and lower right corners (before adhering my pop-up element – learned that the hard way!!!).

Here are a few close-up shots of the inside of the card:

qDSCN7576

qDSCN7572    qDSCN7559

qDSCN7589    qDSCN7585

Here is the front of the card:

qDSCN7547

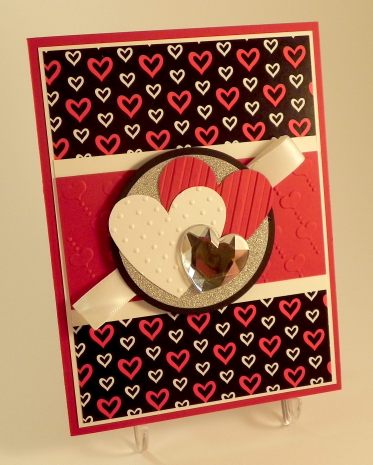
For the front, I used patterned paper from the Gina K Fight Like A Girl paper pack.  Gina K cherry red, black, and white card stock was used along with Recollections silver glitter paper.  The embossing folders I used were Darice Heart, Darice Stripe, and Cuttlebug Swiss Dots.  The giant crystal heart-shaped gem sticker is by Mark Richards.  Spellbinders classic circle dies (large and small) were used for the focal panel, and a piece of ribbon was tucked behind.

qqDSCN7544

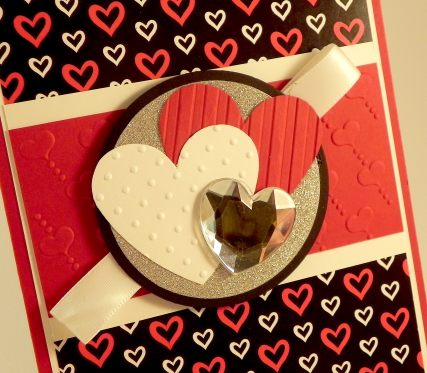
This card, with the pop-up center and the big gem sticker on the front was so thick, it needed to be sent as a package!  Ugh!!!

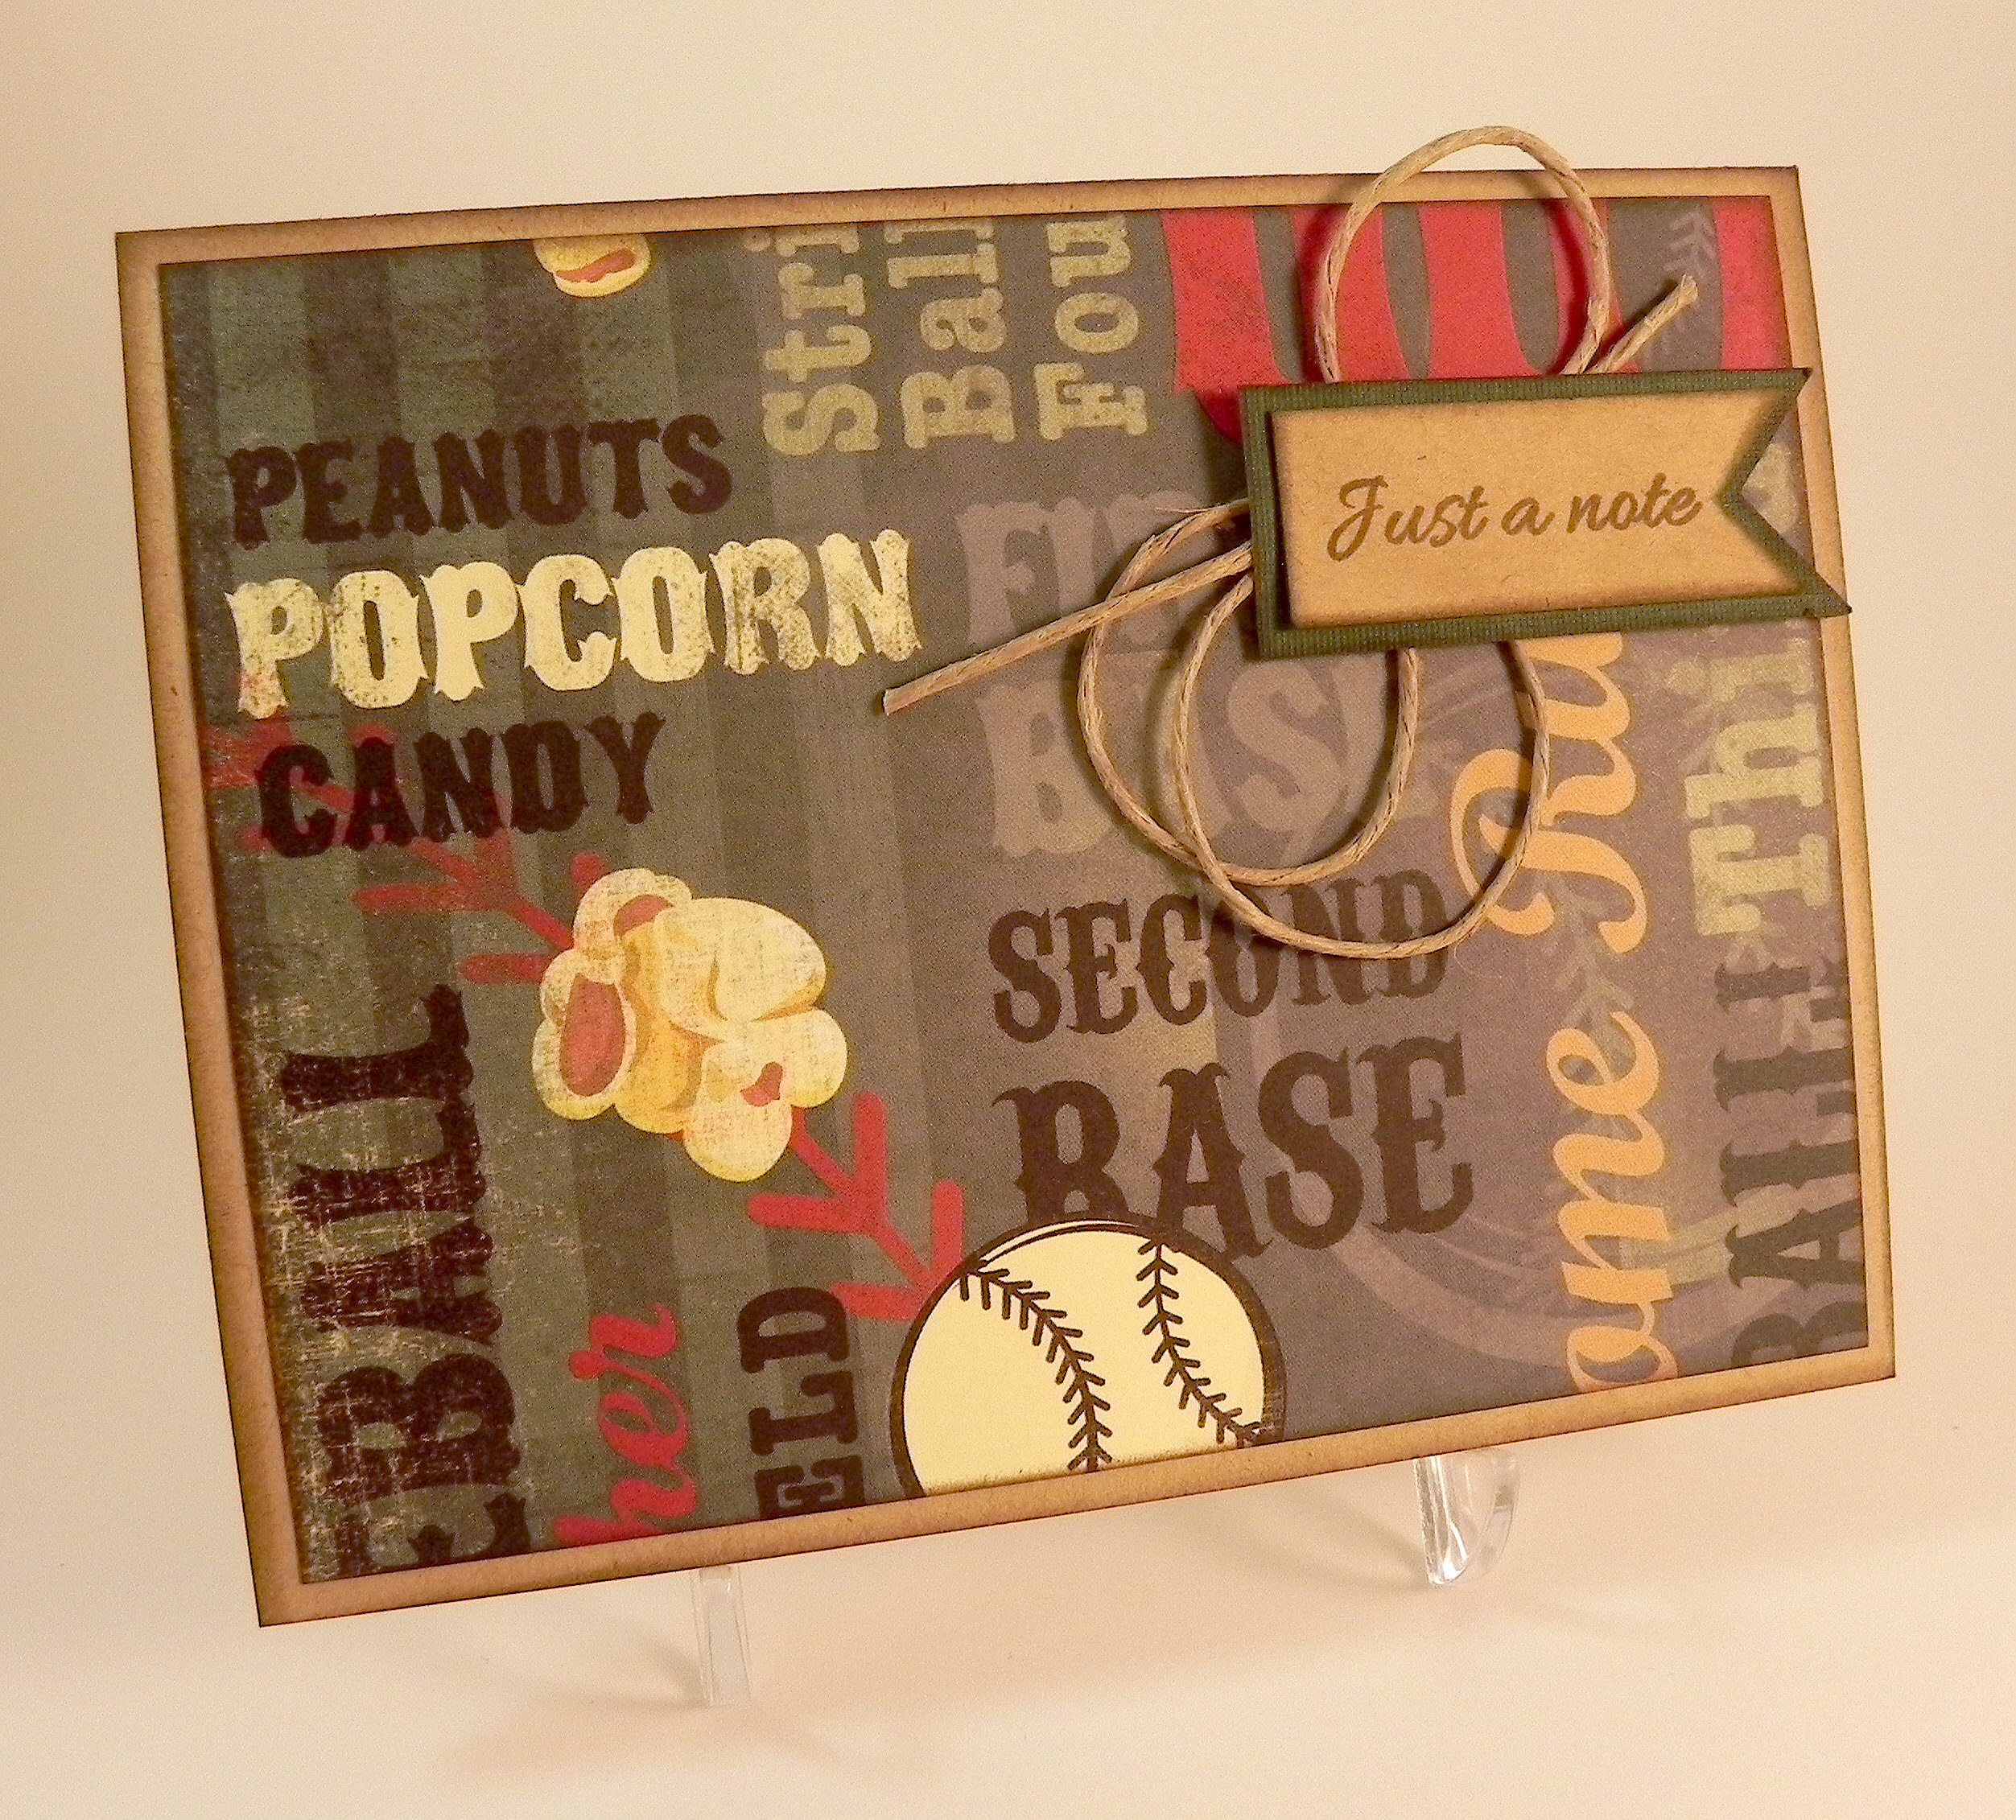
This card is a variation of a card I made for the StampTV MIUM “Put Your Heart Into It!” Challenge where we are to use a heart somewhere on our project, but it cannot be a Valentine’s Day card.   (Sadly, this site is no longer active.)  While my card pictured above could be used for a variety of occasions, I decided to change up the front so it was clearly NOT a Valentine’s Day Card!  Here is the variation I entered instead:

uuDSCN7505

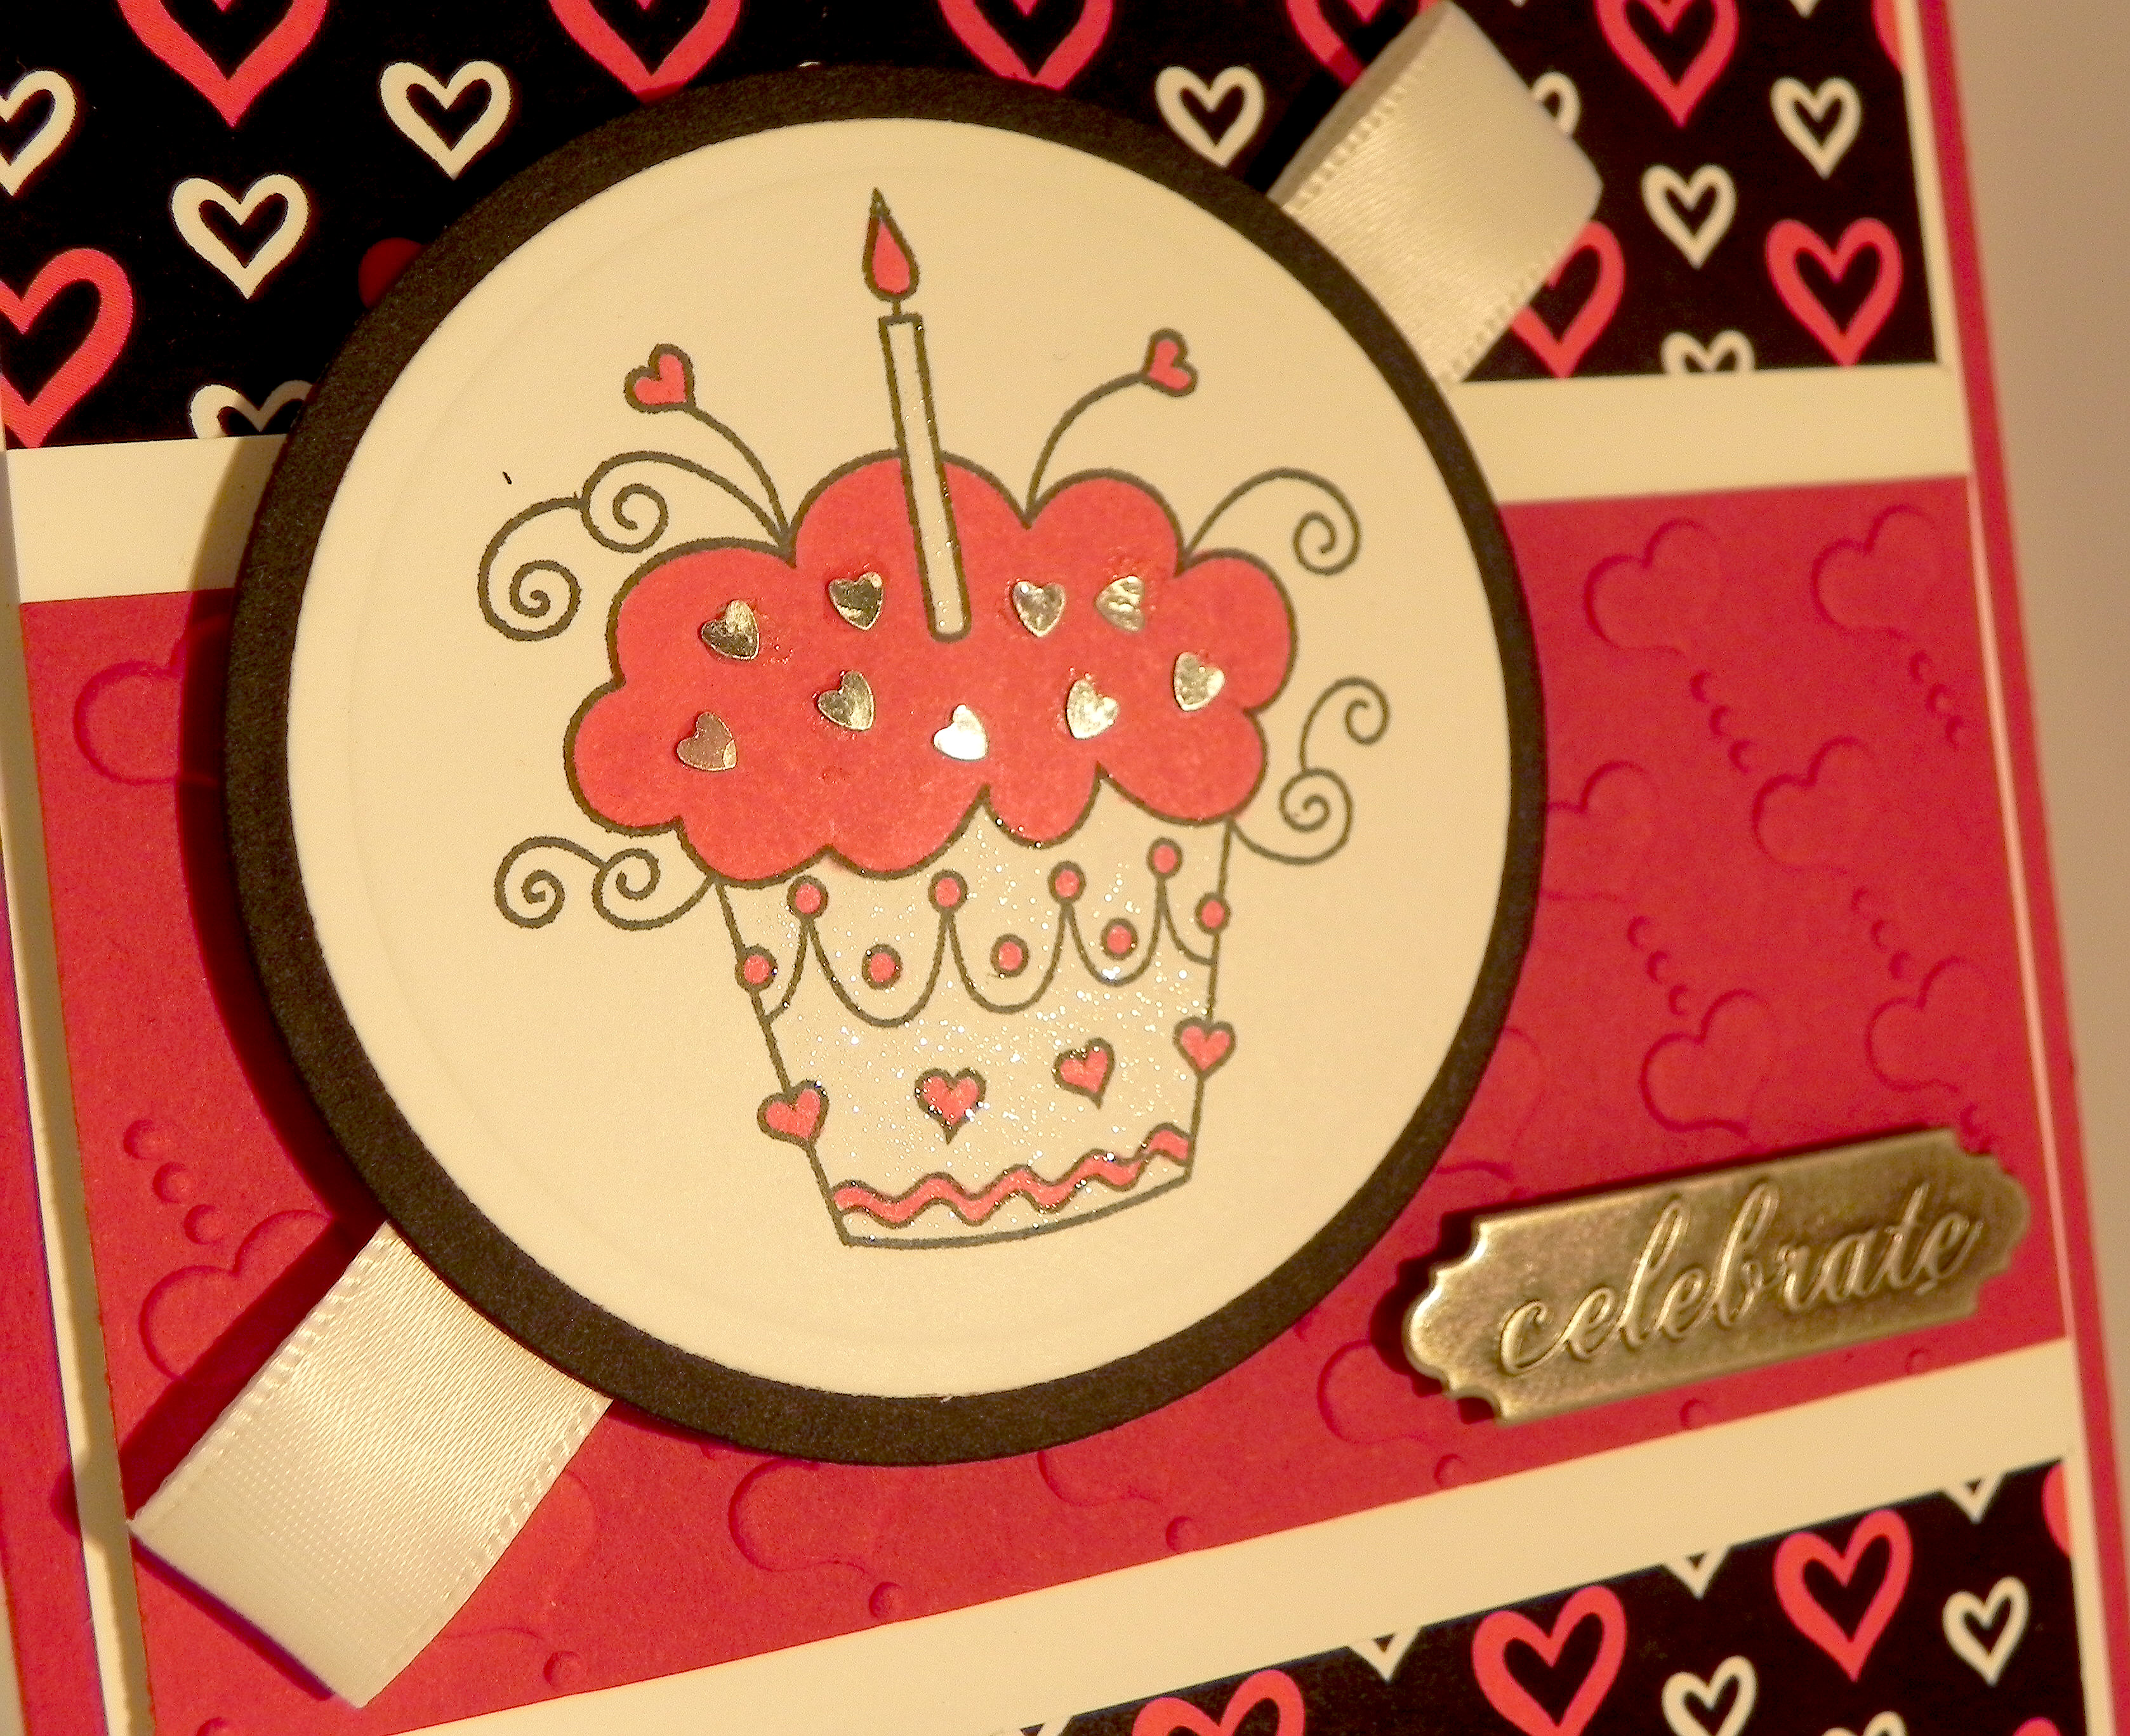
Again, the patterned paper is from the Gina K Fight Like A Girl paper pack. Gina K cherry red and white was also used. The Stamp is from the GKD Sweet Tweets stamp set and was stamped in Memento tuxedo black and colored with Copic Marker R46 and a clear Wink of Stella glitter pen. A few silver heart spangles were added to the frosting. The greeting is a Momenta metal sticker. The embossing folder is Darice Heart.  Spellbinders classic circle dies (large and small) were used for the focal panel. You can see the shine a little better in this close-up.

tDSCN7508

I used two tools to place and adhere those tiny heart spangles to my project.  The first is the glue. Since I needed such a small amount for each heart, I used my Zig 2 Way Glue pen.  It looks like a pen and has a fine ball point.  You can squeeze or roll just the right amount of glue that you need with perfect placement.  This glue can be used two ways. Use it when it’s blue and wet for a permanent bond or let it dry clear for a few moments to get a temporary bond.

azig 2 way glue pen

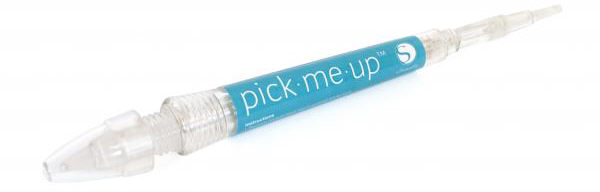
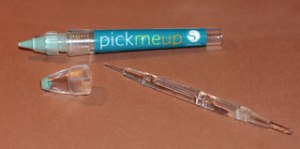
The second tool I used is the Silhouette Pick-Me-Up tool.  One end has a tacky substance on it that allows you to pick things up.  The other end has a removable tool that has two ends that allows you to push the item off the tacky end and onto the adhesive on your project or to push the item in place.  I found a “review” with instructions on how to use this tool online HERE that you may find helpful.

aSilhouette Pick Me Up Tool 1    Silhouette Pick Me Up Tool 2

Thanks for checking out my card projects!

This content uses referral links as described in the disclosure policy on my sidebar.

Baseball Note Cards

Baseball Note Cards

Baseball Note Card.jpg

My son needed to send a note to someone who works in baseball, and I asked him if he wanted me to make him a card.  He said, “Yes, if you can but something simple/basic that can be sent in the next day or two.”  (He’s away at college so this included time for me to get it to him!)  My initial reaction was OH NO!!!  Simple/basic and quick aren’t words that usually describe my crafting process, especially since I don’t really have any baseball related supplies!!  Then I calmed down and got to thinking.  I ordered a few baseball stamps for which I am anxiously awaiting, although I knew when I ordered them that I wouldn’t have them in time for this project and look forward to using them in the future.  Then, I decided to go to a scrapbook supply store that is kind of near me (I wish it were closer!) to see what paper she had.  I have to say, her store is amazing!  She has a lot of gorgeous stuff that you don’t see in the big box stores near me.   I found this amazing sheet of vintage baseball paper by Karen Foster Design called Batter Up Collage, and the cards basically made themselves!  Here is the whole sheet of paper, from which I was able to make 6 note cards.

 wwDSCN7474

I cut the sheet into panels, inked the edges with Tim Holtz walnut stain distress ink, and adhered them to Gina K kraft card bases (which I also inked). Honestly, the cards could have been done at that point! But I felt guilty making something that required so little effort (I need to get over that!!!) and made a banner tag with a greeting from the Gina K Designs “Just A Note” stamp set (retired?) on kraft card stock and stamped with the Gina K charcoal brown ink. I matted the tag on a piece of green cardstock that I distressed with a bit of the charcoal brown ink, inked the edges and added a bit of twine behind it to help it stand out against the busy background.  Done!

Here is the whole set of cards:

Baseball Note Card   xDSCN7490   xDSCN7493

   xDSCN7495   xDSCN7498   xDSCN7502

I’m not sure if I like the twine behind the greeting, but the greeting was lost without it.  Now that there is no time pressure, I may go back and try something different with the greeting.  We’ll see…

Thanks for checking out my card project!

And if you happen to be in my neck of the woods and are looking for a paper crafting supply store, it is called “Scrap and Beads” and is located in the Burlington Center Mall in Burlington, NJ (right off of Route 295 – exit 47A) .  Half her store is set up with tables to work, and half is set up to shop.  Check out her great inventory or her crop schedule!  (I am not affiliated with this company in any way; I’m just a happy customer!  Check it out for yourself, and decide if it would be good for you.)  Unfortunately, this store is no longer there.

This content uses referral links as described in the disclosure policy on my sidebar.

Baby Wobble-Head Card

Baby Wobble-Head Card

Baby Wobble-Head Card wwwDSCN7373.jpg

The papers on this baby card coordinate with the Baby Crib Box Card project I posted yesterday.  (I will be sending both of them together.)

The baby image was Googled and “traced” with my Silhouette software.  The baby’s head is mounted on a spring, and it wobbles when the card moves. (Yes, the blurry head is supposed to show movement! lol)

aDSCN7385       abDSCN7432

The spring is called an “Action Wobble Spring” and is a plastic spring with adhesive on both sides so it sticks to your card project and to the element you want to wobble.

wDSCN7842    wDSCN7839

I used the following paper and card stock for this project: Core’dinations April Lovely, Colorbok Heidi Grace Designs bgirl buggy (double-sided), Core’dinations light pink plaid, Gina K bubblegum, ivory and white.  I inked all the edges and stamped the greeting with Gina K bubblegum ink.  The greeting is from the Gina K Designs “Bundle of Love” stamp set.   The baby’s hair is made with a few strands of yarn and a ribbon, and I added a few pink pearls to finish it off.

Inspiration for this card came from two places.  First, I used the same baby (as a boy) with the wobble spring on a card I made a bit ago.  Here is the card that I had previously posted in my StampTV gallery.  (Sadly, this site is no longer active.)

Baby Boy Wobble-Head Card

Secondly, I used a sketch from the StampTV Sketch Book which is under the “Freebies” section on the StampTV Site (HERE – scroll down; the sketch book is a little below the photo of the swimmer).  This is a fantastic resource for layout ideas when you are stuck!  You may need to be a member of StampTV to view this Sketch Book, but membership is free.   (Sadly, this site is no longer active.)  Here is the sketch I used as a starting point for my card project:

sketch for baby card

wwDSCN7373

Thanks for checking out my card project!

This content uses referral links as described in the disclosure policy on my sidebar.