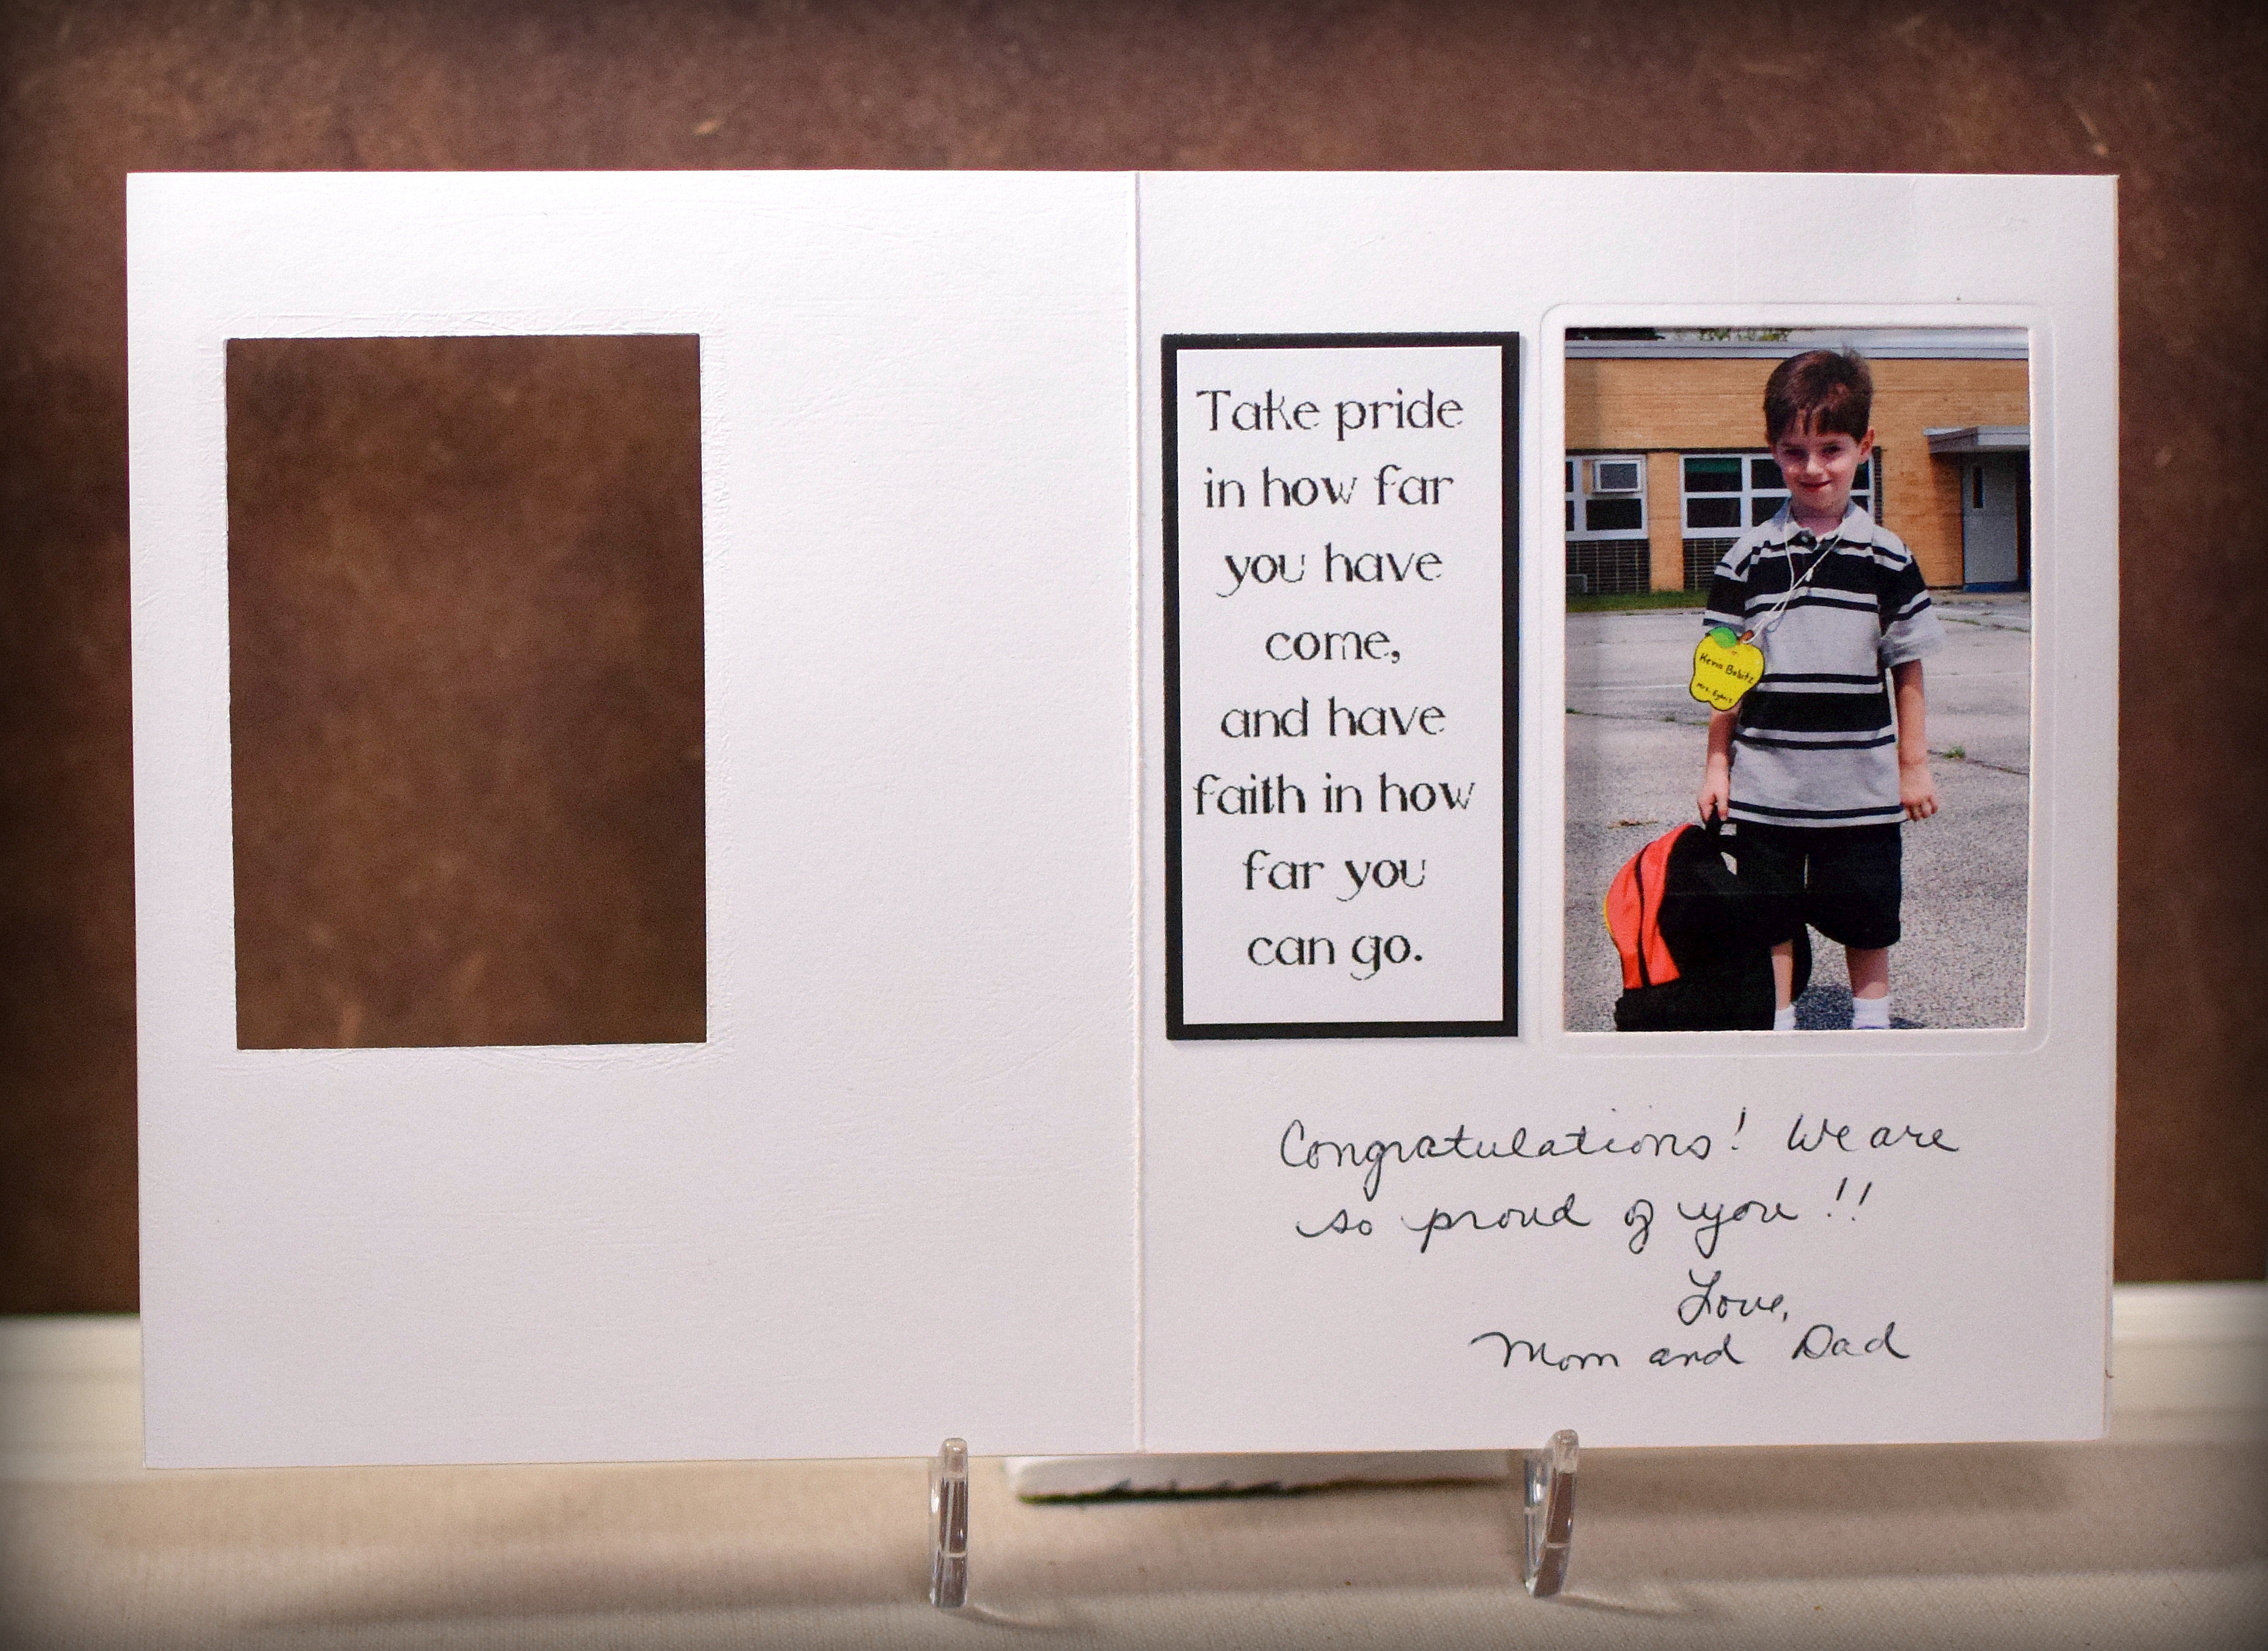
Class of 2017 CAS Graduation Card
(Inside: May you celebrate your graduation remembering special memories from your past and exciting dreams for your future. Happy Graduation.)
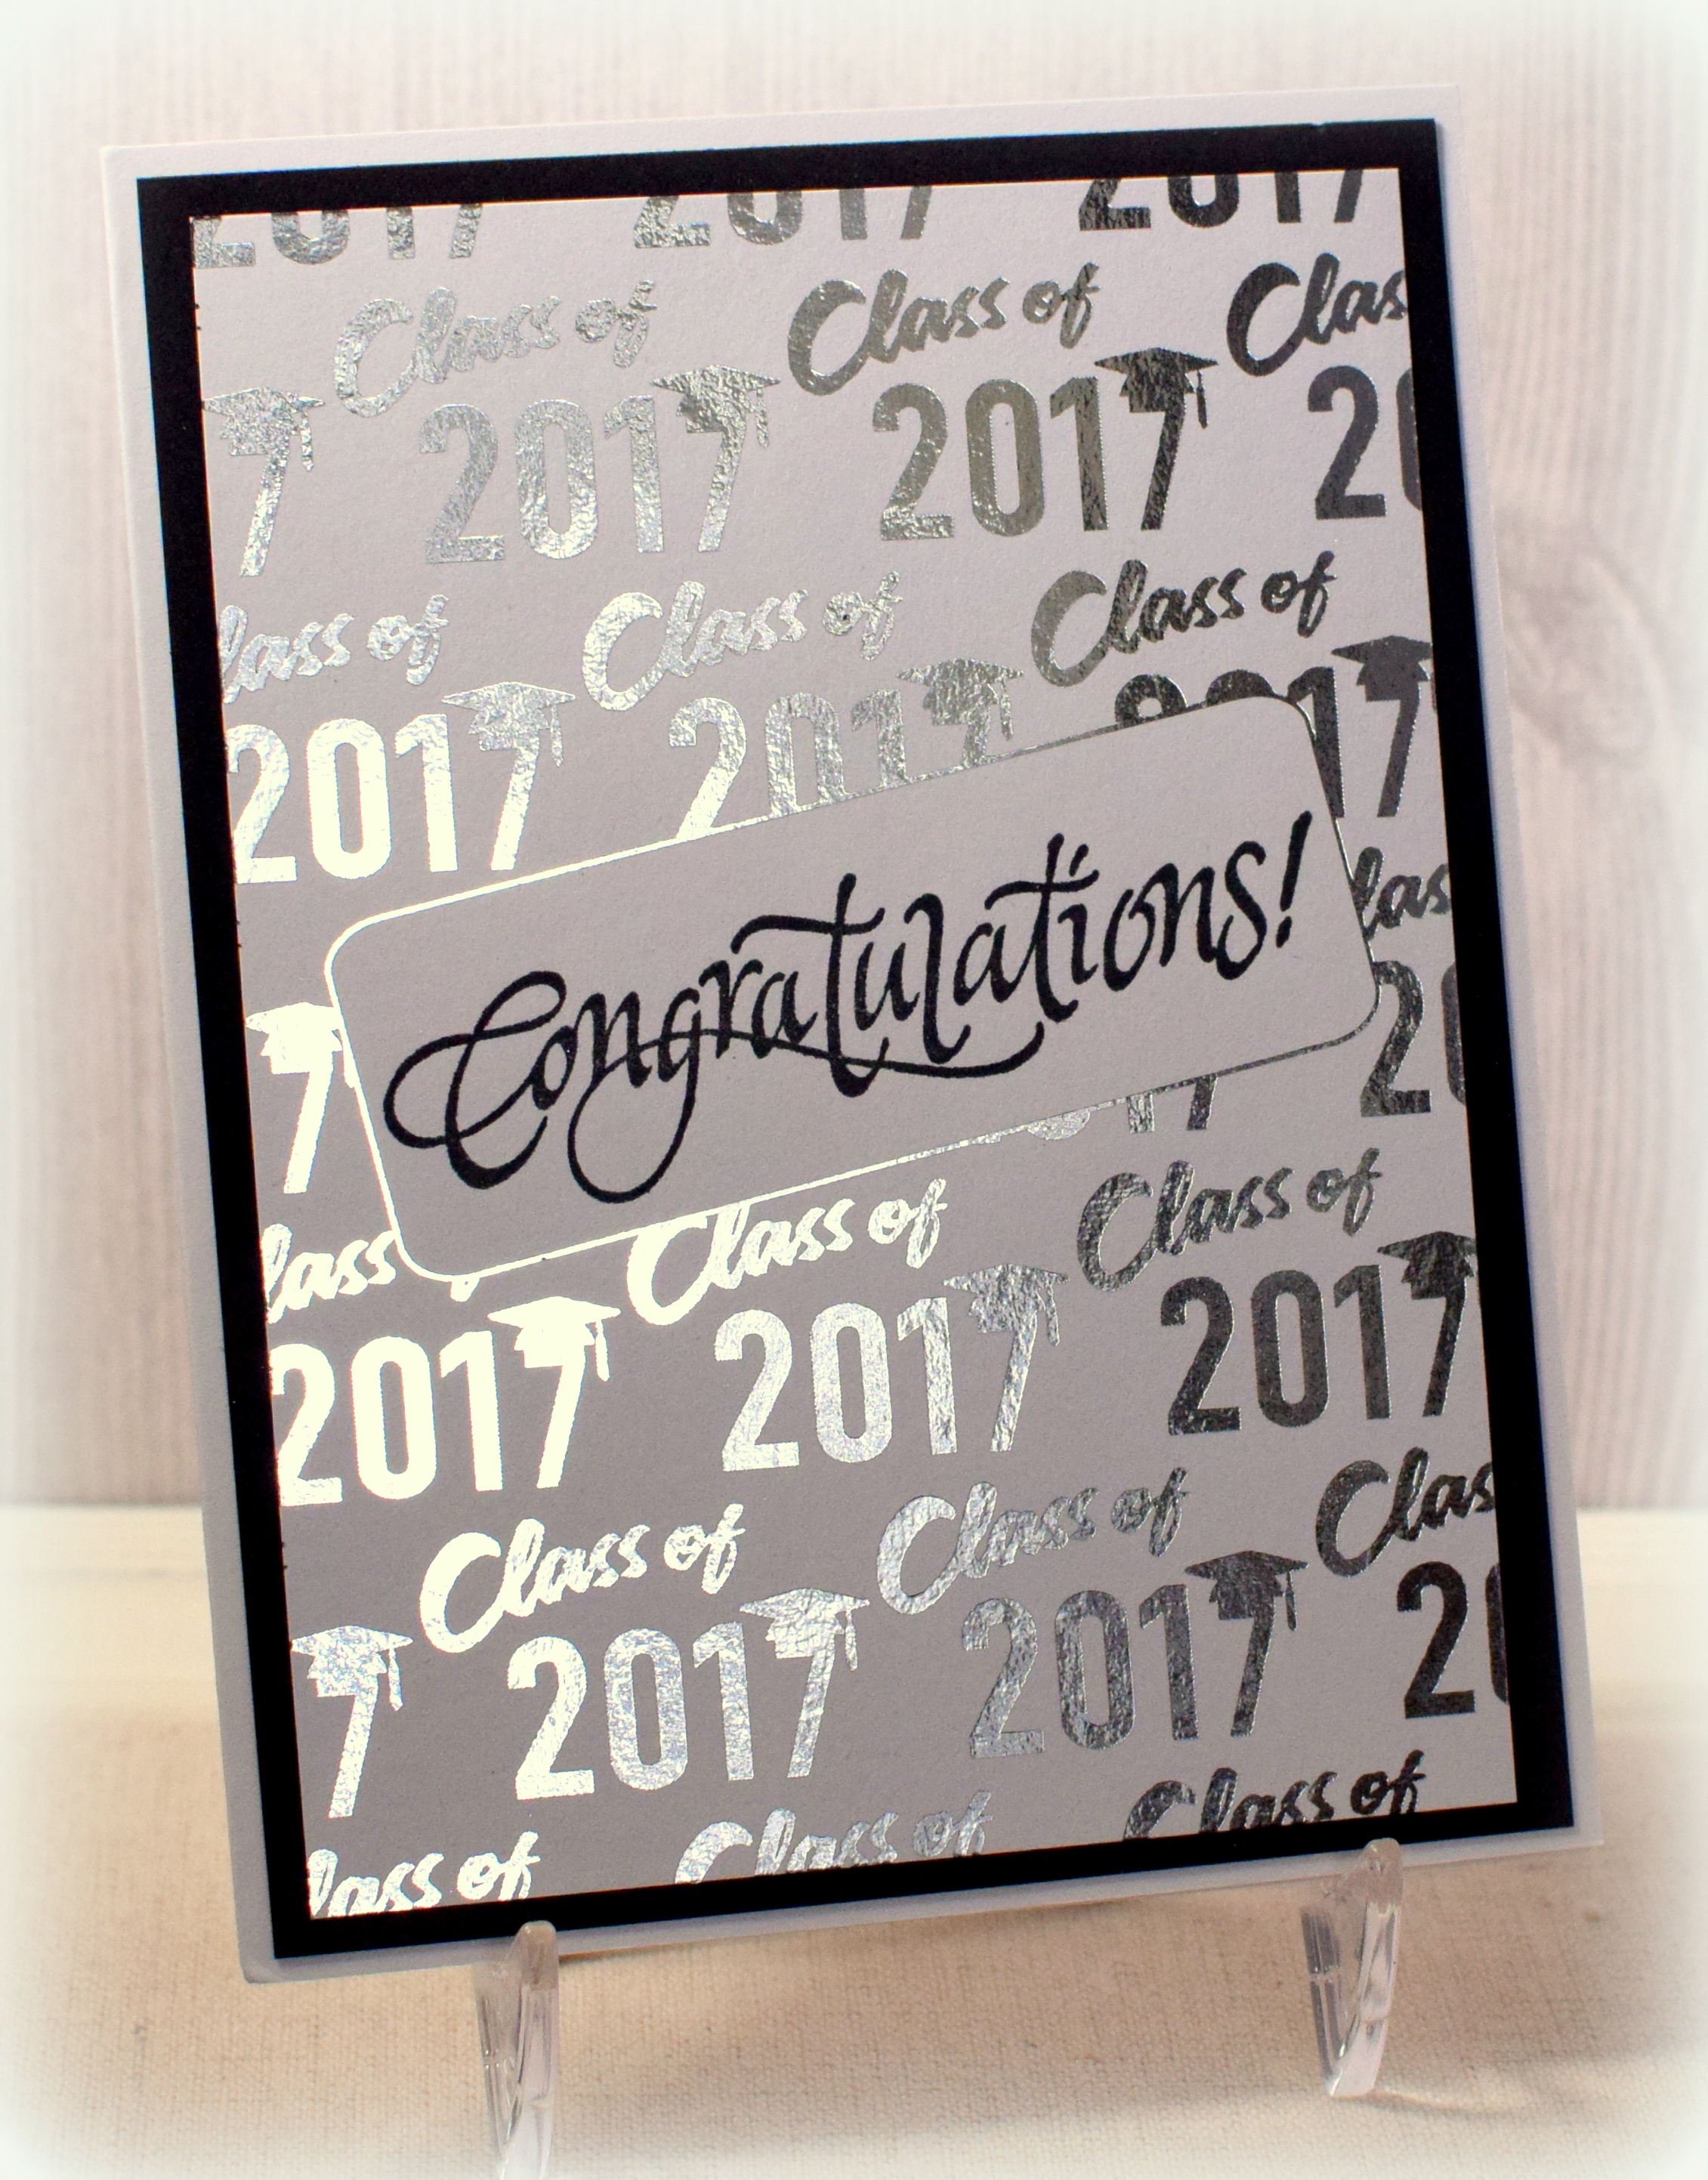
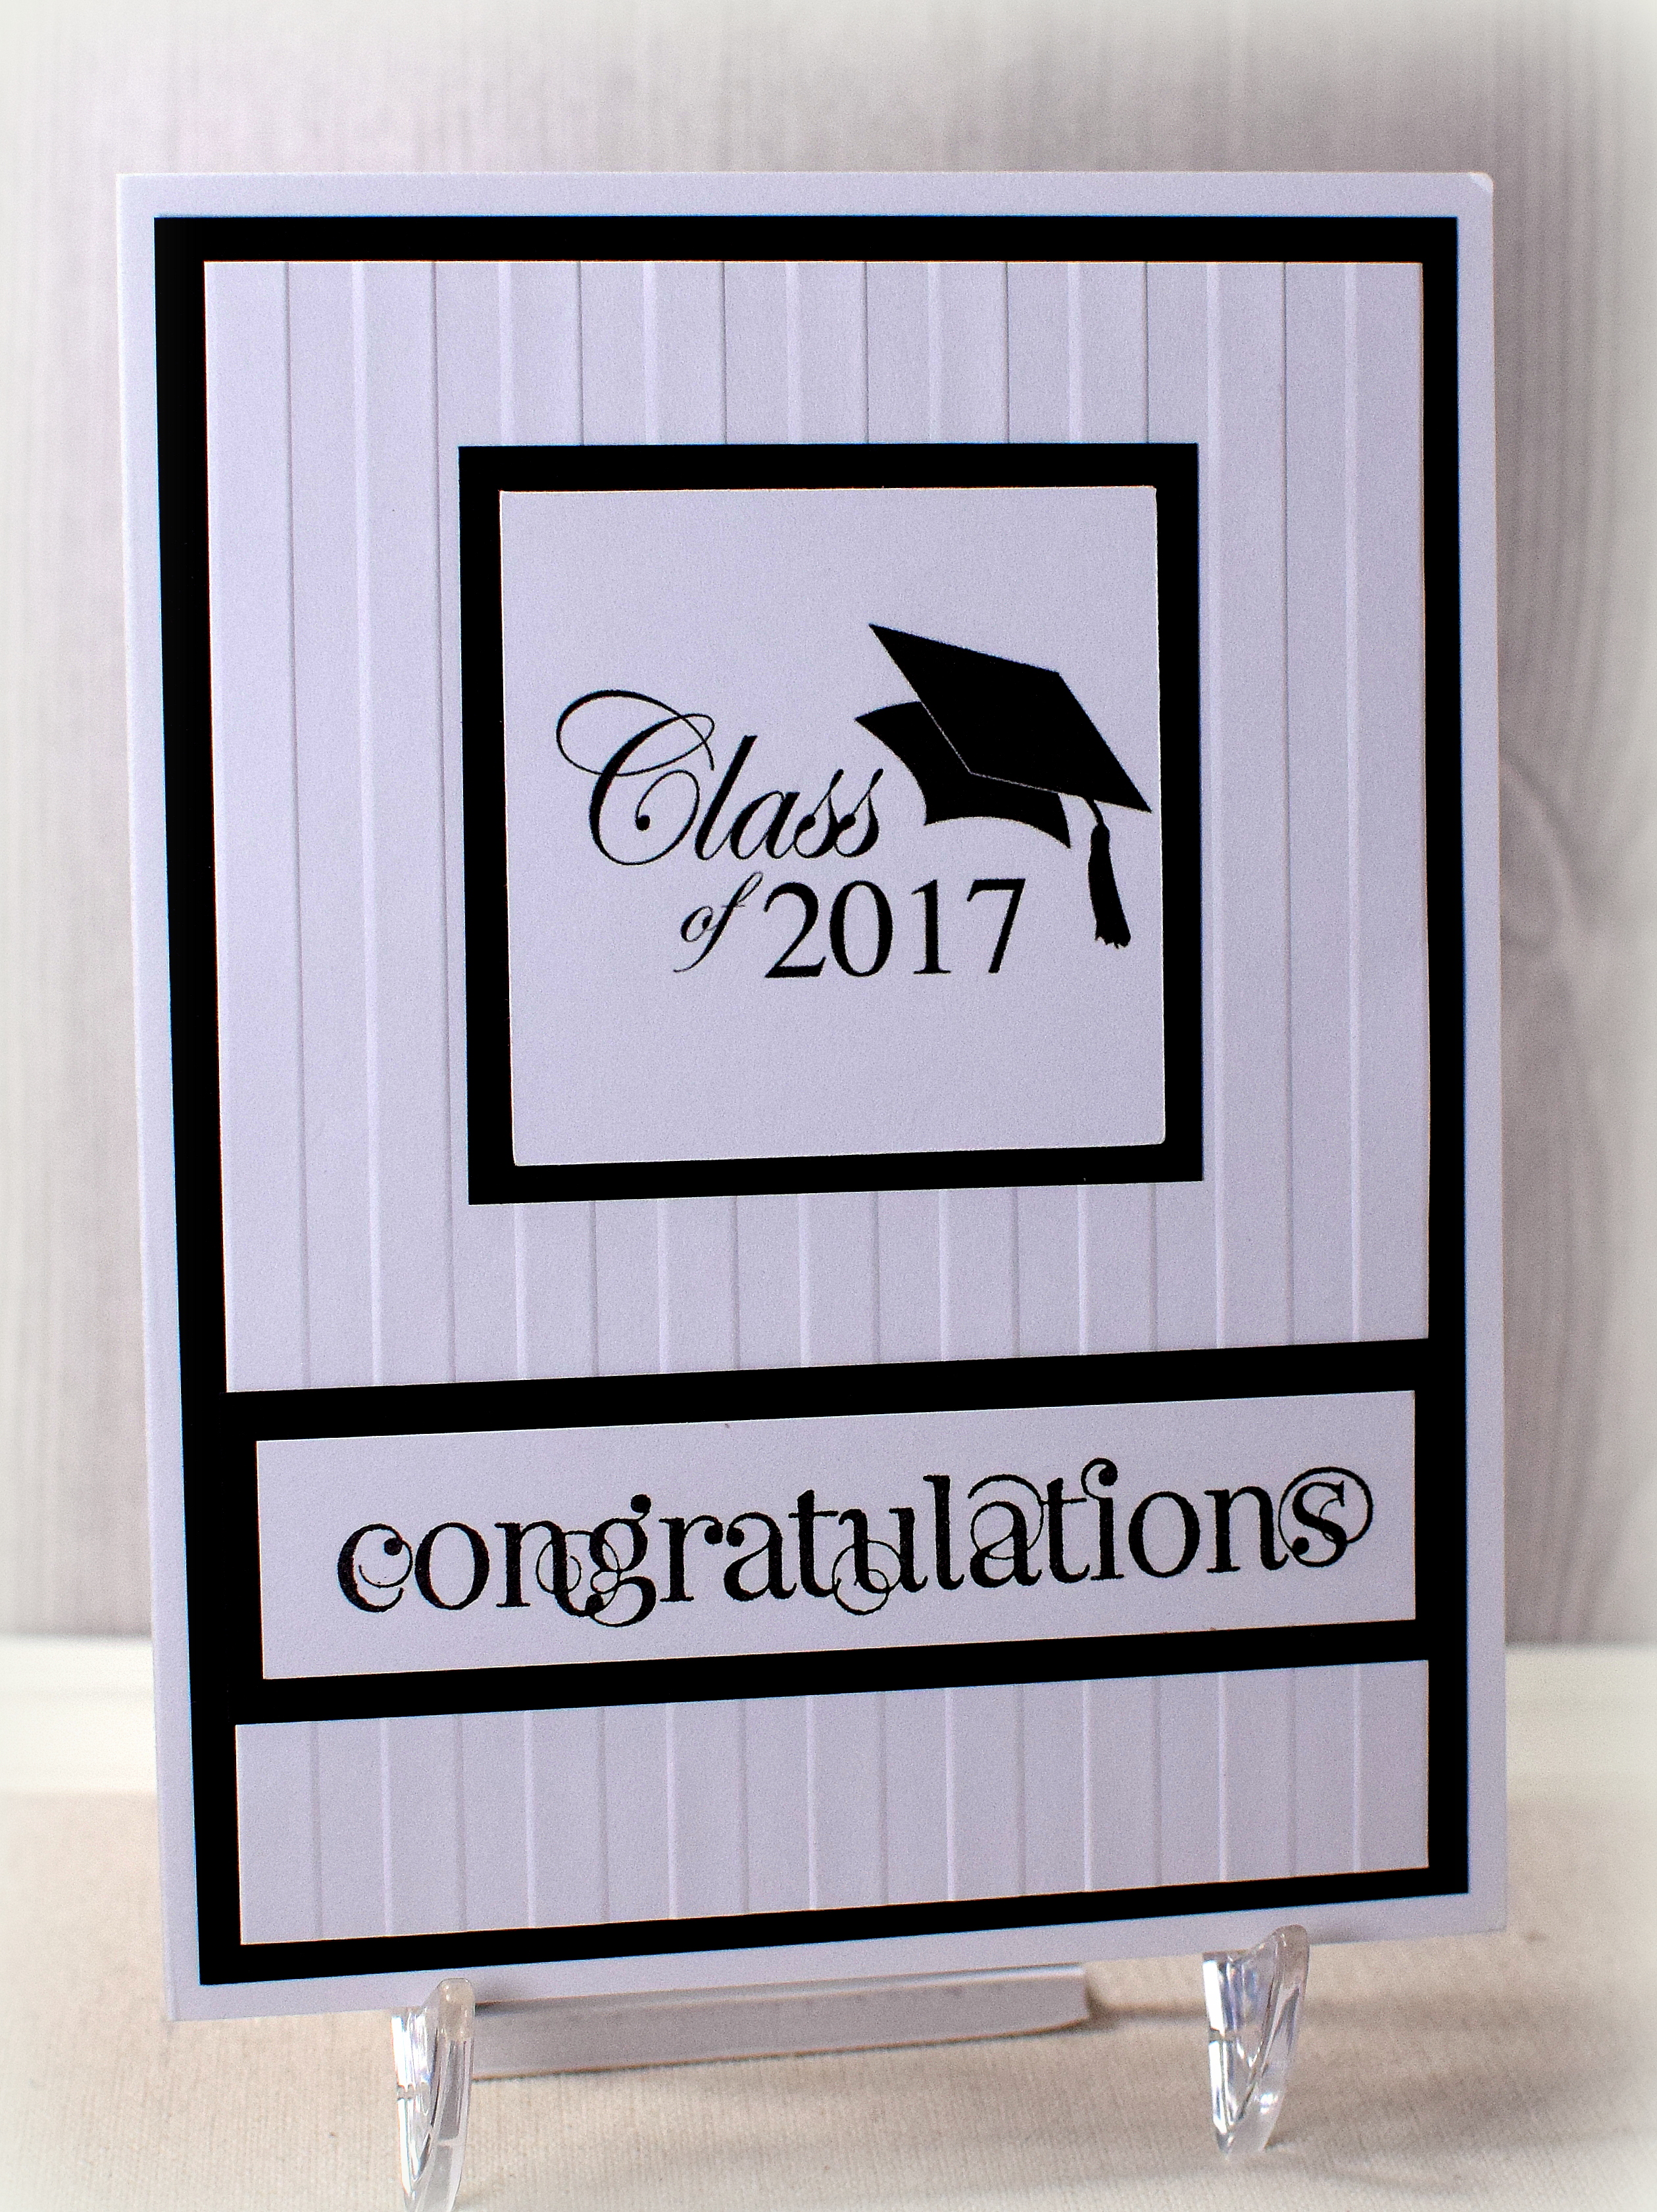
This clean and simple graduation card features a greeting from the “Curly Cute” set (retired?) by Stampin’ Up that was stamped with versafine onyx black ink. The “Class of 2017” was a digital image I found online (although I am no longer seeing it there). I found the same image on etsy (for 2018) HERE by createsvg4you. The sentiment inside was by Northwoods Rubber Stamps.
The white panel on the front was embossed with a Sizzix/Stampin’ Up “Stripes” embossing folder.
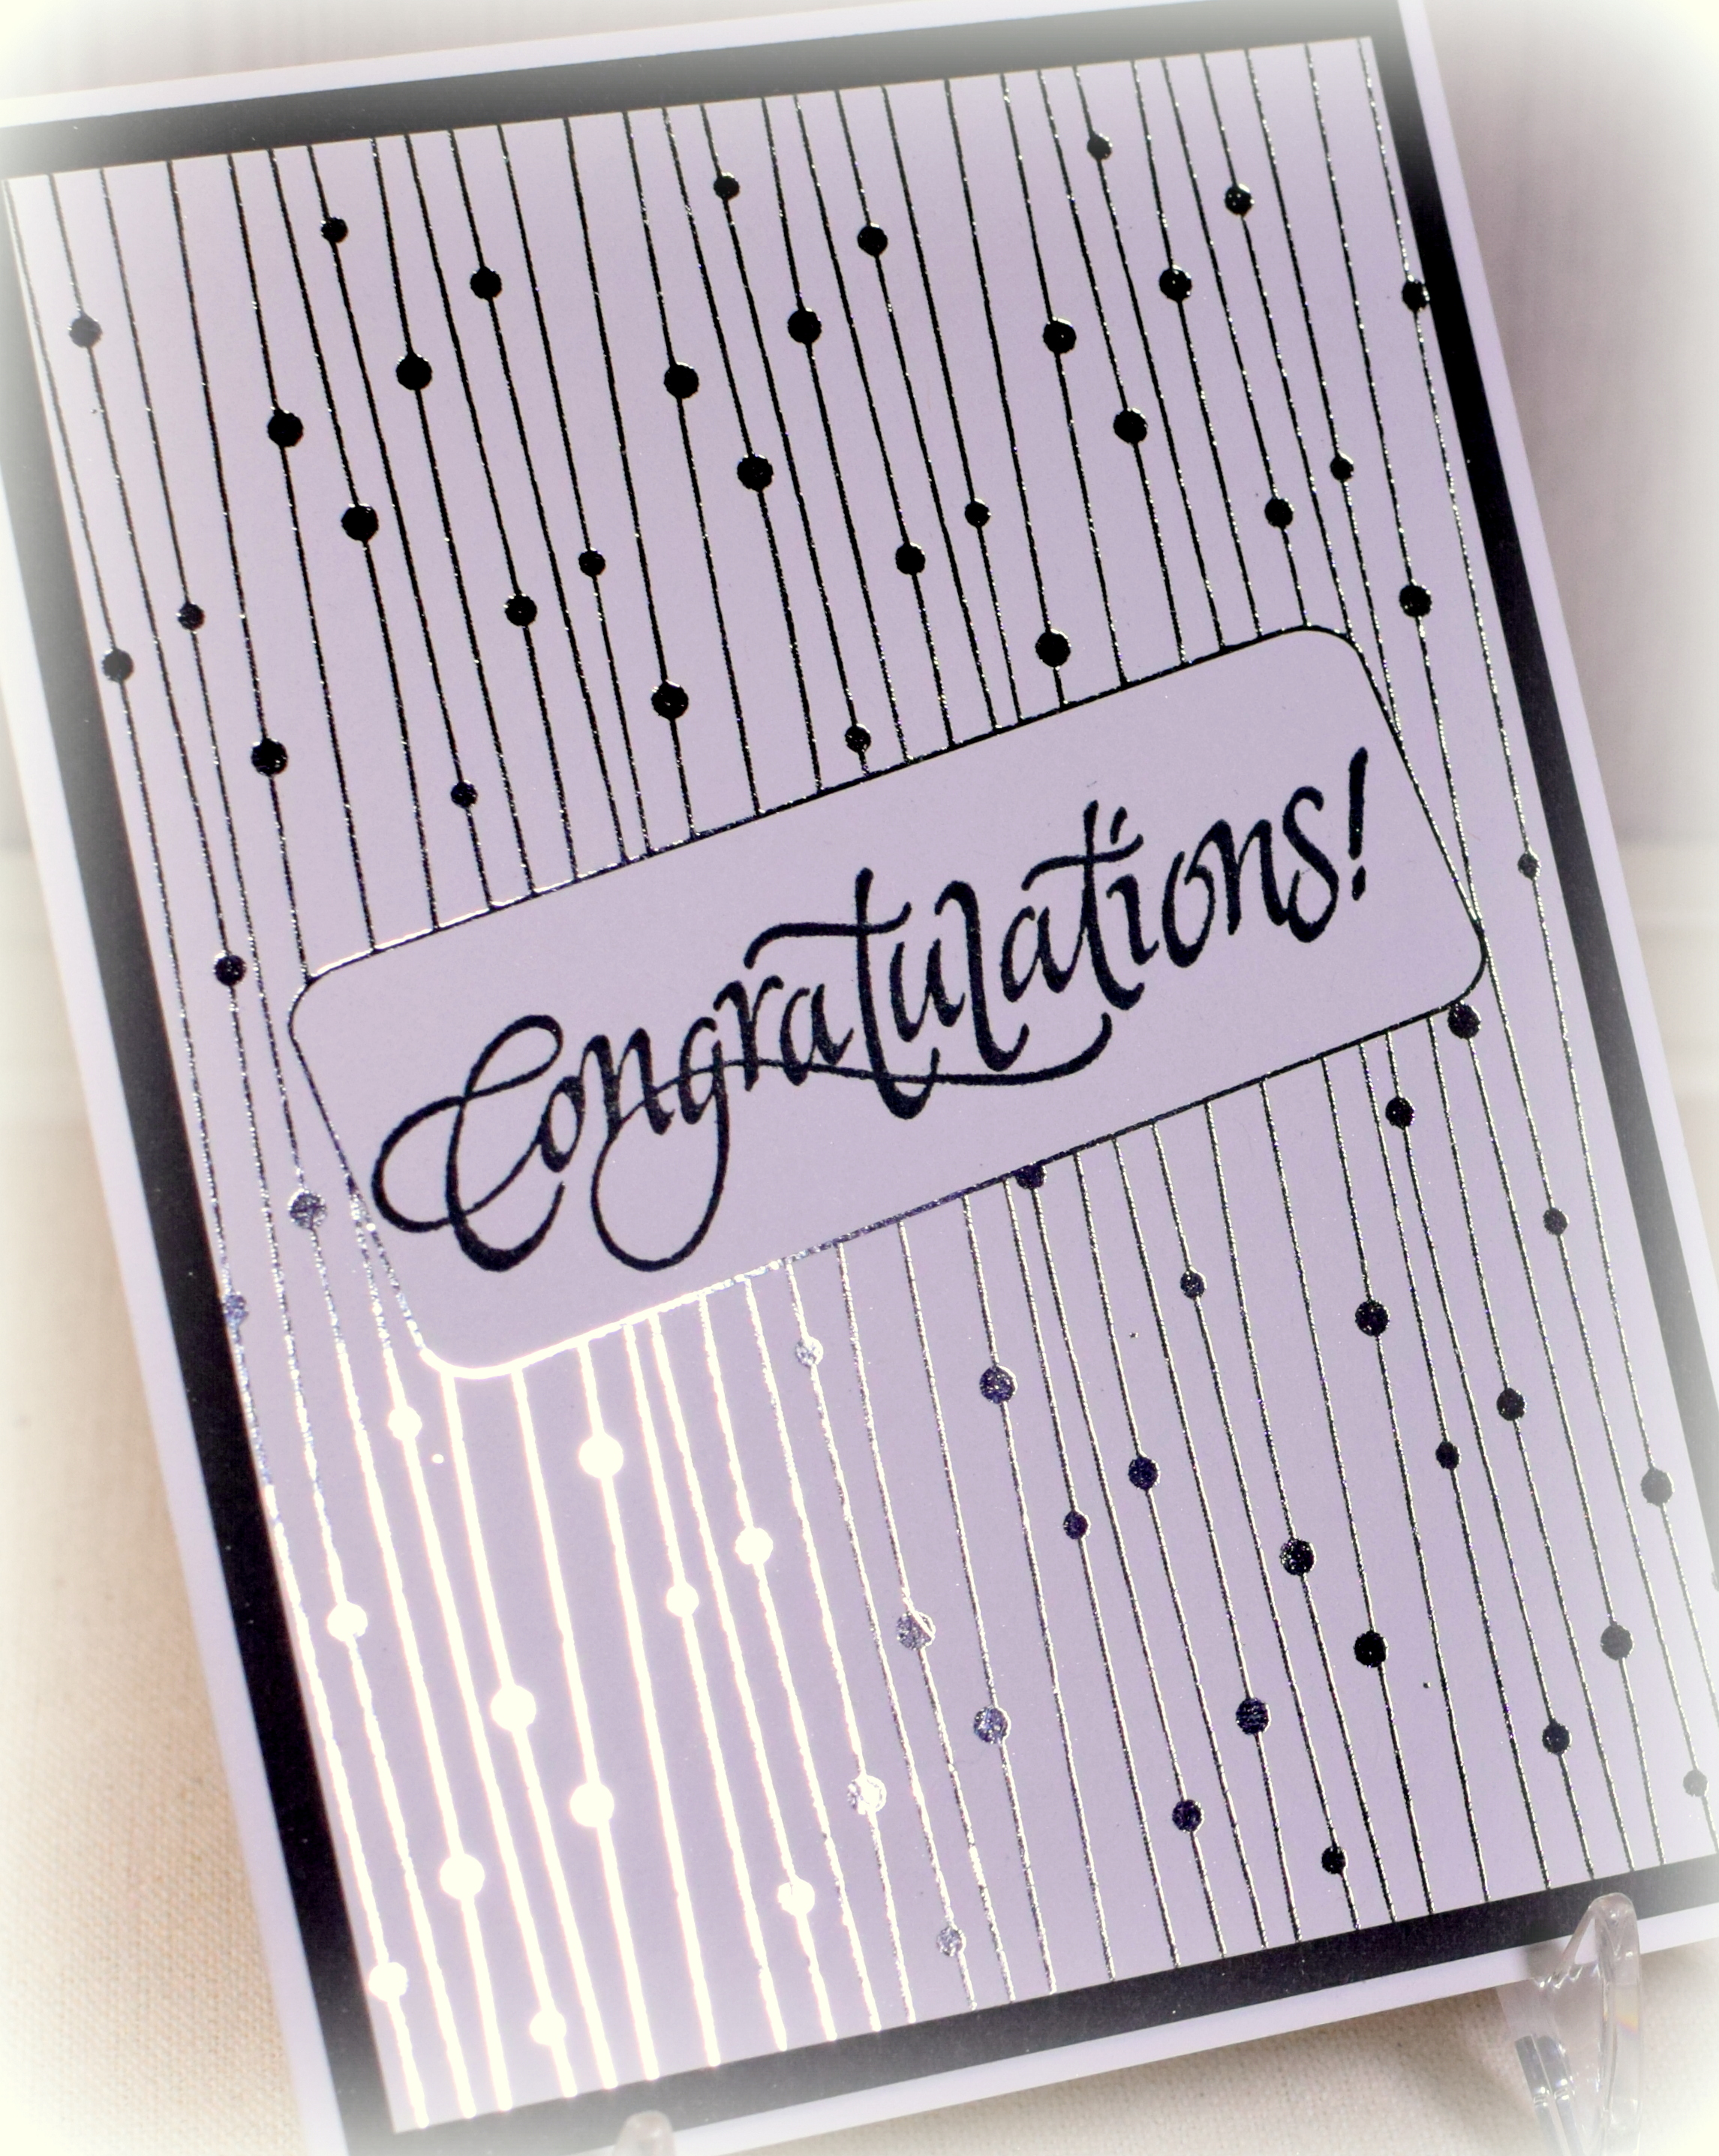
You may recognize the elements on this card from one I recently posted:

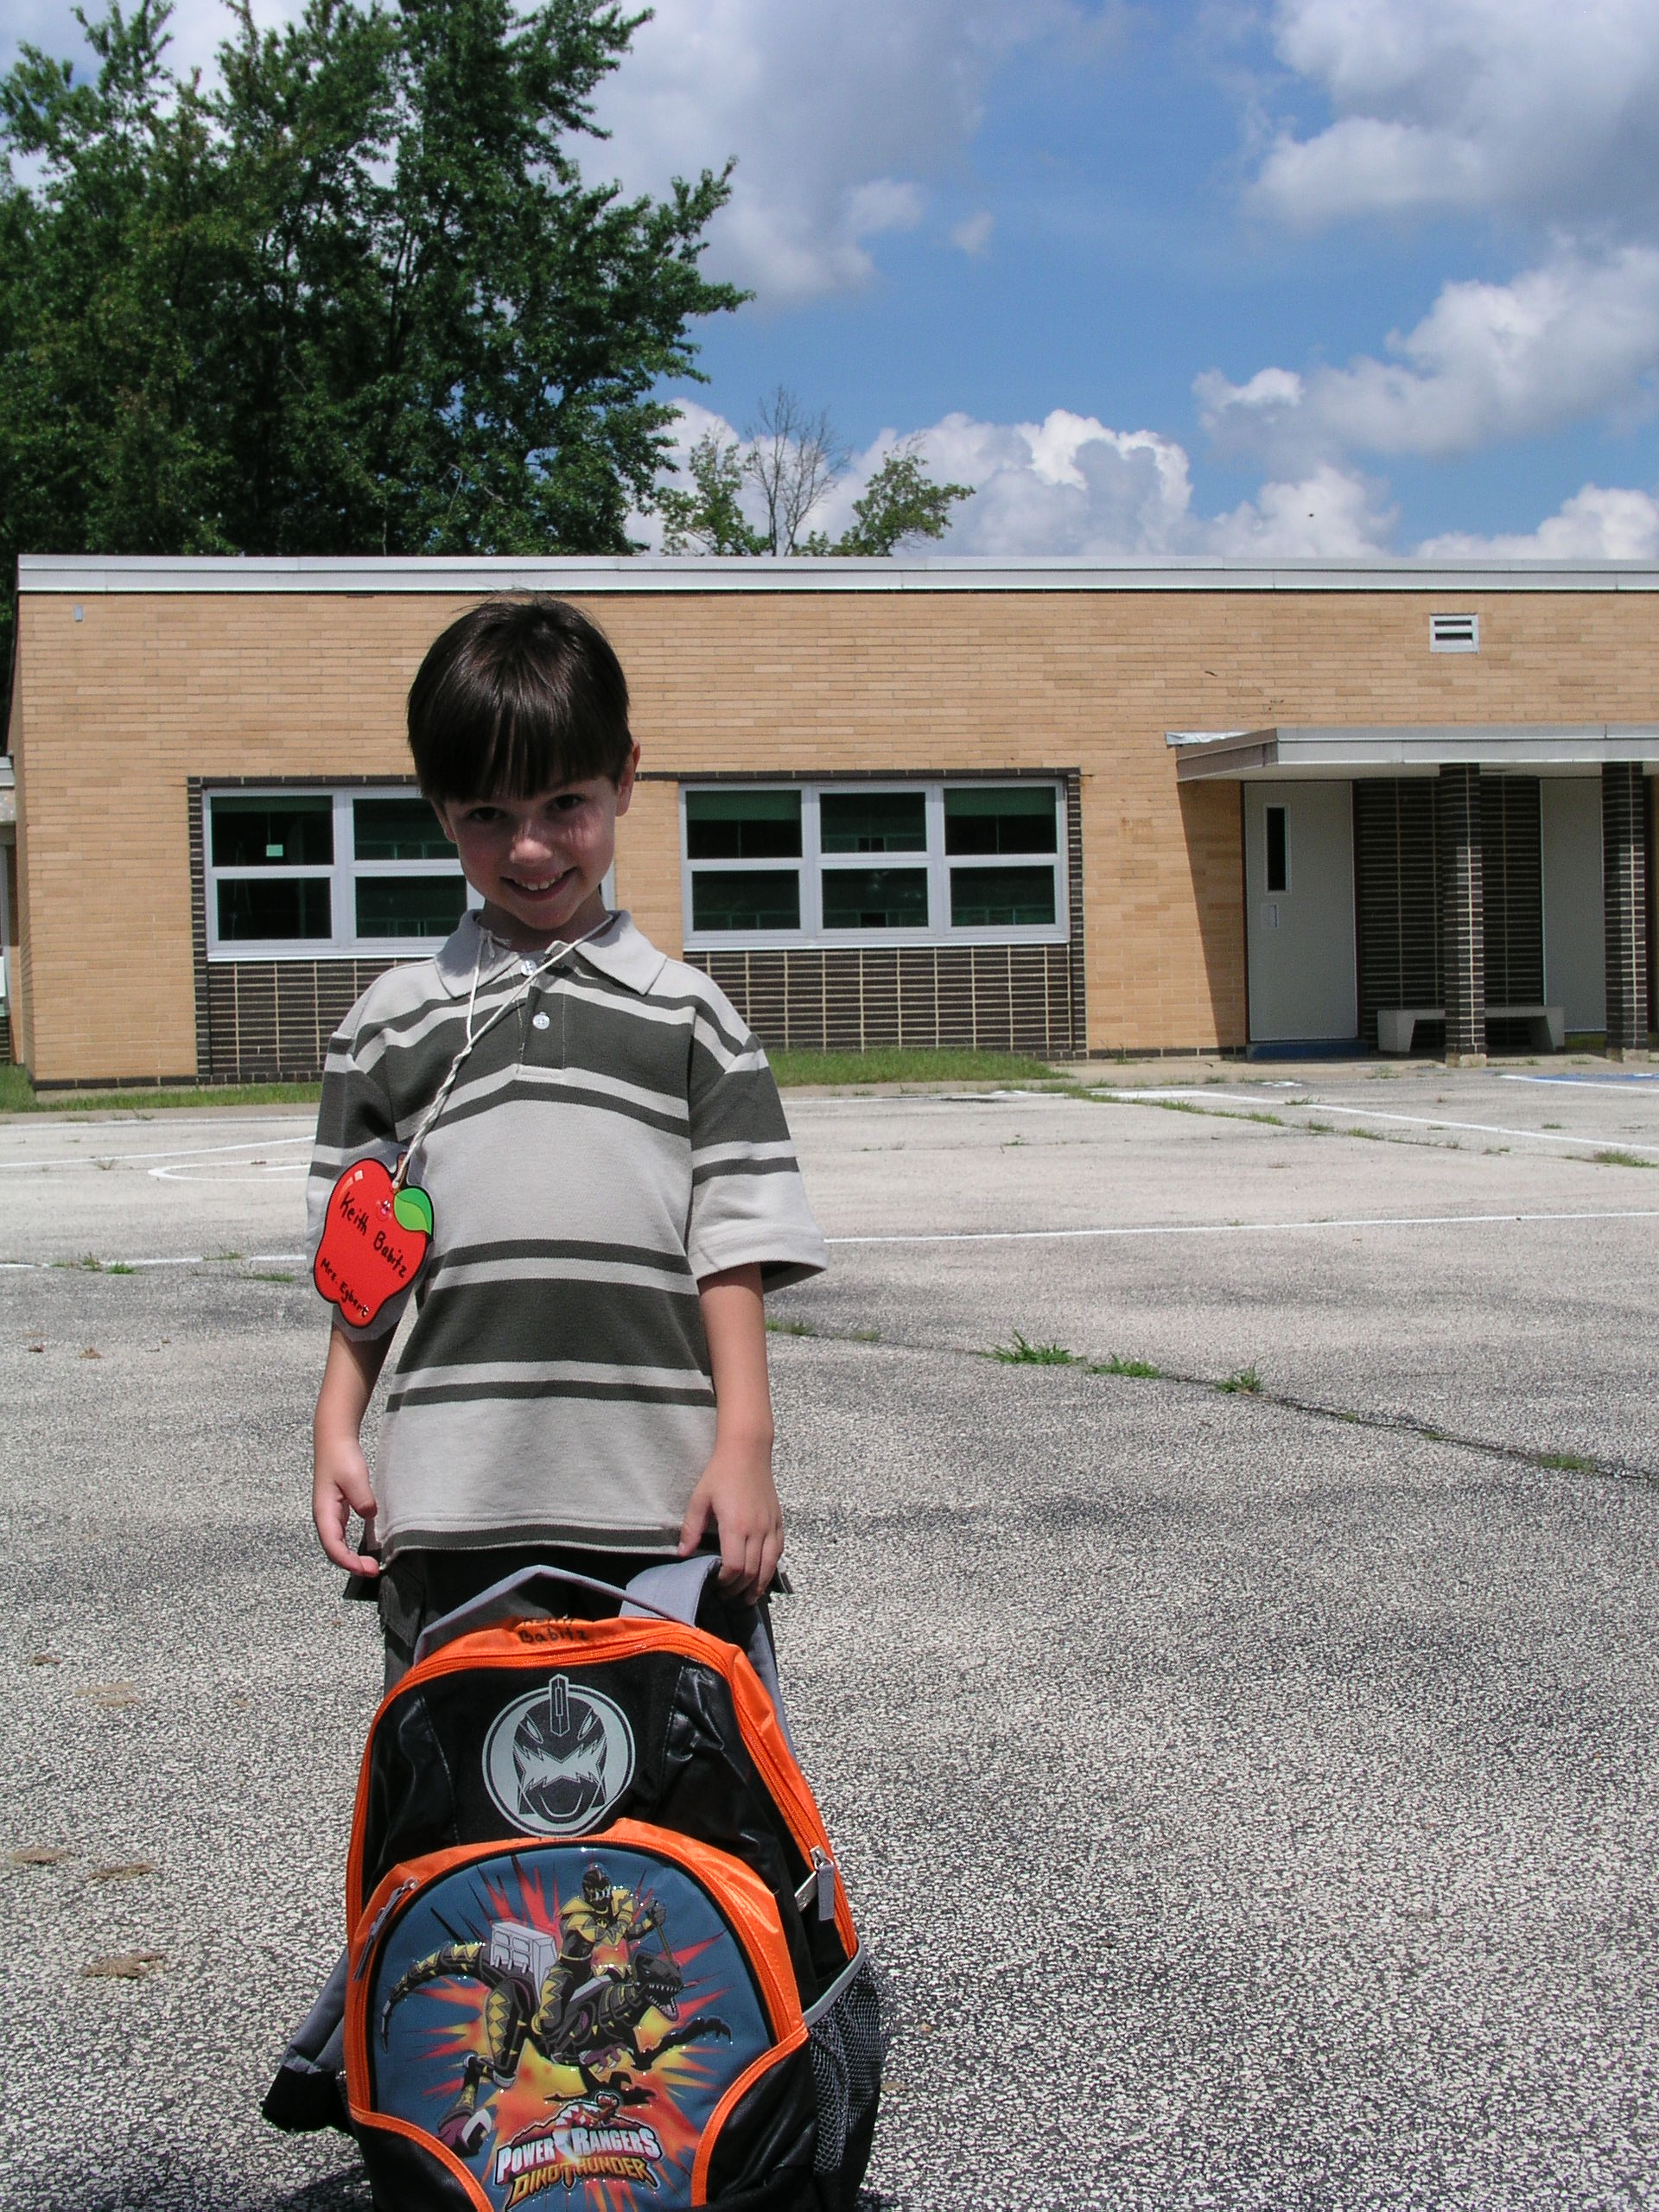
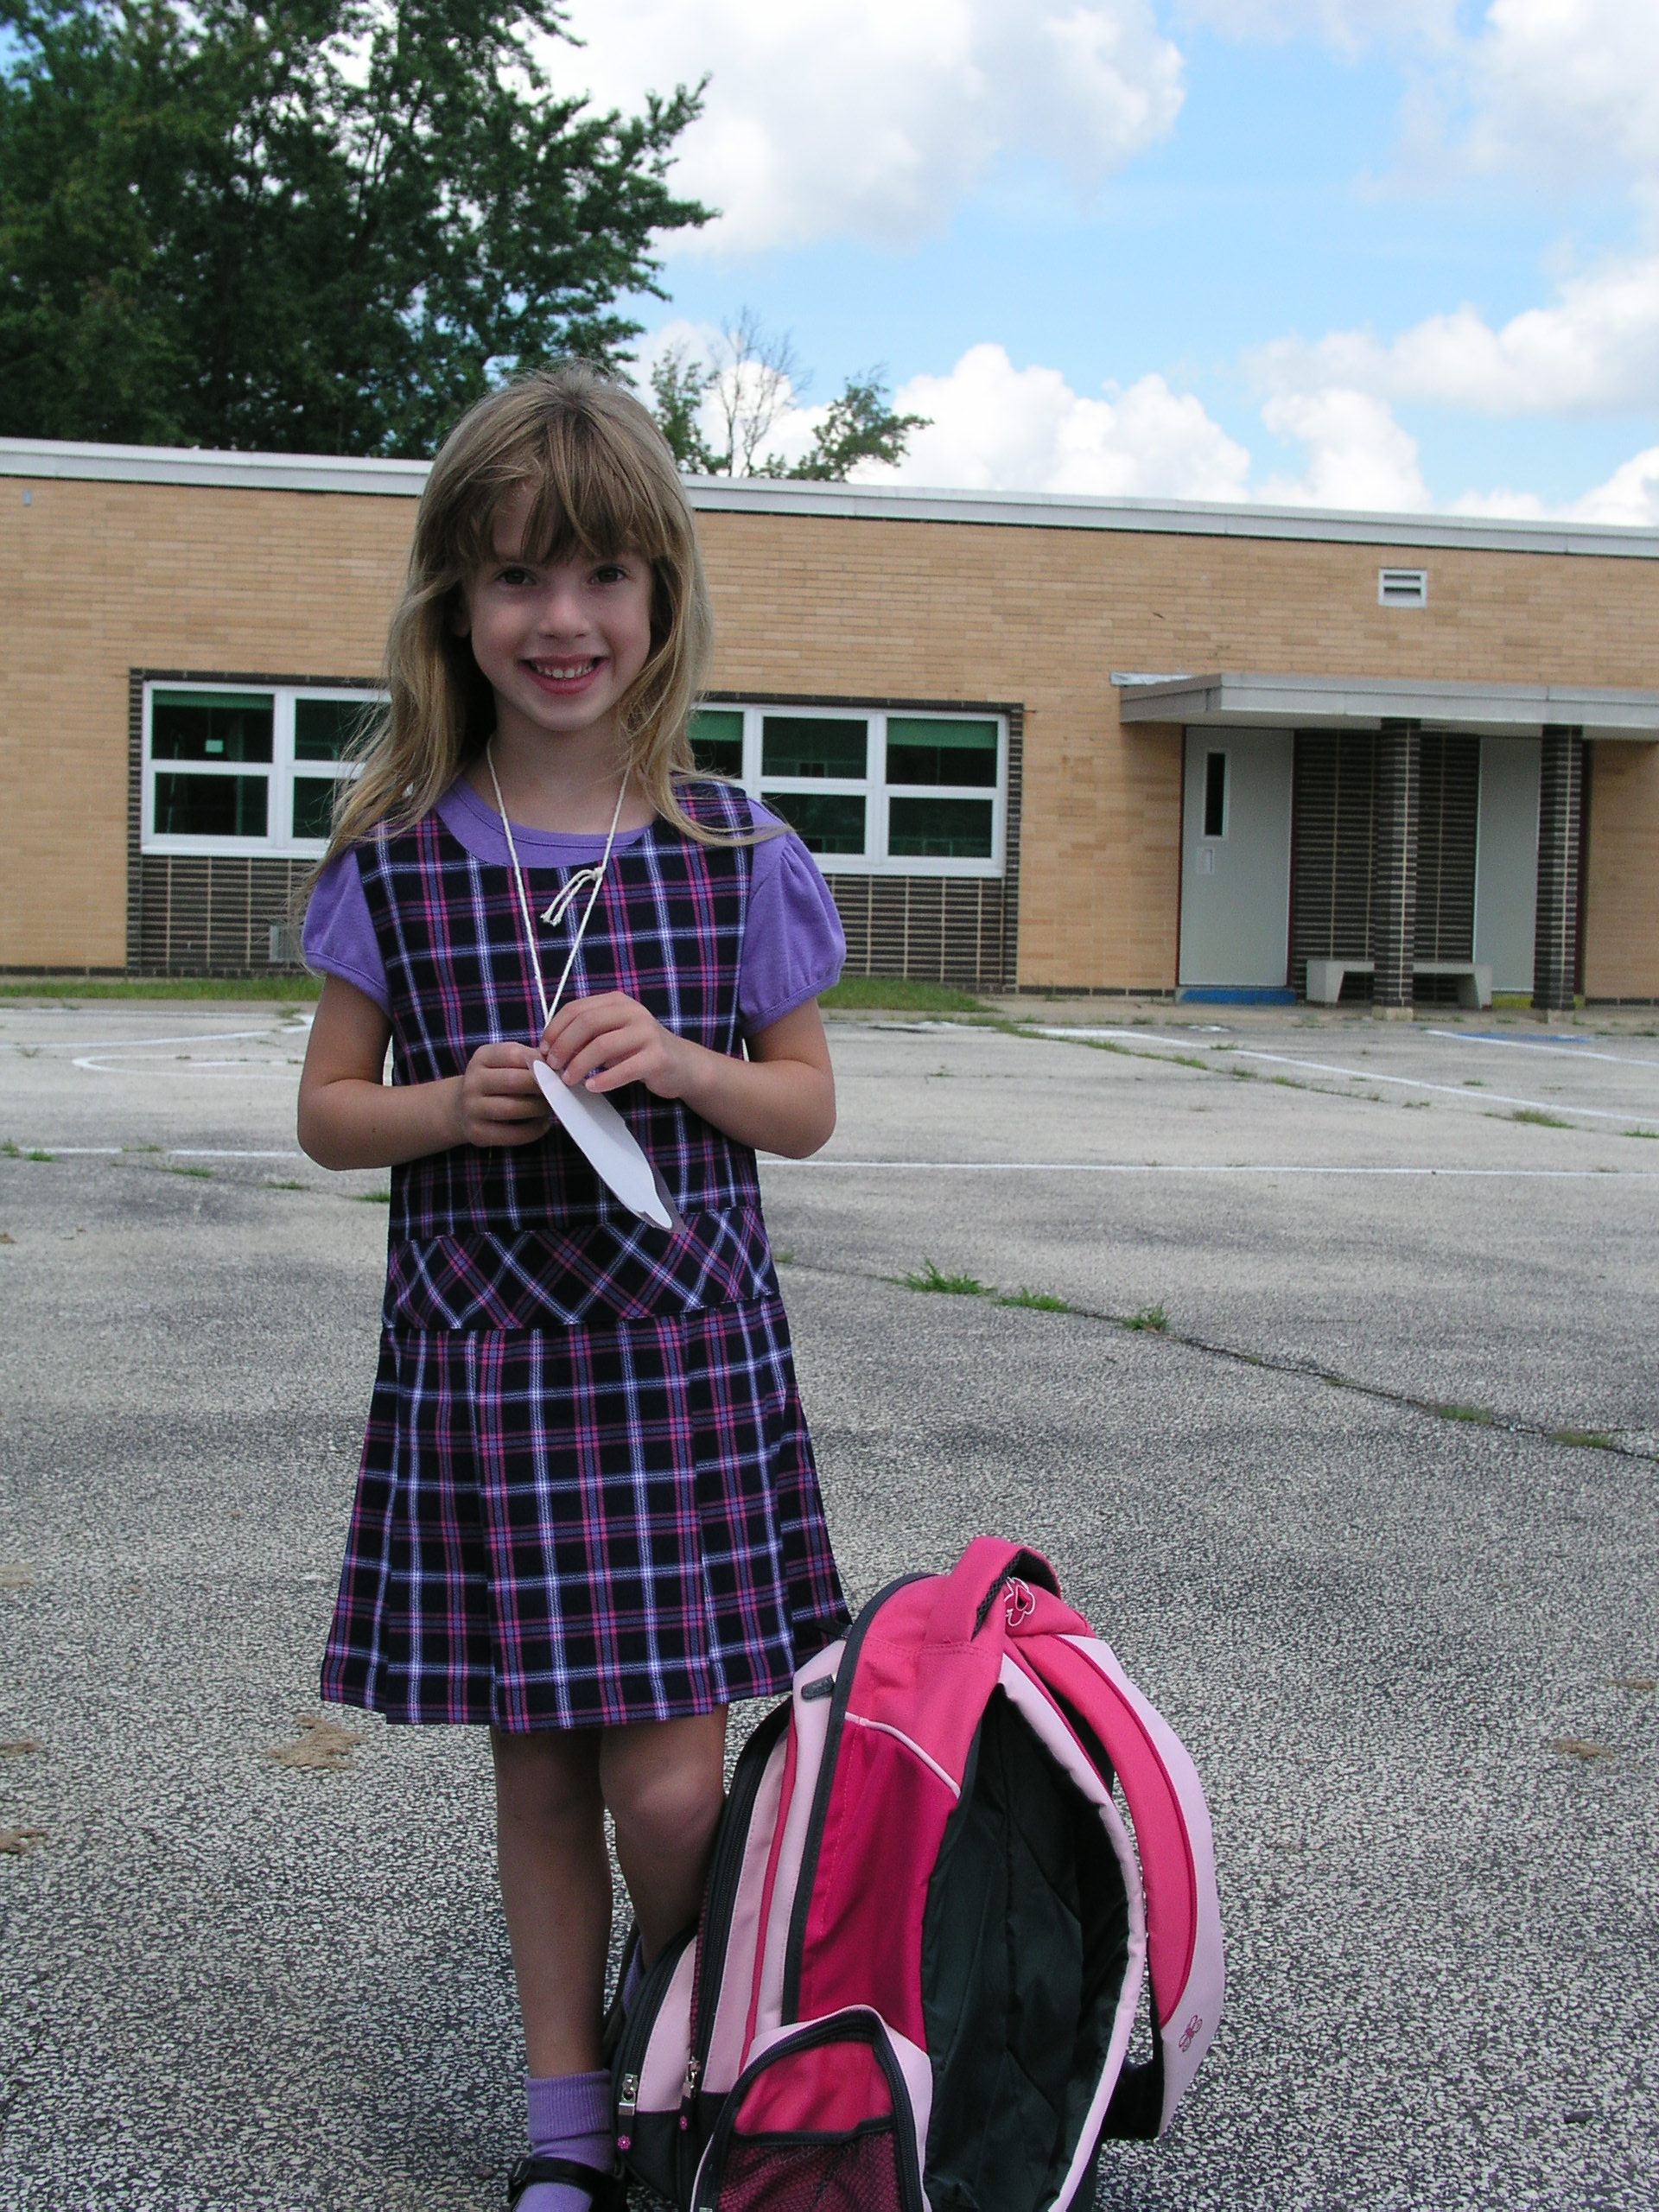
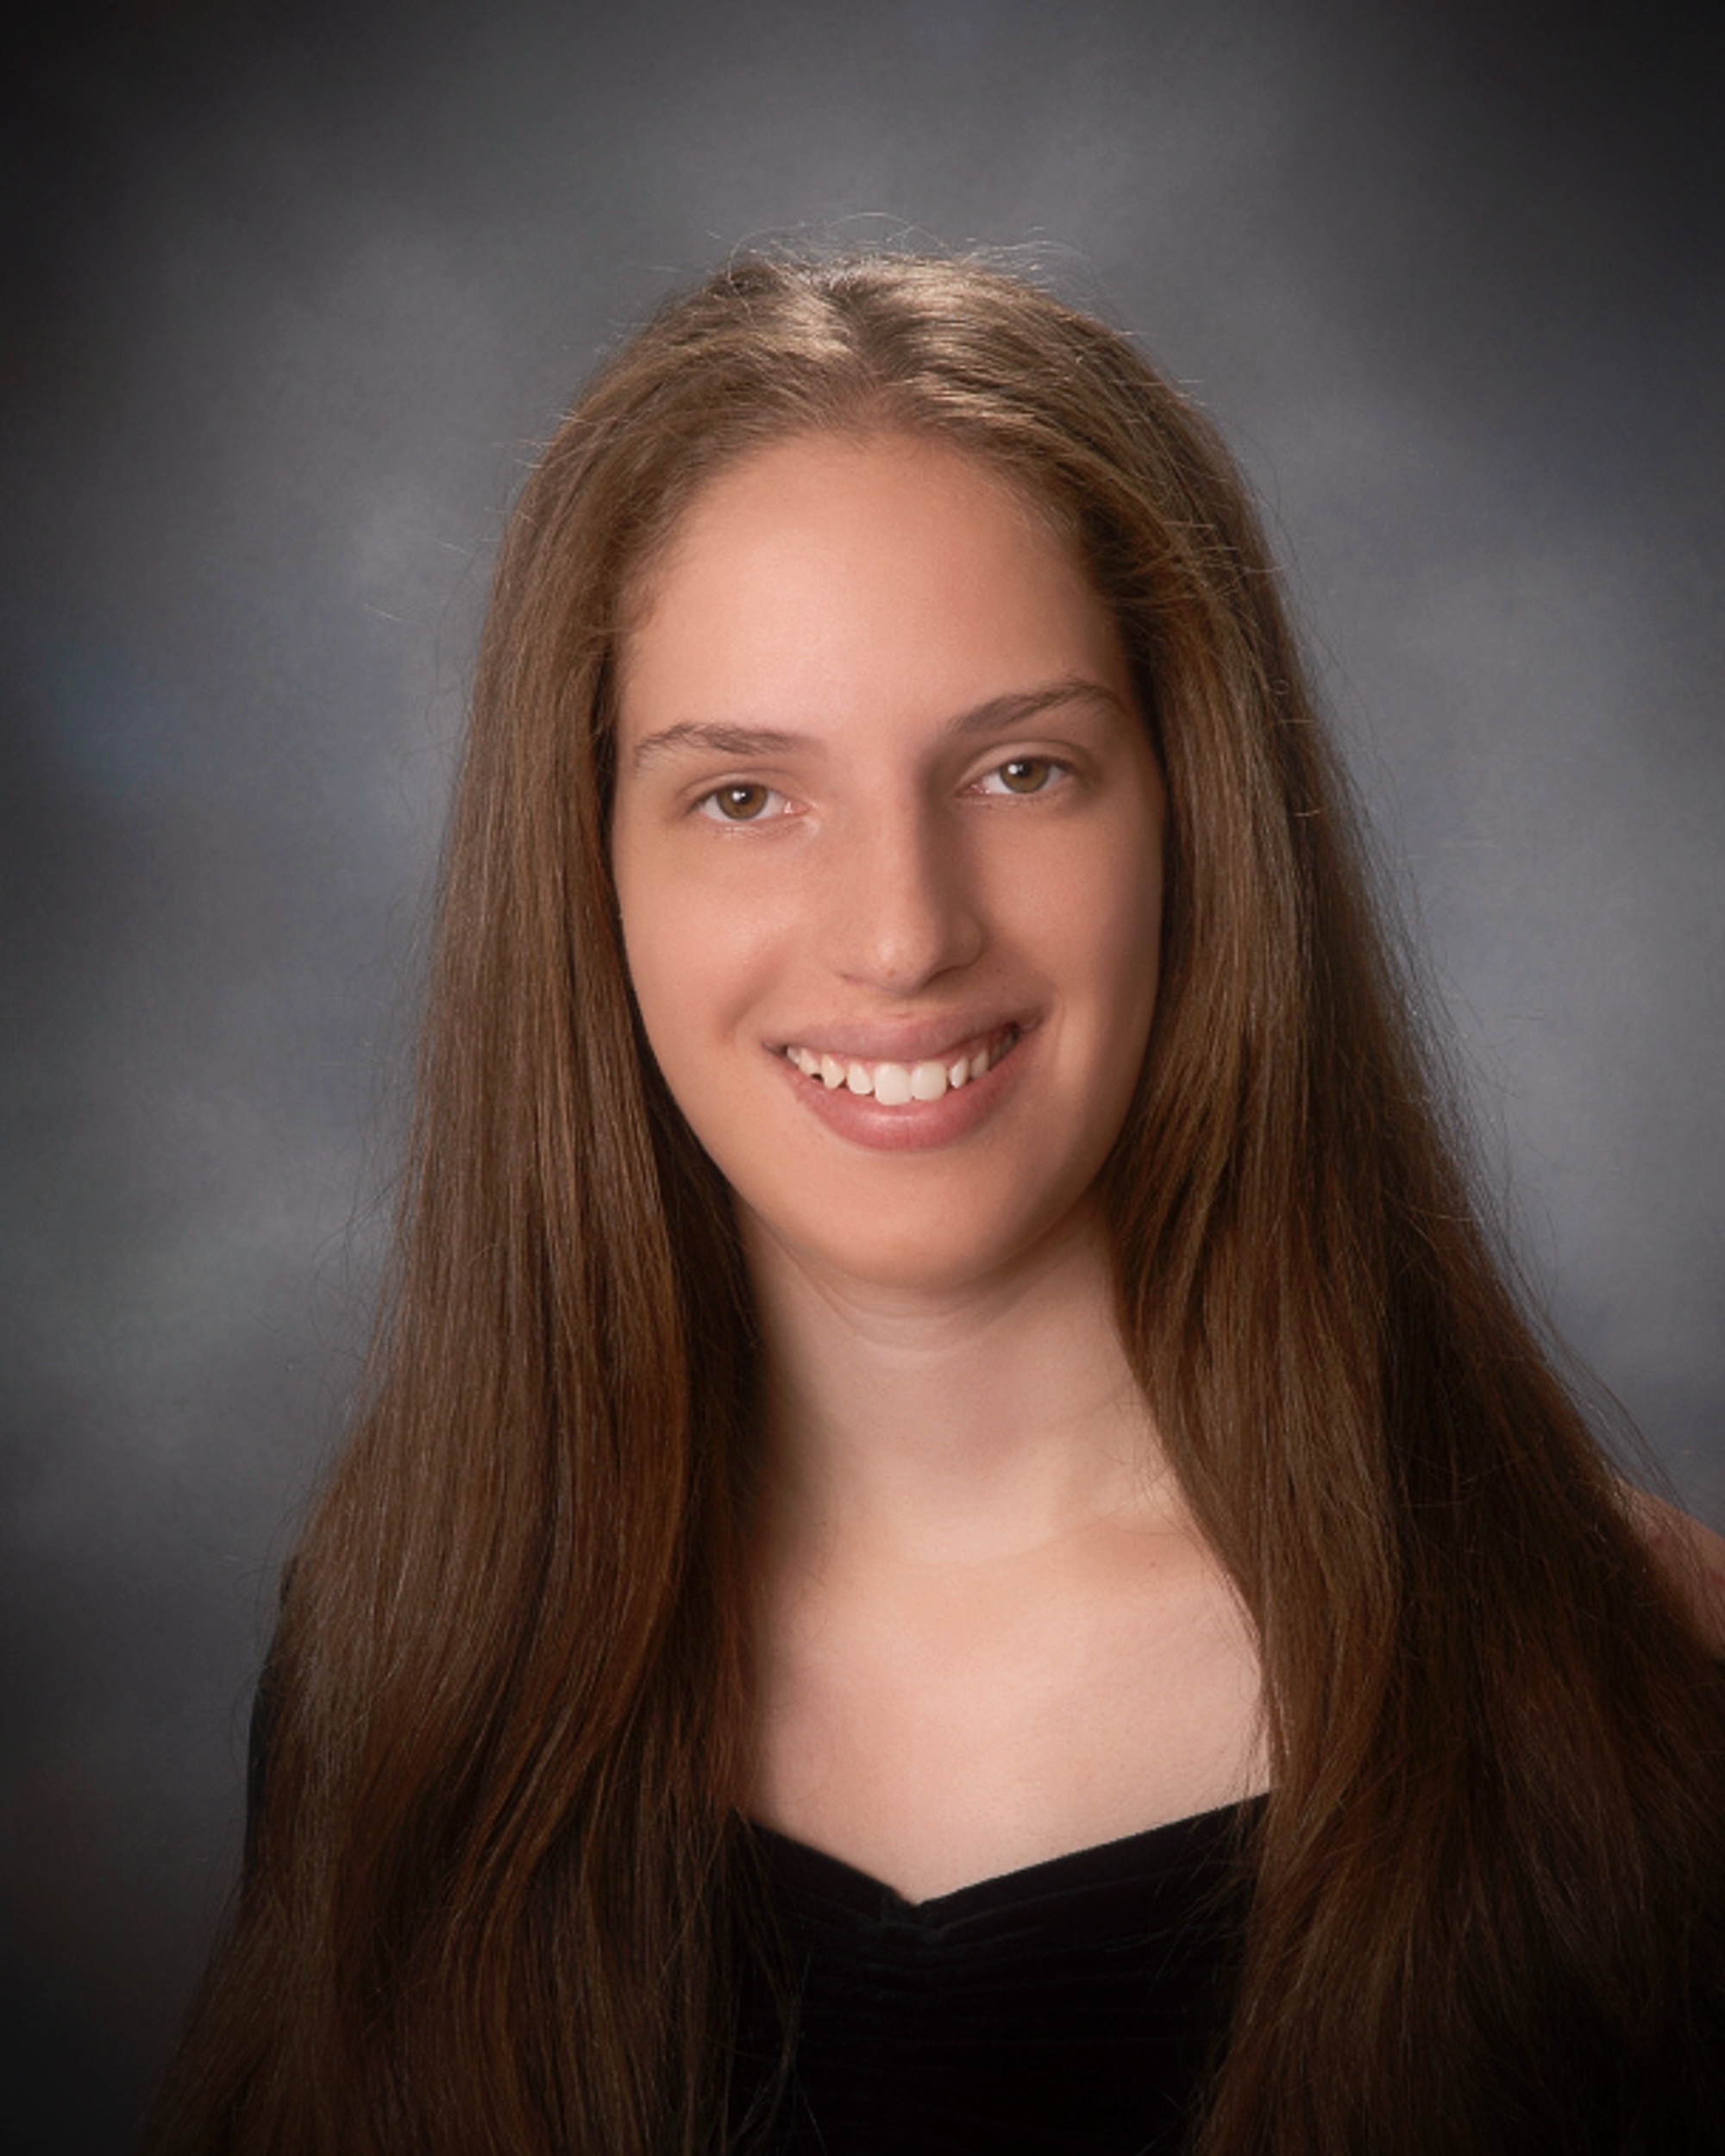
My kids had gone through a whole bunch of cards for their friends, and we still needed more! (I guess with three of them, there is a larger need than usual!!) I still had the supplies out for this photo card, so I whipped up a few of these CAS cards for them to give.
***
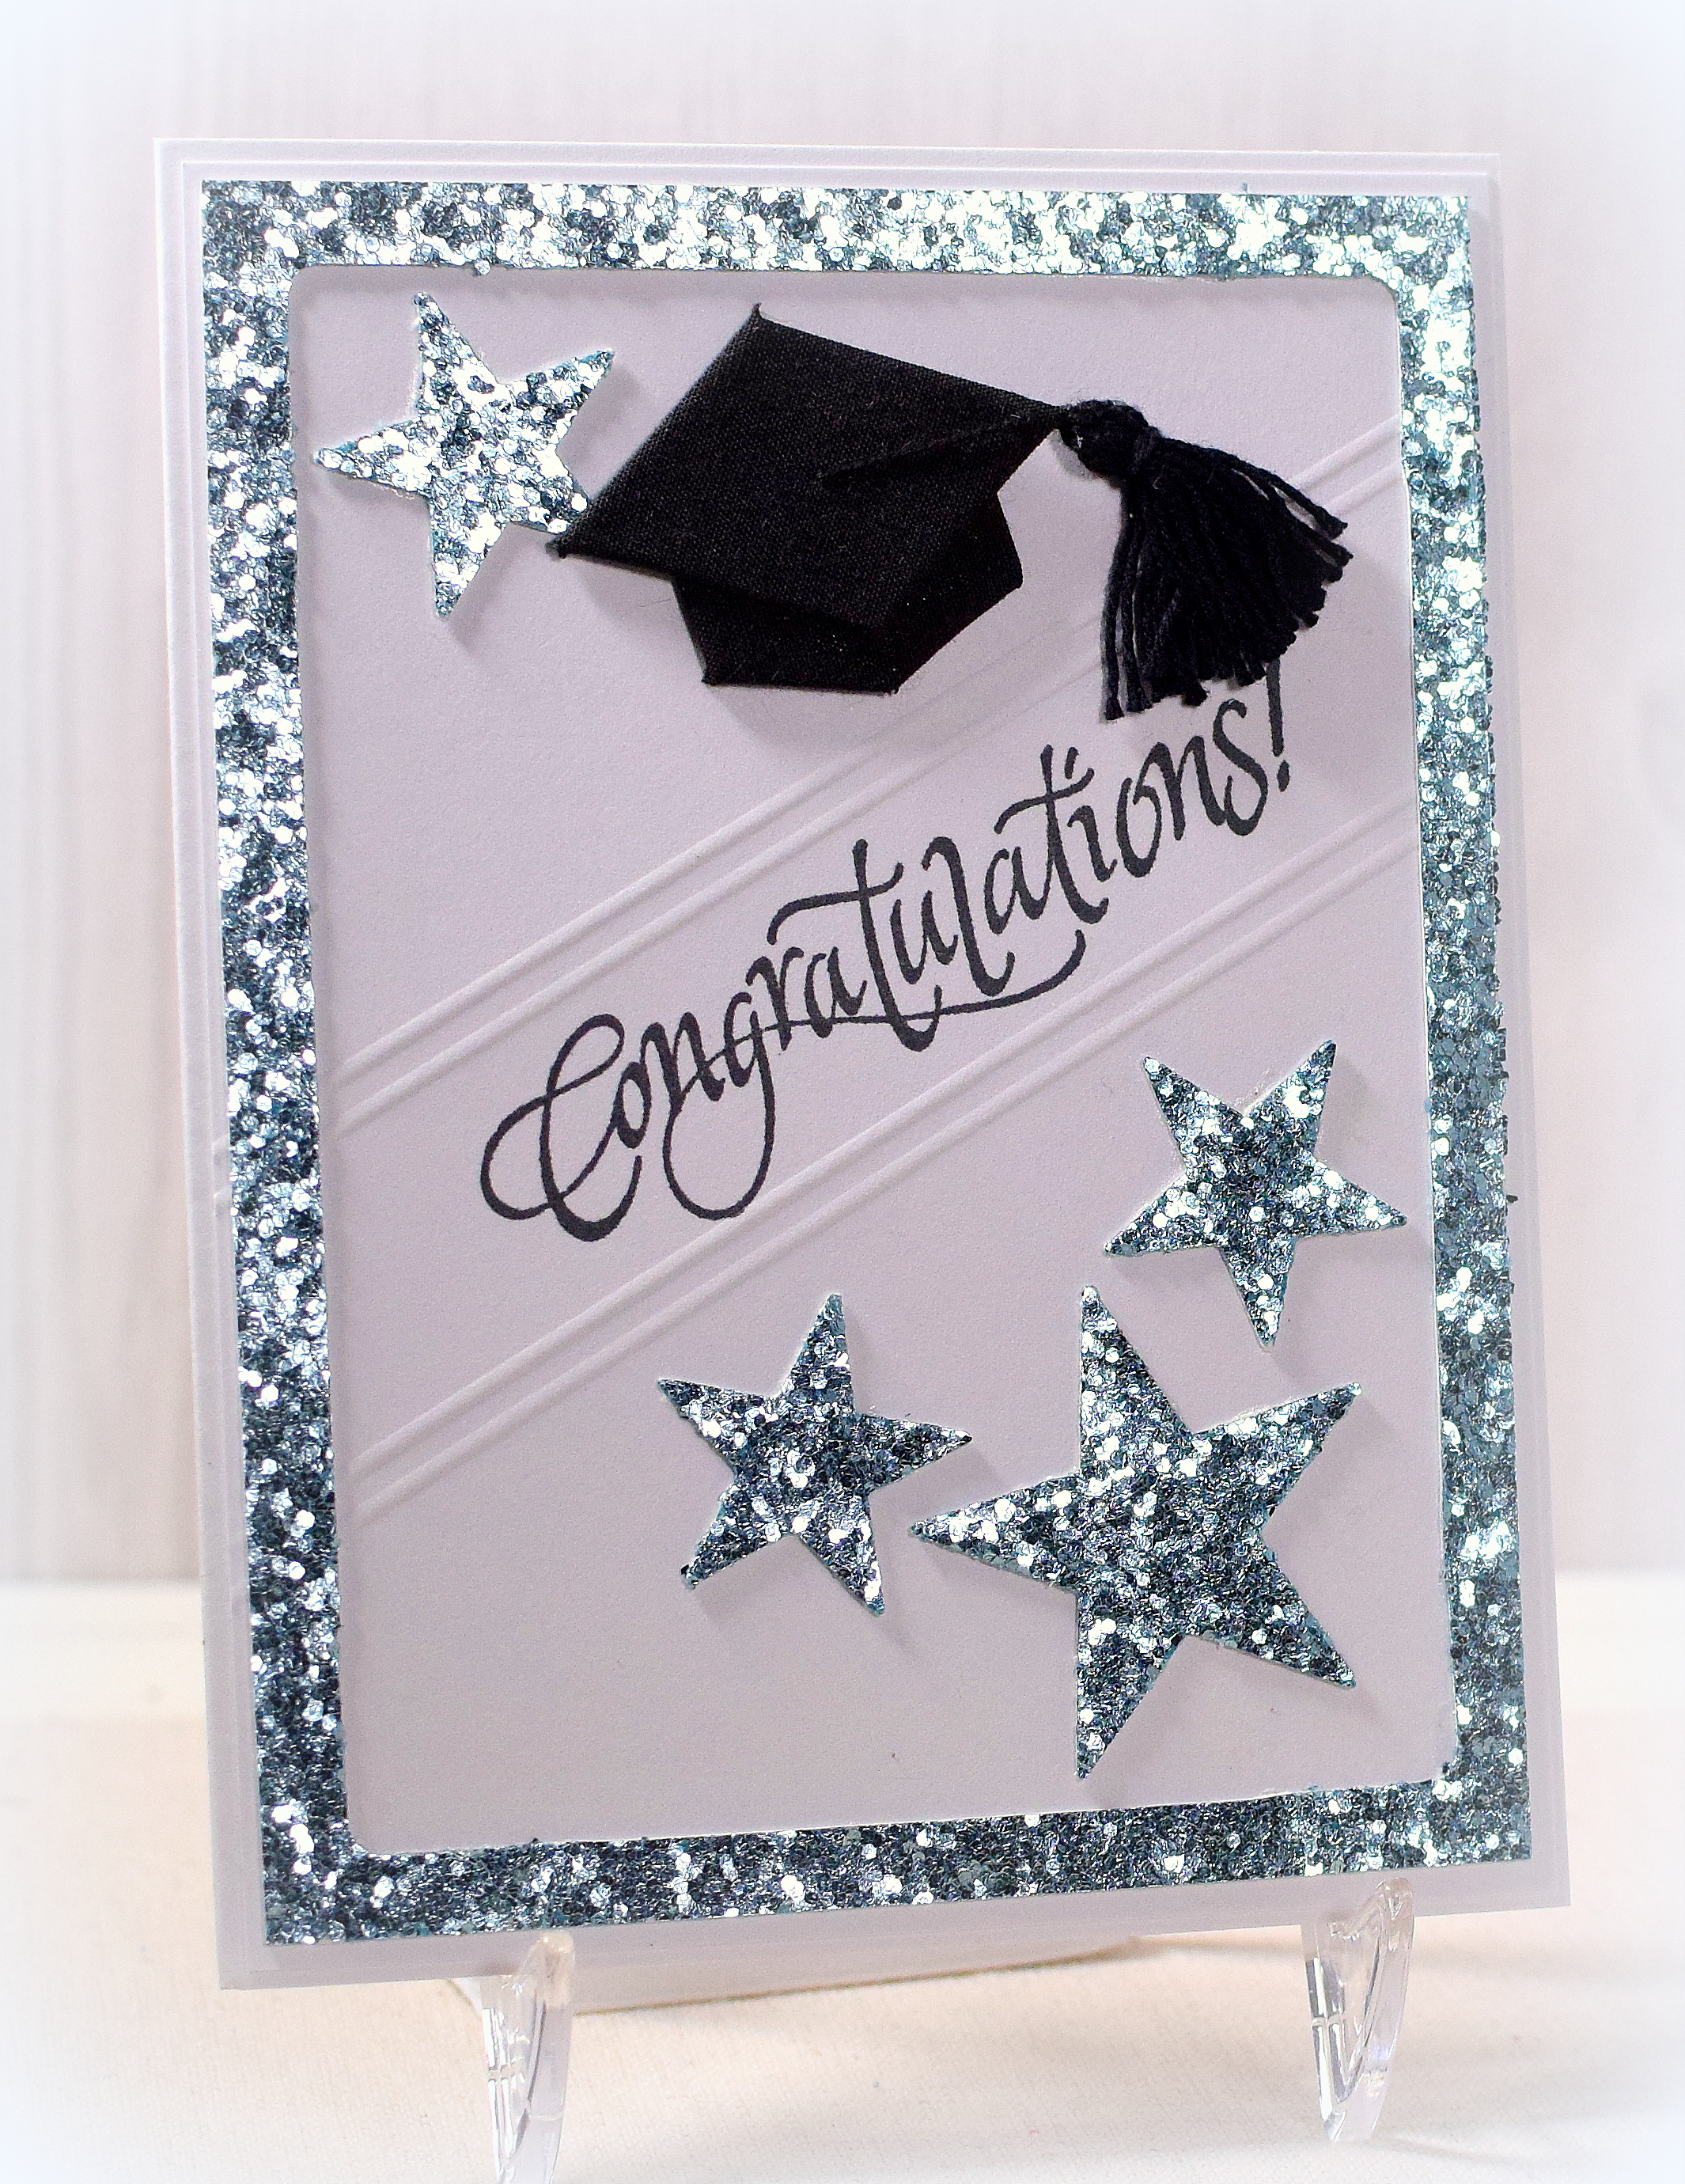
This next card is similar to the cards above, so I decided to add it to this post instead of a new one:
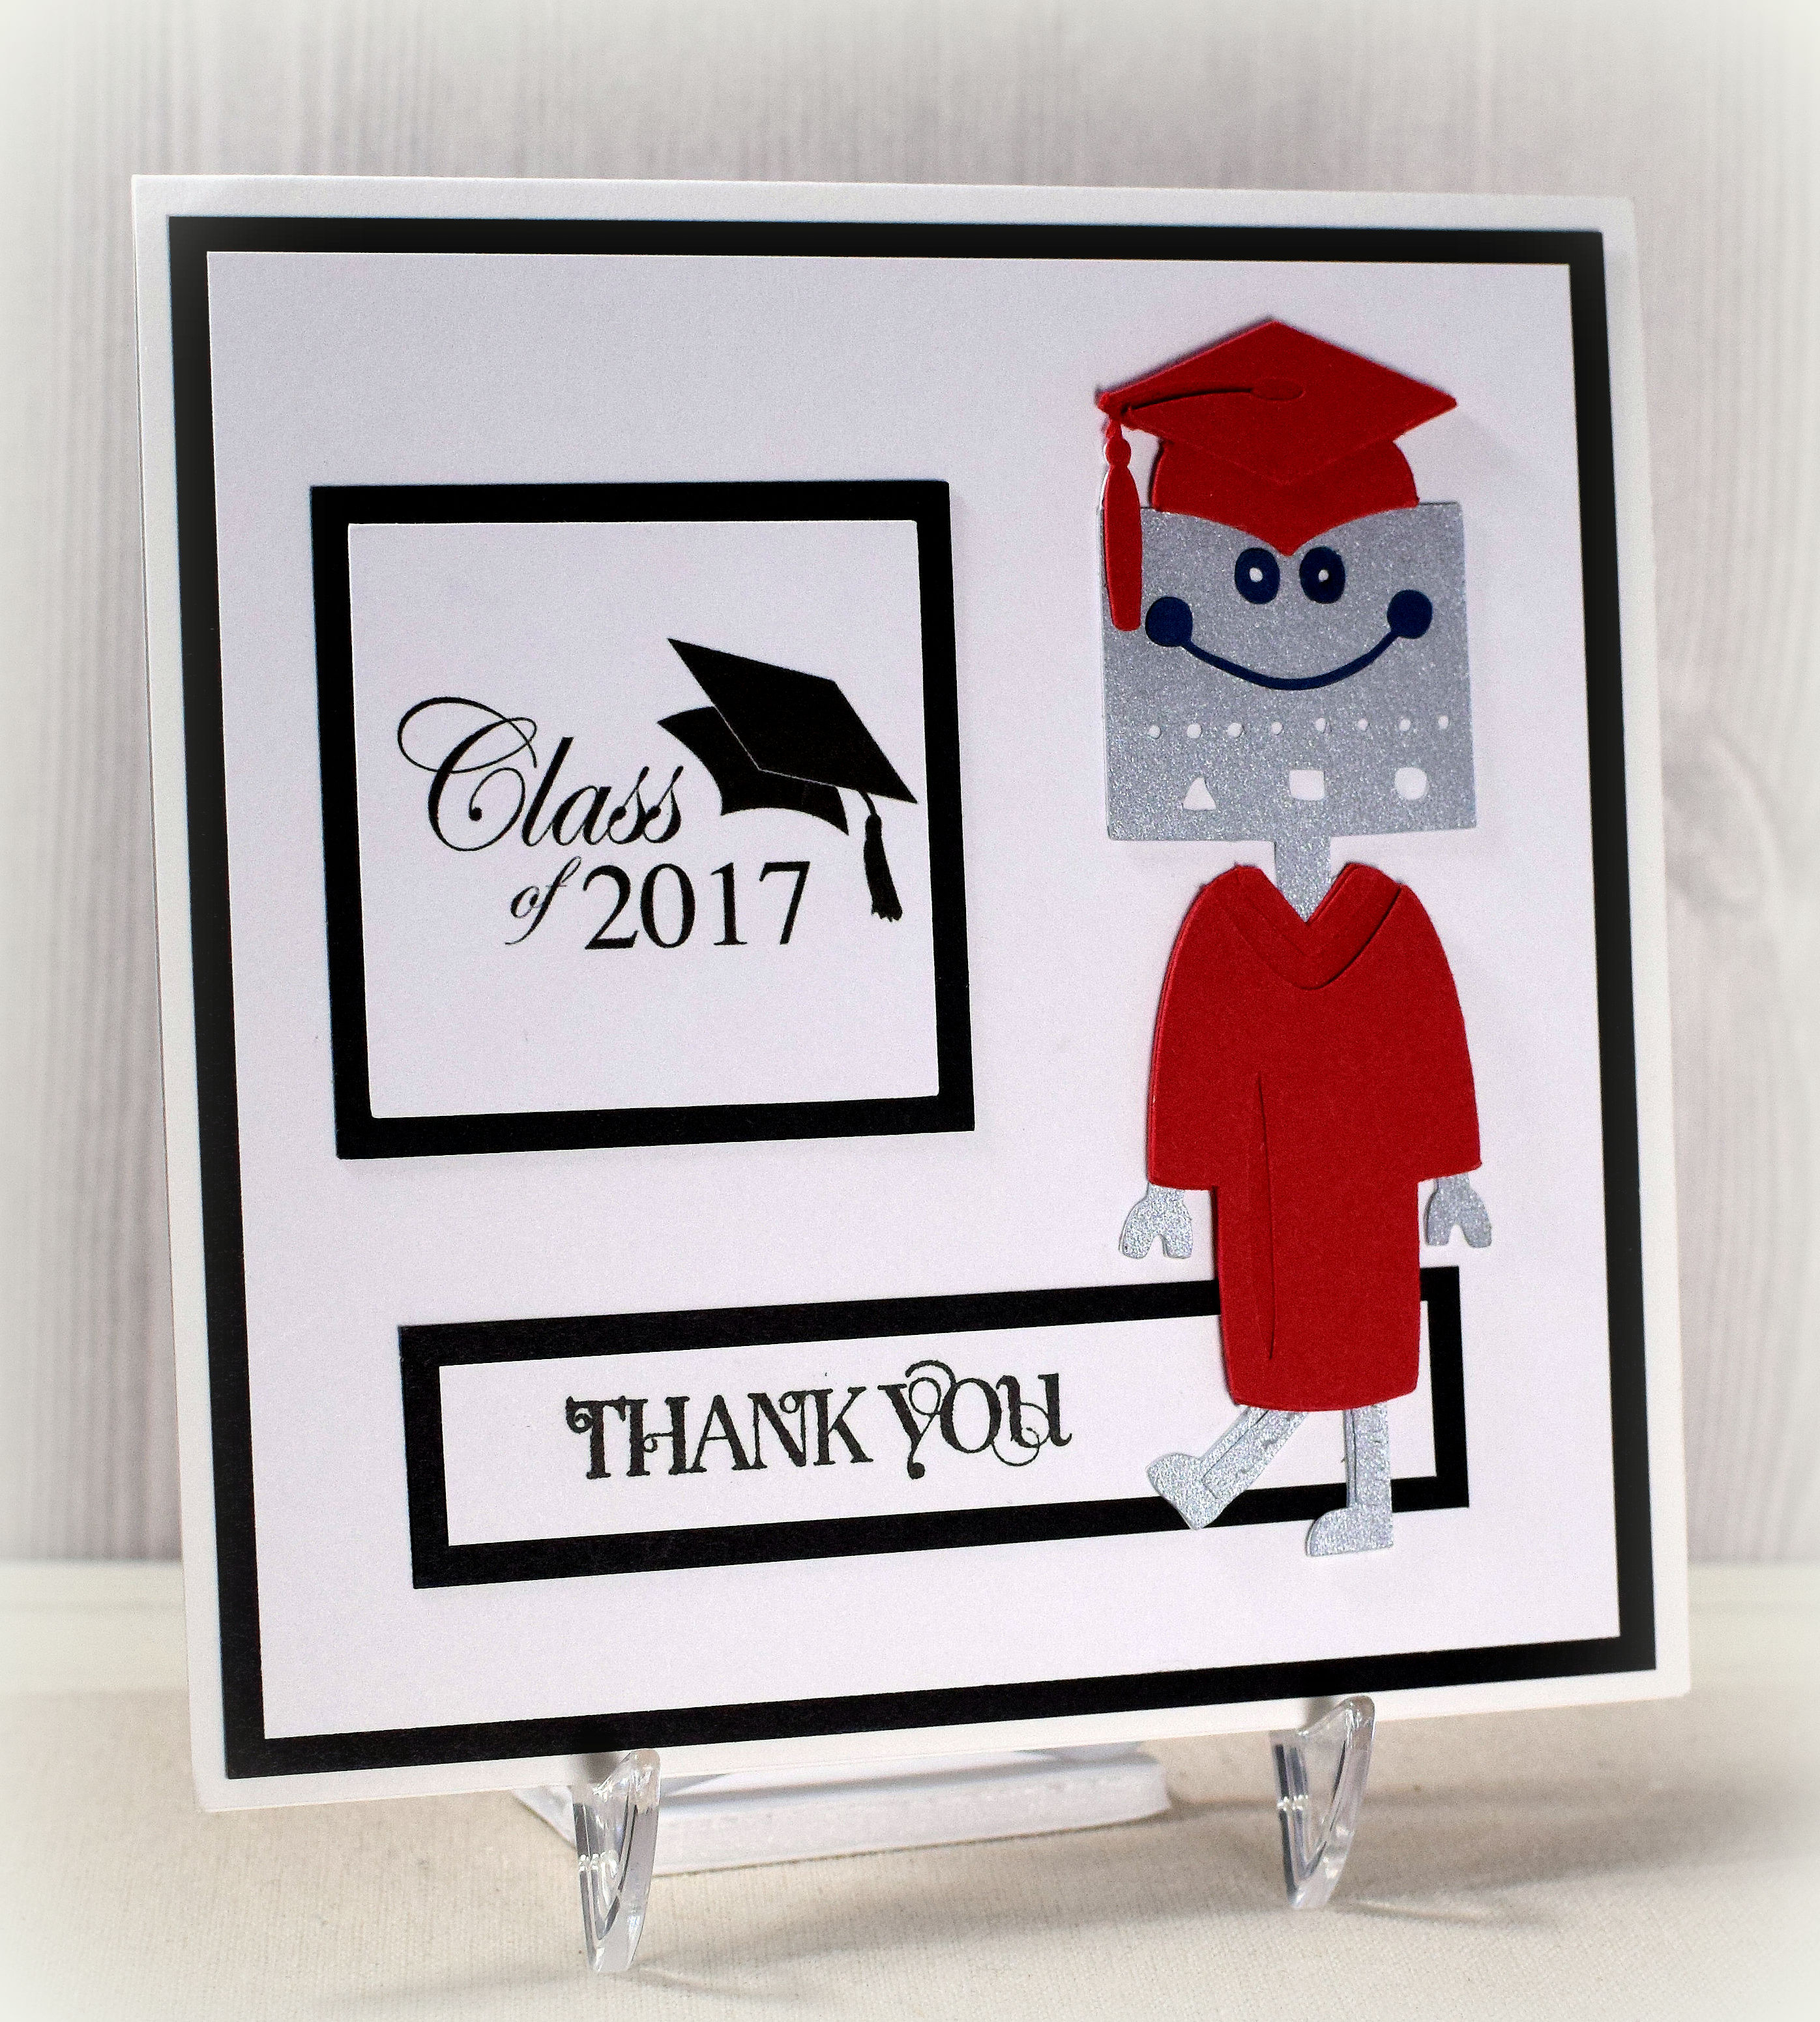
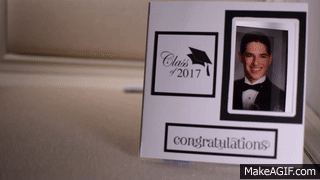
This is the last 2017 graduation-related card I have to share. It features the same robot that I’ve used on a few other cards that I made for my sons’ robotics club advisor who did an amazing job running the club at their school. It just so happens that he was also a parent of one of the kids on their team, and he and his wife drove my guys (and their team) to most of the competitions for the 4 years they competed in the club. Now that they graduated, I made the robot graduating too!
The robot was a Silhouette file that I adapted for each of the cards on which he appeared. The cap and gown were from an svg kit called “Graduation Elements” from svgcuts. The thank you stamp is another stamp from the “Curly Cute” set from Stampin’ Up.
Gina K Red Velvet, white and black card stock were used along with Recollections silver.
Thanks for checking out my card projects!