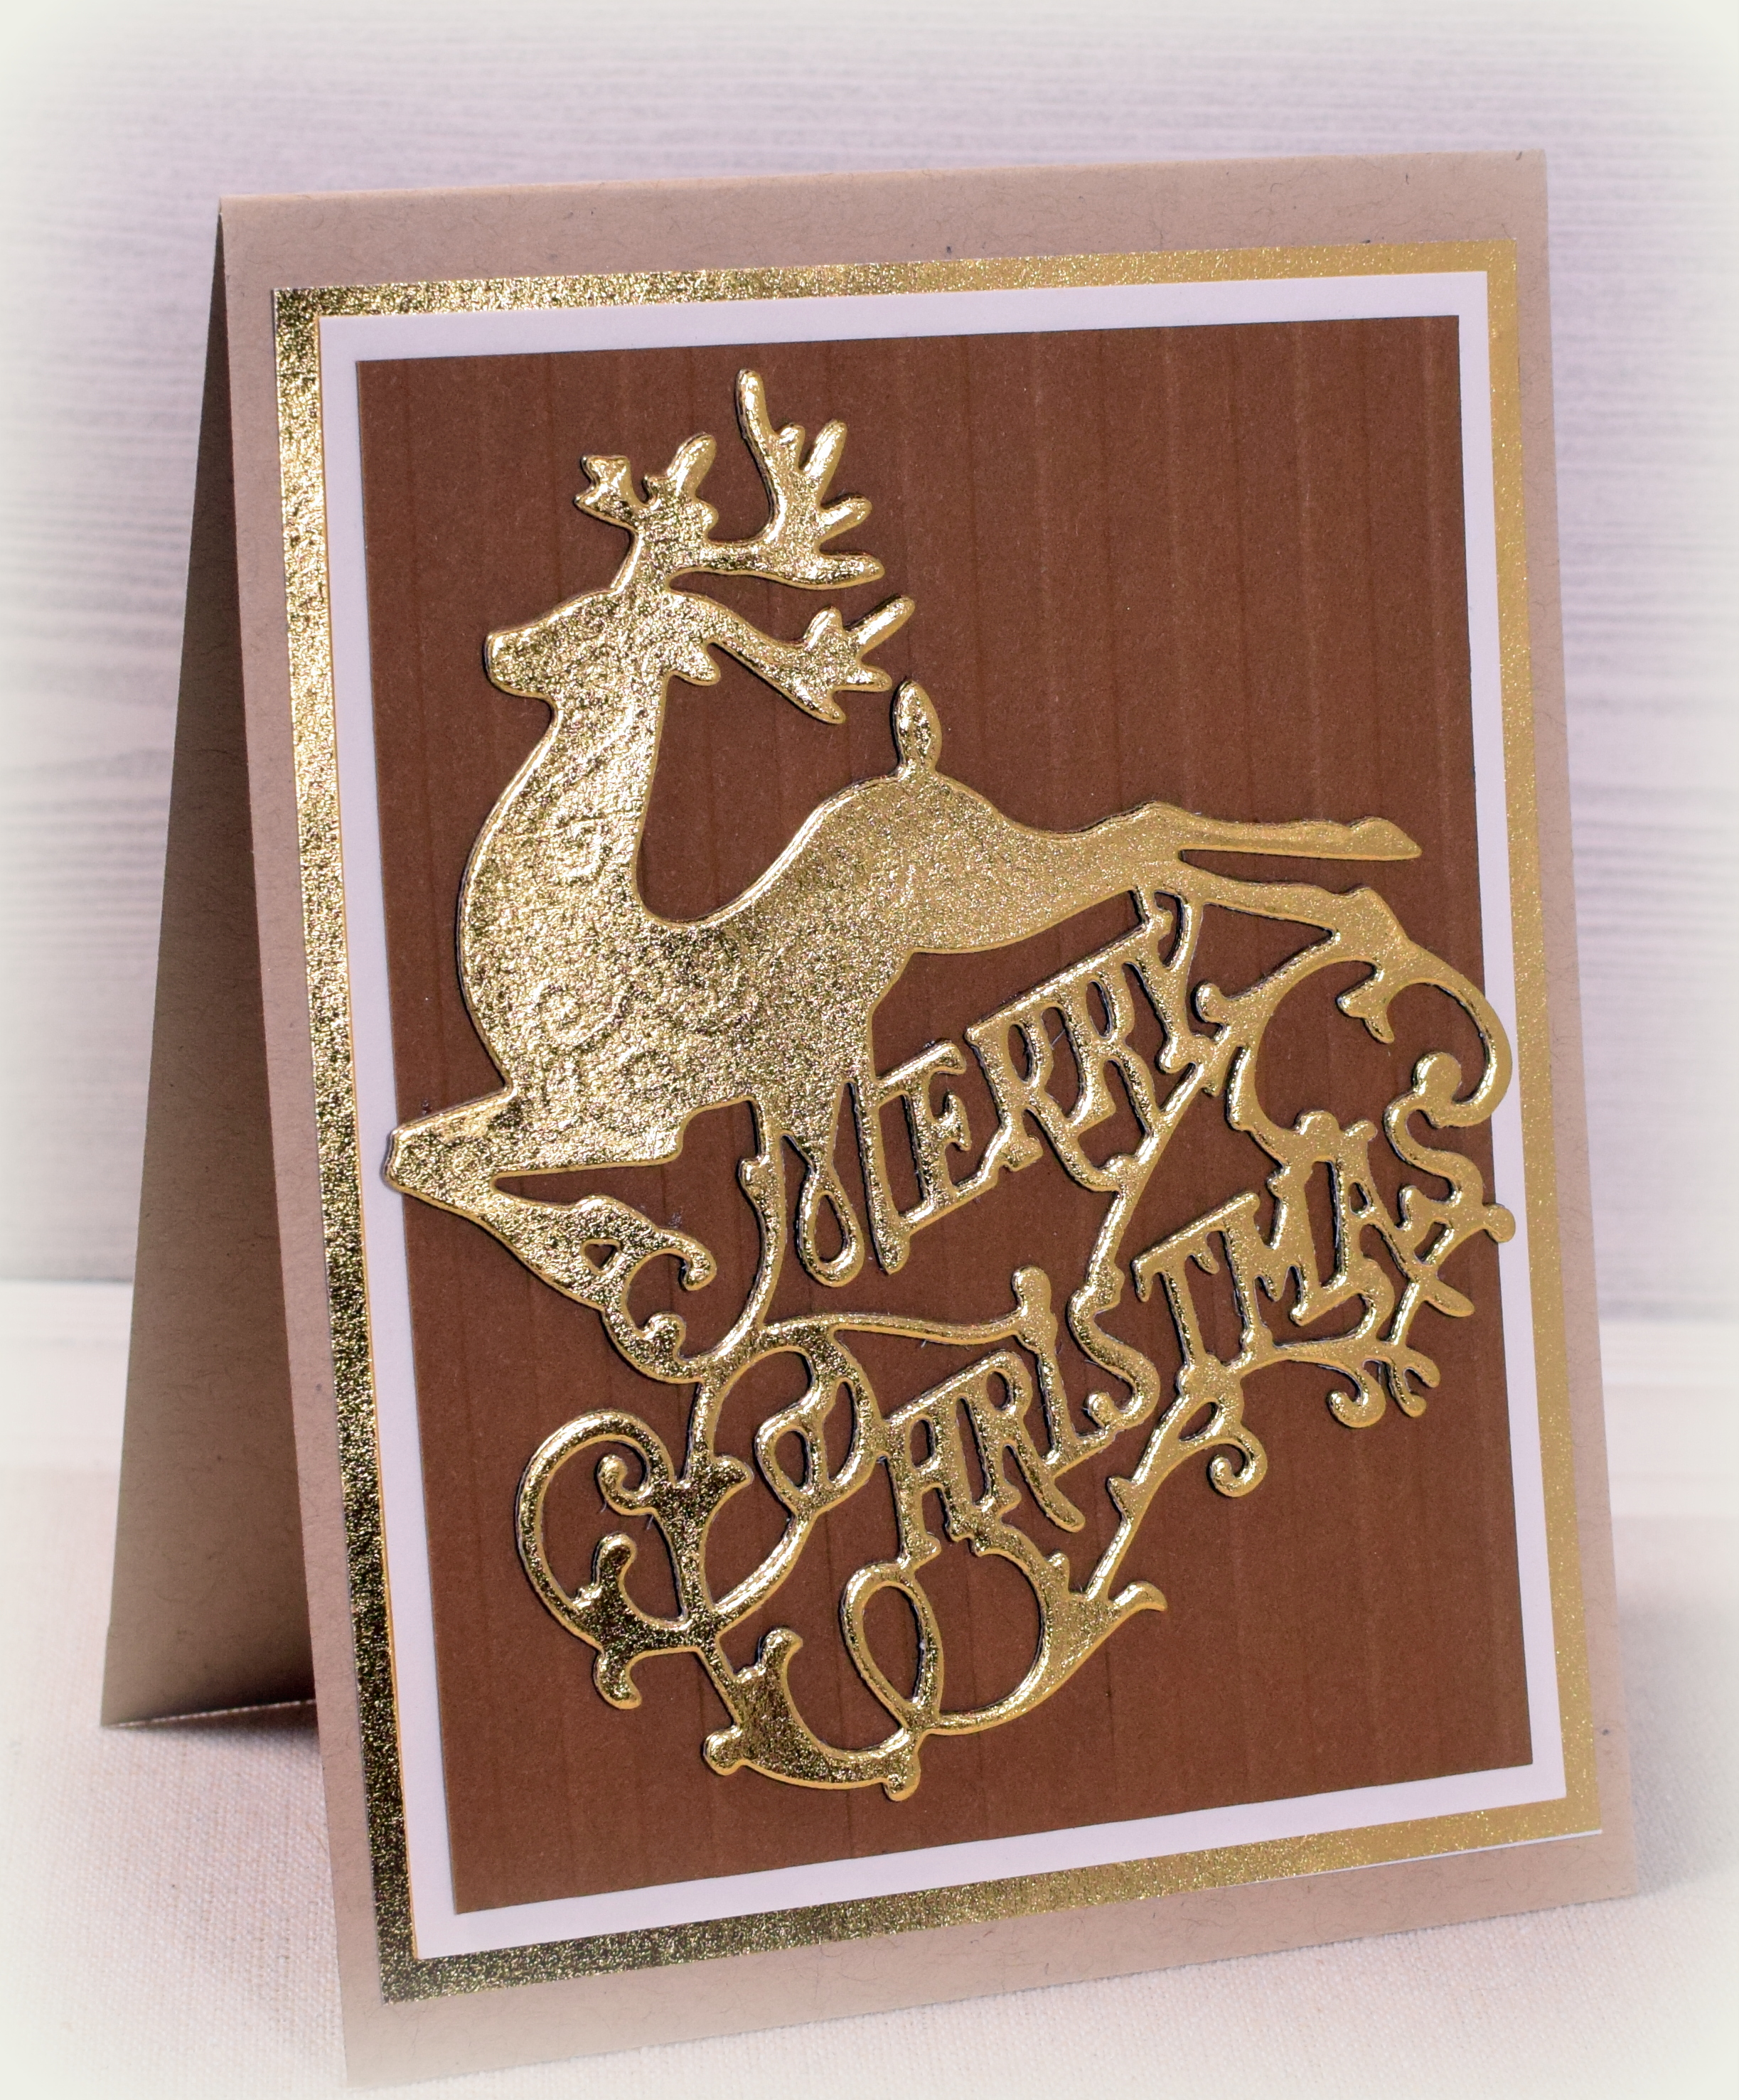
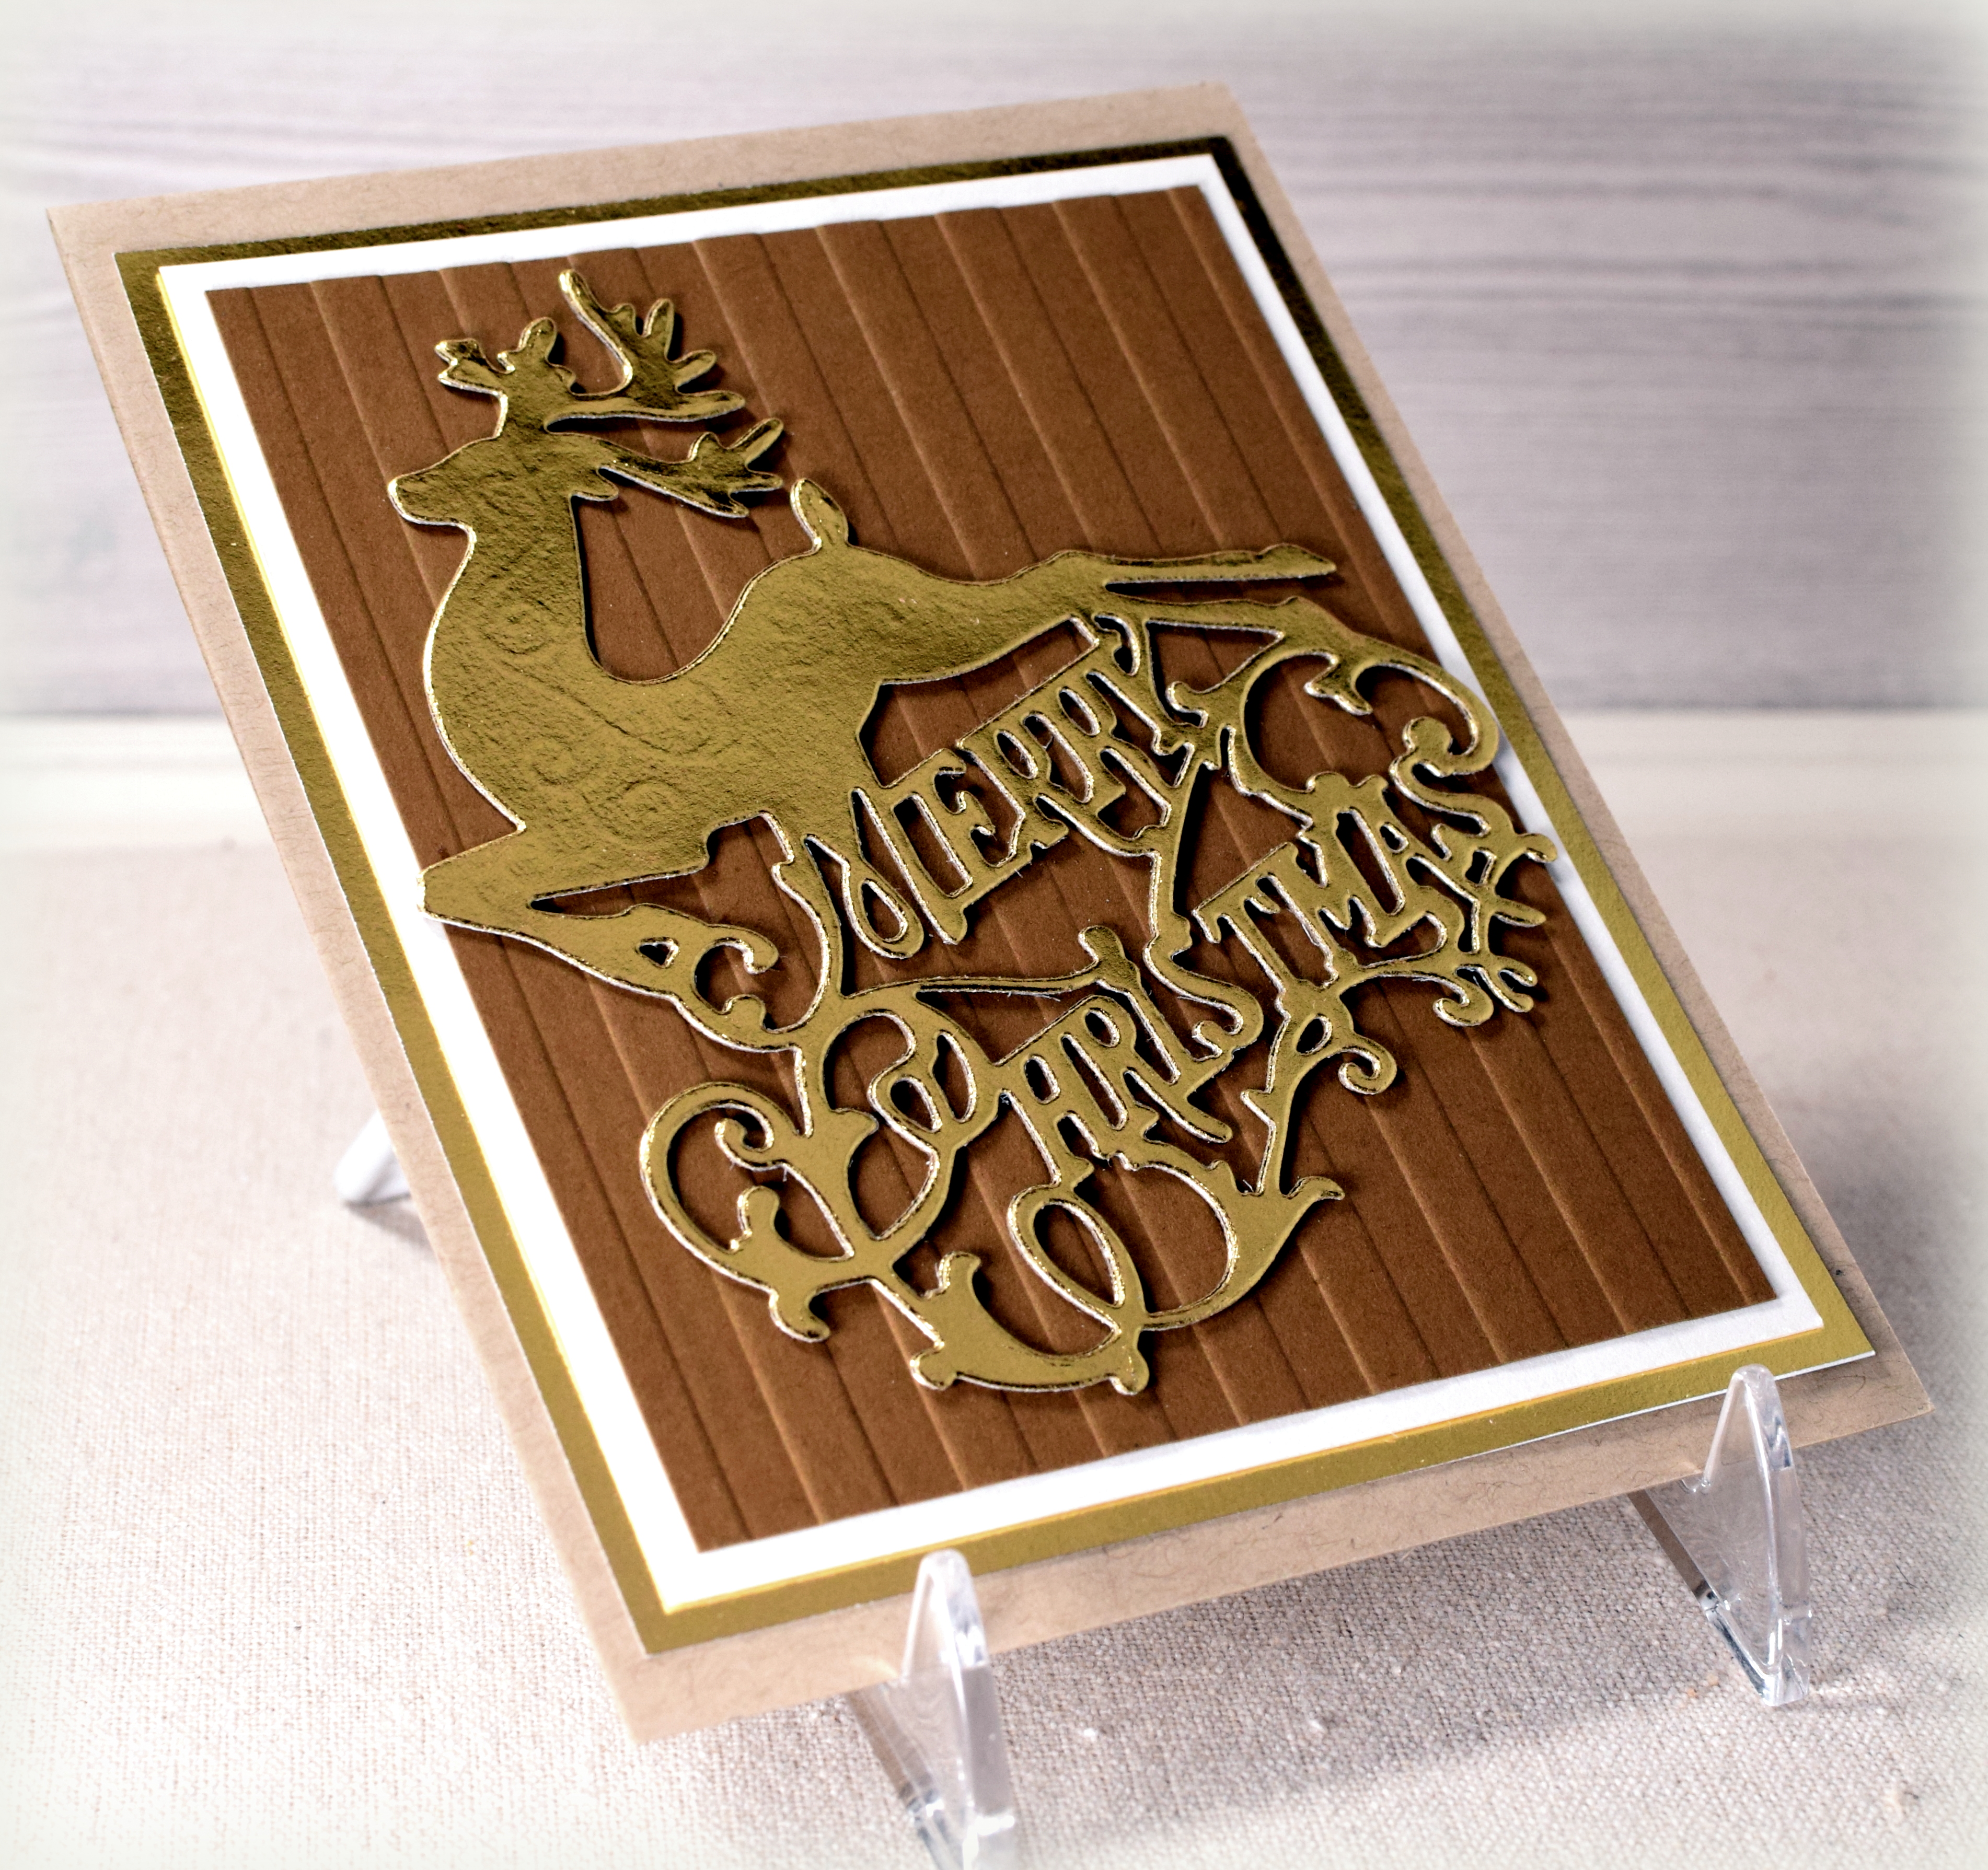
Reindeer Ornament and Card
(inside: May the joy of Christmas warm your heart)
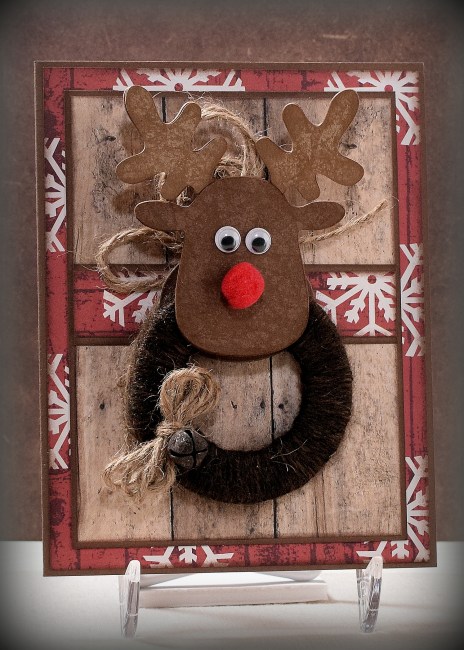
I thought it would be fun to create holiday ornaments that can be used as embellishments on cards. The recipient can choose to leave the ornament on the card or can remove it to hang on a tree if desired. (The tricky part was to come up with a card design that worked both with and without the ornanent!) I came up with a few different ornaments/card designs. This first one has a yarn and die cut reindeer ornament.
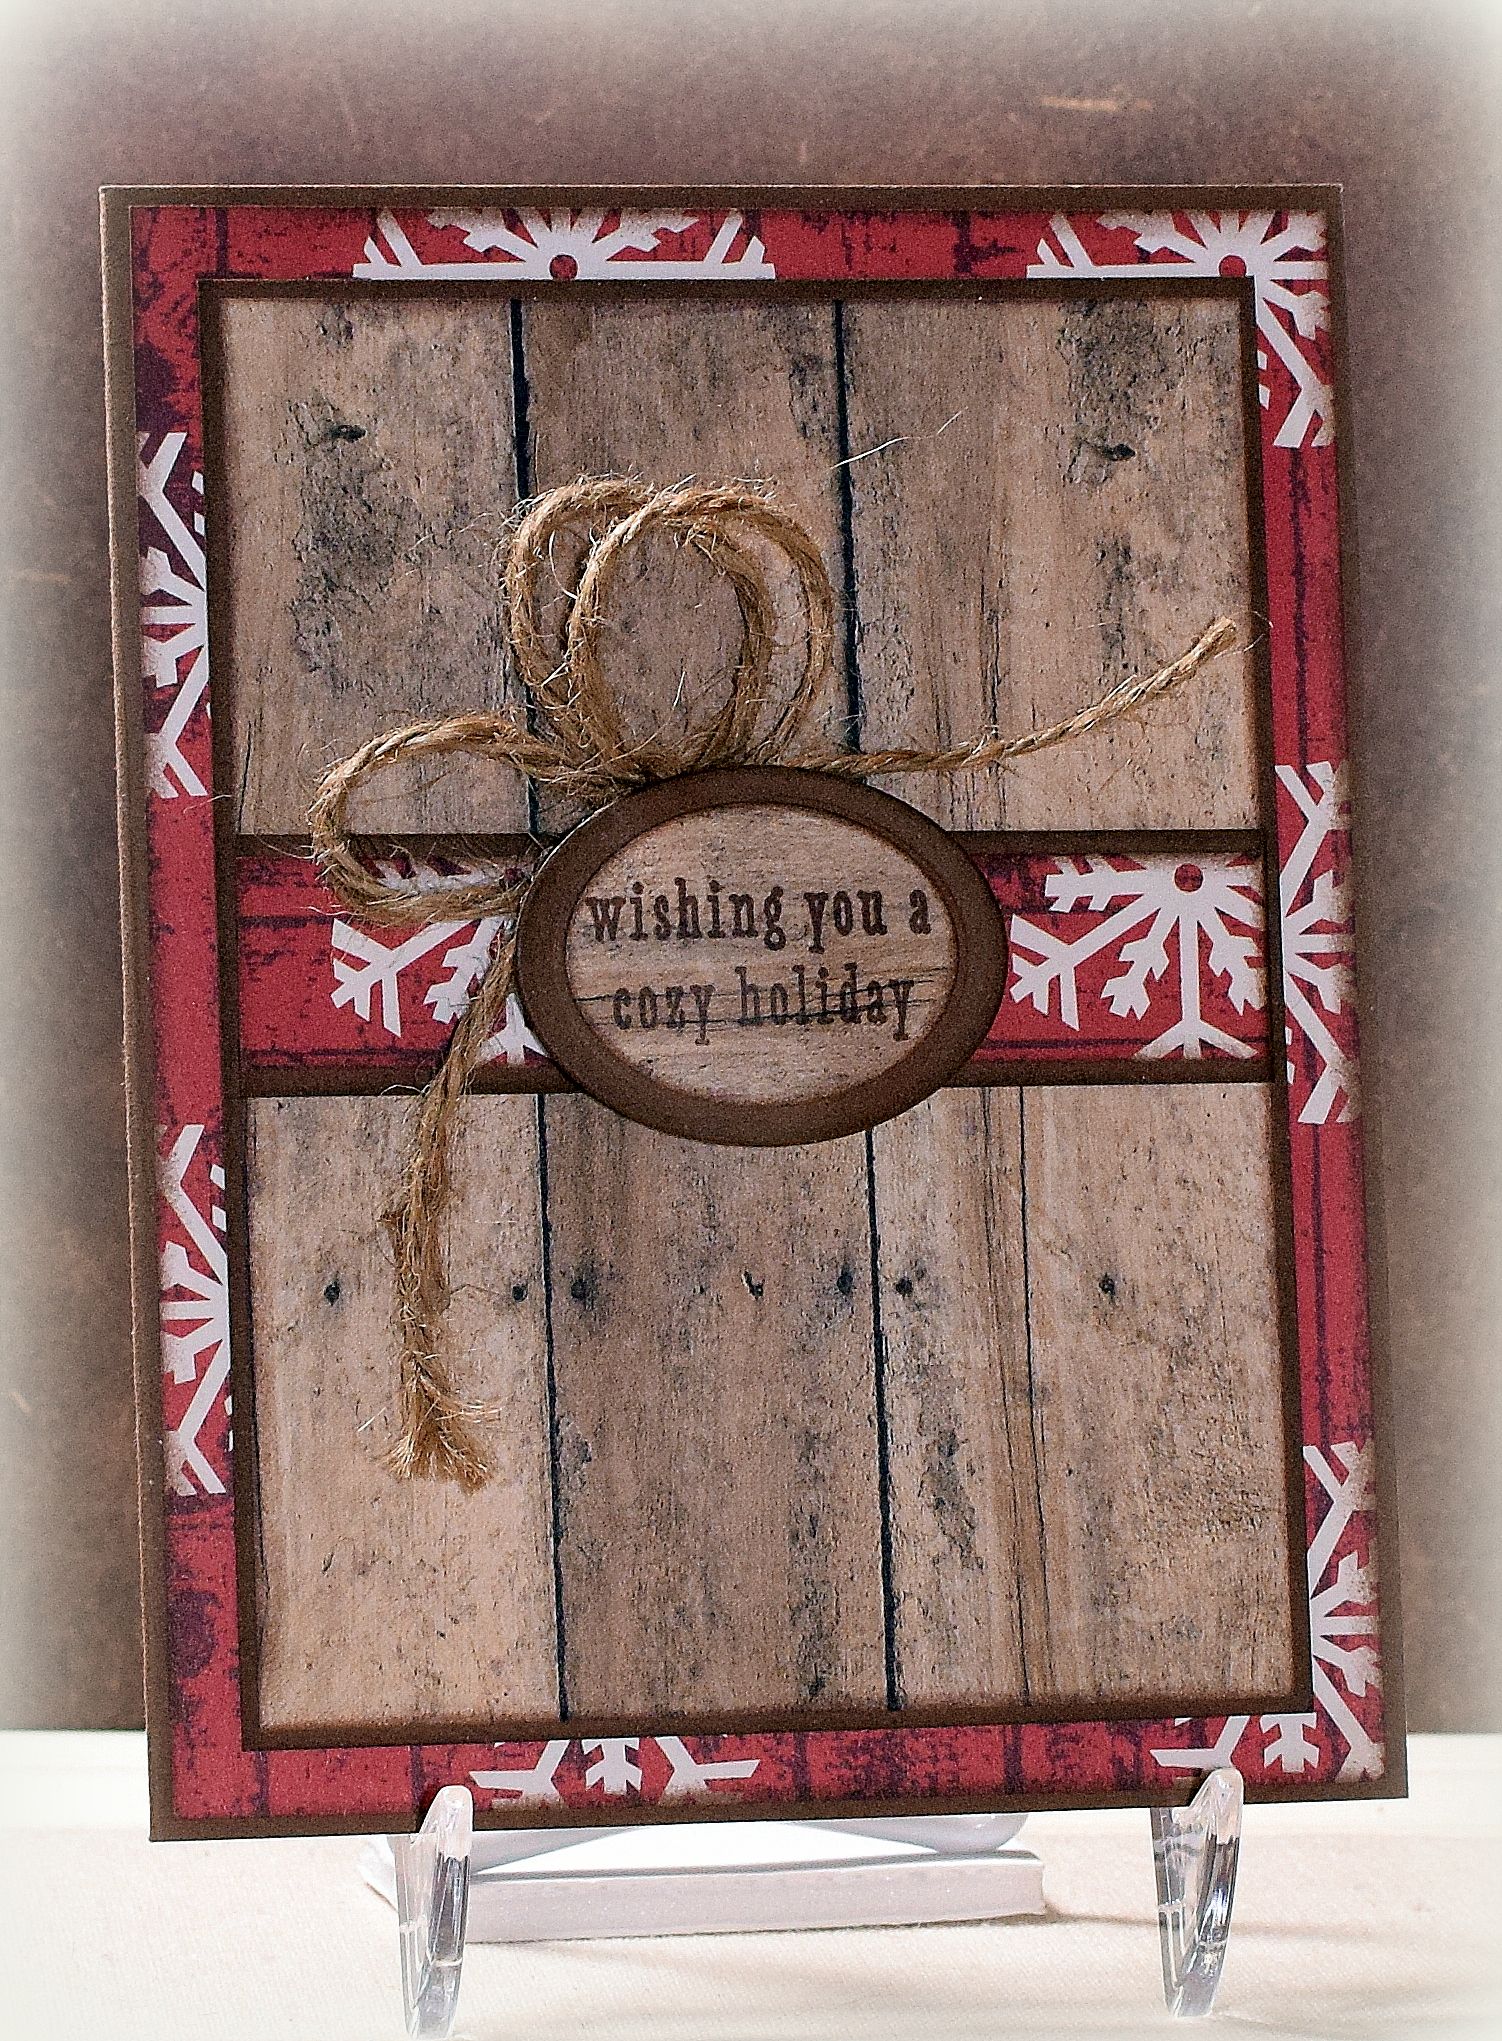
Here is the card without the ornament:
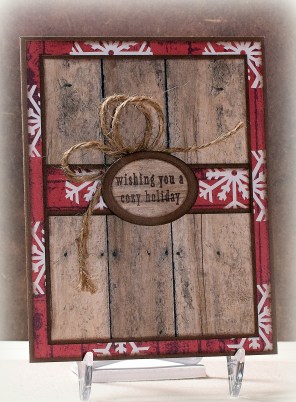
For the A2 card base, I used Recollections Brown heavy weight card stock from the “Coffee and Cream” pack . The patterned paper was from the Recollections “Cozy Lodge” Christmas paper pack (retired?) and a piece of “Wooden Fence” (#154484) by The Paper Studio (Hobby Lobby).
The greeting is from the “Coffee Cup Tags” stamp set from Hero Arts, and the inside sentiment is from the “Joy of Christmas” set from Art Impressions. These were stamped with (and all the edges were sponged with) Gina K Dark Chocolate ink. The greeting panel was cut with dies from the Spellbinders Classic Ovals large and small sets.
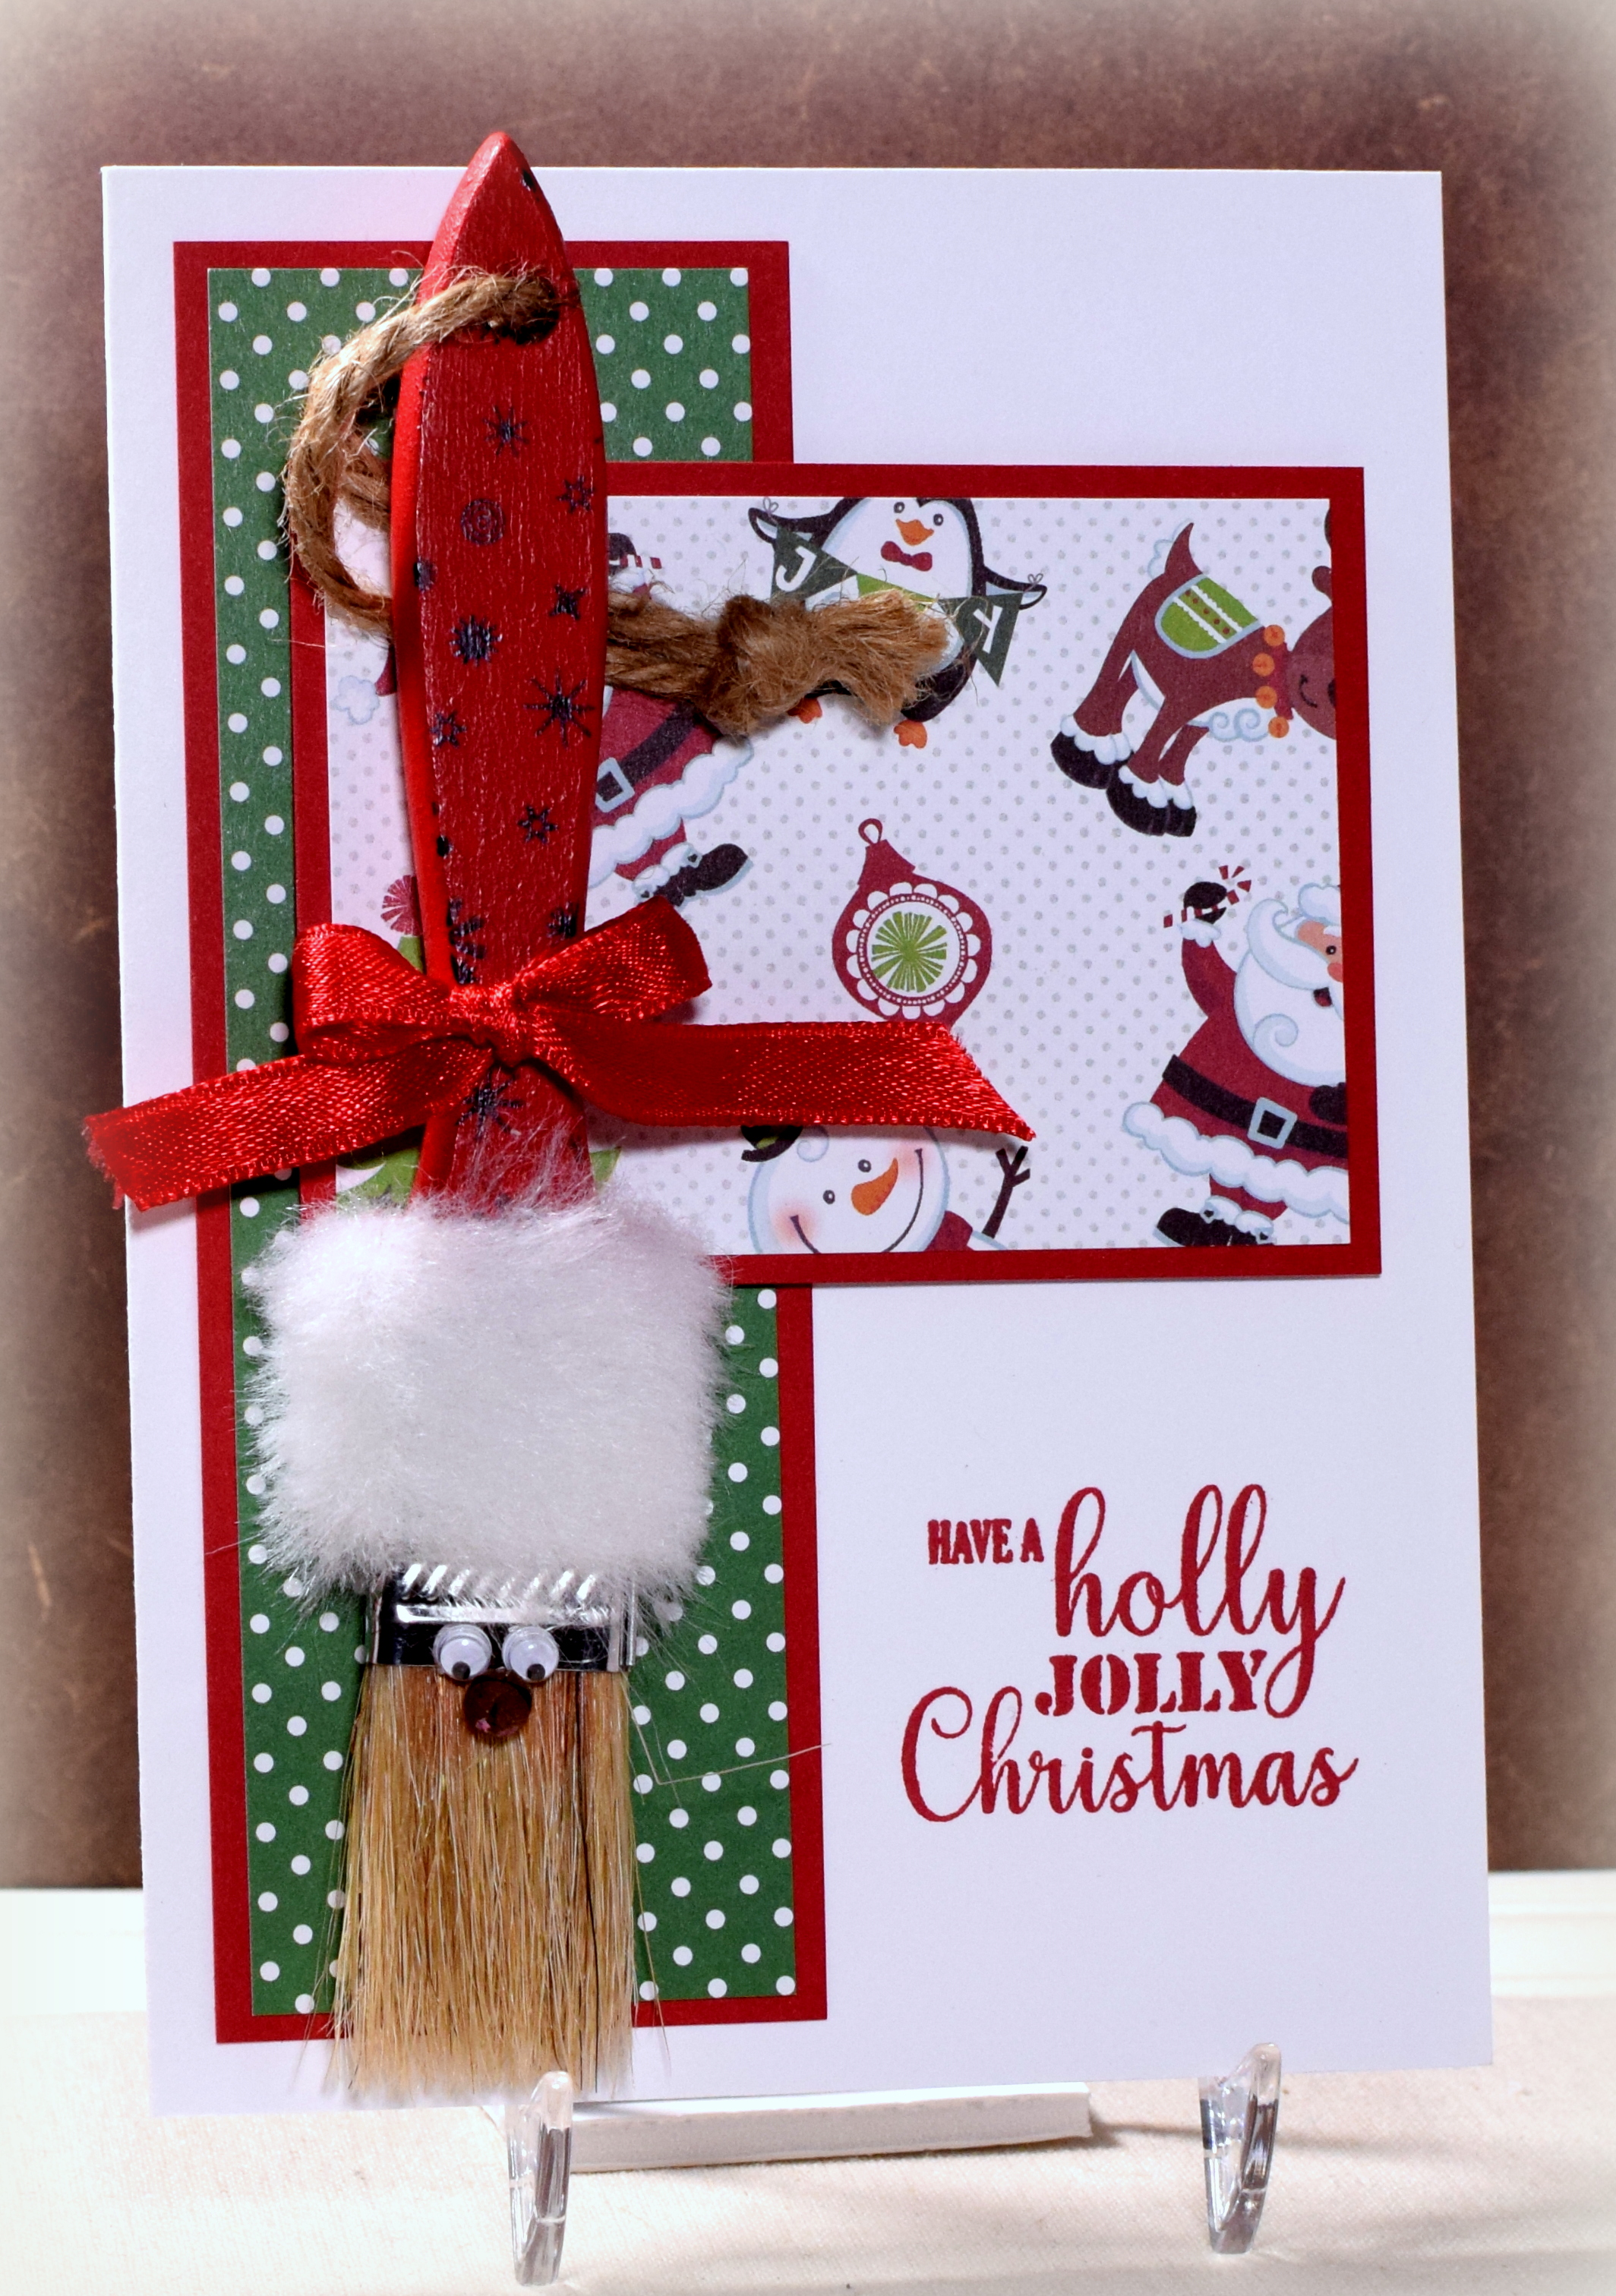
And here is the ornament by itself:

The ornament was made with a cut file called “Cute Reindeer Christmas” (design ID# 104632) by Studio Ilustrado that I purchased in the Silhouette Store. I used more of the Recollections Brown heavy weight card along with Kraft card stock. The pieces were cut multiple times and layered. I pounced Gina K Warm Cocoa ink with a leaf stamp (from the Tim Holtz “Falling Leaves” stamp set) all over the face and antlers and then inked the edges. I think they kind of look like wood with the texture and thickness.
For the body, I wrapped yarn (Lion Brand “Heartland – Sequoia #126) around heavy weight card stock that I had cut with Spellbinders Circle dies. I also used a rusty bell, 7mm wiggle eyes, a 10mm pompom, and some jute twine.
Here is a curly version I made with twelve, triple-loop bows glued on the yarn-wrapped body panel.

The head was attached to the body with a brad. This spot of metal “sticks” to a hidden magnet behind the greeting piece making it easy to attach or detach the ornament as desired.

This ornament was inspired by this project I found online.
Over at the Die Cut Diva’s, the challenge this month is “Winter Time” where we are invited to share our winter-themed cards and projects. In addition to the theme, all cards/projects must be made using at least one die cut or embossing folder (using any die cut machine including Cameo and Cricut machines).
Thanks for checking out my ornament and card project!
This content uses referral links as described in the disclosure policy on my sidebar.