Hoppy Easter Z-Fold Card

Hoppy Easter Z-Fold Card

wDSC_8376.jpg

This z-fold card features stamps from the “Bunny Hop” stamp set by Newton’s Nook Designs.  The images were stamped with Memento Tuxedo Black ink on water color paper (I love the texture!) and colored with Copic Markers (Y15, YG03, R85, C0, Bv20/R81, and 0).

A Tim Holtz Dusty Concord distress marker and the Tim Holtz marker spritzer tool were used to add the speckles to the two stamped panels.

Recollections Yellow Grey Plaid paper and a piece of the grey from the Recollections Coffee and Cream heavy weight card stock pack were added to the water color paper card base.

wDSC_8370.jpg

The card base was created by scoring an 8 1/2 x 5 1/2 inch panel at the 4 1/4 and 2 1/8 inch marks (in half and one side in half again).  Fold the card base in half, and fold the top half back on the scored line creating a Z.

wDSC_8369

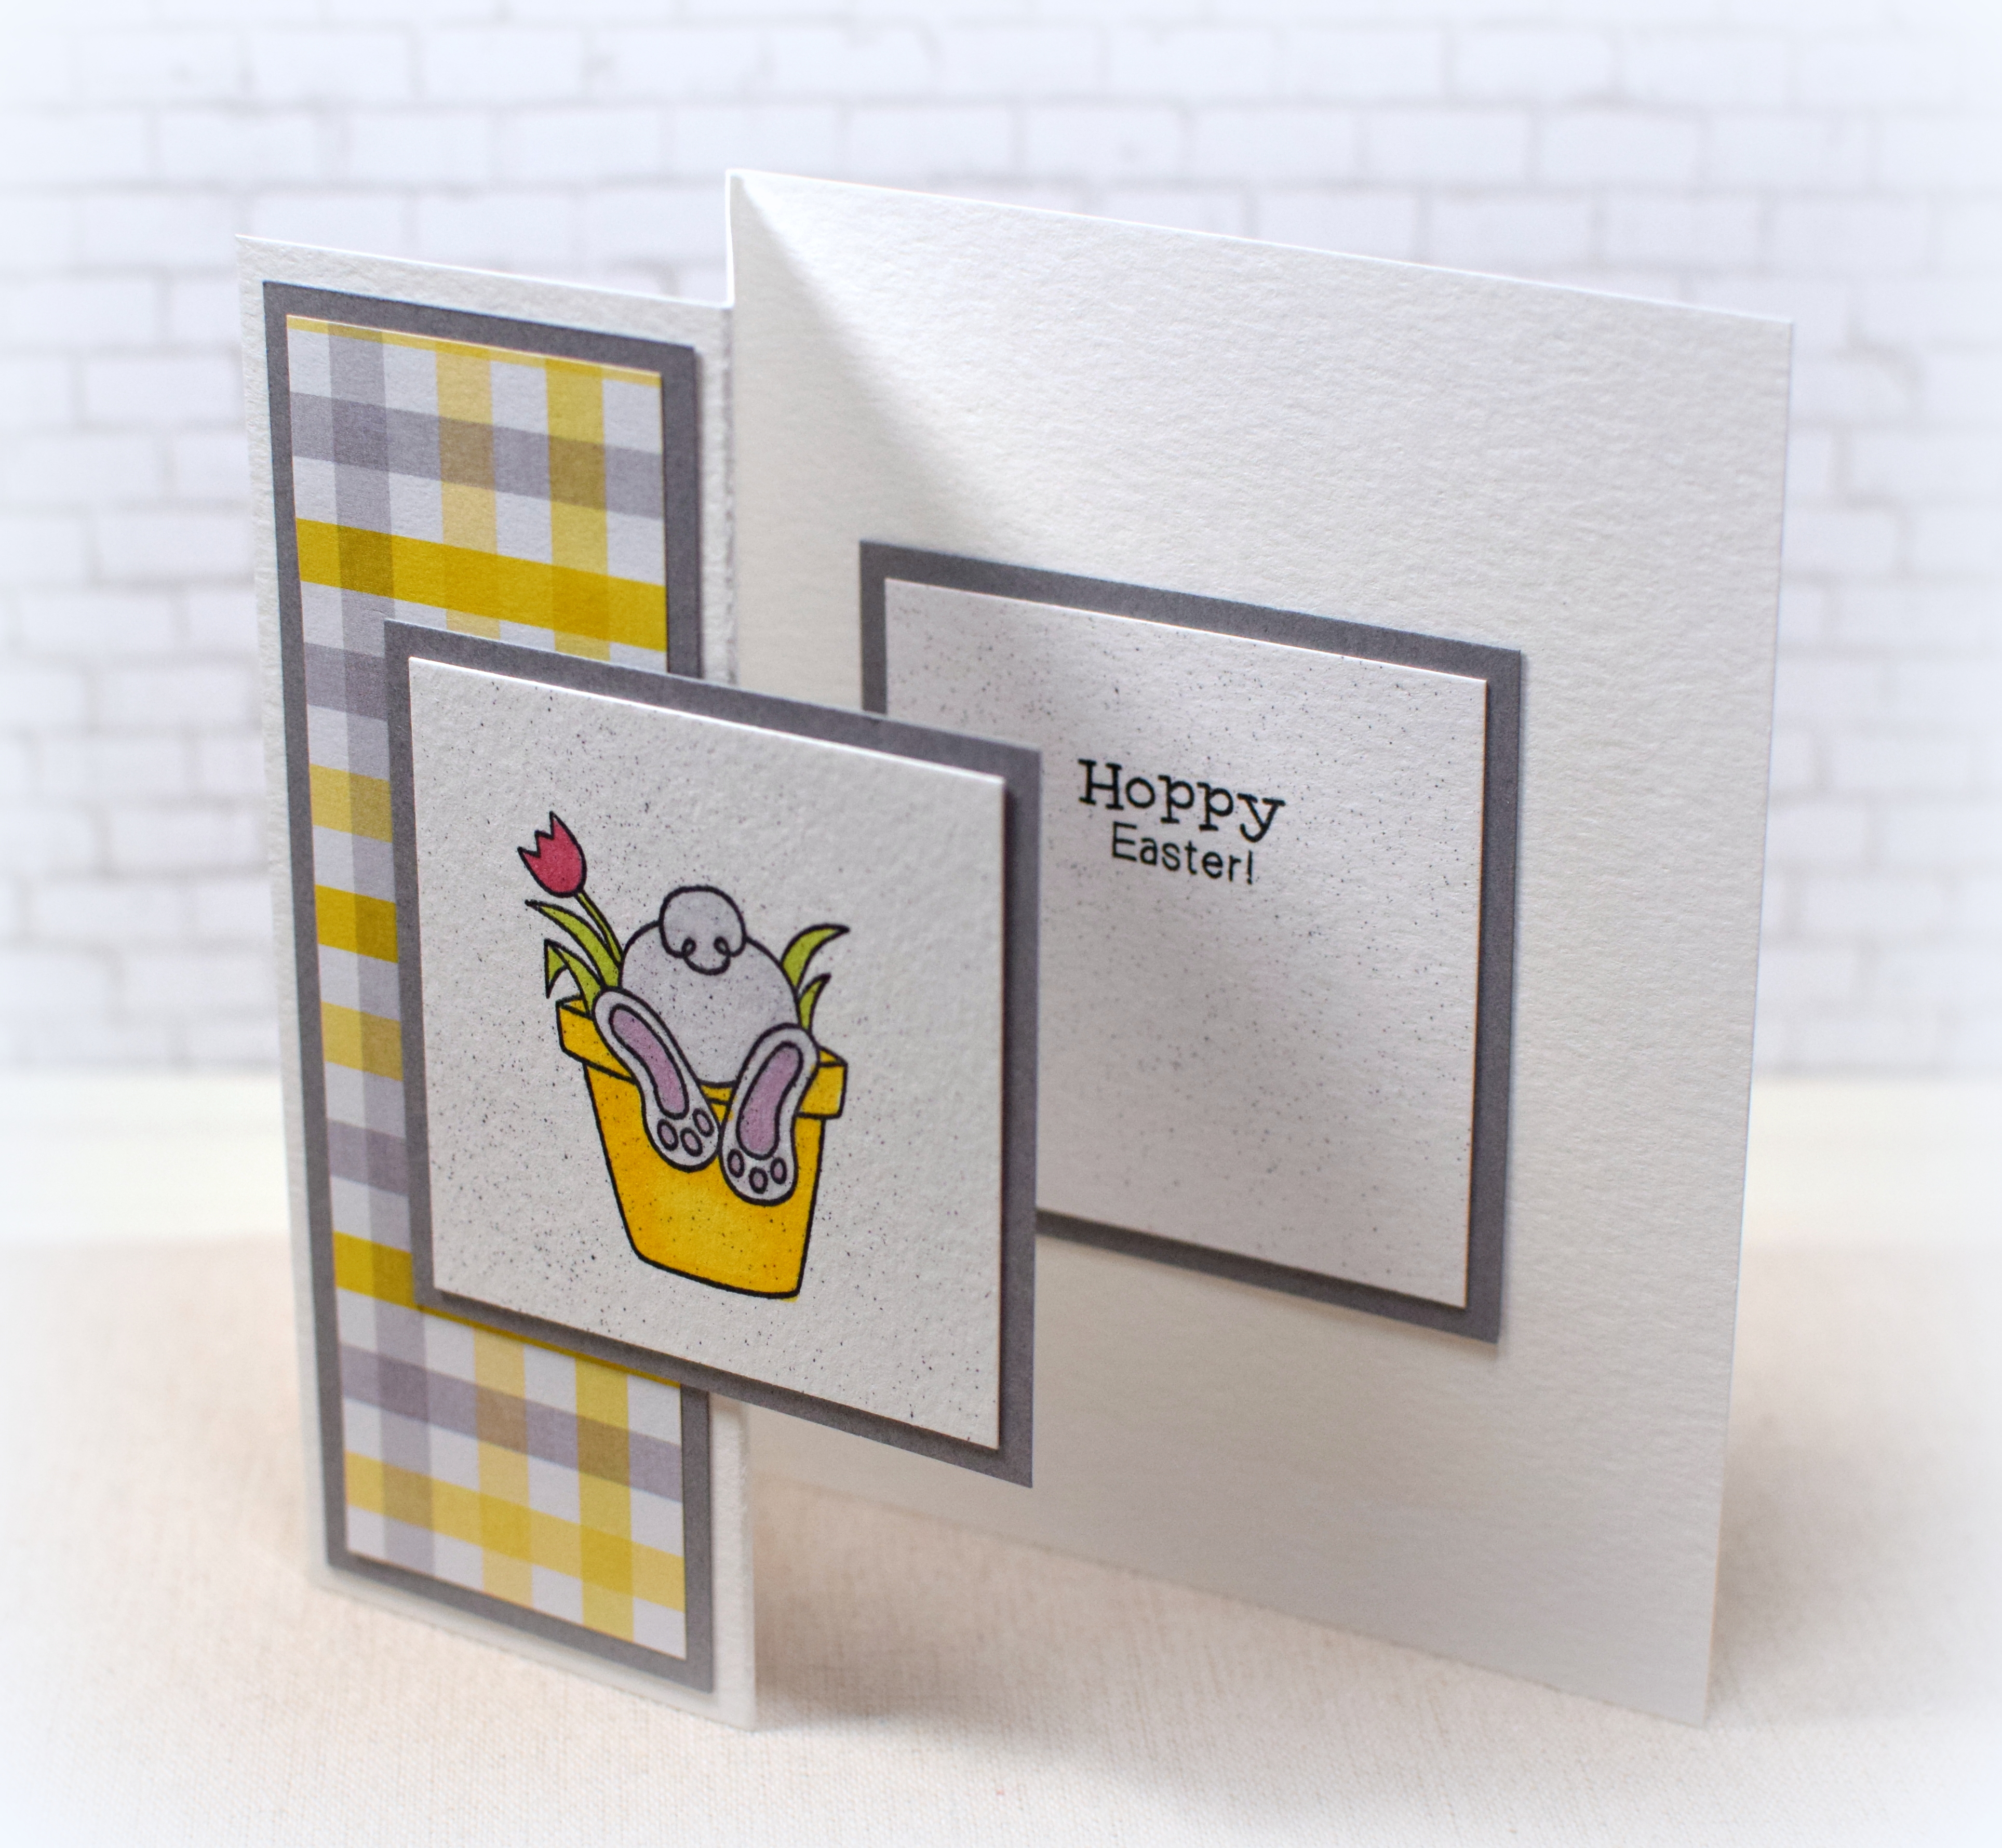
I created my inside panel the same size as my front panel and lined it up directly under the front panel so it is completely hidden when the card is closed.

wDSC_8371

Currently, the Mod Squad Challenge is “ready for spring” where we are encouraged to “make a Spring themed card with flowers, bunnies, pastels…anything Spring.”  (Sadly, this site is no longer active.)

Thanks for checking out my card project!

This content uses referral links as described in the disclosure policy on my sidebar.

Happy Easter with GKD Bunny

Happy Easter with GKD Bunny

wDSC_6800 picasa

(inside: Hoping whatever comes your way will bring you joy on this special day!)

This CAS card features the adorable bunny image and greeting from the Gina K Designs “Spring Fling” stamp set, stamped with Stampin’ Up Blackberry Bliss ink.  Gina K Edible Eggplant and white card stock was used along with Melissa Frances “Betty-Ann” patterned paper.  The focal image was cut with a die from the Gina Marie Stitched Rectangles die set.

The inside sentiment is from the Stampin’ Up “Sayings and Such” stamp set.

Thanks for checking out my card project!

Acetate Valentine’s Day Card

Acetate Valentine’s Day Card

wwDSC_8083.jpg

(Another card design using this holographic card stock…)

This card was fun to make but VERY hard to photograph!  The card base is acetate which practically disappears in the photo (or reflects everything!), and the holographic card stock on the front looks best in person as the light hits it at different angles.

acetate Valentine's Day Card 3.gif

I stamped the swirl image from the “Beautiful Peacocksale-a-bration stamp set from Stampin’ Up (a free set with $50 purchase until March 31, 2018) onto the acetate with Cotton White Stazon ink.  (A quick note on stamping stazon on acetate – if you make a mistake and need to remove a stamped image or smudge, rubbing alcohol takes it right off.)

Once the stazon was dry, I layered Hot Off The Press “Hearts Red Holographic” card stock (HOTP-10448), Papertrey Ink White, and Gina K Edible Eggplant to create the center panel.  I used a Creative Memories punch for the heart.

wDSC_8092

For the inside, I used the Hampton Art (SC0744) stamp and die set and Gina K Cherry Red ink.

Thanks for checking out my card project!

This content uses referral links as described in the disclosure policy on my sidebar.


Holographic Heart Valentine

Holographic Heart Valentine

zDSC_8134.jpg

(inside: Wishing you a happy day)

This 4 1/4 inch square card features the very cool “Hearts Red Holographic” card stock from Hot Off the Press (#HOTP – 10448).  When the card is moved (or the light source in this case), the centers of the hearts appear to get larger and smaller.

holographic hearts 5

The heart was cut with a die from the “Nellie’s Choice Multi Frame Dies, Hearts” set from Ecstasy Crafts.  The greeting was cut and stamped with a stamp and die set (no name given) from Hampton Art (#SC0744).  The inside sentiment is from the “Whimsical Wishes” stamp set from Gina K Designs (retired?).  I used my Scor-Buddy scoring board to create the debossed lines on the background panel.  Gina K Black Onyx ink and black and white card stock was also used.

I created a custom envelope for this card with my “123 Punch Board” by We R Memory Keepers.  I wanted my envelope to fit a 4 1/4 inch square card, and there was no card that size listed on the measurement guide so I came up with my own measurements: paper size – 7 5/16 inches; punch guide – 3 11/16 inches (halfway between the 3 5/8 and 3 3/4 inch marks on the guide).  Because it is square, this card would have required a trip to the post office for mailing.  To avoid this, I put my card and custom envelope inside an A7 sized envelope (for a 5×7 inch card).  Why two envelopes??  I did not want the holographic card stock to get scratched from moving around in a larger envelope, and I thought it just looked better with an envelope that fit the card!

zDSC_8132

Thanks for checking out my card projects!

This content uses referral links as described in the disclosure policy on my sidebar.

Stick Snowman Ornament and Card

Stick Snowman Ornament and Card

wDSC_7771.jpg

This is the fourth of my cards with ornaments.  This one features a removable snowman ornament made from a jumbo craft stick.

WDSC_7776.jpg

I sewed a small, strong magnet onto the back of the snowman’s scarf and placed another one  behind the greeting panel so the ornament can easily be removed or placed back on the card.

wDSC_7769.jpg

I debated between using regular craft/popsicle sticks or these jumbo craft sticks.  I really liked the curvy shape of the jumbo sticks, but they are much longer than the craft sticks.  Because I went with the jumbo ones, my card needed to be much longer than most cards.  I remembered a video Gina K had done showing a card that fit into a regular business envelope and realized that size would be perfect!  My finished card measures 3.75 inches x 9.25 inches.  Unfortunately, with the ornament attached, the card is too bulky to mail as a regular letter/card so it will need to be sent from the post office as a package.

For my ornament, I used:

For my card, I used:

Thanks for checking out my ornament and card project!

This content uses referral links as described in the disclosure policy on my sidebar.