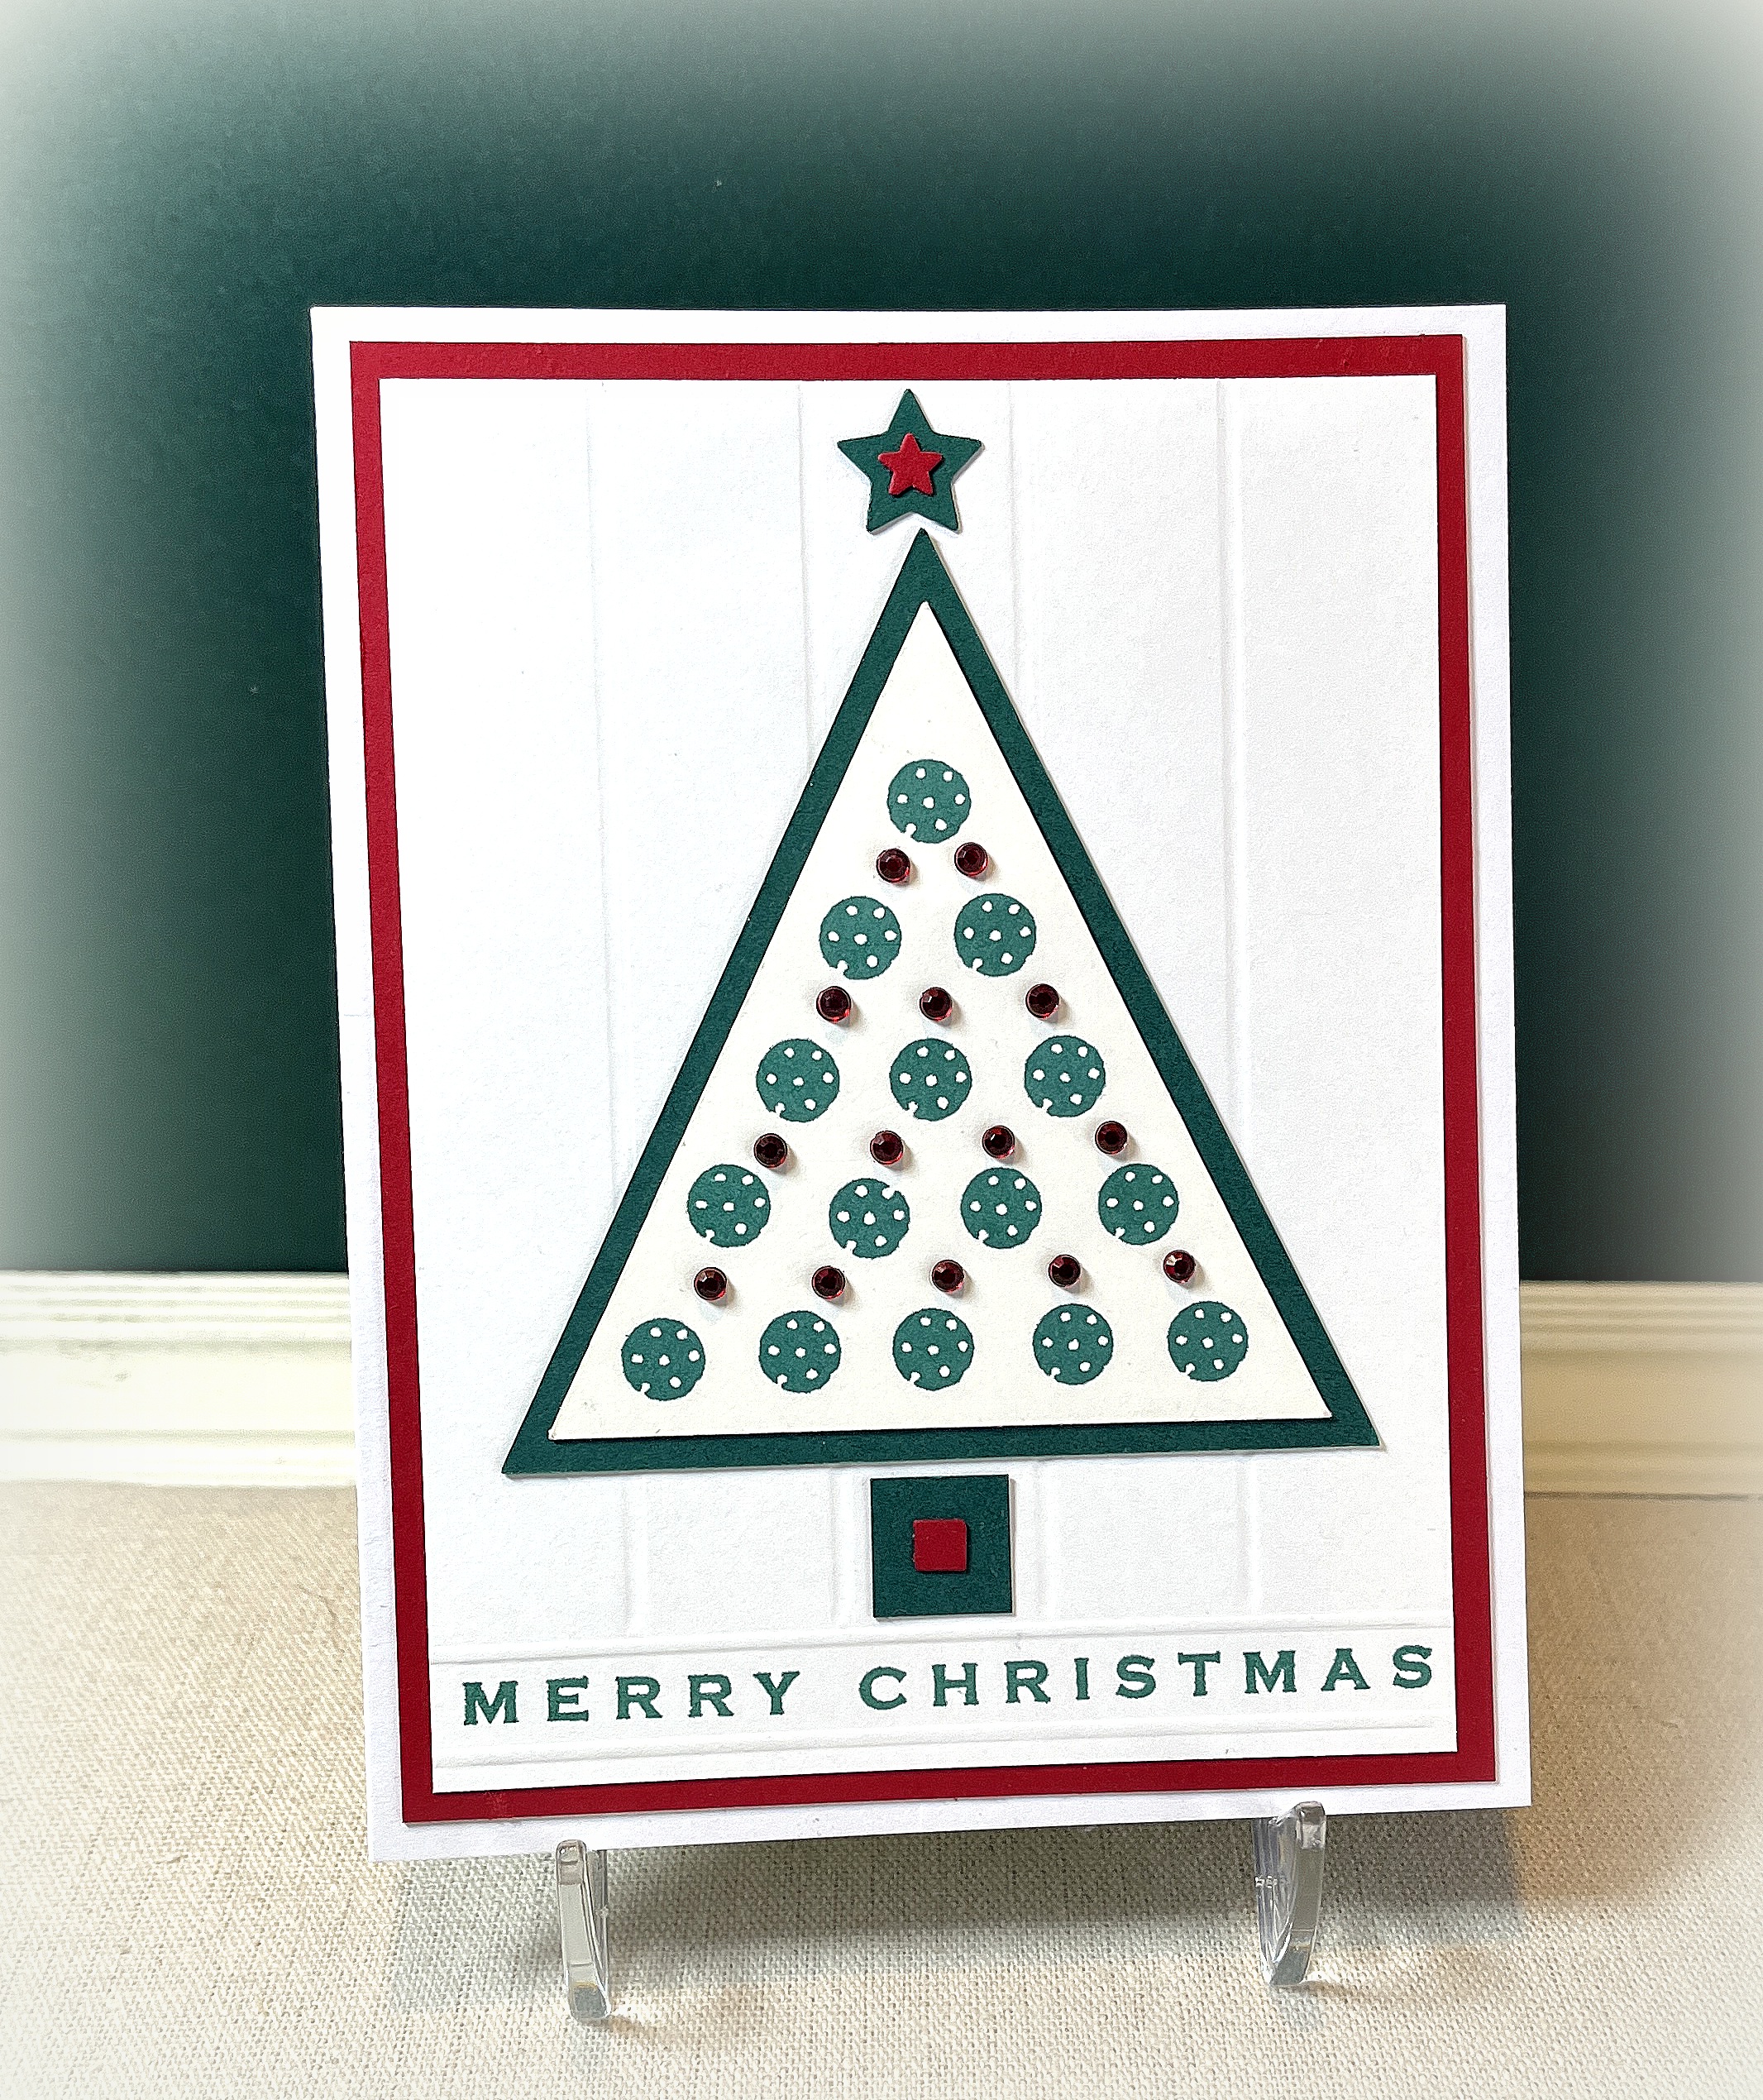
Lots of Dots Christmas Tree
(inside: Wishing You A Very Merry Christmas And A Happy New Year)
This card is kind of “a blast from the past” in that I had used this tree idea for a tag project back in 2014. At that time, I thought I’d create a pile of these trees and make them into more “mail friendly” cards. I got as far as stamping all the circles and attaching the gems on the triangles, and then I misplaced/forgot about them. After searching high and low, I found them last year, (misplaced them again, eventually found them!) and finally finished the cards. Why am I telling you this? Because, with all the the time that passed, I forgot/didn’t realize I had used an off-white card stock for the trees until AFTER I hand scored and stamped all the background panels and card bases on white and began to assemble all the cards! Sigh…
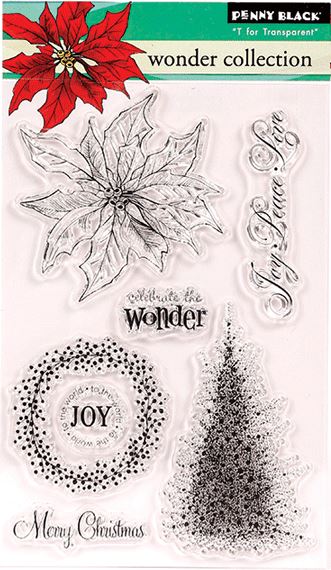
I used one of the polka dotted circle stamps from the Gina K Designs “Fabulous Holiday Fillers” stamp set (retired) and Gina K Christmas Pine ink to create the circles on the triangle panel. I colored self-sticking, clear rhinestones with Copic marker R89 and adhered them in the spaces between the stamped circles. The layered star and trunk were cut with punches. The embossed/debossed lines on the background panel were added with my Scor board. The greeting is from the Patterned Pines stamp set from Stampin’ Up (retired), and the inside sentiment is from a Hero Arts set (CL359). Gina K Cherry Red and Christmas pine card stock was used along with Recollections Dove White (I think?) and white.
Thanks for checking out my card project!
This content uses referral links as described in the disclosure policy on my sidebar.