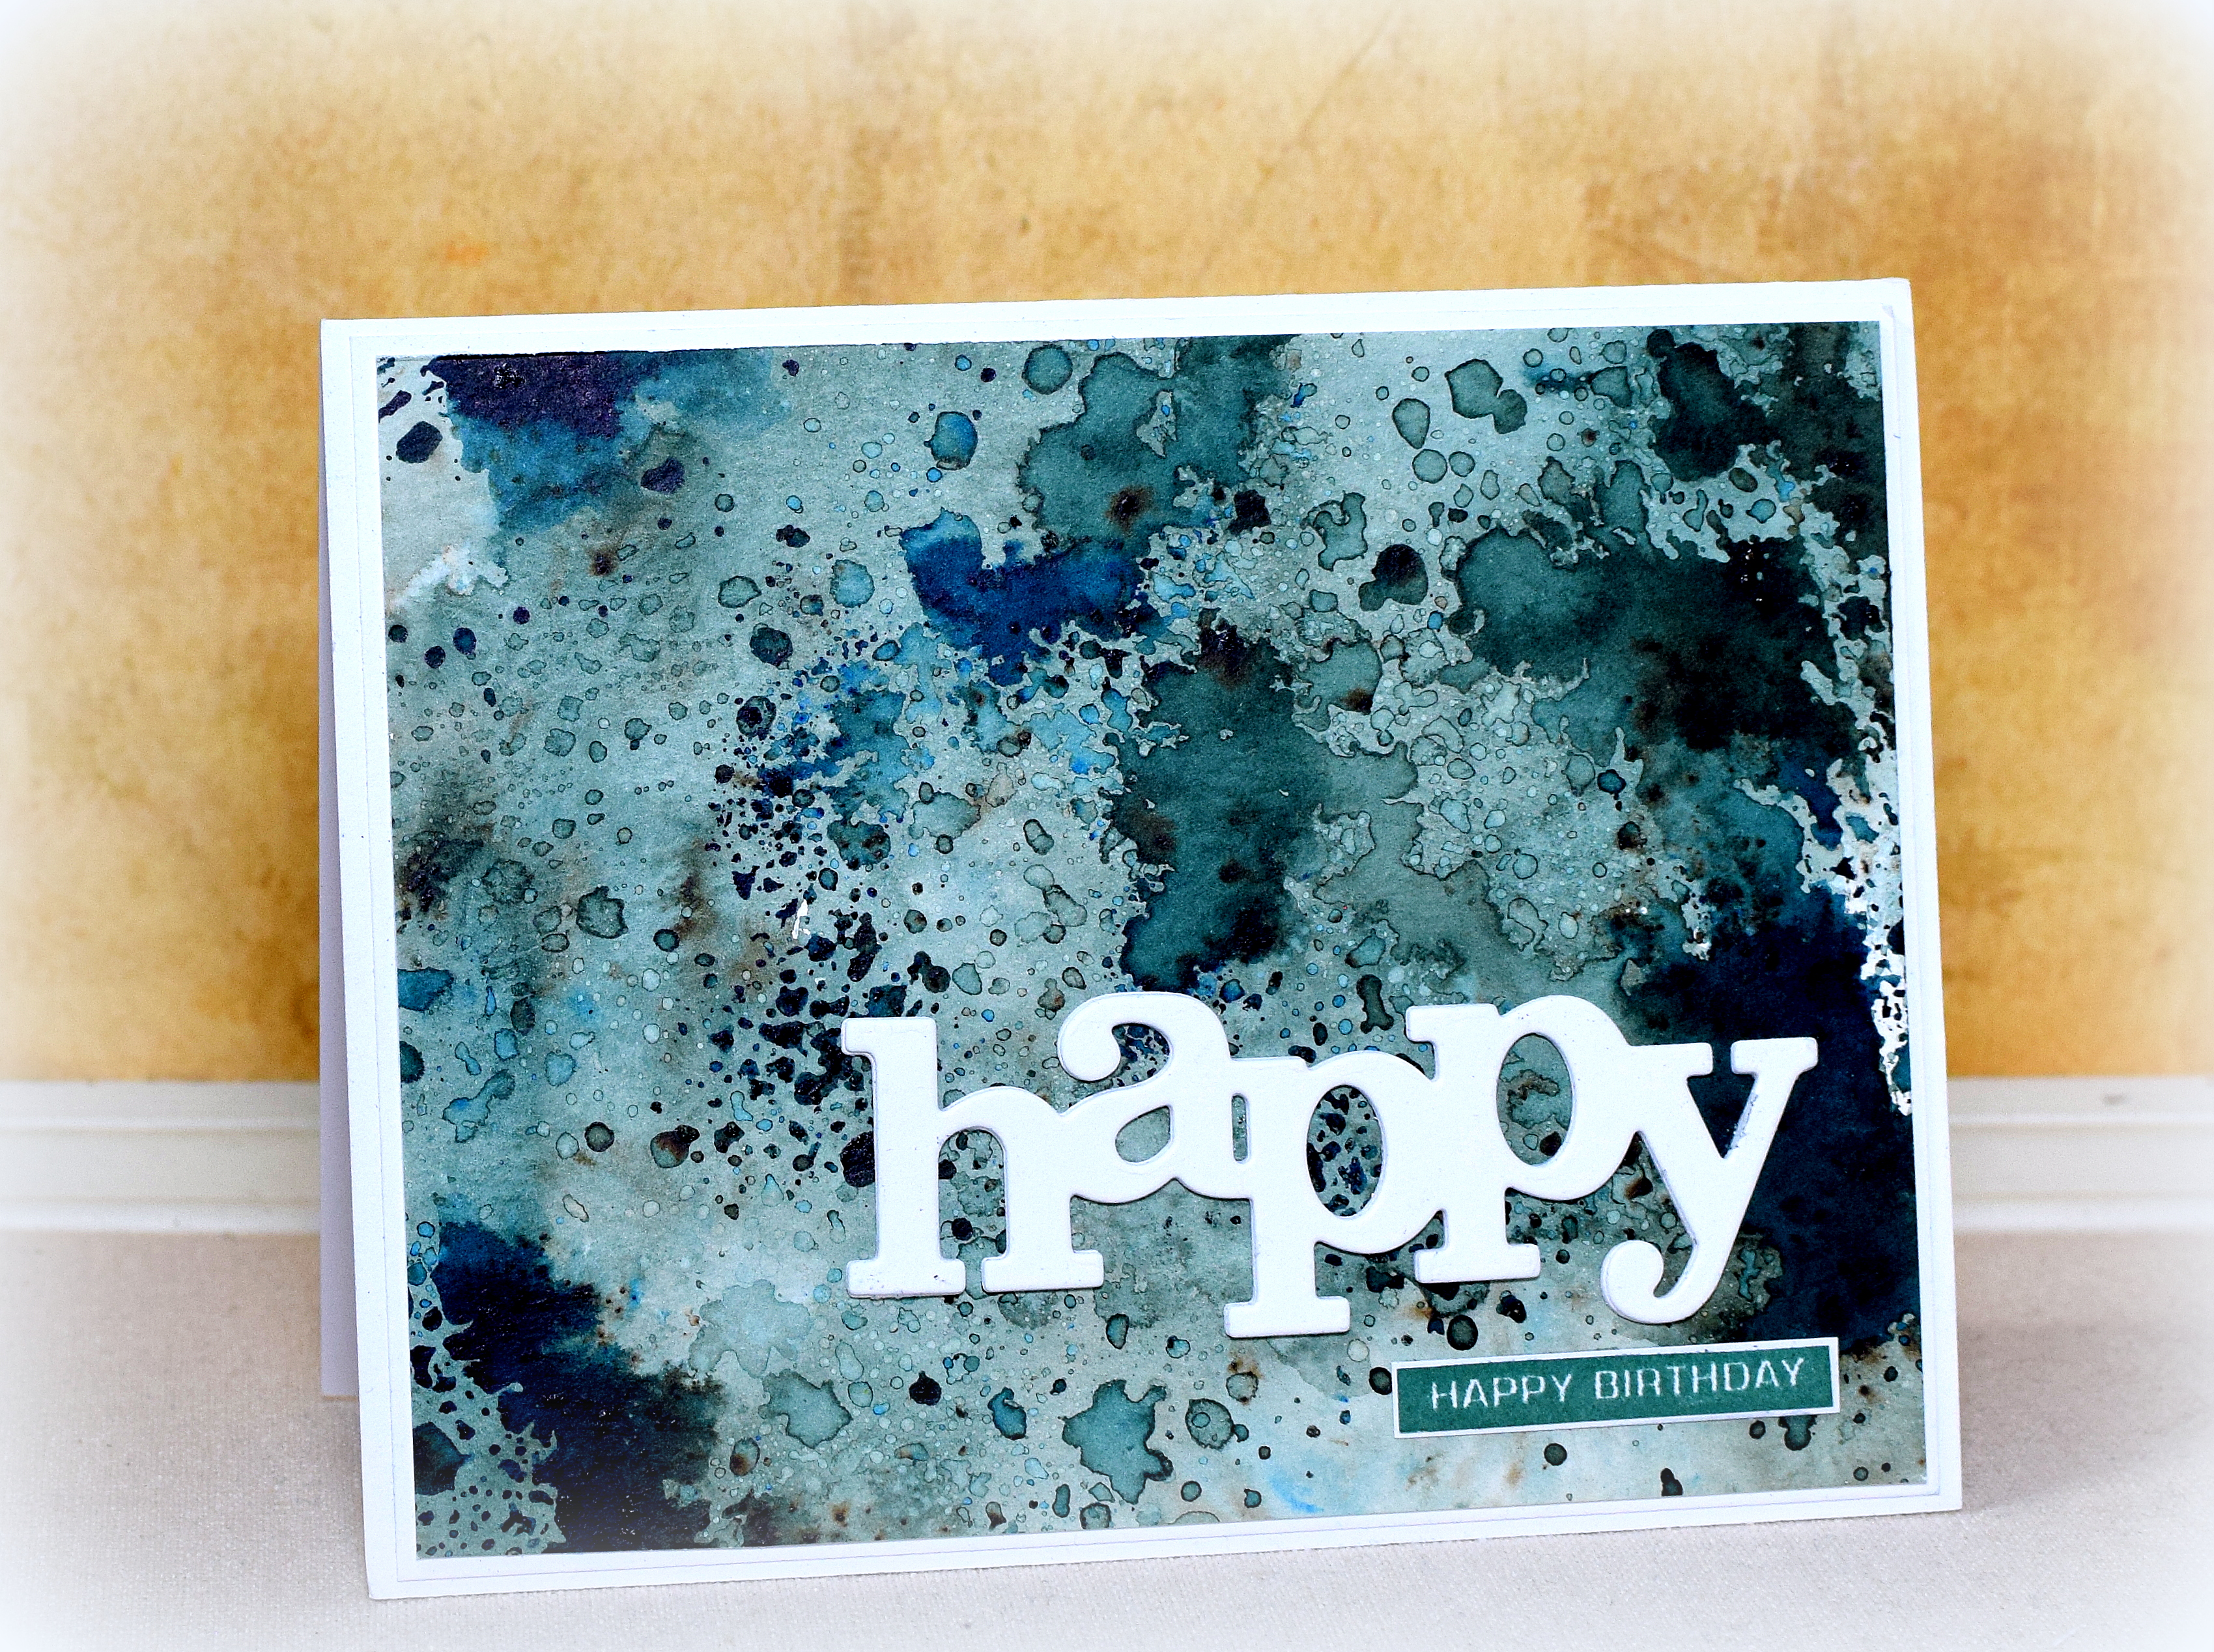
Inlaid Floral Birthday Card

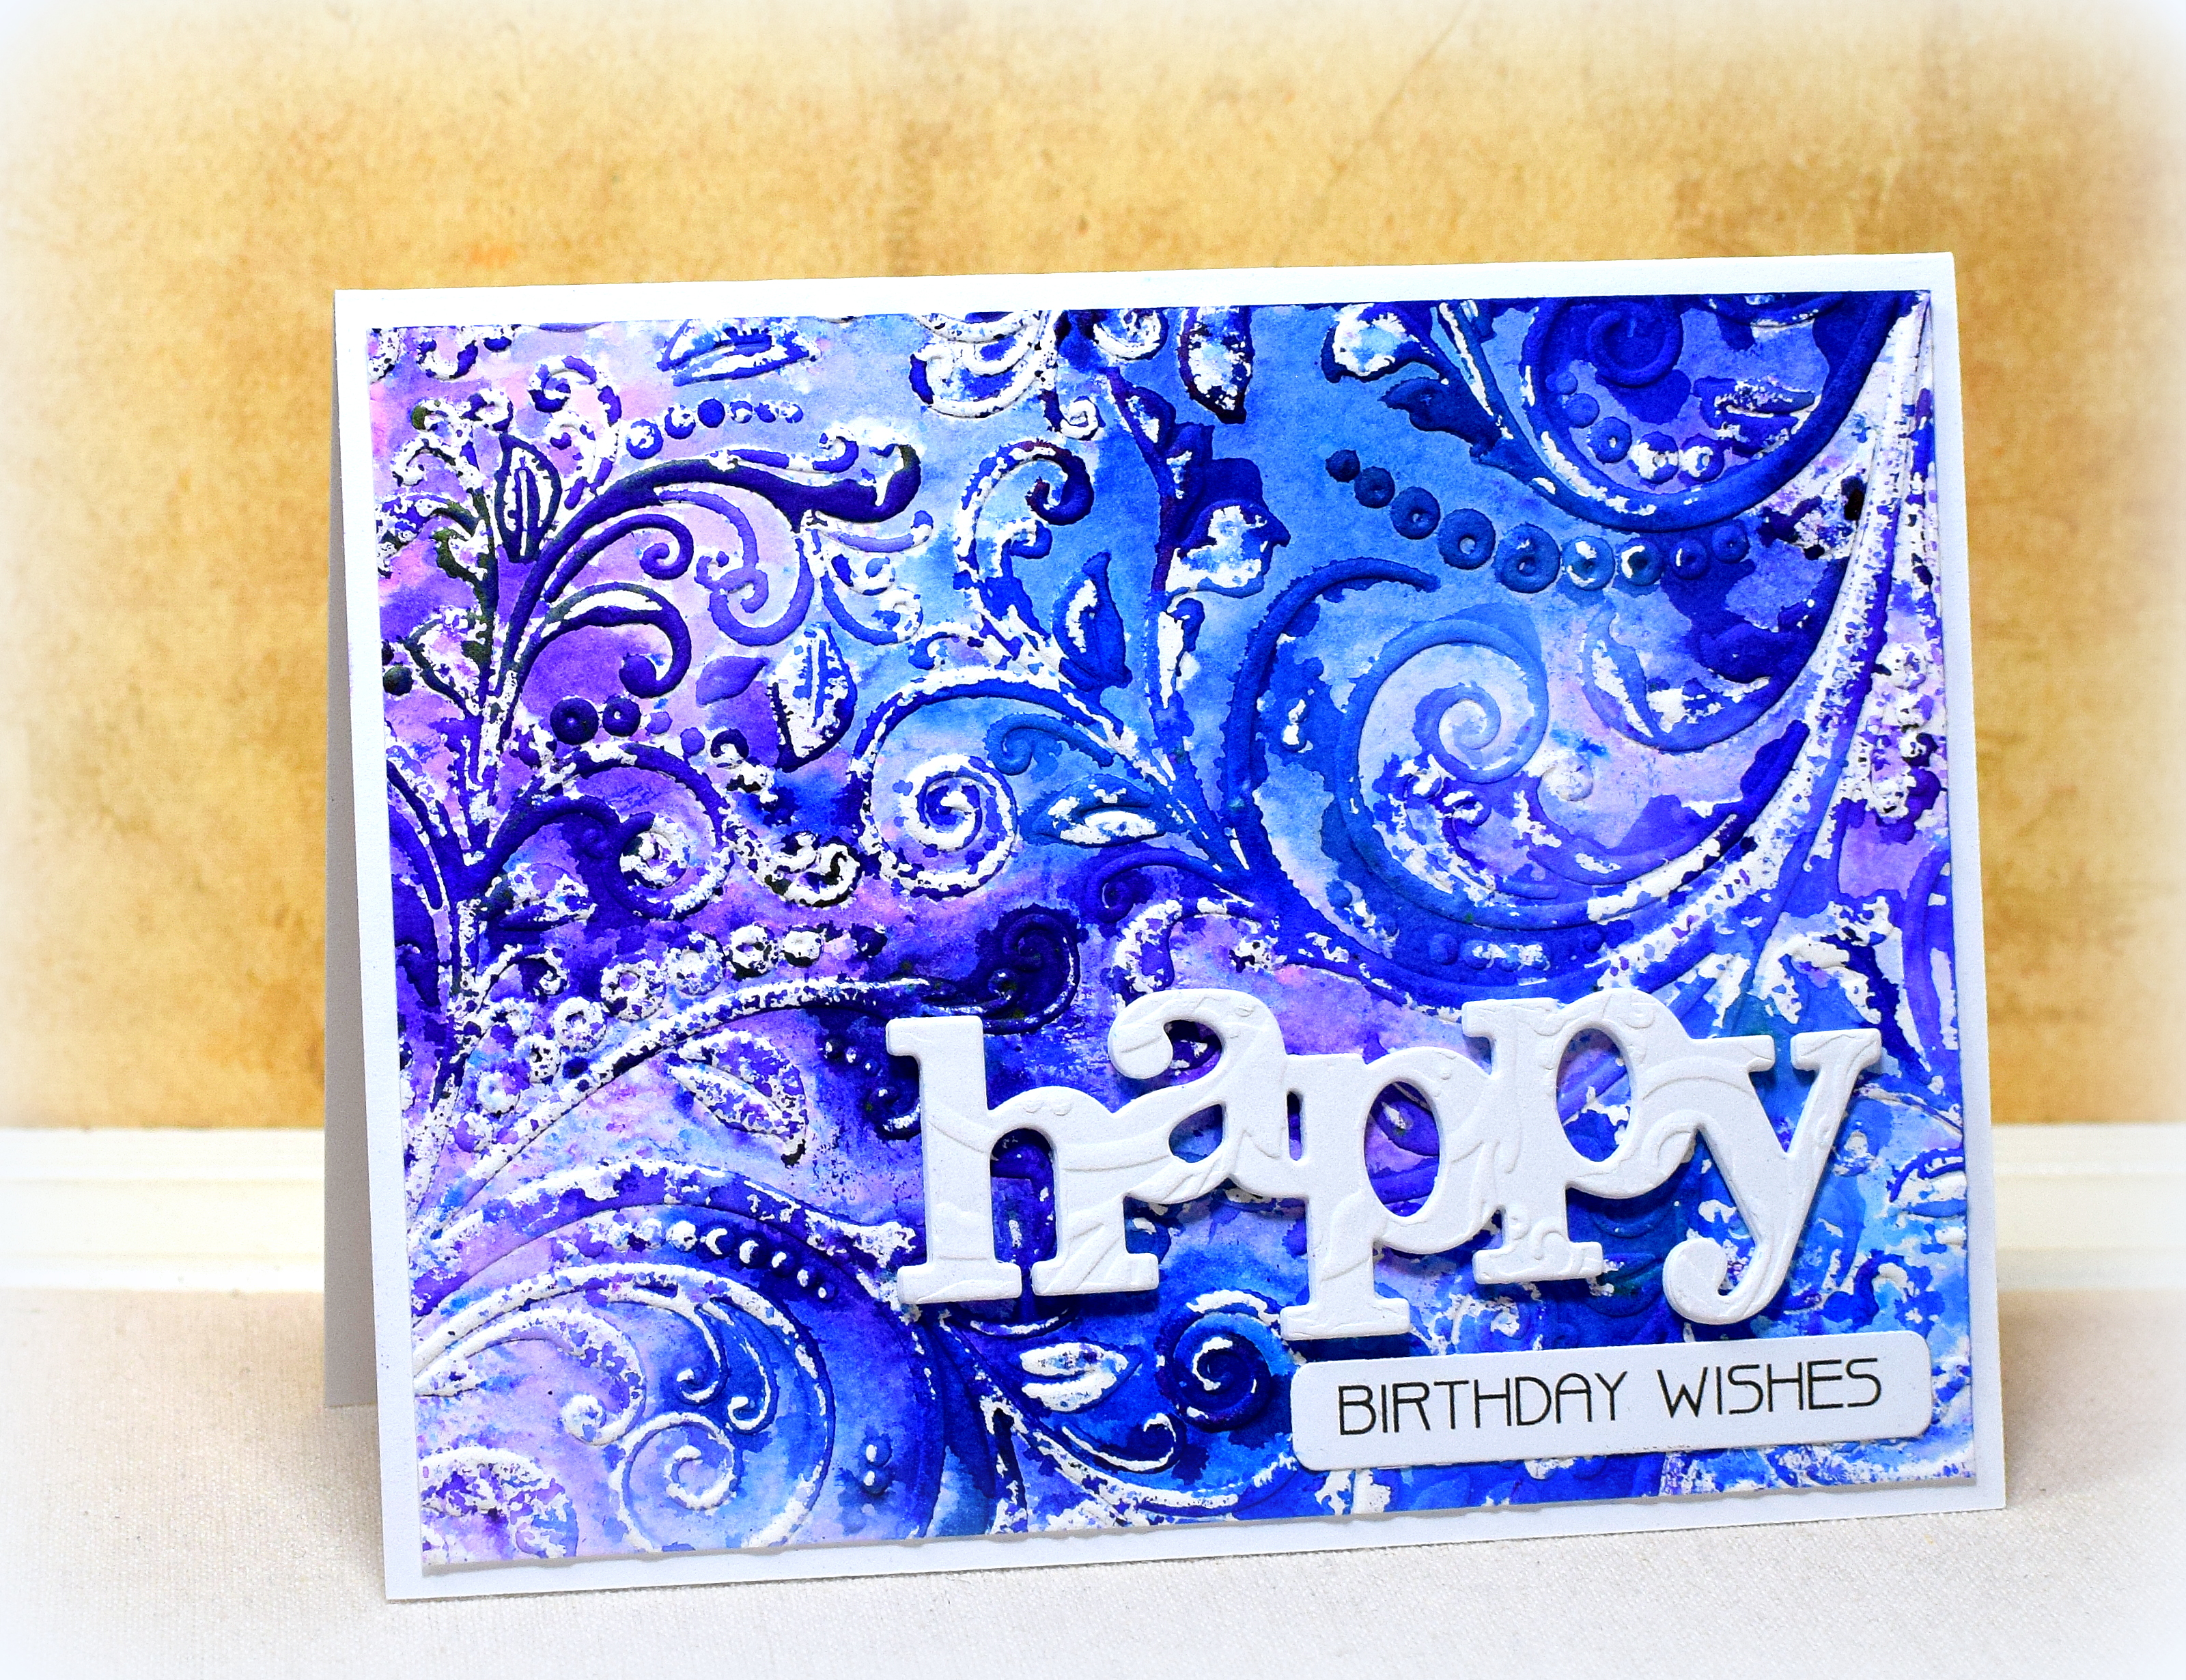
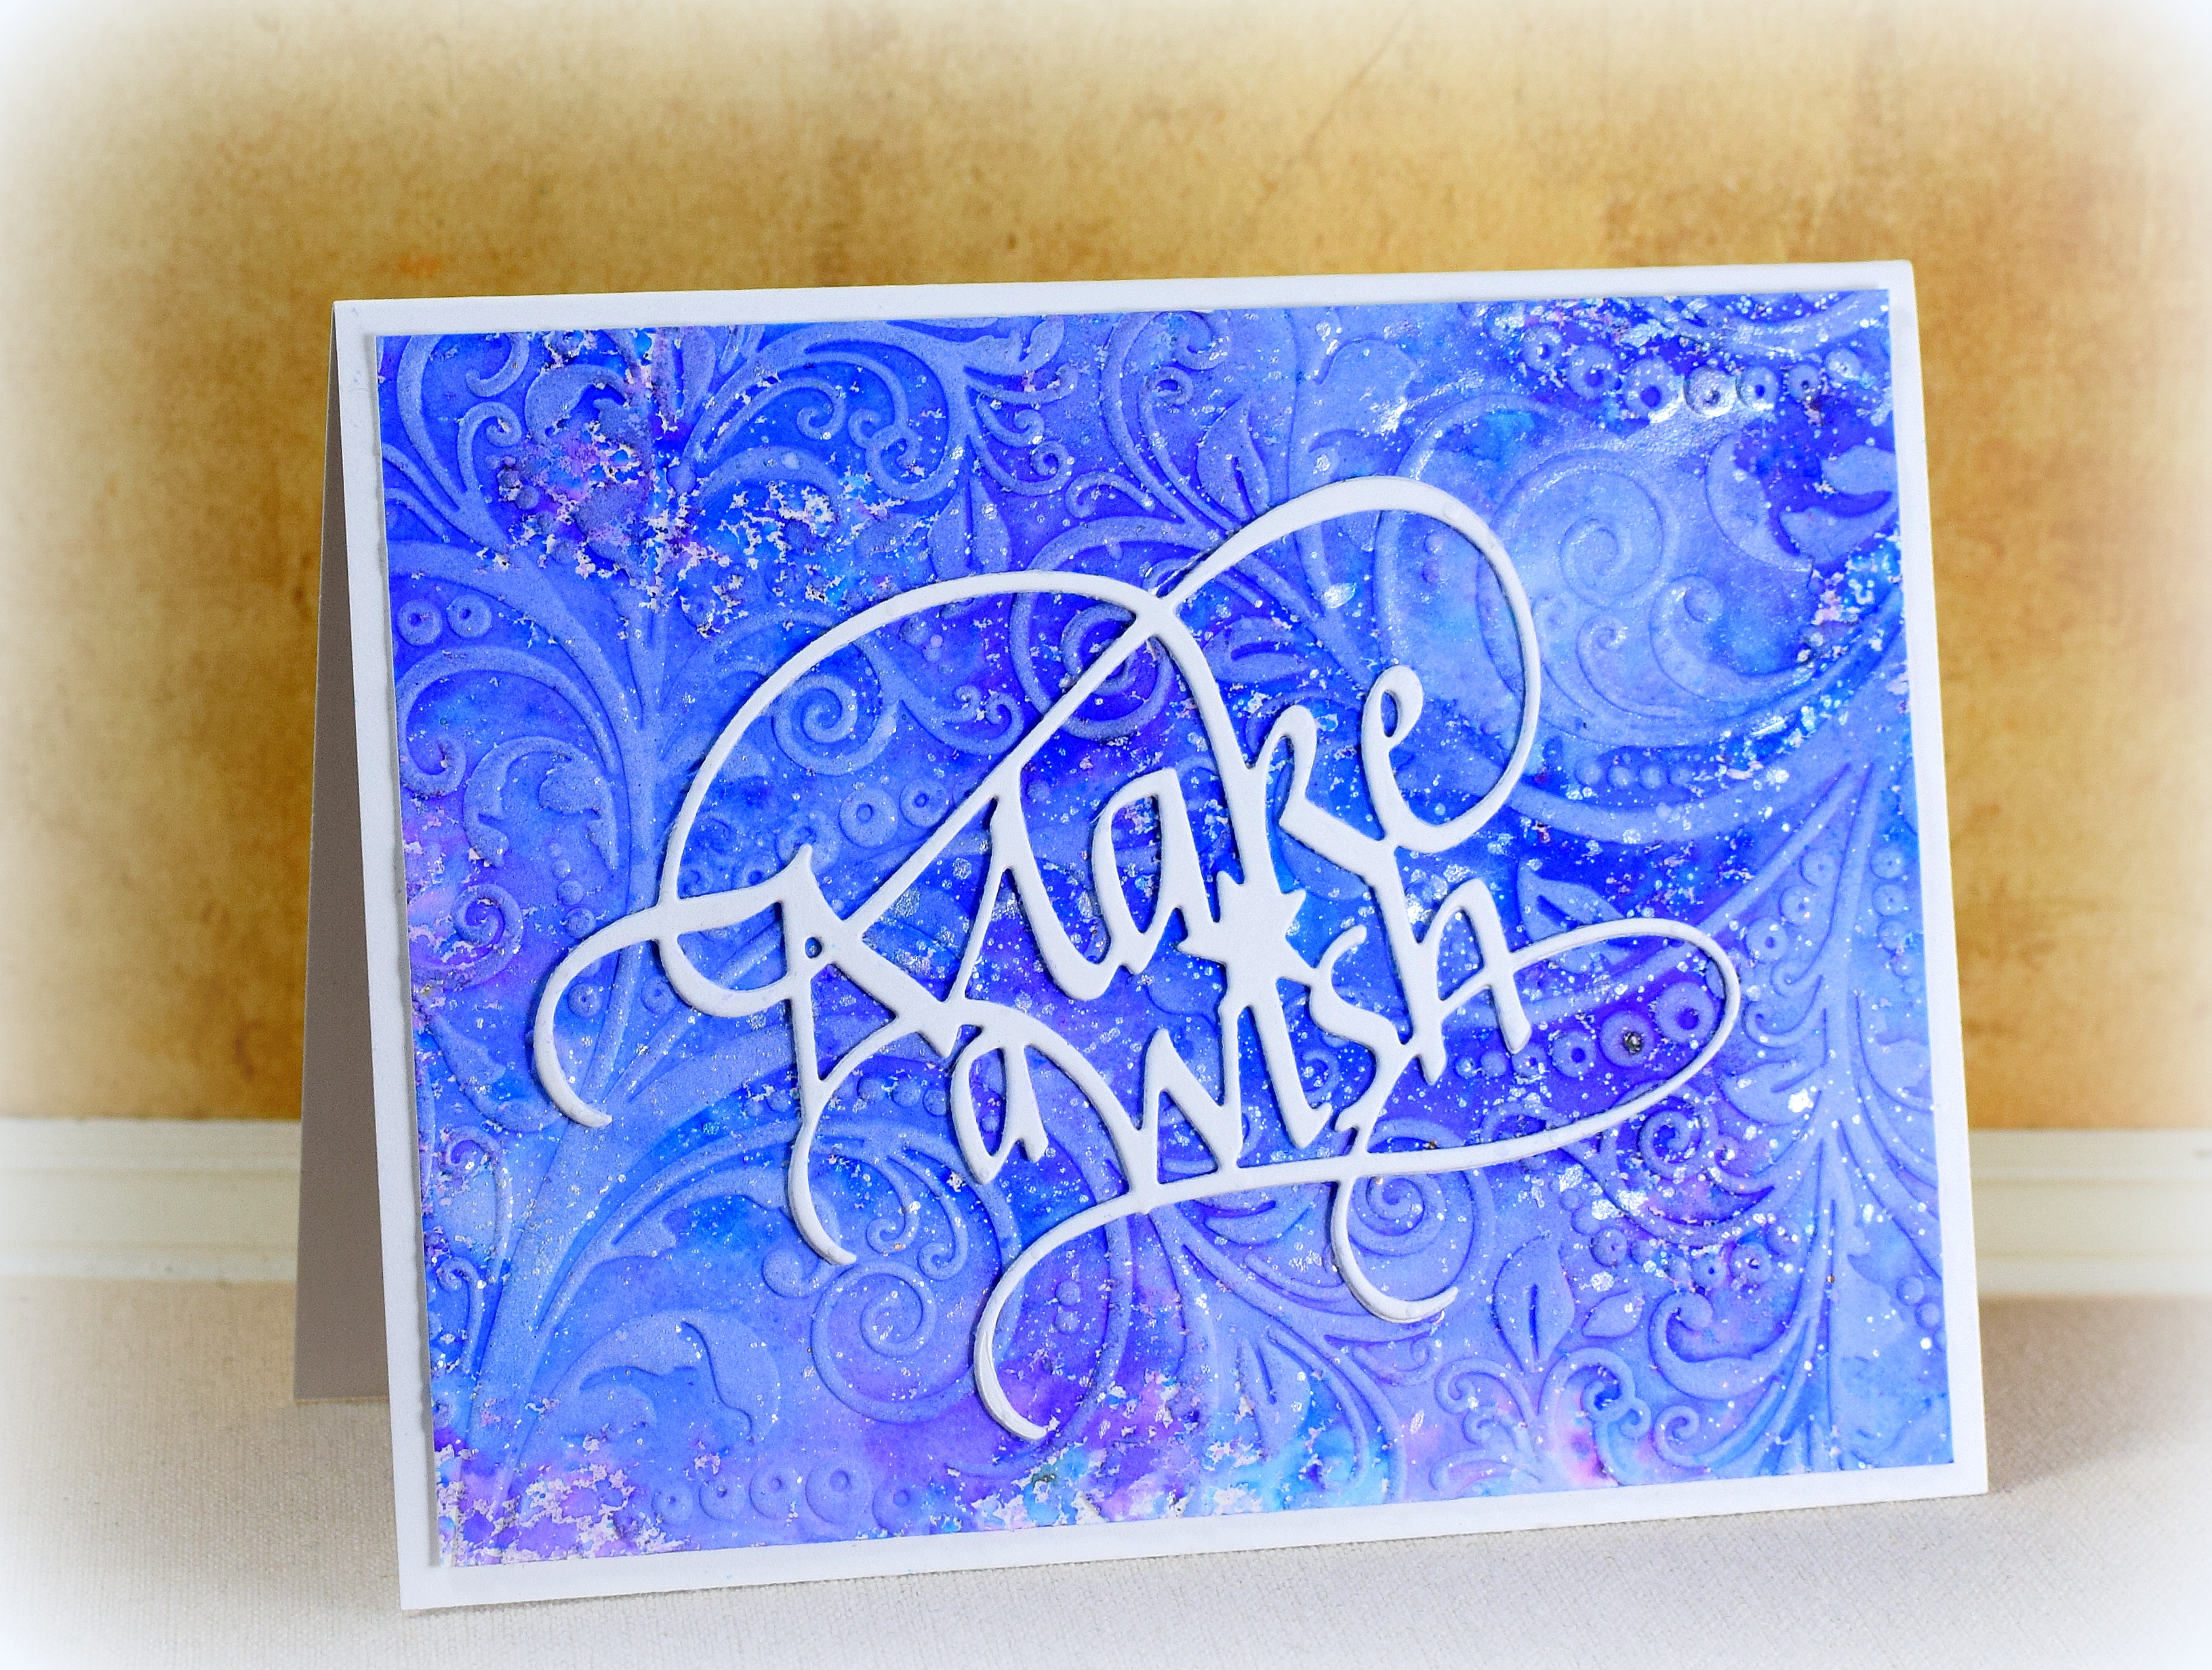
This card features the “Stained Glass Floral” die by Memory Box along with a greeting die called “Doodle Happy Birthday” by Poppy Stamps. I used my score board to deboss the background.
I originally intended this card to be white on white.

Then I wondered how it would look in navy…

I had the negative (navy) pieces from this die cut so thought I’d try adding them to the white die cut…

I can’t decide which version I like best!
I love how the diagonal debossed lines “decorate” the petals and leaves, especially on the inlaid version.
I made the die cuts into stickers by adding Super Tacky Tape by Creek Bank Creations to the back of the card stock before die cutting.
The floral die cut is very thin and delicate and does not hold its shape well when trying to adhere it to the card so I created a template by positioning and cutting the image from plain white card stock that was the same size as my card front. I was able to place the template over the actual card panel and drop the die cut into the negative space on the template and shape it before sticking it down.
Over at Cardz 4 Galz, we are challenged to create a Clean and Simple (CAS) card.
Thanks for checking out my card projects!