To My Favorite Peanut

To My Favorite Peanut

One of the great things about making cards is the ability to customize them. My son asked me to make “a peanut card” for his girlfriend with an elephant and peanut image he found online. (Nicknames, inside jokes… lol!) I came up with a few different samples to start, and he pointed me in the direction he wanted me to go. The sample above is from Eric’s vision, using the papers, greeting, and design he chose. He decided he wanted a cute, festive look with a bold image.

We thought it would be fun to separate the head and make it wobble using an action wobble spring (Hampton Art).

I “traced” the image and then created cut files using my Silhouette software.

The original online image had soft edges…

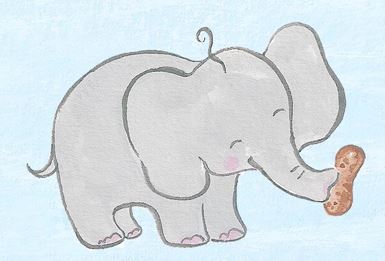
…so some of the samples I started with were much softer looking. Here’s one of them:

For this one, I inked the edges instead of matting all the elephant pieces and peanut on black.

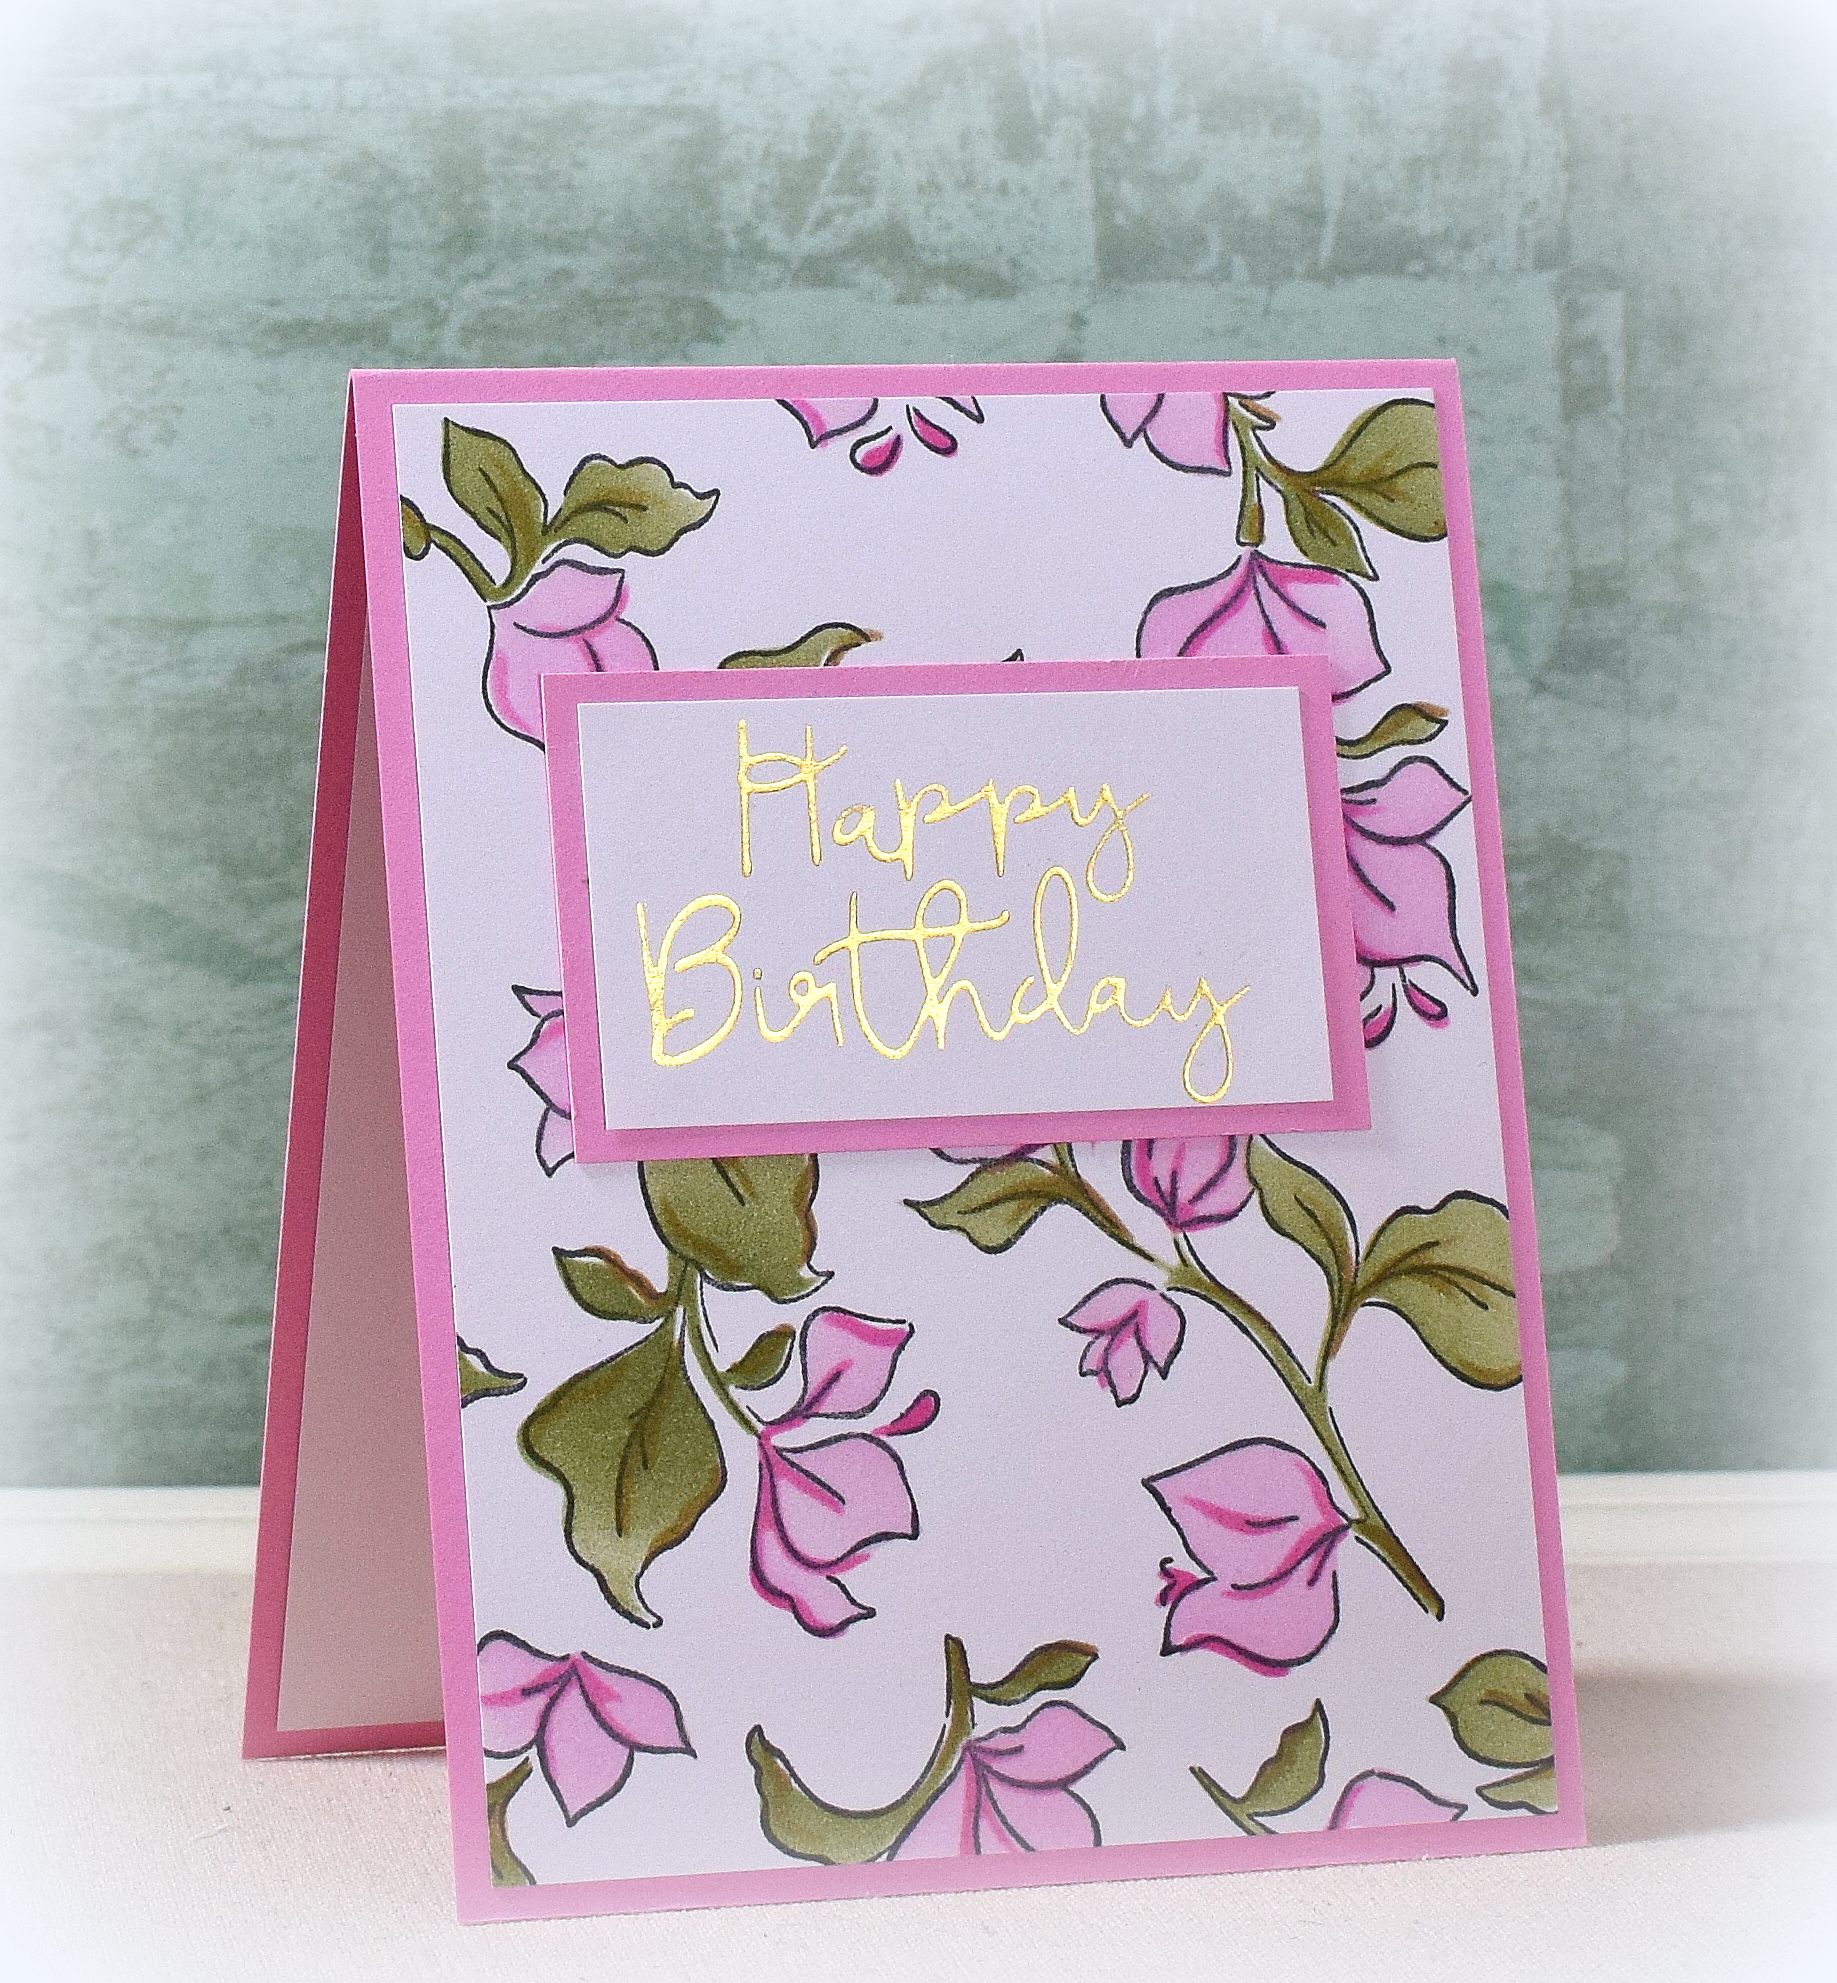
For Eric’s card, I used Glitter Card Stock (Recollections) and a sheet from “The Birthday Wishes Stack” (DCWV). The “Happy Birthday Sentiment” die is by Creek Bank Creations, and the bottom strip was computer generated. Both were cut and stacked several times to make them stand out better. The hat was hand cut from “Easter Stripe” paper (Reminisce); the “pom pom” was made with the “Flower & Flourish” edger punch (EK Success). The peanut was debossed with theTim Holtz/Sizzix “Dot Matrix” embossing folder (and then flattened a bit with my bone folder) to add texture to the shell.

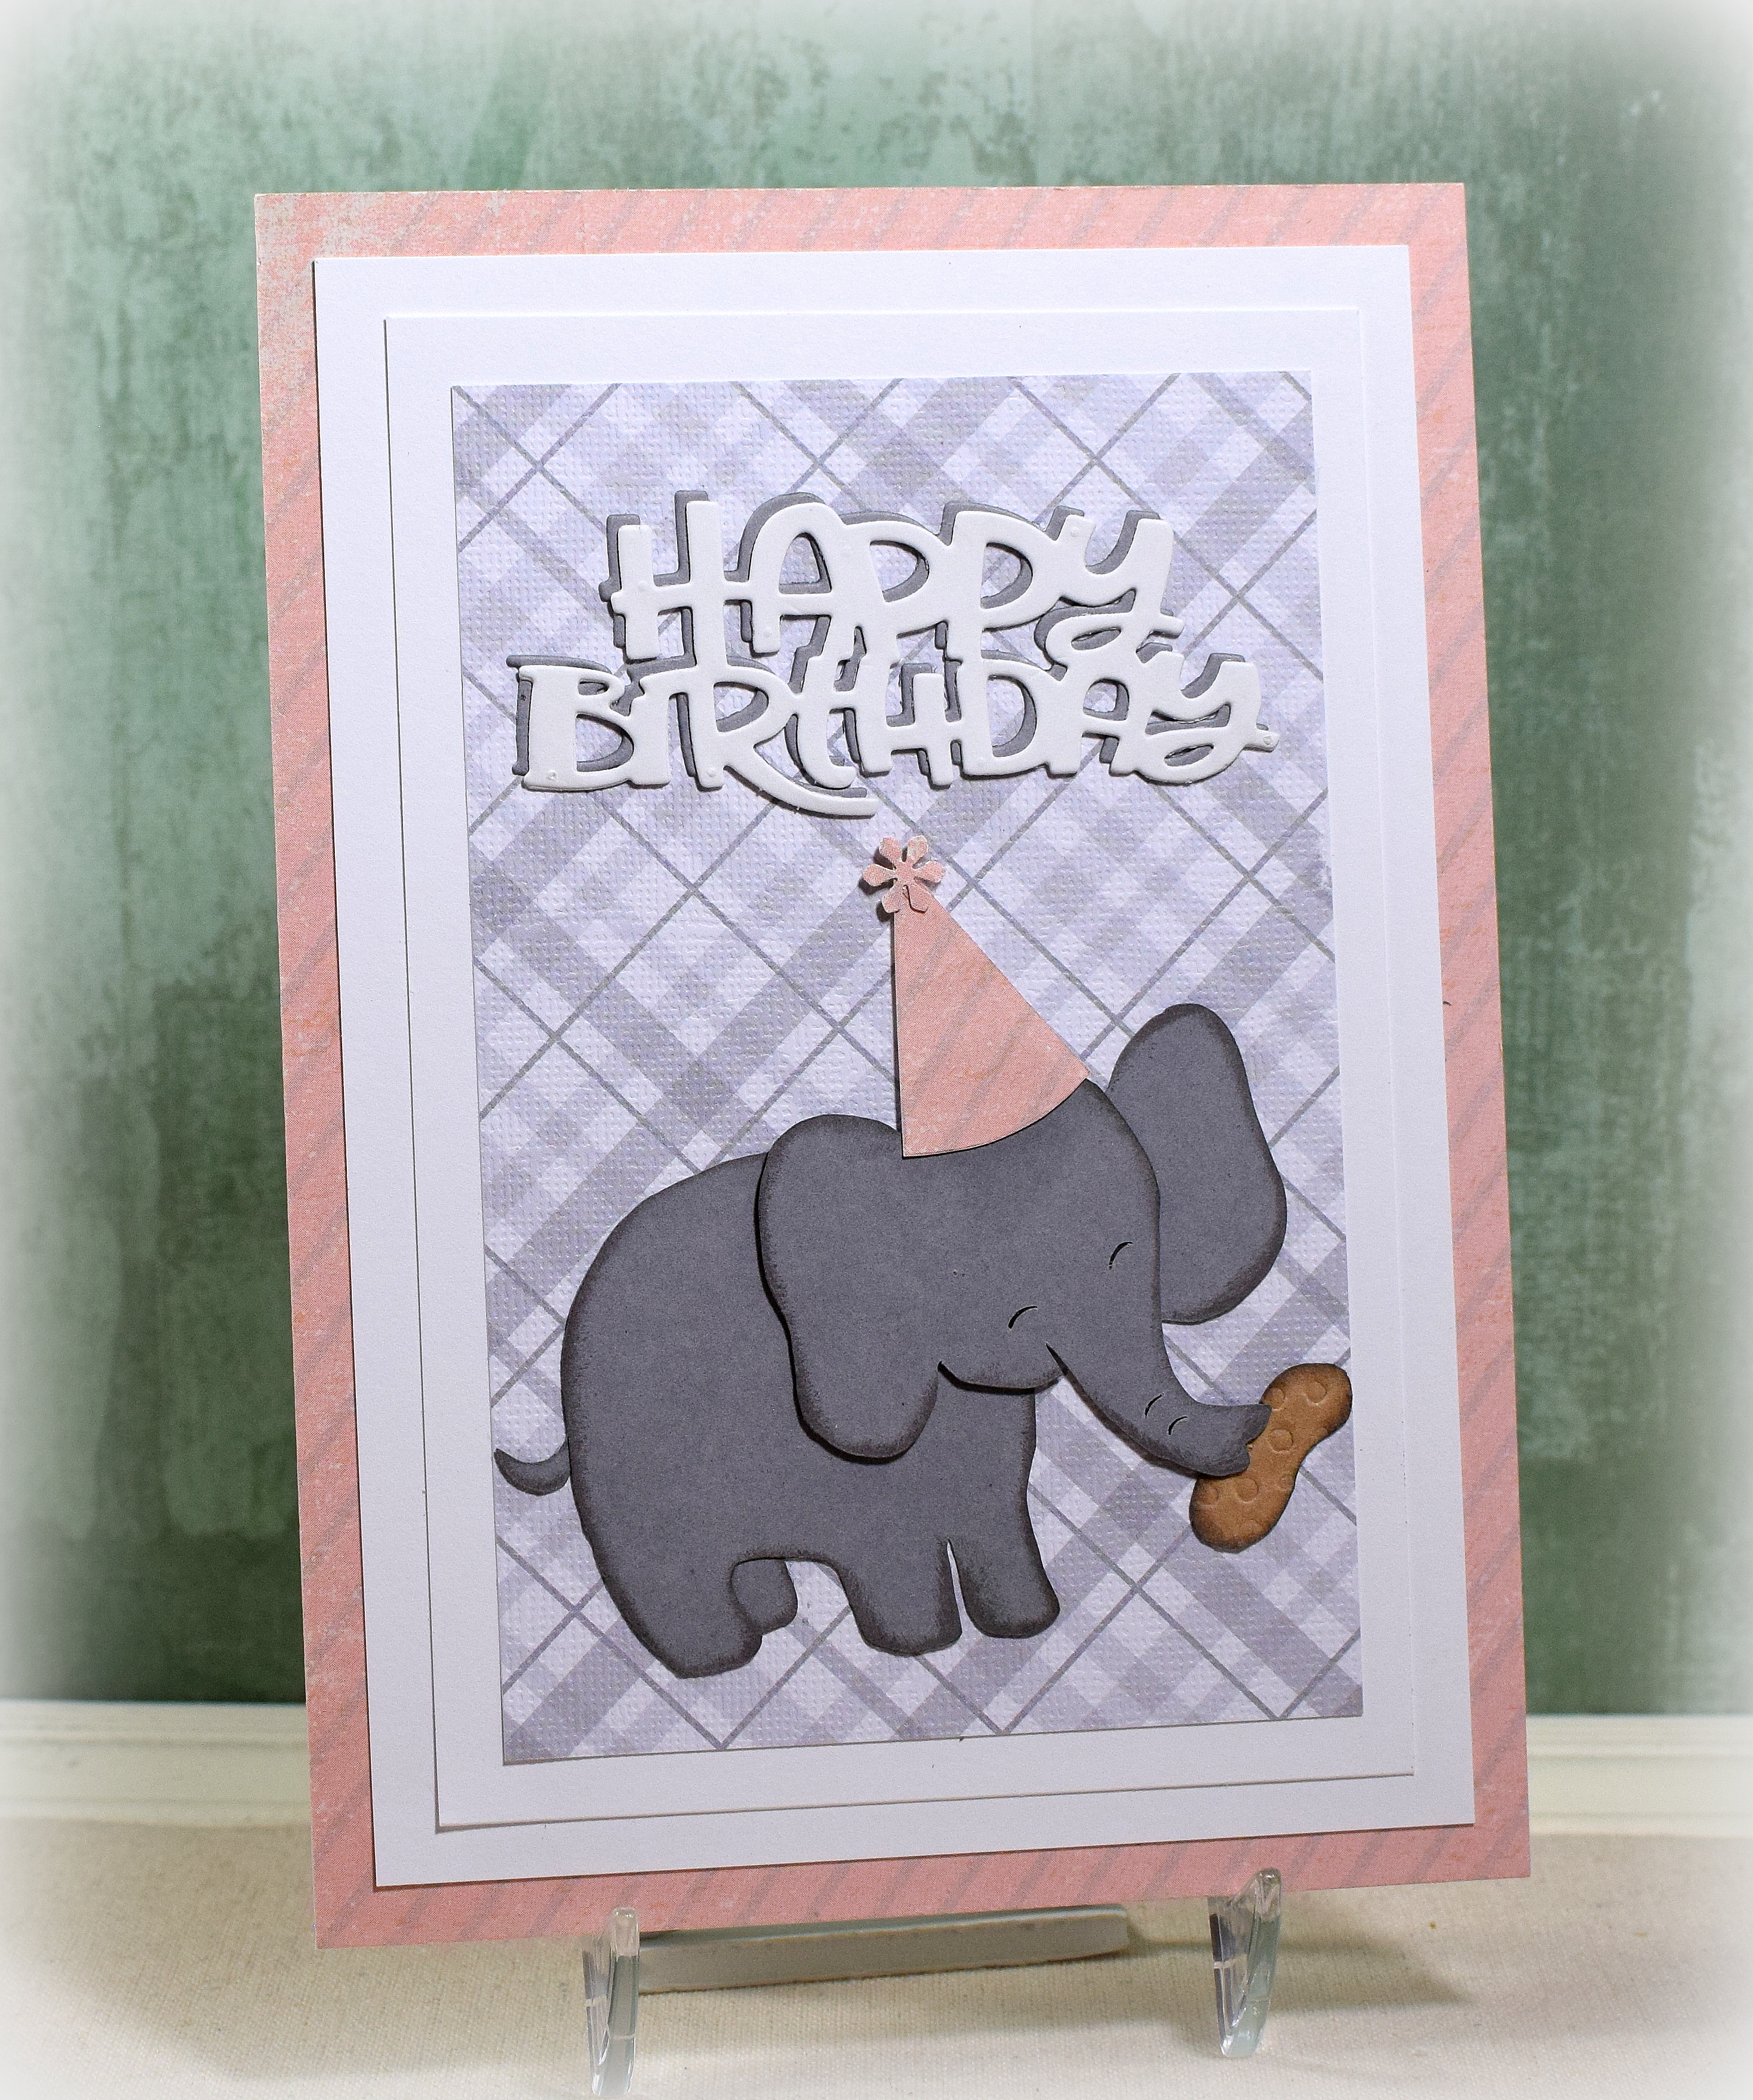
For the second sample, I used a sheet of Studio Calico/American Crafts paper (#331575) and “White Plaid” by Core’dinations/American Crafts.

The elephant was cut from “Gray Kraft” and the peanut from the “Nostalgia” pack (both Recollections). GKD Stormy Sky and Dark Chocolate inks were used to ink the edges.

Thanks for checking out my card projects!

This content uses referral links as described in the disclosure policy on my sidebar.

Acorns and Quilt Autumn Birthday

Acorns and Quilt Autumn Birthday

This card features the “Oak Sprig” die from Tutti Designs and the “Quilt Block Die #1” from Gina Marie Designs. Both were cut from Cardstock Warehouse Copper card stock. The quilt block was cut again from sheets from the Gina K Designs “Give Thanks” and the “Casual Friday” patterned paper packs (no longer available).

The quilt was assembled on a panel of Recollections White Dove card stock that was embossed with a Stampin’ Up “Subtle” embossing folder (retired?).

The greeting was from the “MiniatureType” stamp set from Clearly Besotted and was heat embossed with Hero Arts Copper embossing powder.

Thanks for checking out my card project!

This content uses referral links as described in the disclosure policy on my sidebar.

Embossing Folder with Powders

Embossing Folder with Powders

I came across THIS VIDEO by Jennifer McGuire where she used Lindy’s Magical Powders and embossing folders to create a bunch of background panels for cards. I did not have those powders, but I did have Bisters and Color Burst powders so I thought I’d give it a try.

A few tips/comments: When she says a little powder goes a long way, listen to her! (I think I used way too much powder!!) And when she shows the sandwich she used for her embossing, pay attention. (I kind of ignored that thinking I knew how to emboss, but the watercolor paper is so thick that I struggled to get the folder through with the regular embossing plate. It eventually squeezed through but shot out the other end when done and wet ink went everywhere!) And finally, the next time I work with these powders, I may seriously consider wearing gloves. (My hands were a mess, and I struggled to get the ink off!) It was fun to experiment with all the different methods she showed in the video, though.

The greenish samples were made with blue and green Bisters. For the sample above and this one (below), I put the powders directly on the folder, spritzed with water, and embossed a piece of watercolor paper:

For the next one, I sprayed the embossing folder (with the leftover ink) with water and pressed the watercolor paper down on it as if I were stamping the image (and then smooshed parts with ink on mat).

I had tons of ink/water on my mat so I smooshed watercolor panels through it to pick up the color.

The blue and purple samples were made with Color Burst. In her video, she shows how to add white pigment ink to the embossed surface (once dry) to bring out the pattern better. (You can see this on the second and third samples below.)

Once the panels were completely dry, I added greetings with either the “Make A Wish” die from Elizabeth Craft Designs or the “Happy Cutaways” die from Walter & Winnie (no longer available) and either a printable sentiment strip or one stamped from the “Label Me Bold” set from Stampin’ Up (retired). The embossing folder I used was the 5×7 “Leaf Floral” from CGull.

Thanks for checking out my card projects!

This content uses referral links as described in the disclosure policy on my sidebar.

Blooming Branch Birthday Card and the HDSA fundraiser from Simon Says Stamp

Blooming Branch Birthday Card and the HDSA fundraiser from Simon Says Stamp

This card features the “Blooming Branch” stencil set and stamp from Pink Fresh Studio. The greeting die cuts and stamp are from the “Happy Thoughts Stamp and Die Set” from Gemini/Crafter’s Companion which came from the craft box I received from Simon Says Stamp with my donation to HDSA (*see below).

Gina K Designs inks (Tomato Soup, Coral Reef, Faded Brick, Honey Mustard, and Dark Sage) and card stock (Warm Glow, Faded Brick, and White) were used as well as Memento Tuxedo Black ink. After the image was stamped and stenciled, the panel was embossed with the “Subtle” embossing folder from Stampin’ Up.

*UPDATE (6/29/22) – IT APPEARS THAT THE CRAFT BOXES DESCRIBED BELOW ARE OUT OF STOCK, BUT DONATIONS CAN STILL BE MADE.

Simon Says Stamp is sponsoring a fundraiser to raise money for the Huntington’s Disease Society of America. The following is from Simon Says Stamp:


We are working to make a difference in the lives of those affected by the devastating illness, Huntington’s Disease.

Make a $50 donation through this purchase and the net proceeds will be donated to HDSA Central Ohio.  You will receive a box of craft supplies donated by our generous vendors to support this campaign [while supplies last]. The retail value of this box is at least $100 and includes random, exciting supplies… There is also a $150 box available.


100% of the net sales from the Donation Boxes will be going to help those in need.  For more information or to donate directly to HDSA Central Ohio, please visit: https://centralohio.hdsa.org/simonsays.

(Thanks, Diana, for making me aware of this very worthy cause.)

Thanks for checking out my card project!

Bougainvillea Print with Foil

Bougainvillea Print with Foil

Here are a few more cards that I made with my Spellbinders Glimmer Hot Foil System.

I just LOVE Pinkfresh Studio’s Bougainvillea Print, and there are several coordinating products in this line that can be used to create a variety of card designs. For this one, I used the Bougainvillea Print Hot Foil Plate (and gold foil) along with the coordinating Bougainvillea Print Stencil Set. The greeting is from the Spellbinders Stylish Script Thank You & Happy Birthday glimmer plate set. I added color to the foiled panel with Bubblegum, Passionate Pink, Fresh Asparagus, and Deep Sage inks from Gina K Designs. White and Bubblegum card stock were also used.

And a purple one…

(GKD Lovely Lavender and Wild Lilac; Spellbinders Everyday Sentiments II glimmer plate set)

*

Here, I used the coordinating Bougainvillea Stamp and added color with the stencils to the stamped image and left the foiled background panel uncolored. The greeting on this one came from the Spellbinders Essential Glimmer Sentiments glimmer hot foil plate set.

The stamped center panel started out as a full stamped/inked panel, and I tried to add the greeting directly to that. As I mentioned in my last post, I was having trouble with perfect placement and the greeting ended up terribly crooked. I tried to trim it down with my trimmer, and it just kept getting smaller and smaller as I tried to get the panel square with the greeting – lol! I should have used a die to cut the panel!!

Anyway, I created another stamped and stenciled panel and just added a separate foiled greeting panel to that one. Leason learned!!!

Thanks for checking out my card projects!

This content uses referral links as described in the disclosure policy on my sidebar.