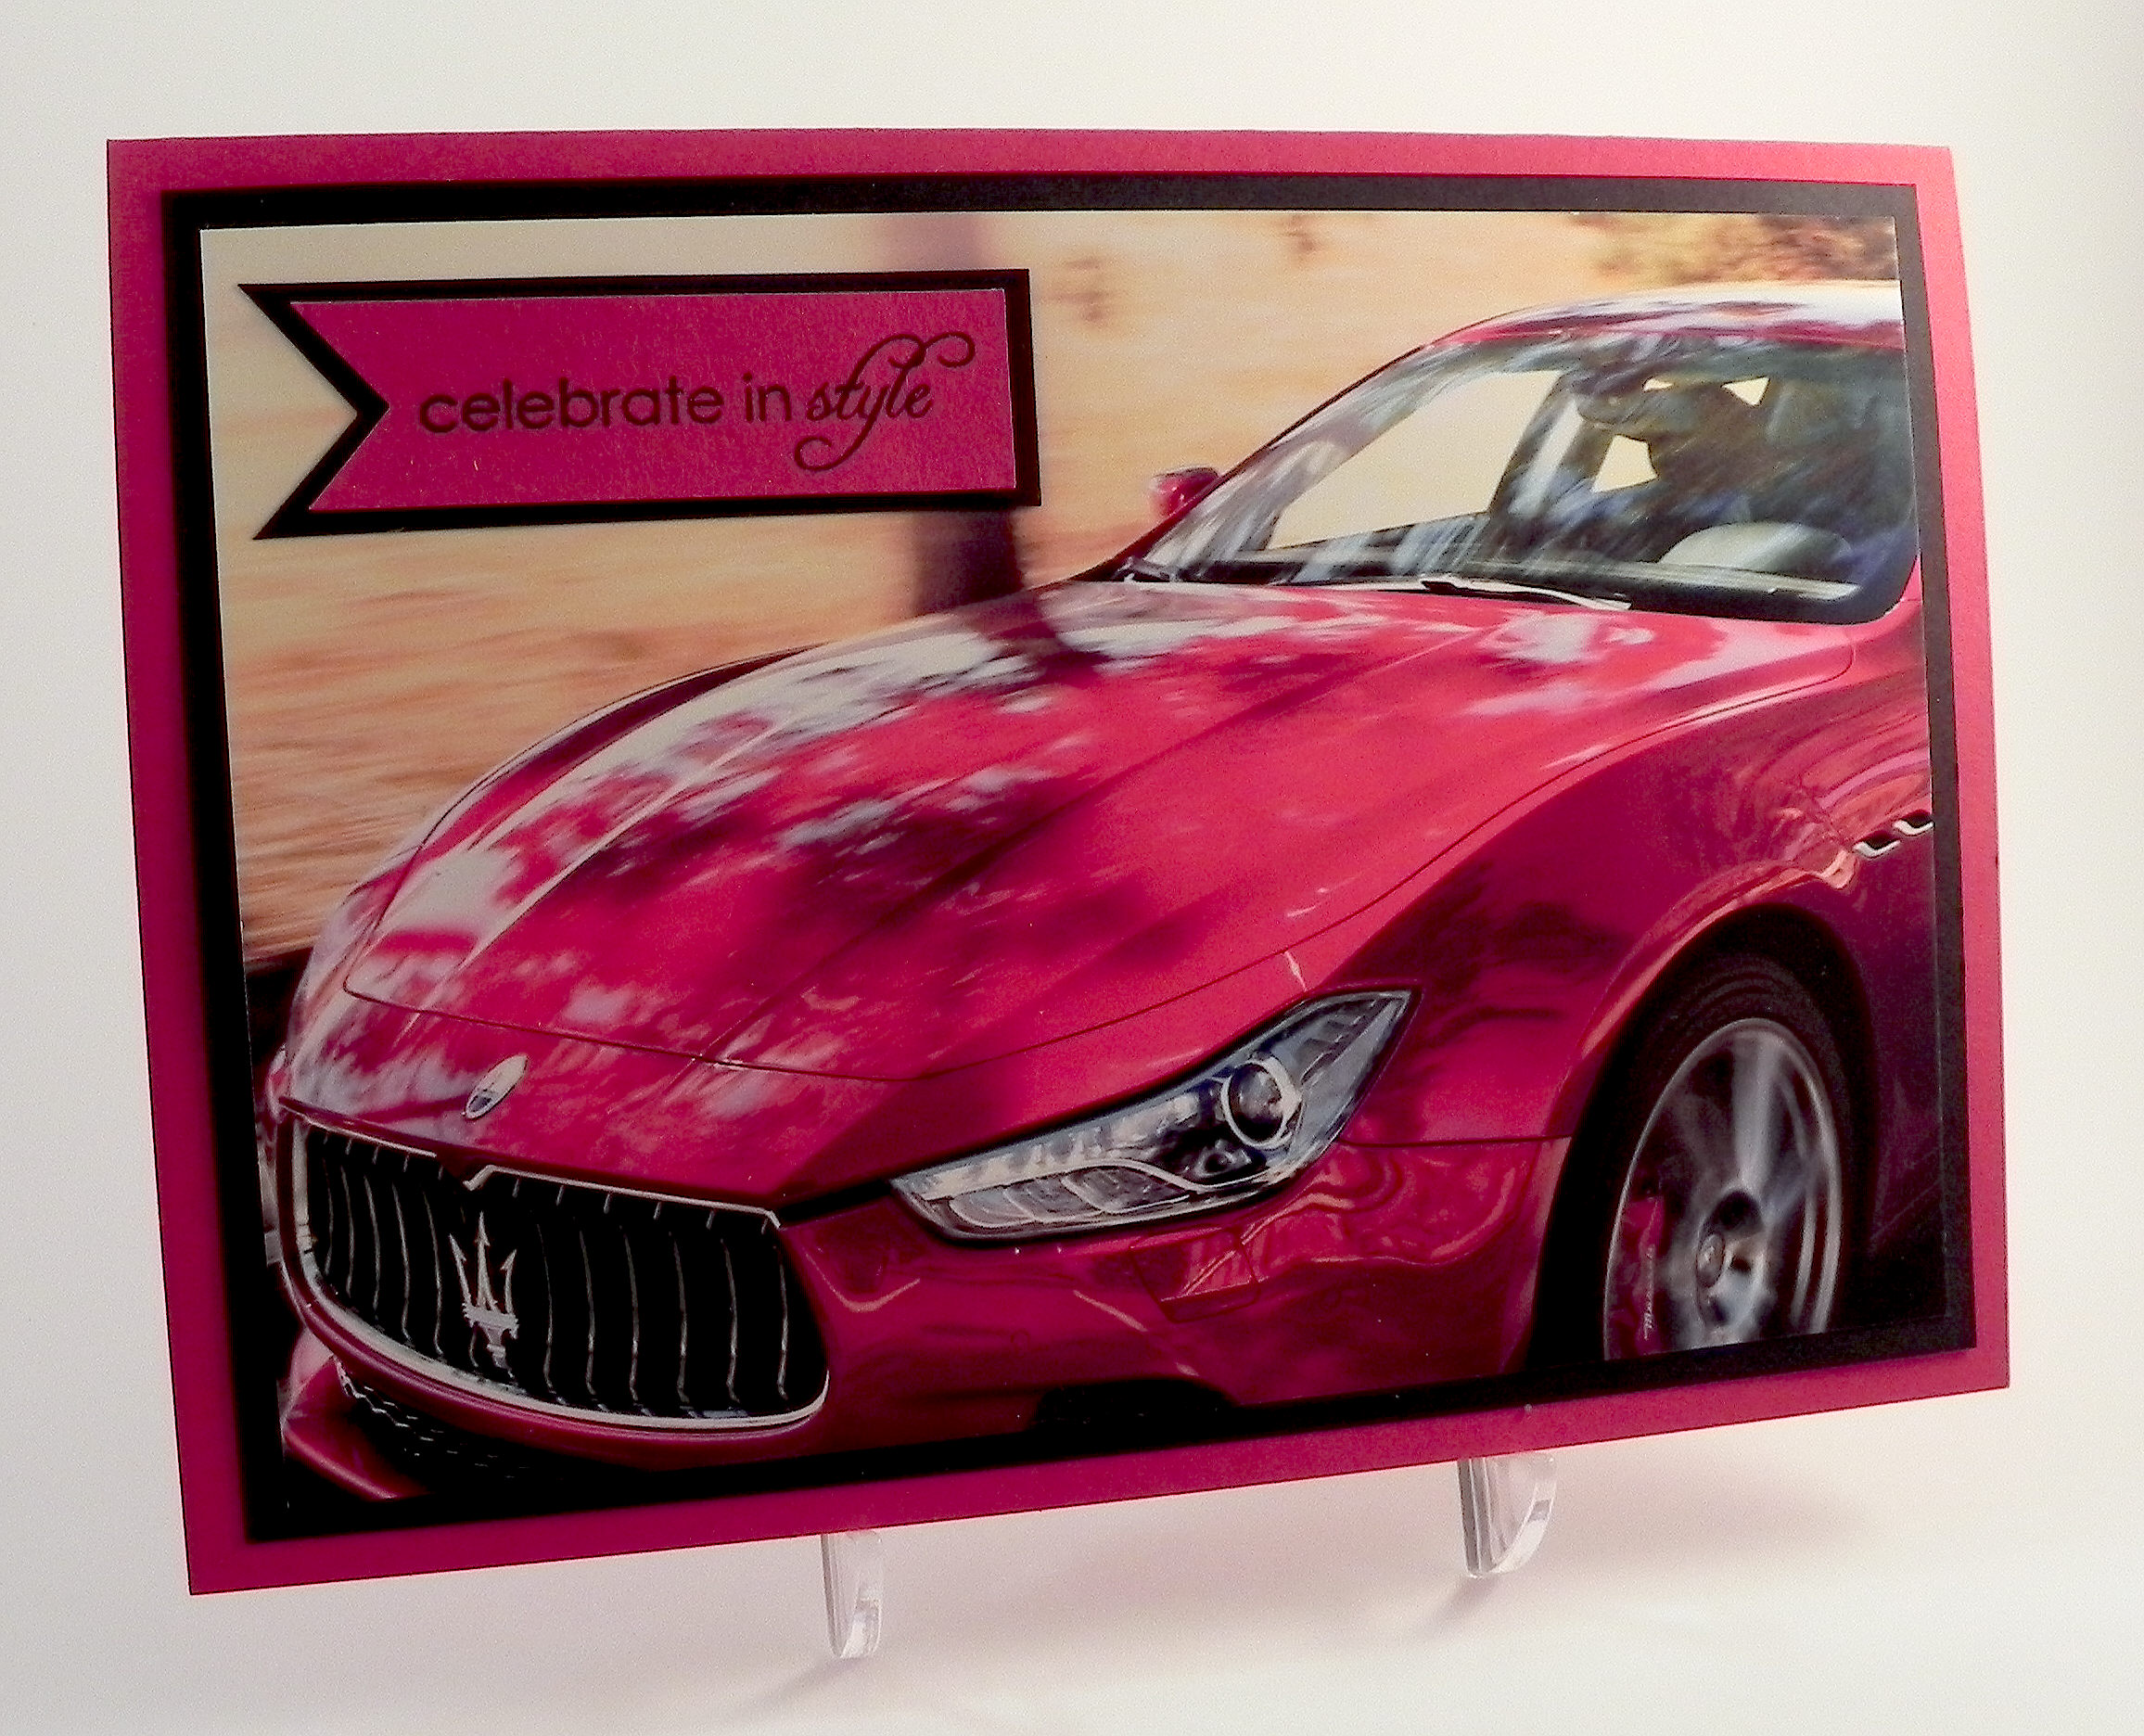
Celebrate In Style

Celebrate In Style

Celebrate in Style DSCN9237

The Mod Squad Challenge this week is “Magazine Madness” where we are encouraged to use something on our card project from a magazine, gift catalog, or any other periodical we may have lying around. We can use it as a background, we can do a little fussy cutting, or we can get really creative and fussy cut a whole bunch of different shapes and make a collage or scene. We can do anything as long as something from a magazine is somewhere on our card.  (Sadly, this site is no longer active.)

As I mentioned earlier, I don’t really have magazines here and get very few catalogs.  This card was the first one I made for this challenge before I got the free SJ Magazine in the mail that I used for my other 2 cards for this challenge.  The image for this card was actually on an ad pamphlet that came in the mail earlier in the week.  I’m not sure if this qualifies for the challenge, but since the card is done, I figured I’d link it.  (If it isn’t eligible, please let me know, and I’ll remove it.)

This Maserati photo screamed masculine birthday card when I saw it, so I whipped up this “stylish” card using Gina K Cherry Red and black card stock and a stamp from the Gina K Designs “Celebrate in Style” duo (retired?).  The stamp was inked with Memento tuxedo black, and then the banner was sprayed with Tattered Angels Pearl Glimmer Mist to make it shiny like the car.  Unfortunately, the shimmer doesn’t show up too well in the photo.  I tried adding ribbon, different card stock panels and die cuts, etc., but everything just took away from the beautiful photo.  Sometimes, less is better!

I’m not really a car person, but even I have to admit that this car is sweet!!  (Even the advertisement was gorgeous!)  Well, I’m off to run errands in my minivan!! 🙂

Thanks for checking out my card project!

This content uses referral links as described in the disclosure policy on my sidebar.

Confetti Cluster Flower Card

Confetti Cluster Flower Card

Confetti Cluster FLower Card DSCN9112

I just learned a new technique called Confetti Cluster Stamping where you stamp a bunch of small images in the shape of your choice.  (You can see the video tutorial HERE over at Papertrey Ink.) Basically, you start with a shape template and lightly trace it onto your card panel.   Then you use a variety of tiny stamps and inks to fill in the traced shape.  Once the entire shape is filled in (enough to clearly see the original shape), you erase your traced lines and you are left with a beautiful, confetti-like image.

I am entering this card project in the Mod Squad “Flowers” Challenge this week where we are to use a flower as a focal point.  (Sadly, this site is no longer active.)  The sponsor for this week is Melanie Muenchinger from Hands. Head and Heart so for the bonus entry, you need to use one of Melanie’s stamps.

I am also entering this in The Paper Players challenge # 236 – “Ann’s Clean and Simple Floral Challenge” – where we are to create a clean and simple floral card. (http://thepaperplayers.blogspot.com/2015/03/pp236-anns-clean-and-simple-floral.html)

I started with a flower template from the Cricut George and Basics Shapes Cartridge that I cut with my Cricut.  I traced it very lightly with pencil onto a piece of white card stock.  Then I started stamping.

Inks used:  Tim Holtz tattered rose distress ink, and Gina K wild lilac, turquoise sea, ocean mist, sweet mango, sweet corn, kraft, grass green, prickly pear, and innocent pink.

Stamp Sets used (all Gina K Designs – some retired):  Love You Mini Set, The Giving Tree, Pretty Patterns, Mommy-to-be Diva, Party On, Fabulous Frame Fillers, Fabulous Holiday Fillers, Best Fishes, Bundle of Love, and Sunkissed Autumn.

Card Stock used:  Stampin’ Up Crisp Cantaloupe, Gina K Turquoise Sea, and white.

The Sentiment was from the Gina K Designs Happy Birthday Duo set and was stamped with versamark ink and heat embossed with Recollections snow embossing powder.  I cut the flower center with a Creative Memories circle punch and embossed it with a Cuttlebug Swiss Dots embossing folder.  The ribbon is by American Crafts and is strategically placed to hide an ink smudge!

This project was fun to do, but I needed to start over quite a few times because I kept getting ink on the edges of my acrylic block and then onto my card panel.  With such tiny stamps, you need to be careful not to rock the stamps when you are inking them up and again when you stamp the images.  Another problem I had was that I started off stamping my images slowly and deliberately, and then started moving more quickly which is when I tended to mess up.  I know that sounds obvious, but when you repeatedly stamp the same image randomly on your project, it is really easy to pick up speed!  My final problem was that I don’t normally use this many colors and I wasn’t sure I liked my combination at first.  I ended up putting the panel aside and working on something else, and when I came back to it, the colors had faded when the inks dried, and I liked it so much better!  For this project, I basically just kept grabbing ink pads.  For next time, I think I will try some combinations on scrap paper and let the inks dry to see how it will turn out instead of just starting on my card panel.

Thanks for checking out my card project!

This content uses referral links as described in the disclosure policy on my sidebar.

Birthday Wishes

Birthday Wishes

Birthday Wishes www DSCN8660.jpg

This card was made with three challenges in mind:

1)  There is a color challenge over at The Paper Players.  Here is the color palette we are to use:

color challenge tiles

If we don’t have these exact colors, it’s ok. As long as the color scheme is similar, we are welcome to play along.  (http://thepaperplayers.blogspot.com/2015/03/pp235-anne-maries-color-challenge.html)

2)  For the Mod Squad “Make a Background” Challenge, we are encouraged to make a background where we can use ink, watercolor, markers, crayons, stencils, stamps….well you get the idea. Basically anything but pattern paper.  (Sadly, this site is no longer active.)

3)  Over at Pile it On, we are to incorporate their CURRENT challenge with at least one other CURRENT challenge .   We are encouraged to see how many challenges we could get into one project!  Their challenge this week is to use green. (http://pileitonchallenge.blogspot.com/2015/03/pile-it-on-59-green.html)

I created my background by applying Tim Holtz distress inks and water to my craft mat and then placing my card stock onto the ink.  The inks I used were peeled paint, scattered straw, frayed burlap, and tattered rose.  These colors closely matched the color palette above.  I trimmed the panel to fit my card base and then used a scrap of it to create the squares on the left as well.  I also used patterned paper from the Gina K Delicate Essentials 6×6 paper pack.  For card stock, I used white to create my background panel along with Stampin’ Up Crisp Cantaloupe, Gina K Sweet Corn and Grass Green, and Bazzill Basics Quick Sand.  To make the vase, I used the Spellbinders Filigree Vase set.  The Spellbinders Fantastic Flourish One die was used to cut the leafy flourish in green.  I cut additional pieces in sweet corn and crisp cantaloupe and cut off the flowers and a few sections of the flourishes for my accents.  I also used a Creative Memories square punch.  The greeting stamp came from the Gina K Designs “Elegant Florals” stamp set and was stamped with the peeled paint ink on a scrap of my hand-made background paper.  (To see how I easily adhered all the delicate flourishes to my project, check out my earlier post HERE.)

This was a fun card project to make.  I really like the color palette and would probably never have thought to use these colors together on my own.  It had been a while since I had made a background using distress inks.  And trying to combine challenges is always …well, a fun challenge!!

Thanks for checking out my card project!

This content uses referral links as described in the disclosure policy on my sidebar.

Potted Plant

Potted Plant

Potted Plant z DSCN8431.jpg

It’s amazing how some cards begin with an idea and you just need to execute the plan while other cards evolve so much throughout the process that they end up looking nothing like they were intended to look.  This card falls into the second group!  I originally envisioned this card with delicate flowers in a pot made with patterned paper.  The patterned pot was beautiful, but I couldn’t make the background work so I decided to use the patterned paper for the background instead.  I had a sentiment I intended to stamp on the pot, but it was too big.  I wanted to make flowers out of crepe paper, but I had trouble with that  so I redid them on paper and added 3D Stamp Paint that made them too bold and sparkly. Then I added the leafy flourishes, and when I moved the flowers to arrange the leaves, I liked the plain leaves better so I decided to go with a potted leafy plant instead.  My very feminine idea ended up being a card that is more gender neutral.  I’m still not sure if I like the solid colored pot and may try different patterned papers.  And I still may go back and re-try a version with flowers like I originally wanted, but I do like this evolved design as well!

The pot, tag, and leafy flourishes were all cut with Heartfelt Creations (Spellbinders) dies from the “Flower Pot” set.  (I hand-made the top part of the pot as the set did not include a die for that part.)  The greeting on the tag is a Gina K Designs stamp from the “A Wish For You” mini stamp set (retired?) that I received in a grab bag.  Gina K Warm Cocoa ink was used to stamp the greeting and to sponge all the edges.  Paper and card stock used:  Gina K Fresh Asparagus, Core-dinations Valentia, Paper Pizazz Tan Floral Tapestry (printed background), and Melissa Frances First Class Mail (gray script).

I used my Epiphany Crafts Shape Studio Bubble Cap maker and Clear Round (14) epoxy shapes to create the three orange embellishments in the upper left corner to match the flower pot.

zz DSCN8429

This tool is pretty cool because you can use whatever paper you want to create custom embellishments for your projects.  If I end up changing the paper for the flower pot, I will make new circles with matching paper.

EC Set

Just a note – this company makes tools to create embellishments in different shapes and sizes.  Each tool makes only one shape/size so you’d need to purchase multiple tools to create the different shapes.  (This is very much like a punch you might purchase.)  In addition to the tool itself, you need to purchase the corresponding epoxy shapes to create your embellishments.  These are consumable and need to be replenished when they are gone.  In addition to the epoxy shapes, they also have metal charms you can use to create your embellishments.  (The tool, epoxy shapes and charms are all sold separately.)

I previously made an anniversary card (called “Happy Anniversary” originally posted in my StampTV gallery which is no longer active.) where I used the square tool and a mini wedding photo to create a square shaped epoxy embellishment that fit inside a mini picture frame.

zzzz DSCN8591

Frame a DSCN8608

Thanks for checking out my card project!

This content uses referral links as described in the disclosure policy on my sidebar.

Birthday FLowers

Birthday Flowers

Birthday Flowers Yellow wwwwDSCN8252.jpg

This card is being entered in the StampTV MIUM Challenge “Combine & Color” where we are to:

  • Use a combination of two different Gina K Designs stamp sets. One for the focal image and one for the sentiment.
  • Have a focal image that can be colored. The image you choose can be colored with whatever you choose.

(Sadly, this site is no longer active.)

This card is also being entered in the Mod Squad Challenge “Spring Forward” where we are encouraged to use flowers, birds, butterflies, hummingbirds, etc. and bright, beautiful colors to make a Spring themed card.   (Sadly, this site is no longer active.)

For this card, I used stamps from the Gina K Designs “A Little Something” (the vase of flowers) and “Sweet Tweets” (the greeting).  The images were stamped with Memento Tuxedo Black ink.  I colored the image with Copic Markers (Y23, YG09, V15, and V17).  I also did a little paper piecing to add color to the vase.  In addition to black and white card stock, the patterned paper I used is from the Gina K Delicate Essentials 6×6 paper pack.  I also used the Cuttlebug Swiss Dots embossing folder, a clear Wink of Stella glitter brush pen (hard to see in photo), and a few self sticking rhinestones.

I ended up doing a second card as well by mixing up the colors a bit.  Here it is:

birthday flowers purple xxxxDSCN8237.jpg

I’m not sure which I like better!

Thanks for checking out my card projects!

This content uses referral links as described in the disclosure policy on my sidebar.