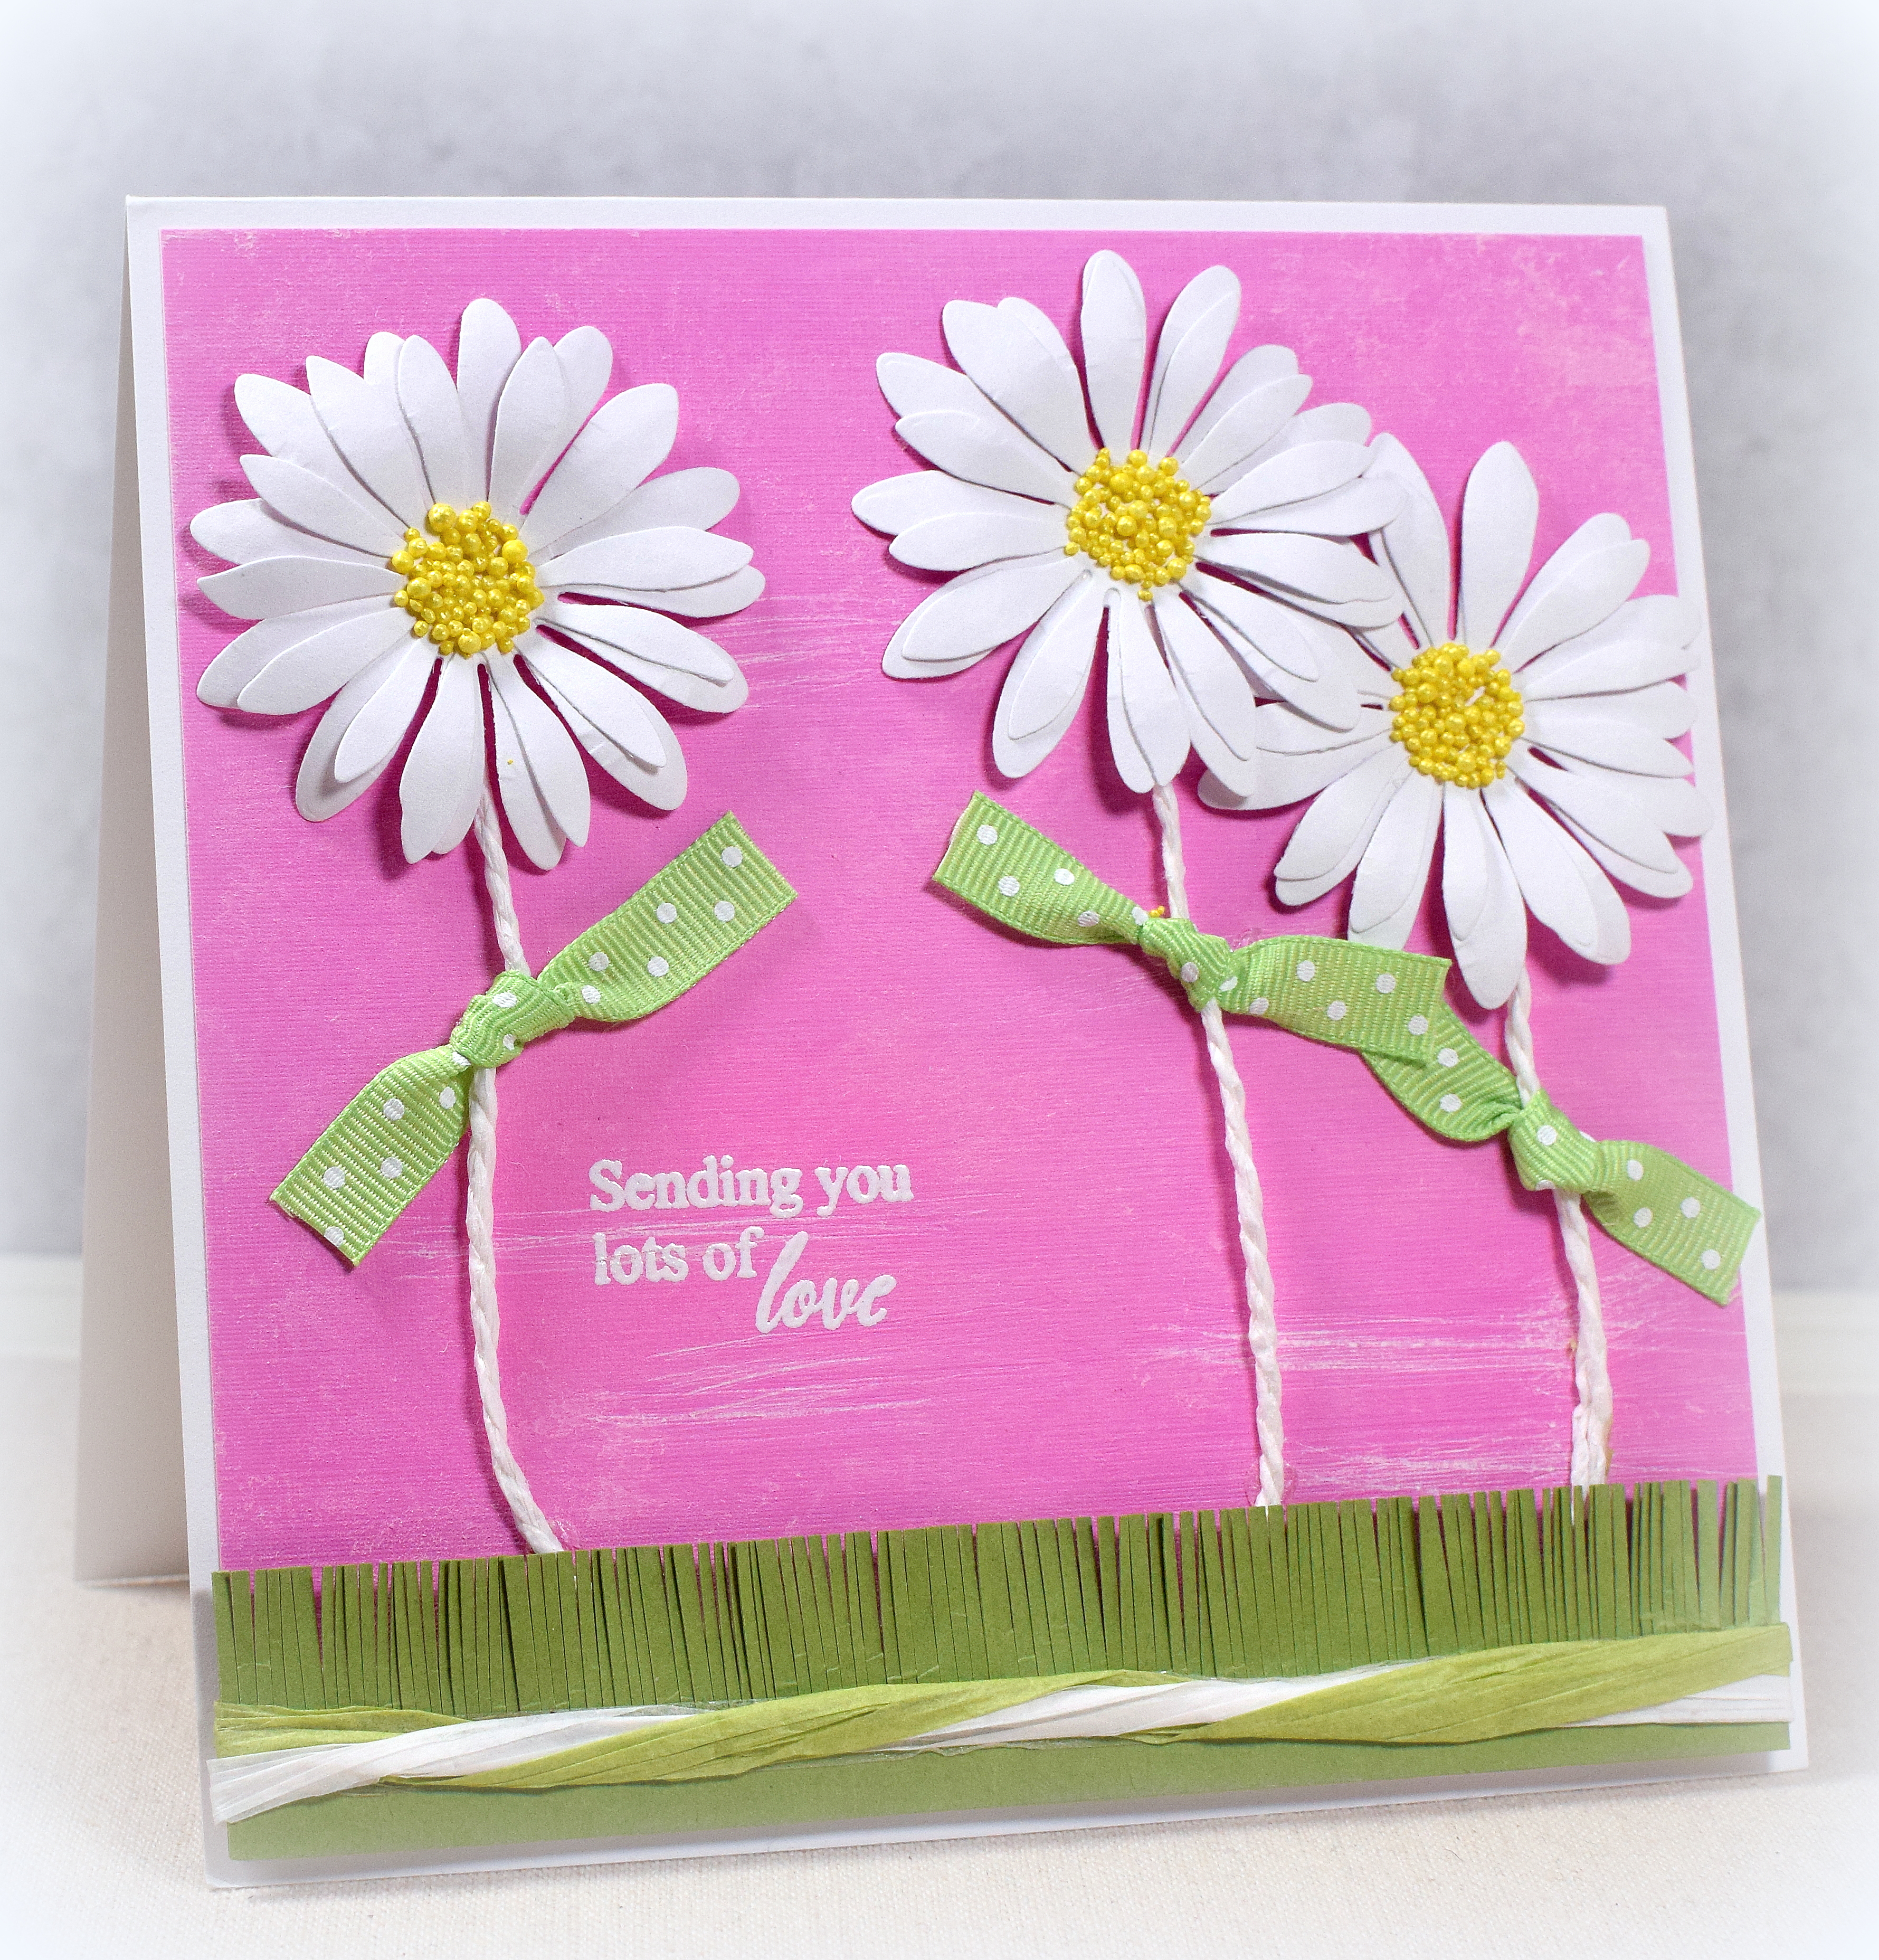
Easel Card with Negative Framed Scene

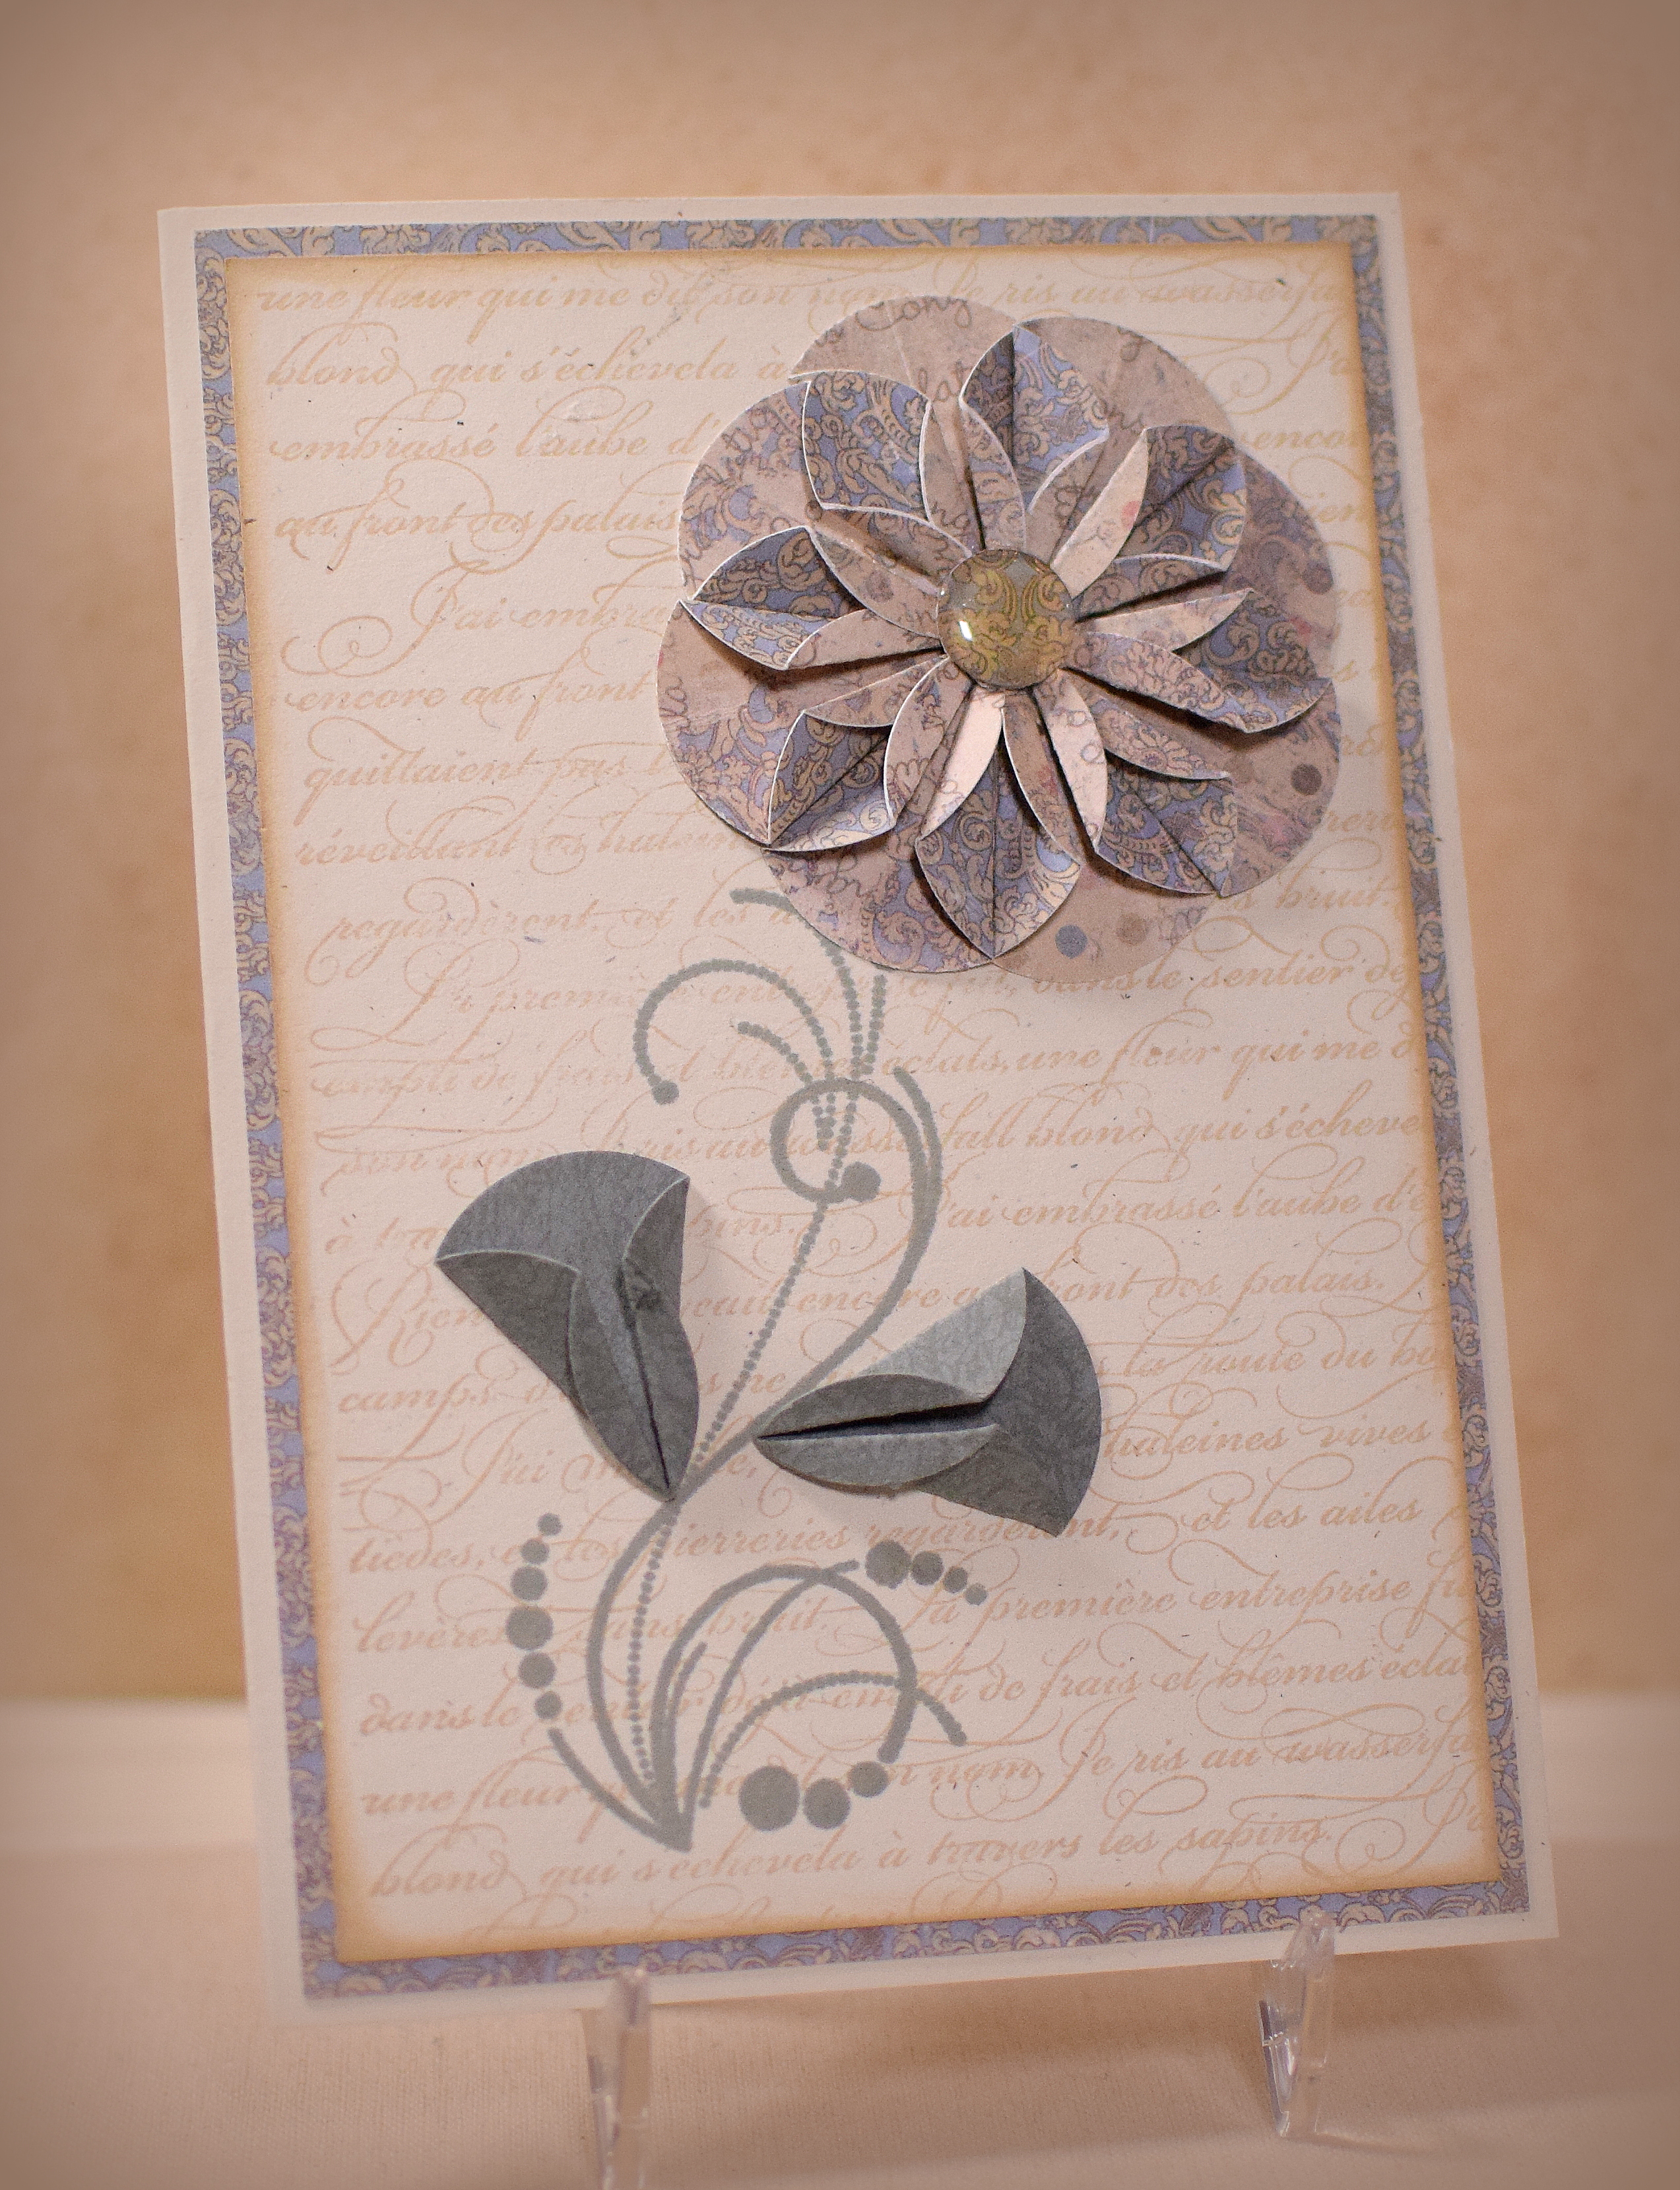
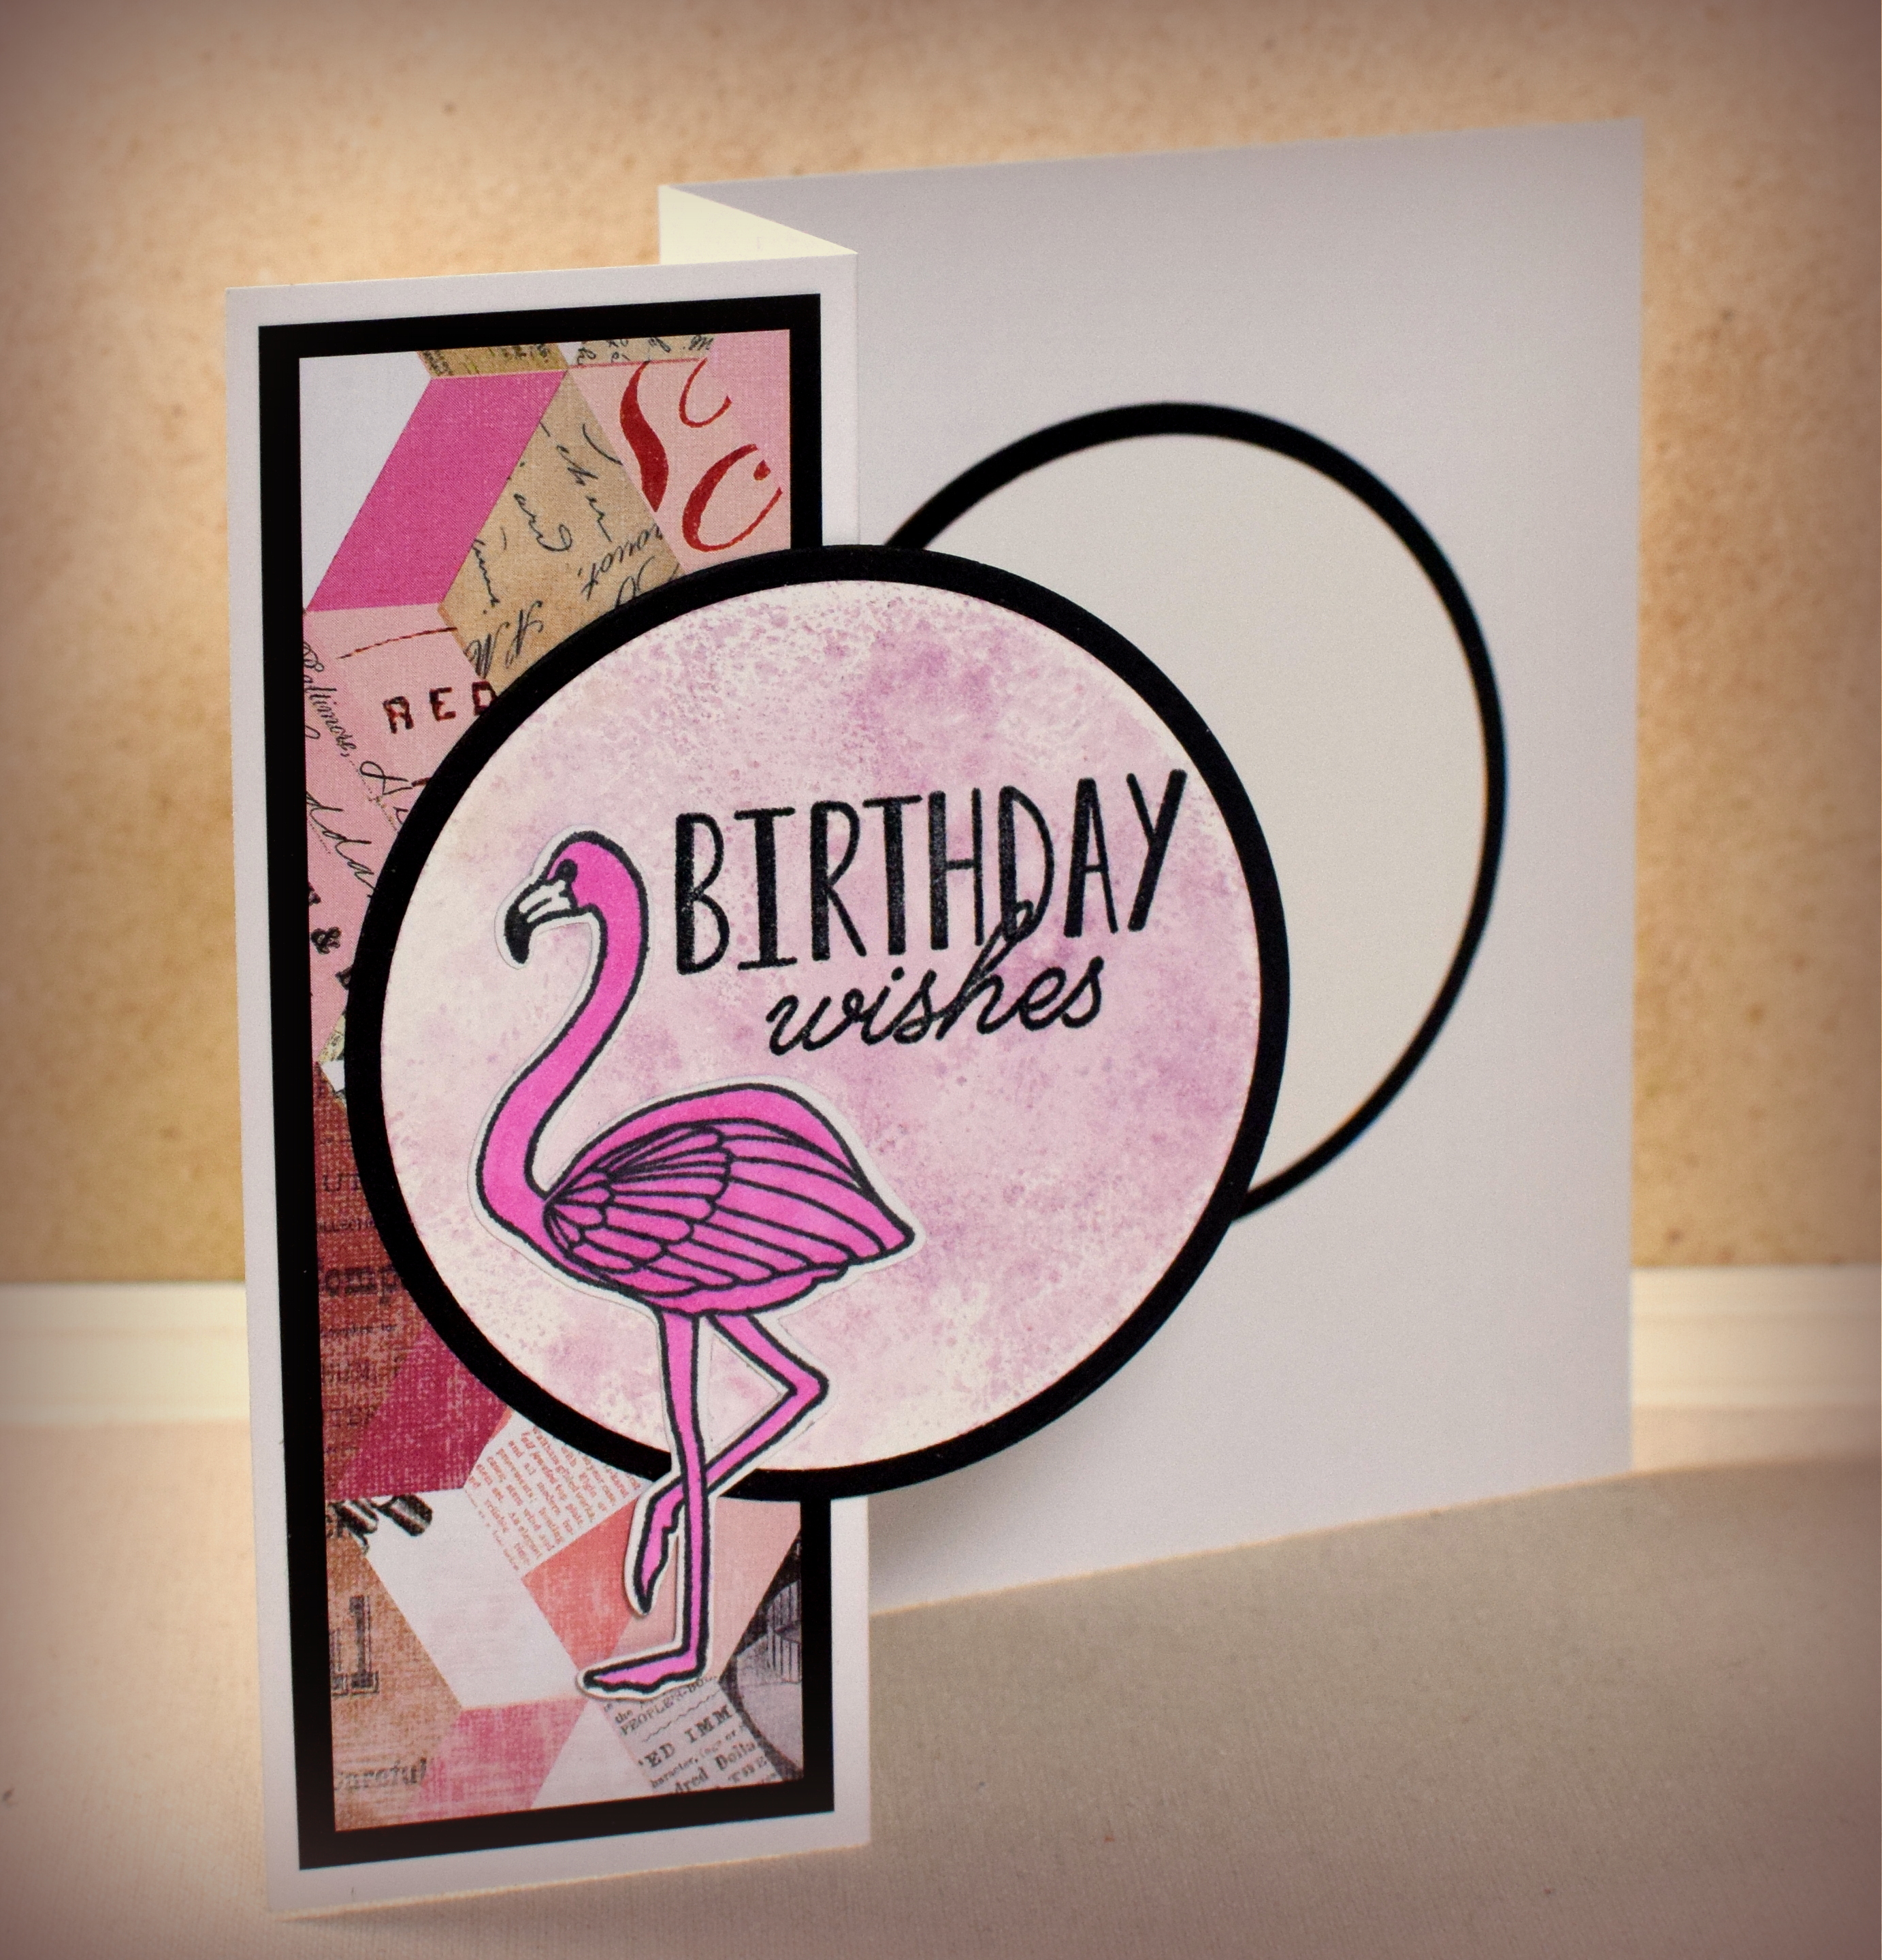
For this card I used the negative of a “happy” die cut (the part left after the die cut is removed from the card stock) and a printed scene behind it. I embossed the frame around the “scene” and the stamped greeting with a wafer thin stitched rectangle die using my Cuttlebug and a Spellbinders embossing mat. (The “sandwich” I use for embossing with a thin die is A-plate, B-plate, embossing mat, card stock, die with cutting edge facing paper and embossing mat, B-plate, and a chipboard shim.)
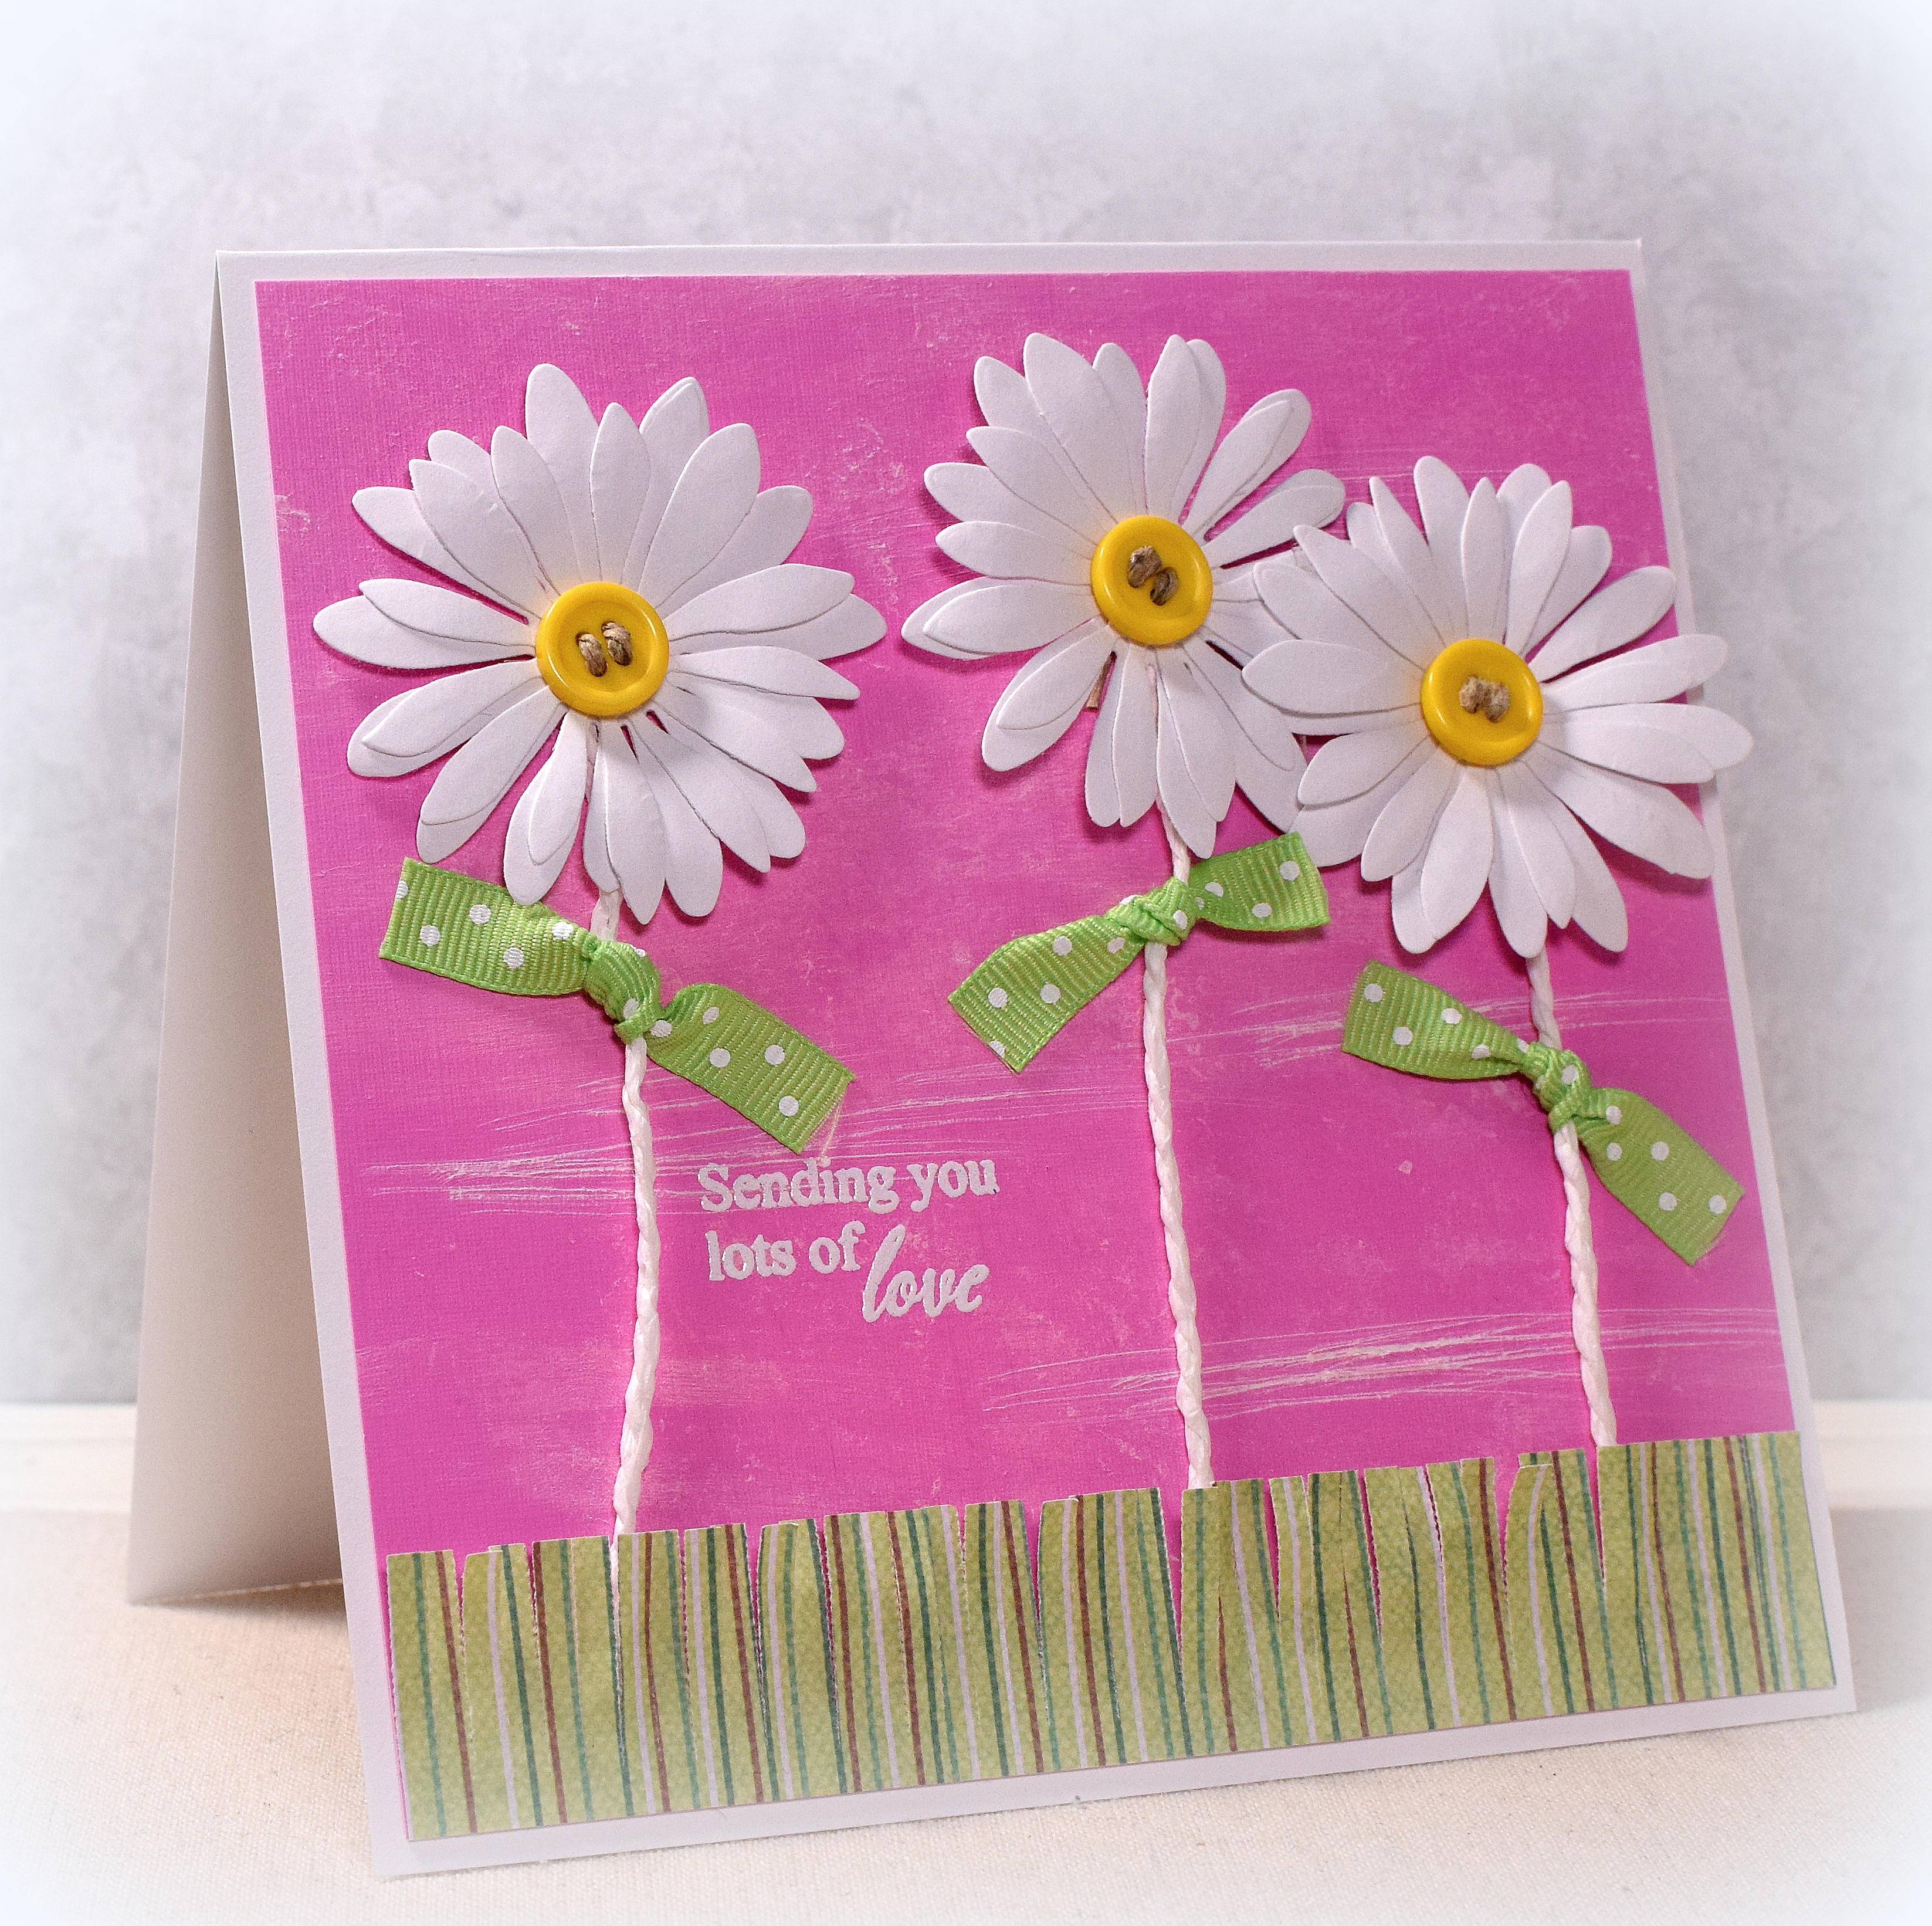
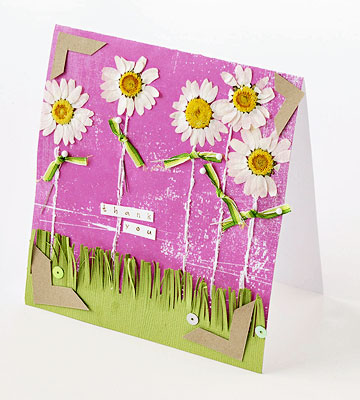
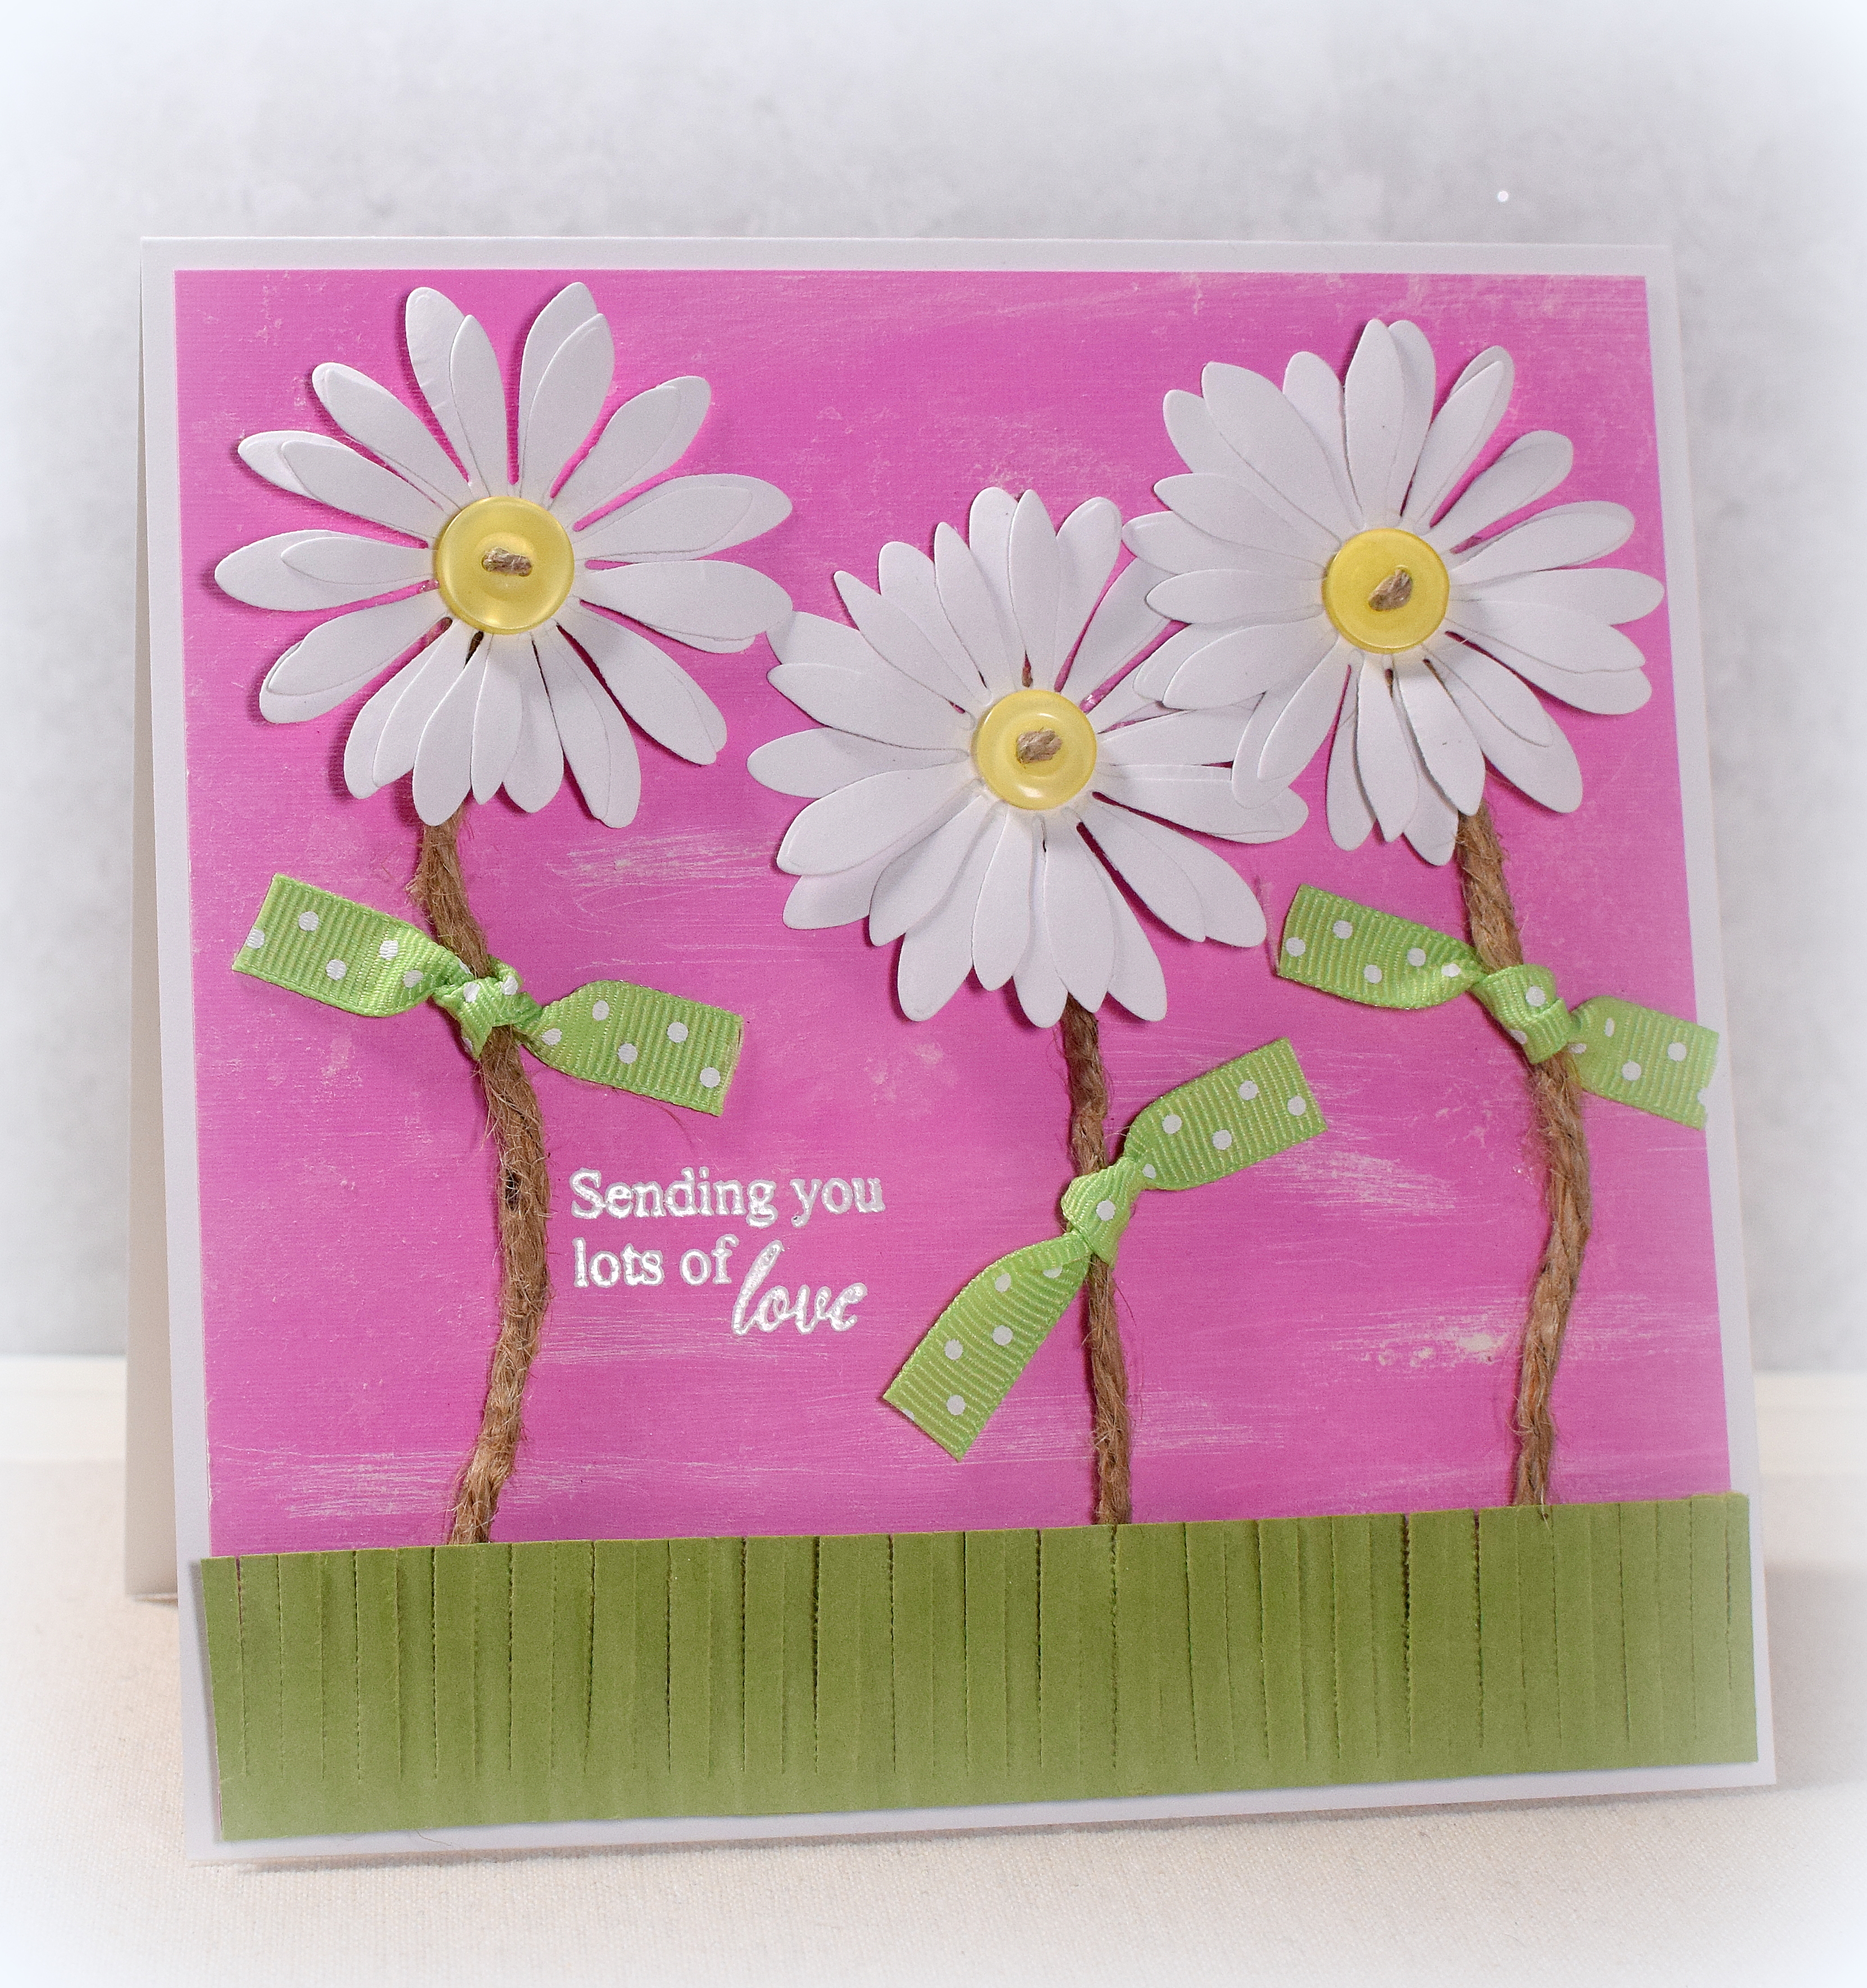
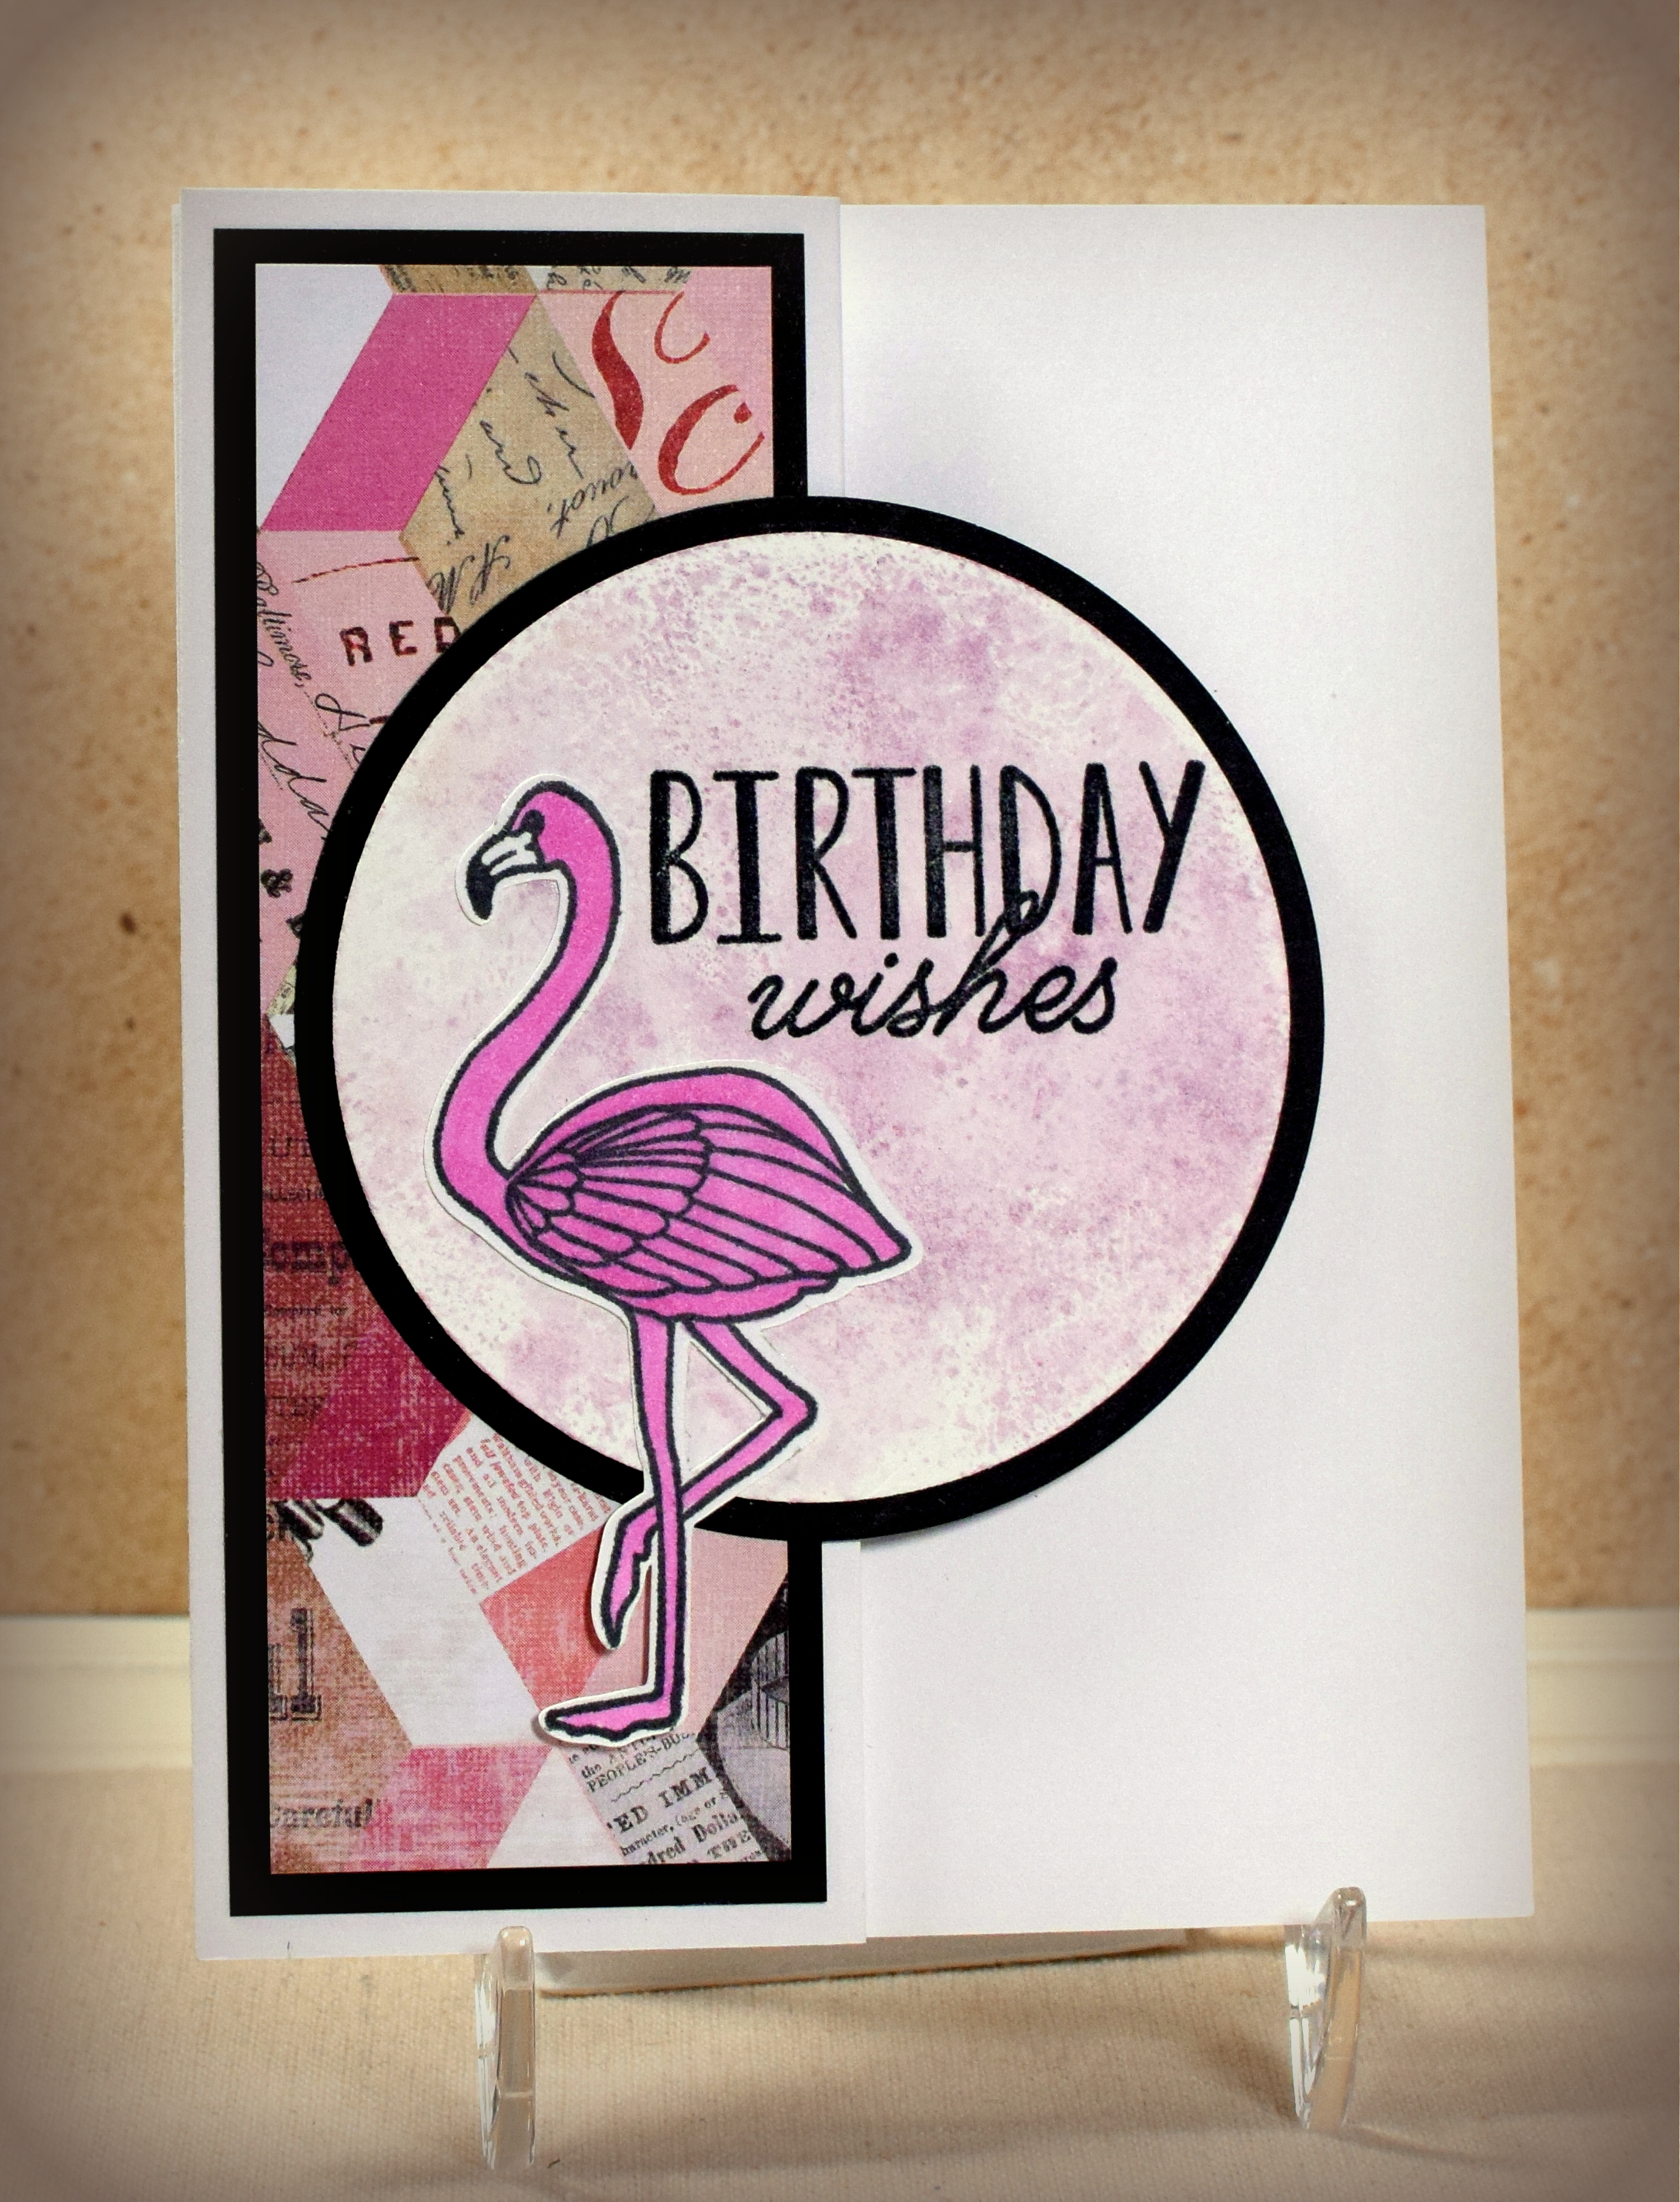
I created a few more designs with different scenes, greeting stamps, and color combinations.


For this final sample, I did not emboss the panel with the rectangle die. Instead, I sprayed speckles of ink onto the card front using a Tim Holtz marker spritzer tool and a Vintage Photo distress marker.

To create the easel card base, I started with a piece of card stock measuring 6 1/4 inches by 10 inches and scored it at 5 inches and 2 1/2 inches. (I chose these measurements because they worked with the dies and stamps I was using. You basically just need to fold your card base in half and the front in half again.) The separate panel you decorate for the card front should be the same size as the folded card base; in my case it was 6 1/4 inches by 5 inches. After folding the card base in half, fold the front of the card base up along the 2 1/2 inch score line (like a “z”), and adhere your decorated card front panel to the half portion showing. (If you unfold the front of the card base after adhering the decorated panel, the decorated panel should flip to the inside of the card.) Stamp a greeting on a separate panel. Adhere the greeting panel to the inside of the card base with foam tape. (It needs to be raised up slightly; this piece will hold the “easel” card front when opened.) Your raised greeting panel will be hidden inside the card when the card is “closed” and only the decorated card front is showing.
The “happy” die is called “In a Word: Happy Cutaway” by Winnie & Walter . The scenes I used behind the “happy” negatives were google images. Photos and patterned paper would work also.
This card folds flat for mailing.

Thanks for checking out my card projects!
This content uses referral links as described in the disclosure policy on my sidebar.