Tea Bag Fold Birthday Card

Tea Bag Fold Birthday Card

Tea Bag Fold Birthday Card wDSC_3059.JPG

I was recently asked if there were ways to use the tea bag fold panels for a design other than for a Christmas tree, and this is one variation I came up with.

Paper used on this card is Snowflake Mix (#712257), Wooden Fence (#154484), and Textured Cream Sheet Music (#142950) which are all by The Paper Studio.  The card base is Recollections heavy weight ivory.  The greeting is a stamp from the “Banners” set from Joy! Crafts.  Last year, I made a holiday card using the same papers.

Thanks for checking out my card project!


Gel Medium and Stencils (with foiling, heat embossing, and glitter)

Gel Medium and Stencils (with foiling, heat embossing, and glitter)

DSC_2322w

I tried some foiling with gel medium for the first time.

I applied the gel medium to my panel with a palette knife through a stencil and allowed the gel medium to dry.  Then I placed a piece of transfer foil on top (of the dried gel medium) and ran the panel through my minc foiling machine.

Here is another foiled sample:

DSC_2334w

*

A similar effect can be achieved with embossing powder instead of the foil.  While the gel medium is still wet, you sprinkle on the embossing powder as you normally would if you were stamping, shake off the excess, and then you allow the gel medium to dry.  After it has dried, you heat set the powder with a heat tool.

Here is a sample panel done with embossing powder:

wDSC_2939

While the gel medium is still wet, you could also apply loose glitter (instead of embossing powder).  Once the gel medium dries, shake/brush off the excess.

wDSC_2946

Thanks for checking out my card projects!

This content uses referral links as described in the disclosure policy on my sidebar.

Stencil and Texture Paste Background

Stencil and Texture Paste Background

DSC_2307w.JPG

I rarely use stencils or texture paste, but I decided it would be fun to play with both with my class.

While creating a few samples, I tried different methods of adding color to the white paste (while still wet or after it was dry).  For the above sample (and the first one below), I added some Memento Bamboo Leaves ink to my craft mat, scooped a bit of the paste down on it, and mixed it up.  It was very light and whitish which is not the way this ink normally looks, but it matched this patterned paper perfectly (I thought!).

wwDSC_2792    wwDSC_2795    wwDSC_2797

When I sponged the Bamboo Leaves ink directly onto the dried paste (like on the middle sample above), the color was much closer to what I expected it to look like (at least in real life).  For this method, I replaced the stencil over the dried panel to mask off the paper where there was no paste and then sponged on the ink.  I also tried a water color wash (with the same ink and water from my craft mat) over the whole surface after it was dried (third sample above).  That was probably my least favorite method of adding the color, but water color is not really my thing – lol!  (My color was very diluted; maybe I would have liked this method better with more intense ink/paint.)

The patterned paper I used is called “Floral Border” by Recollections.  I matted my panels with Papertrey Ink Scarlet Jewel card stock and stamped the greeting with a stamp from the “Banners” set from Joy! Crafts with PTI Ocean Tides ink.

Thanks for checking out my card project!

Ho Ho Ho with Distress Oxide Inks (and a few other samples)

Ho Ho Ho with Distress Oxide Inks (and a few other samples)

wDSC_2814.JPG

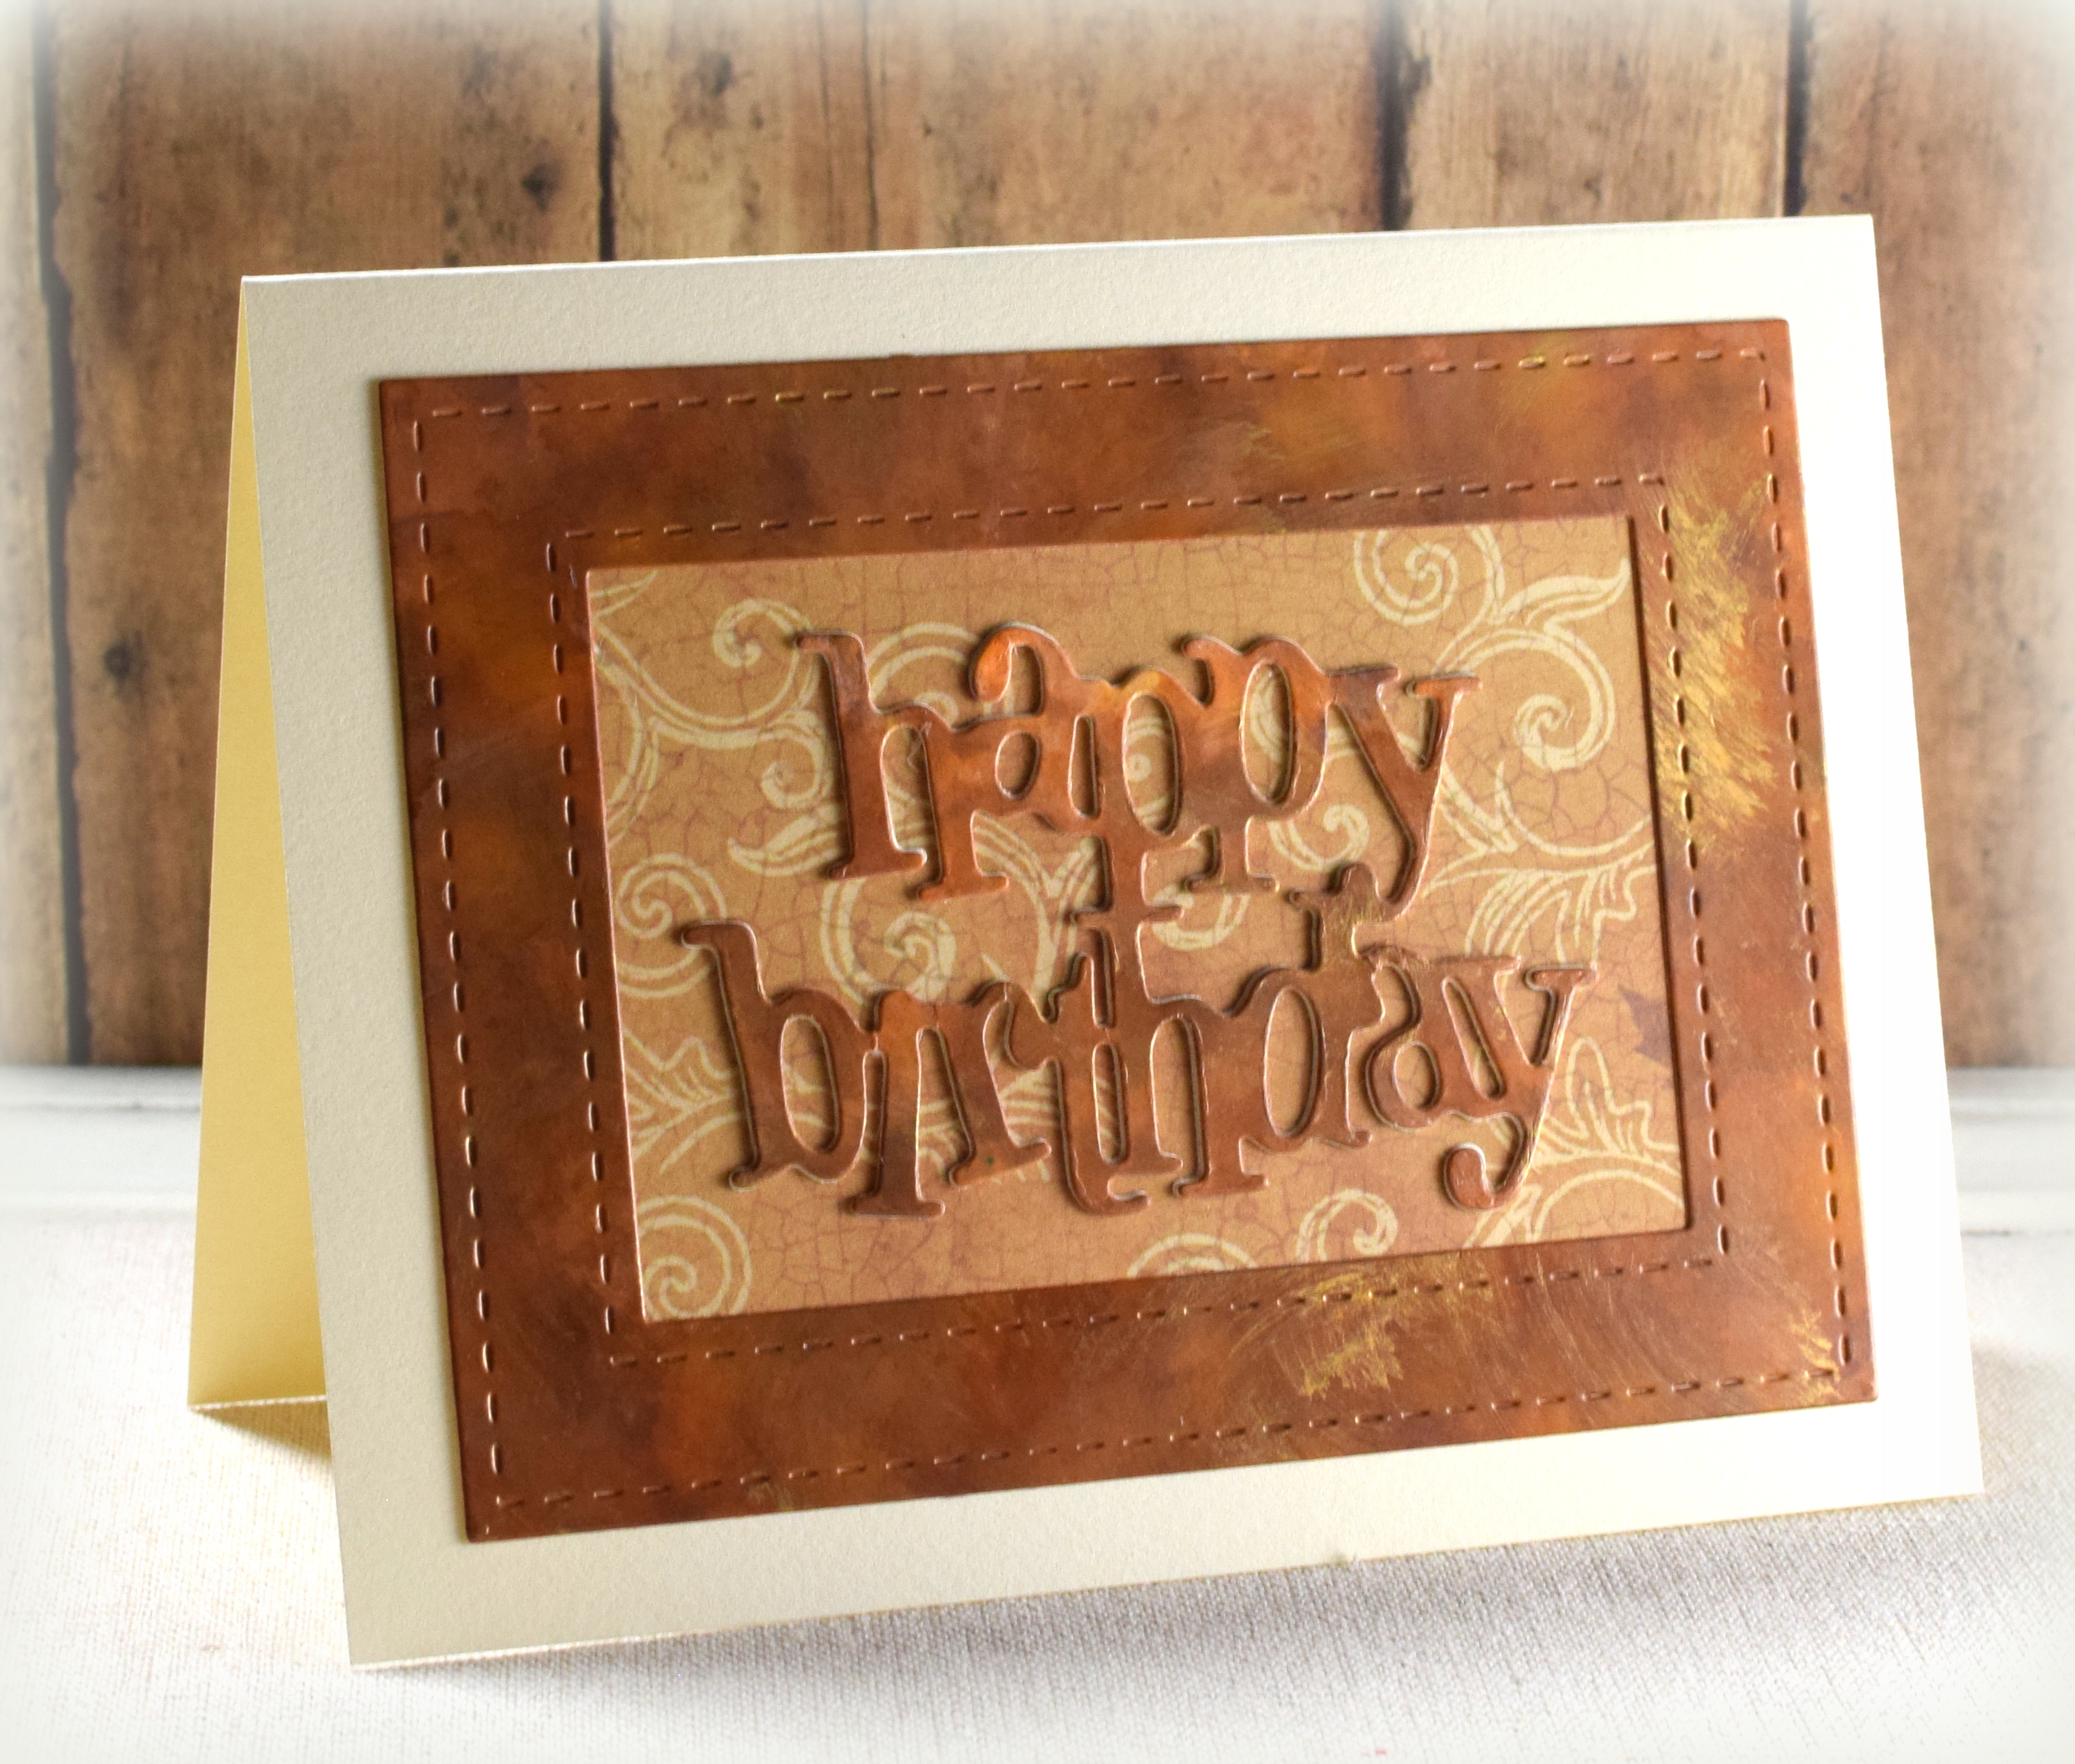
After trying alcohol inks the other night in the course I am teaching through the Haddonfield Adult School (as I mentioned in my previous post), we then played with Distress Oxide inks .  I used these inks for the first time while preparing samples for this lesson.  (I had watched several tutorial videos back when the inks were first introduced but hadn’t actually tried them until now.  Not sure what I was waiting for!!)  I love how cool the ink looks when it dries, how it reacts with water, and how easy (and fun!) it is to layer colors.

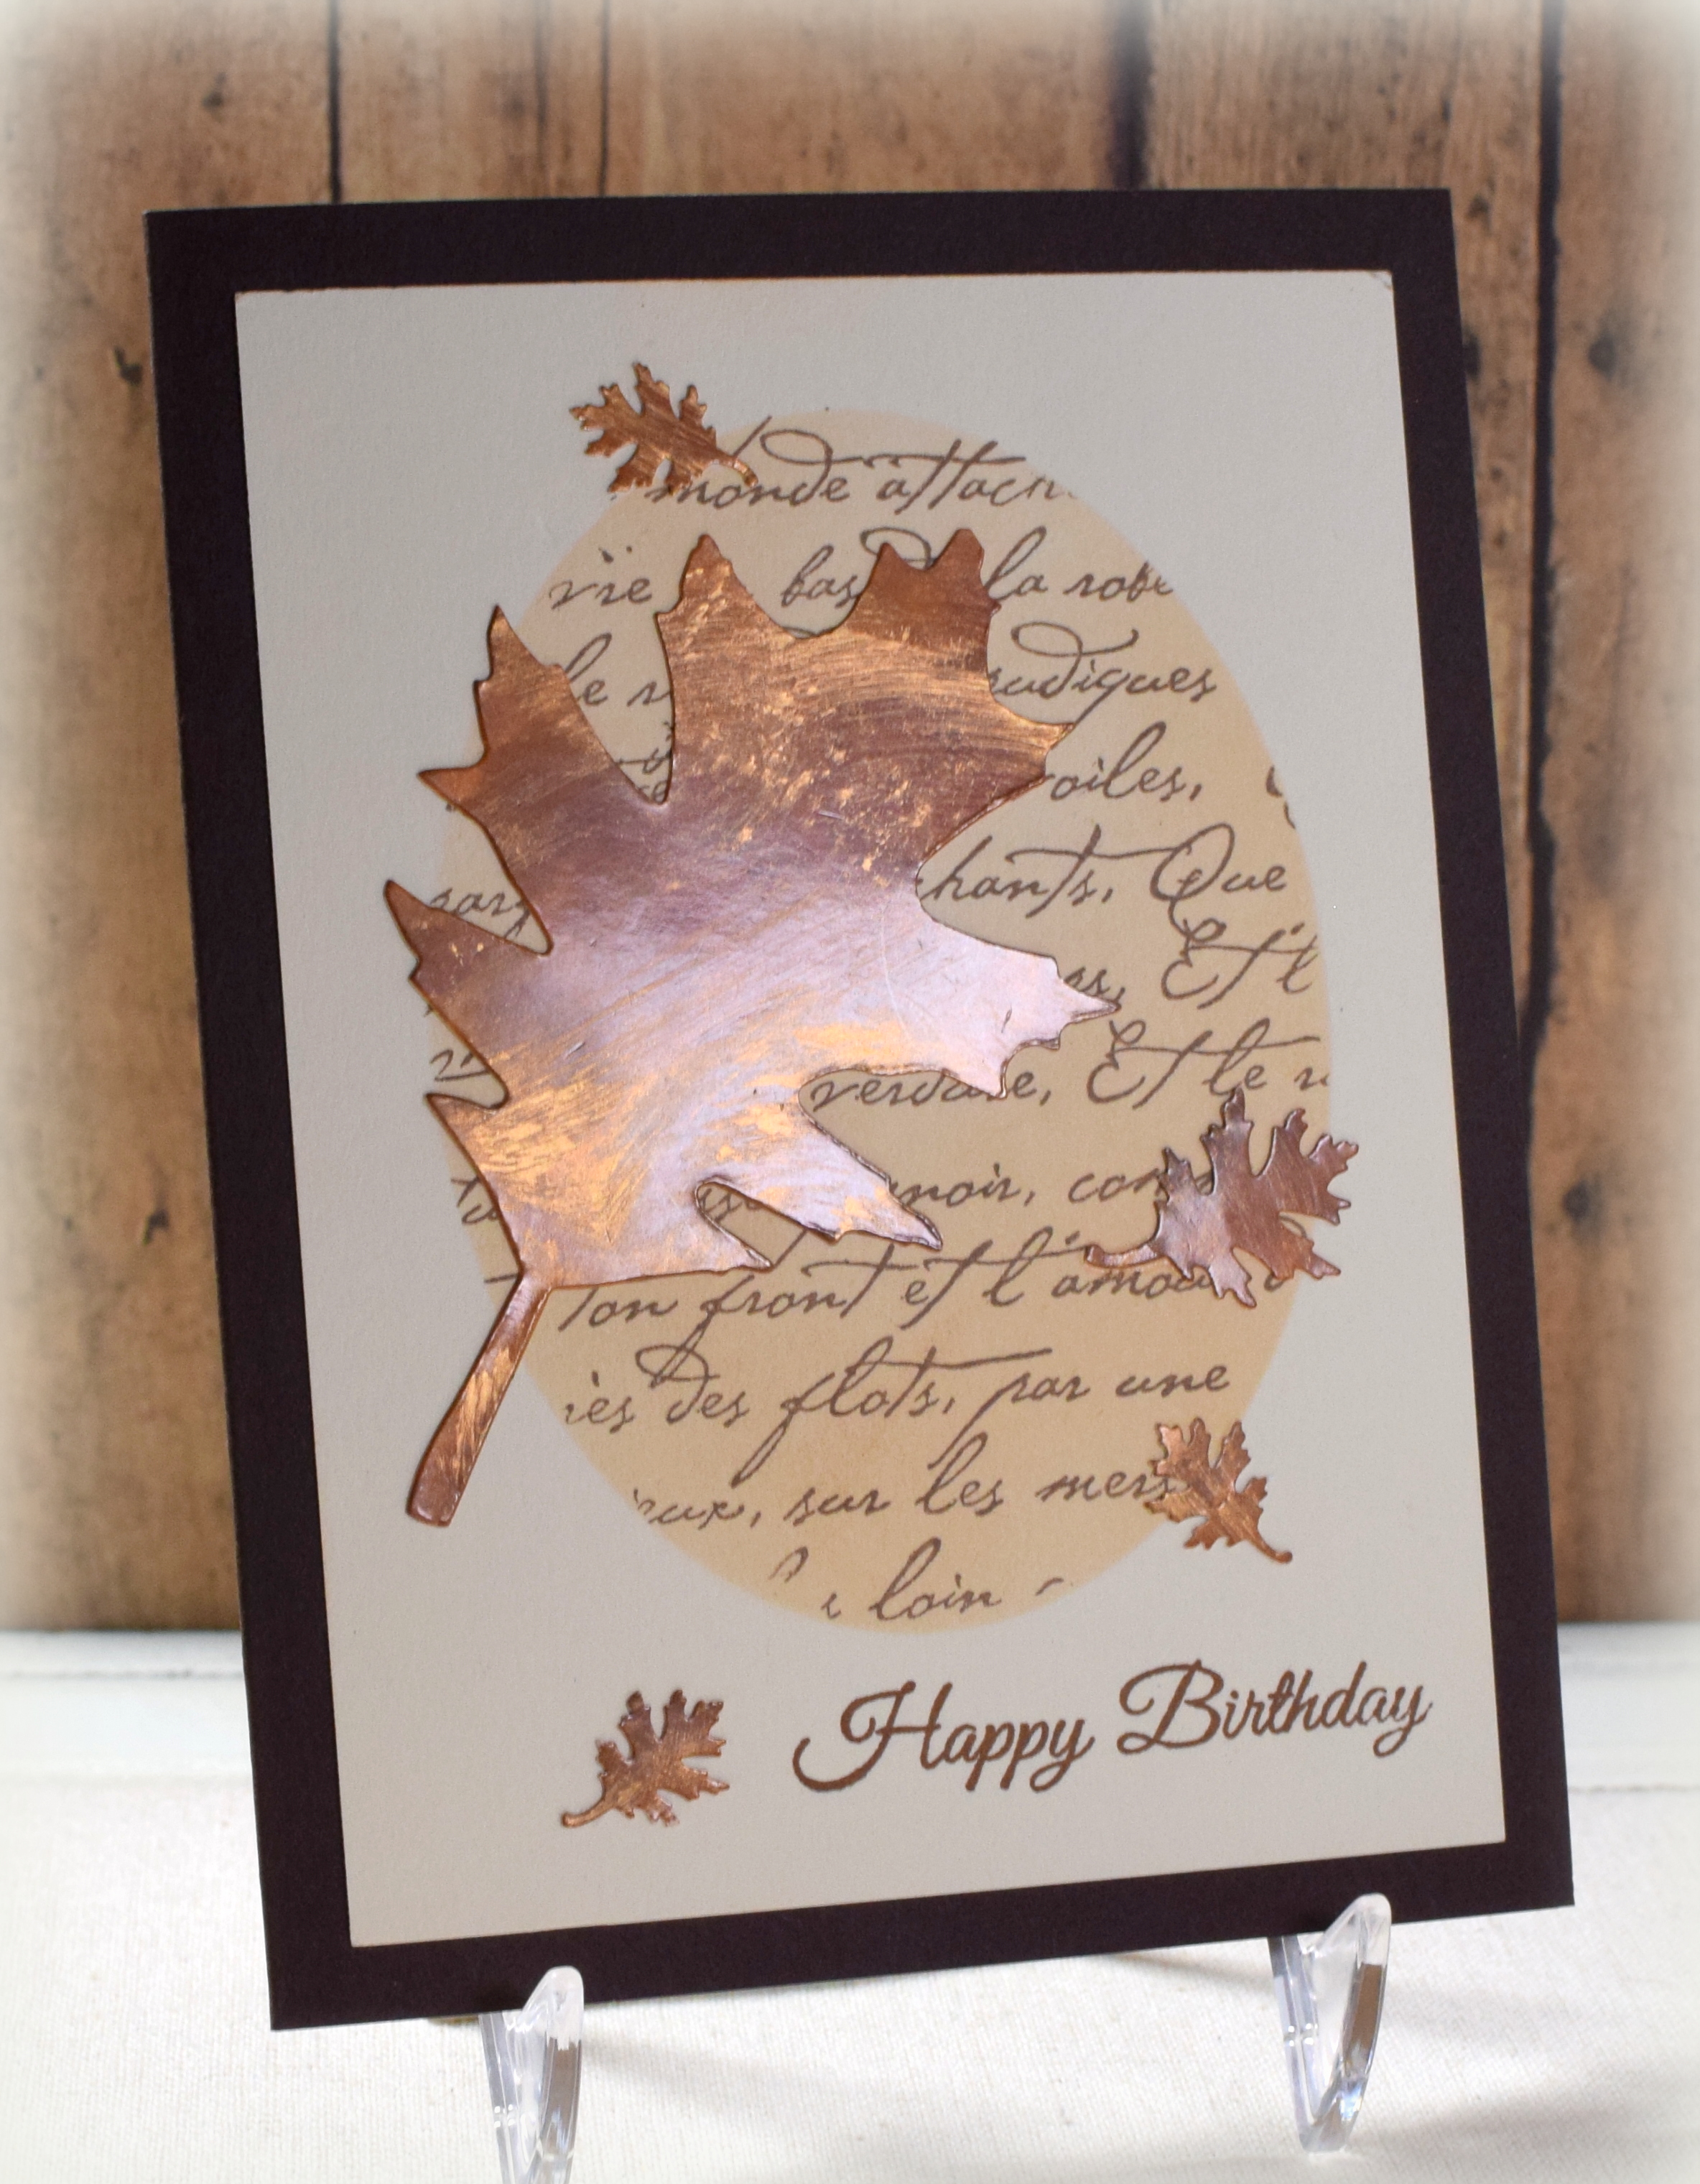
The background on this one was “smooshed” with Tim Holtz Faded Jeans, Cracked Pistachio, and Vintage Photo Distress Oxide inks.  I didn’t add water to my inked surface on this card because I wanted to see how the layered inks looked after they dried without the oxidized look.

The die cut is called “Ho Ho Ho Square” (#590-ZZ) from Impression Obsessions.

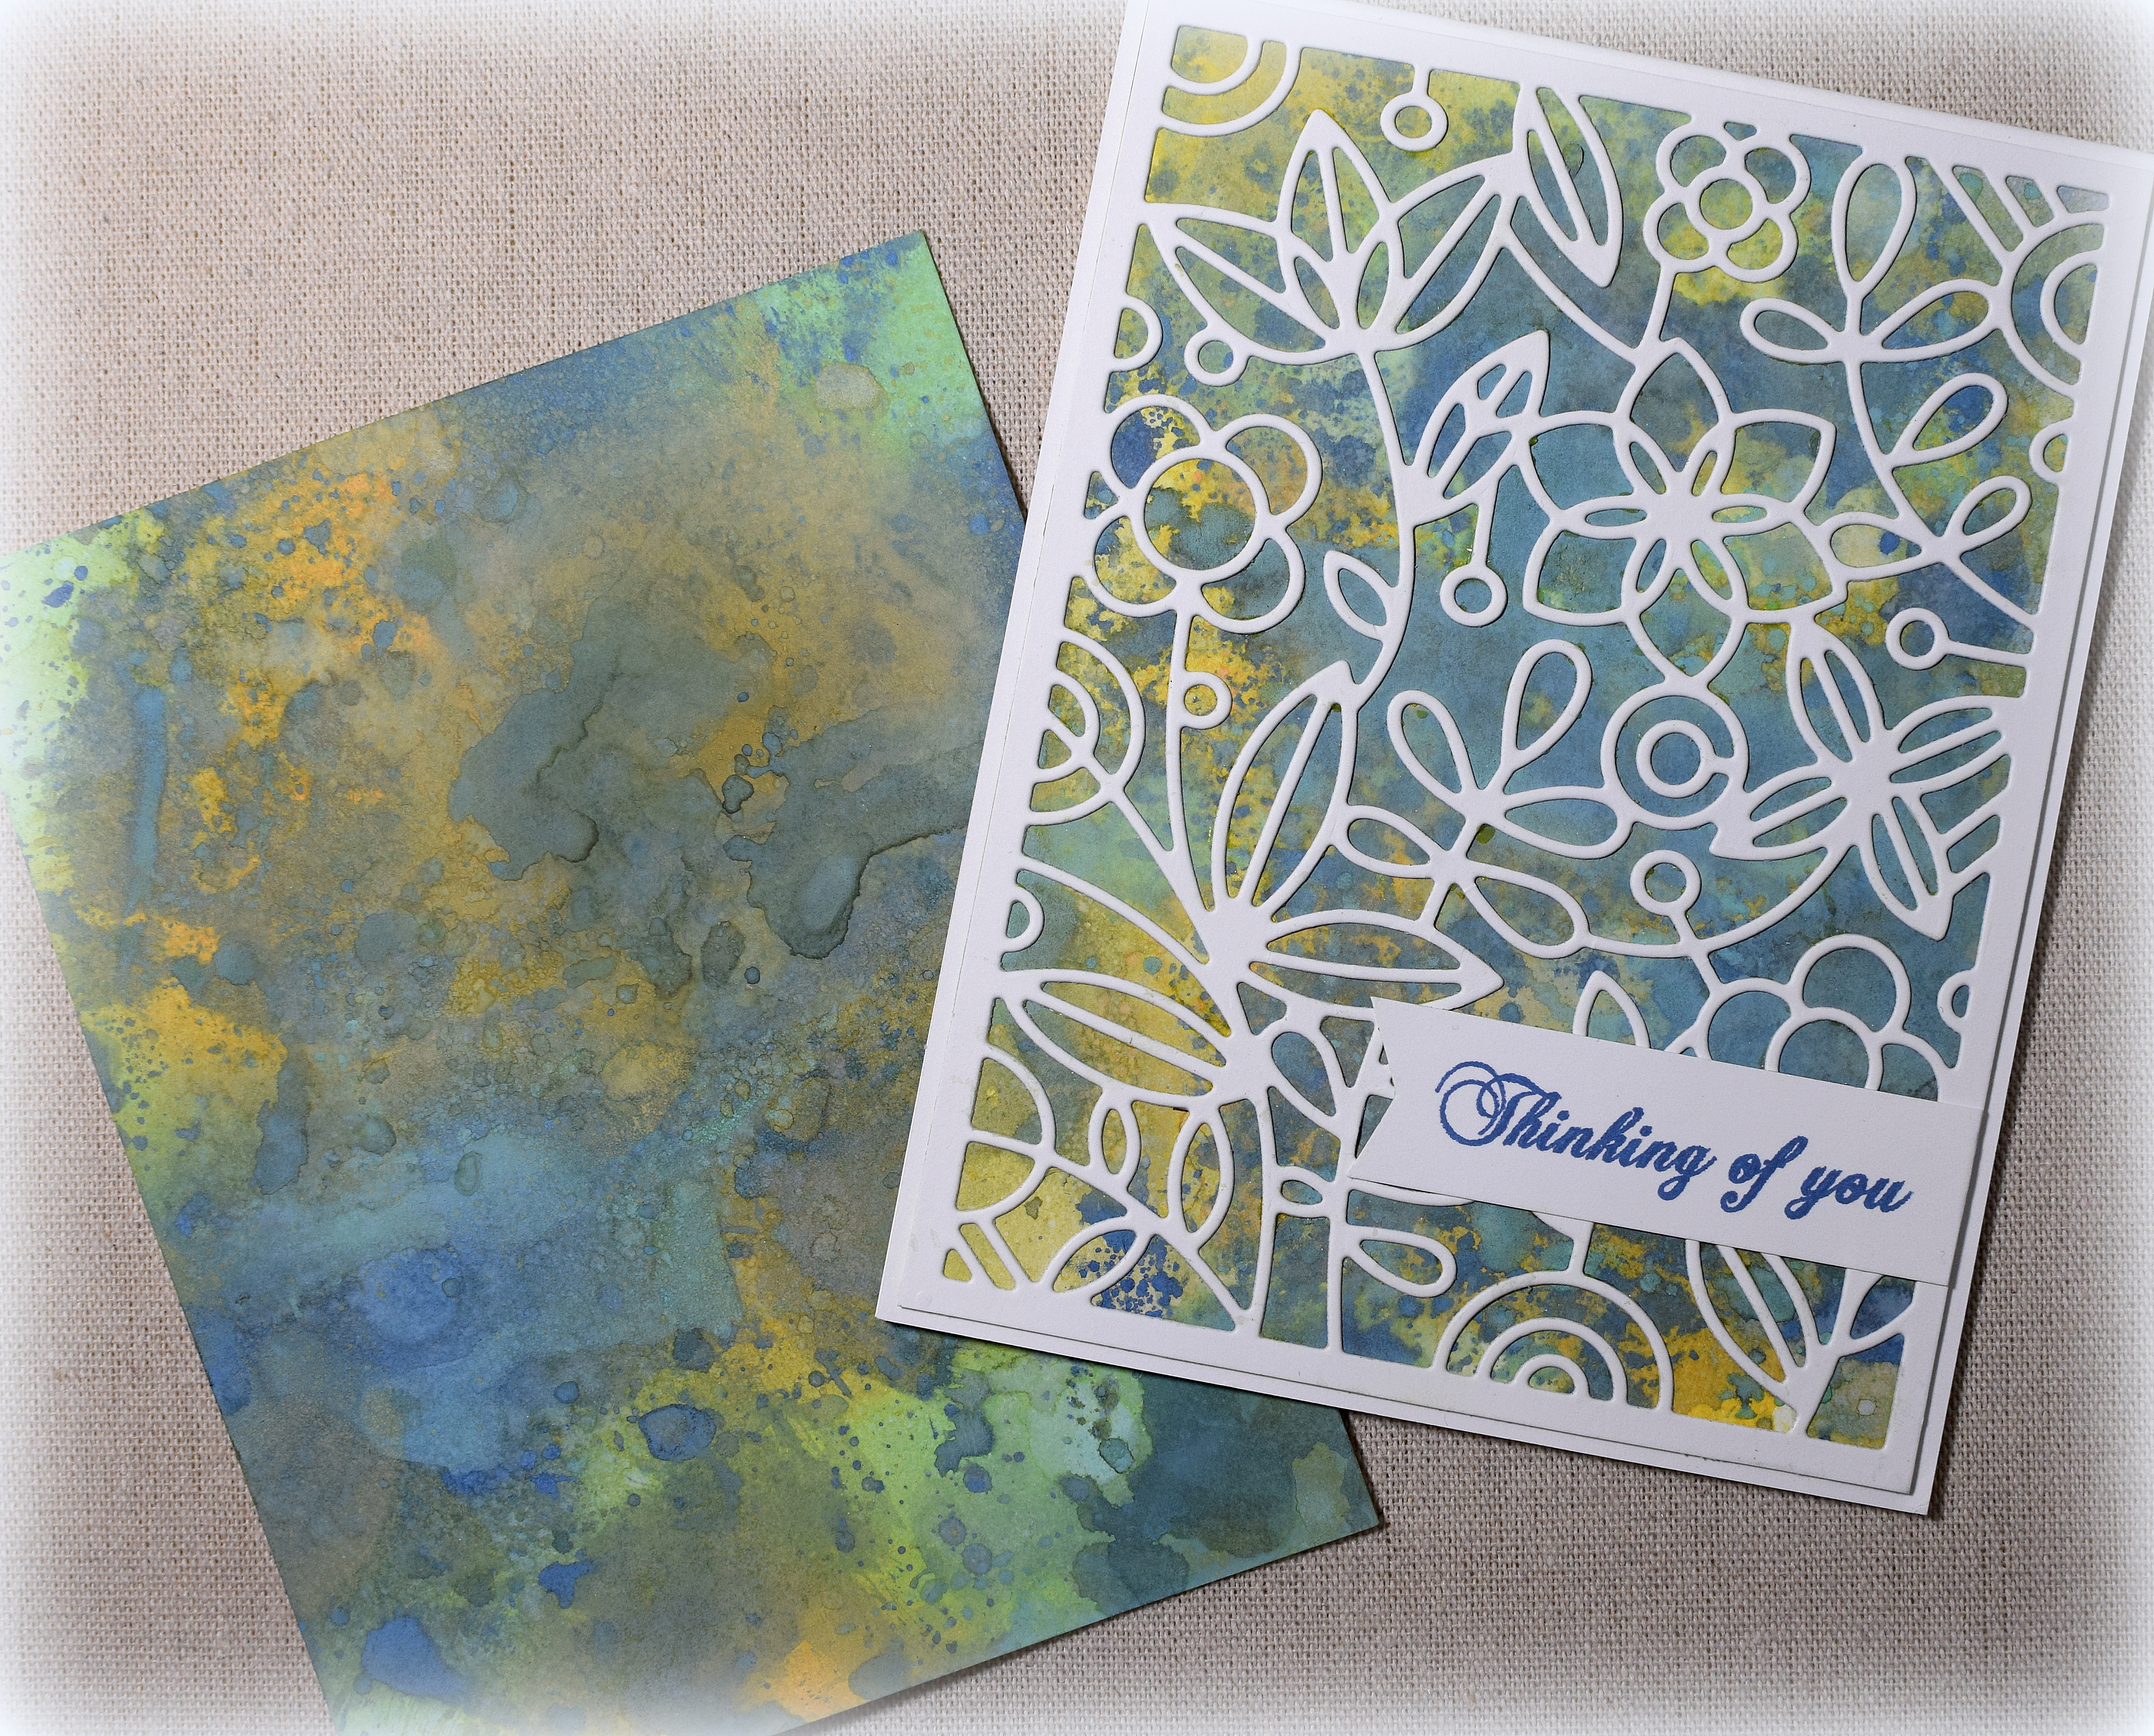
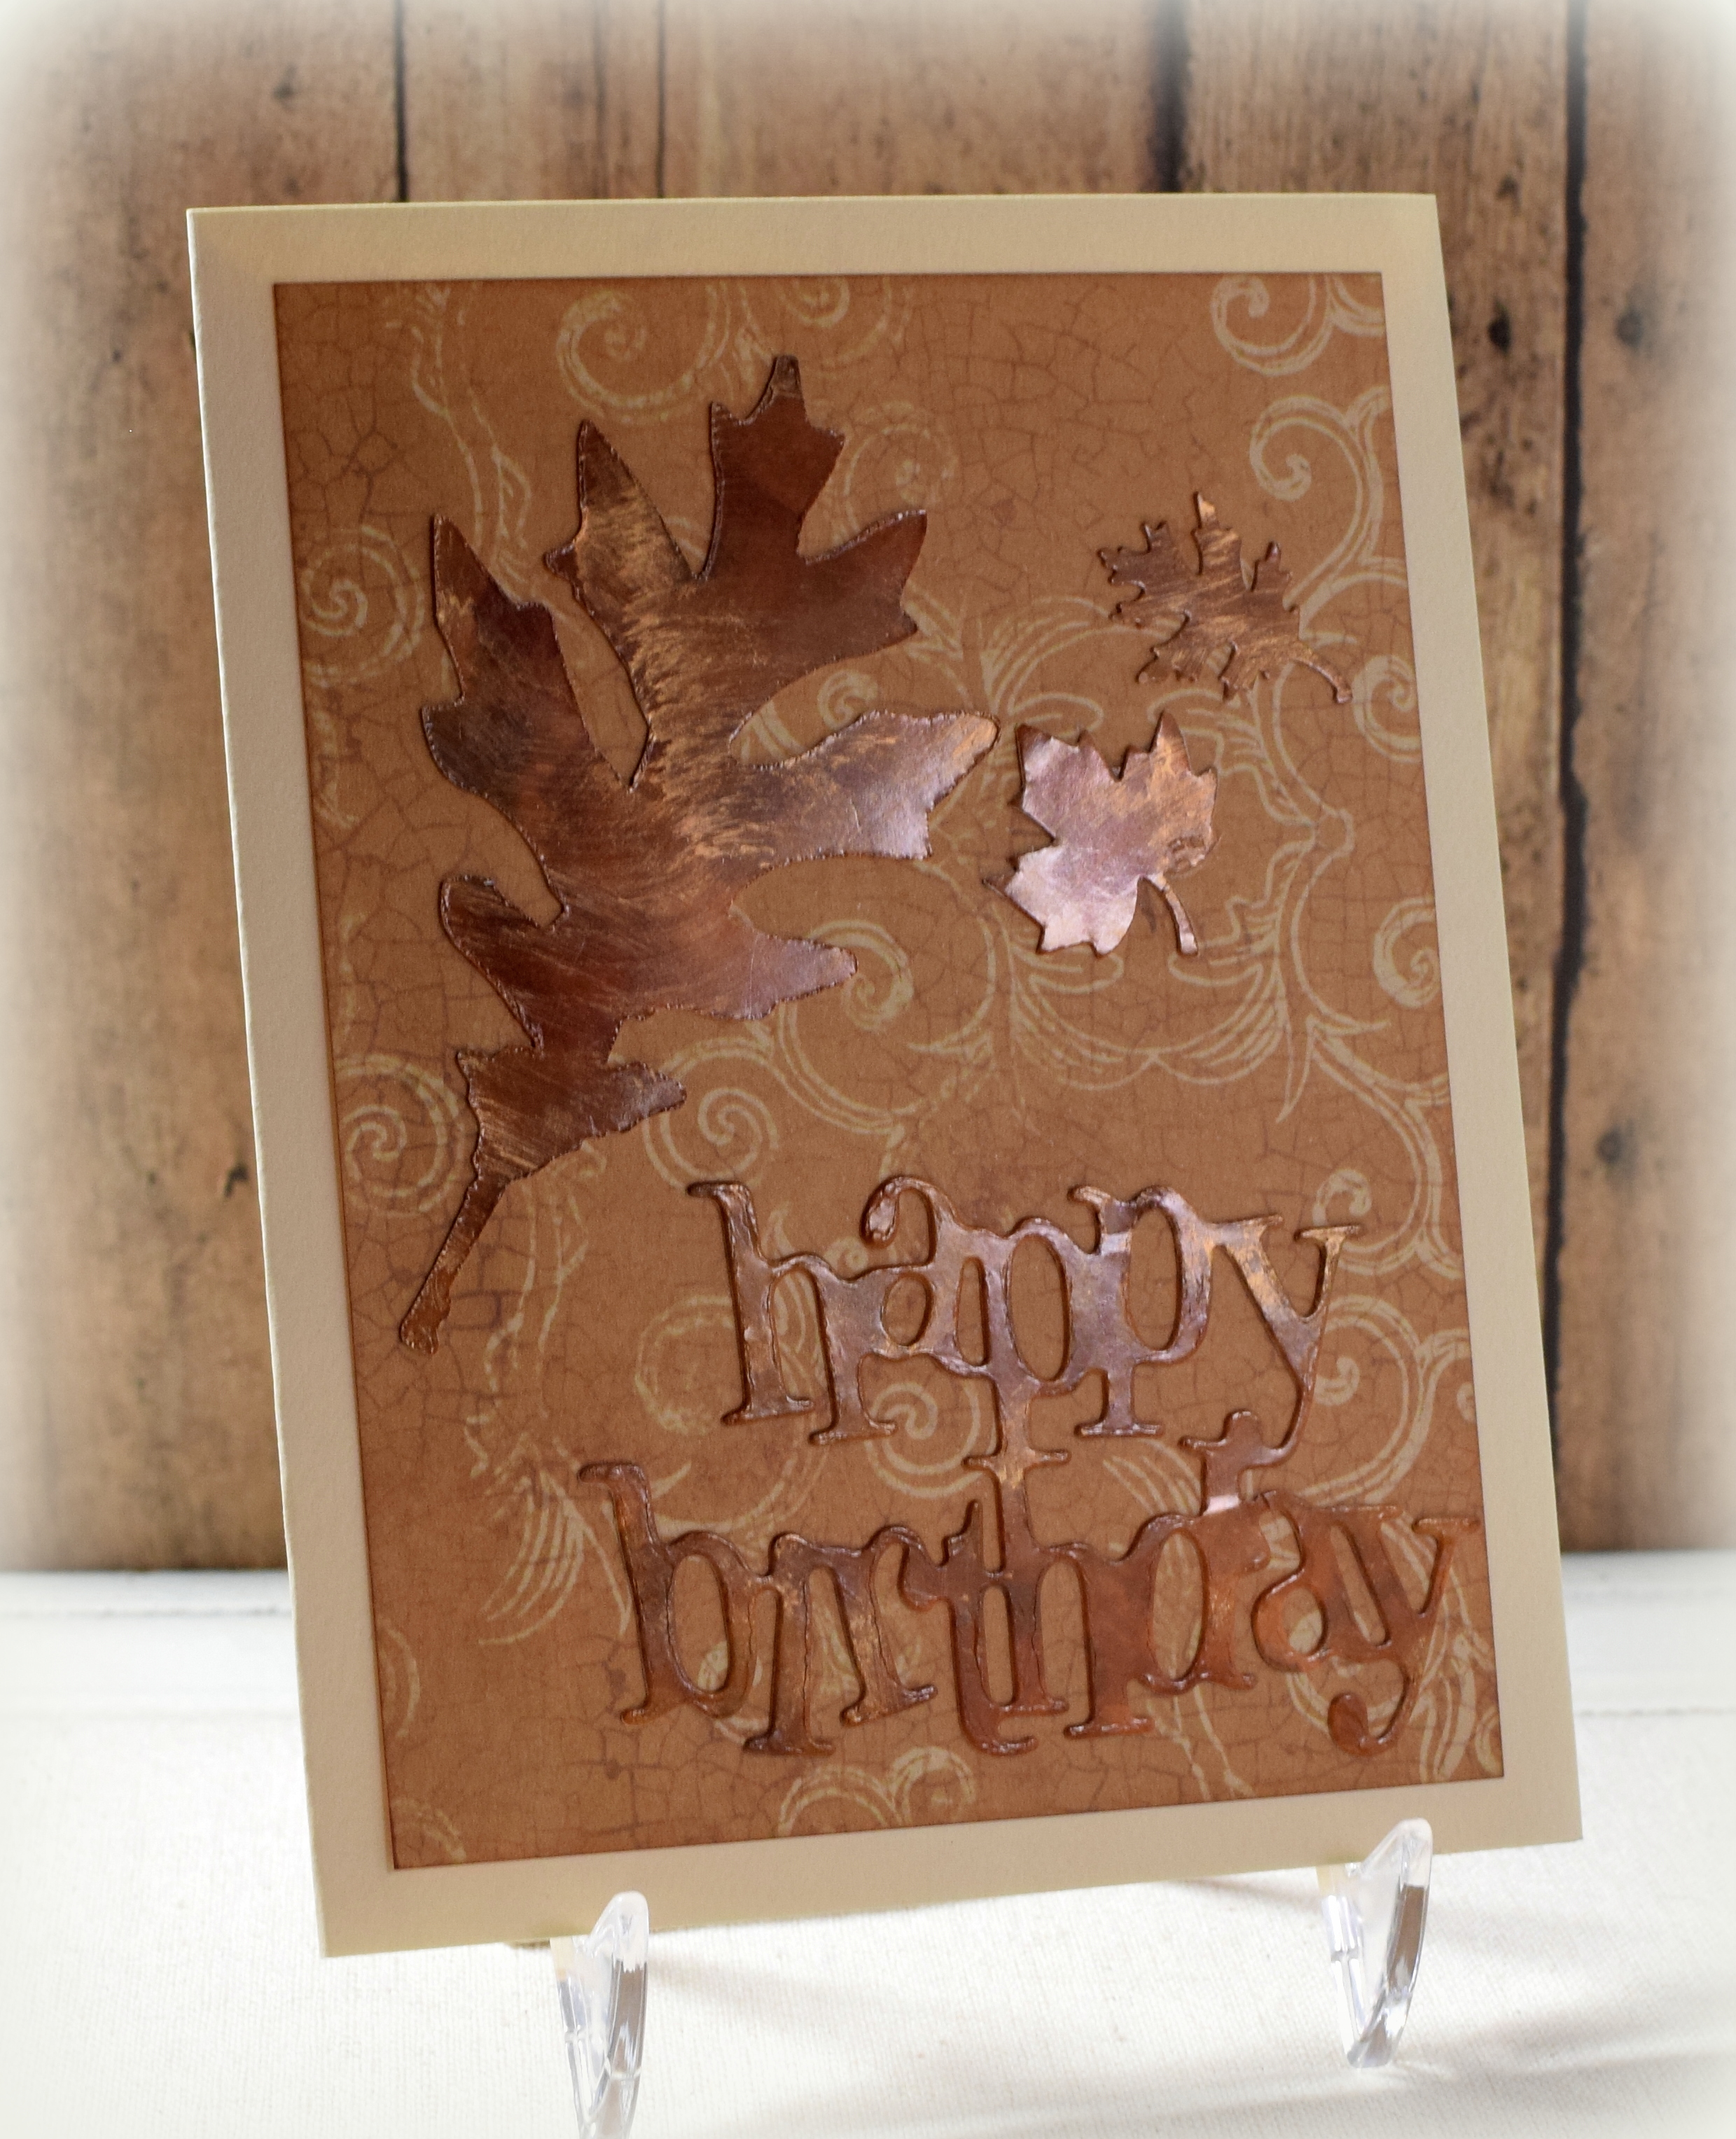
Here are two more samples made with the “smooshing” technique using Cracked Pistachio, Faded Jeans, Wild Honey, and spritzes of water between layers.

wDSC_2831

The floral die cut on this one can be found in the “Floral Square” die set (PFSA0118) by Pinkfresh Studio.  (The “thanks” die was unbranded, but I’ve since found and purchased the “Gallery Frame 2” die set from Hello Bluebird which contains this “thanks” die, but bigger.)

and

wDSC_2809

The “Fancy Floral 2” die (PFSA0918) is also by Pinkfresh Studio.  (There is also a Fancy Floral 1 which is the same design with thicker lines and could be layered under this one to create an offset mat.  It could also be used on its own.)

Thanks for checking out my card projects!

This content uses referral links as described in the disclosure policy on my sidebar.

Alcohol Ink and Burlap (and several more samples)

Alcohol Ink and Burlap (and several more samples)

DSC_2374w

I thought it would be fun for my students (and me!) to play with alcohol inks in one of the classes I am teaching, and here is a sample I created.

The ink really goes a long way once you get your foam applicator loaded up, so I just kept going and was able to make several panels at that time.  (That’s why all these cards are similar in color.)  I used Ranger Glossy Card Stock along with Ranger alcohol inks (Caramel, Latte, Ginger, Currant, Sunshine Yellow, Sunset Orange, and Gold Mixative) and Alcohol Ink Blending Solution.

Here is a sample with a masked /stamped background panel and more leaves…

DSC_2382w

An oval die was used to create a mask for the sponged background (done with Vintage Photo Distress Ink) along with the Stampin’ Up French Script background stamp and Memento Rich Cocoa ink.

…and a few more samples.  (When I said I kept going, I meant I kept going.  Yeah, it’s a lot of brown – lol!!)

DSC_2420ww

DSC_2442w

DSC_2426w

(I didn’t use any of the gold mixative on this last one, but I wish I had.)

I have two (brown!) holiday samples I will share in a separate post.

The large leaves were cut with the Tim Holtz Bigz Tattered Leaves die from Sizzix.  The smaller dies were made with Recollection punches.   Leaf Vignette Squares are by Frantic Stampers .  Your Day from Penny Black is a “fun” birthday greeting die, and the Making Happy Happen Collection – Happy Phrases by Sizzix has a variety of greetings and shapes.  The stitched frame was unbranded.  Card stock used was Recollections Cream and Kraft and Gina K Dark Chocolate and Tranquil Teal.  The patterned paper was  “Tim Coffey Fall Gold Leaf Scroll” by K&Company, and the burlap was “DCWV Burlap Paper – burlap covered cardstock sheets

Thanks for checking out my card projects!

This content uses referral links as described in the disclosure policy on my sidebar.