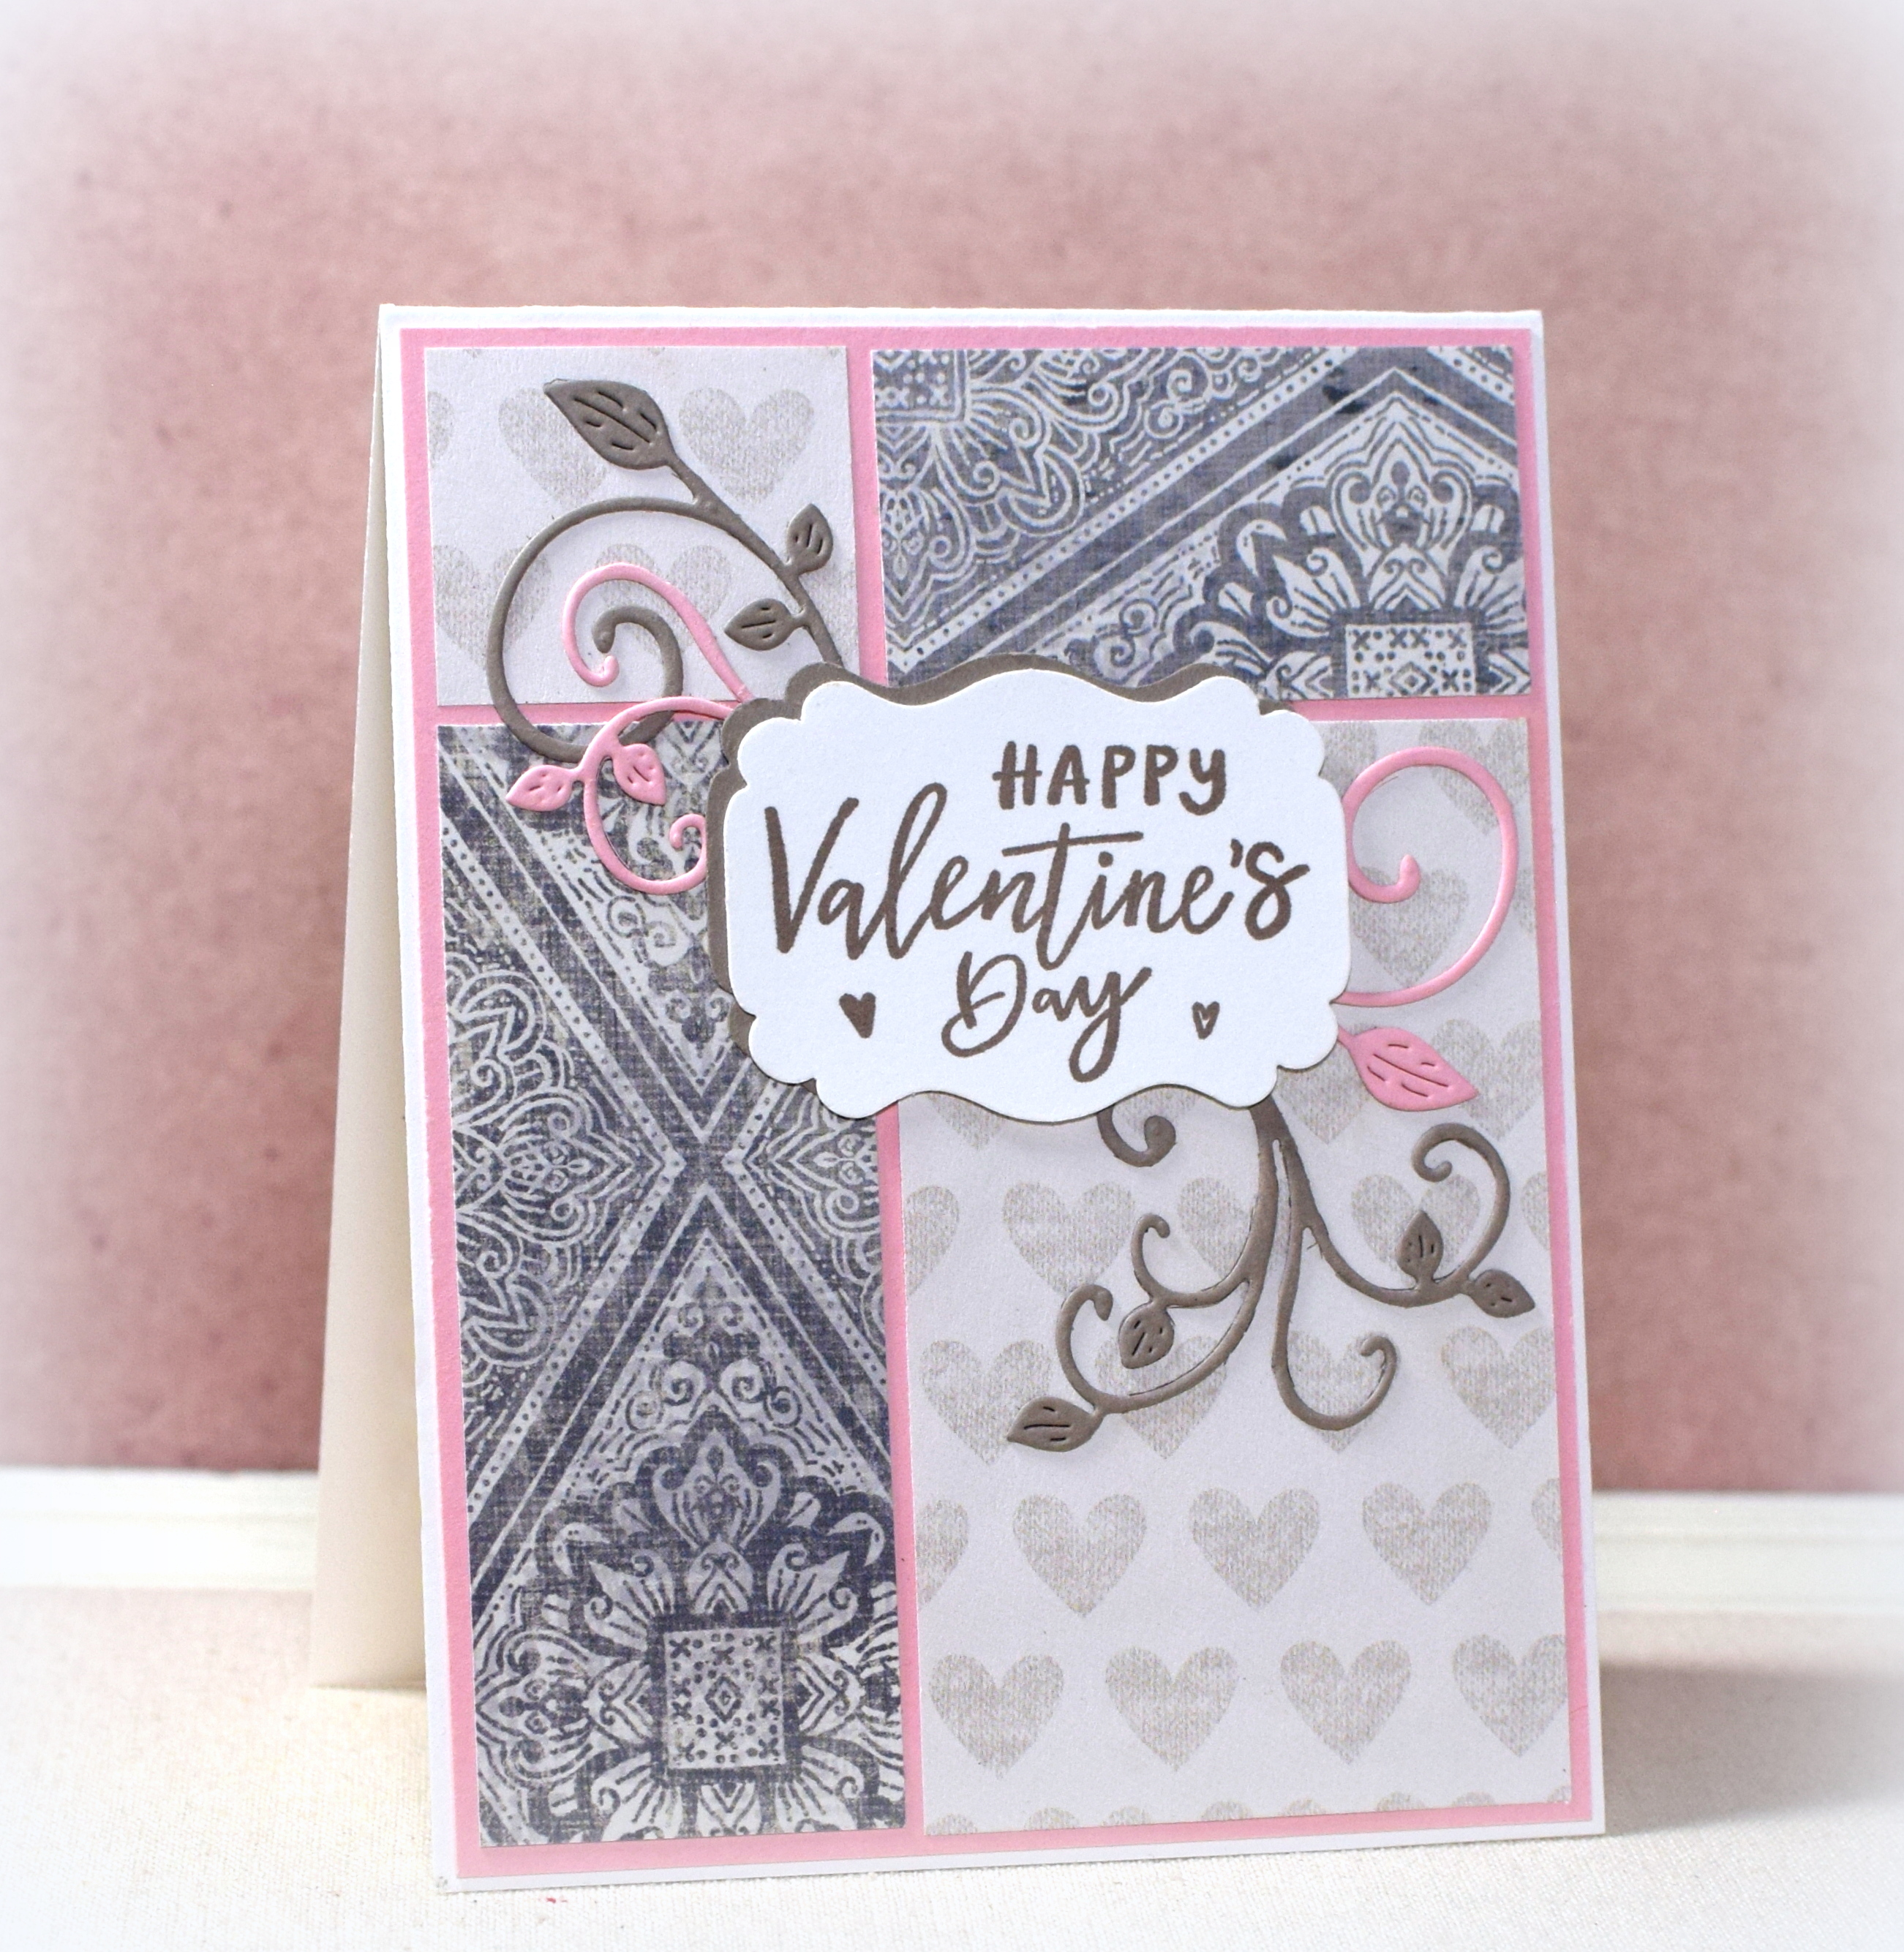
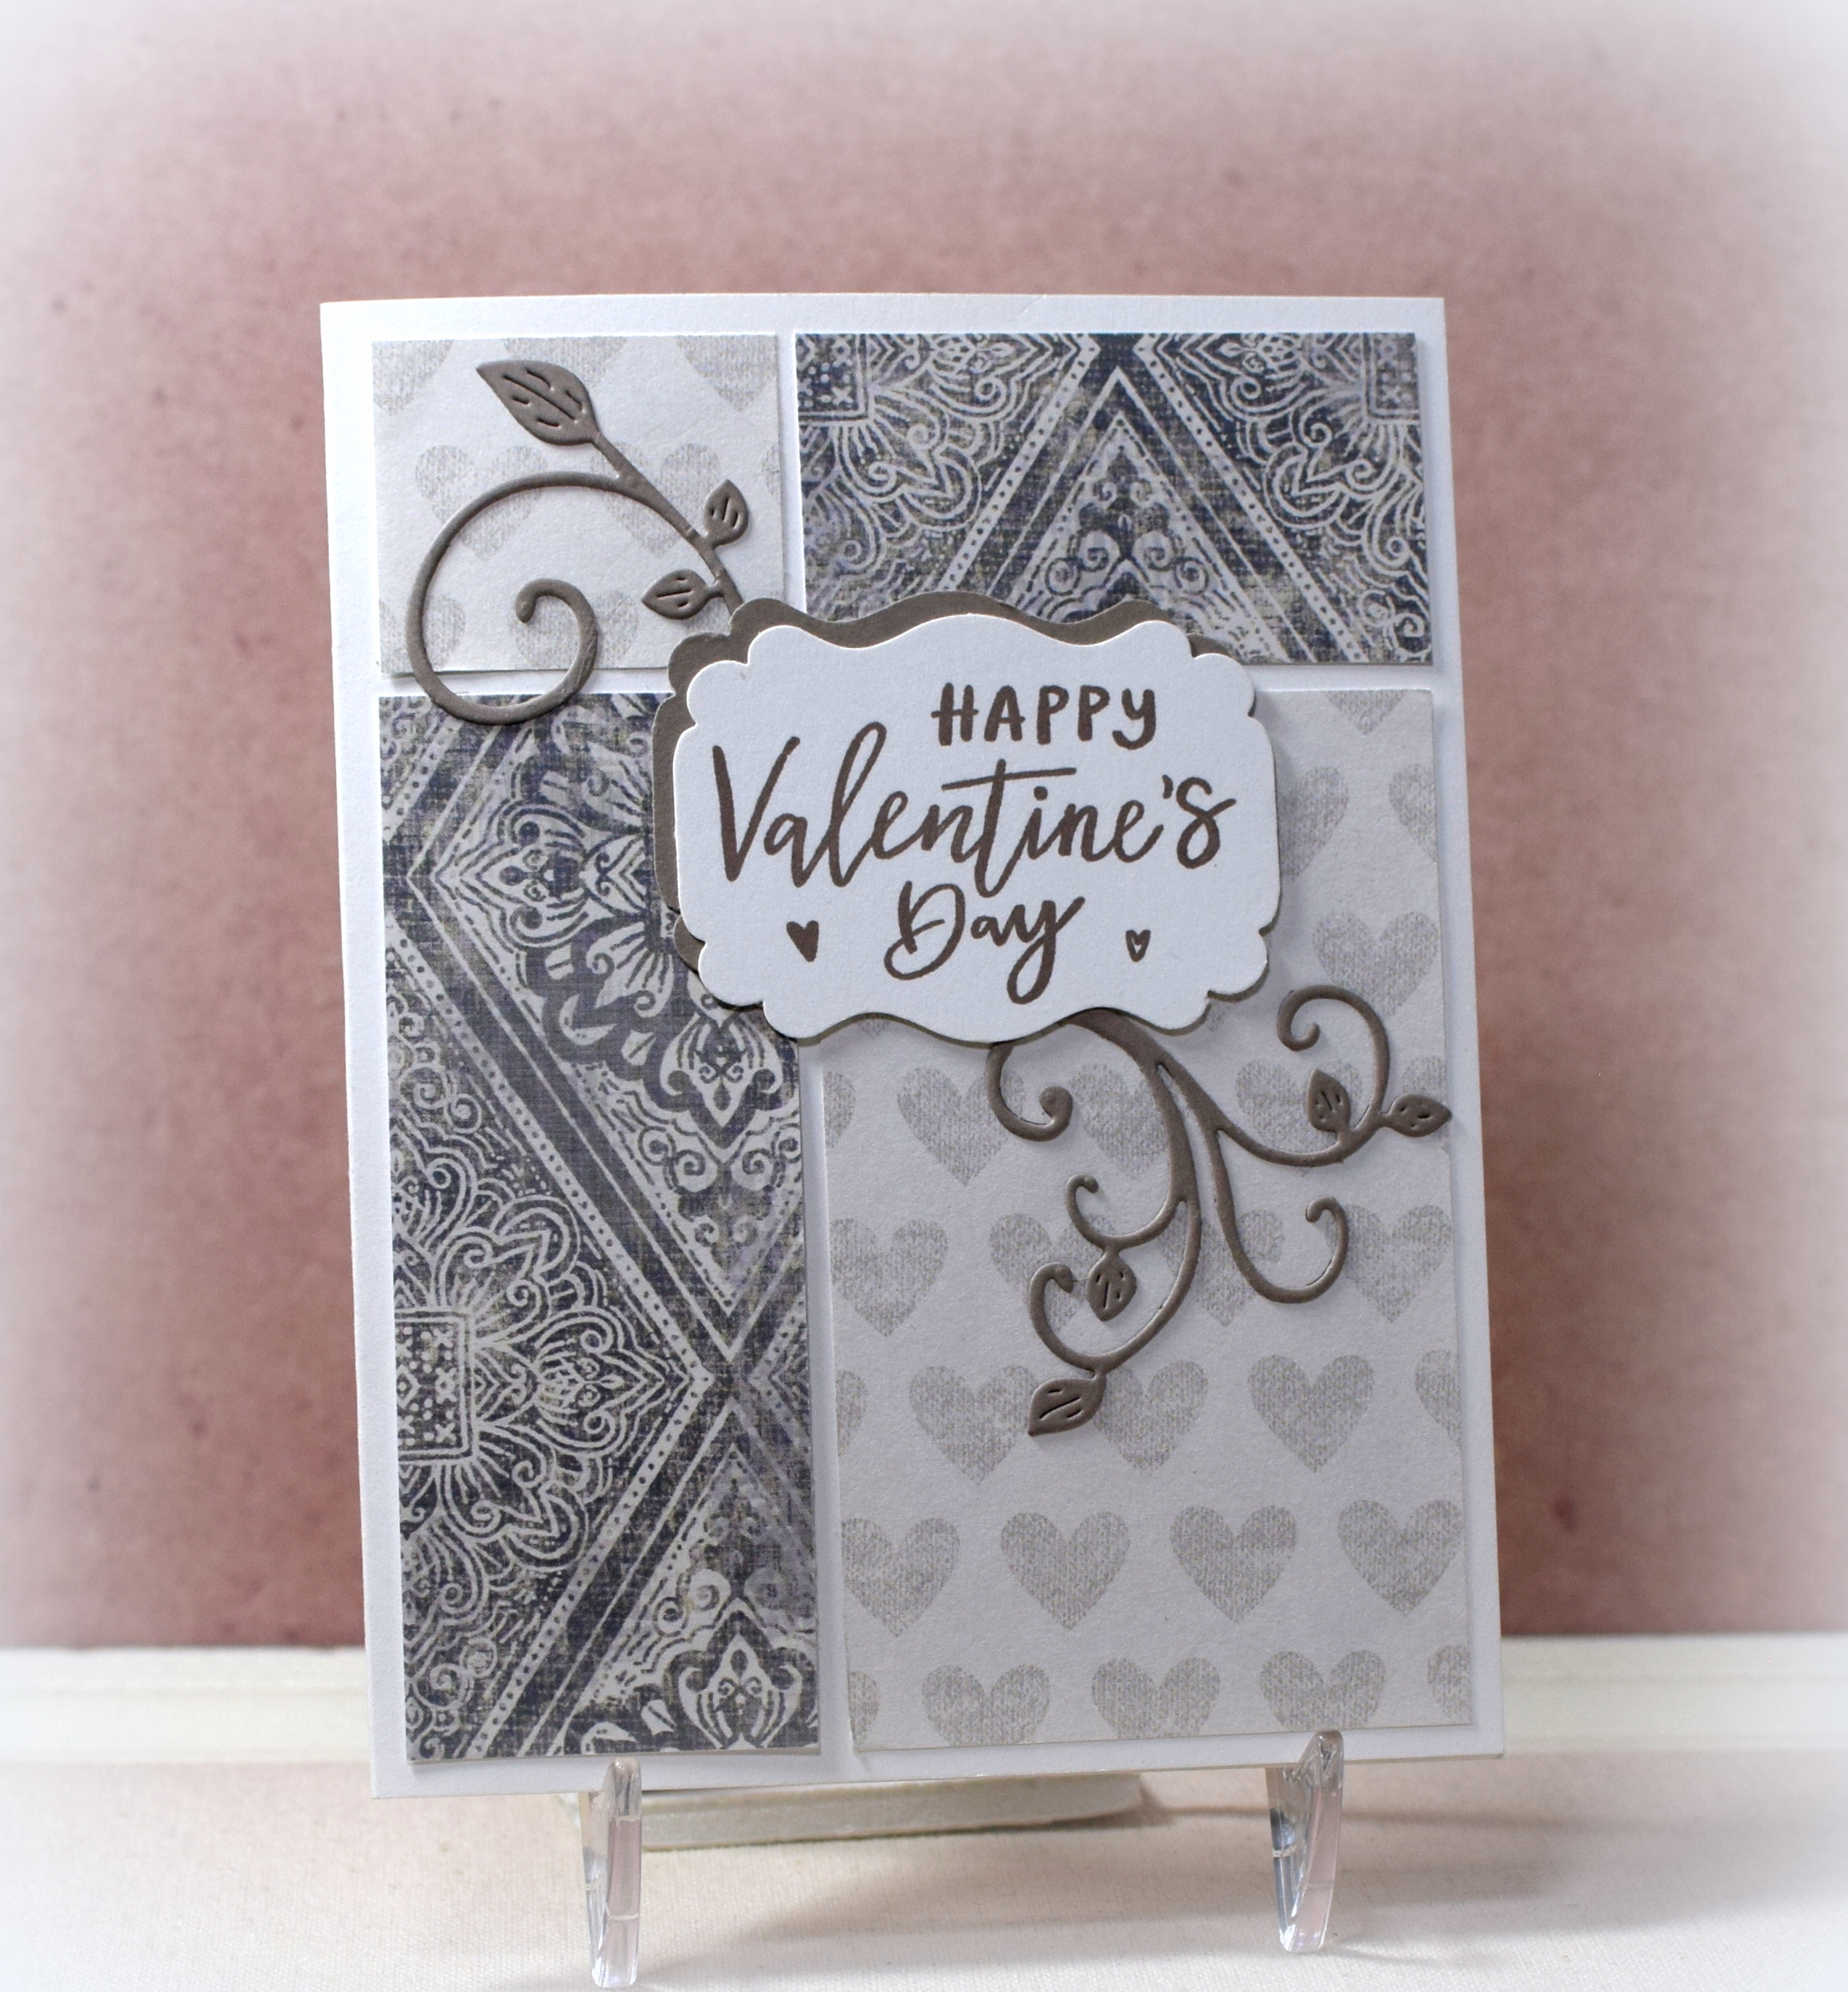
Split Panel Background
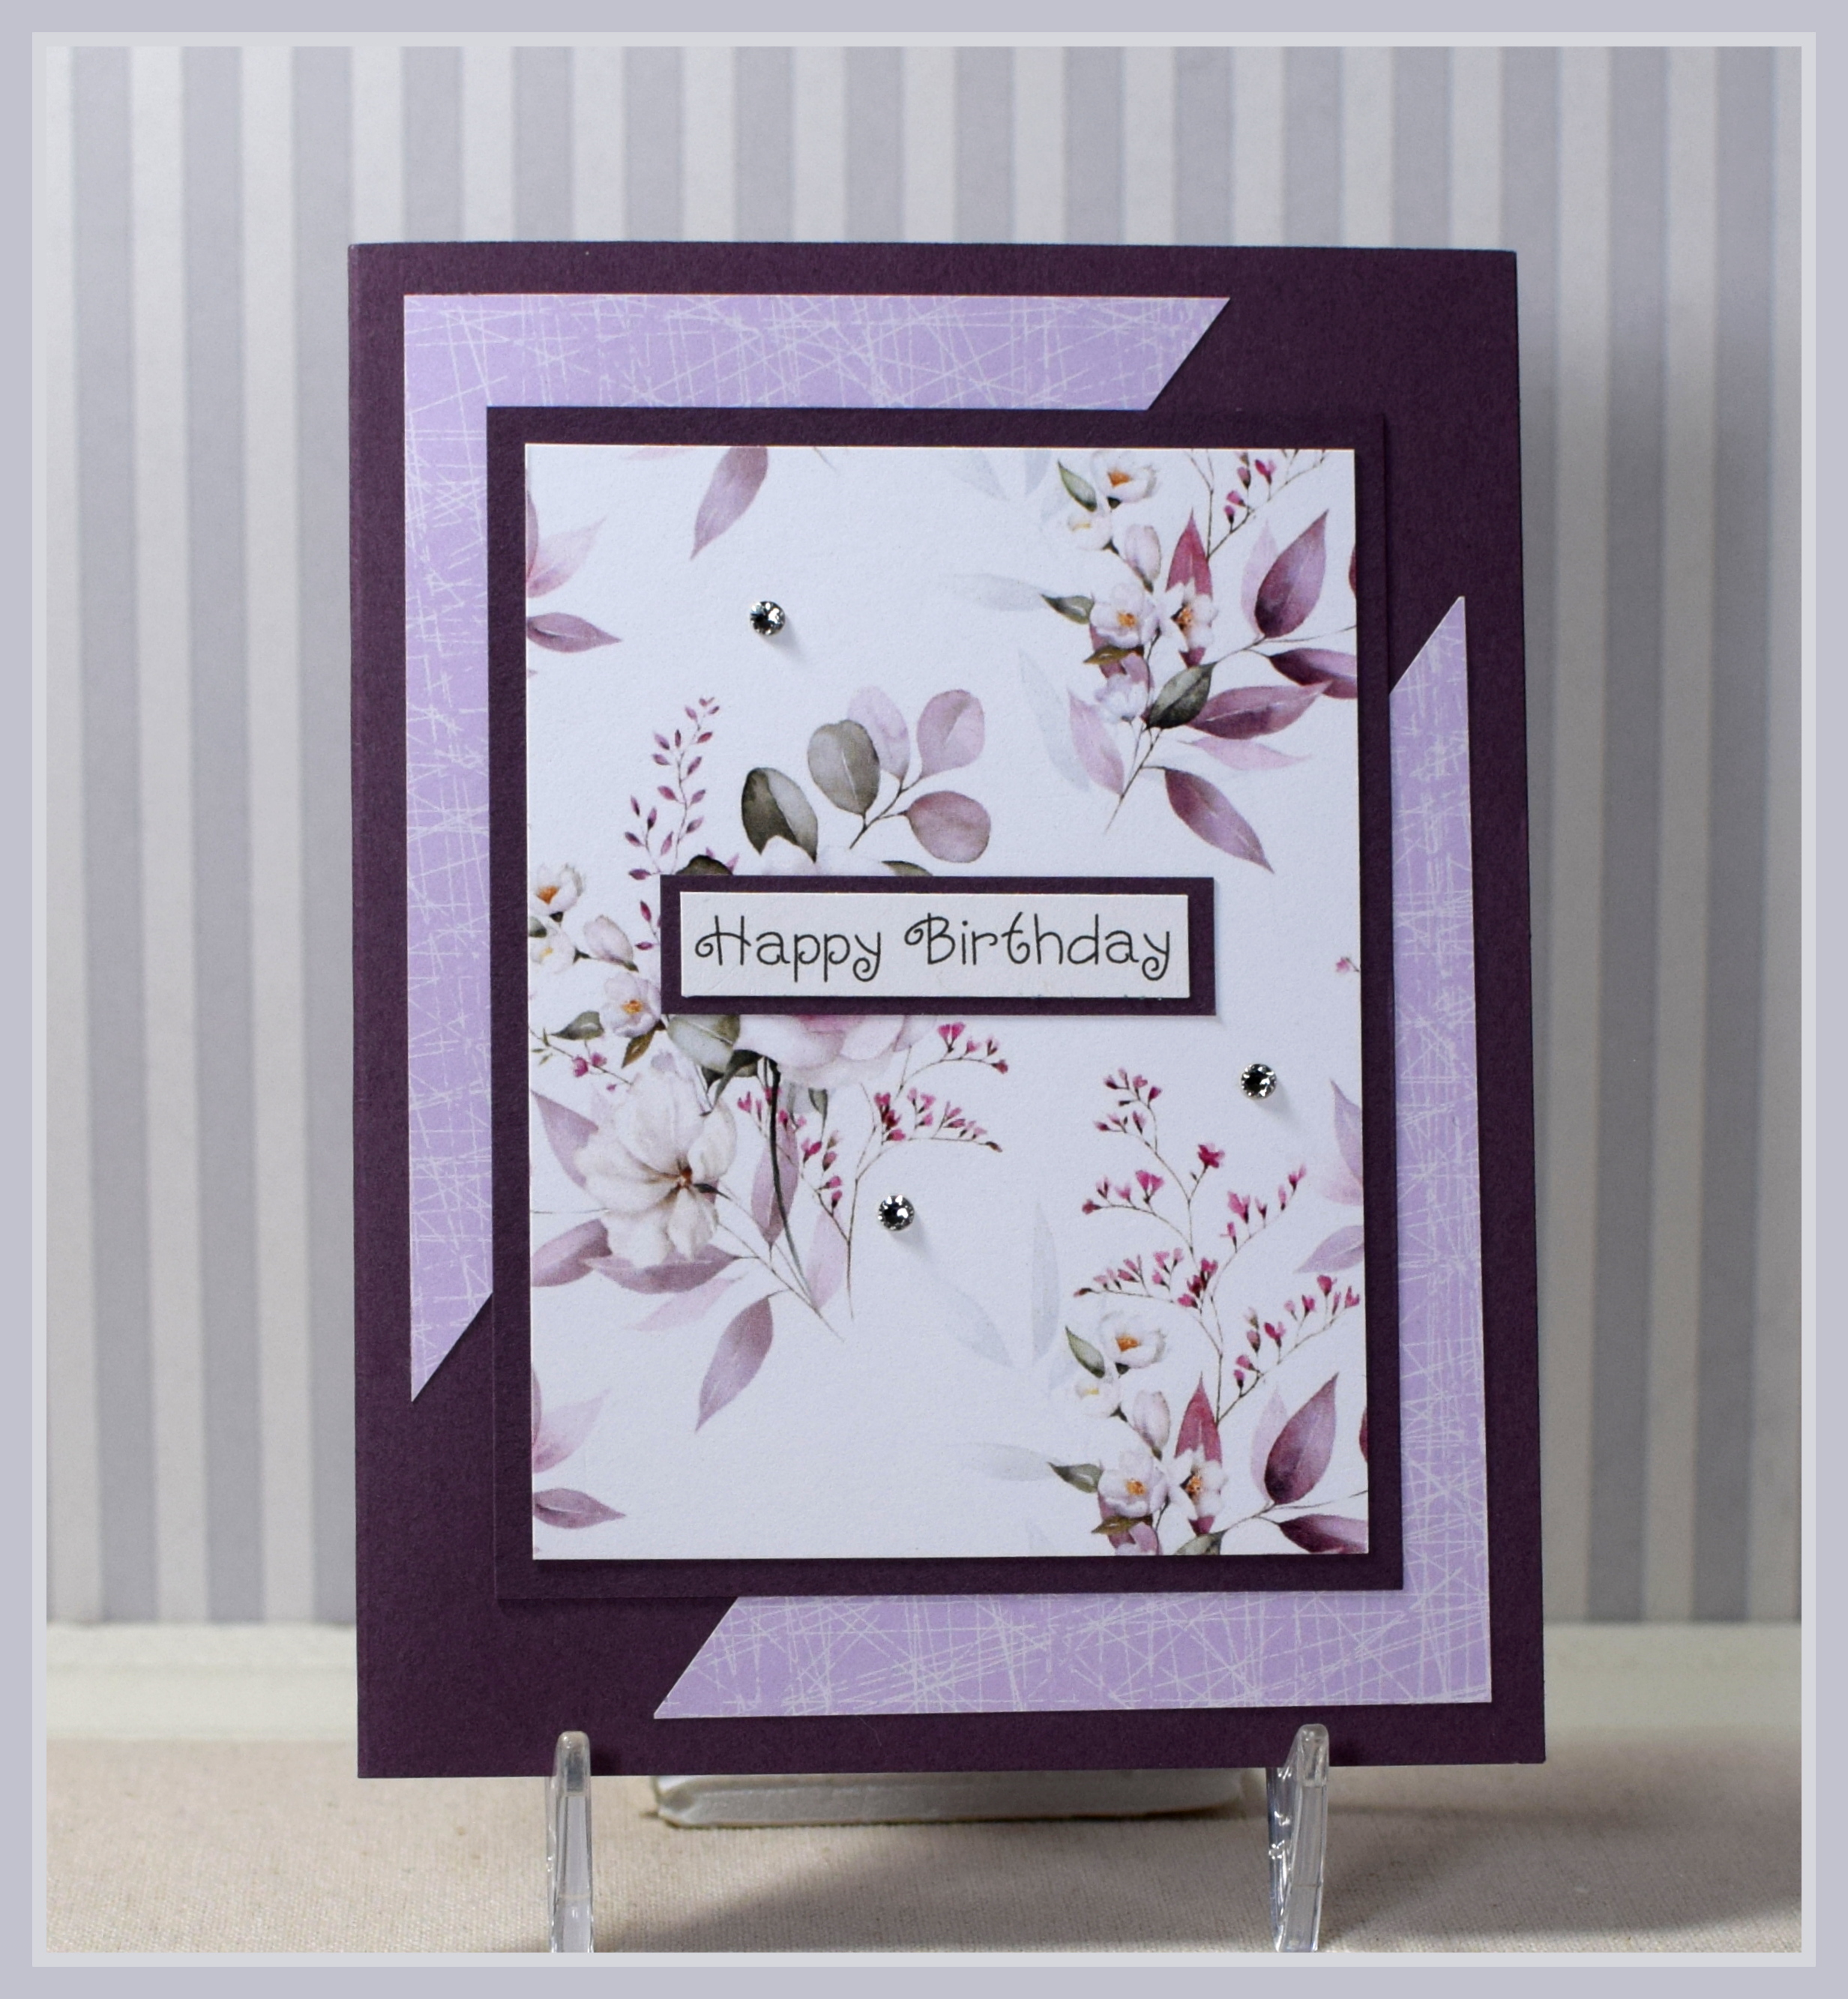
This card layout was made with two 3×4 inch panels of patterned paper. One of the panels was cut in half diagonally, and the other became the focal panel. I love this simple layout to highlight pretty paper and to add interest to the background as well.
The patterned paper I used is Recollections “Lavender Lines” and a piece from the “Floral Meadows” paper pad from Brass & Bliss. The base and mats are from the Recollections “Passion Fruit” cardstock pack (no longer available?).
The greeting was computer generated (CK Curly font), and a few 3mm crystals were added for a hint of sparkle.
Thanks for checking out my card project!