Hedgehog and Hearts for Valentine’s Day
(Inside: Wishing you every happiness, today and always.)
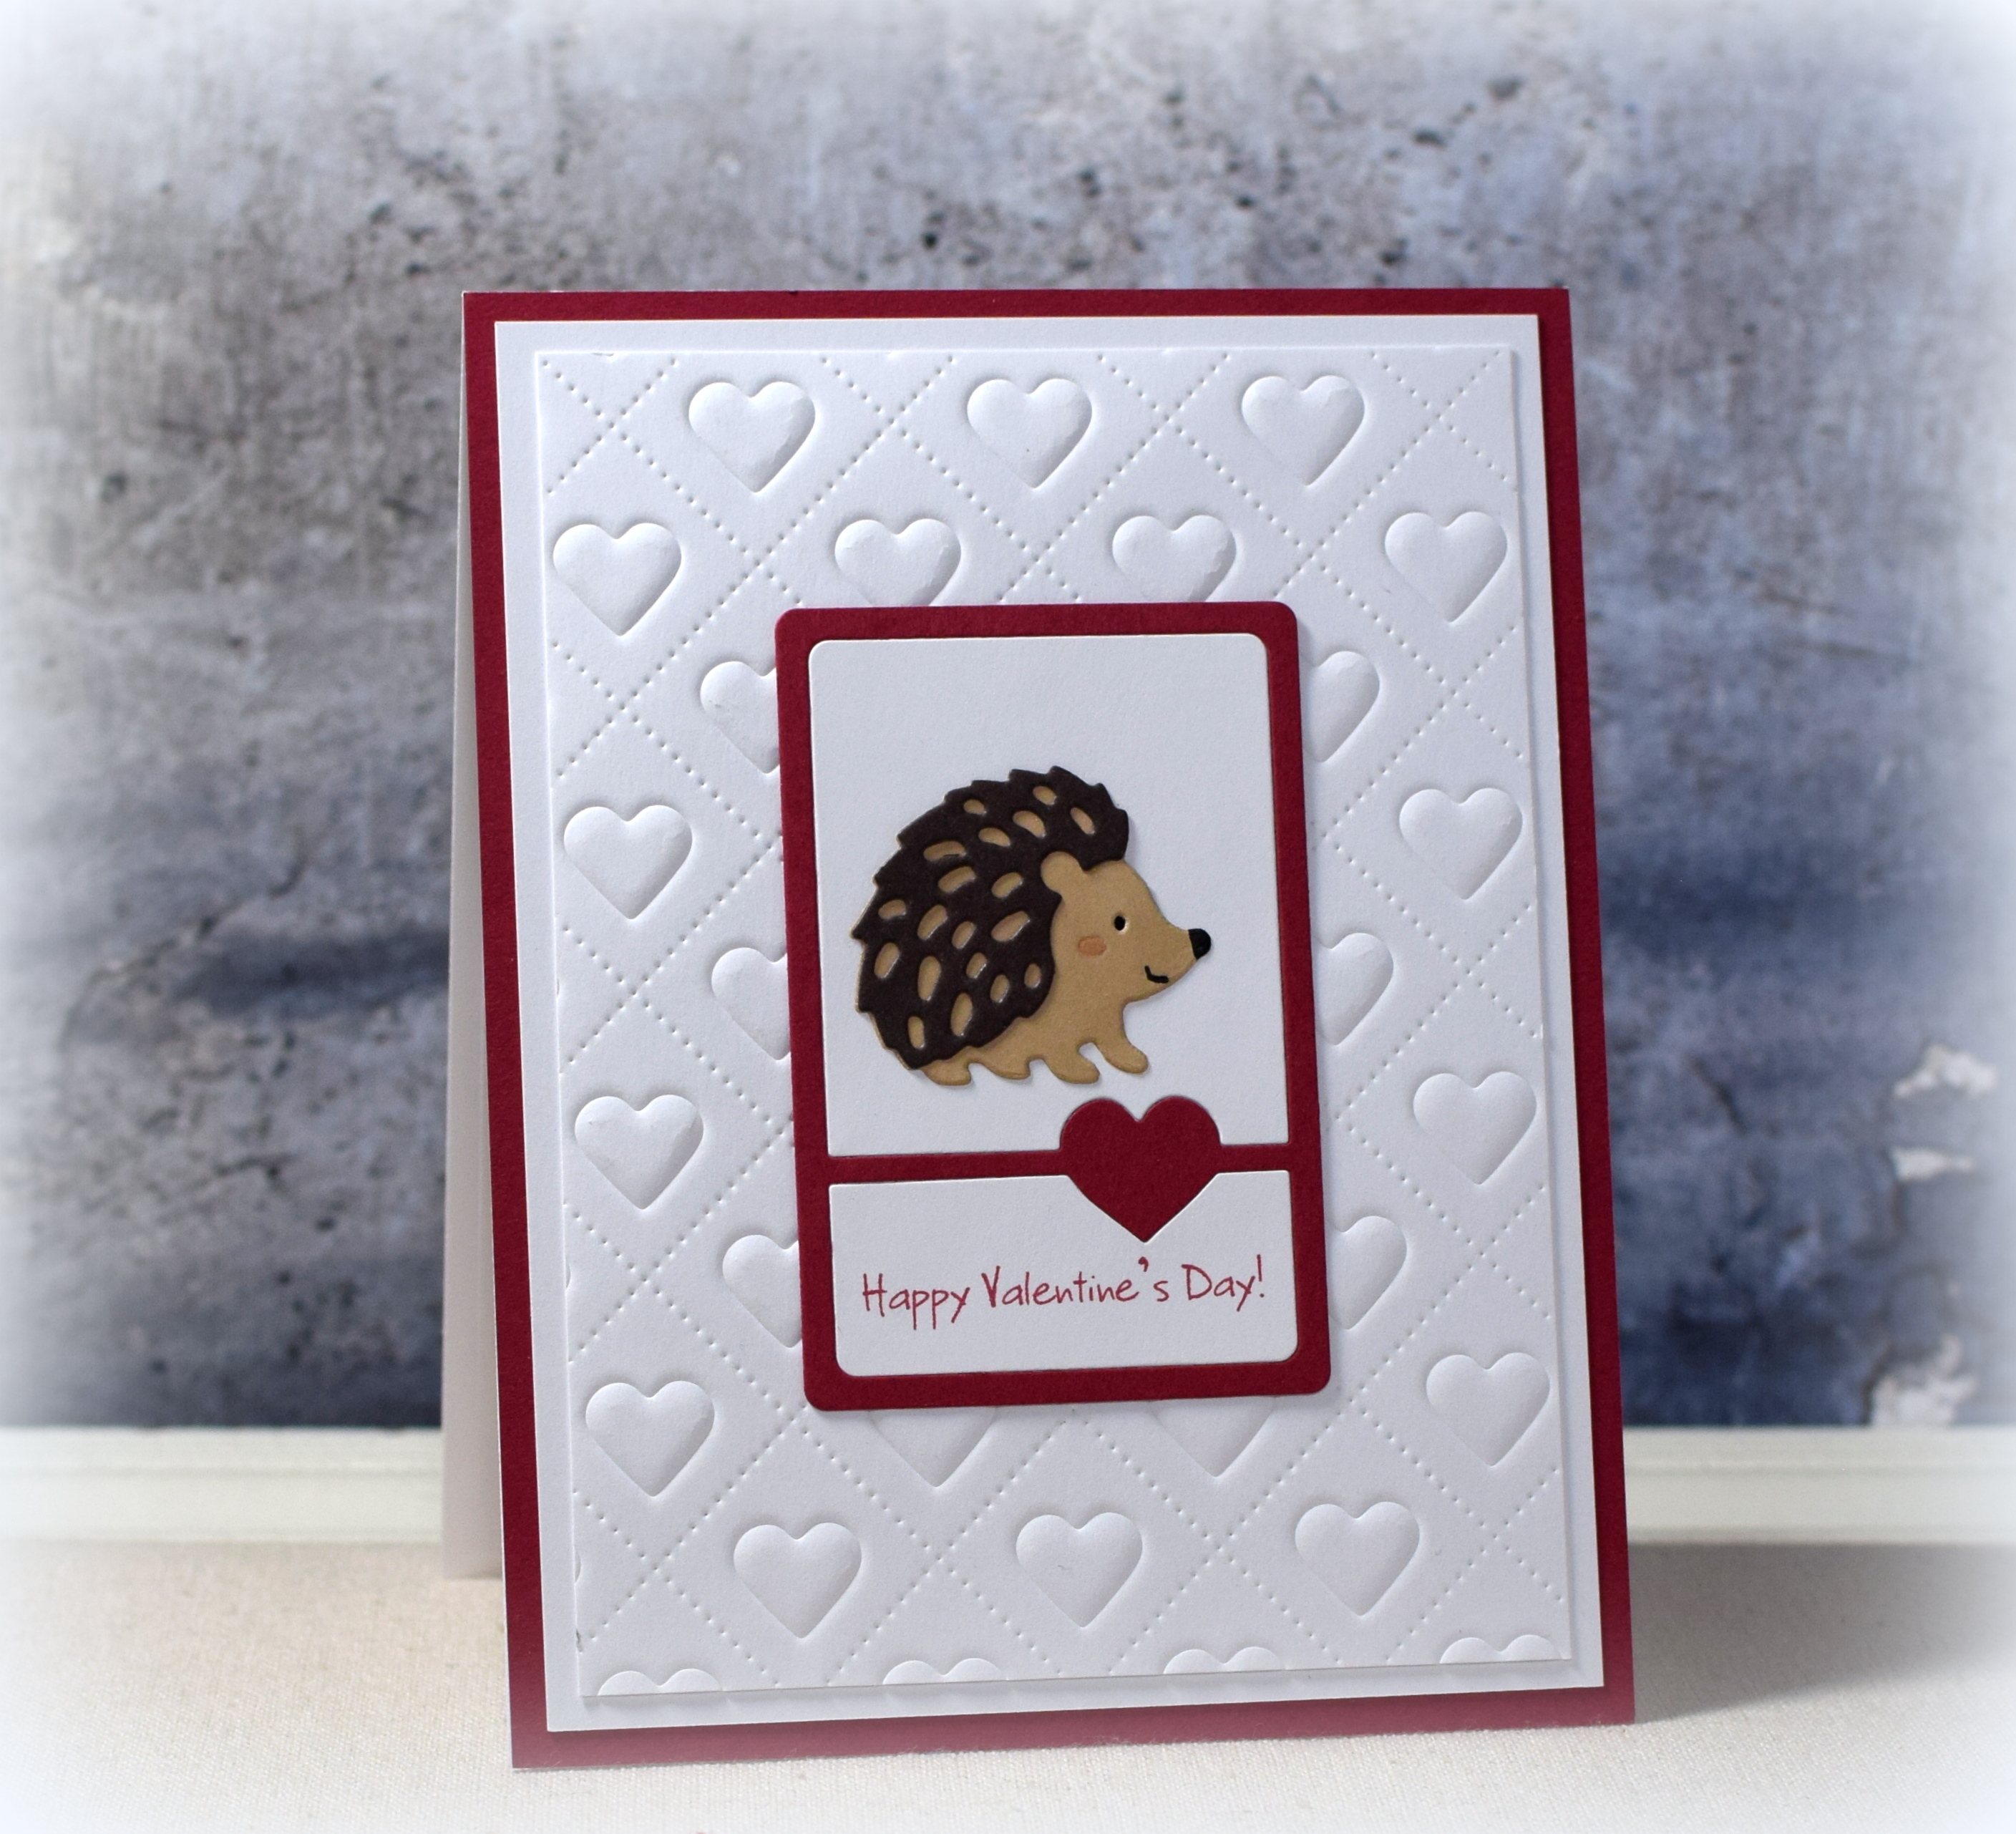
This card features this cute little guy from a die set I purchased on Amazon as well as a background cover die that I embossed (instead of cut as I had done HERE).
This animal die set includes a number of cute animals, but I just wanted to mention that there is a bit of fussy cutting and drawing/coloring required for some of the layers on each.
The frame is from the “Heart Card Sketcher” set (FRA-DIE-09308) from Frantic Stamper. The inside sentiment is from the “Elegant Florals” set from Gina K Designs, and the greeting on the front was computer generated (CK Footnote; 15pt font).
Thanks for checking out my card project!
This content uses referral links as described in the disclosure policy on my sidebar.