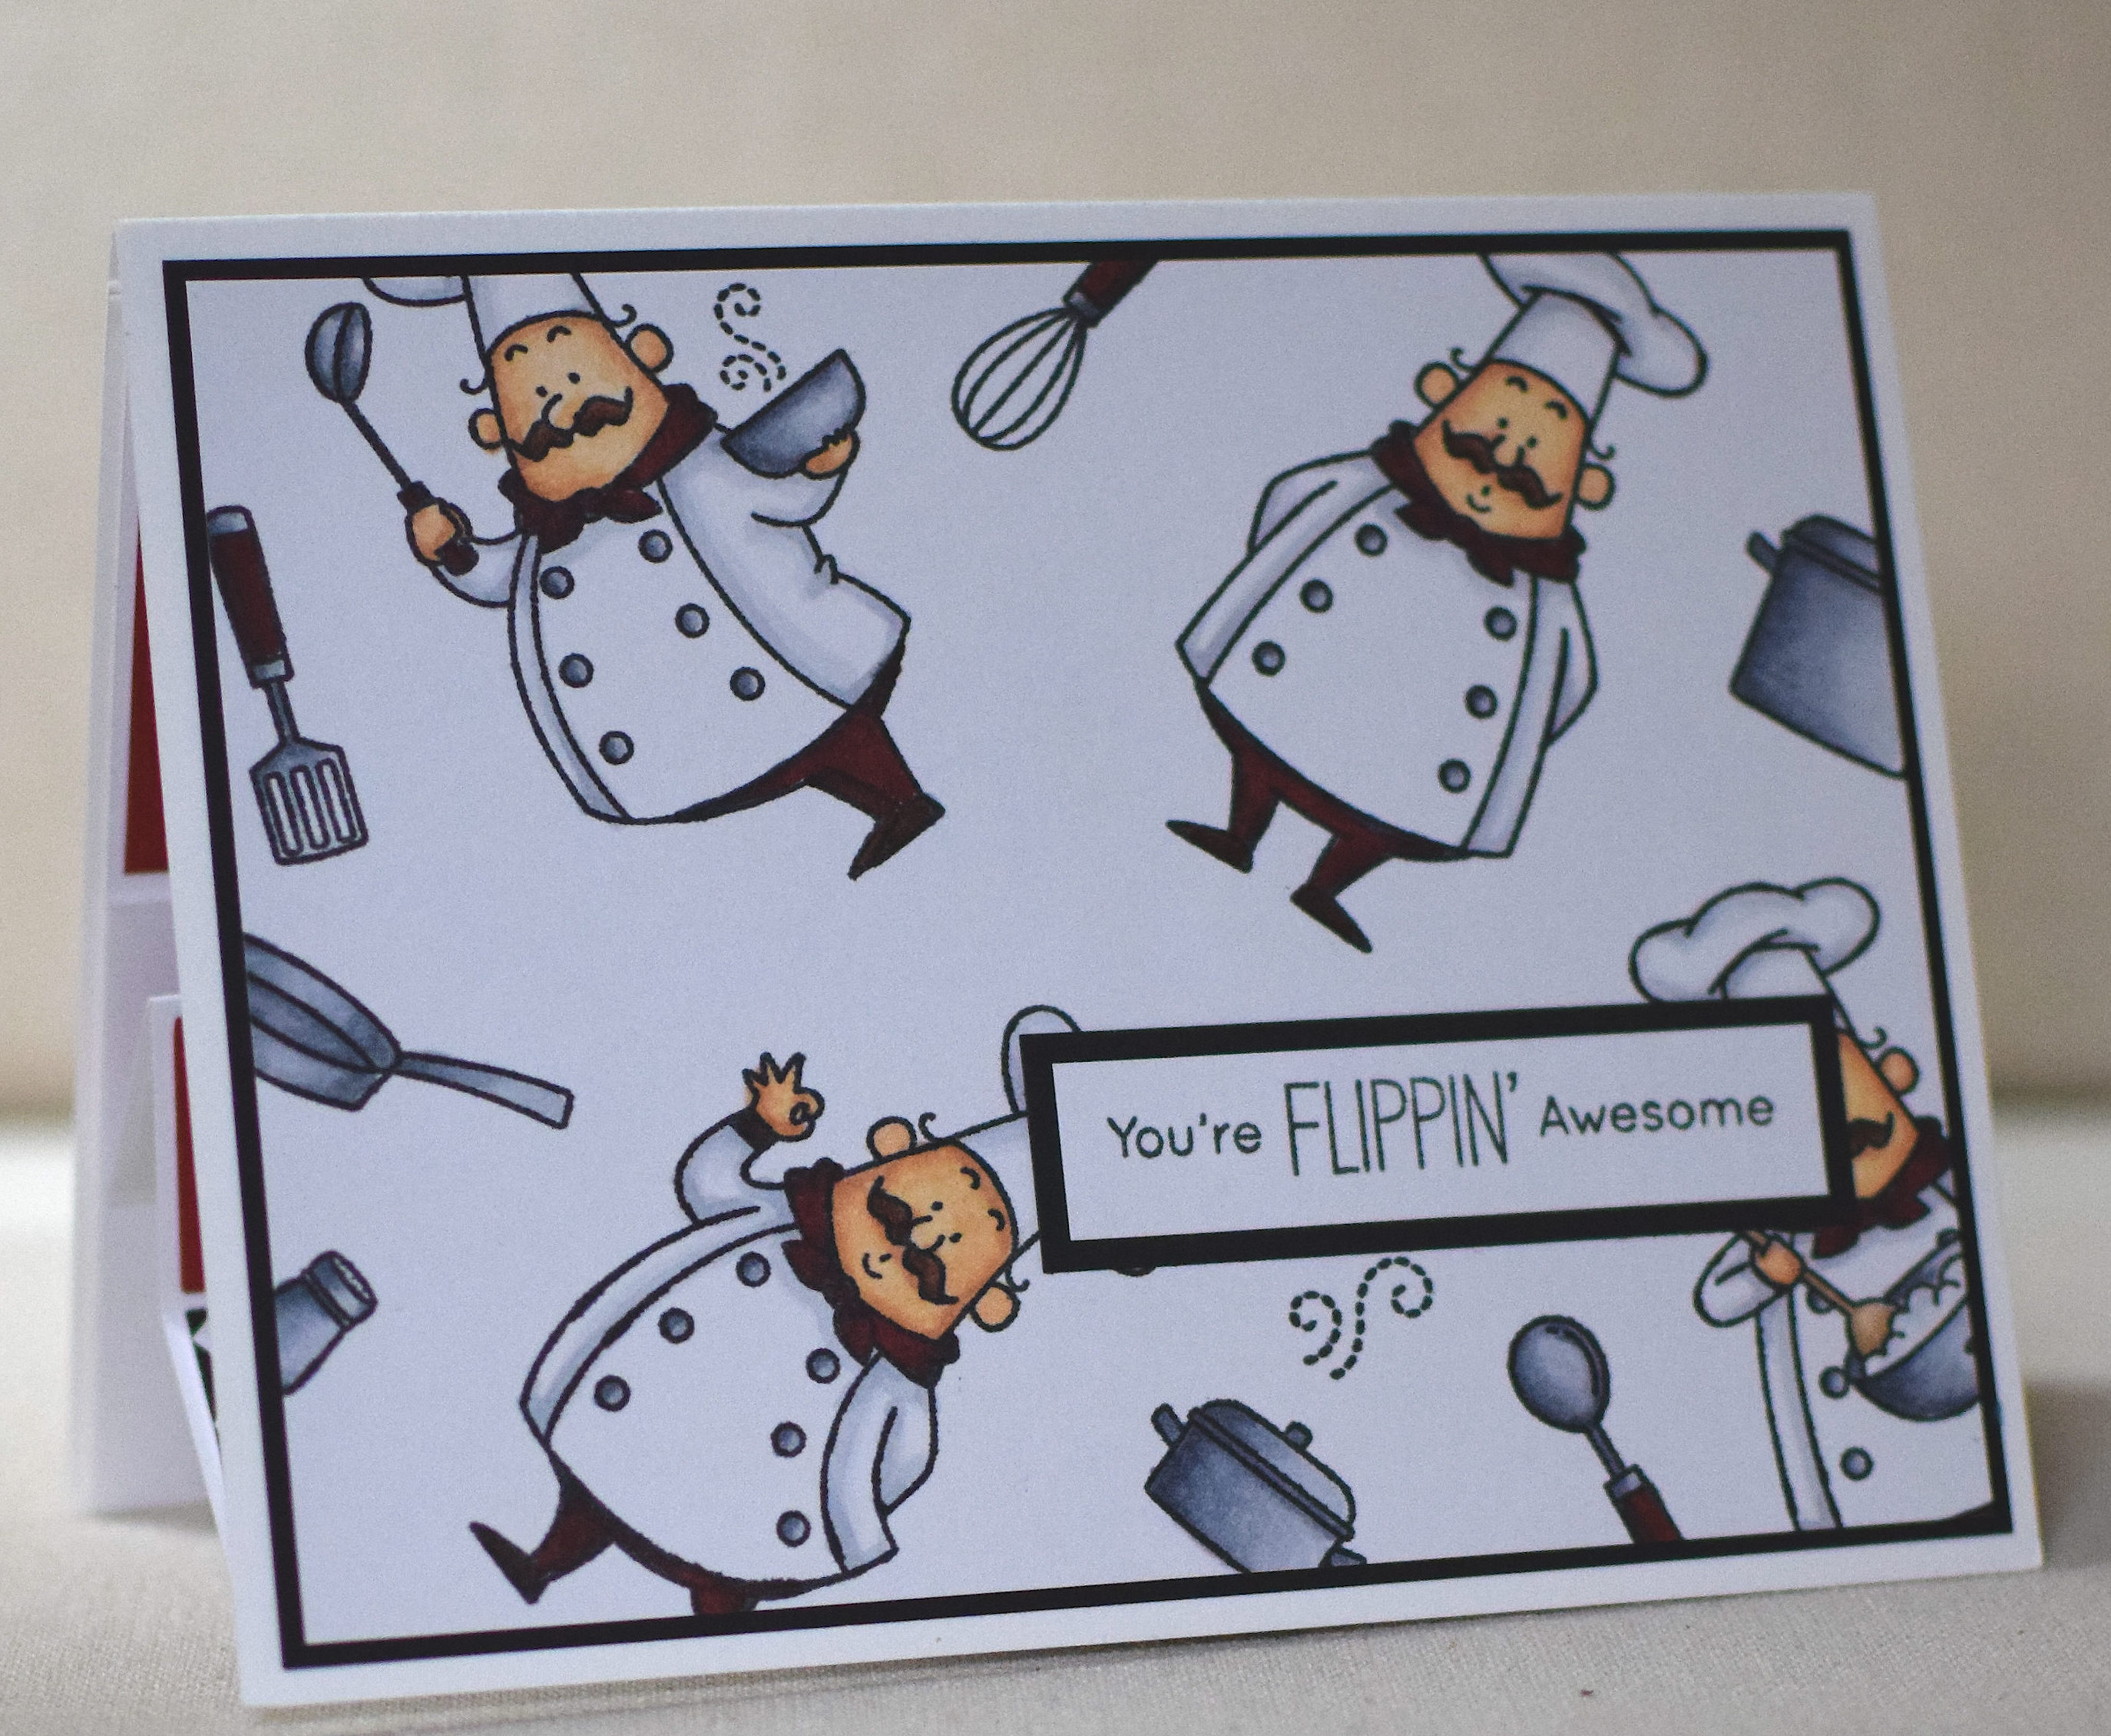
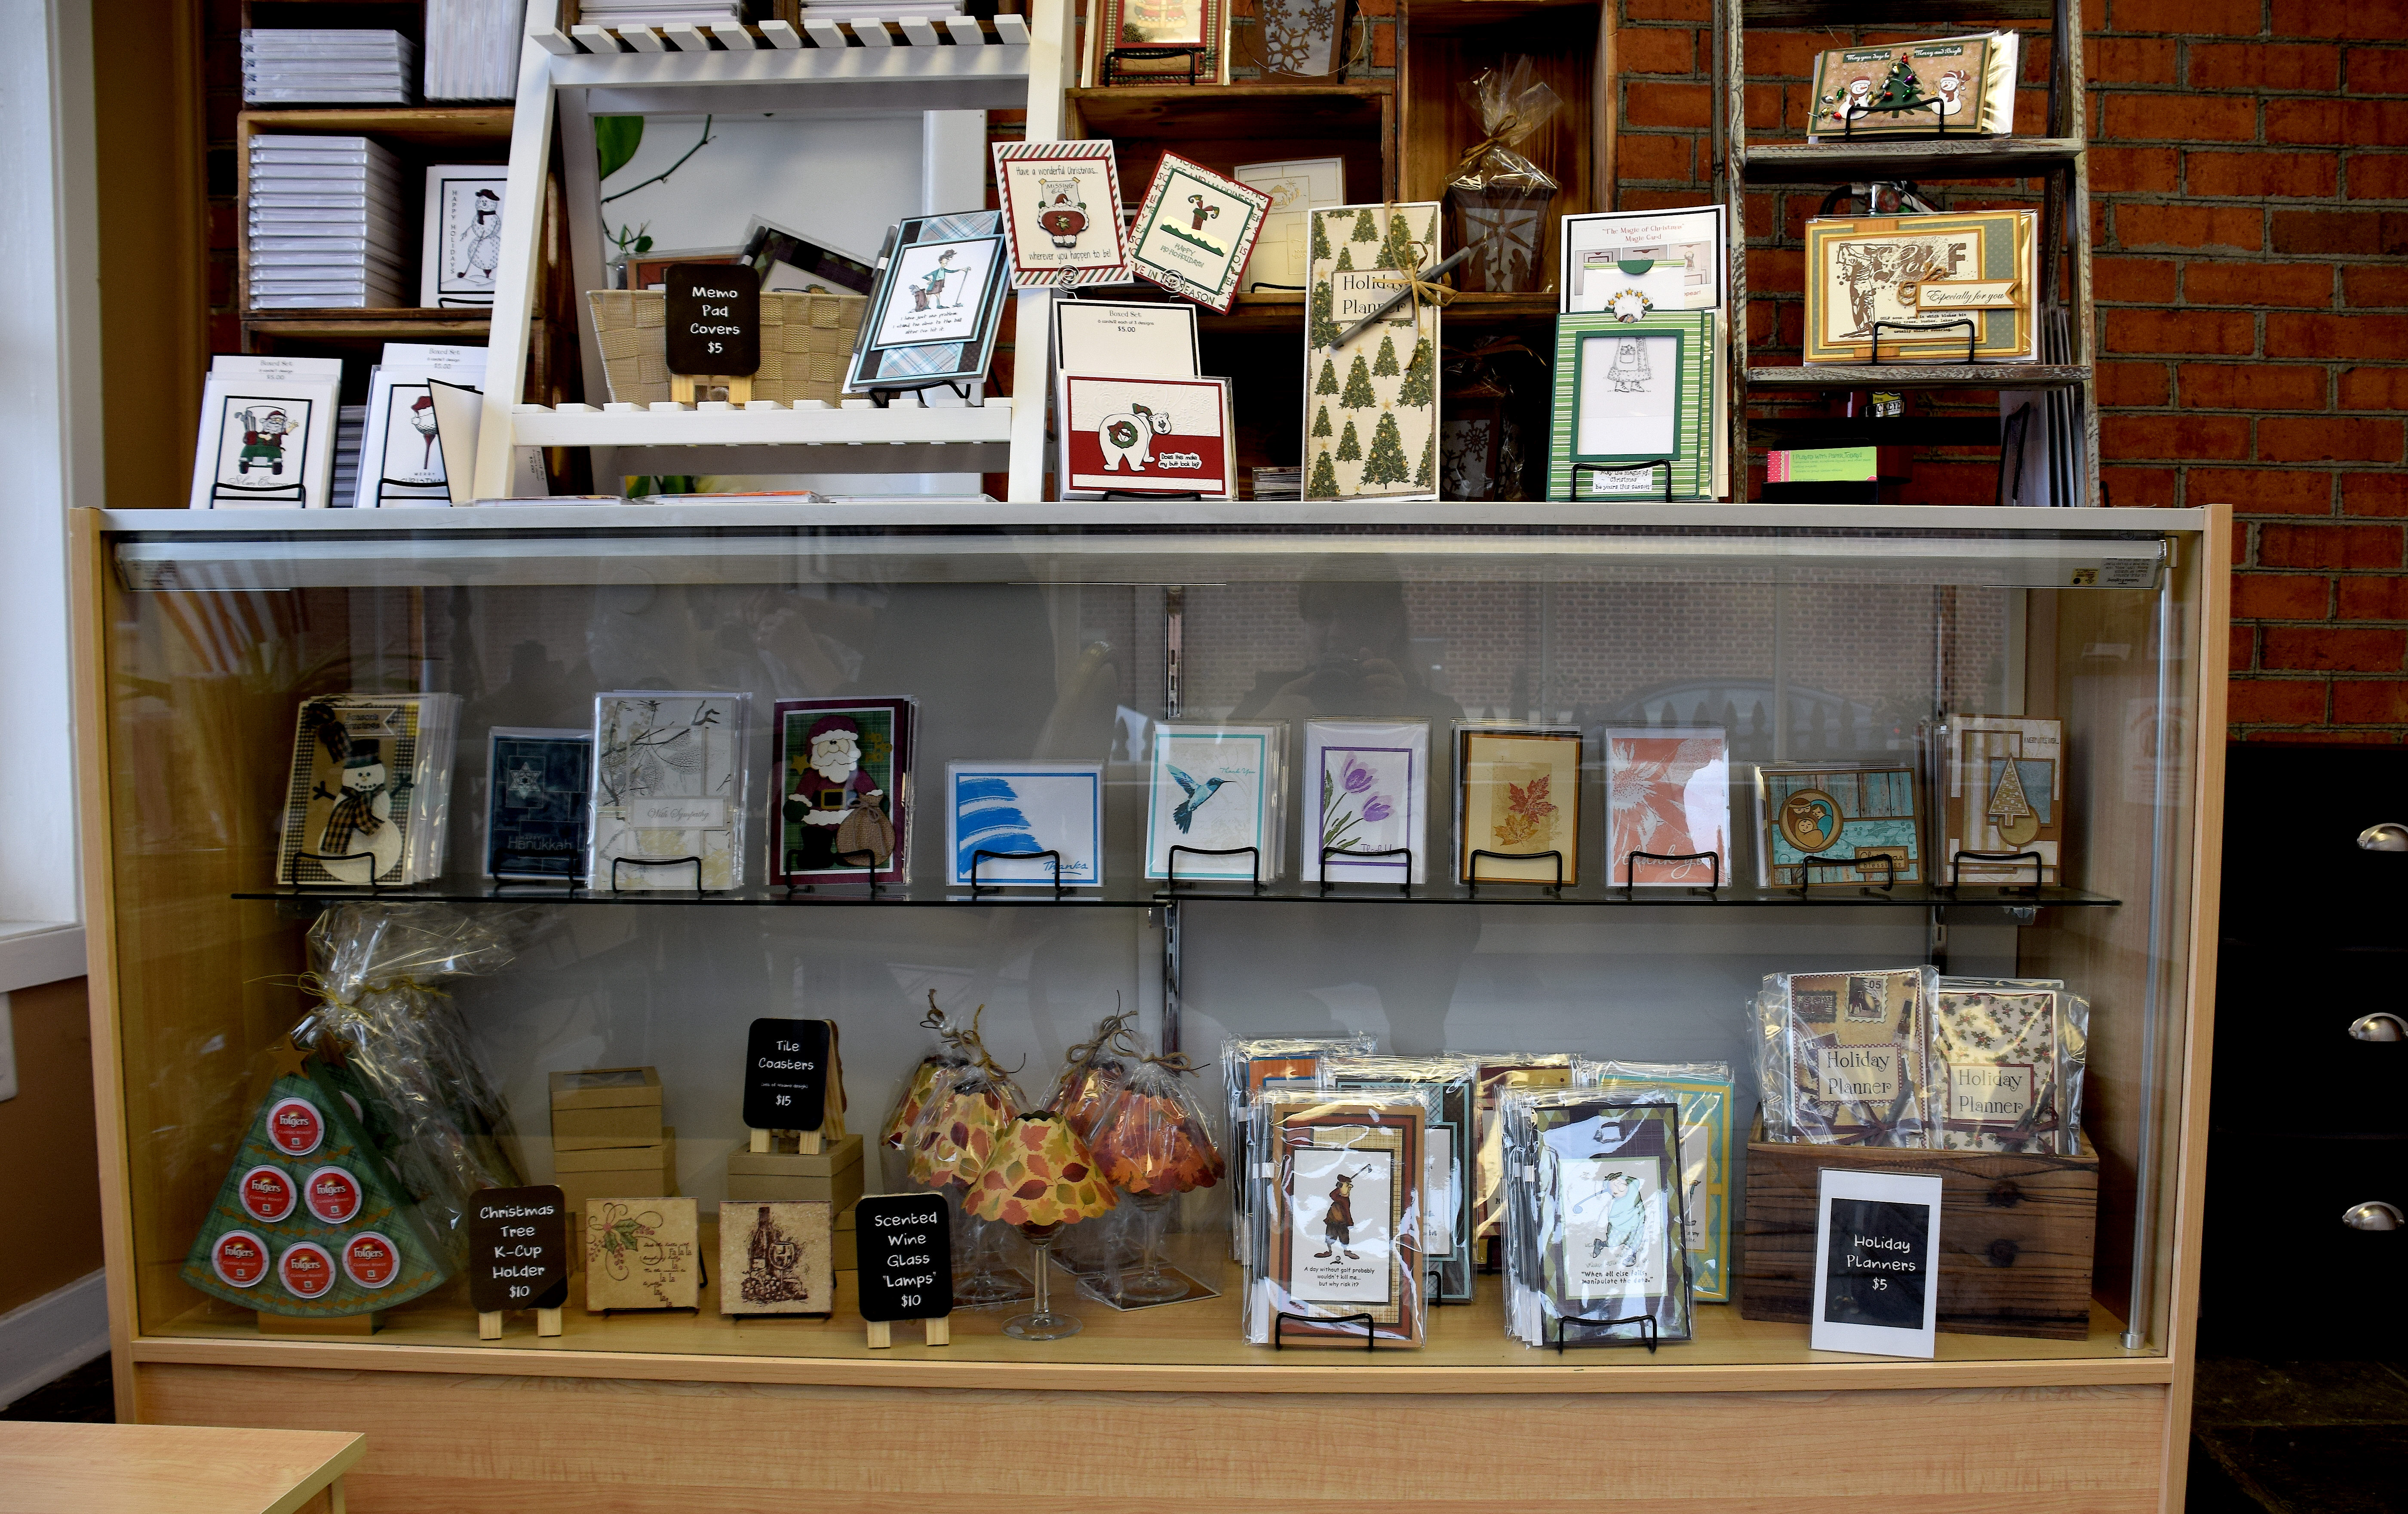
Handmade Cards and Projects for Sale in Haddonfield

I was invited (for a few months) to join “Uncle Ron’s Candles” in Haddonfield, NJ to display and sell some of my cards and projects. (Thanks Stacey!) This was a unique experience in that Stacey ran a dry cleaning business, and this display was in her store! Customers could come in with their laundry and dry cleaning needs and could leave with cards and gifts. How cool is that?!


(click on photo for closer look)
This post is intended to satisfy the angel policy requirement of listing the supplies used on my projects.
All of the projects I am offering for sale were hand-created using a variety of materials including rubber stamps, cut files, designer papers and embellishments. The companies that designed the products I used all have Angel Policies which allow one to use their products on hand-made creations for sale. (The exact terms of each company’s Angel Policy can be found on their websites.) Some companies required a commercial license (which I purchased, when necessary). Most of the companies require that credit be given when using their products, and since my projects were all hand-made with no mechanical reproduction, it was not reasonable to list the “ingredients” used on each individual project. Therefore, I have included below (in no particular order) the links to my blog posts for each of the projects offered. (Click on the card title below the photo to go to the post.) In each of the posts, I’ve included the copyrighted products used for that project… Continue reading