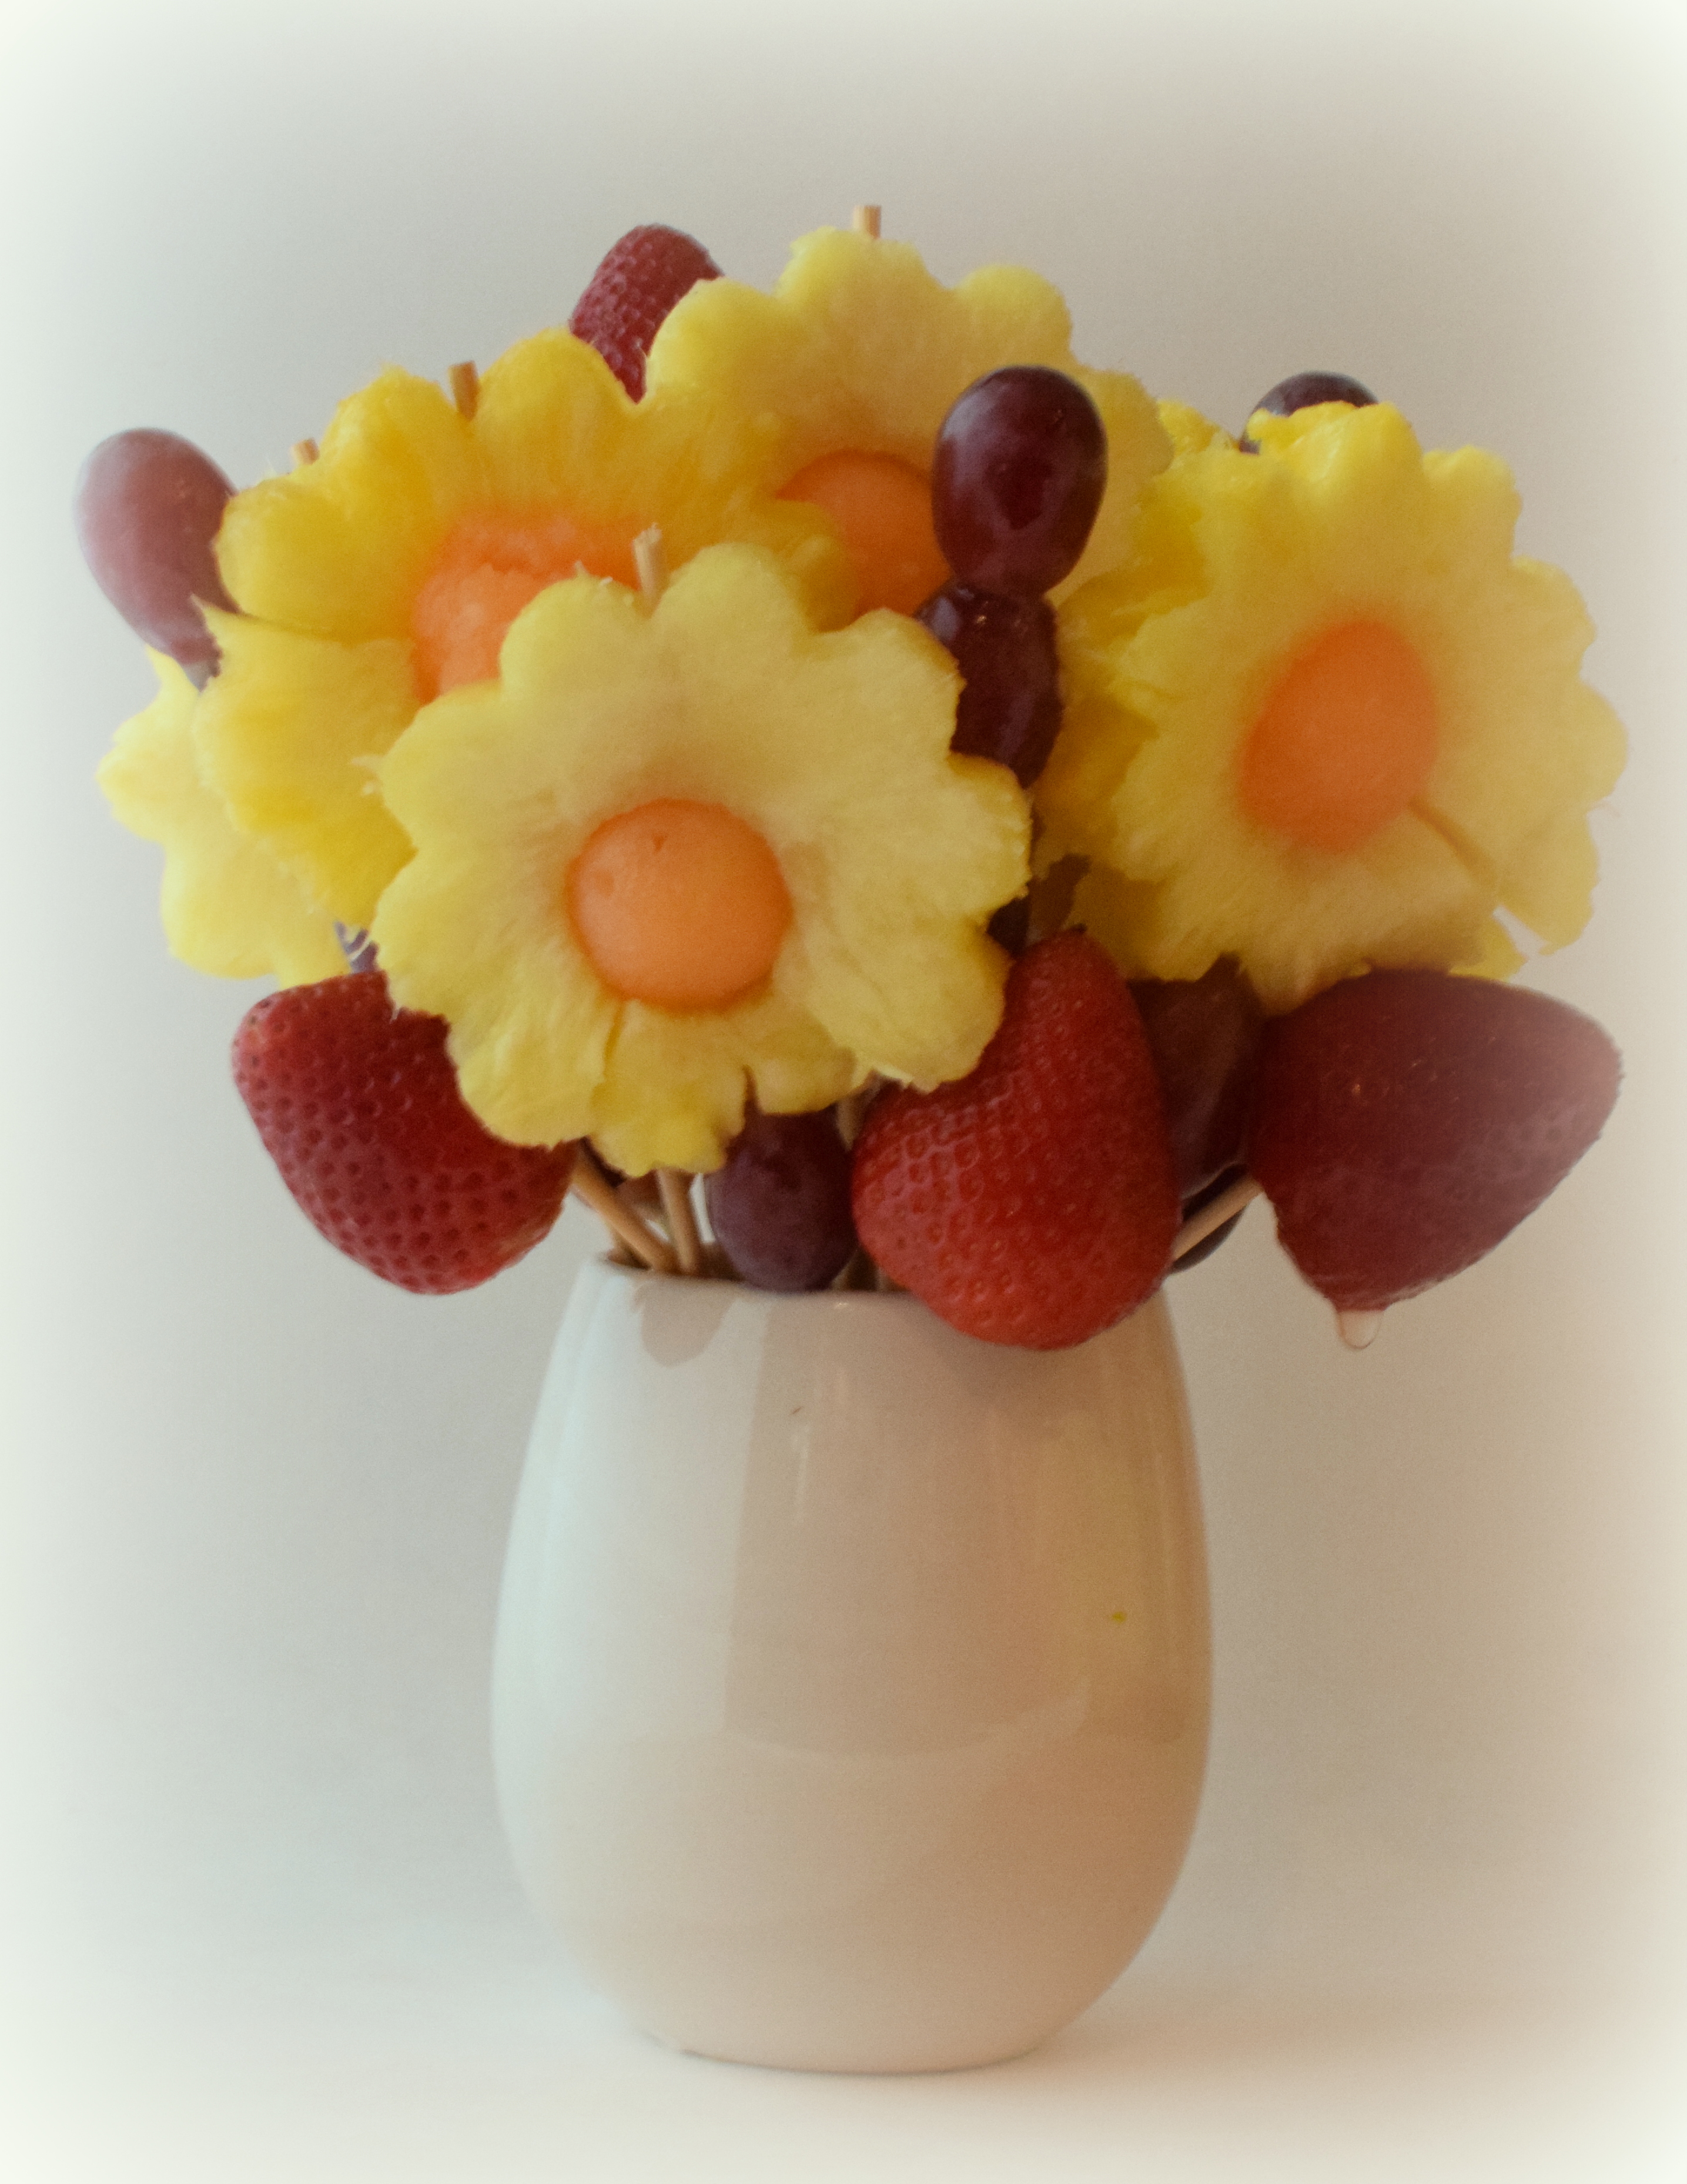
Peek-a-Boo Graduation Card

Peek-a-Boo Graduation Card

wDSC_6900.jpg

I had seen a tutorial for a Peek-a Boo Card where the image on the front of the card appears to transform into a second image as the card is opened.  I thought these would make great graduation cards for my triplets who just graduated from high school.

Peek-A-Boo Graduation Card

When the cards are closed, you can see their senior portraits , and as the cards are opened, their senior portraits “transform” into pictures from their first day of kindergarten.

wDSC_6907

I used black and heavy weight white card stock.  The congratulations stamp is from the “Curly Cute” set by Stampin’ Up and was stamped with versafine onyx black ink.  The class of 2017 was a digital image I found online (although I am no longer seeing it there).  I found the same image on etsy (for 2018) HERE by createsvg4you.  The sentiment inside was computer generated.

To create the frames and openings, I used a die from the Spellbinders “Artist Trading Cards” set (S3-208) and a We R Memory Keepers Frame Punch Board.

I added a panel of acetate over the back image (the one you see when the card is closed) which helped my second image slide more easily as the card was opened.  (Unfortunately, it’s adding to the glare in the photo.)

I made three of these cards.  Same exact design; different photos.


263-104-168_86p7_176   263-104-176_3f93_101   263-104-184_7ryy_120

They grow up so fast!!

Thanks for checking out my card project!

This content uses referral links as described in the disclosure policy on my sidebar.

Welcome Little One Shaker Card

Welcome Little One Shaker Card

wDSC_6888.jpg

(Inside: Congratulations on your bundle of joy!)

Cheery Lynn Designs has a number of shaker card kits, and the one I used on this card is the Baby Rattle. The kit comes with the rattle dies, foam, acetate, and the metal fillers for inside the shaker element.  The components of the kit are also sold separately, but it was nice having everything included!  And it’s nice to know there are refills available if needed/desired.  There are instructional videos right on their site if you’ve never made a shaker card before.

The adorable papers used on this project are “Linen Door Boy Plaid” by The Paper Studio, “Betty-Ann” by Melissa Frances (the polka dotted paper), and American Crafts #320333 (elephants).  Stampin’ Up Mint Macaron card stock was also used along with the Mint Macaron ink for the inside sentiment and to color the white ribbon.

In addition to the metal “It’s a Boy” shaker elements that came with the kit, I also added some “Baby Shower Confetti” by Unique (#61842).

I used the Stampin’ Up Banner Triple Punch and a Cuttlebug Swiss Dot Folder.

The greeting inside the rattle is from the “Basket Blessings” set (retired?) by Gina K Designs stamped with versamark and heat embossed in white.  The inside greeting is from the “Rectangle Greetings” set (retired?) from Gina K Designs.

Thanks for checking out my card project!

This content uses referral links as described in the disclosure policy on my sidebar.

Pineapple Bouquet

Pineapple Bouquet

wDSC_5984 picasa

This isn’t a paper craft, and I’m a bit late posting this but…

One of the stresses highlights of senior year was Prom, and I was baffled at how crazy the process had become.  Back in my day (boy do I sound old!!!), I bought a pretty simple (inexpensive) gown at one of the teen clothing stores in the mall, did my hair and make-up as I did every day, and drove over with my date in the family car.  We had been dating already so it was just assumed that we’d go together, but if we hadn’t been, he just would have asked.  Today, the dresses are often over-the-top fancy, expensive, and in many cases, inappropriate for high school teens (in my opinion).  The girls post pictures of their dresses online so no one will buy the same one.  Hair, make-up and nails are professionally done, and limos or party buses are the preferred mode of transportation.

One of the things that amuses me is the “Promposal” where the asking has become quite a production!  My boys needed to come up with something creative for their dates, and because my daughter was going with a guy who was not in her senior class, she needed to do the promposing as well.  Friends of their dates helped them with their ideas, orchestrated the surprises, and were there to help with the actual promposals also. Like I said – a production!   Anyway, here’s what they did…

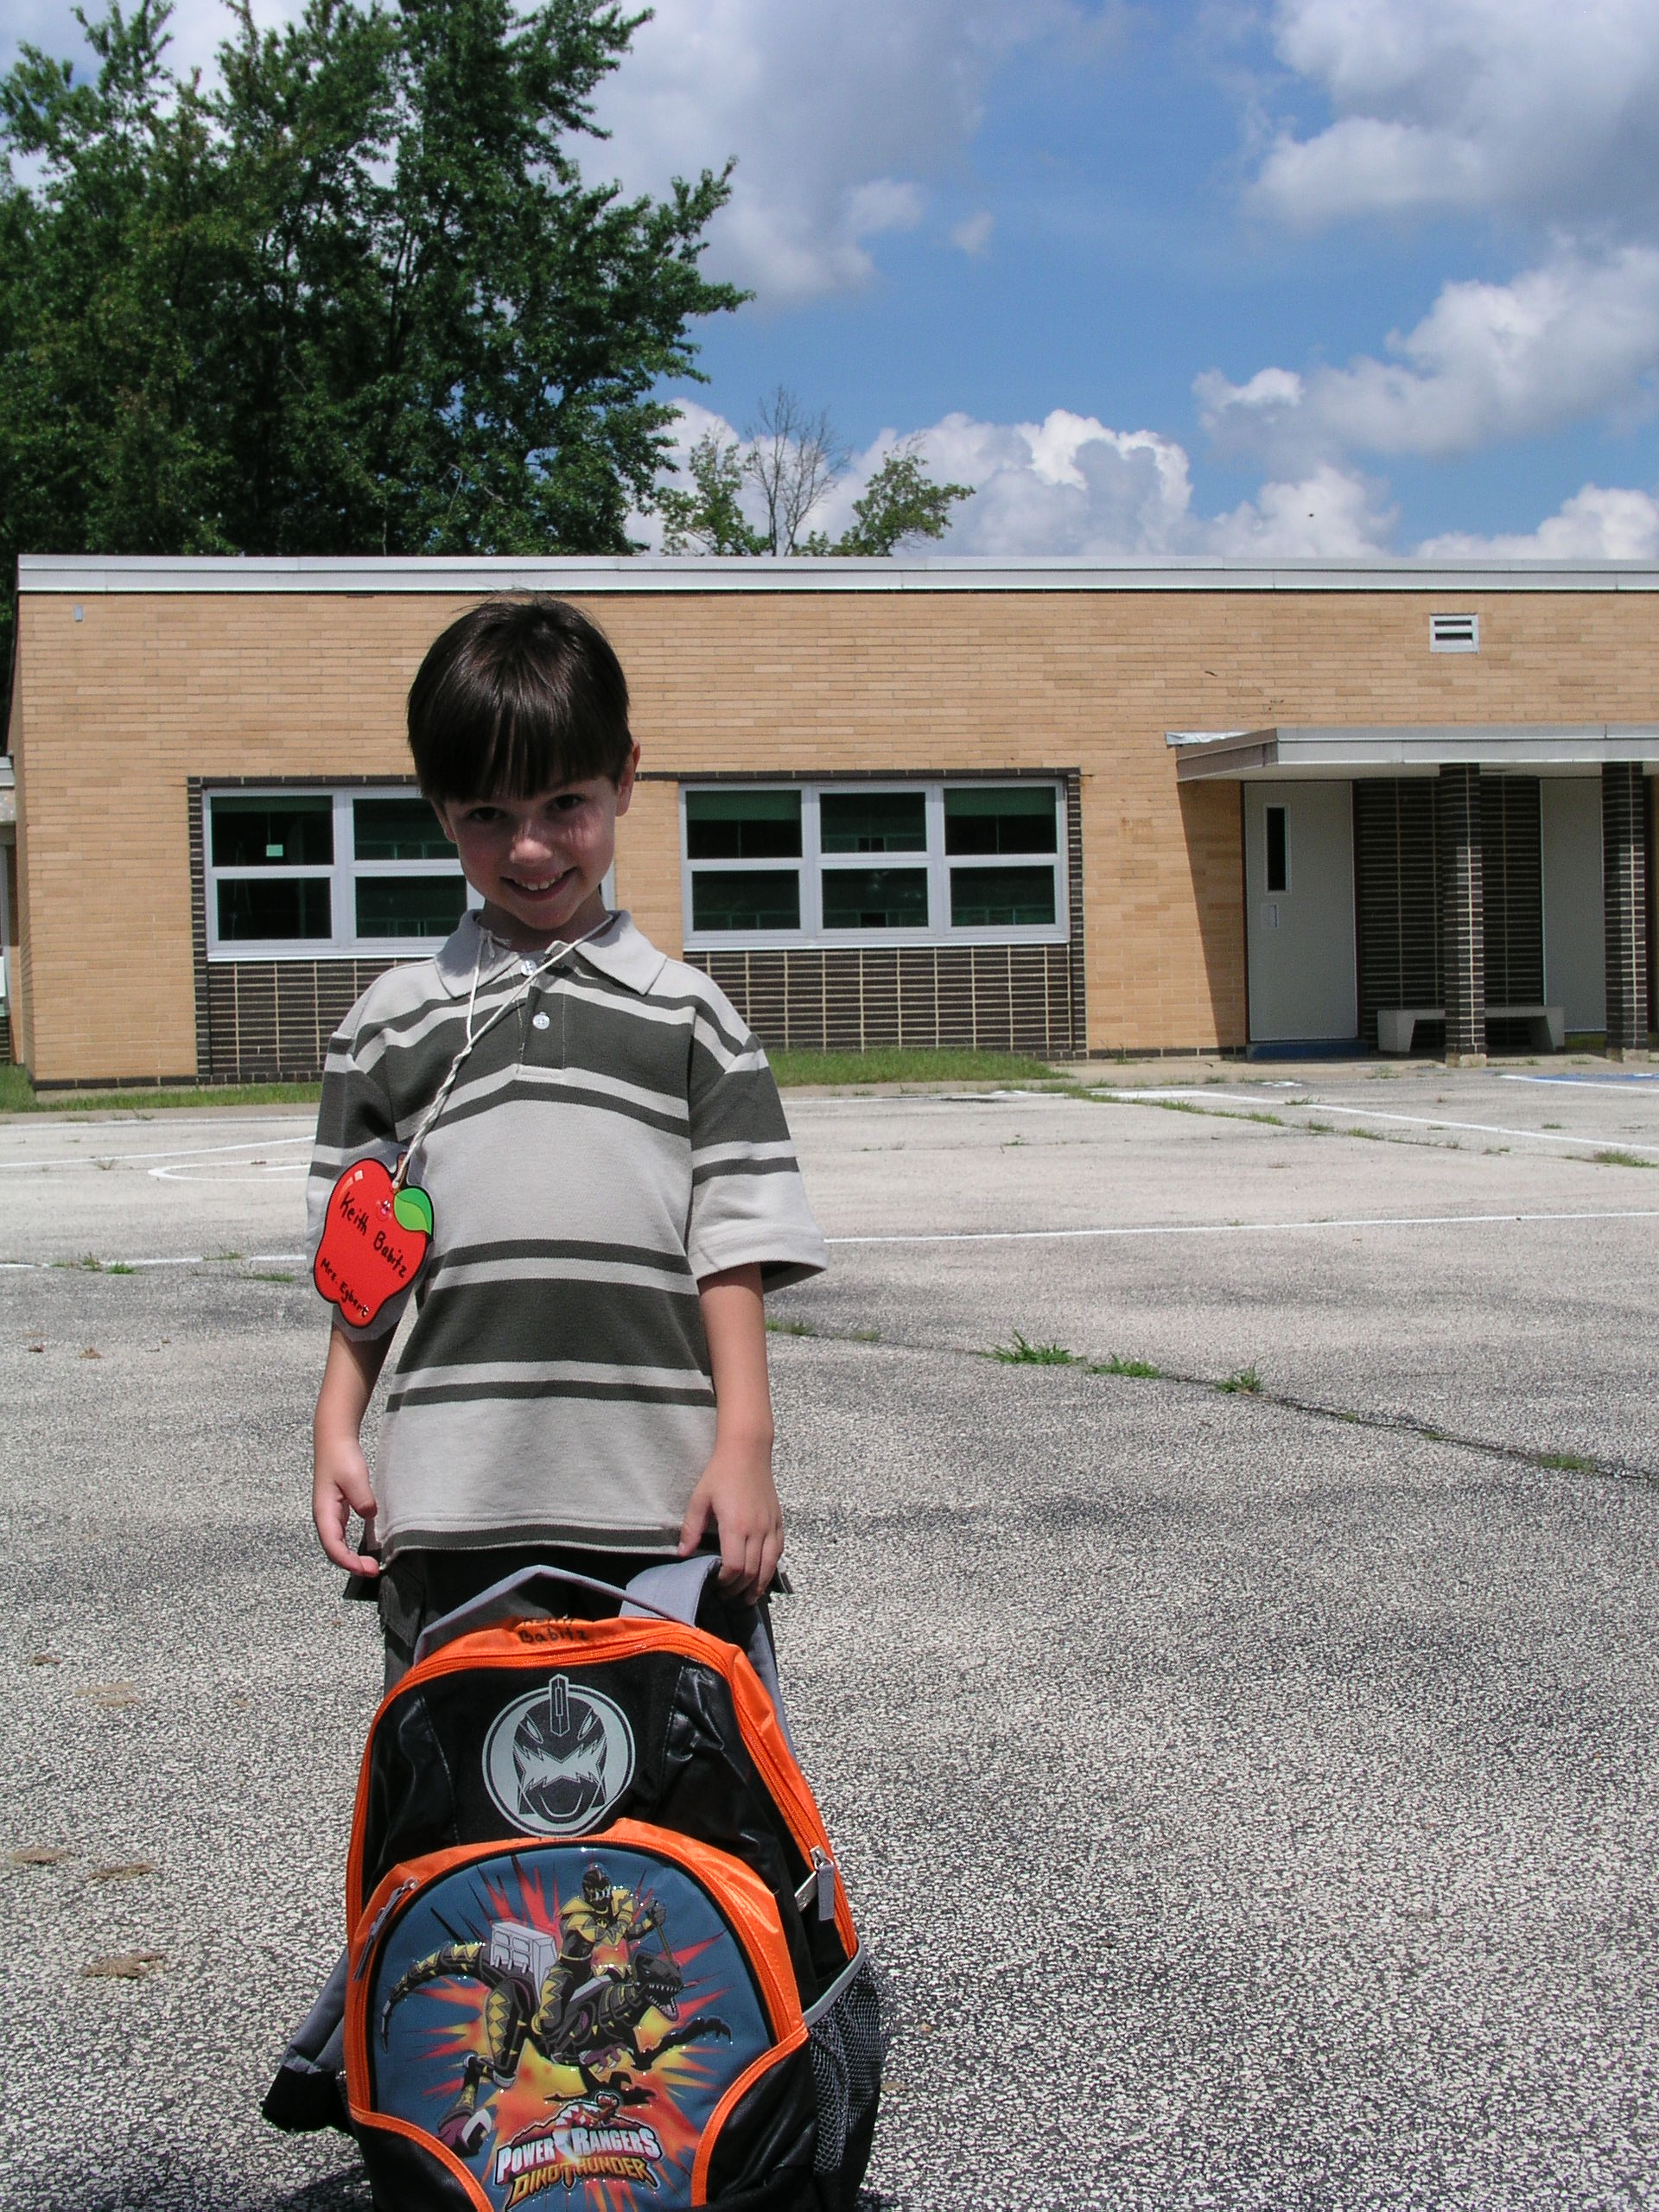
Keith enlisted the help of his English teacher and several classmates.  The teacher pretended to become really annoyed with the class saying that she was tired of them not reading the assigned material and then gave them a pop quiz.  One of the co-conspirators asked Keith’s date a question, and when Keith’s date whispered a response, the teacher freaked out on her and called her out into the hall where she pretended to reprimand her for talking during a quiz.  Meanwhile, back in the classroom, several students held up signs spelling P-R-O-M-? while Keith stood by with flowers in hand.  When the teacher and his date returned from the hall, Keith officially promposed.  I probably would have had a heart attack if I had gotten called into the hall and would not have made it back to be asked!

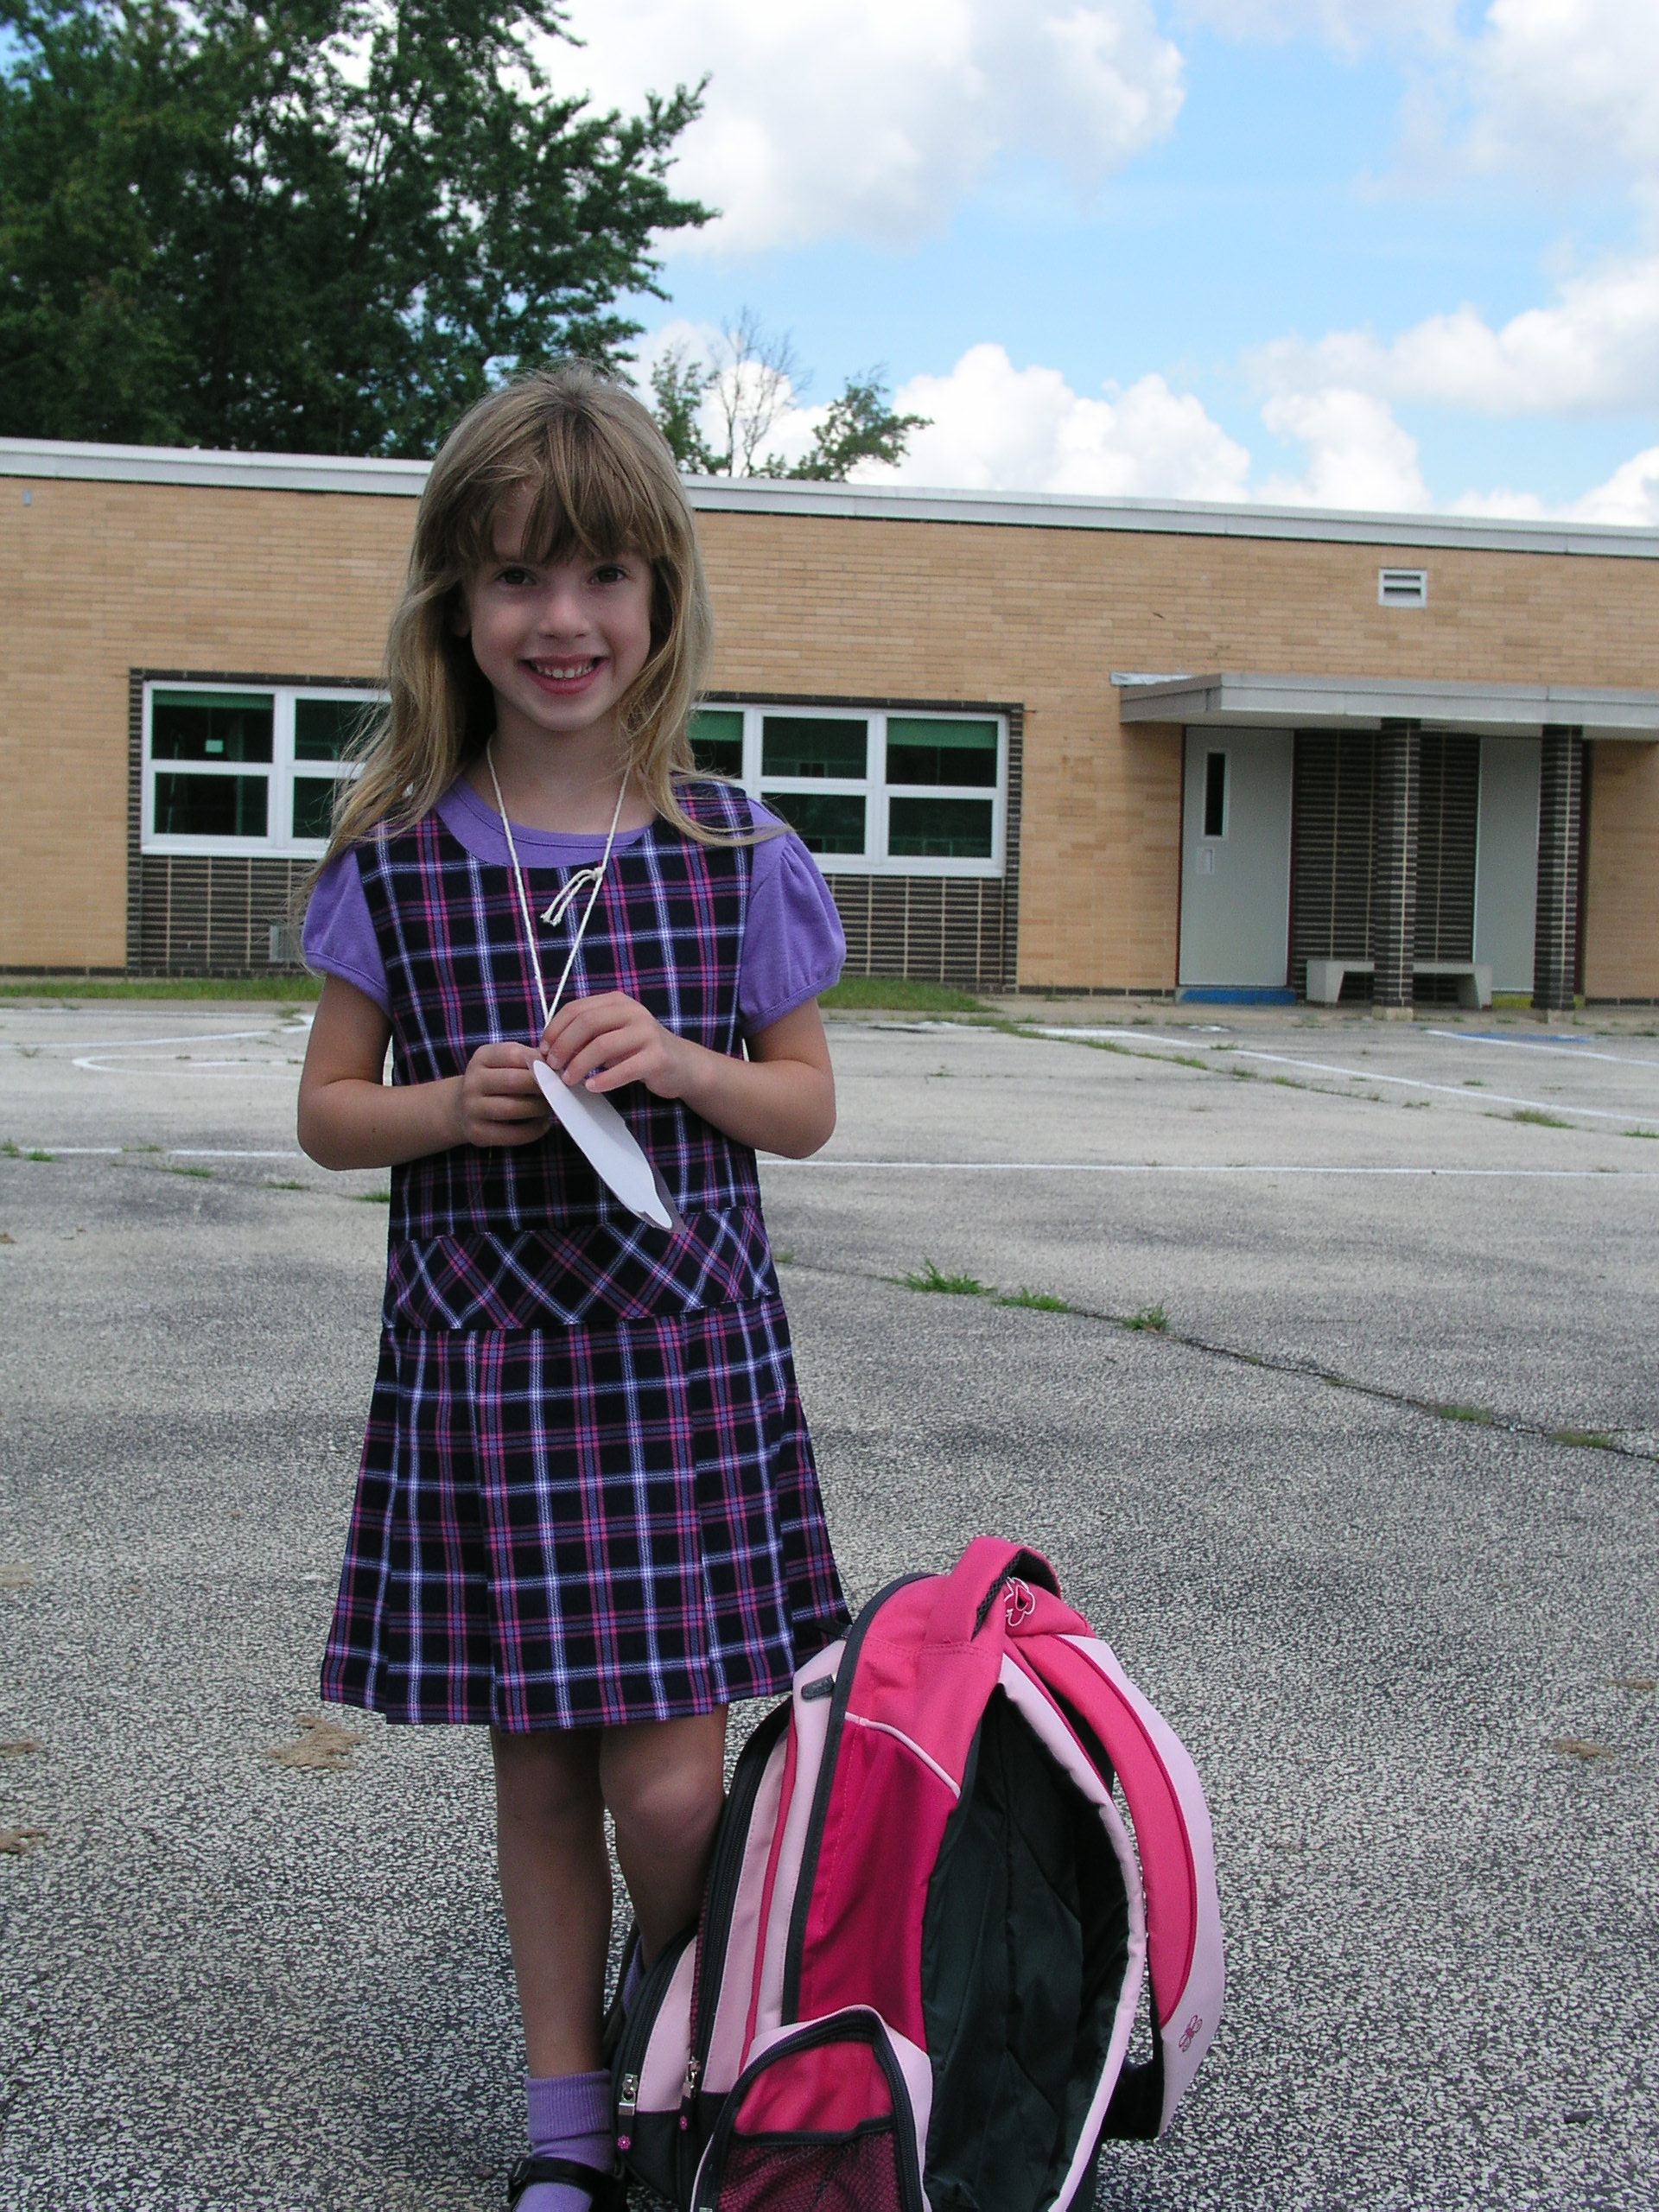
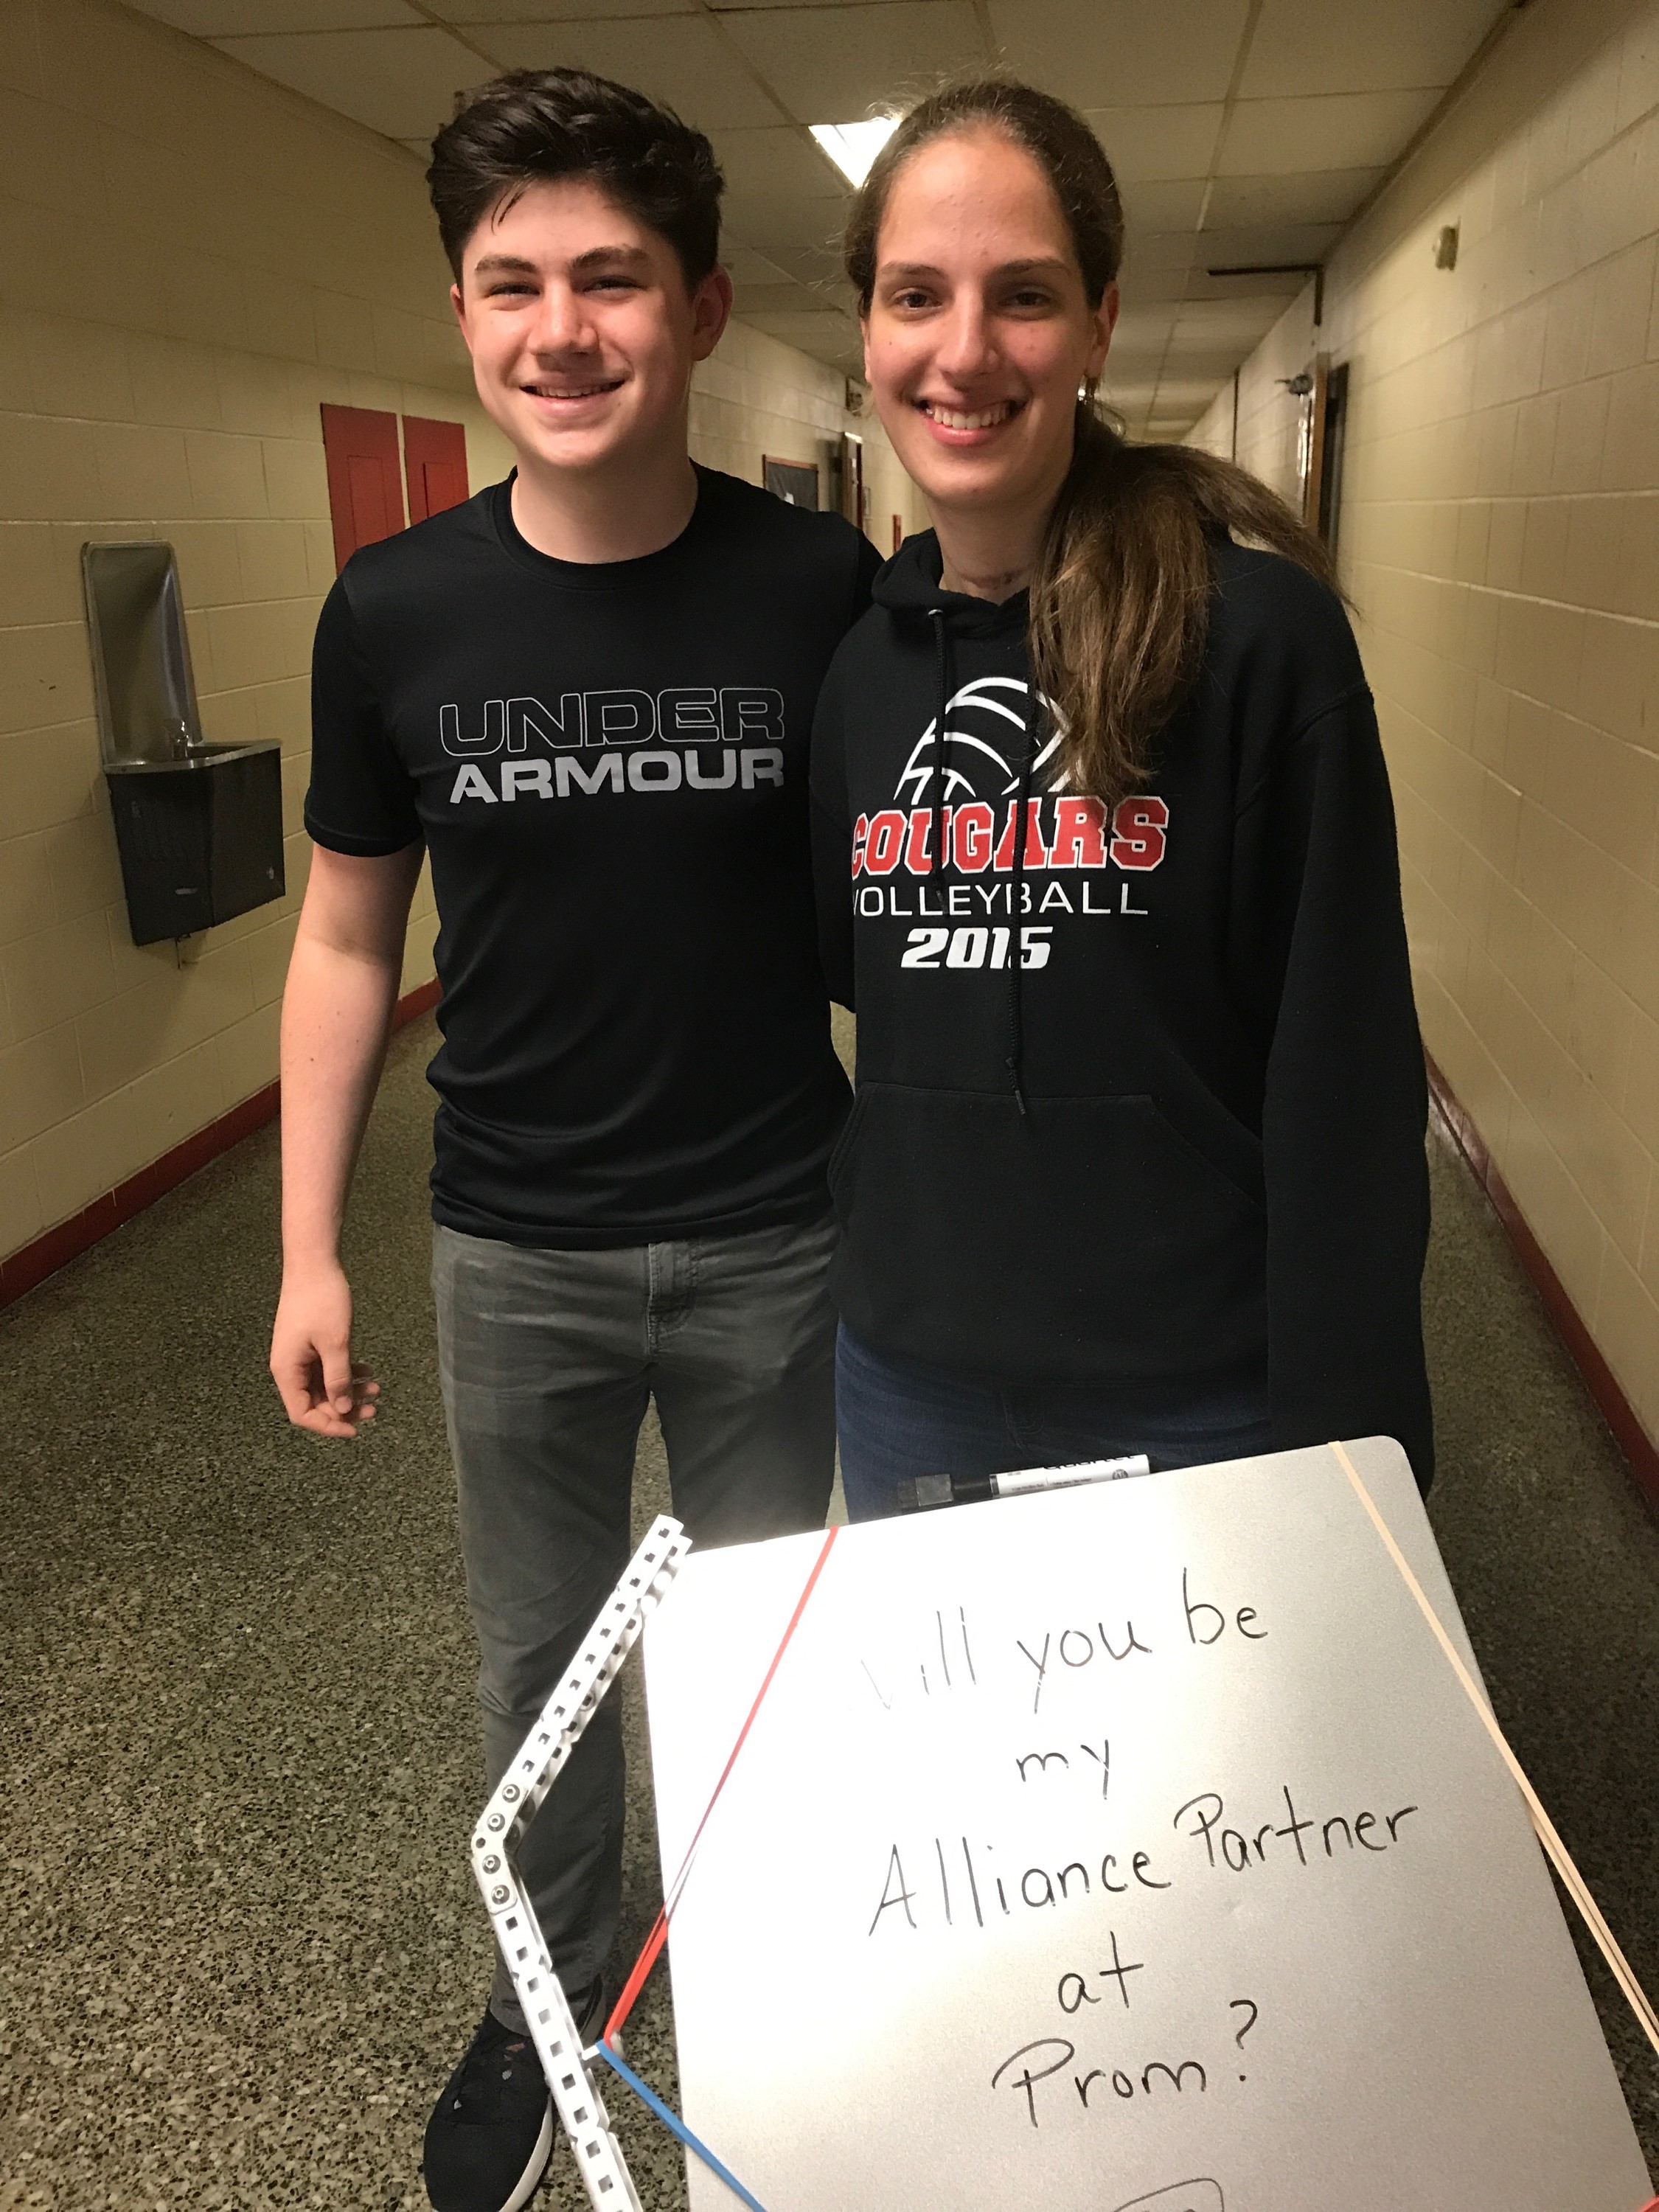
Kelly’s date was really into robotics, was in the robotics club with her brothers at their school, and had recently competed in the VEX Robotics World Championship in Kentucky.  Creating “alliances” with other teams is a big part of the competition so Kelly created a sign asking her date to be on her “alliance for prom” and used her brothers’ team’s robot to deliver the message.  Her robot driving skills were not the greatest (that’s being kind!) which made for a very comical promposal.

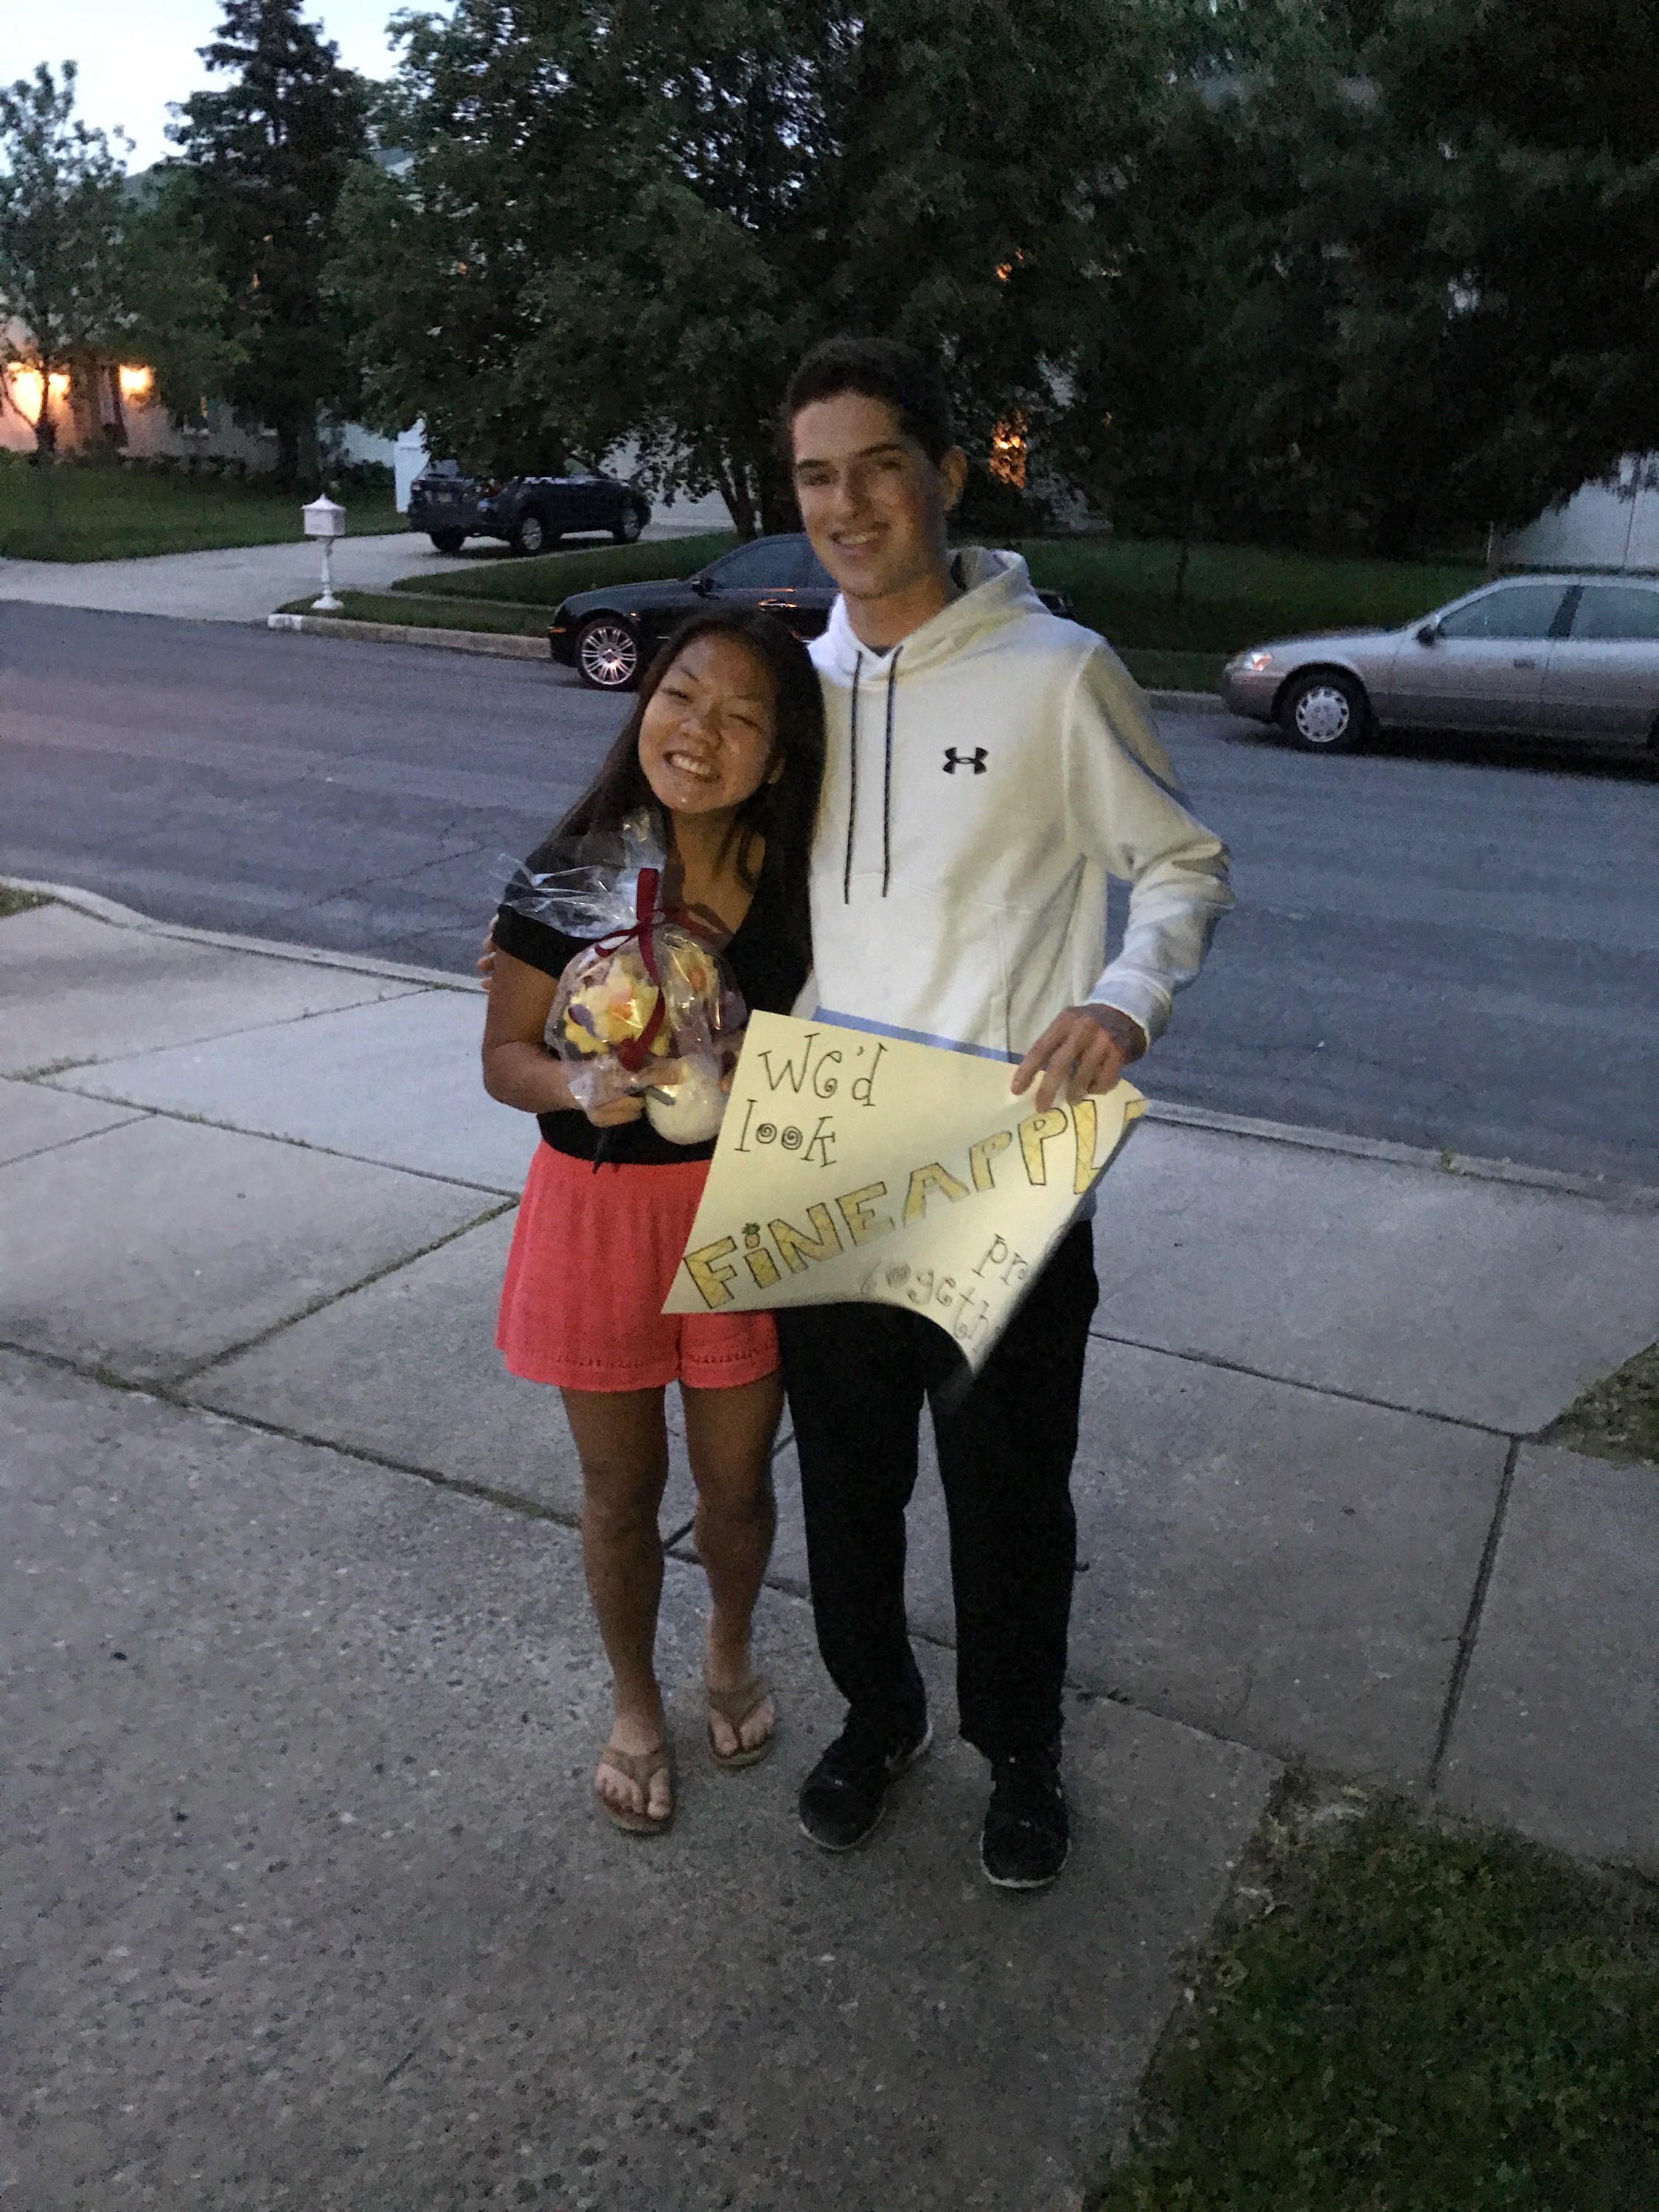
Kevin was told by his date’s friends that she really liked pineapples and that he needed to include that in his promposal.  I created the pineapple bouquet (above) for him to present to her while he told her that they would look FINE-apple together at prom.  Oh brother!!  🙂

I can’t wait to see what all these kids come up with for their wedding proposals!!

Now back to the pineapple bouquet… I started with a pre-cored pineapple I purchased at my local grocery store, sliced it, and then used a Wilton cookie cutter to create the flowers.  I scooped cantaloupe balls for the flower centers and used grapes to hold the flower in place on the wooden skewers.  Additional grapes and strawberries were stuck on skewers as well.  The container is a handle-less mug from Michaels that was meant to be painted.  (I left it white.)  I cut a small orange in half and placed it (flat side down) in the bottom of the mug so I had something in which to stick the skewers of fruit.  I left a bit of stick exposed above each flower so there was something to grab when removing the flowers to eat.

I have to say I was a bit frustrated because I had made a trial bouquet the week before which came out beautifully.  The pineapple sliced cleanly, and the flowers were perfect.  When it came time to recreate it for the real thing, I bought another pineapple.  However, once I started slicing it at home, the pineapple slices kept cracking.  So I left the sticky mess on my counter and went back to the store in search of a better pineapple.  I checked all the containers carefully and selected one with no visible cracking.  However, when I started slicing the new one at home again, it was even worse than the first one!  I was running out of time and knew there was only so much “reject” pineapple we could eat so I decided to work with what I had.  (Of course I hadn’t photographed the better one before we ate it!)  I should point out that the sample one I had originally made was wrapped in the fridge for 3 days before we ate it, and it was delicious so if I were to do this again, I’d not wait until hours before I needed it in case I had to repurchase or redo any of it. Anyway, Kevin’s date really seemed to like it, so I guess it was ok.

IMG_1271  IMG_1268  Kevin Promposal IMG_1257

Keith and Adriana  Kelly and Dimitrios  Kevin and Megan

Thanks for checking out my post!

Center Easel Birthday Card

Center Easel Birthday Card

wDSC_6874.jpg

(Inside: wishing you a day filled with good things)

I know it’s September, and I’m feeling like fall colors and patterns are more appropriate, but as I mentioned in my last post, I am “a bit” (big time understatement!) behind with posting so I have a card to share today (finally!!) that I made in the spring….

This card has a panel that props up like an easel to reveal the greeting.  It’s a great design for showing off beautiful printed paper (either store bought or handmade).  The card is flat when “closed” for easy mailing.

wwDSC_6871

My card features printed paper called “Blossom” by American Crafts (#340303) along with Stampin’ Up Mint Macaron  and white card stock.  The flowers were cut with a Sizzix Originals die called “Flower Layers #3” and embellished with some thin, white ribbon and some pieces of a small pearl spray I purchased at Hobby Lobby (DIY Wedding Department).

The greeting stamp is from the “Frame & Flowers 2” set by Gina K Designs.  The inside sentiment is by Hero Arts and was stamped on a panel cut with the EK Success “Real Estate Sign” label punch.  Both were stamped with Stampin’ Up Mint Macaron ink.

wDSC_6877

Here is a template for a 5×7 card base.  (Click on diagram to make it bigger.)  You can adapt the measurements to make an A2 sized card if desired.

BASE DIAGRAM With Measurements


You can see a tutorial HERE on You Tube.

Thanks for checking out my card project!

This content uses referral links as described in the disclosure policy on my sidebar.

Off to College!!

Off to College!

clipart-images-of-a-car-on-a-road-2

Boy, it’s been a while since I’ve posted anything!

Things got a bit busy around here with my triplets’ “End of Senior Year” stuff, and I decided to take a break to enjoy the last few months with them before they went off to college.   We survived senior trip, prom, exams, graduation, and summer jobs, and now that all four of my kids are away, I am able to begin catching up here.  I have quite a few projects that need to be photographed and posted, and hopefully I’ll have some stuff ready soon.

(“off to college” clipart above from google images)