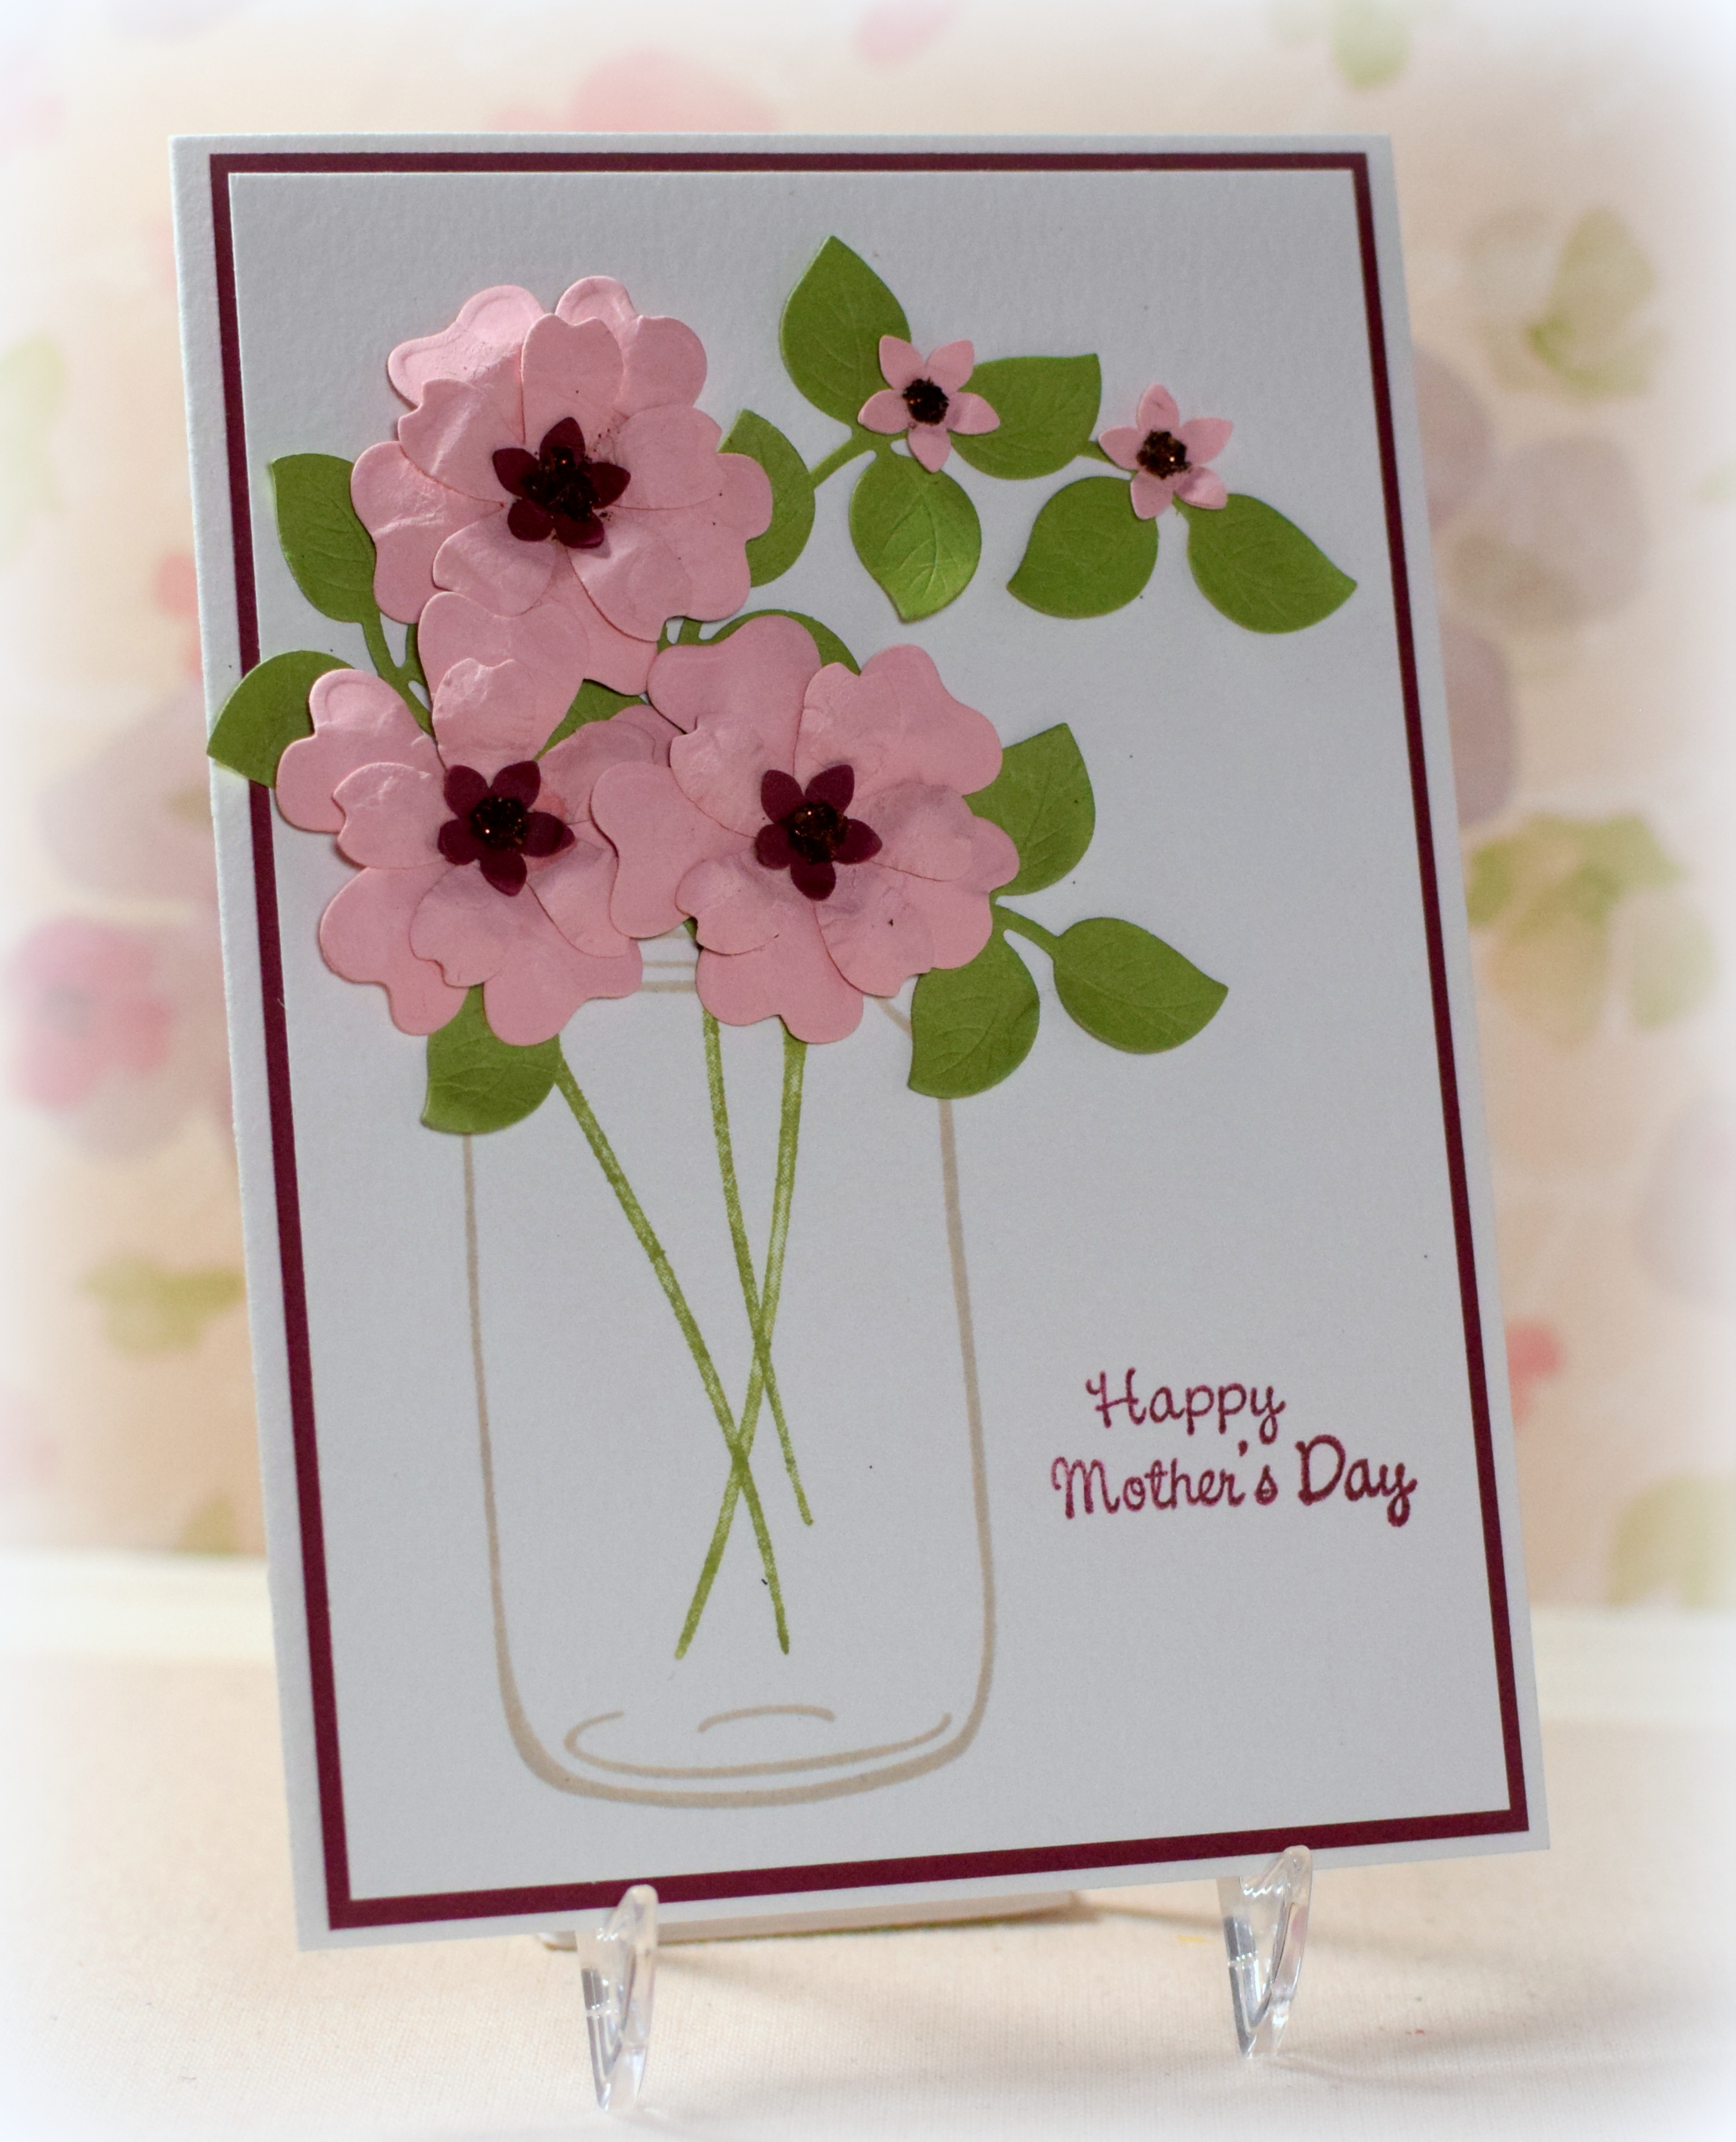
Jar of Blooms for Mother’s Day

(My card is a CASE inspired by the card shown below.)
(This card is one I made back in the spring and am just getting around to posting now…)
As I mentioned in my “Fun Daisies” post, a friend of mine wanted to give card making a try and found a few cards online that she thought she’d like to CASE. (This was the second sample she found.) Since I was able to find supplies that closely matched the ones used, I copied the original design pretty closely to make my “class” sample.
Here is the original card :
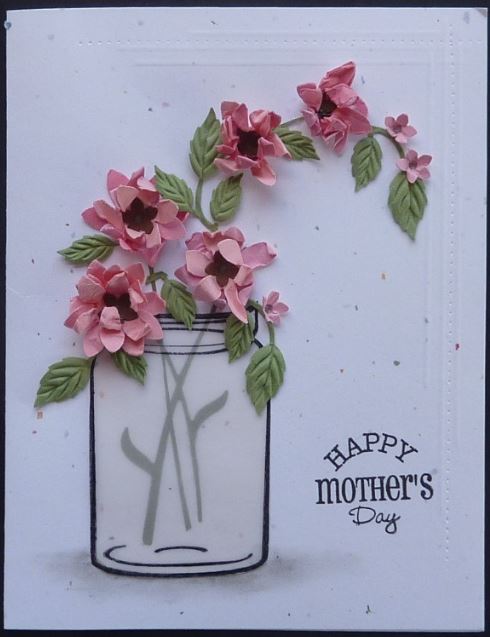
(This card was created by Mrs. Noofy and was posted on Splitcoaststampers, March 18. 2016)
Like in the original, I stamped the mason jar on vellum with and cut it out with scissors. The jar is from the “Mason Jars” set by Inkadinkado, was stamped with Memento Tuxedo Black ink, and adhered with mini glue dots.
Score lines and faux stitching were made with my mini scoring board, a bone folder, and a dressmaker’s tracing wheel.
The flower pieces were made with a punch, and before the layers were glued together, I sprayed them with water, shaped them with my Heartfelt Creations Flower Shaping Tool Set, scrunched them up, and let them dry. The punch I used for the larger flowers was the EK Success Hydrangea Confetti Punch. The smaller flowers were made with the Fiskars Flower Lever Punch (small). A sprinkle of Redland Elements was added to the centers.
I loved the leaves used on the original card but was unable to get the punch set in time for our lesson, so I used the leaves from the Spellbinders D-Lites Flowers and Stem die set instead.
The stems were from the “Tranquil Tulips” stamp set by Stampin’ Up (retired?) and were stamped with Gina K Grass Green ink before the vellum jar was added.
The greeting is from the “Happy Mother’s Day” stamp set by Studio G and Papertrey Ink Scarlet Jewel ink.
I used Gina K Innocent Pink, White, and Grass Green card stock and Papertrey Ink Scarlet Jewel for the mat.
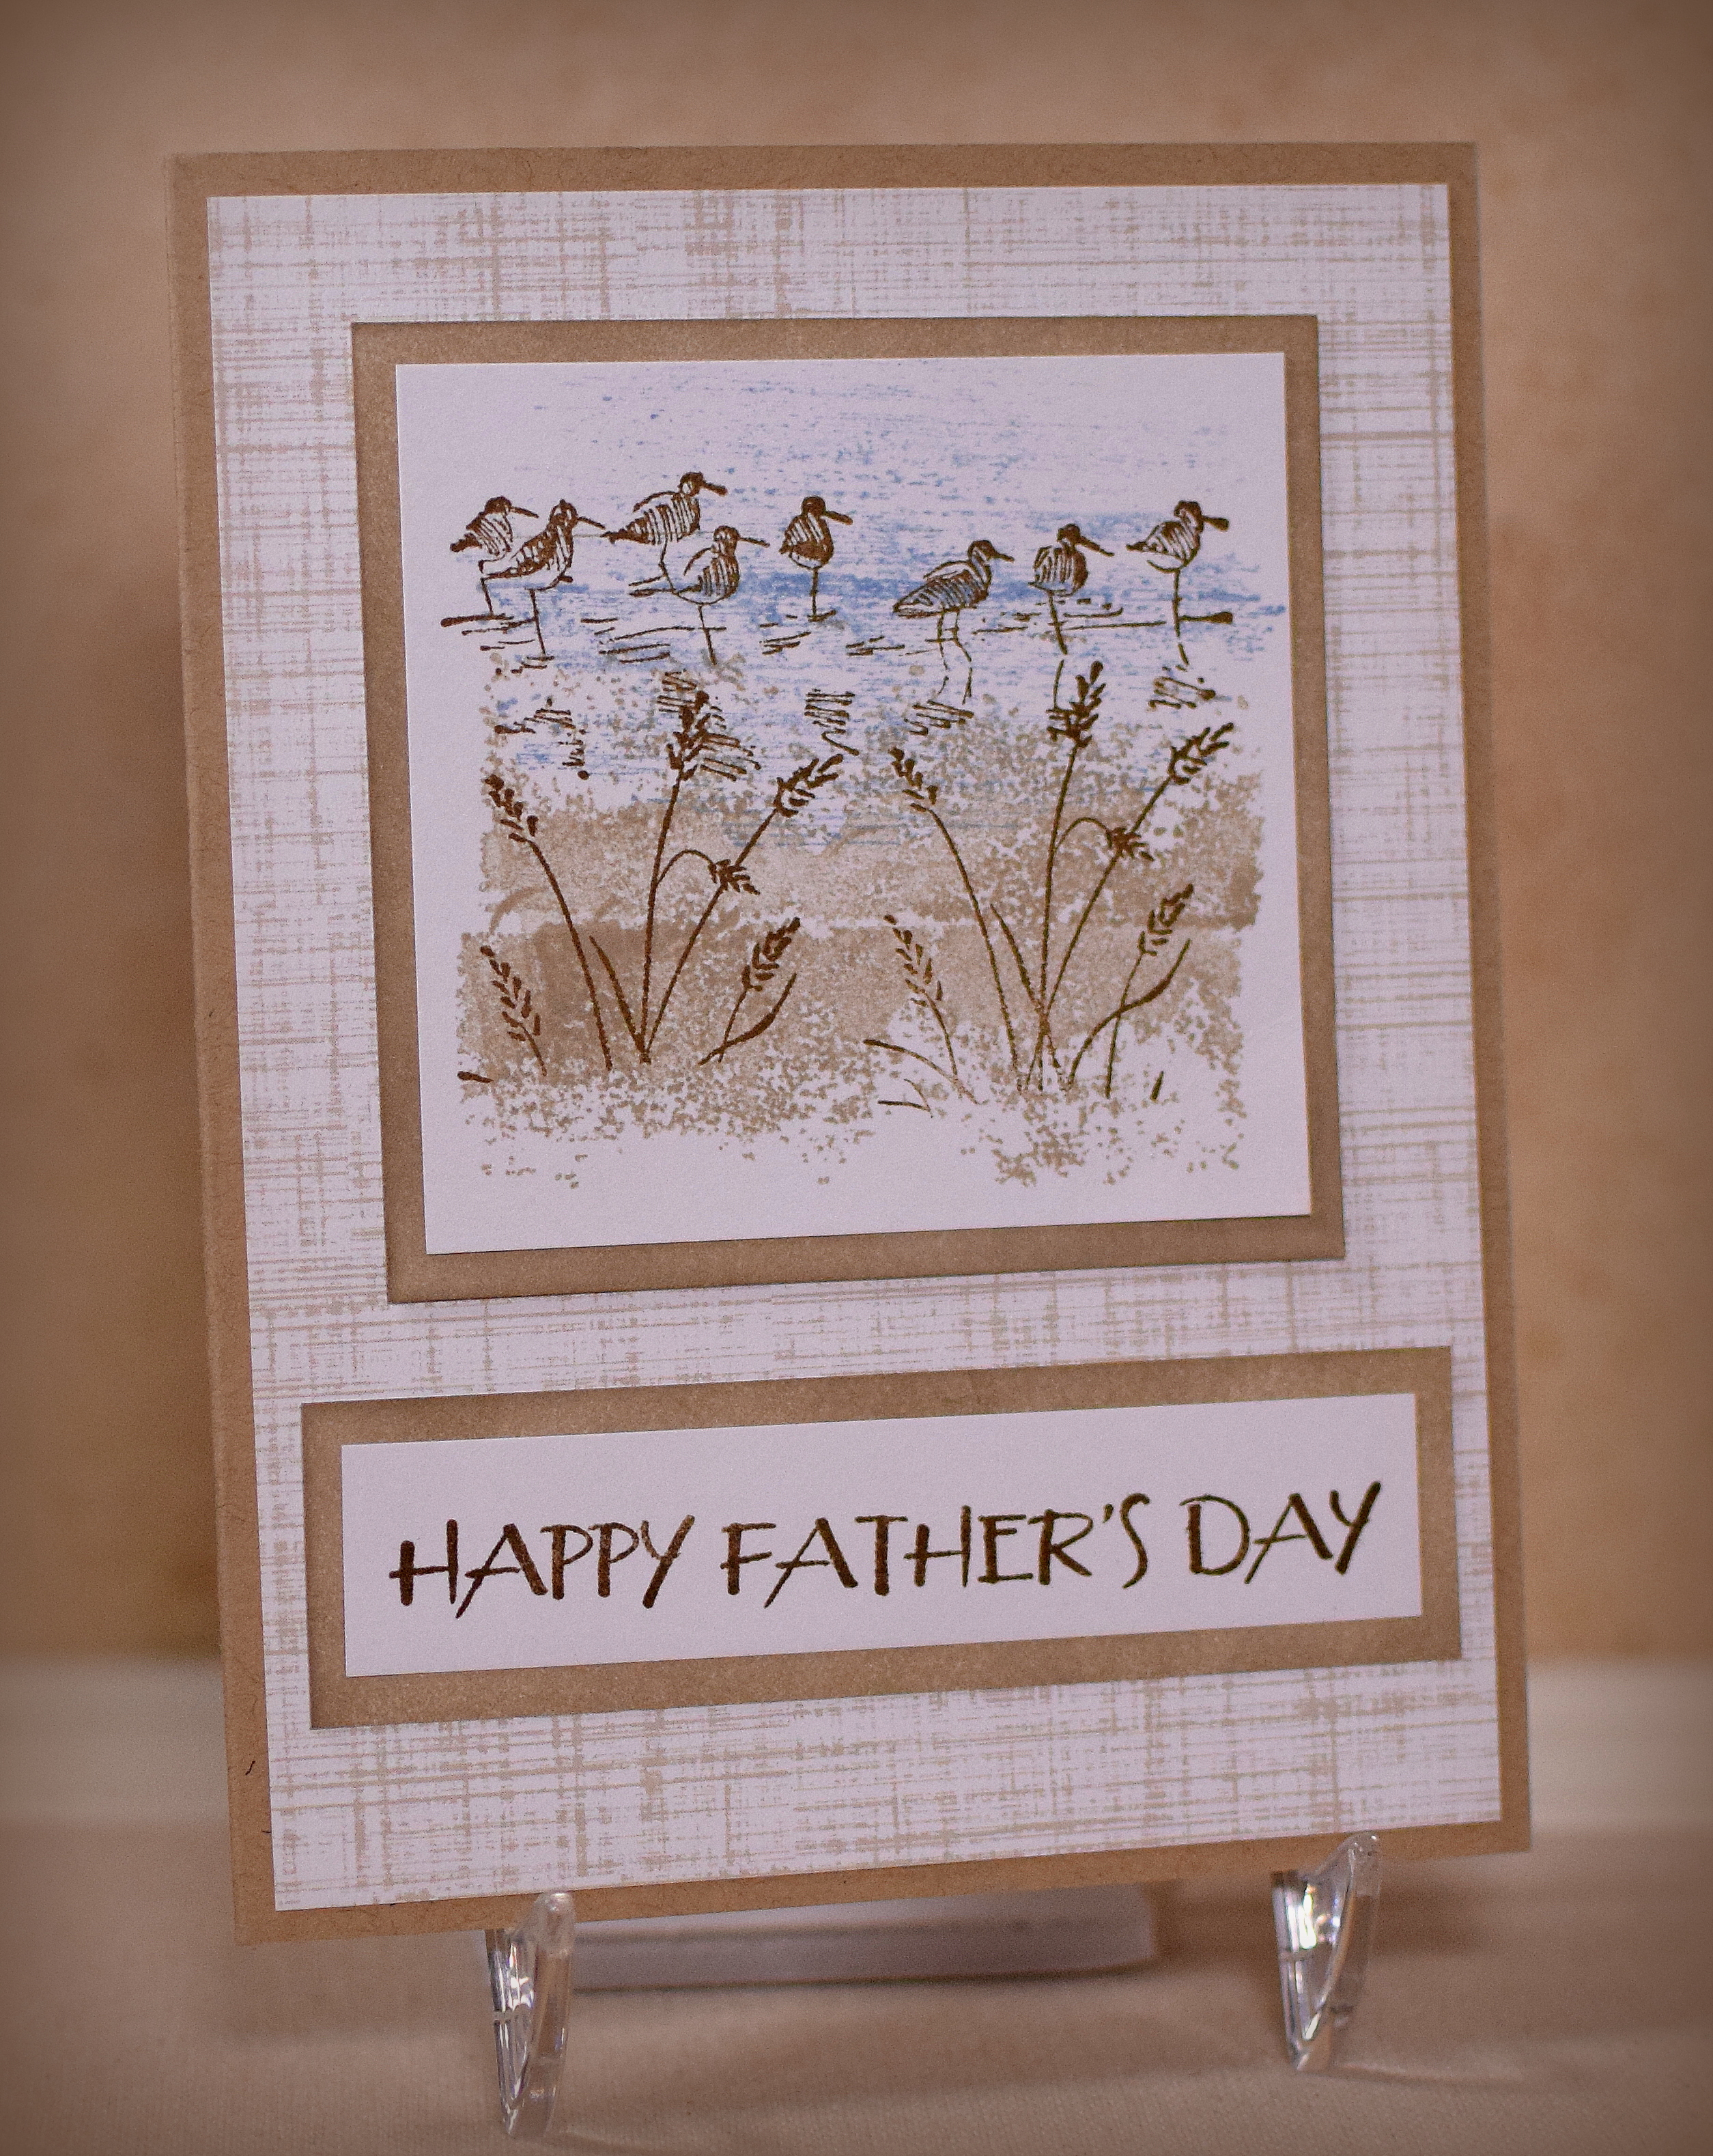
Here is another sample (5 x 7 inch) with flowers made from the Spellbinder D-Lites Blooms Three set. (I shaped the petals but did not scrunch them up on this card.) I also stamped the larger jar image directly onto the card panel using Papertrey Ink Soft Stone ink. Water color paper was used for the focal panel and card base.
Thanks for checking out my card projects!
This content uses referral links as described in the disclosure policy on my sidebar.