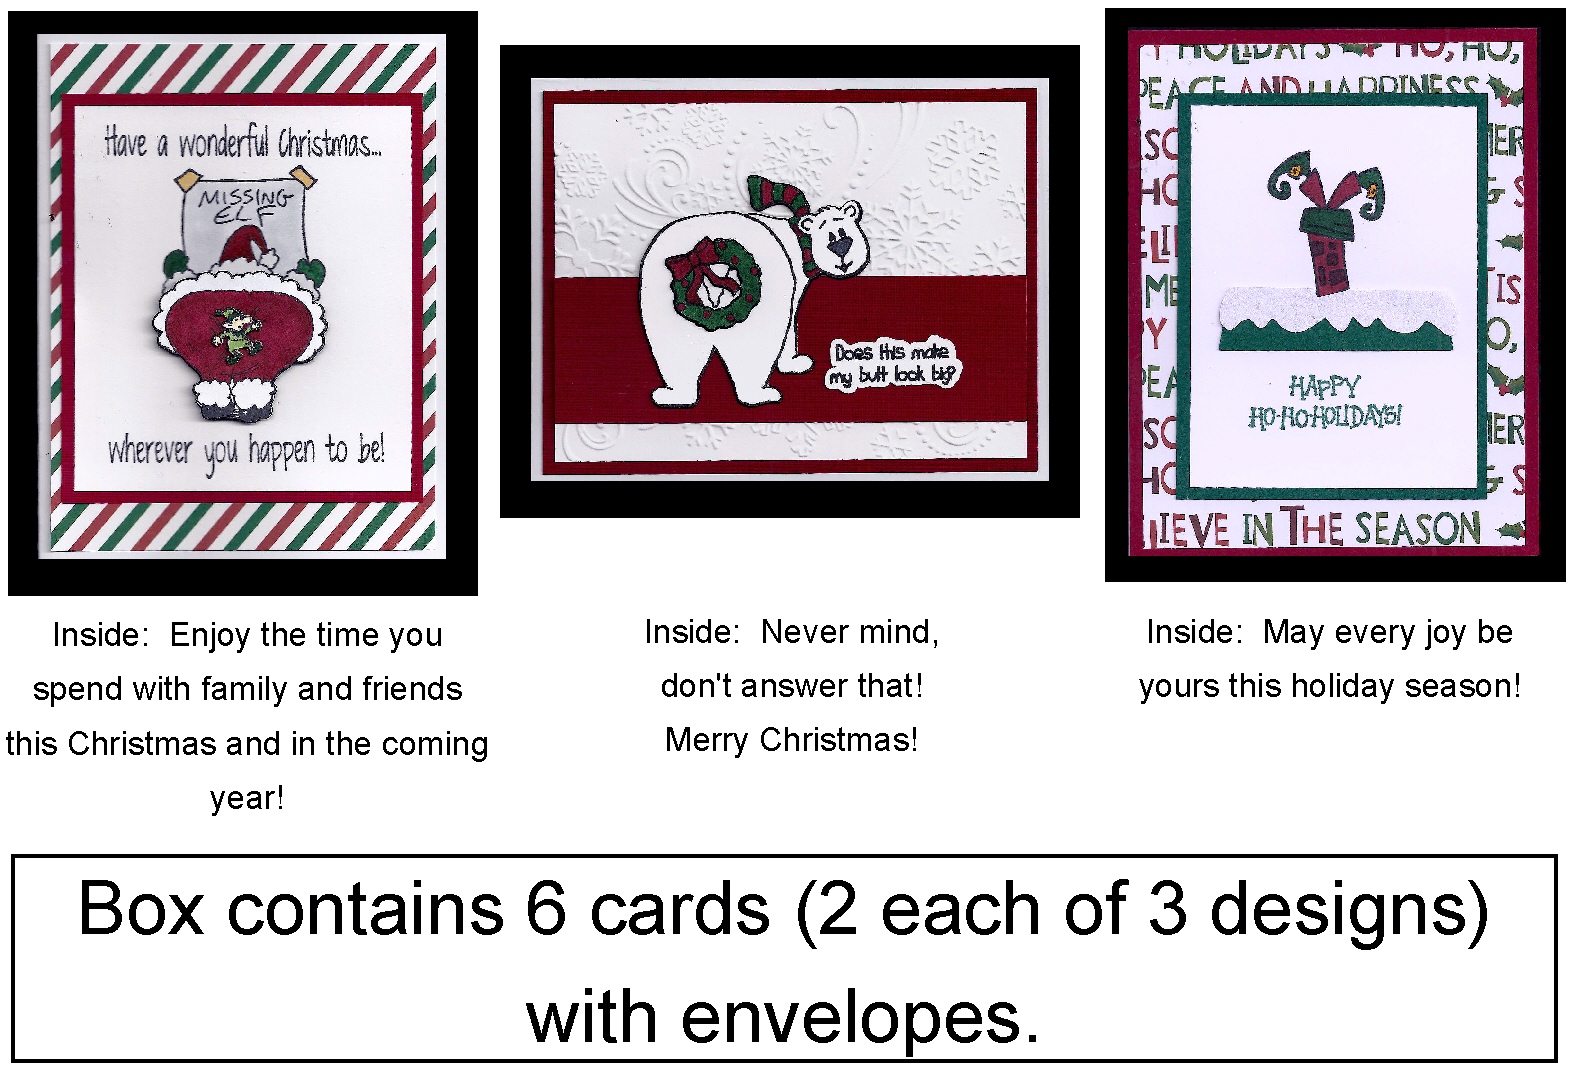
Missing Elf

Missing Elf

Missing Elf zDSCN7040

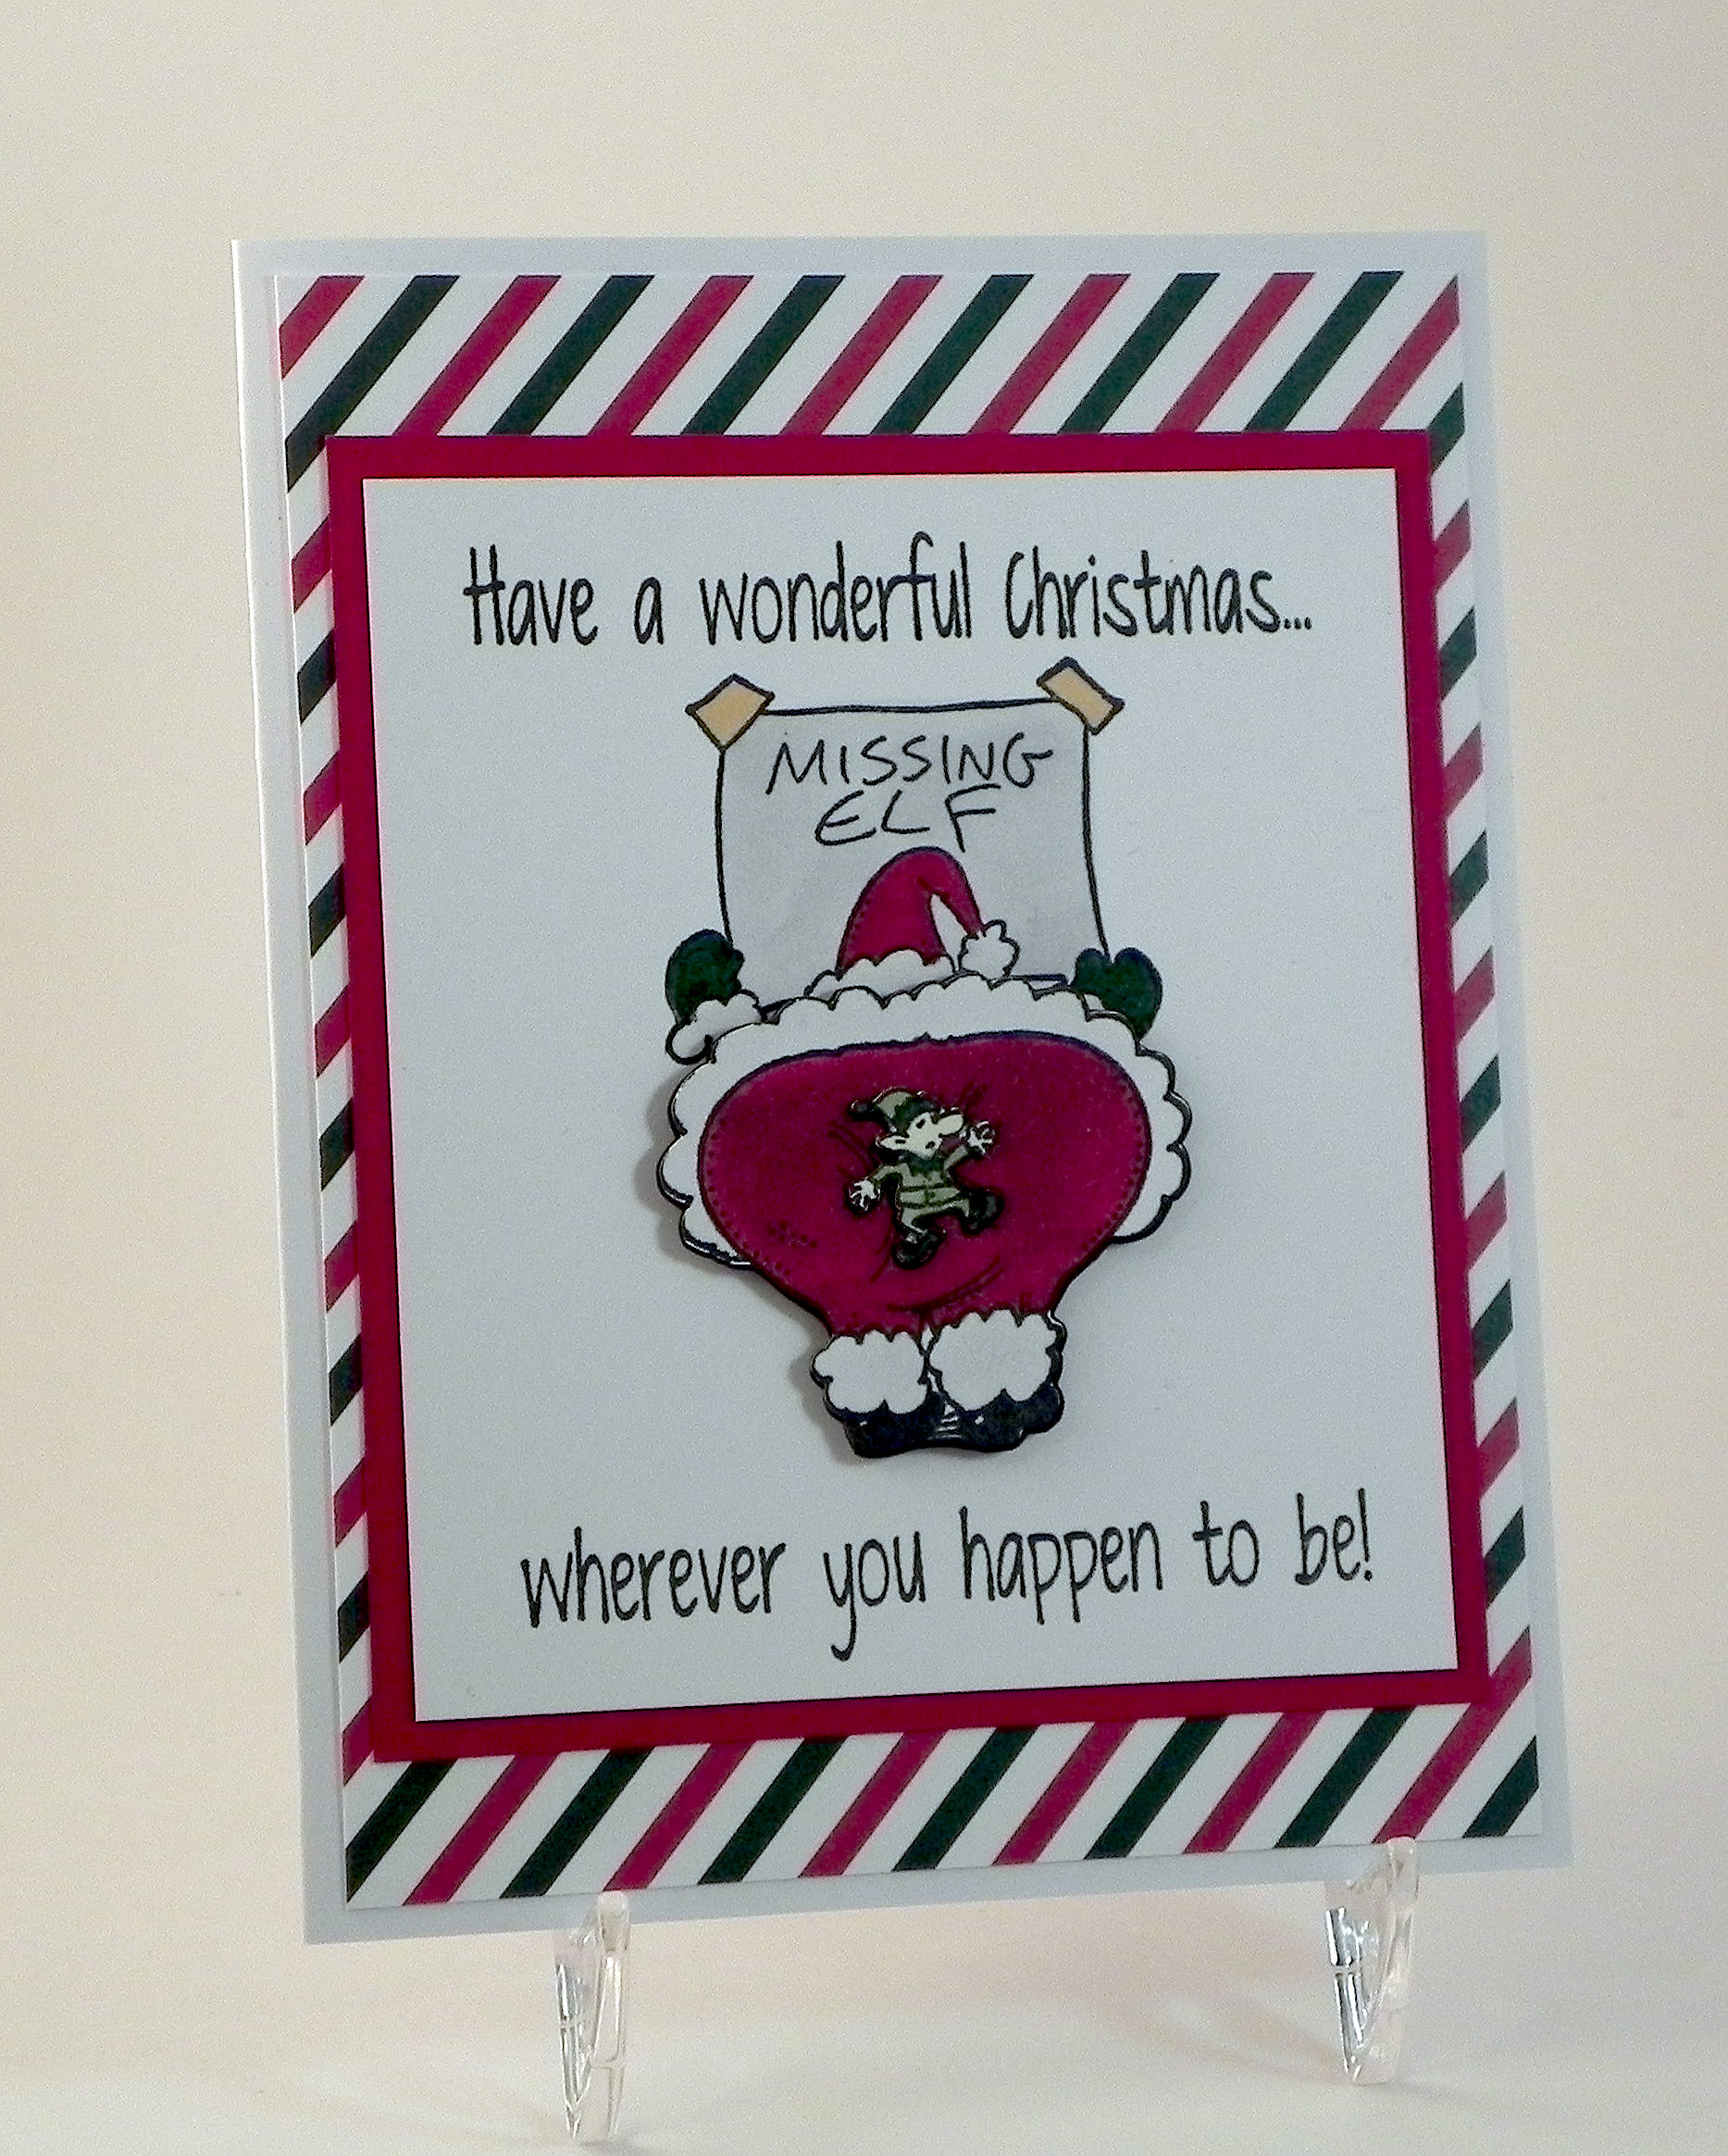
(Inside Text:  Enjoy the time you spend with family and friends this Christmas and in the coming year!)

This card features the amusing stamp called Santa Claus Missing Elf (Item K-28903) from RubberHedgehog Rubber Stamps.

missing elf stamp

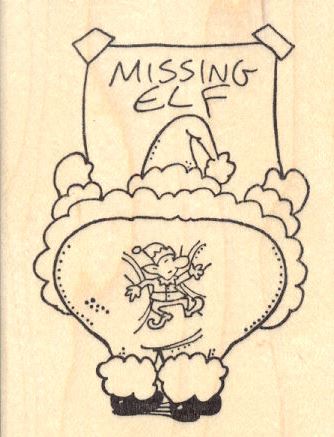
I created two custom made stamps from RubberStamps.net for the greeting.  The inside text was computer generated.

The image was stamped with Memento Tuxedo Black Ink and colored with Copic Markers (sign: C1, E31; clothes: G29, R59, C0; elf: G29, YG63, E50).

I wanted Santa’s bottom to stick off the card a bit so I started by masking his bottom and stamping the top portion of the image on plain white card stock.  Then I stamped the image again on heavy weight card stock and cut out his bottom which I adhered with foam tape.  I stamped the image a third time, cut out the elf, and adhered him to Santa’s bottom.  Because I was making multiple copies of this card for boxed sets, I ended up creating cut files for my Silhouette to make the cutting easier, and I used my MISTI to line up the stamping with the pieces.  HERE is a tutorial I previously posted to show how I stamp on die cuts.  (I had originally planned to attach Santa’s bottom to the card with an Action Wobble spring which is why I masked the bottom half of the stamp on the white panel; it looked weird to have the whole image there as the bottom half moved.  But I ended up using the foam tape instead because the spring made his bottom stick out too much, and I was trying to make it easier/less expensive to mail.  If I knew I was going to adhere the bottom with the foam tape from the beginning, I probably would not have needed to do the masking!)

The stamped panel was mounted on red card stock from the Recollections Jewel Card Stock paper pack and then on paper from the Recollections Christmas – Holiday Basics Card Stock paper pack.  White card stock was used for the card base.

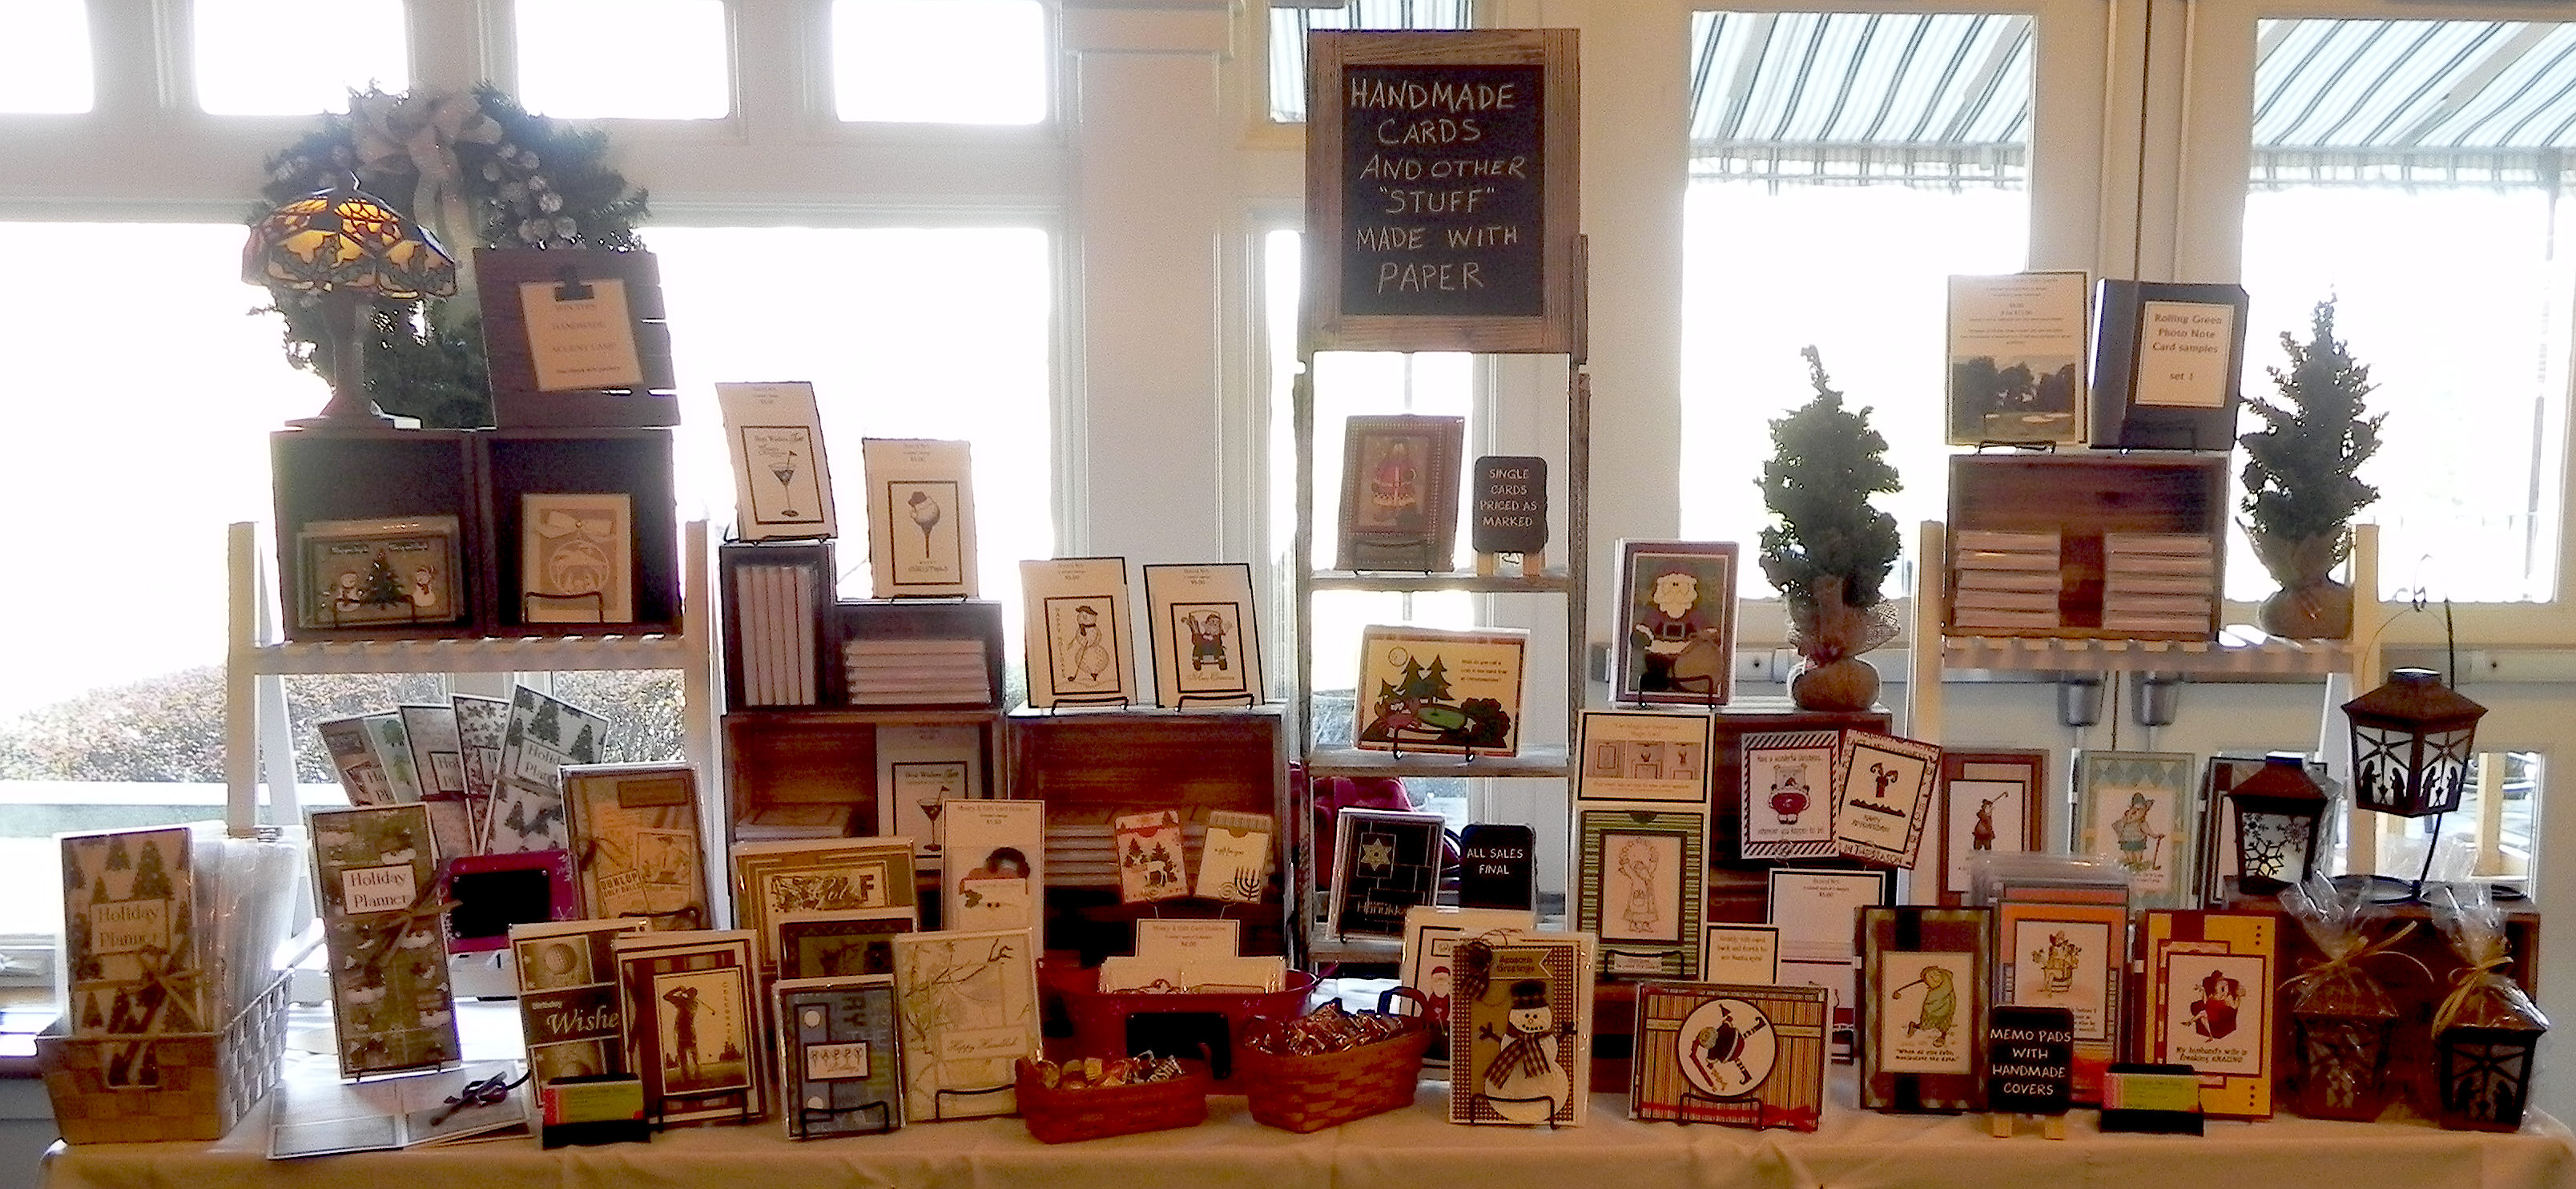
This card was one of three designs in a boxed set:

Humorous Card Insert

Thanks for checking out my card project!

Silver Embossed Hanukkah Card

Silver Embossed Hanukkah Card

Silver Embossed Hanukkah Card zDSCN7086.jpg

(Inside text:  Wishing you peace, health, and happiness)

This simple card design features the background stamp from the Gina K Designs “Inspiration Mosaic” stamp set along with stamps from both the “Menorah Medley” and the “Festival of Lights” stamp sets by Papertrey Ink.  All of the images were stamped with versamark ink and heat embossed with Tsukineko Silver embossing powder on Gina K In the Navy card stock.  This panel was layered on Gina K Powder Blue card stock and a white card base.

wDSCN7090

The inside sentiment was from a stamp called “Passover Saying, Item: H – 19719” from RubberHedgehog Stamps.  The stamp says, “Wishing you peace, health, and happiness on Passover and always!”  I masked off everything after the word “happiness” so I could use it in my Hanukkah card.

Thanks for checking out my card project!

This content uses referral links as described in the disclosure policy on my sidebar.

Nativity Lantern

Nativity Lantern

Nativity Lantern zDSCN7100

This lantern is a Christmas version of a lantern I previously posted.  It was made from a kit from svgcuts call Crisp Days of Fall SVG Kit.  The kit contains the cut files to make this lantern with fall leaves, but also provided is a plain panel to which you can add your own design so it can be made for a variety of occasions.  I used the plain panel and added the nativity scene to it.  I made a bunch of these lanterns (with permission from svgcuts) for the Rolling Green Holiday Boutique, and they were big sellers!

at show DSCN6316

The nativity panel I used for this project was a cut file I purchased from the Silhouette store called Nativity Luminary (#53021) by Lori Whitlock.  The nativity scene for her luminary is in a square panel, so I needed to adapt it slightly to fit in this lantern panel.  (I purchased a commercial license directly from Lori Whitlock’s site for this file.)  Here is her luminary:

Nativity Luminary

I used metallic bronze card stock  (Recollections) and vellum for this project.  Once all of the pieces were cut out by my Silhouette electronic die cutting machine, I assembled and glued everything together. A battery operated tea light placed inside makes the lantern glow.  (Don’t use a real candle!!!)

wDSCN7103

SVGCuts has a great tutorial video to help with assembly of this project.  (HERE  is the You Tube video link for this project tutorial, or you can watch it on their site as well.)

In addition to the nativity theme, I also made one with snowflakes which are from the “extras” file from the “Christmas Box Cards” SVG kit by svgcuts.

Snowflake Lantern wDSCN7110


Thanks for checking out my post!

This content uses referral links as described in the disclosure policy on my sidebar.


Nativity Ornament Card

Nativity Ornament Card

Nativity Ornament Card yDSCN7068 lighter

(Inside Text:  Wishing you a blessed Christmas and a Joyous New Year)

Wow, December really flew by!!  I’m now just getting around to photographing and posting some of the projects I completed in November and December.

This Christmas card features a Silhouette cut file (Nativity Ornament Tag #70877) by Sophie Gallo, and digital paper from a set called “Craft and Silver Christmas” by POandPOdigital which I purchased HERE on Etsy.

I needed to simplify the star on the ornament since my machine was having a little trouble cutting the original design.  The ornament and the frame (created with my Silhouette) were cut from paper from the Recollections Shimmer  Silver and Champagne Card Stock pack from Michaels.  (I used the one called champagne, I think.  The silver in this pack is not your typical silver, and the two shades are very close.)  These were adhered to the digital paper I printed on plain white card stock.  The card base is Recollections ivory card stock.  The ribbon and the rhinestone brad were also purchased at Michaels. The sentiment on the inside was computer generated.

Thanks for checking out my post!

Holiday Boutique at Rolling Green Golf Club

Holiday Boutique at Rolling Green Golf Club

wDSCN6334

Well, the day of the Boutique finally arrived!

As I mentioned (on more than a few occasions in previous posts!), I was invited to participate in the Holiday Boutique at the Rolling Green Golf Club in Springfield, PA and was excited with the opportunity to show and sell some of my cards and paper projects.  This was my first time doing anything like this, and it was a lot of fun.

Sticking with the theme of the event and the location, I decided to create and feature projects that were either Christmas/Holiday or golf related, and I made multiple copies of each of these particular projects. Some of the designs were newly created this summer and fall, and others were designs I had created in the past and just made more of for this event.  I’d been preparing (and sharing) projects for this event since May.  (And I probably now have one of the largest collections of golf-related rubber stamps on the planet, many of which I didn’t even have a chance to use yet as I ran out of time!!!)

I figured people would more likely stop at my table if something caught their eye as they walked by and might not take the time to look through piles of cards in boxes.  With this in mind, I had a limited number of designs I offered (shown below), and each card or project sample was displayed on a stand so people could walk by and easily see what I was selling.  The duplicate cards and projects I actually sold were all packaged in clear sleeves or boxes.  A table that measured 8 feet x 30 inches was provided, and that was all the space I had!  It was crowded, but I got it all on there!!  Boxes with additional inventory were stored under the table or on the window sill behind the table.

* * *

As a thank you to my customers, I offered free raffle tickets with every purchase to win my Tiffany accent lamp.  The winning ticket was drawn at the end of the event, and Rosemary (ticket #224031) was the winner.  Congratulations, Rosemary!

zDSCN6322

* * *

I brought this rolling cart with cloth drawers for my “check-out” supplies.  It was small enough to fit in the small space behind my table (about 2 feet), but was big enough to hold my cash box on top, and my bags, receipts, order forms, etc. in the drawers.

wDSCN6342

* * *

It was very nice being by the windows on such a gorgeous day, but it made it hard to get good photos. (Sorry for all the glare!)  Here are a few more shots:

zDSCN6320

zDSCN6316

zDSCN6324


All of the projects I offered for sale at this craft show were hand-created using a variety of materials including rubber stamps, cut files, designer papers and embellishments.  The companies that designed the products I used all have Angel Policies which allow one to use their products on hand-made creations for sale.  (The exact terms of each company’s Angel Policy can be found on their websites.) Some companies required a commercial license (which I purchased, when necessary).  Most of the companies require that credit be given when using their products, and since my projects were all hand-made with no mechanical reproduction, it was not reasonable to list the “ingredients” used on each individual project.  Therefore, I have included below (in no particular order) the links to my blog posts for each of the projects offered at the show  (Click on the card title below the photo to go to the post.)   Continue reading