
Previously, I used this fold to make a Christmas tree, but it can also be used to make a skirt or the bottom half of a wedding dress as I have done HERE.
If you care to see how I did it, keep reading…
HOW TO MAKE THE SKIRT
For the skirt on my 5×7 inch card, I used an 8 inch doily. (These instructions work with any size circle. If you use double-sided, printed paper, you will get alternating patterns on your skirt.)

(I’ve included pictures of the printed paper in my instructions as it may be easier to see what happens after each fold is completed.)
To make the skirt:
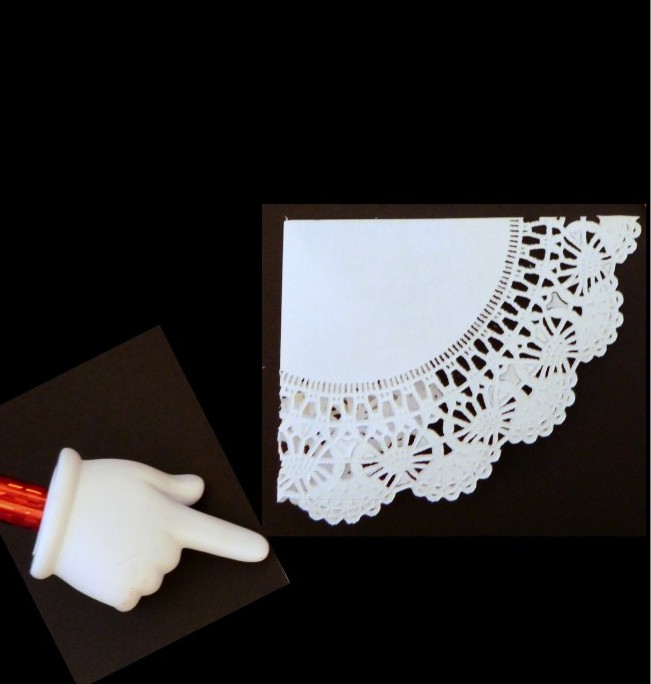
First, cut your circle in half. (Make sure all the stray pieces are punched out if using a doily!) Position your semicircle as shown. (Click on a photo for a closer view.)


Start at the upper right hand corner. You are going to take this corner point and fold it over to the left along the top, straight edge so the point ends up approximately 3/4 of the way over. (Mine is an 8 inch circle, so the point will end up about 6 inches over or 2 inches from end. Adjust this measurement if your circle is a different size.) It does not have to be exact. Just make sure when you fold it that the top edges line up perfectly.


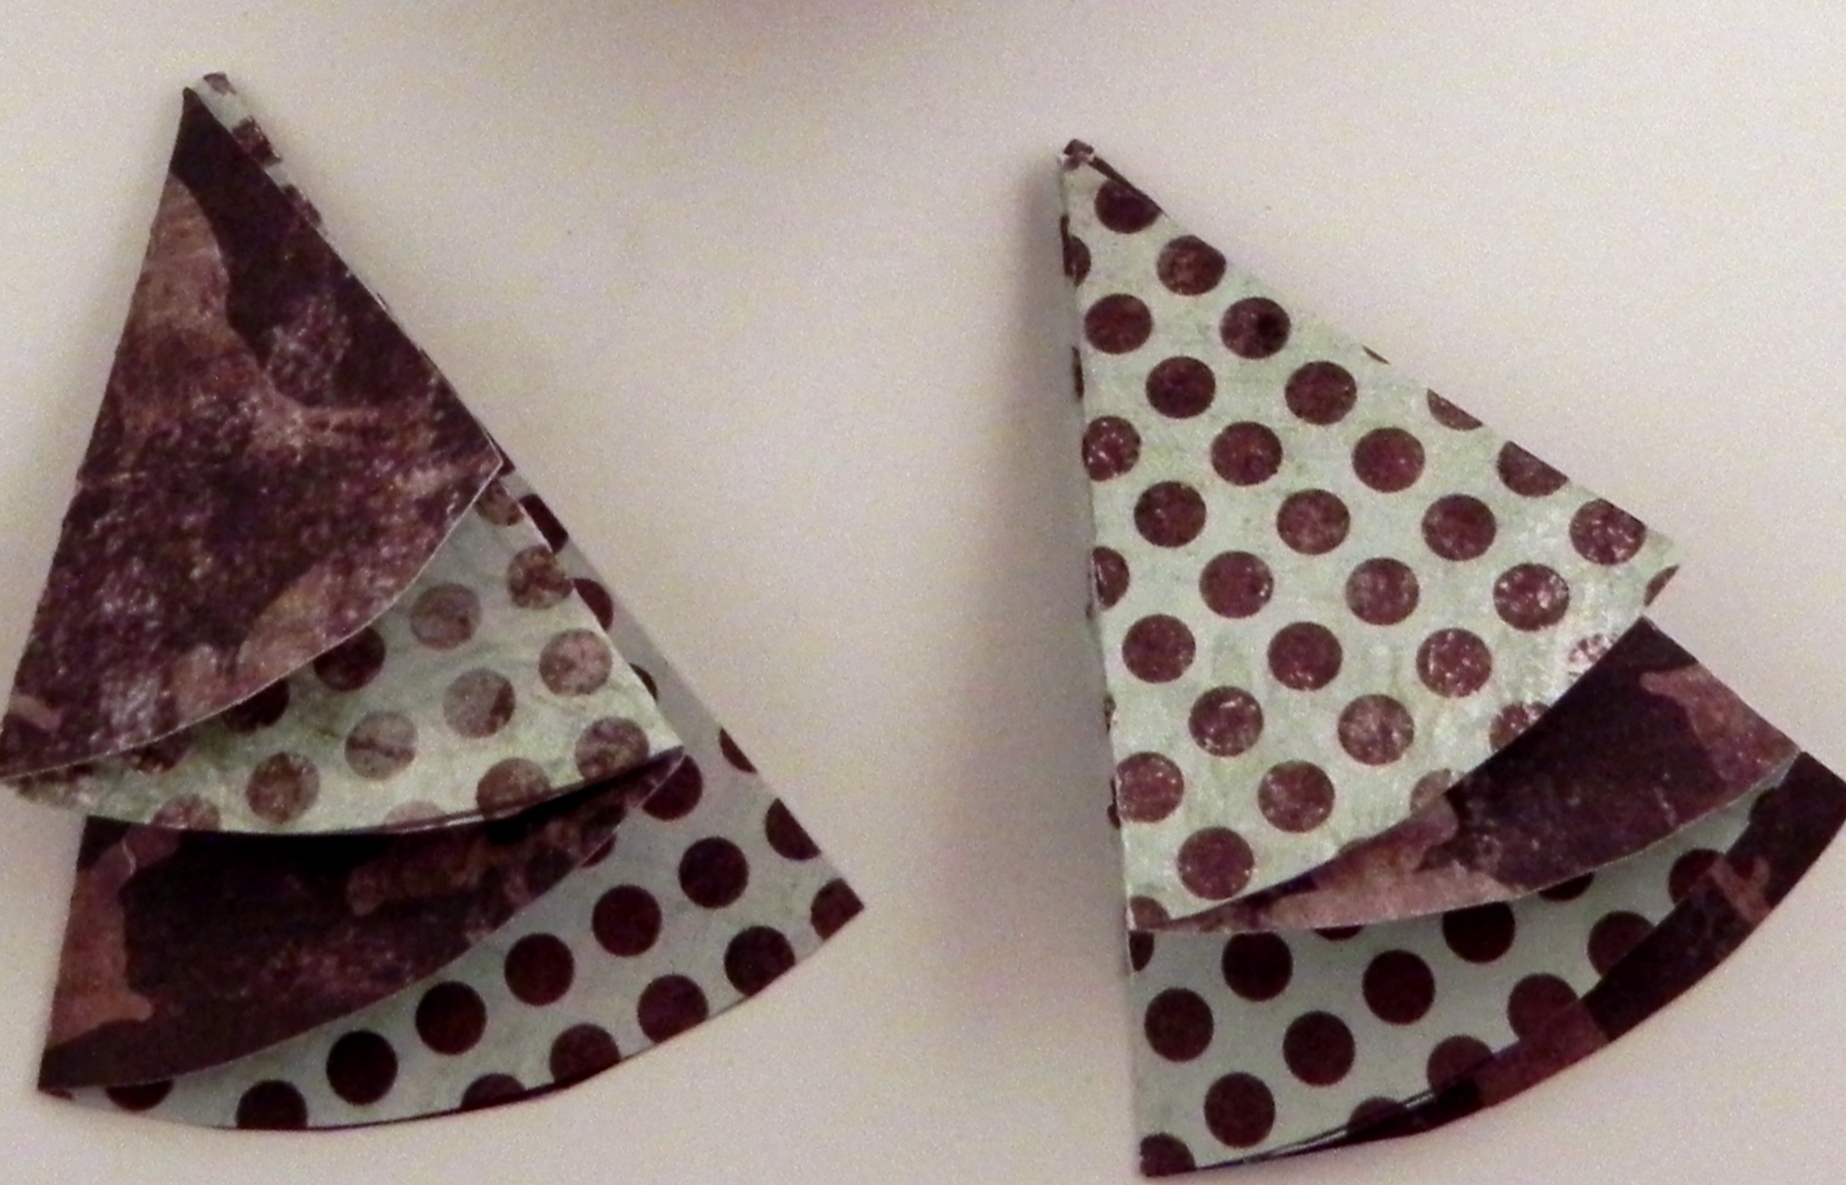
Next, take the corner point you just folded over, and fold it in half (on a diagonal) to the right vertical edge to form a triangle. Make sure the edge that had been on the top lines up with the vertical edge on the right, and you have a clean point on top.


This side should be lined up after you make the fold:


Now, turn the whole thing over, and position it as shown.


Take the point you haven’t used yet. You are going to fold it in half (on a diagonal) across and down to the left, forming another triangle. (When folded, the point will end up where indicated on second pic below.)

Make sure the left edges line up when done.


When you flip it over, this is what you should have.


Fold the edges with a bone folder to make them stay flat. Use some adhesive to keep it flat and together if necessary/desired.
For my skirt, I re-folded the top panel back and behind the skirt (instead of keeping it on the front as shown above) because it made the edge look cleaner and the dress less busy on my final card. Front or back, it works either way!)
Thanks for checking out my tutorial!


Pingback: Folded Doily Wedding Card | I Played With Paper Today!
Thanks for the details on this fold. I remember your Christmas trees so this skirt is all that much more fun to see how else this fold can be used for.
LikeLike
Beautiful and elegant!
LikeLike
You make it very easy to follow in your instructions and photos. I love your hand pointer – very clever for teaching.
LikeLike
Thanks so much for sharing your detailed instructions. Love this idea.
LikeLike
Lisa, what a great post. I love your card and your instructions. That pointer is fabulous. Thanks for showing both one sided and two-sided papers.
LikeLike
Great instructions! I have seen this fold used for Christmas trees, and honestly I get it messed up. But a great idea to fold a doily for a wedding dress card! Really well done!
LikeLike