CAS Embossed Birthday Wishes – 4 variations
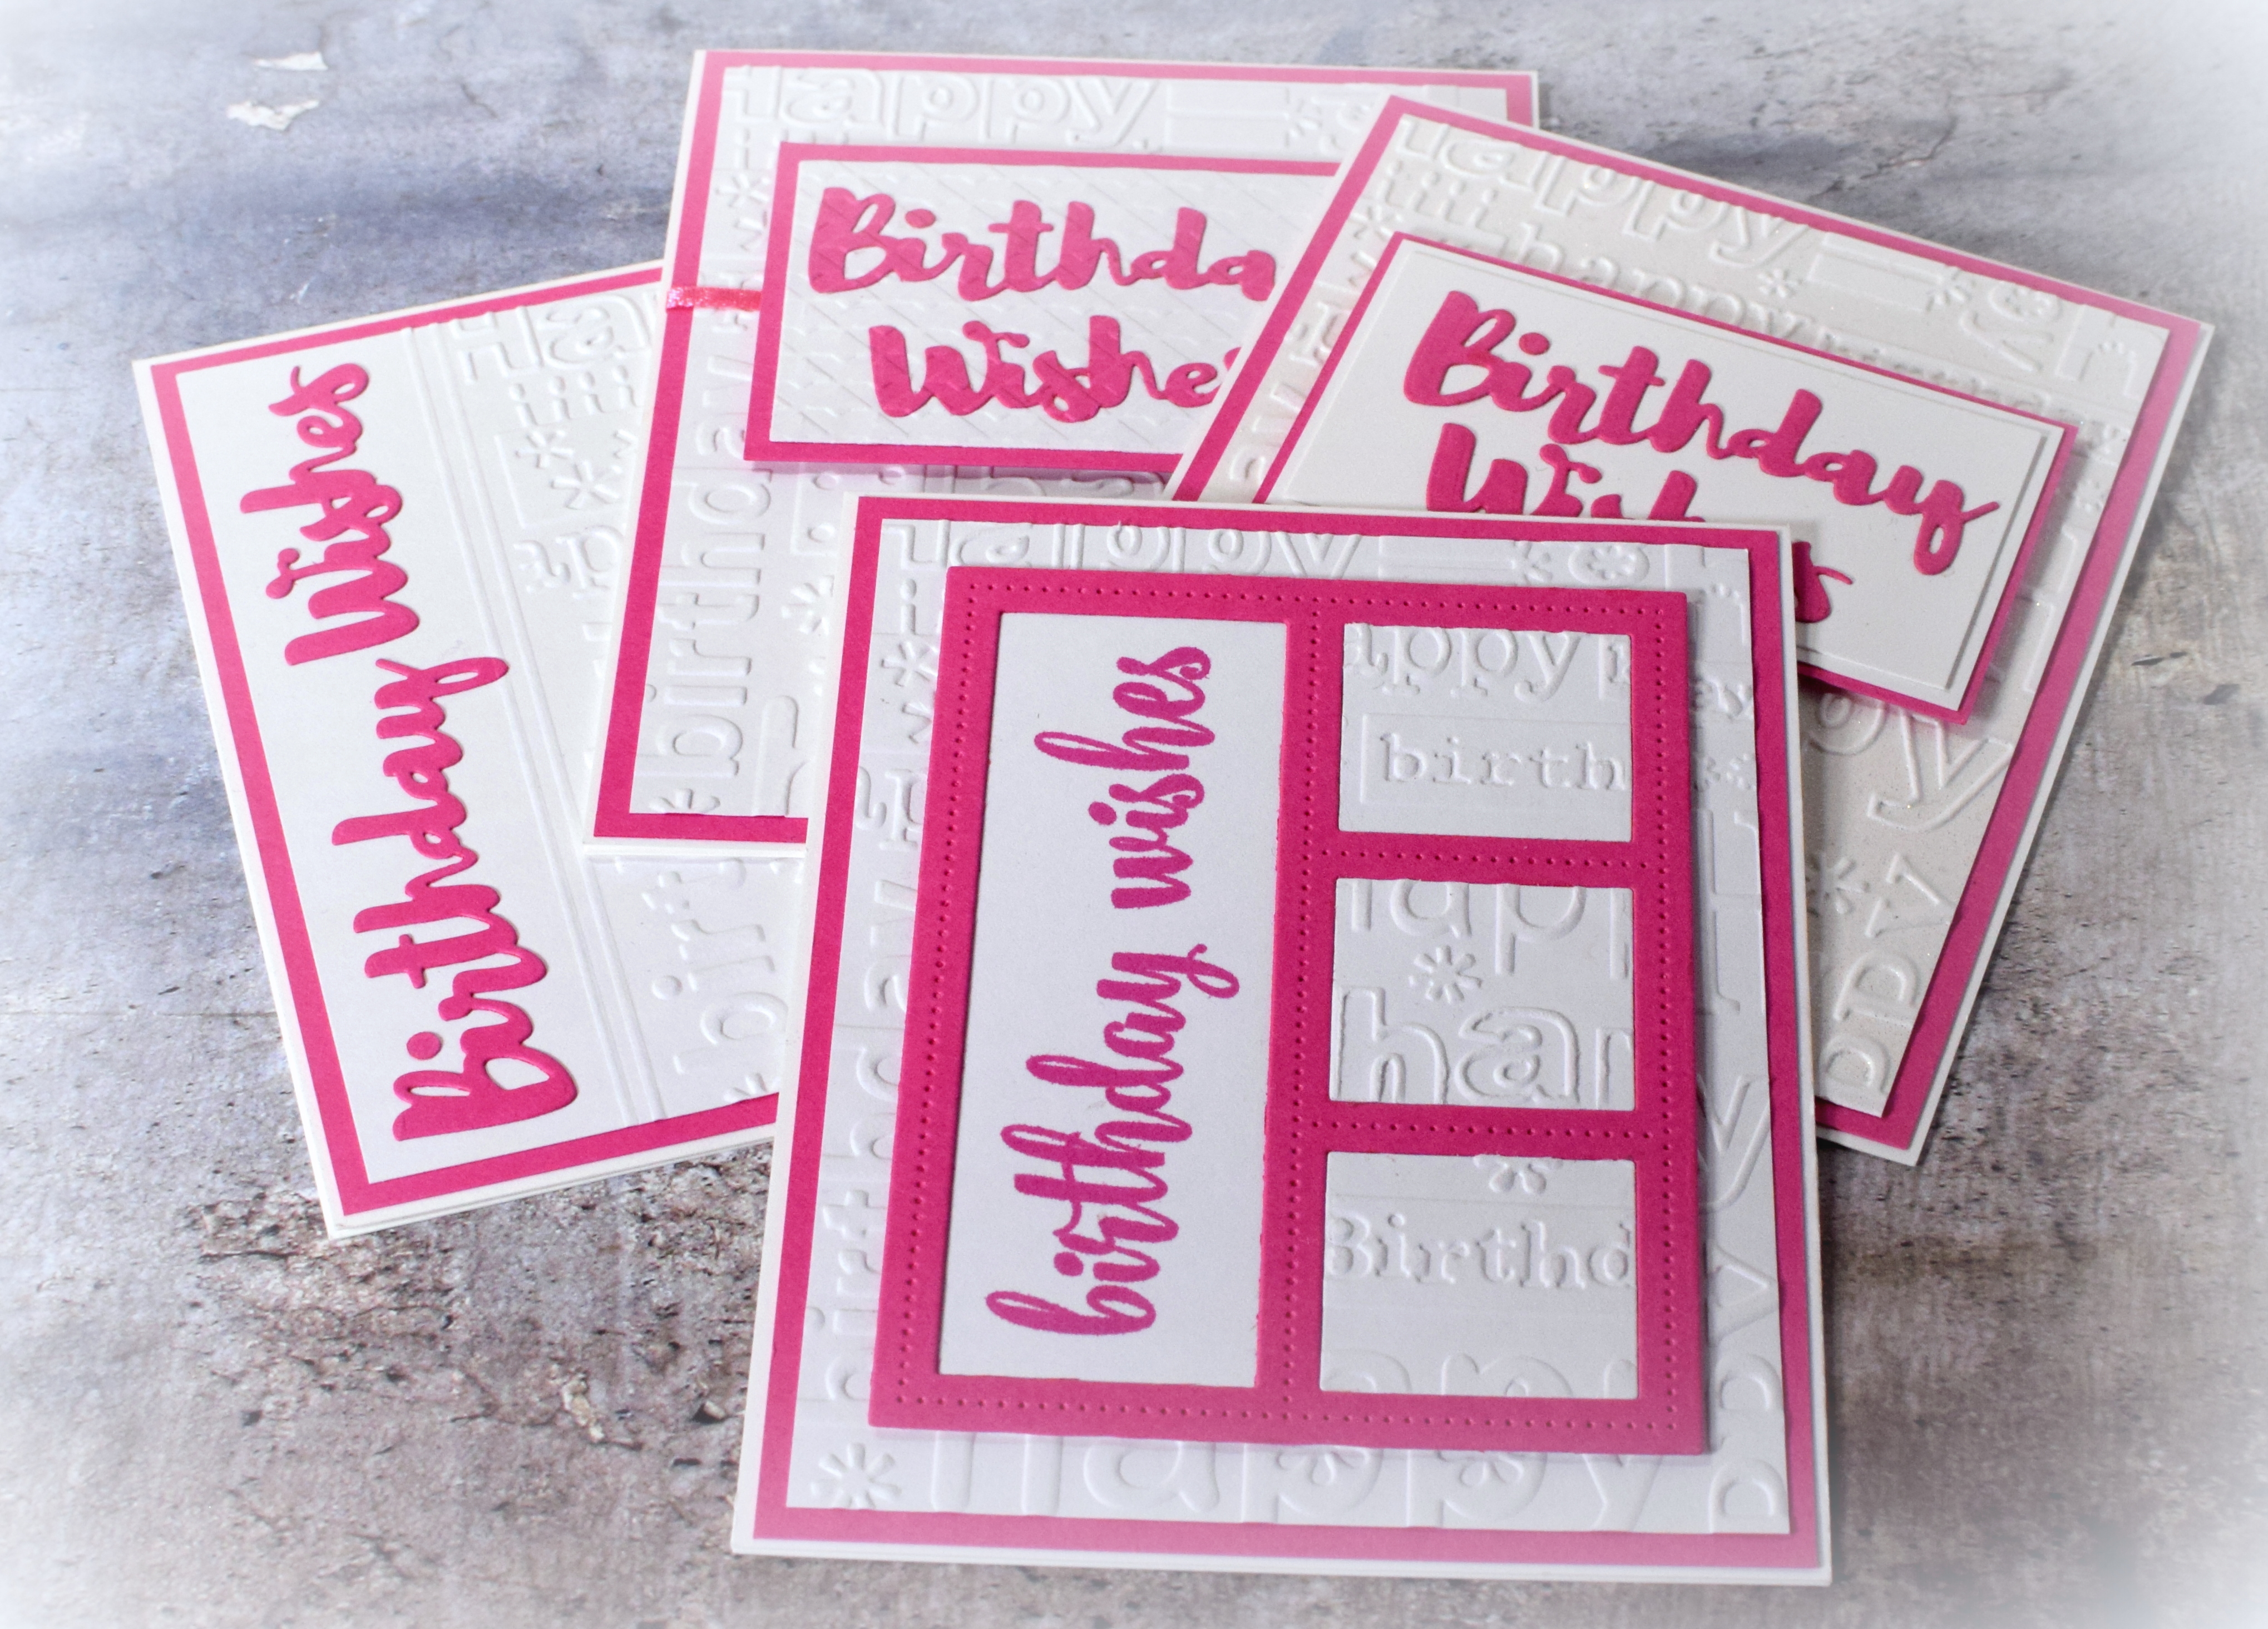
I have so many embossing folders and rarely think to use them. And if I do, I find myself using the same few. I chose one I had not yet used (the Cuttlebug “Happy Birthday” folder by Provocraft) and thought I’d play around with some different techniques I have been wanting to try.
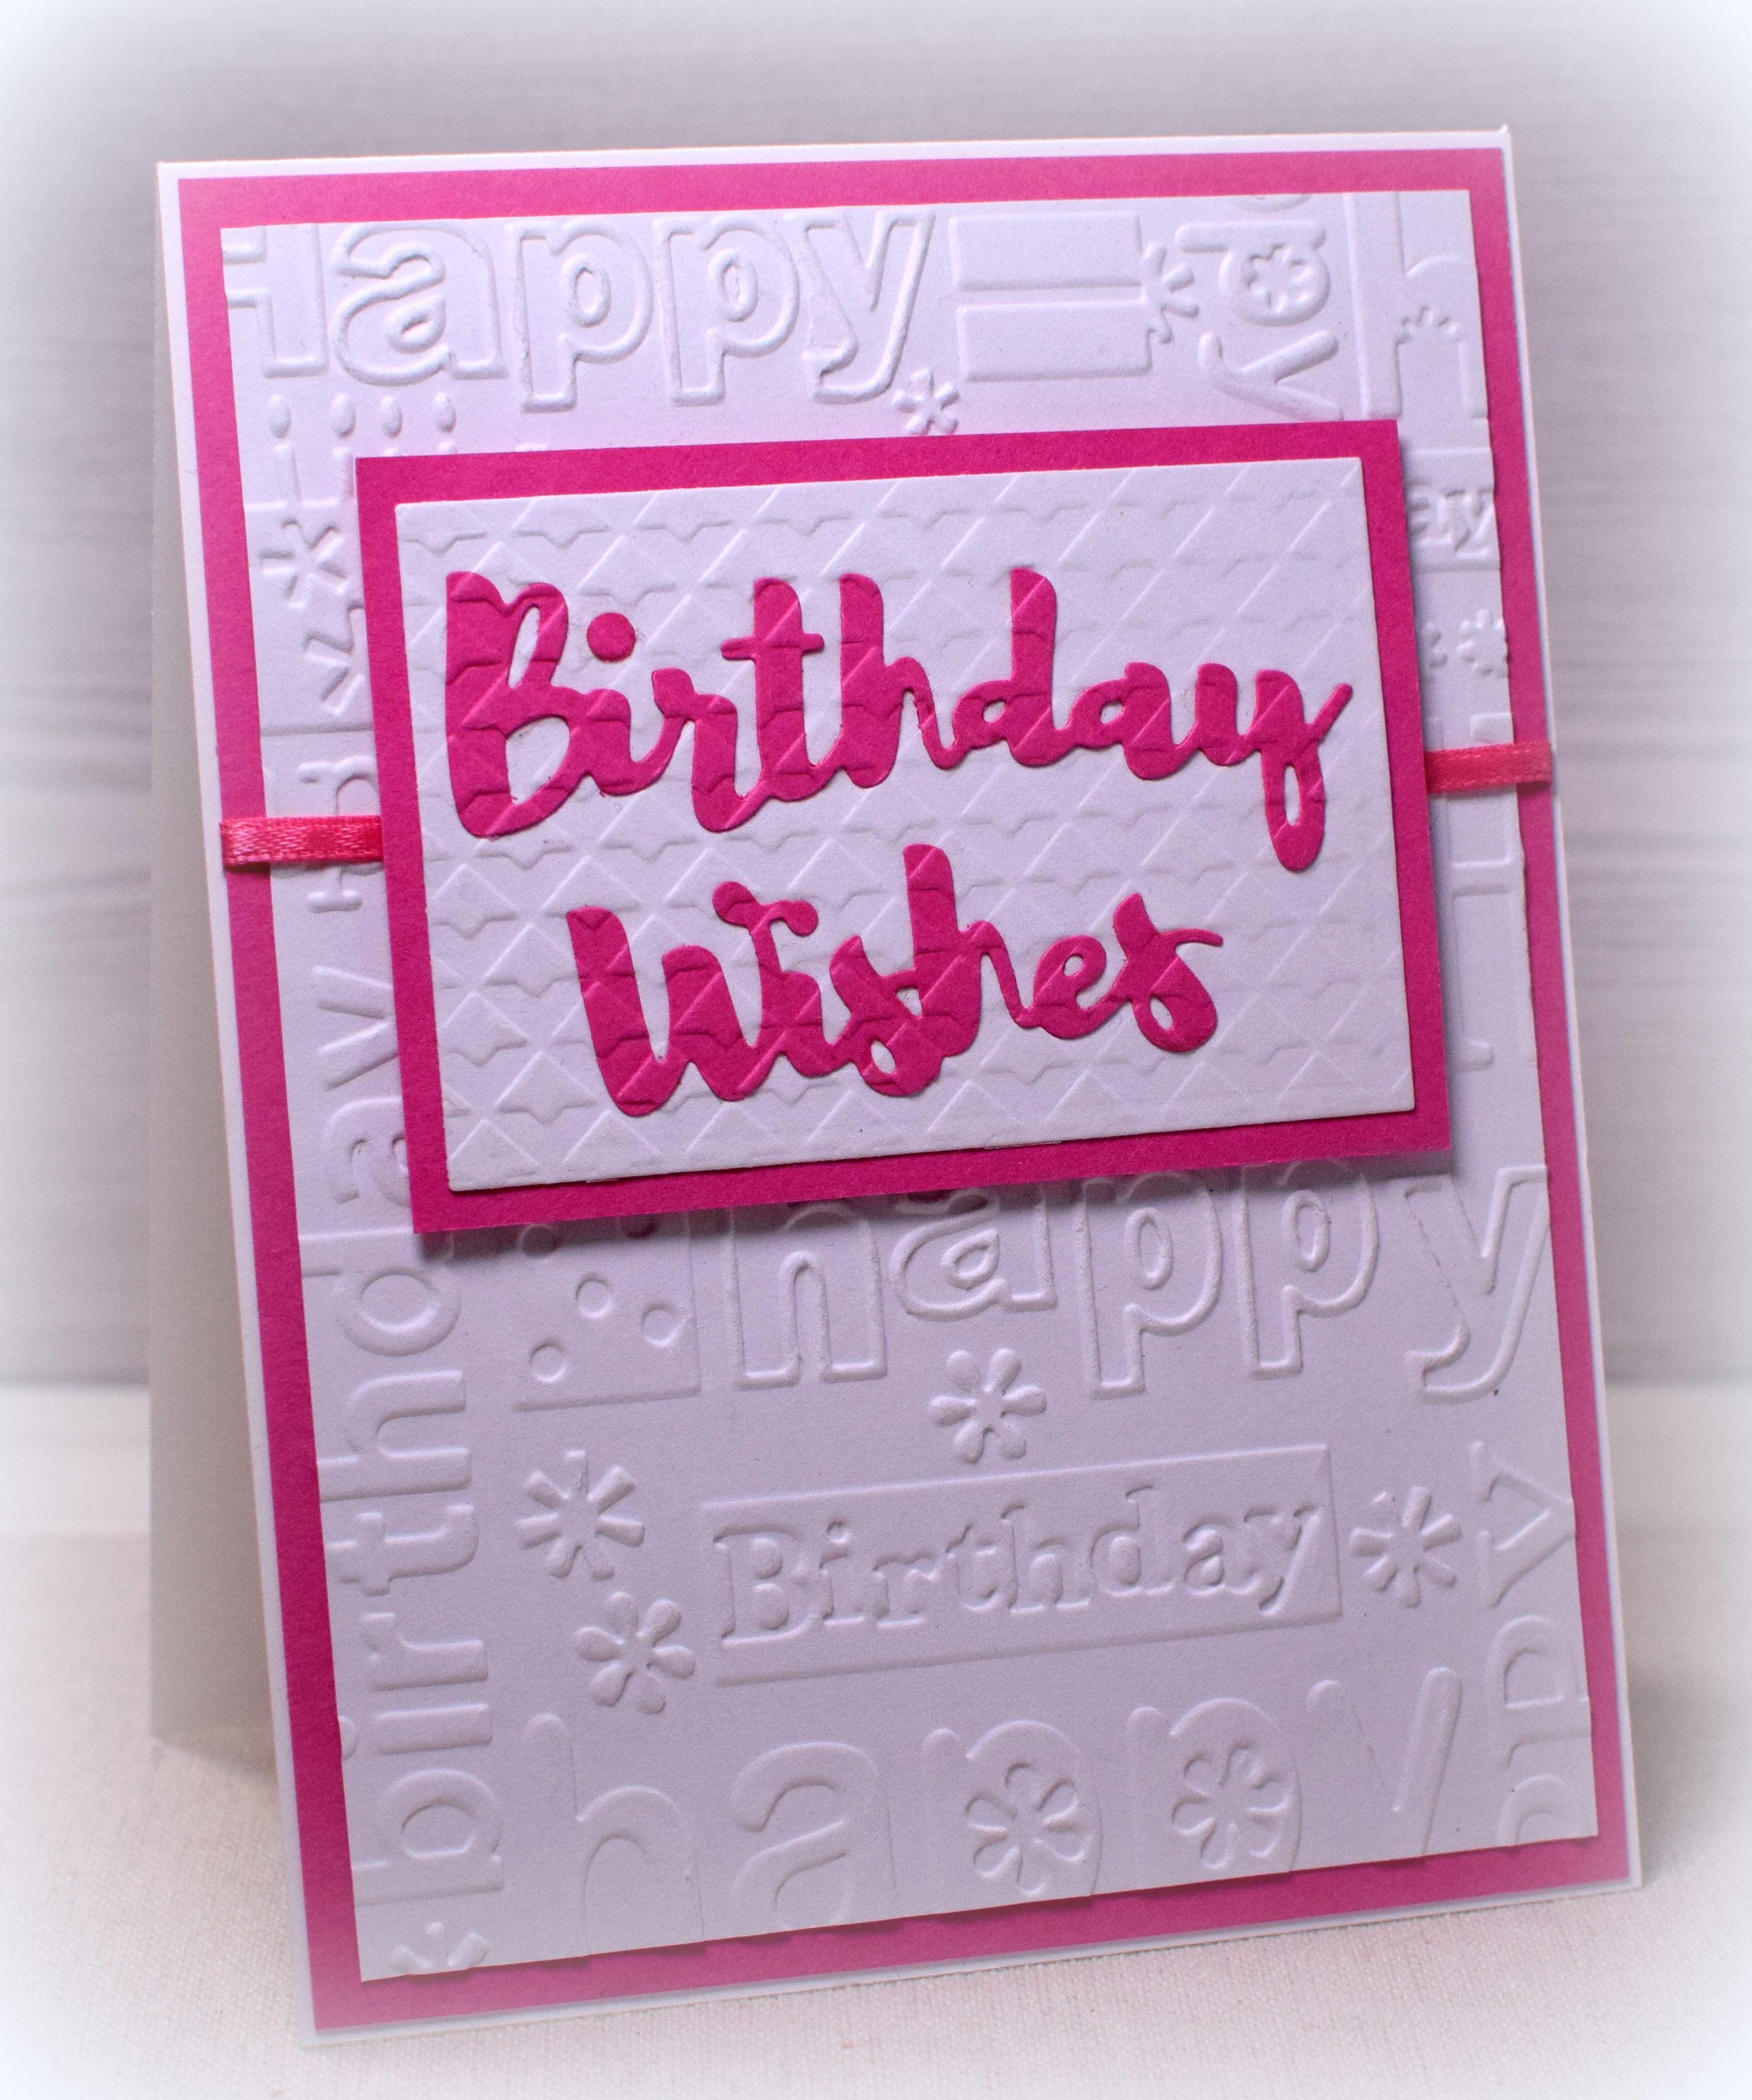
Double Embossing

It’s hard to see the shimmer in the photo above, but for this first one, the background was heat embossed with Stampendous Kaleidoscope embossing powder as well as dry embossed. I used a brayer to apply versamark ink to the front side of the embossing folder, inserted white card stock in the folder, and ran it through my Cuttlebug. I then covered the panel with the embossing powder and heated it.
This angle shows the sparkle a little better:
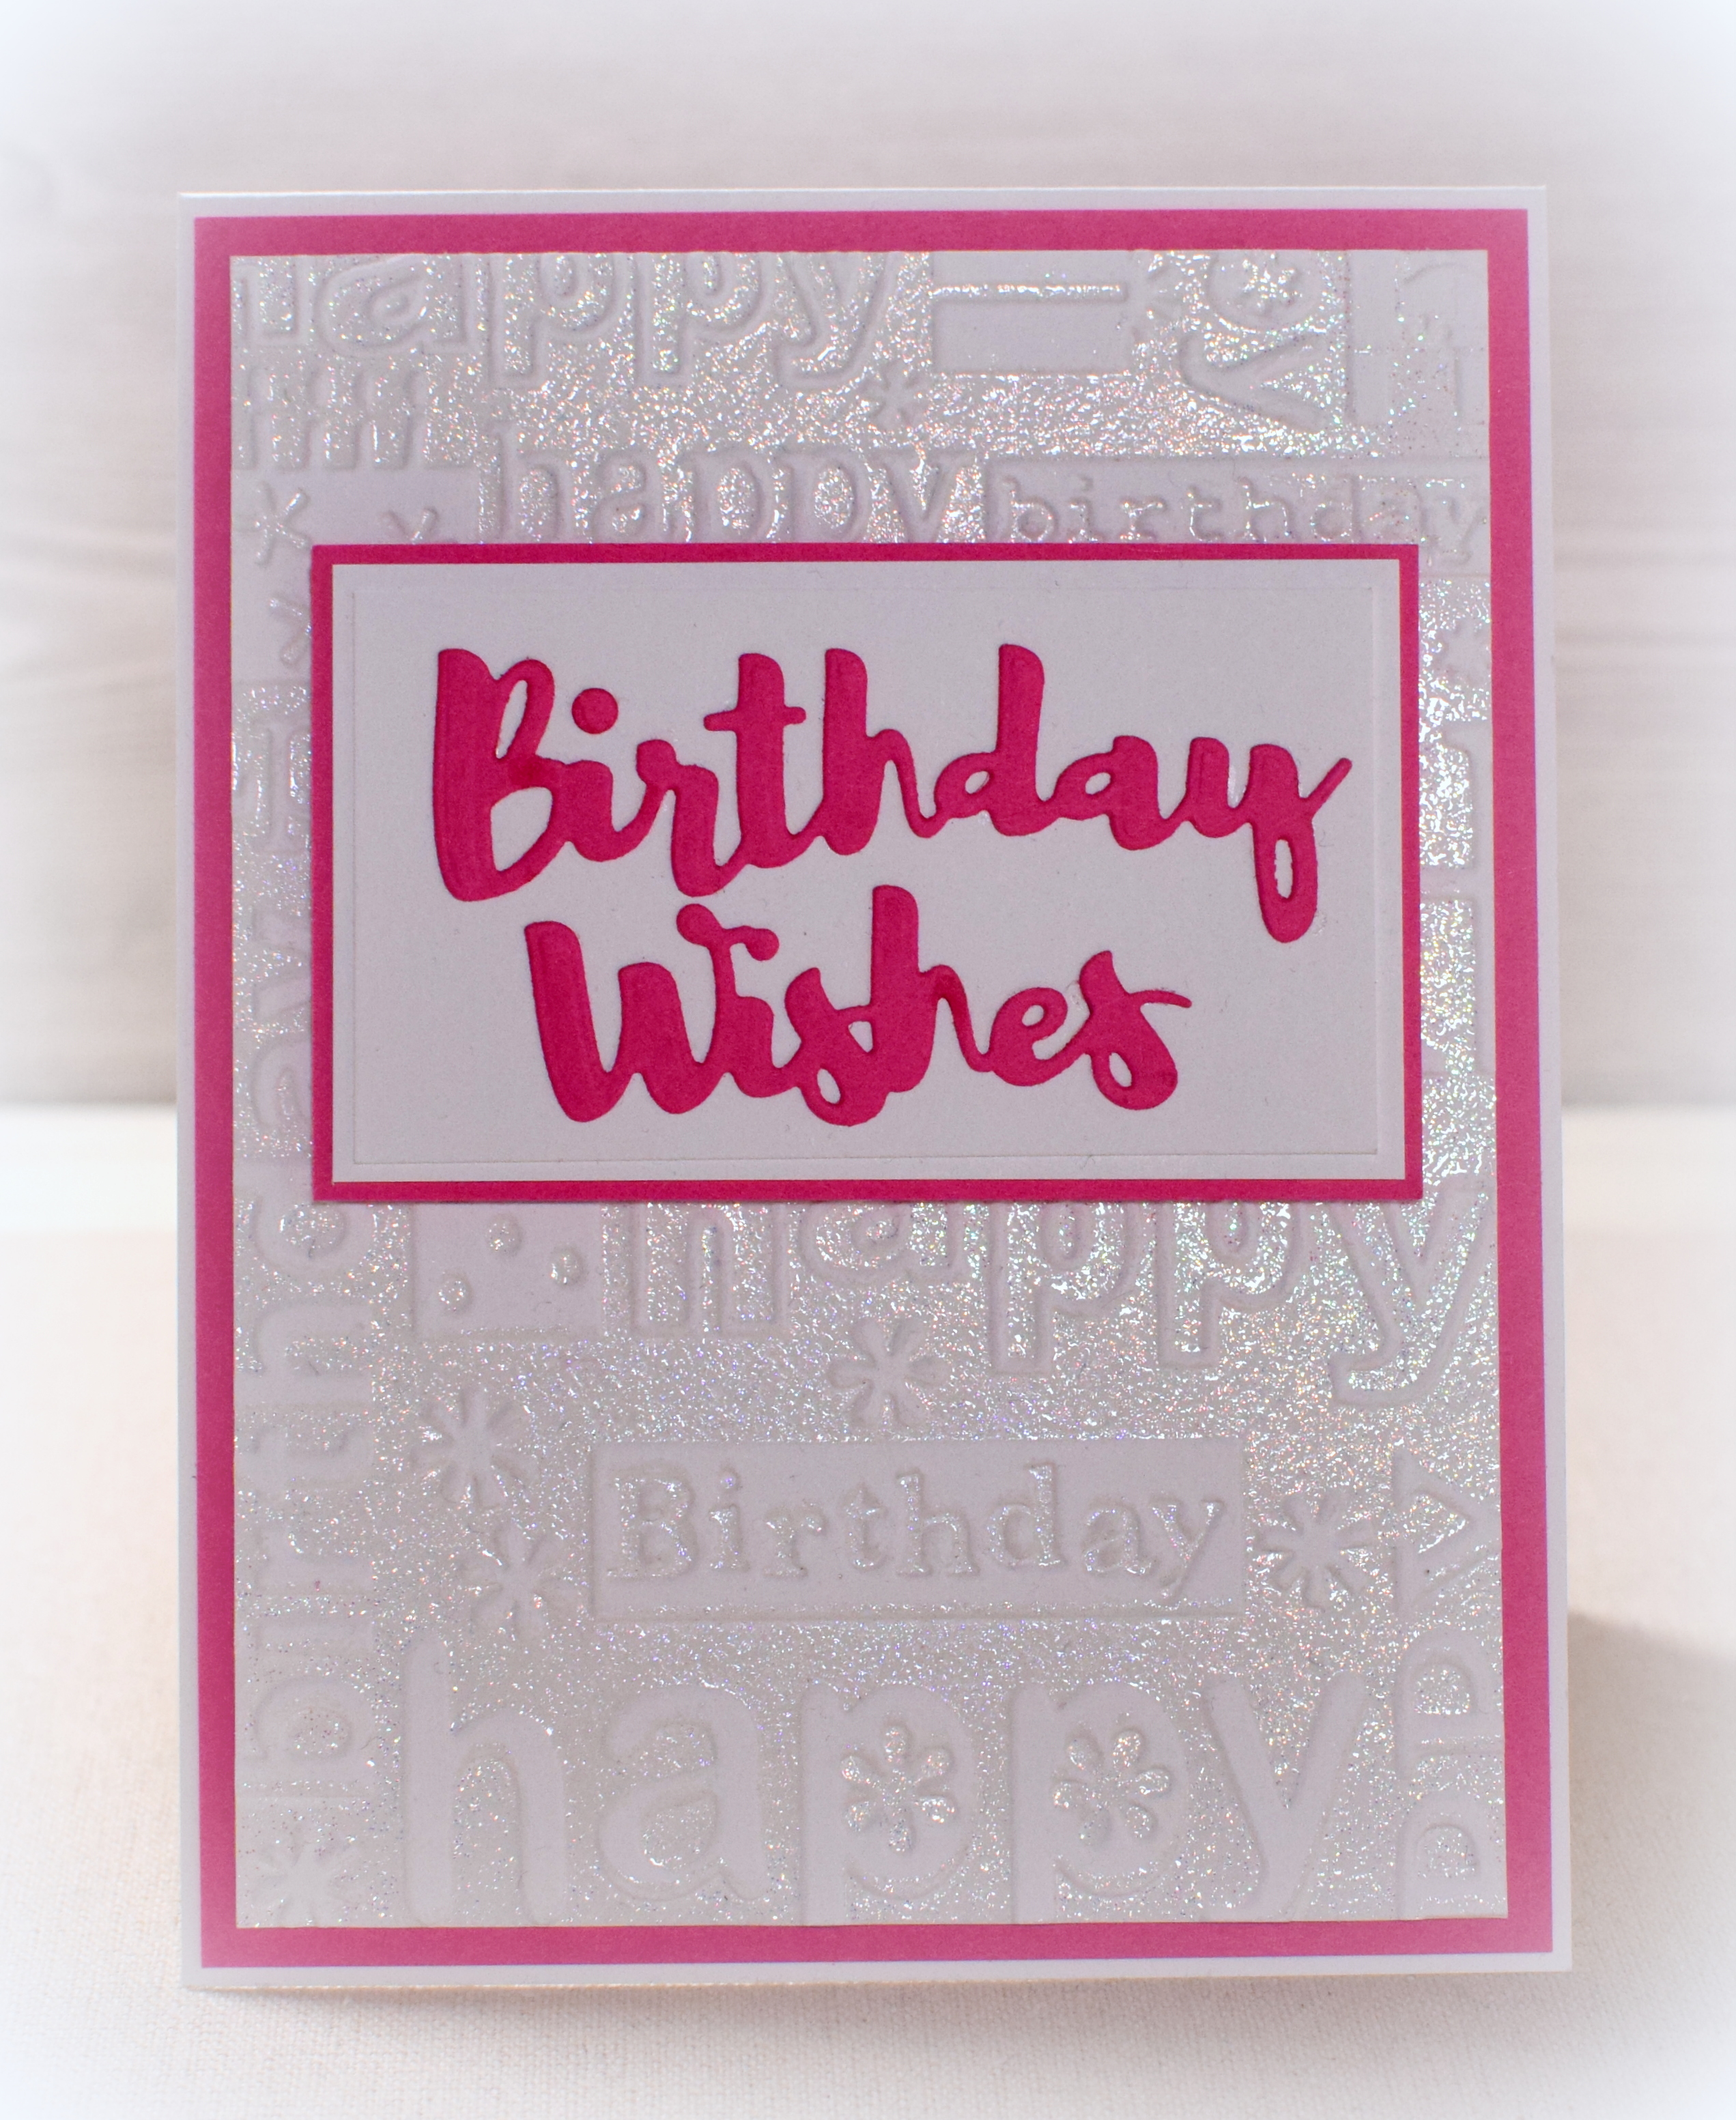
The greeting was cut with dies from the Spellbinders “Birthday Wishes” set (#661868) and Gina K Passionate Pink card stock. (I saw this technique HERE on YouTube.)
*
Partial Embossing
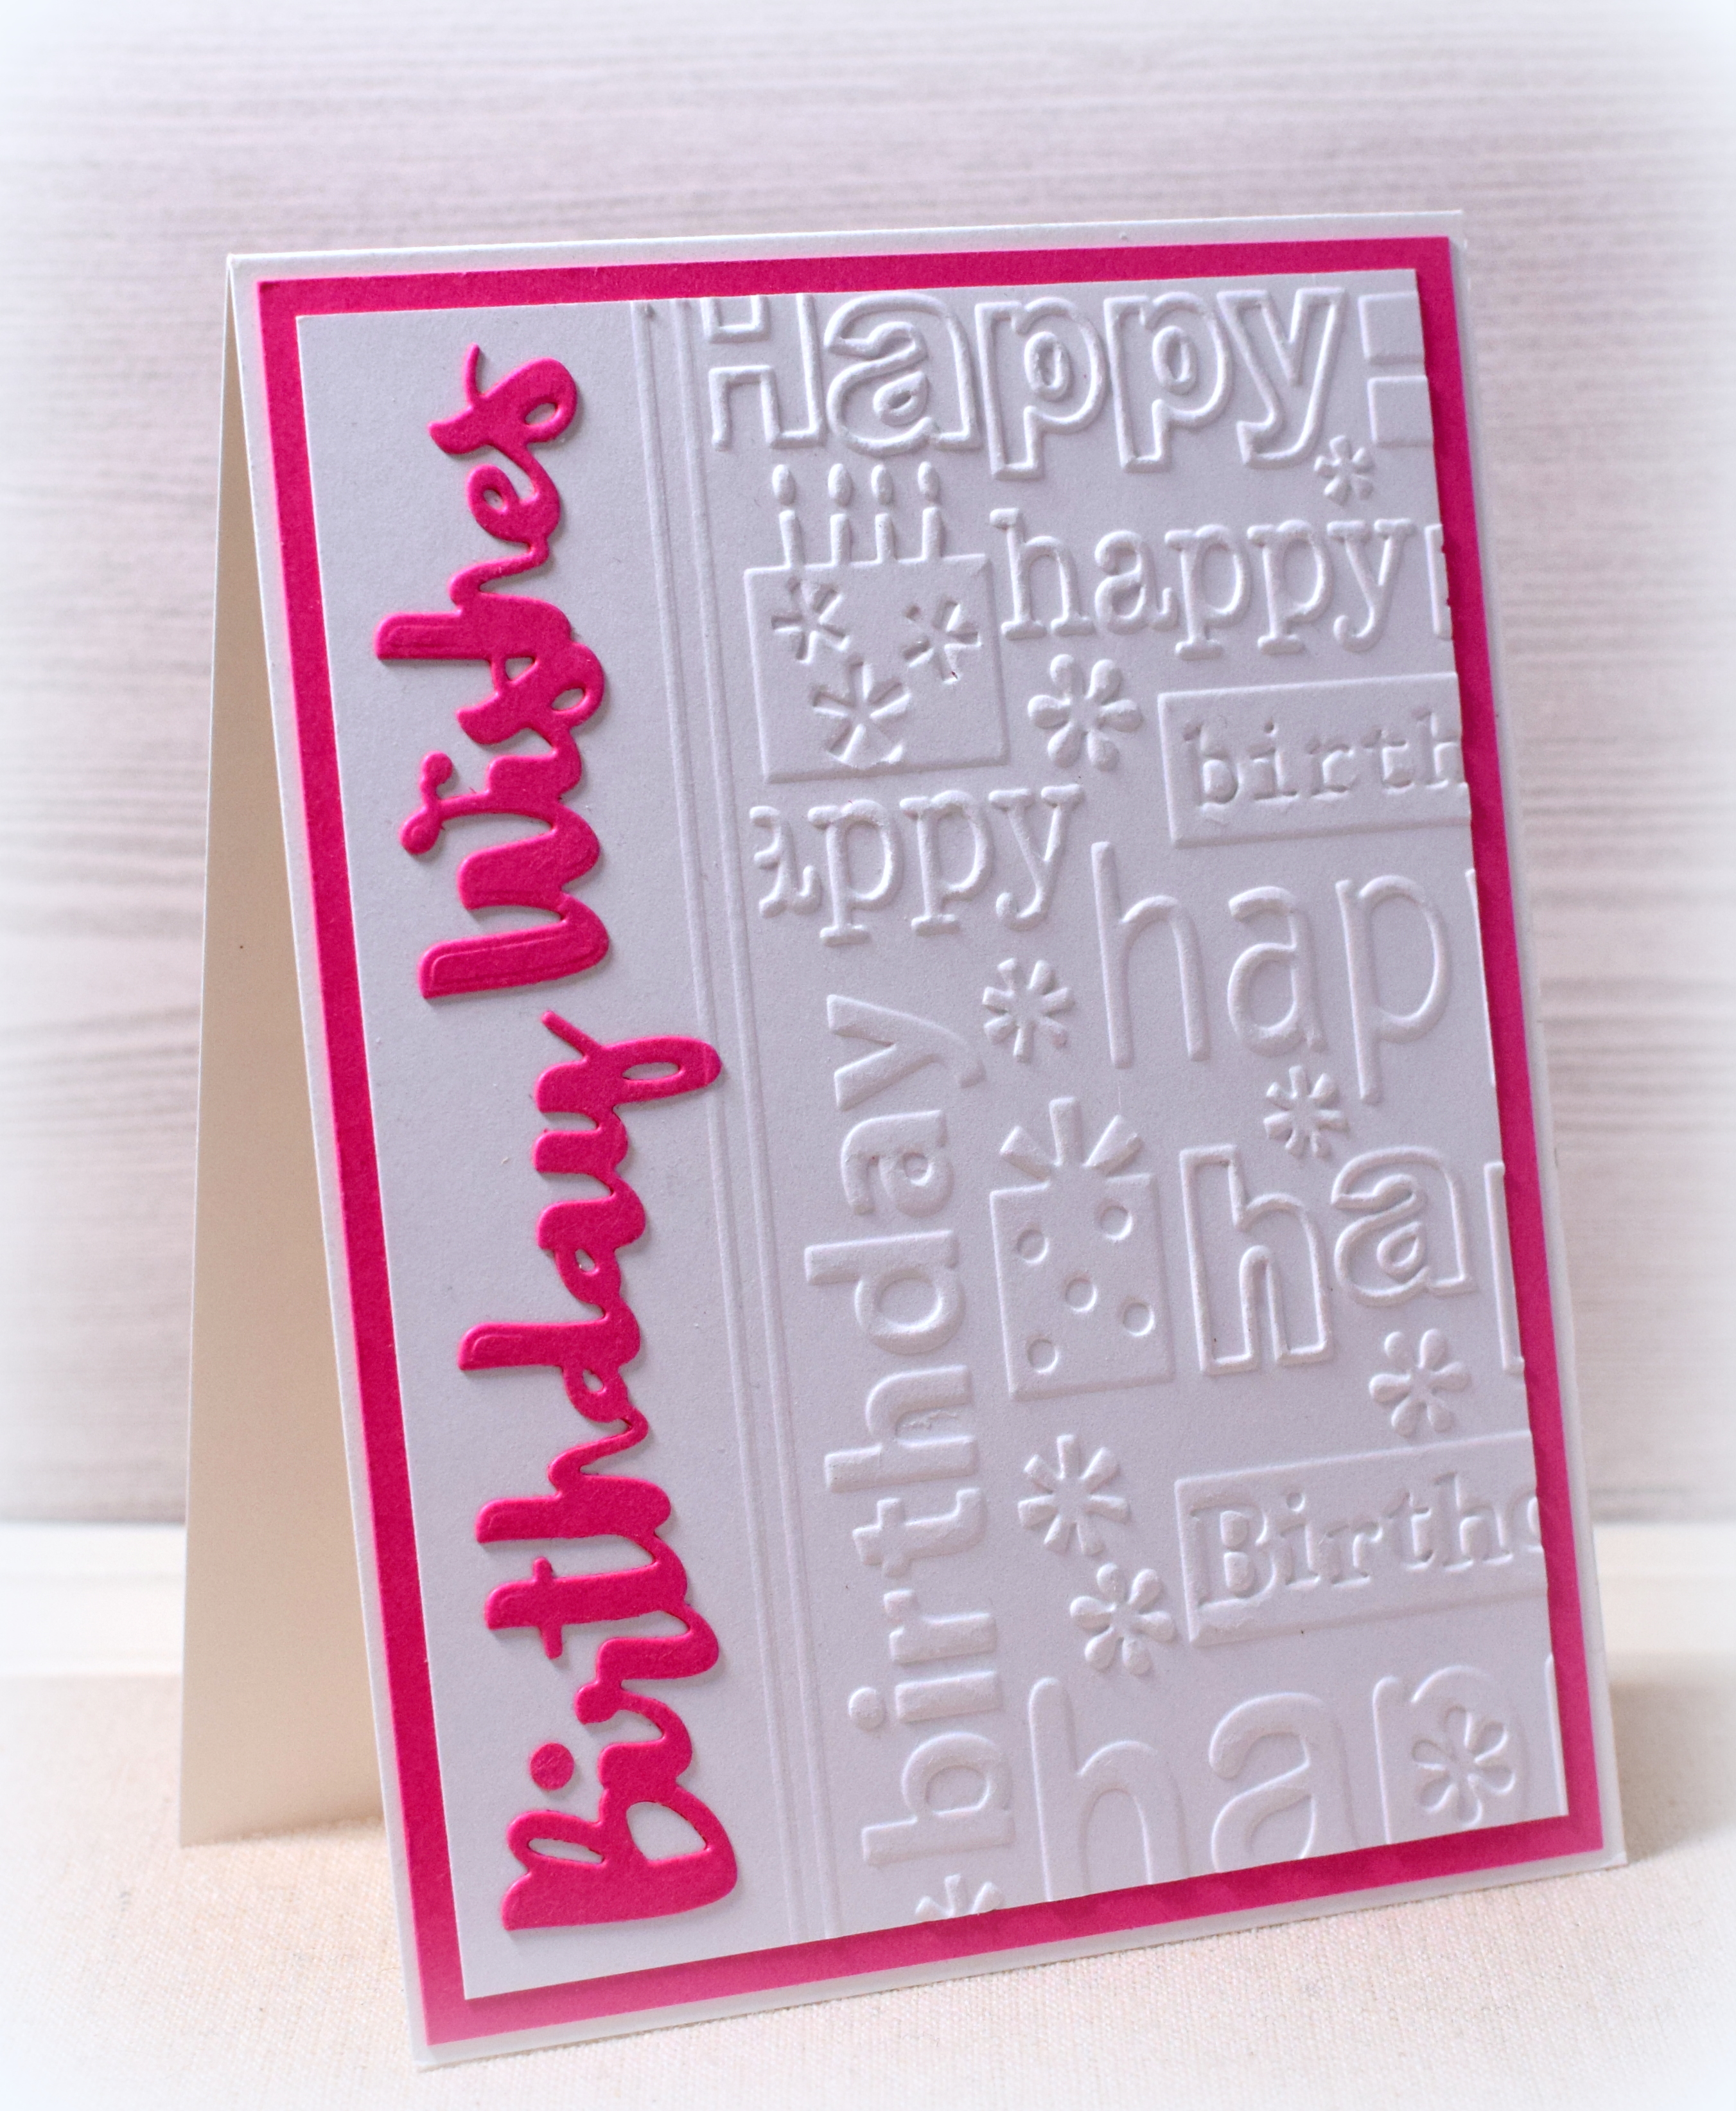
This partially embossed sample is similar to my “Scripty Balloon Birthday Card” which I made earlier this year. I used my score board to separate my greeting from the embossed side of the panel. (HERE is a video showing how to do this technique.)
*
Inlay Technique
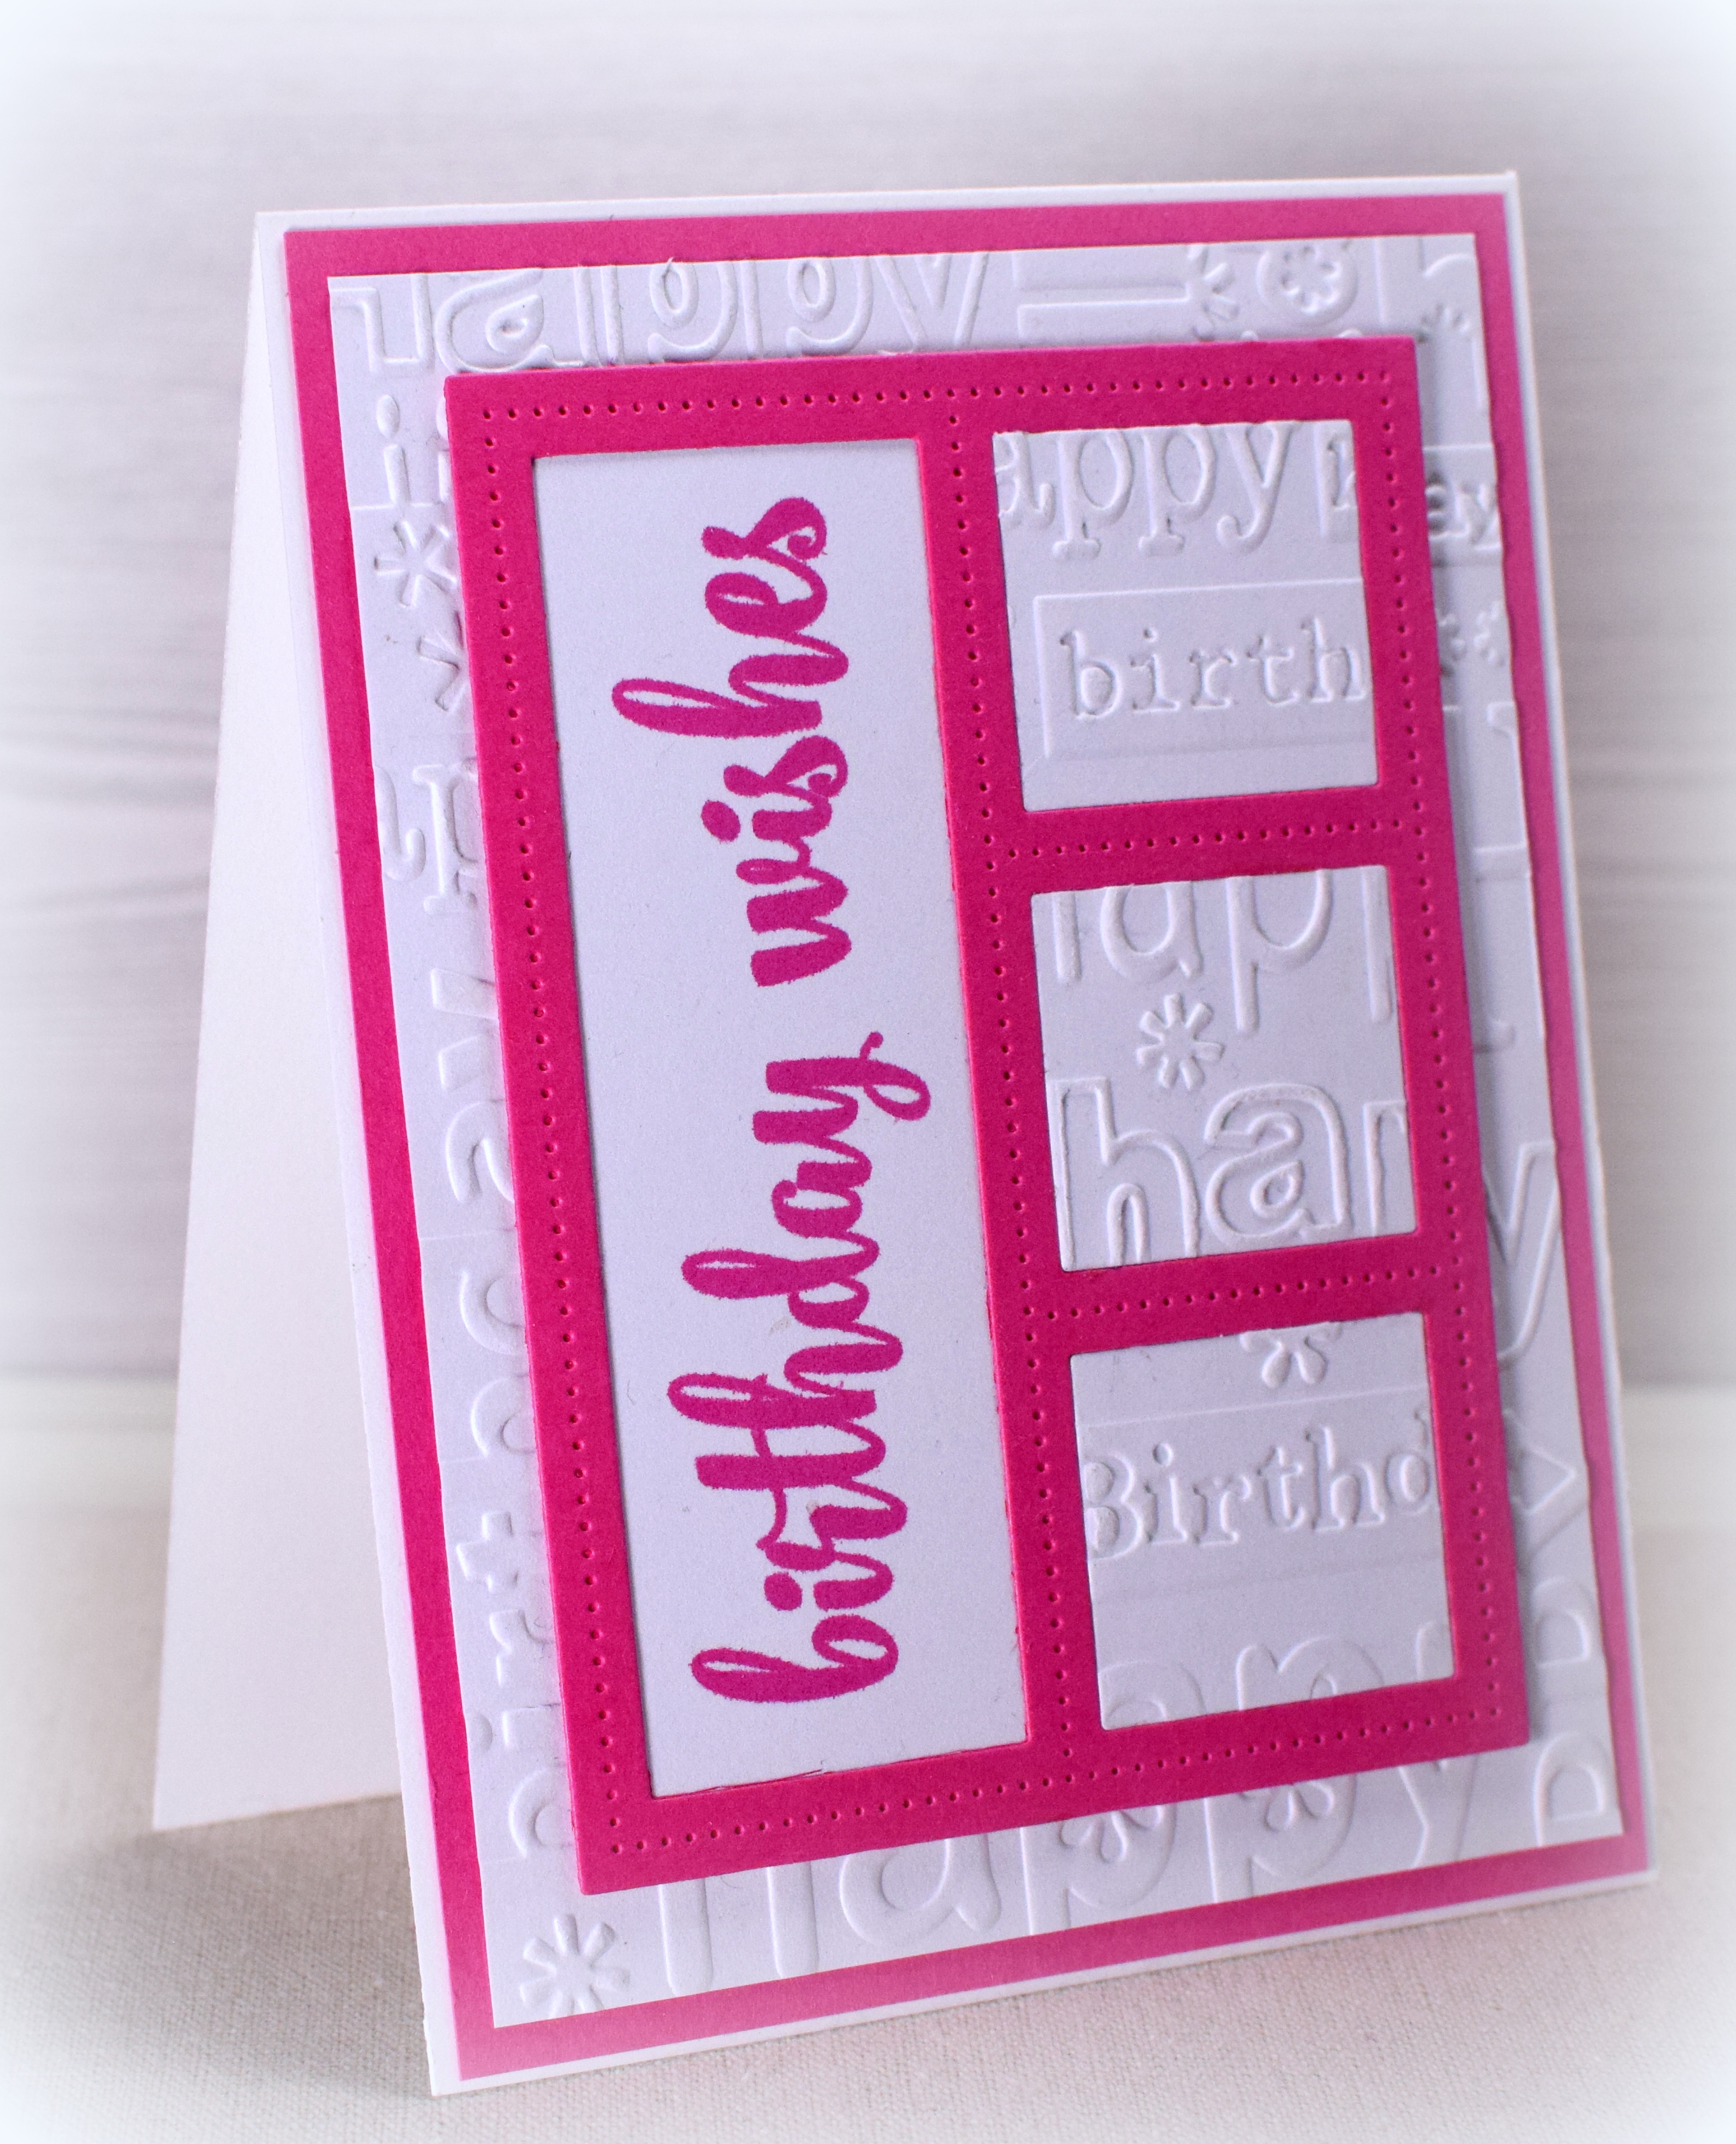
Inlay is a technique where one “inserts pieces of contrasting, often coloured materials into depressions in a base object to form ornament or pictures,” (from Oxford Companion to the Decorative Arts). For this sample, I used small embossed panels in the openings of a die cut frame. The frame die was unmarked. The greeting stamp was from the “Massive Messages” set by Gina K Designs and was stamped with GK Passionate Pink ink. I embossed the background panel with the embossing folder as well.
*
Faux Pressed Flower Technique
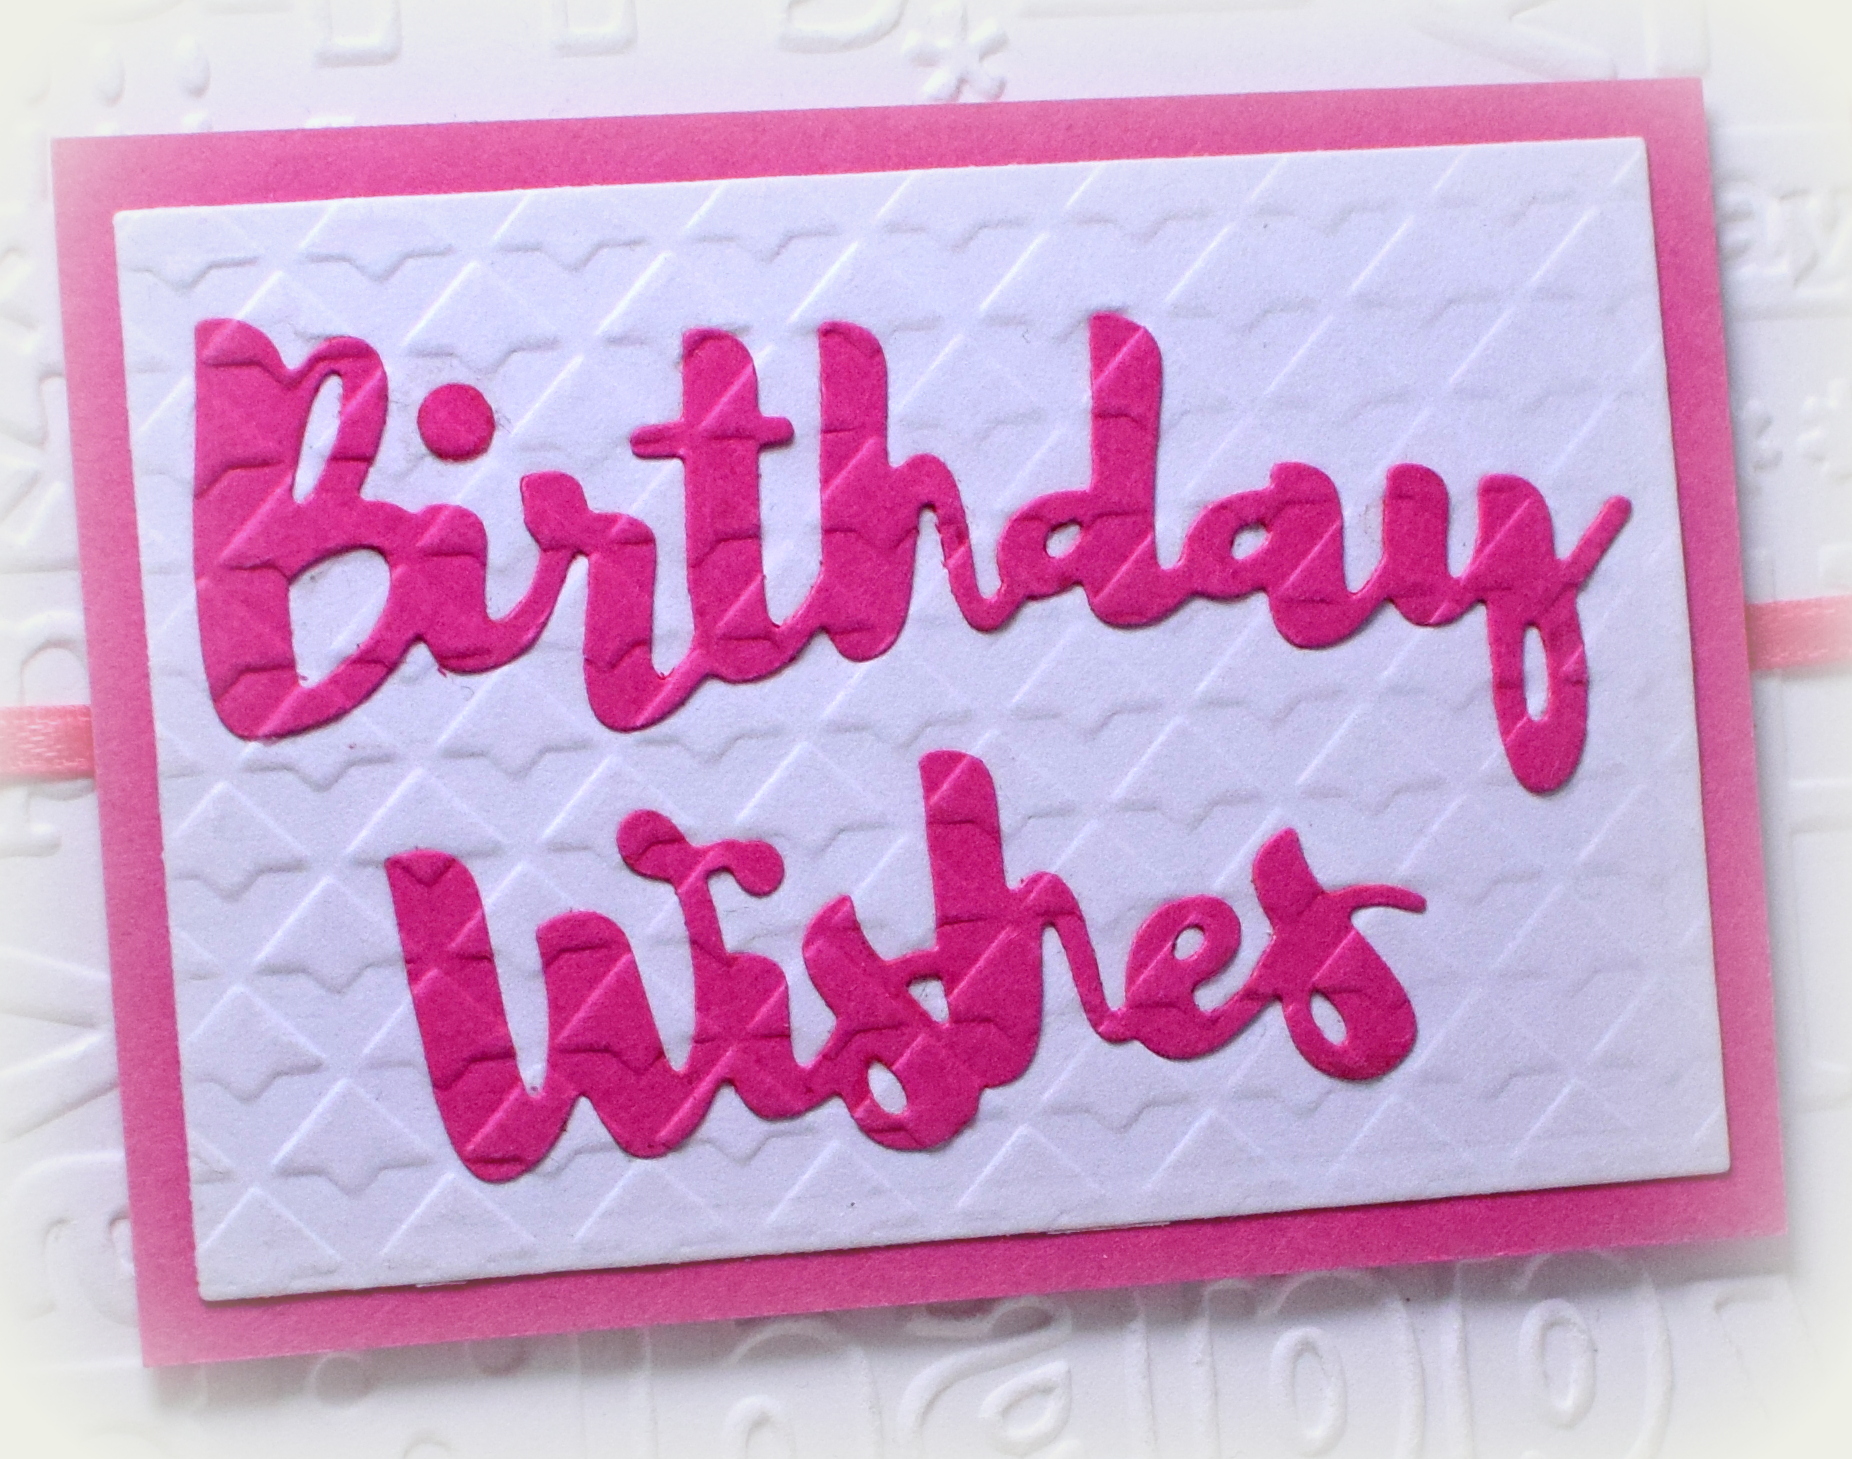
The layout of this fourth one is similar to that of the first sample, but the technique used is different. For this one, I did the “Faux Pressed Flower” technique. You adhere your die cut (usually a flower; I used a greeting) to a (flat) piece of card stock. (Make sure all parts of the die cut are glued down.) Then, you place it in an embossing folder and run it through your die cutting/embossing machine. It creates cool texture on the die cut and makes it look like it is part of the card stock it is stuck to. I used the “Retro Triangles” embossing folder by mpress. (Any embossing folder with a small, detailed pattern will work for this technique.) After my greeting panel was embossed, I cut it to size with a die from the Spellbinders “ATC” set (#S3-208).
After my aunt passed away a year and a half ago, I was fortunate enough to receive all of the stuff from her “Cuttlebug Station” from her craft room. The “Birthday Wishes” die set and “Happy Birthday” embossing folder were hers, and I really enjoyed using tools that she had also used. Recently, I spent a fun afternoon searching online for the names of all the unmarked dies and embossing folders from her stash which led me to tons of card samples and tutorials that I am anxious to try. She continues to inspire me even though she is no longer here!
Thanks for checking out my card projects!
This content uses referral links as described in the disclosure policy on my sidebar.


All are so wonderfully designed. I need to start using embossing folders more instead of leaving them sit.
LikeLike