Coffee Note Cards

Coffee Note Cards

Coffee Note Cards yDSC_2082.jpg

I see many coffee themed cards in my internet travels, but I have never made one myself. Last week, I was asked if I had any coffee themed cards on hand…  Guess what I did as soon as I got home! After looking online at the large collection of coffee related stamps and dies available, I ordered a few and not-so-patiently waited for them to arrive.

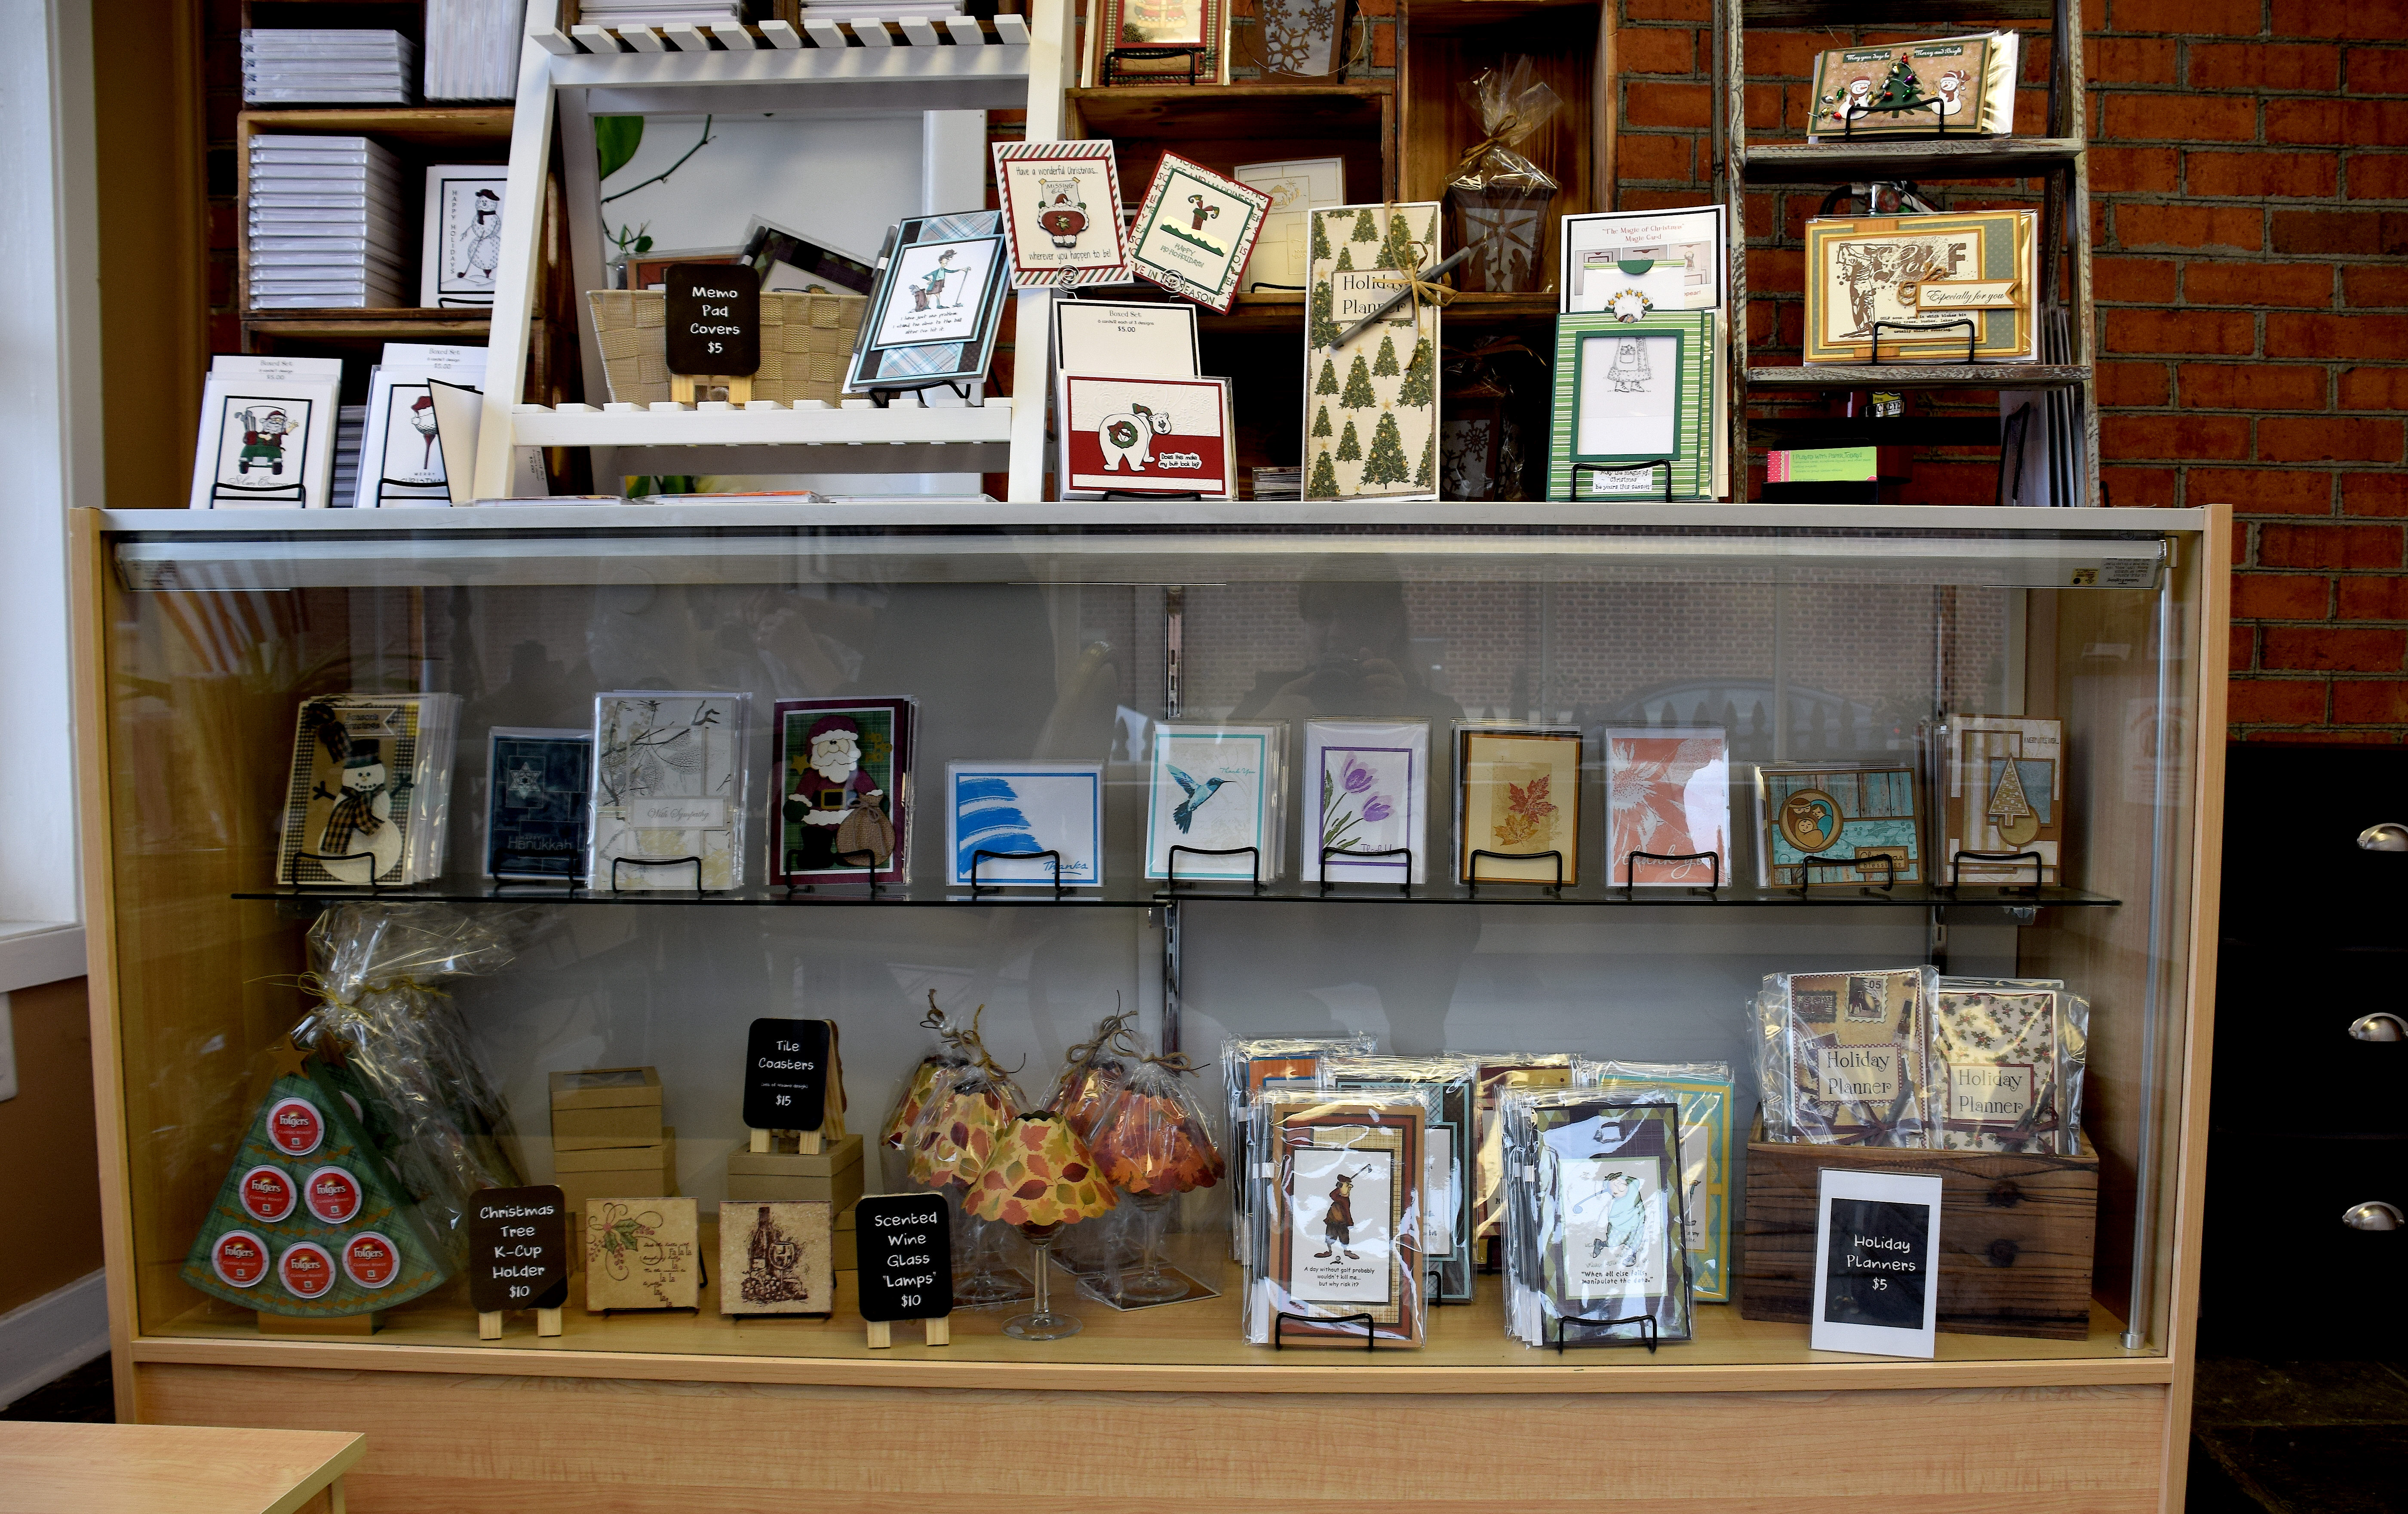
As I mentioned in my “Falling Leaves” post, I also received a request for blank note cards without a greeting so I decided to combine the two requests and design another plain note card but with a coffee theme.

For this card, I featured the Stampendous “Coffee Background” stamp which I stamped with Gina K Dark Chocolate ink on Recollections Ivory card stock.  I crimped a strip of Recollections Kraft card stock with my Uchida Crimping tool and adhered that to the stamped panel.  (This kind of reminded me of the corrugated cup sleeves you often see with take-out cups to protect your hands.)  The edges of both were inked with the Dark Chocolate.  After adding some baker’s twine (from Target), I added this to an ivory mat and a kraft card base.  A blank ivory panel was adhered inside for a personal message.

I used my MISTI to make sure I got a good stamped image for the front of my card and was able to make multiples for boxed sets.

wdsc_2051

I am still waiting for a few more stamps and dies to arrive in the mail and will be making more coffee themed cards when they do!

Thanks for checking out my card project!

This content uses referral links as described in the disclosure policy on my sidebar.

Christmas Blessings

Christmas Blessings

A Blessed Christmas wwwDSC_2012

(inside: Wishing you a Christmas season full of peace, goodwill, and joy!)

I started off thinking I wanted to use browns and blues for my color palette and thought the idea of a wood print background might be nice to create a rustic feel.  (Wood.. stable…that’s where my mind was on this one.)  Anyway, I saw several wood print backgrounds in my travels, but this one with the turquoise and brown really caught my eye.  I told myself that turquoise is kind of blue (for Mary) and kind of green (for Christmas), and I often see people use non-traditional colors, so I decided to go for it. Still trying to decide if I like it for a Christmas card…..

The stamped image and greeting are from the “A Blessed Christmas“set by Paper Smooches. I stamped the holy family on white card stock and the greeting on Darice Picket Fence with Gina K Charcoal Brown ink.  I colored the image with Copic markers (Mary: BG15; Faces: E53; Joseph: E57; Jesus and Headband: E55) and hand cut it out with scissors.  To make them more rustic looking, I stamped over the colored image and greeting panel with the texture stamp from the Gina K Designs “Frame & Filler” set (retired?) and Kraft ink.

The inside sentiment is from the “Christmas Blessings” set by Our Daily Bread and was stamped on Gina K Sandy Beach card stock with Charcoal Brown ink.

The circle panels were cut with Spellbinders circle dies (from the Large and Small sets).  The small circle was cut from the Picket Fence card stock and stamped with the Stampin’ Up “Cheesecloth” background stamp and Kraft ink.  The large circle (and all the mats and card base) are Recollections Kraft card stock.

The music notes panel is “Tiny Music – Teal (518068)” by the Paper Studio from Hobby Lobby.  I stamped the holly over the music print with Stampin’ Up Lost Lagoon ink using the stamp from the Sizzix/Hero Arts “Stamp & Emboss Holly Background 657769” set.

The wood print paper is called “Petite Wood Fence – Turquoise (1145234)” by the Paper Studio from Hobby Lobby.

I inked the edges of all of the panels with Gina K. Charcoal Brown ink.

Thanks for checking out my card project!

This content uses referral links as described in the disclosure policy on my sidebar.

Handmade Cards and Projects for Sale in Haddonfield

Handmade Cards and Projects for Sale in Haddonfield

main-display-wdsc_2042

I was invited (for a few months) to join “Uncle Ron’s Candles” in Haddonfield, NJ to display and sell some of my cards and projects.  (Thanks Stacey!)  This was a unique experience in that Stacey ran a dry cleaning business, and this display was in her store!  Customers could come in with their laundry and dry cleaning needs and could leave with cards and gifts.  How cool is that?!

*
wwDSC_2041.jpg
(There were two display shelves.)
*

wdsc_2044  wdsc_2045  wdsc_2047

(click on photo for closer look)


This post is intended to satisfy the angel policy requirement of listing the supplies used on my projects.

All of the projects I am offering for sale were hand-created using a variety of materials including rubber stamps, cut files, designer papers and embellishments. The companies that designed the products I used all have Angel Policies which allow one to use their products on hand-made creations for sale. (The exact terms of each company’s Angel Policy can be found on their websites.) Some companies required a commercial license (which I purchased, when necessary). Most of the companies require that credit be given when using their products, and since my projects were all hand-made with no mechanical reproduction, it was not reasonable to list the “ingredients” used on each individual project. Therefore, I have included below (in no particular order) the links to my blog posts for each of the projects offered. (Click on the card title below the photo to go to the post.) In each of the posts, I’ve included the copyrighted products used for that project… Continue reading

Christmas Holly Tile Coasters

Christmas Holly Tile Coasters

Christmas Holly Tile Coasters yyyDSC_1213 cropped

Another coaster design…

These coasters were made with Premier Decor 4×4 Ivory Travertine tiles I purchased at Home Depot.  The images were stamped with Stazon Timber Brown ink and stamps from the Heartfelt Creations “Elegant Holly Swirls – HCPC 3339” set (retired?) and the Gina K Designs “Merry Little Christmas” set.  Then I inked the edges with a sponge dauber.

Using the reverse masking technique, I created a stencil of the holly leaves by stamping the image on a piece of scrap paper and hand-cutting/removing just the leaves .  Then I dabbed on Stazon Forest Green ink with a sponge dauber.  I used a foam eye shadow applicator (the pointy tip) to dab on red Stazon Blazing Red ink for the berries since hand-cutting a stencil for these tiny shapes was too difficult.

Once the ink was dry, I used a Tombow sand eraser to lightly sand the stamped images and edges to soften them up a bit.

I cut squares of cork , ran them through my Xyron sticker machine, and adhered them to the bottoms of the tiles so they would not scratch the table when used.  Each set contains 4 tiles.

The Mod Squad Challenge is called “Falling Leaves” this week, and we are encouraged to use a leaf or leaves on our projects.   (Sadly, this site is no longer active.)

Thanks for checking out my coaster project post!

This content uses referral links as described in the disclosure policy on my sidebar.

Falling Leaves Note Card

Falling Leaves Note Card

Falling Leaves yDSC_2024.jpg

I was recently asked (several times) if I had any note cards on hand with no greeting (I did not) and decided it was time to create one!  Both people who asked me were men, so I decided to go with a design with a more masculine feel to it.

I started out by creating a reverse mask by cutting out a rectangle in the center of a piece of acetate which was the same size as my image panel.  The rectangle was cut with a die from the Spellbinders  “A2 Matting Basics A” set.  I then sponged Gina K Kraft ink in the cut-out portion of my mask onto a piece of Gina K Sandy Beach card stock.  (I used acetate for my mask since I intended to create several of these cards and didn’t want a paper mask to become saturated with ink; a paper mask normally works fine for this reverse masking technique.)

Still using the Kraft ink for a tone-on-tone effect, I stamped the splatter image from the “Tiny Textures” set from Gina K Designs and one of the leaves from the Gina K Designs “Fall Foliage” set (retired?).  I used two additional leaves from this set for my focal images.  One was stamped with Gina K Faded Brick ink and the other one with Honey Mustard.  Once these two images were stamped, I thumped Charcoal Brown ink in random spots on the stamps and re-stamped them to add a little variation to the color.  Since I was using my MISTI, I was able to re-stamp with no problem.

The stamped panel was matted on Gina K Honey Mustard and Charcoal Brown card stock and was then adhered to a plain ivory card base.

I ended up making multiples of this card design to create boxed sets.

wdsc_2020

The Mod Squad Challenge is called “Falling Leaves” this week, and we are encouraged to use a leaf or leaves on our projects.   (Sadly, this site is no longer active.)

The challenge over at AAA Cards is “Game #74 – Masking” where we are to make a CAS card using the masking technique.

The theme is “Goodbye Summer, Hello Fall!” over at Cards in Envy.  For this challenge, we are to create fall themed or fall color cards while keeping the total thickness of the cards to 1/4 inch or less. (No lumpy bumpy cards!  All cards MUST fit in an envy for mailing.)

Thanks for checking out my card project!

This content uses referral links as described in the disclosure policy on my sidebar.