Pop-up Birthday Wishes
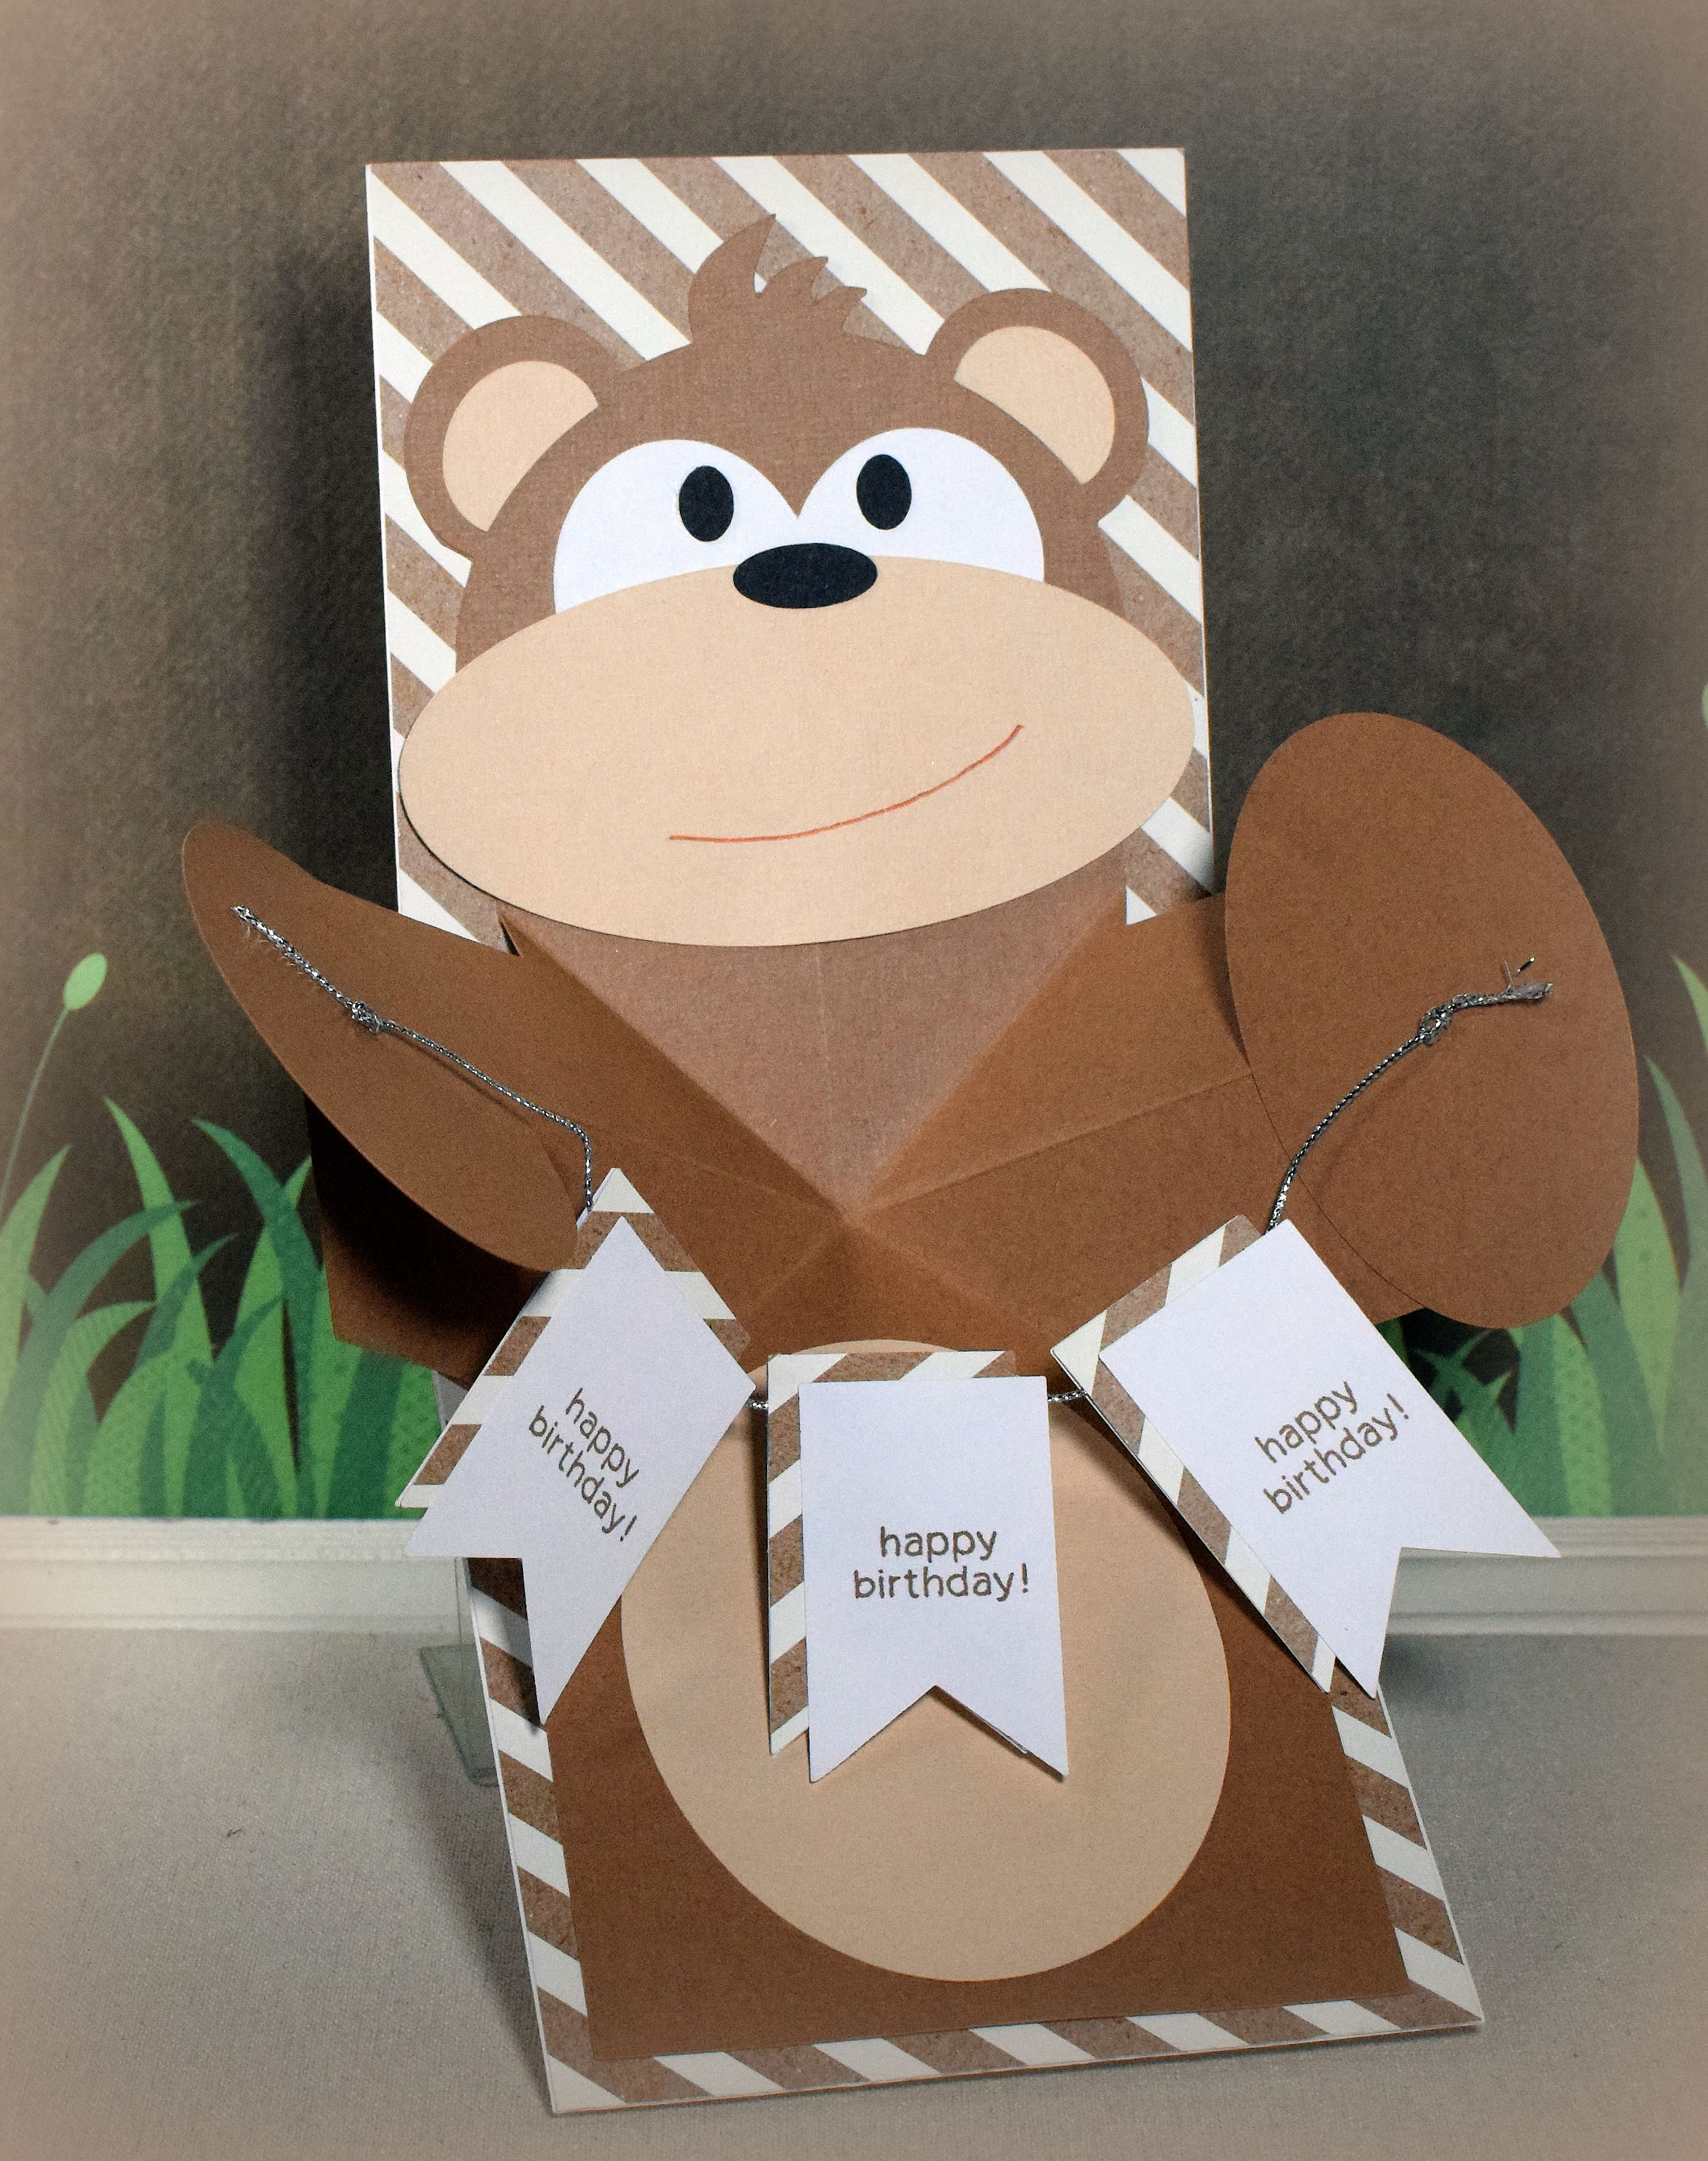
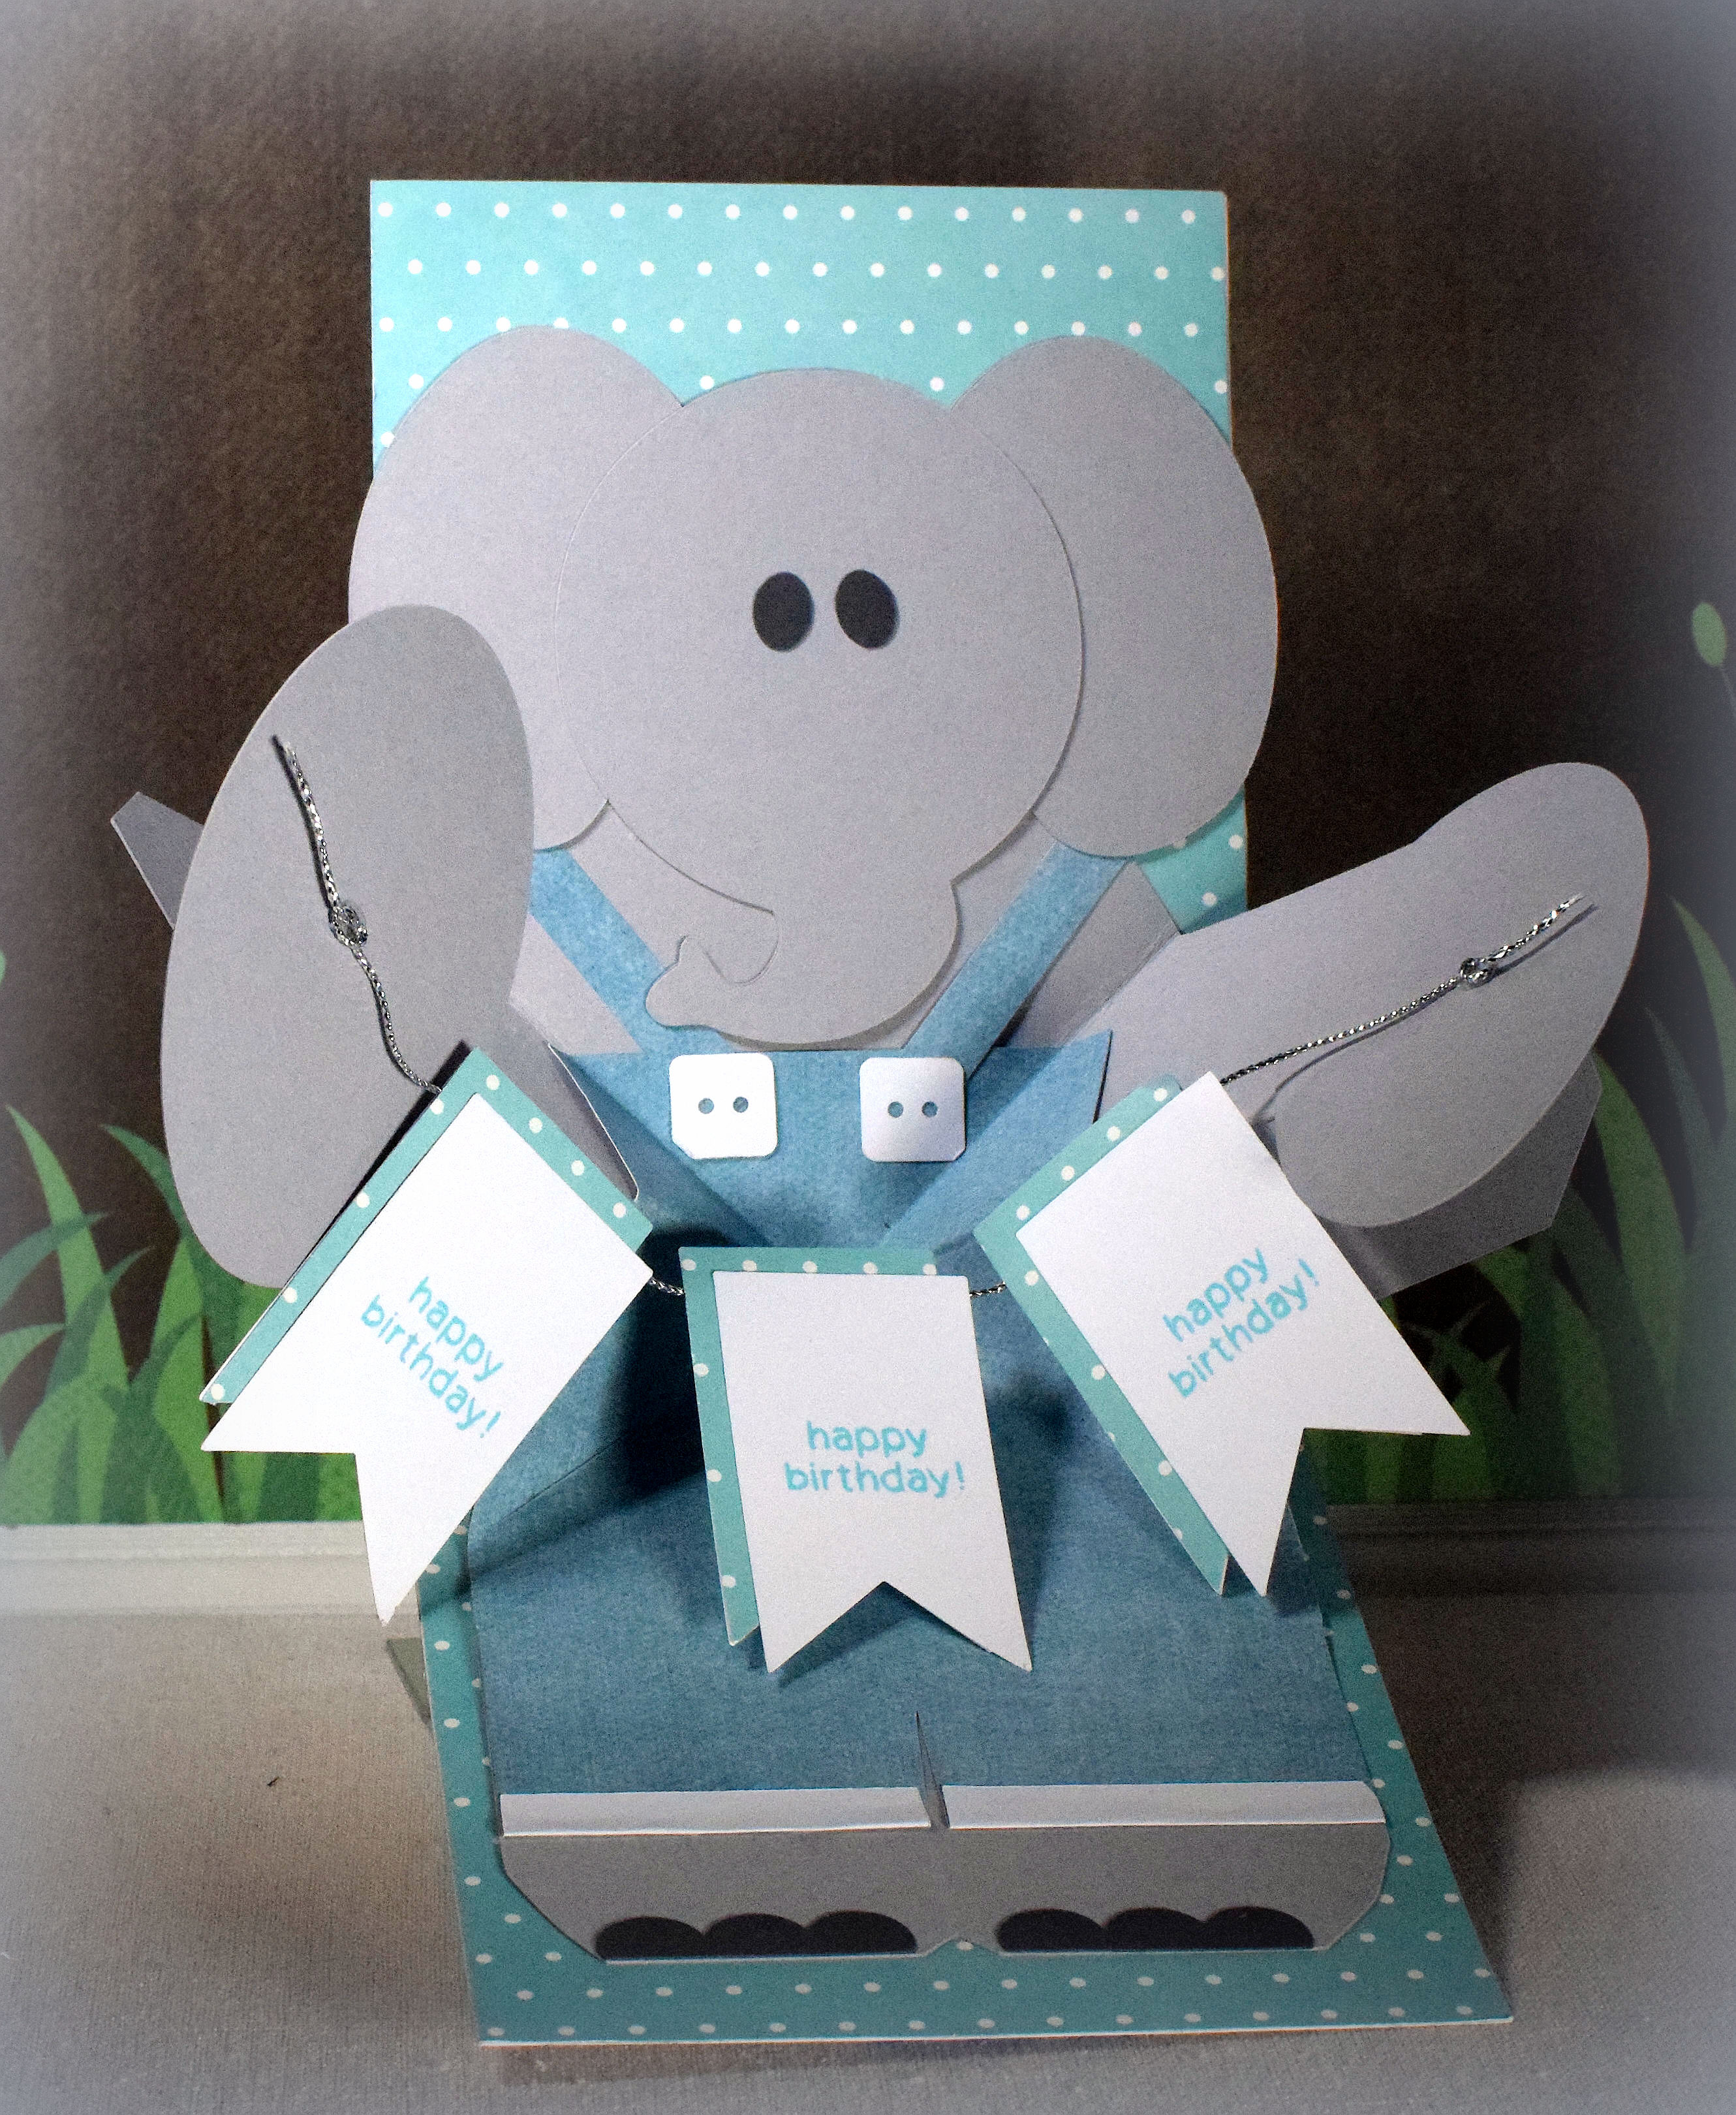
I made 3 interactive birthday cards inspired by THIS card that Karen Hasheck posted on her blog and THIS video tutorial posted by Maymay that shows how to make the pop-up feature. What’s fun about these cards is that when they are closed, the are flat and look like ordinary cards…
…but when they open, the animals’ arms pop out.

These cards were for my triplets who celebrated their birthday several weeks ago. I know they are not babies anymore (this was their 18th birthday – YIKES!!), but they are good sports and humor me when they know I am trying out a new card design. (And they actually seemed to get a kick out of them – opening and closing them repeatedly!)
Here are the other two designs…

and
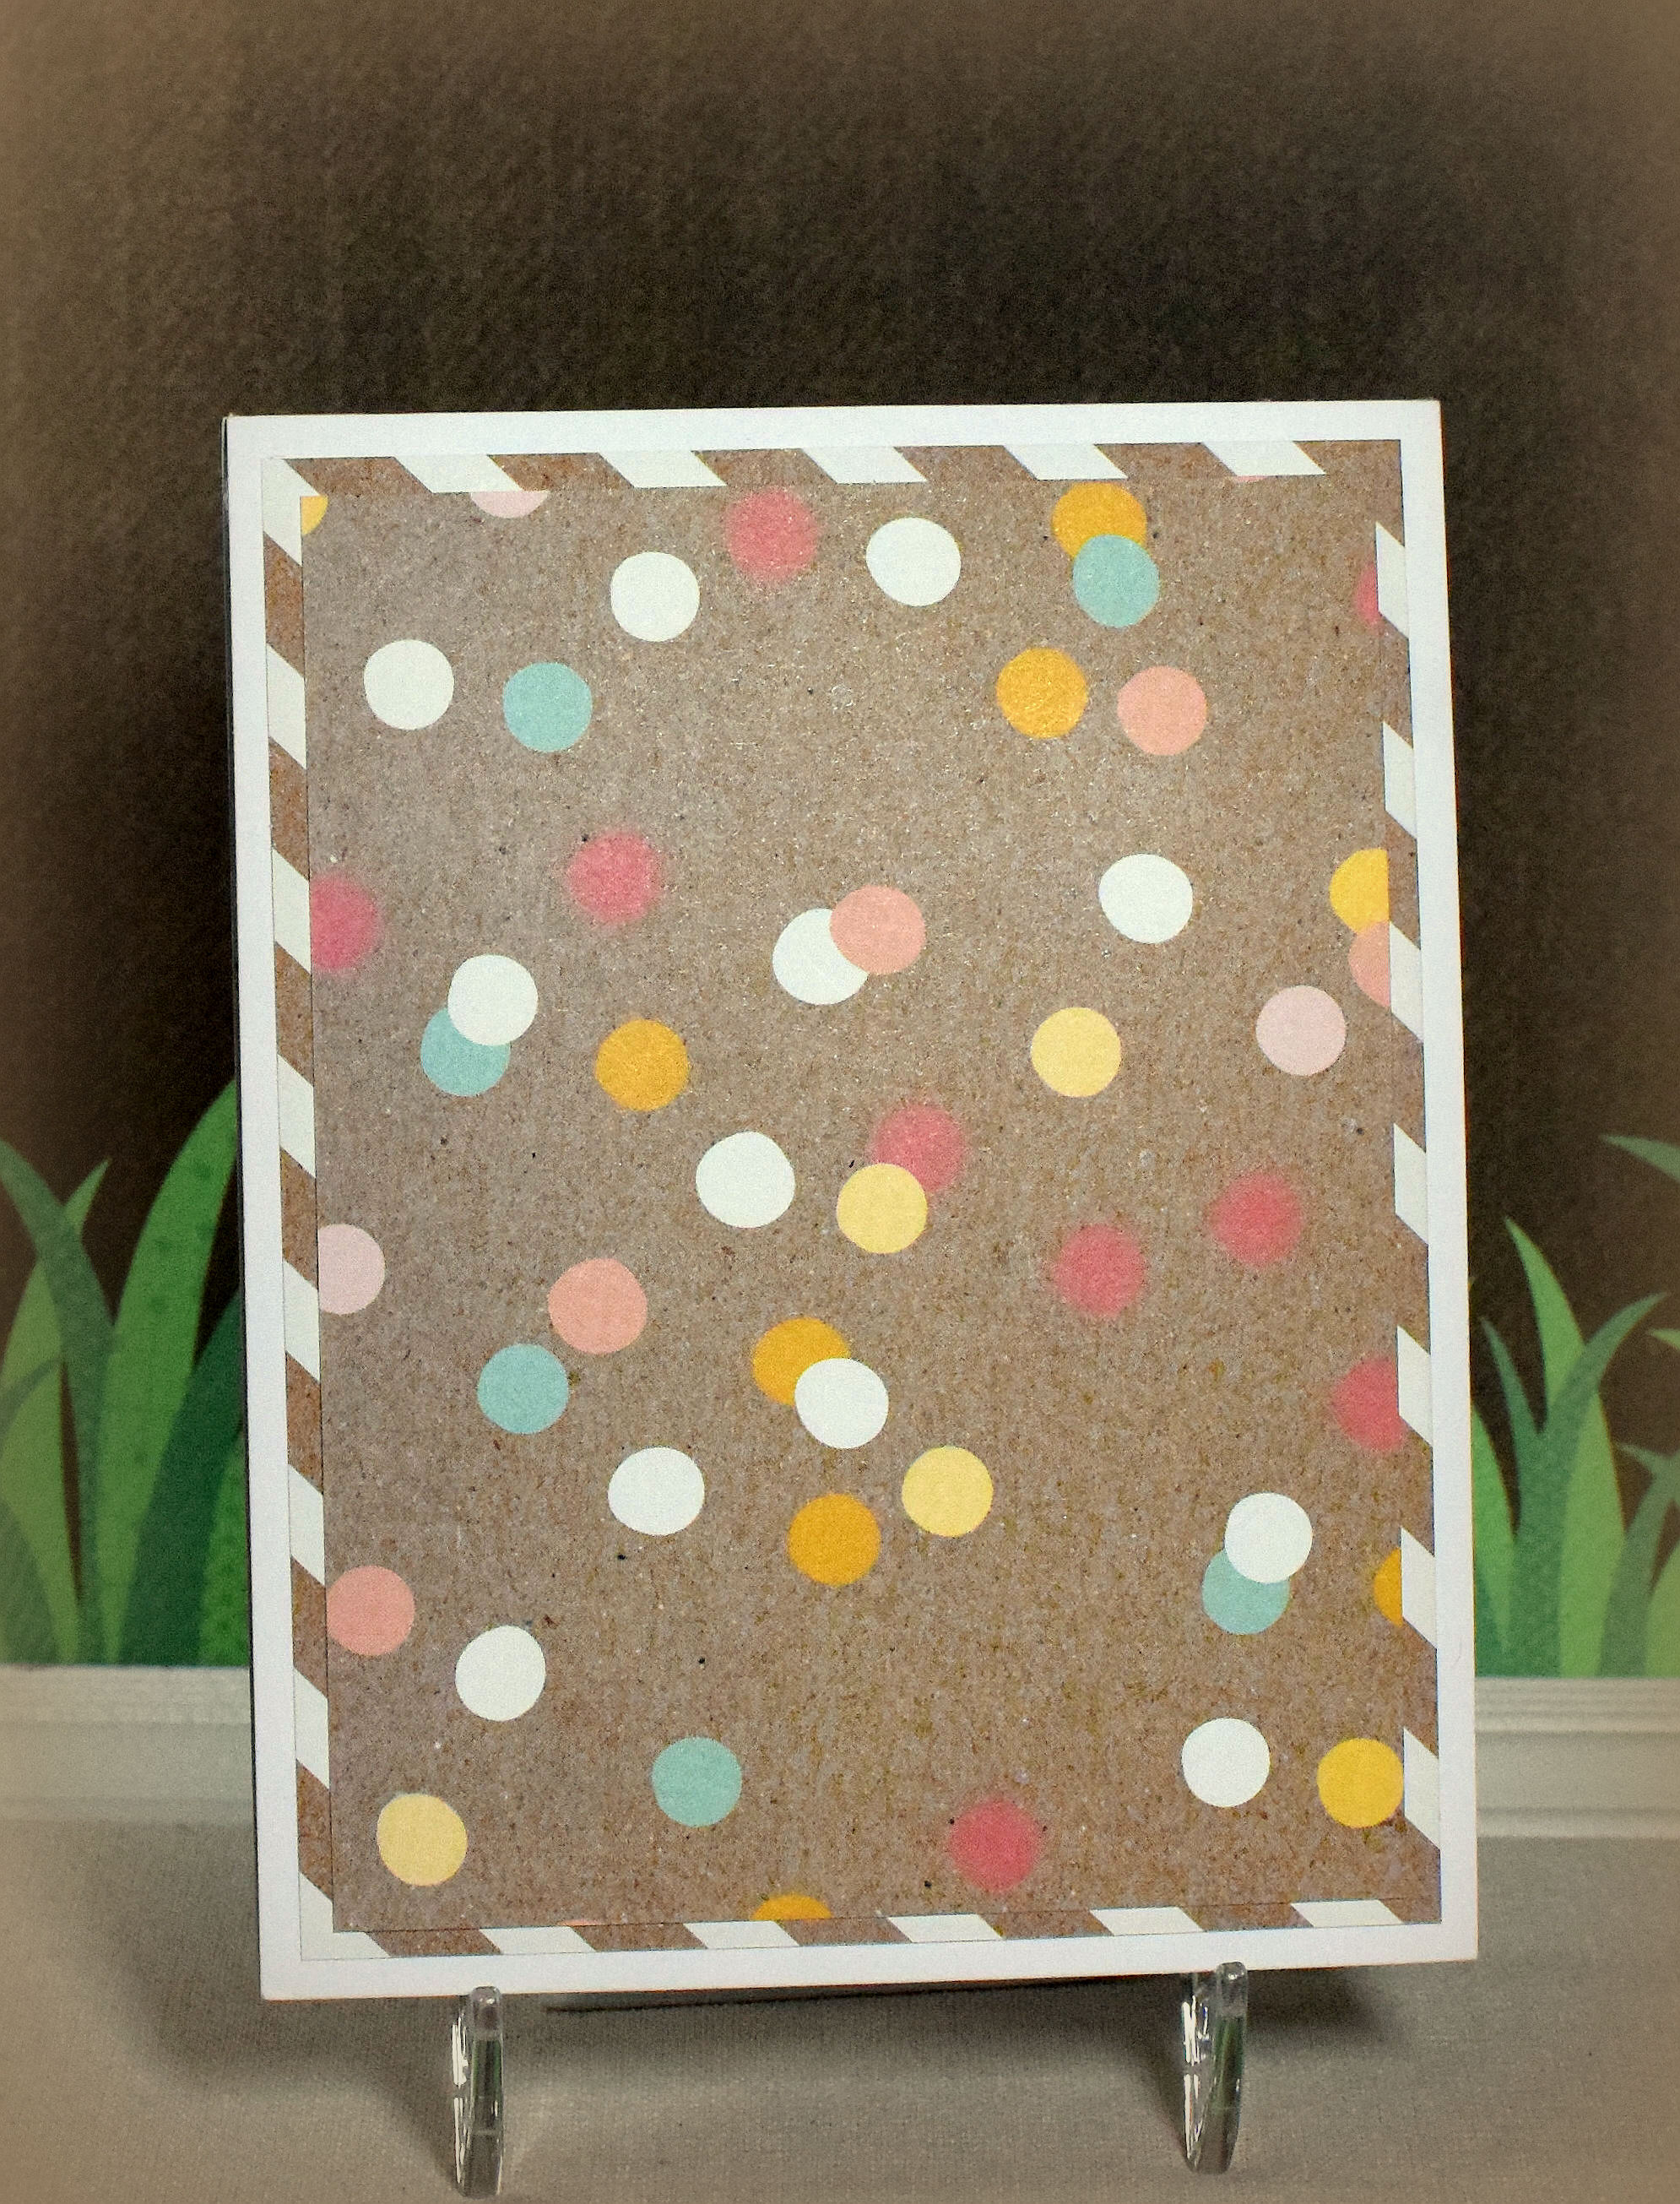
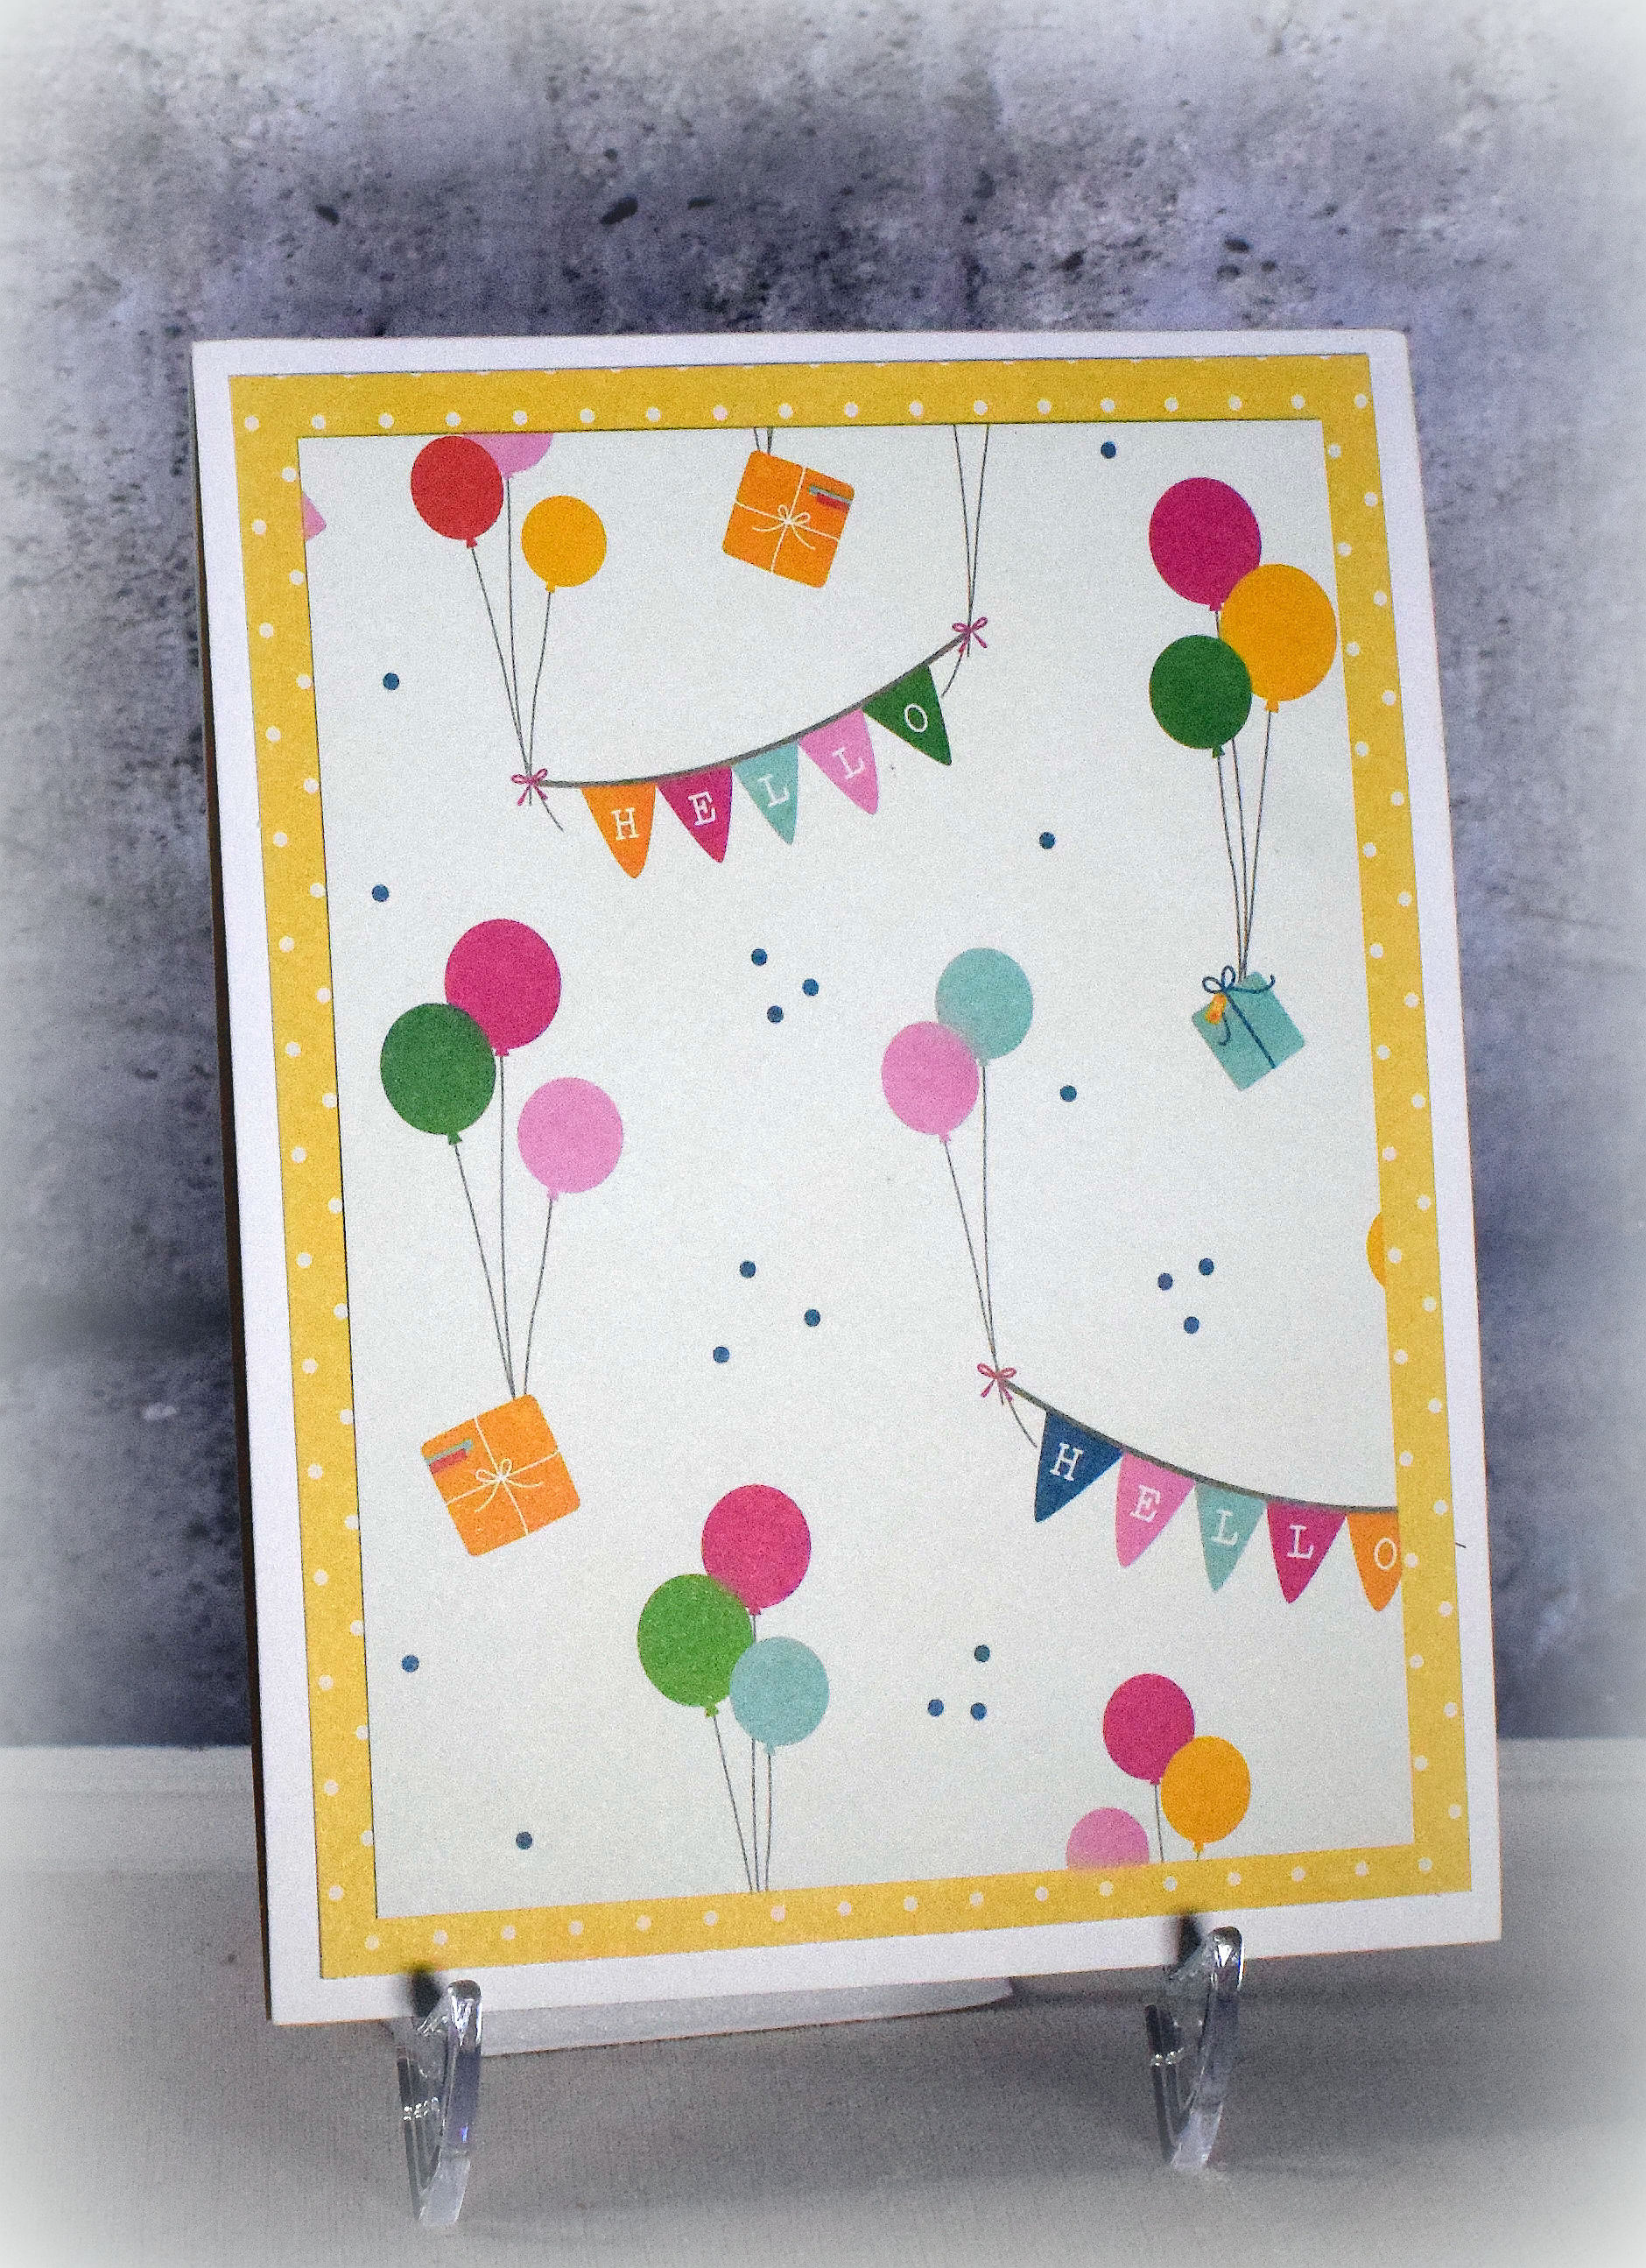
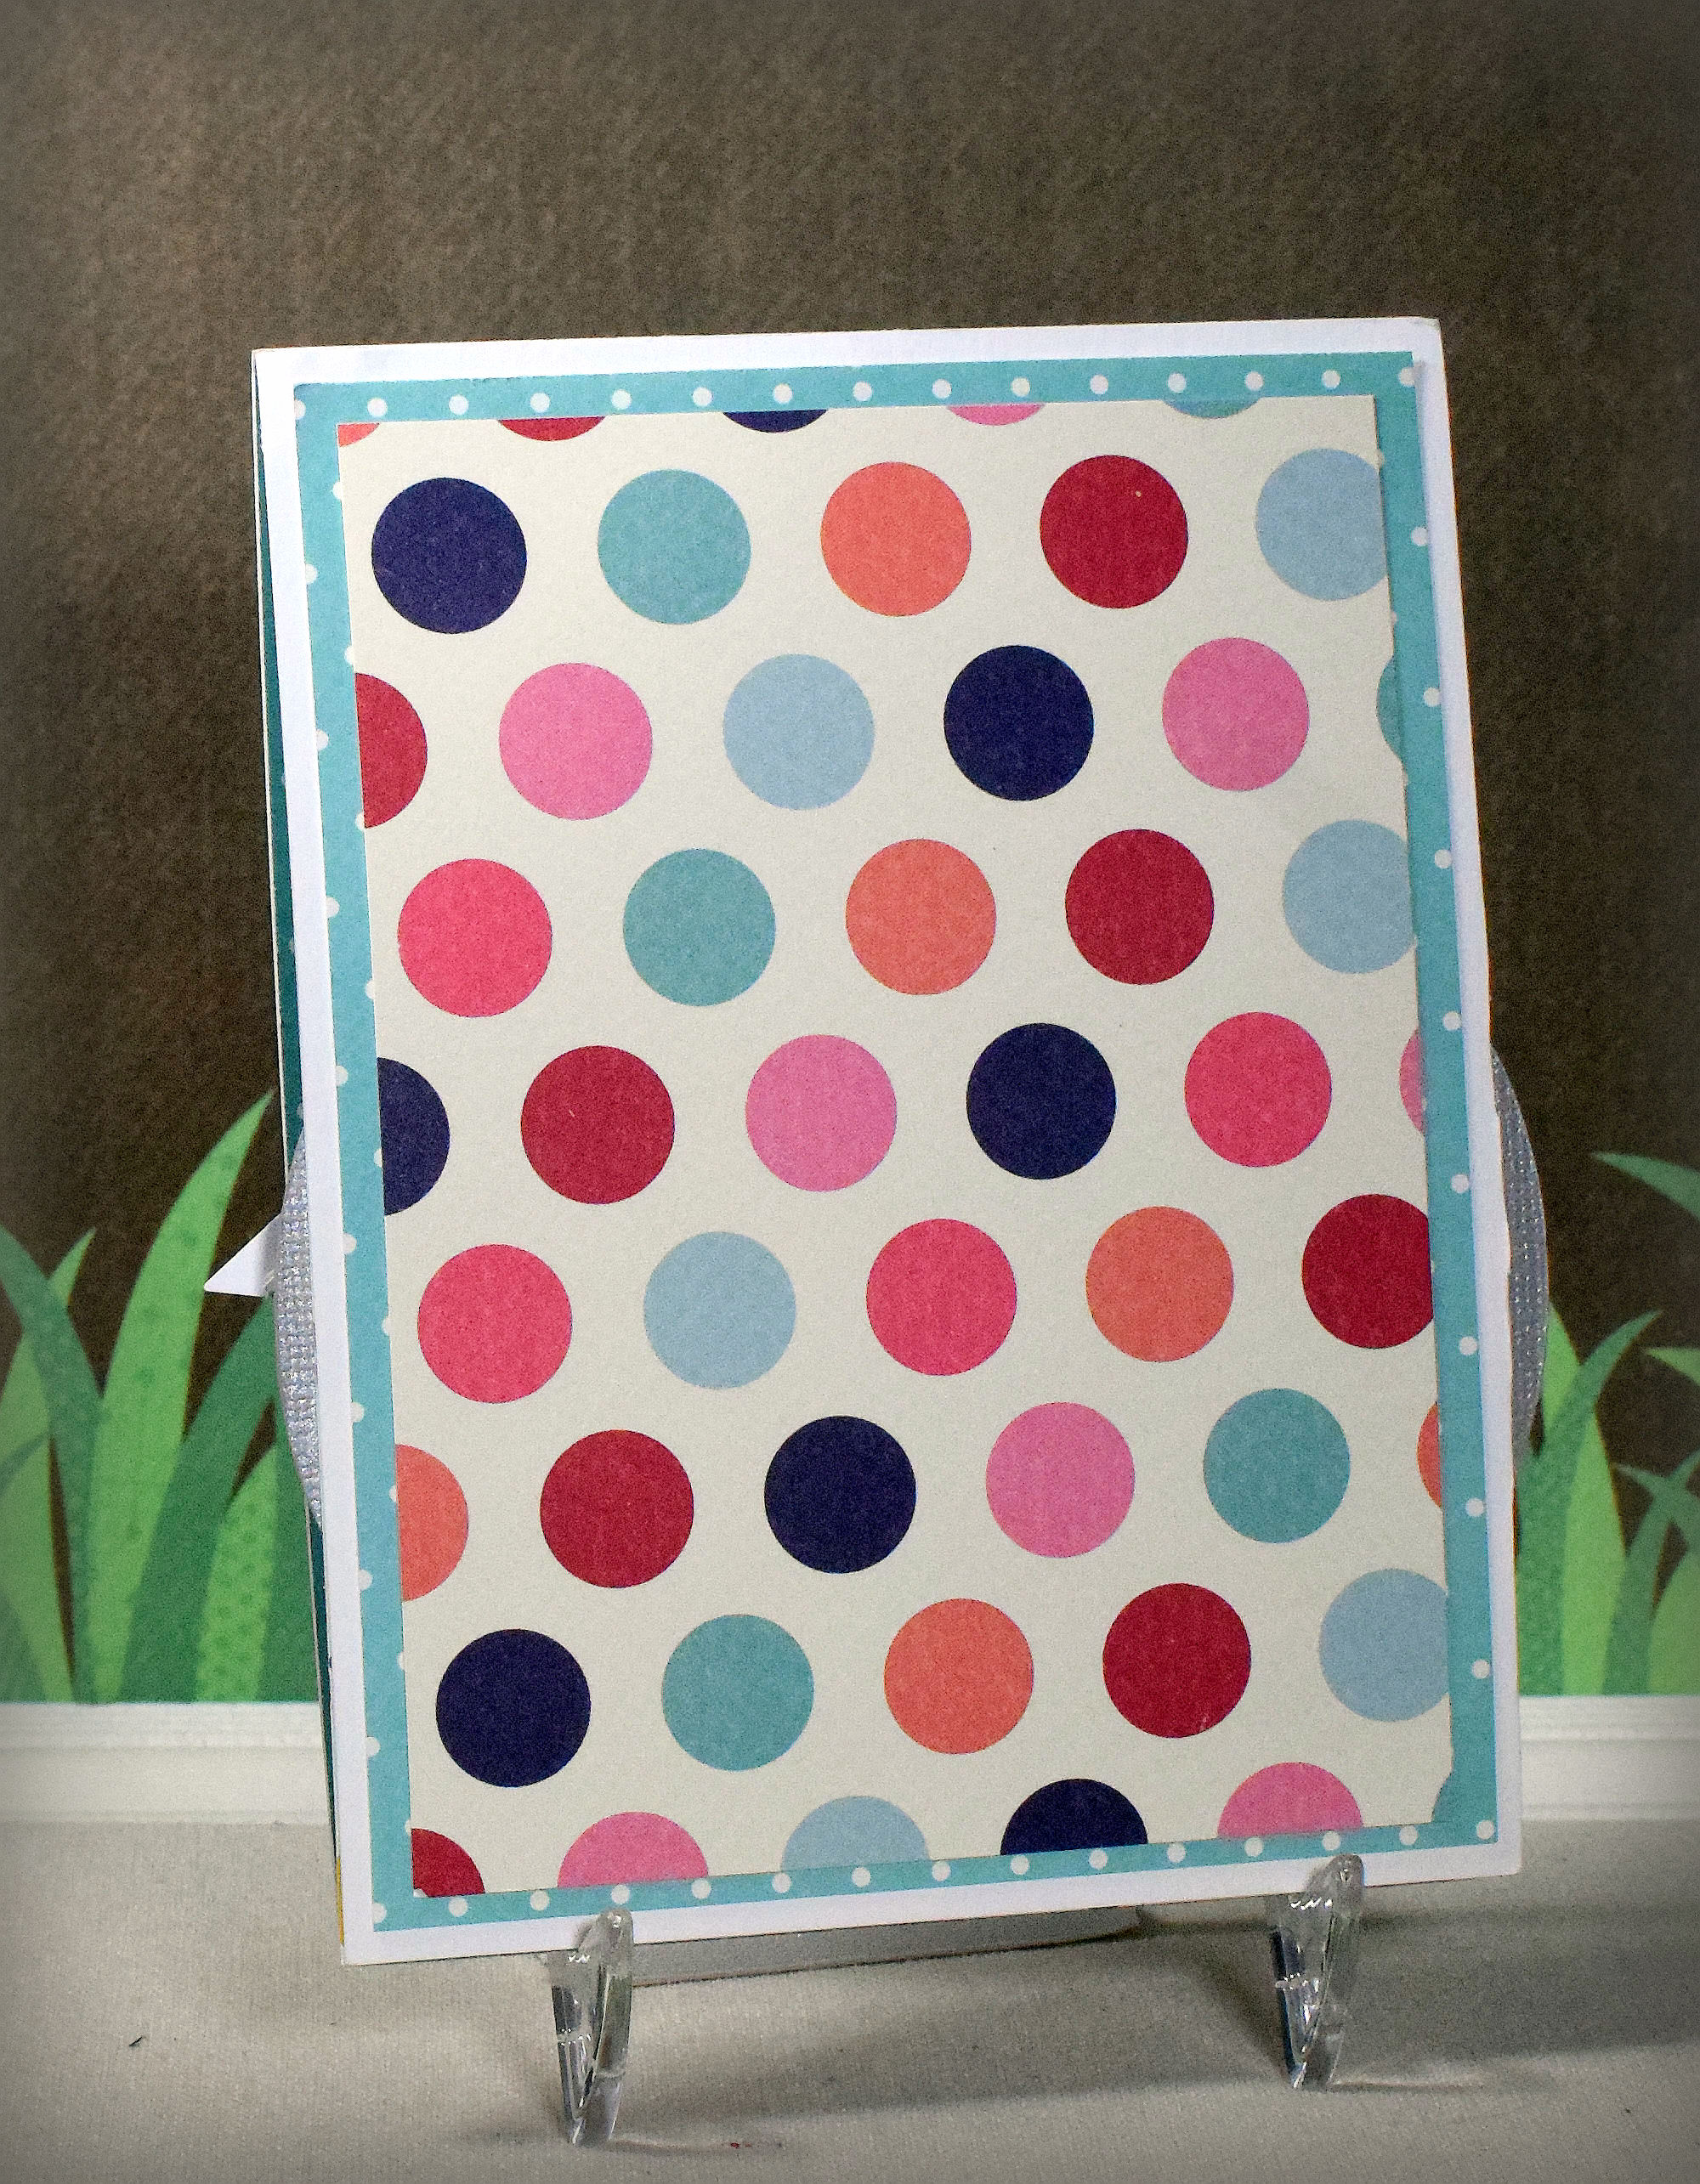
and their fronts…
The animal designs were adapted from files I purchased in the Silhouette Store. I had the most trouble making the elephant work because the head, with the big ears, was either too big for the card (the trunk got in the way of the center folds and the ears extended too far over the sides) or too small for the rest of his body. An elephant’s body is also pretty plain so I struggled with an idea to jazz him up a bit. The overalls finally helped him come together.
I kept my card fronts super simple by just using the designer paper I used on the insides, but obviously, you can make them as elaborate as you want.
Over at the Die Cut Divas this month, the challenge theme is “for the love of animals/pets” where our projects must include an animal and must also include at least one die cut or embossing folder. (Die cuts made from electronic die cutting machines are permitted.)
Here are the supplies used for each of the designs:
Continue reading