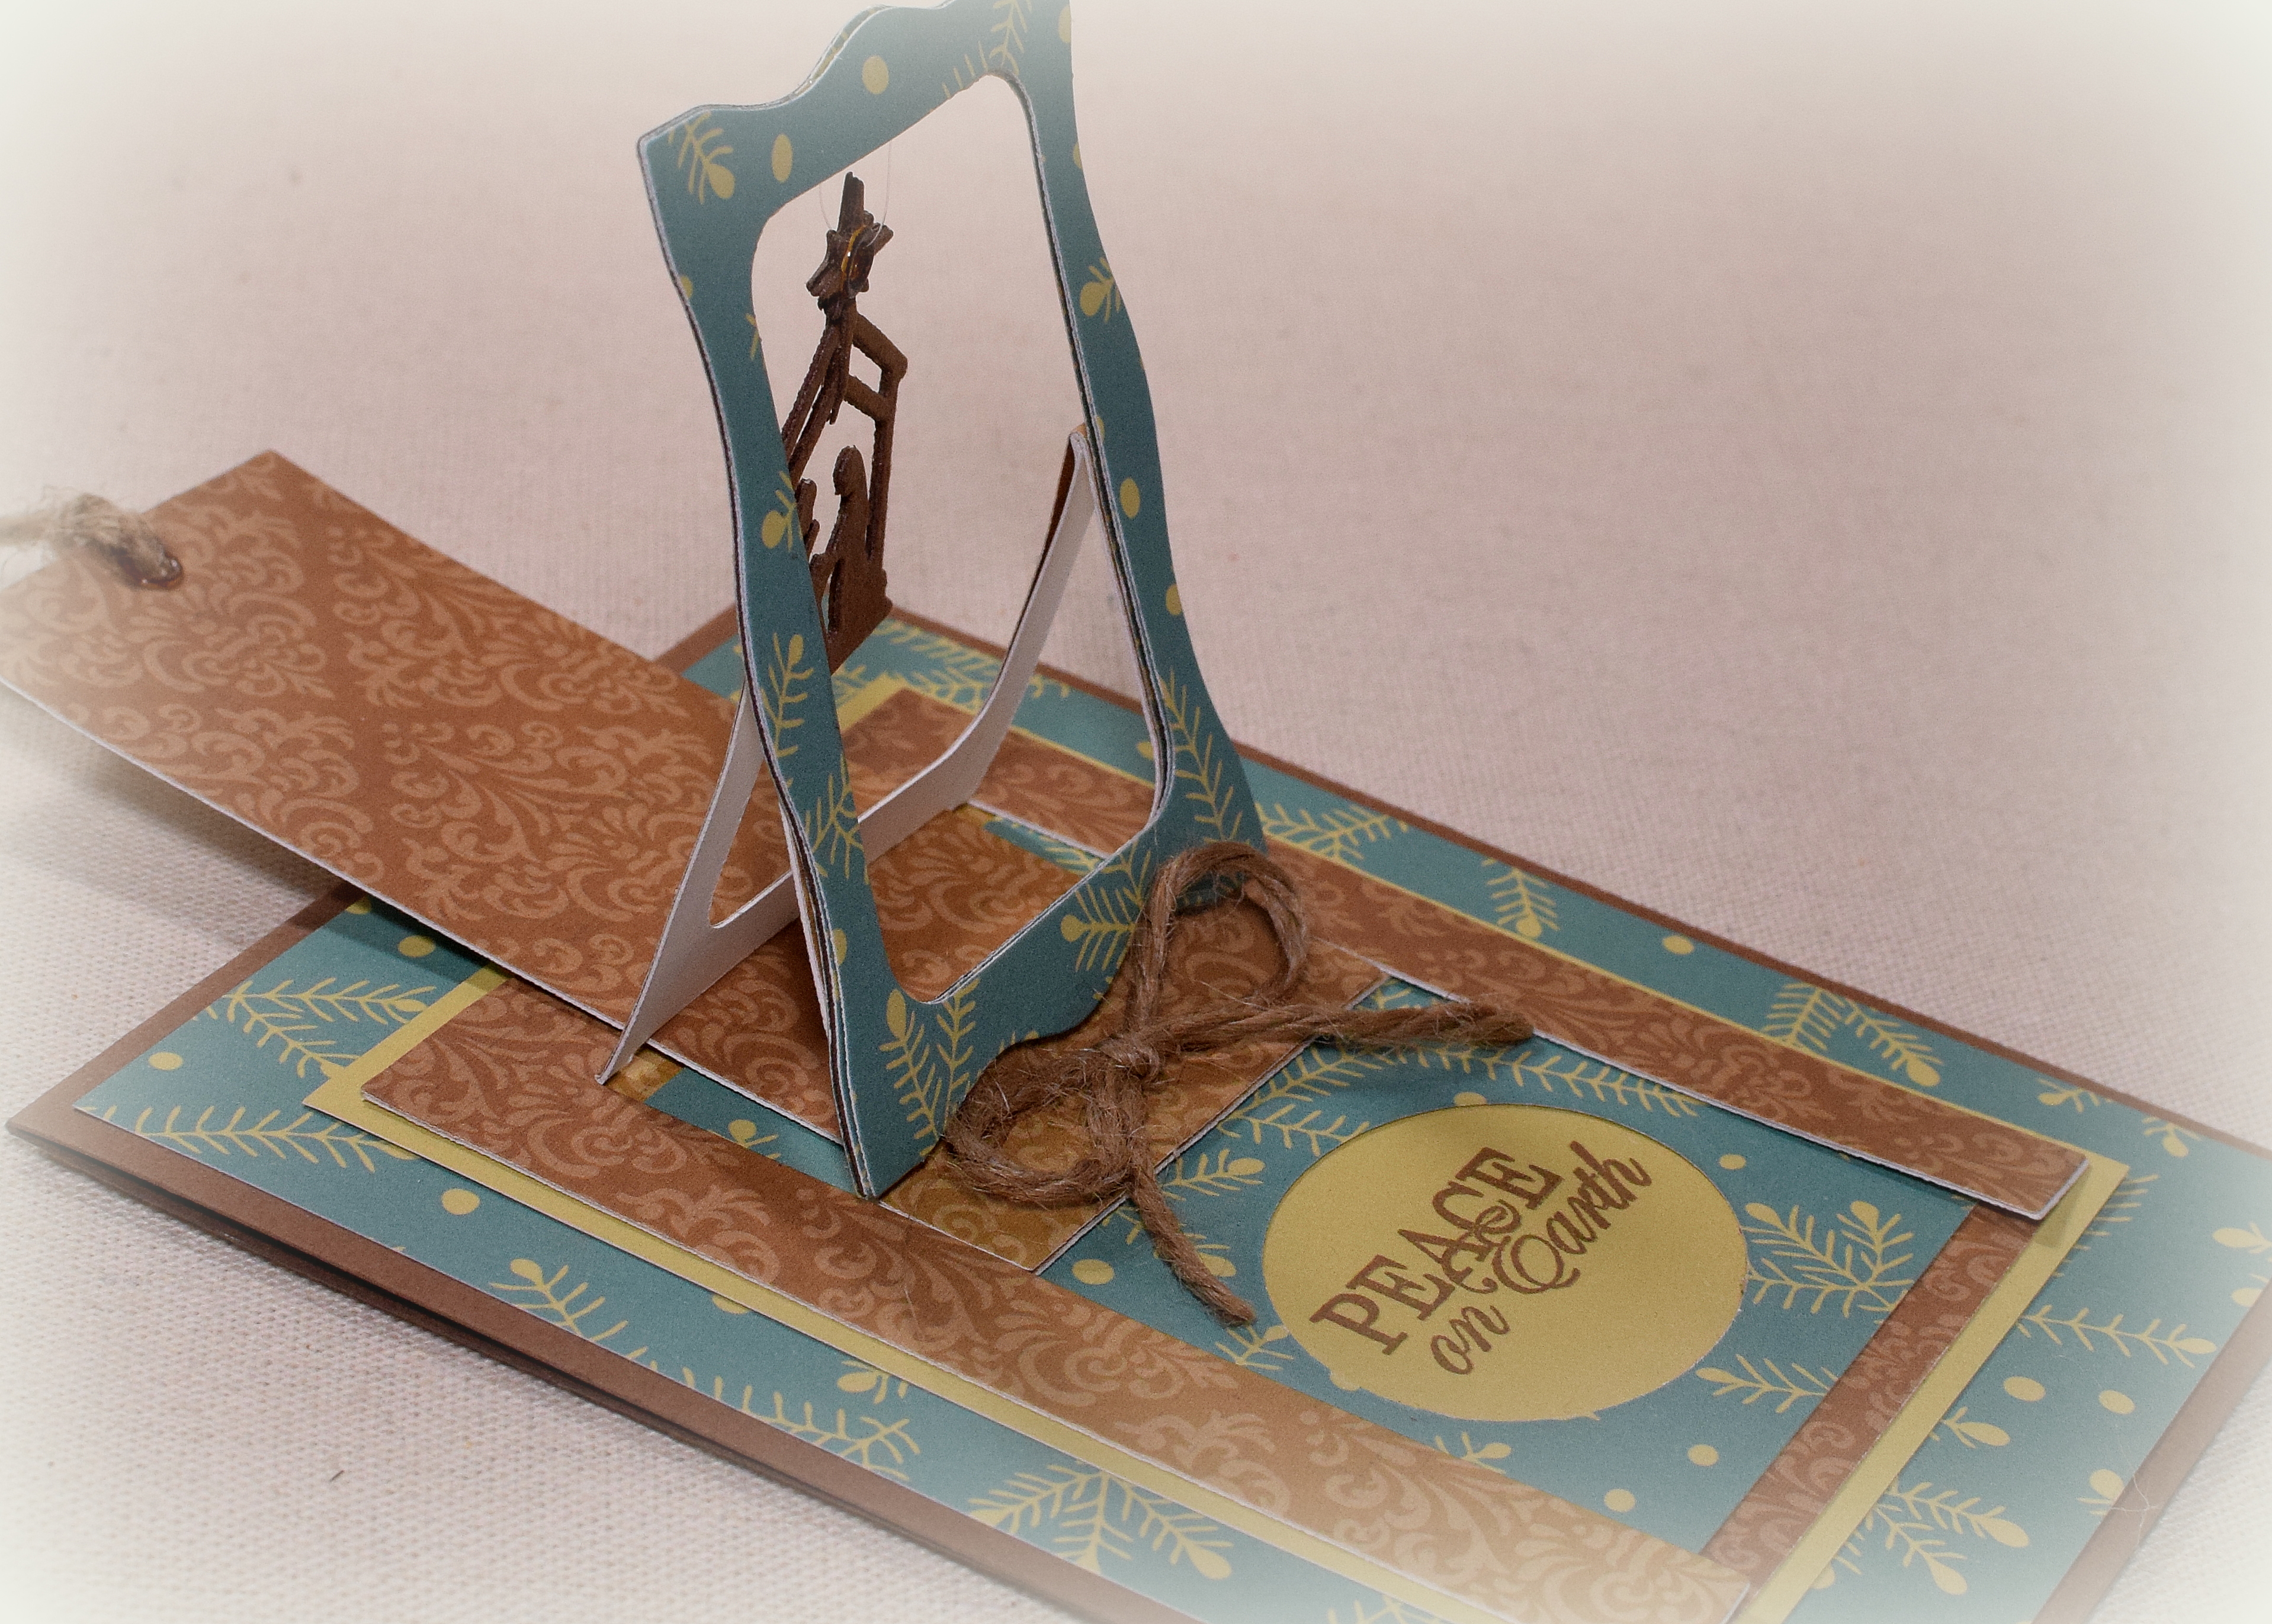
“Tea Bag Fold” Rustic Christmas Tree

It has been a while since I had created a “tea bag fold” Christmas tree and thought it would be fun to make another one for this card. (HERE is my first one, and here is a tutorial on how to make it.)
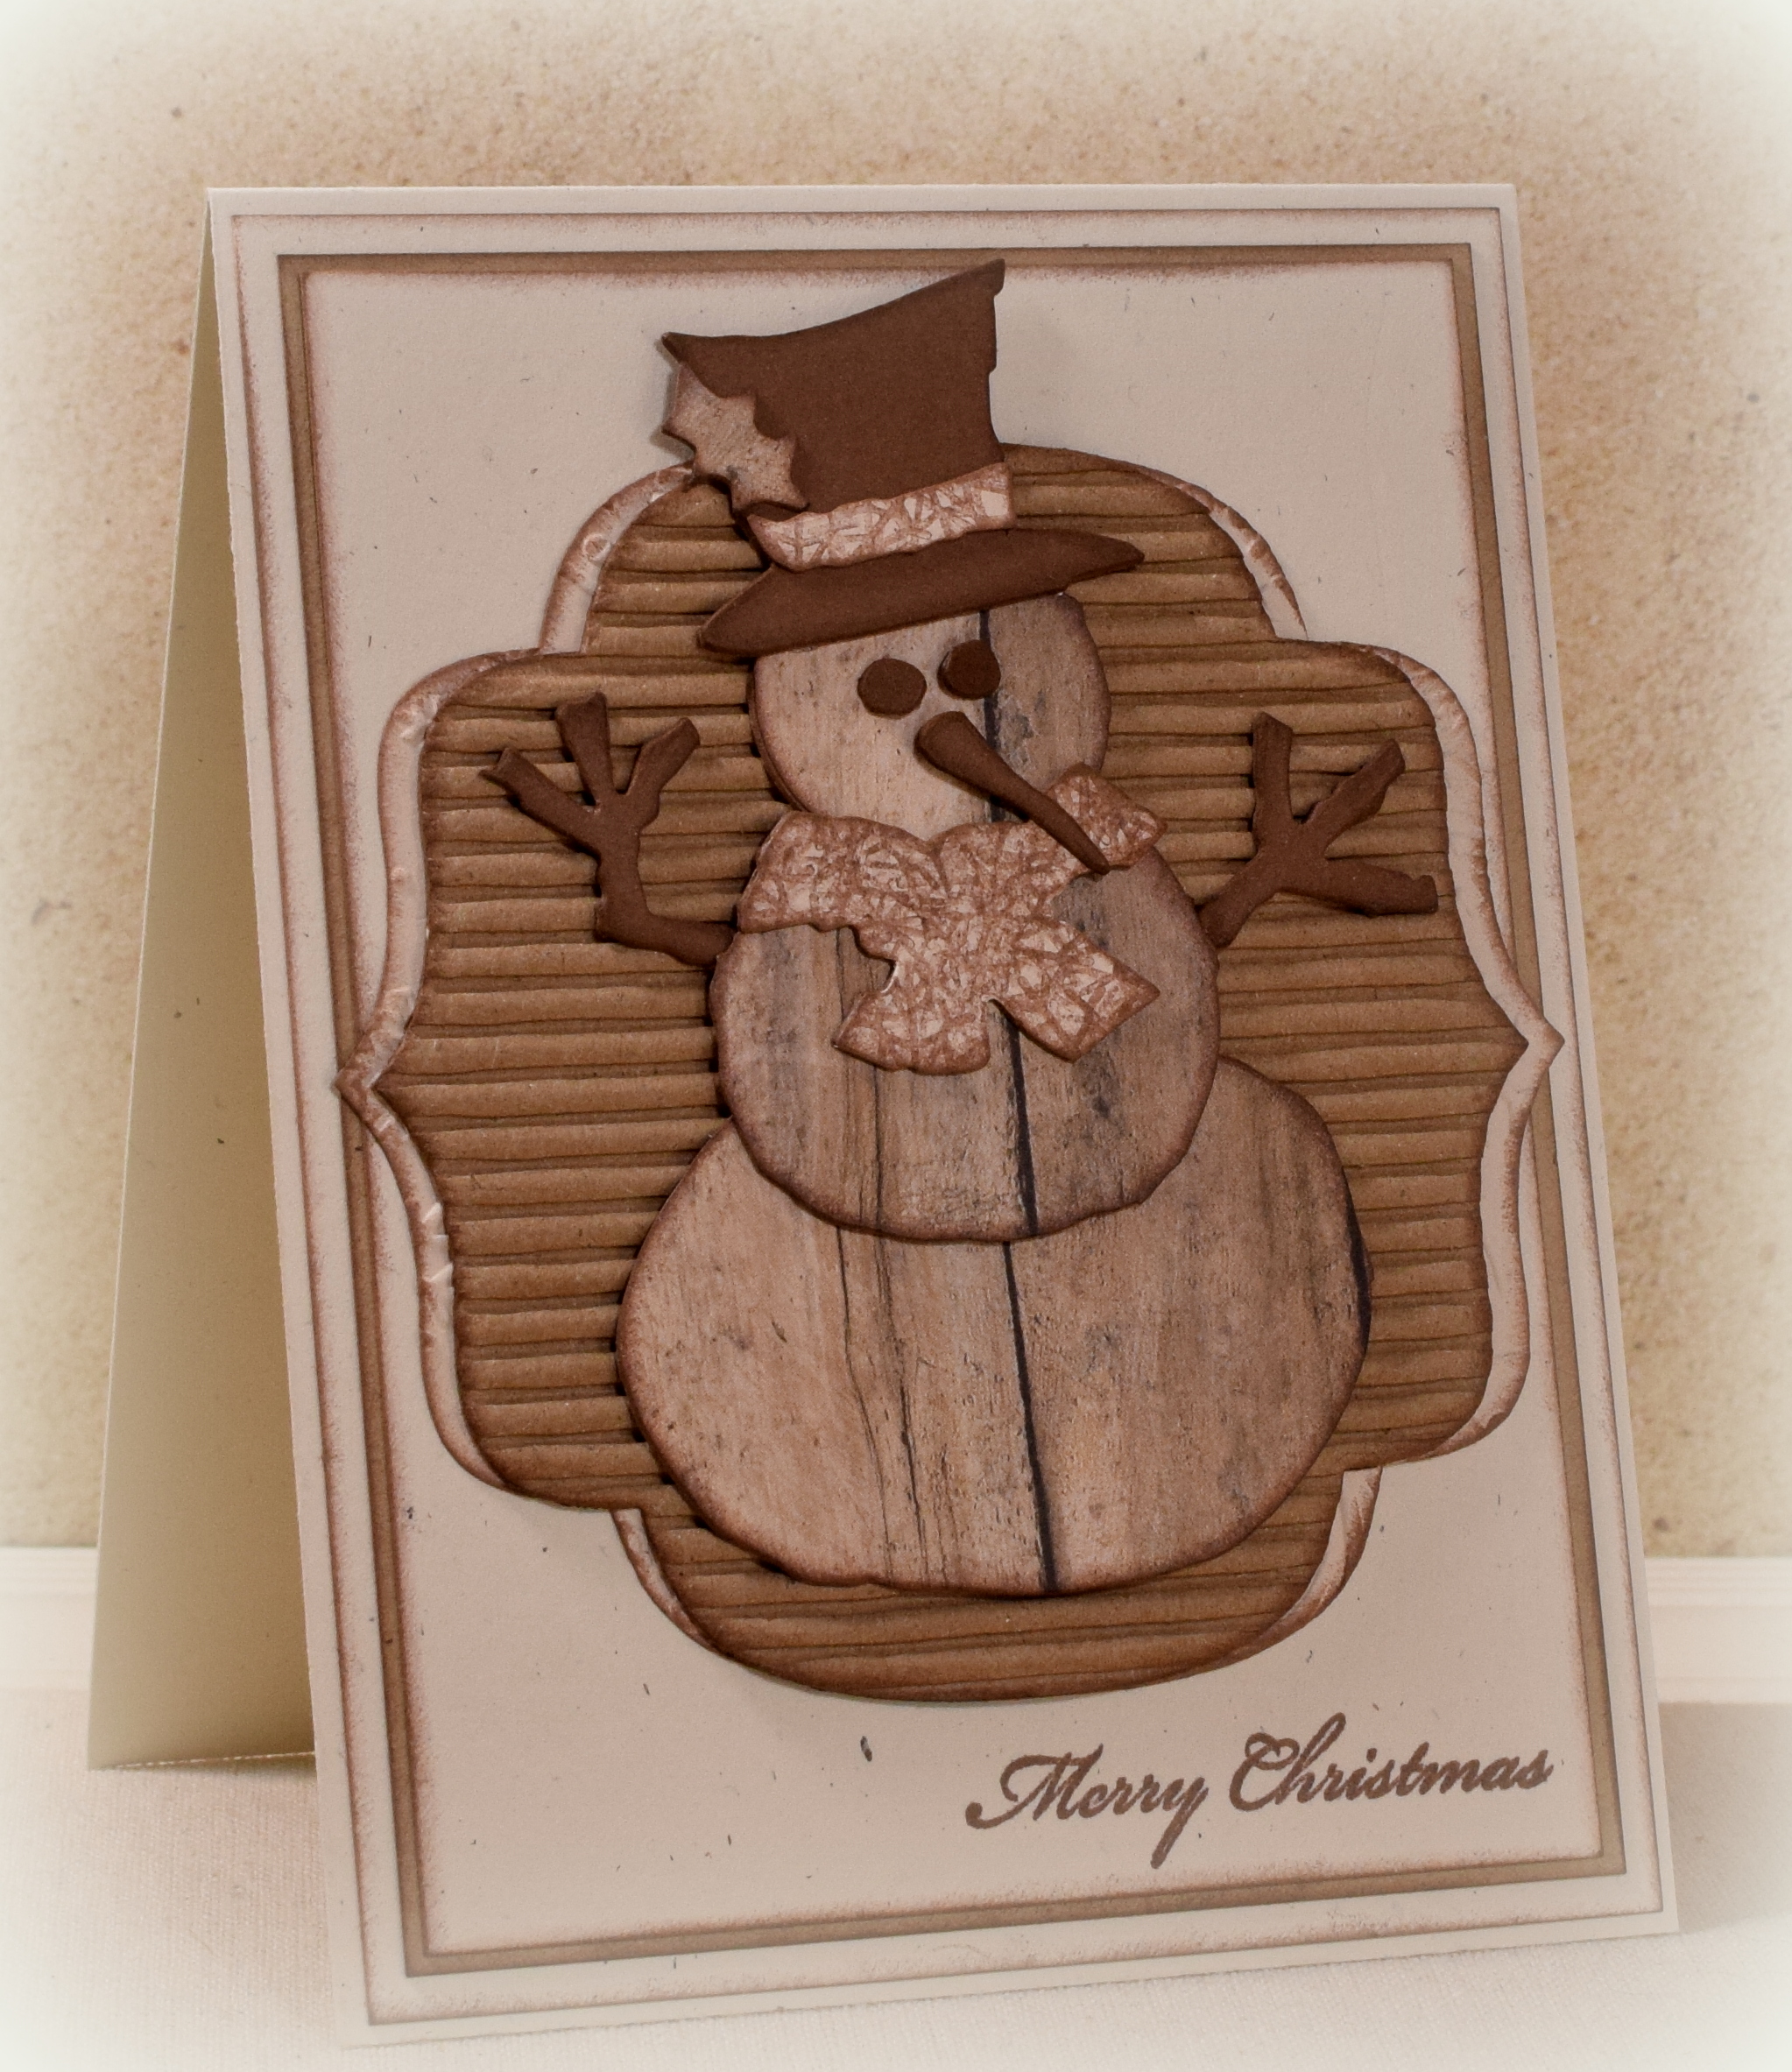
Paper used on this card is Snowflake Mix (#712257), Wooden Fence (#154484), and Textured Cream Sheet Music (#142950) which are all by The Paper Studio. The card base is Recollections heavy weight ivory. I inked all the edges and the burlap ribbon with Gina k Charcoal Brown ink.
The “wooden” panel was cut with a die from the Spellbinders “Curved Rectangles” (S4-006) die set. The star was made with a Fiskars punch (#03-026386).
The Modsquad Challenge this week is “Non Traditional Christmas Colors” where we are to use non traditional colors on our cards; no red, green, silver, or gold. Anything else is good. (Sadly, this site is no longer active.)
Over at the Die Cut Diva’s, the challenge this month is “Winter Time” where we are invited to share our winter-themed cards and projects. In addition to the theme, all cards/projects must be made using at least one die cut or embossing folder (using any die cut machine including Cameo and Cricut machines).
Thanks for checking out my card project!
This content uses referral links as described in the disclosure policy on my sidebar.