Snowflake Wreaths & Stamping on Custom Size Panels

Snowflake Wreaths & Stamping on Custom Size Panels

wwDSC_1048

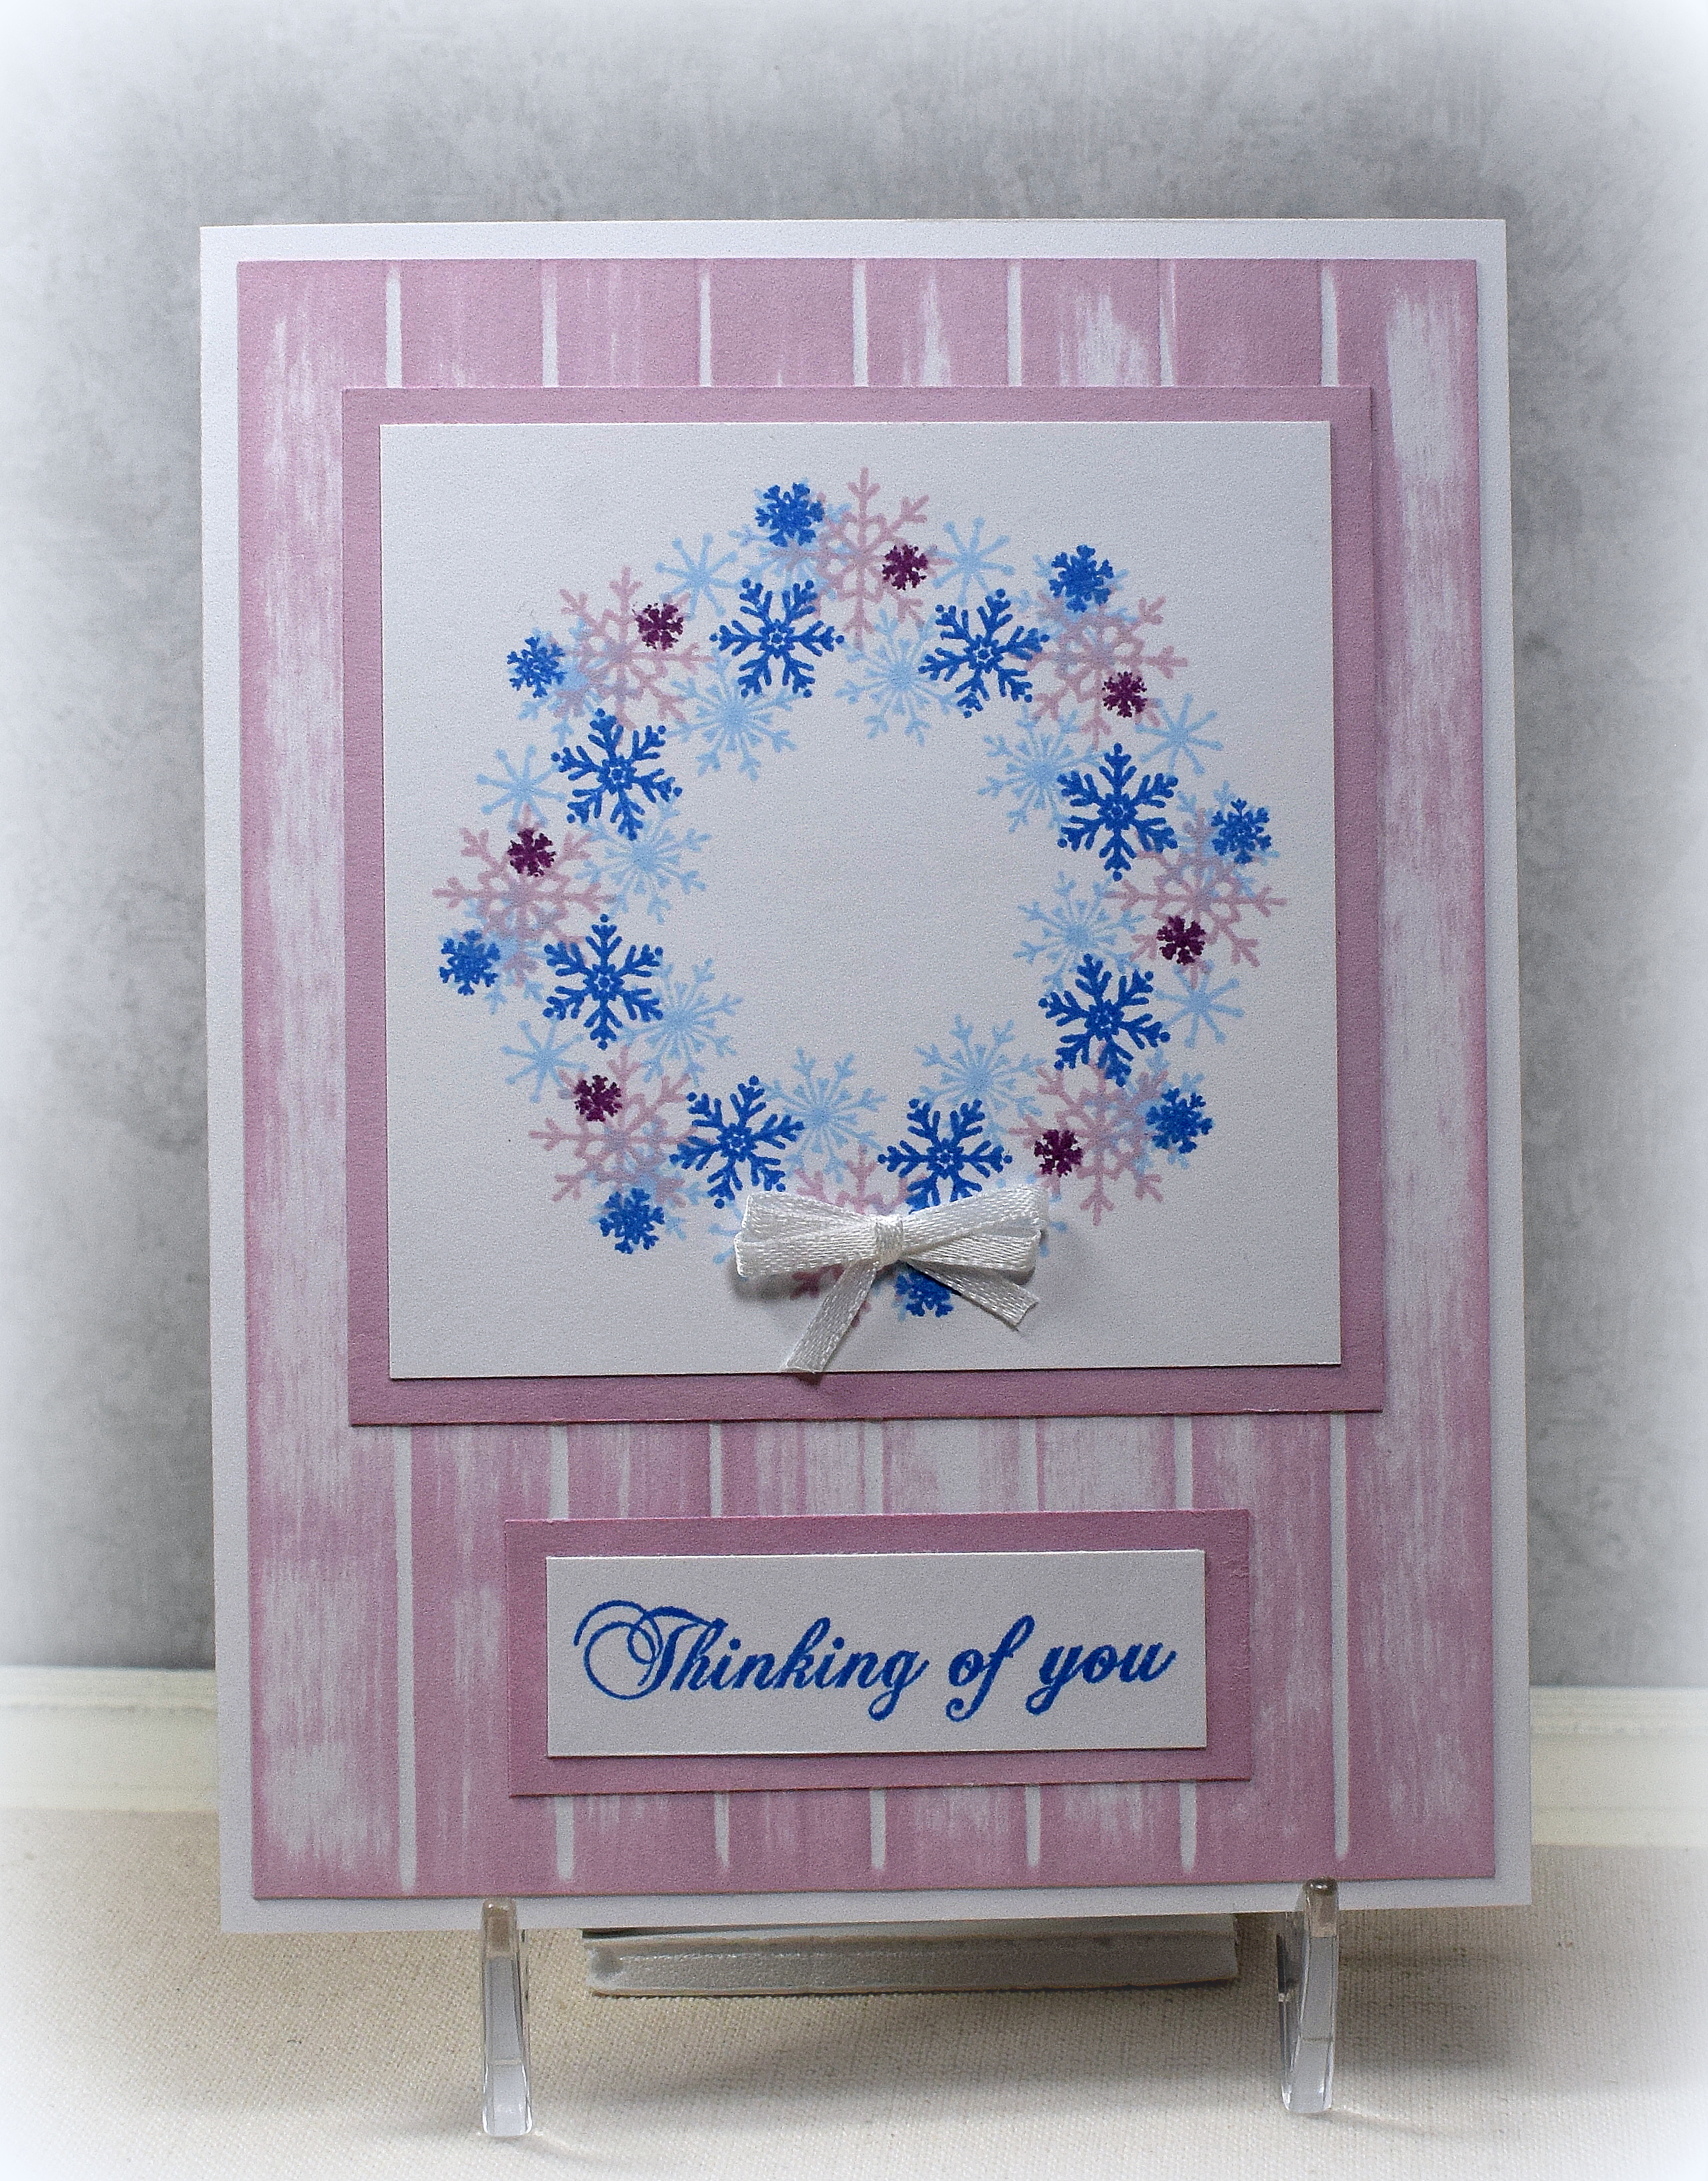
I have several small snowflake stamps and thought it would be fun to create a winter wreath card with them.  I don’t usually use pink, but I decided to try something a little different for me, and I like it more than I thought I would!  The Gina K Designs wreath builder template helps you create a perfectly positioned and evenly spaced circular pattern with your stamps.  A tutorial on how to use this tool can be found HERE (beginning at the 6:40 mark).  While it is easier if you use a stamp positioner (like a MISTI), I show you HERE how to use the template without one.

For this card, I wanted my wreath to be on a 3 inch panel but was using a 4 inch template.  It is super simple to use any size panel (the template size or smaller) with any size template.

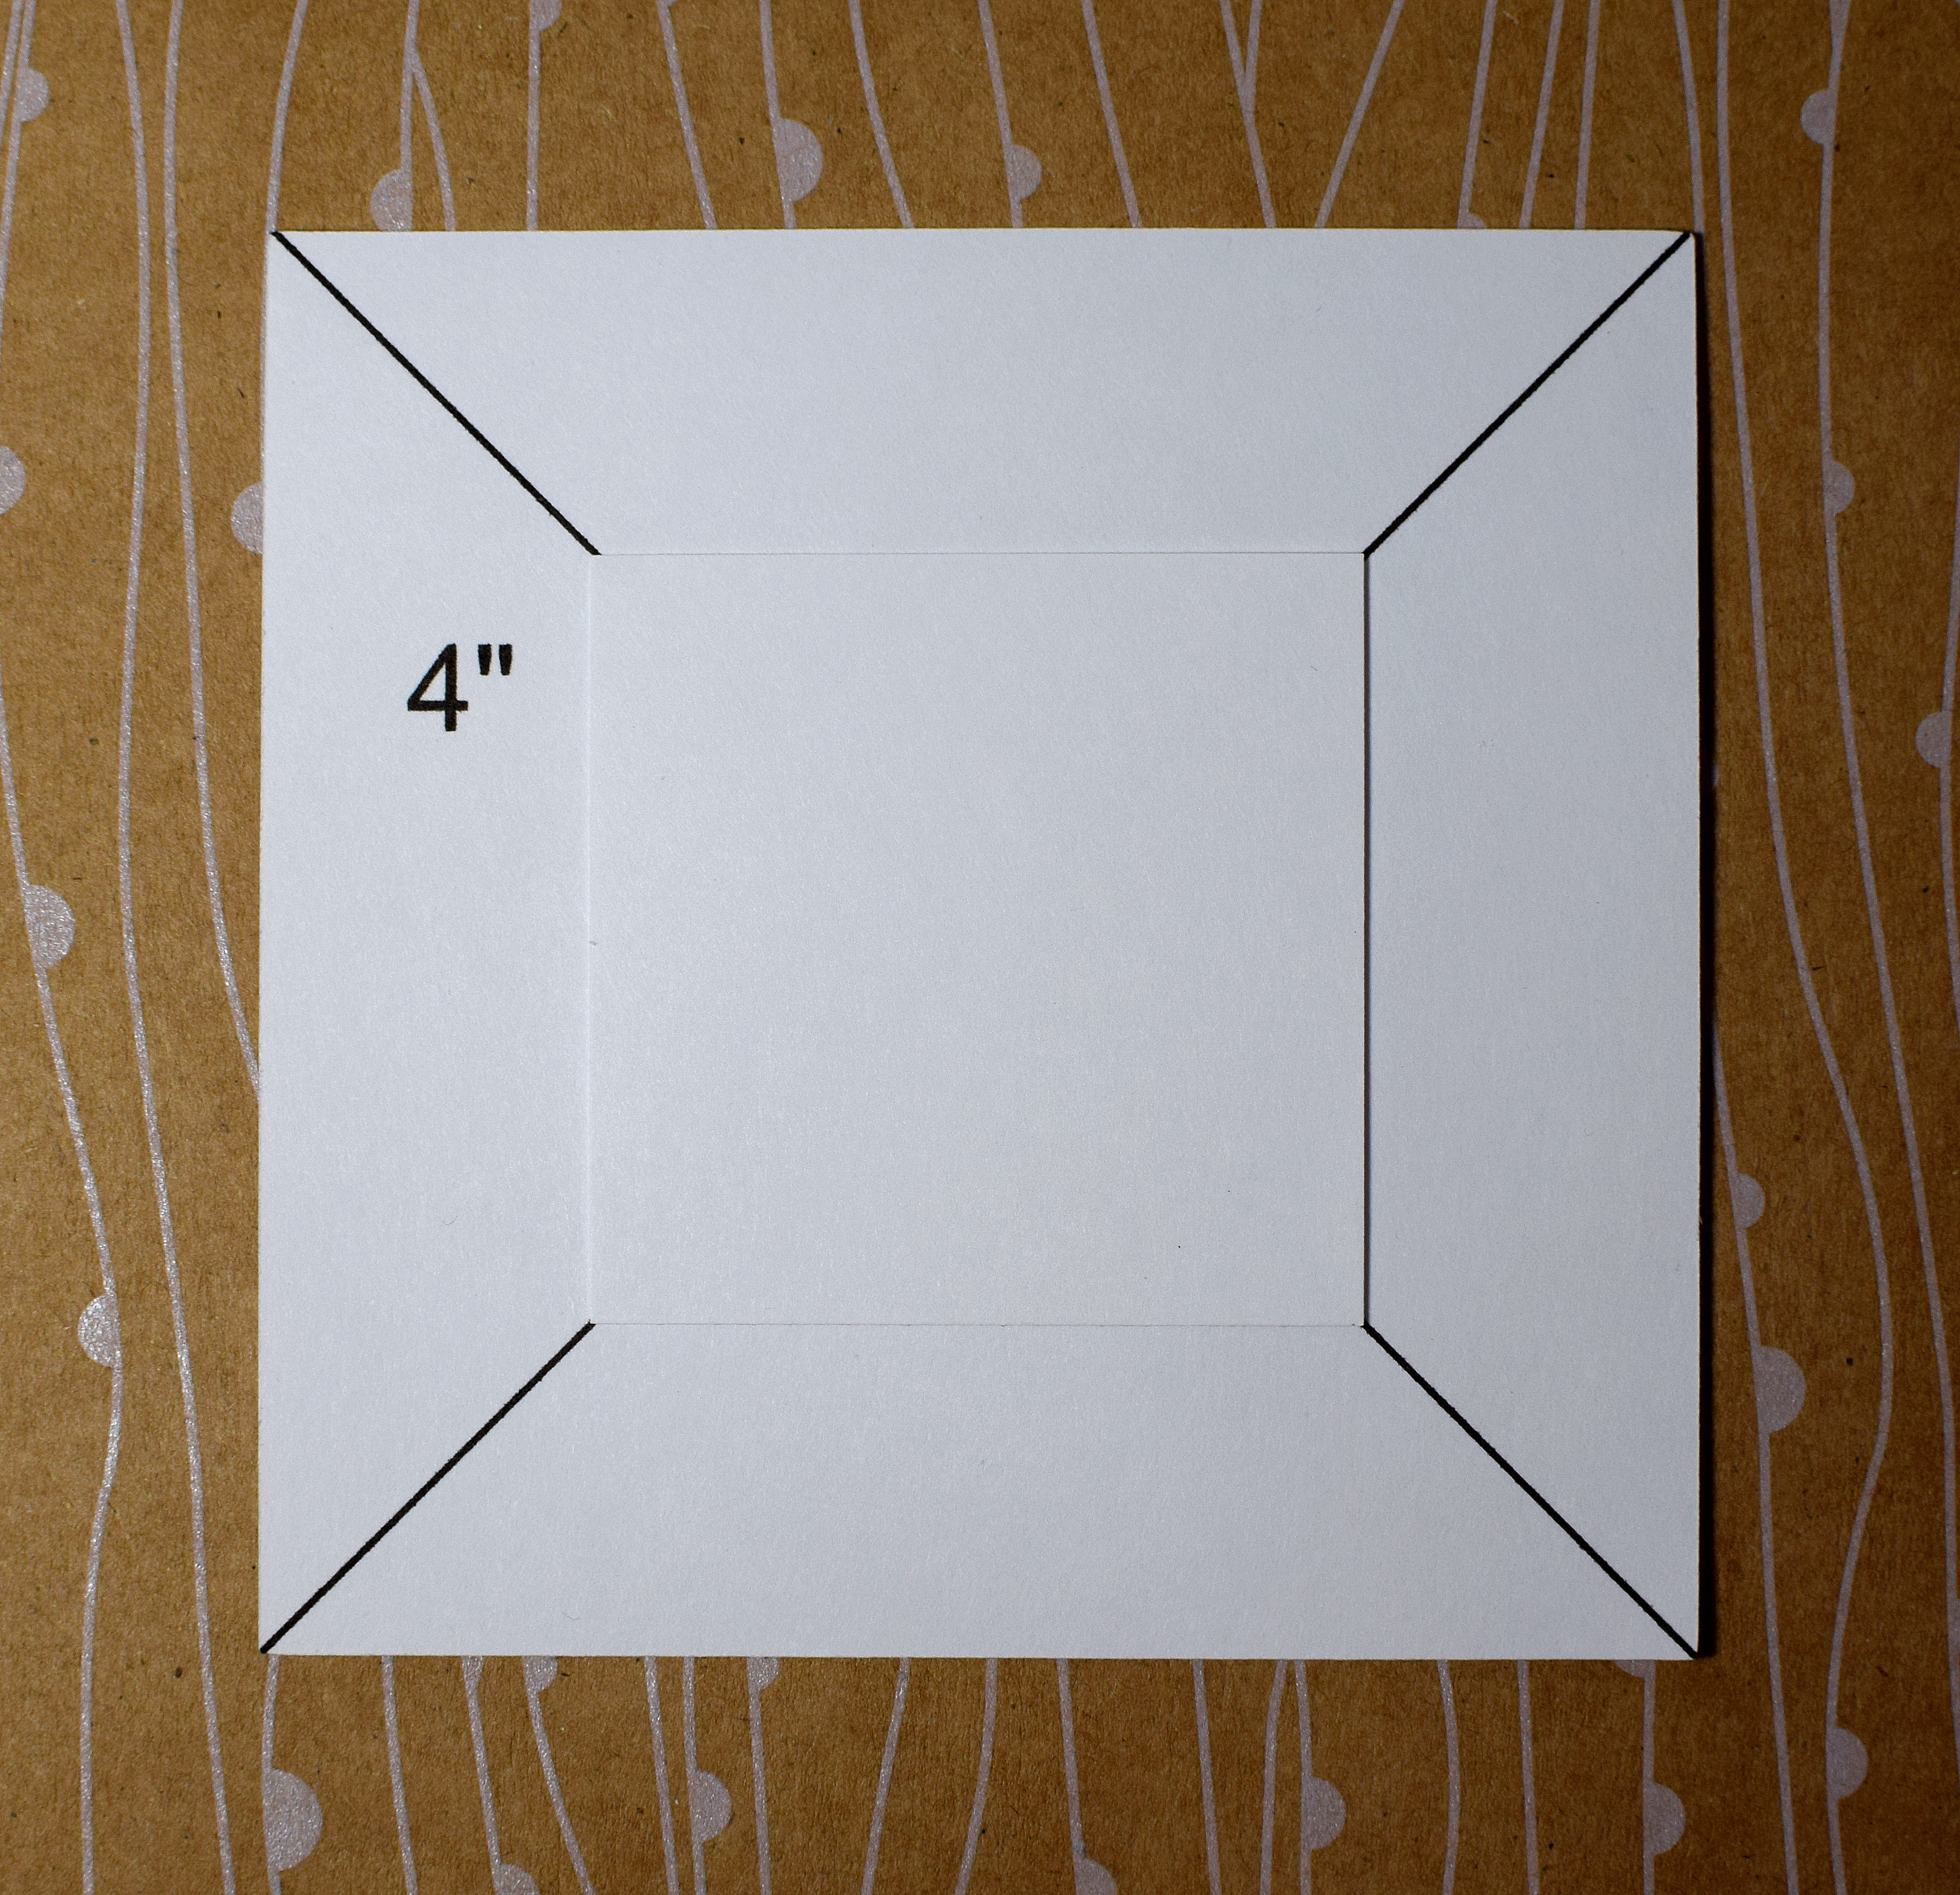
Let’s say you wanted your stamped panel to be 2 1/8 inches square.  In addition to the 2 1/8″ panel, cut a scrap panel to the correct size for the template.  If you are using a 4 inch template, you need a 4 inch square panel.  With a pencil and a ruler, draw diagonal lines from each corner to it’s opposite corner.  Put a spot of removable adhesive in the center of this panel.

wDSC_1075

Take the 2 1/8 inch square you need for your project.  Center it on the “adapter” scrap.  Use the diagonal lines to help you position it; when all 4 corners of your panel touch the diagonal lines, it is centered.

wDSC_1072

Then, just rotate and stamp with the “adapter” (and your temporarily attached panel) as you normally would.

wDSC_1073

Remove your stamped panel when done.  Save your adapter panel.  If you used removable adhesive, you can rub it off and use this adapter again and again (although it is so easy to just make another one if needed)!

wDSC_1074

*

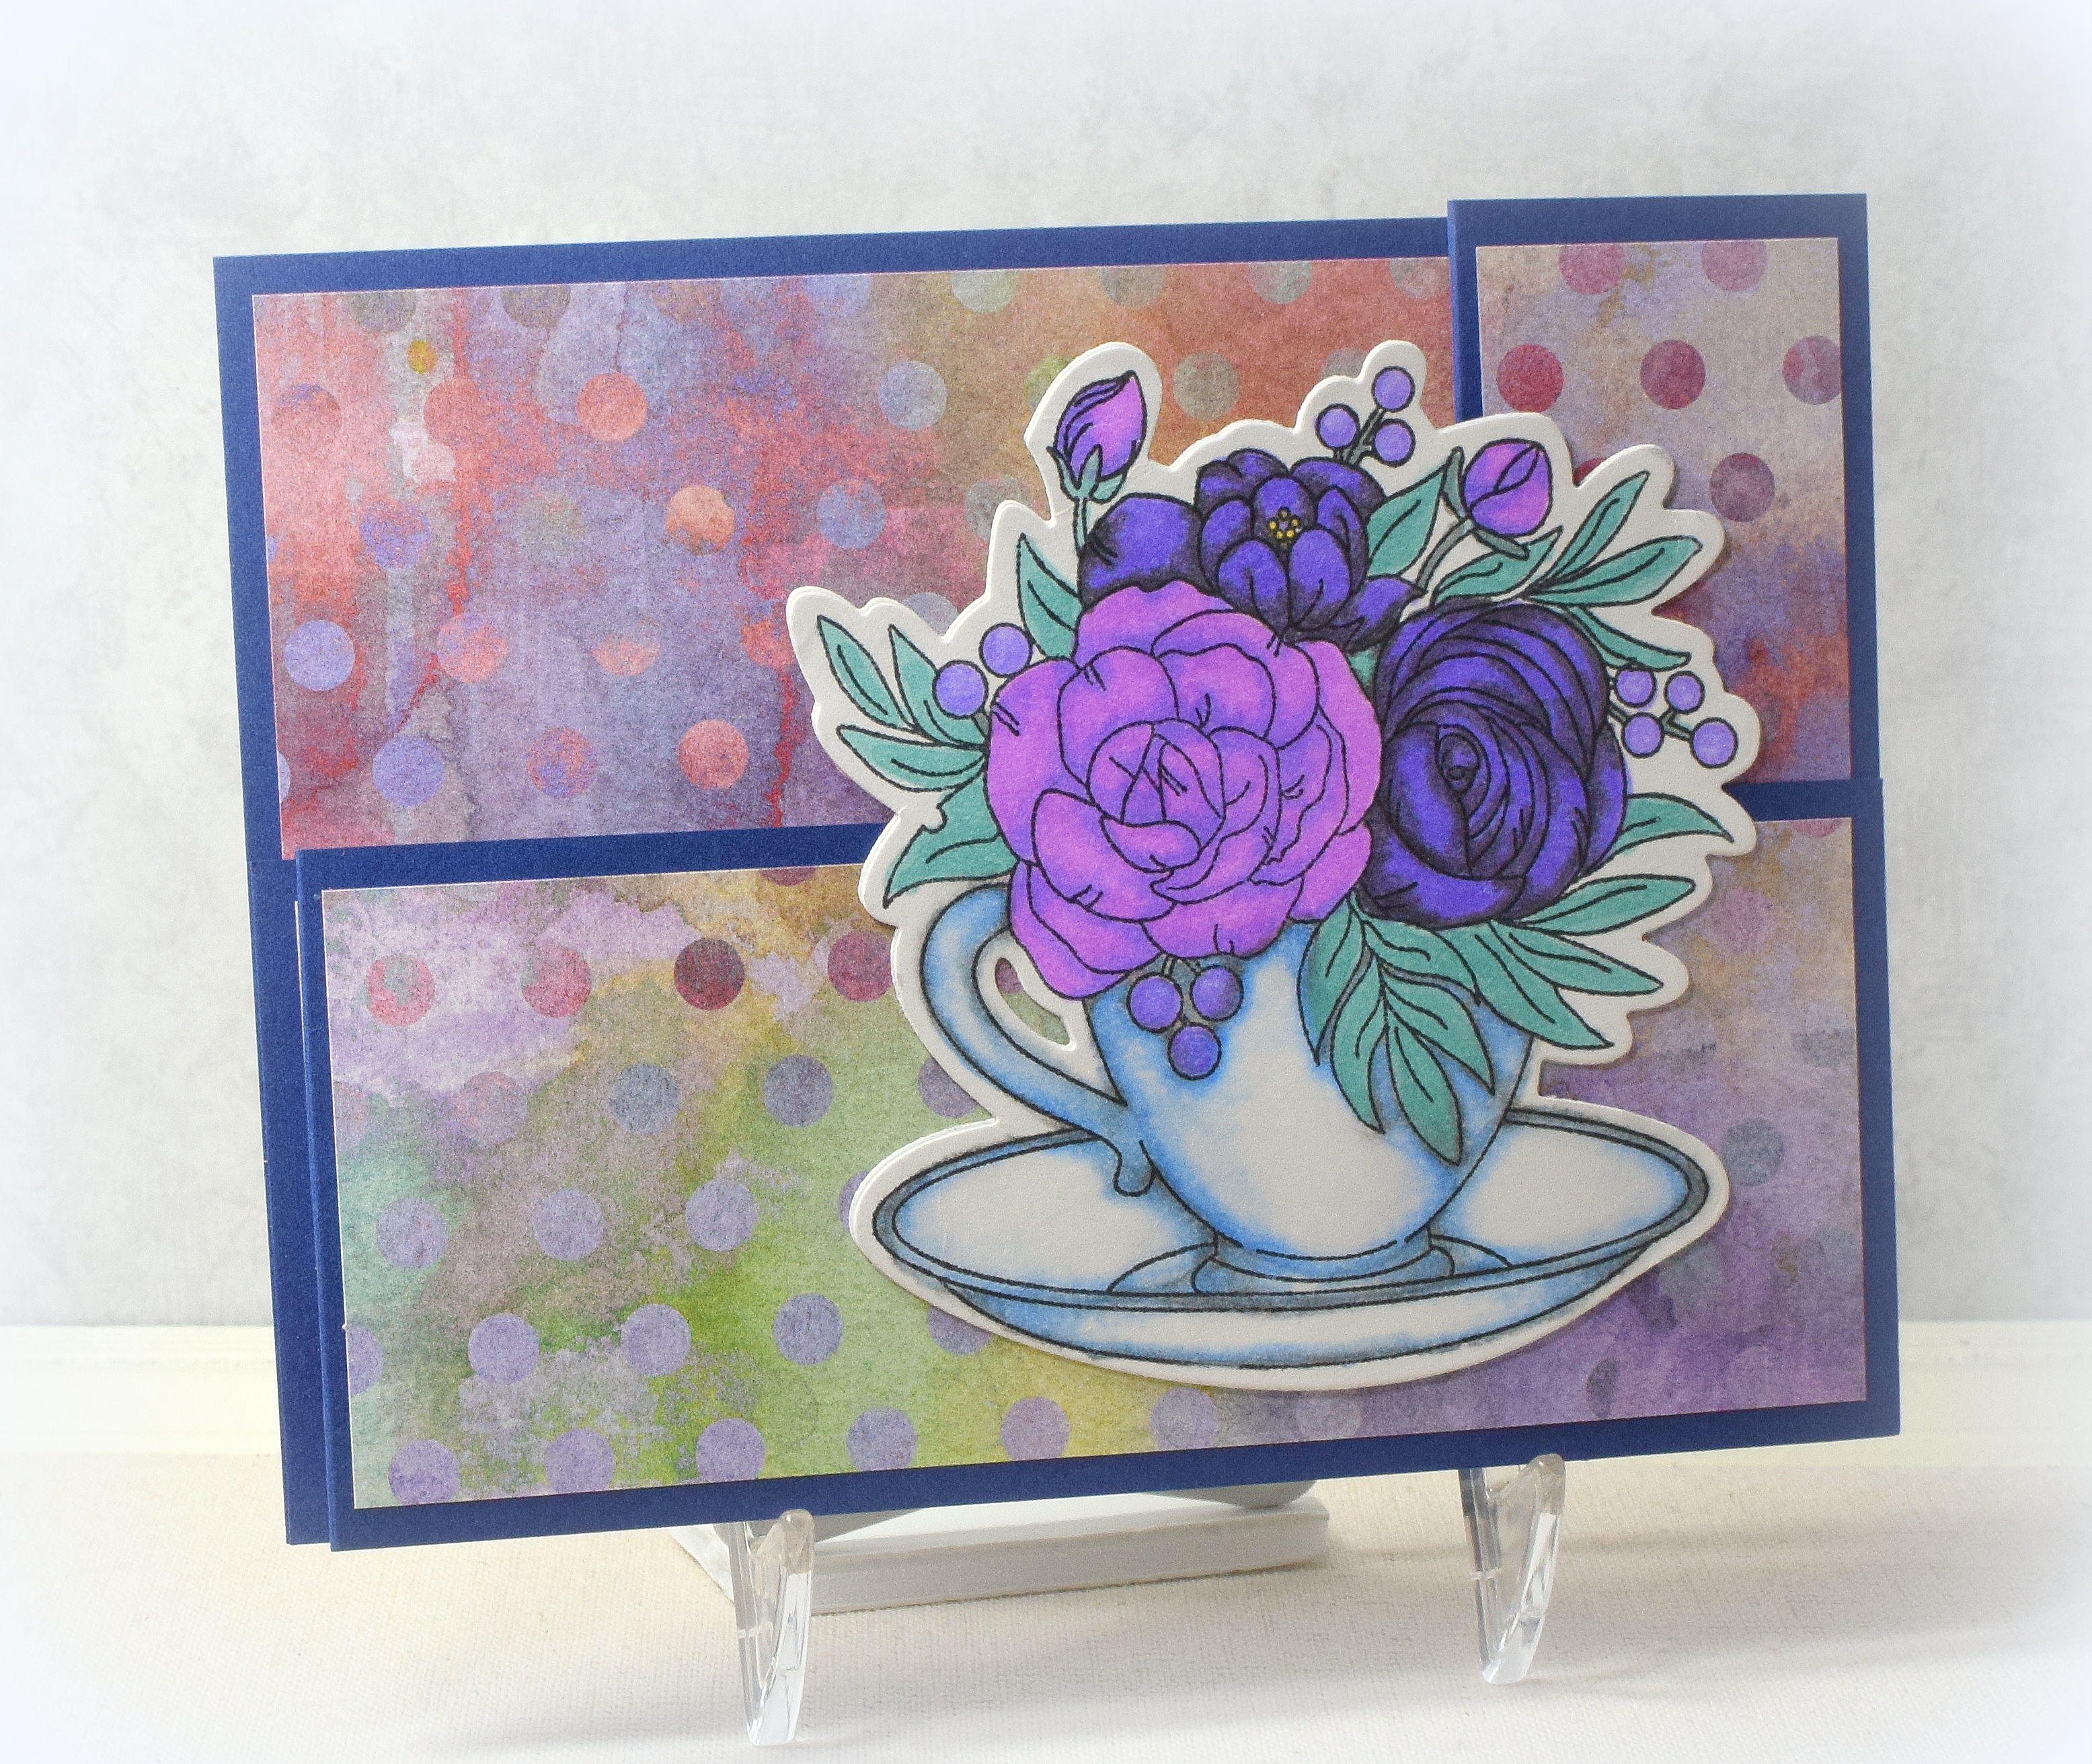
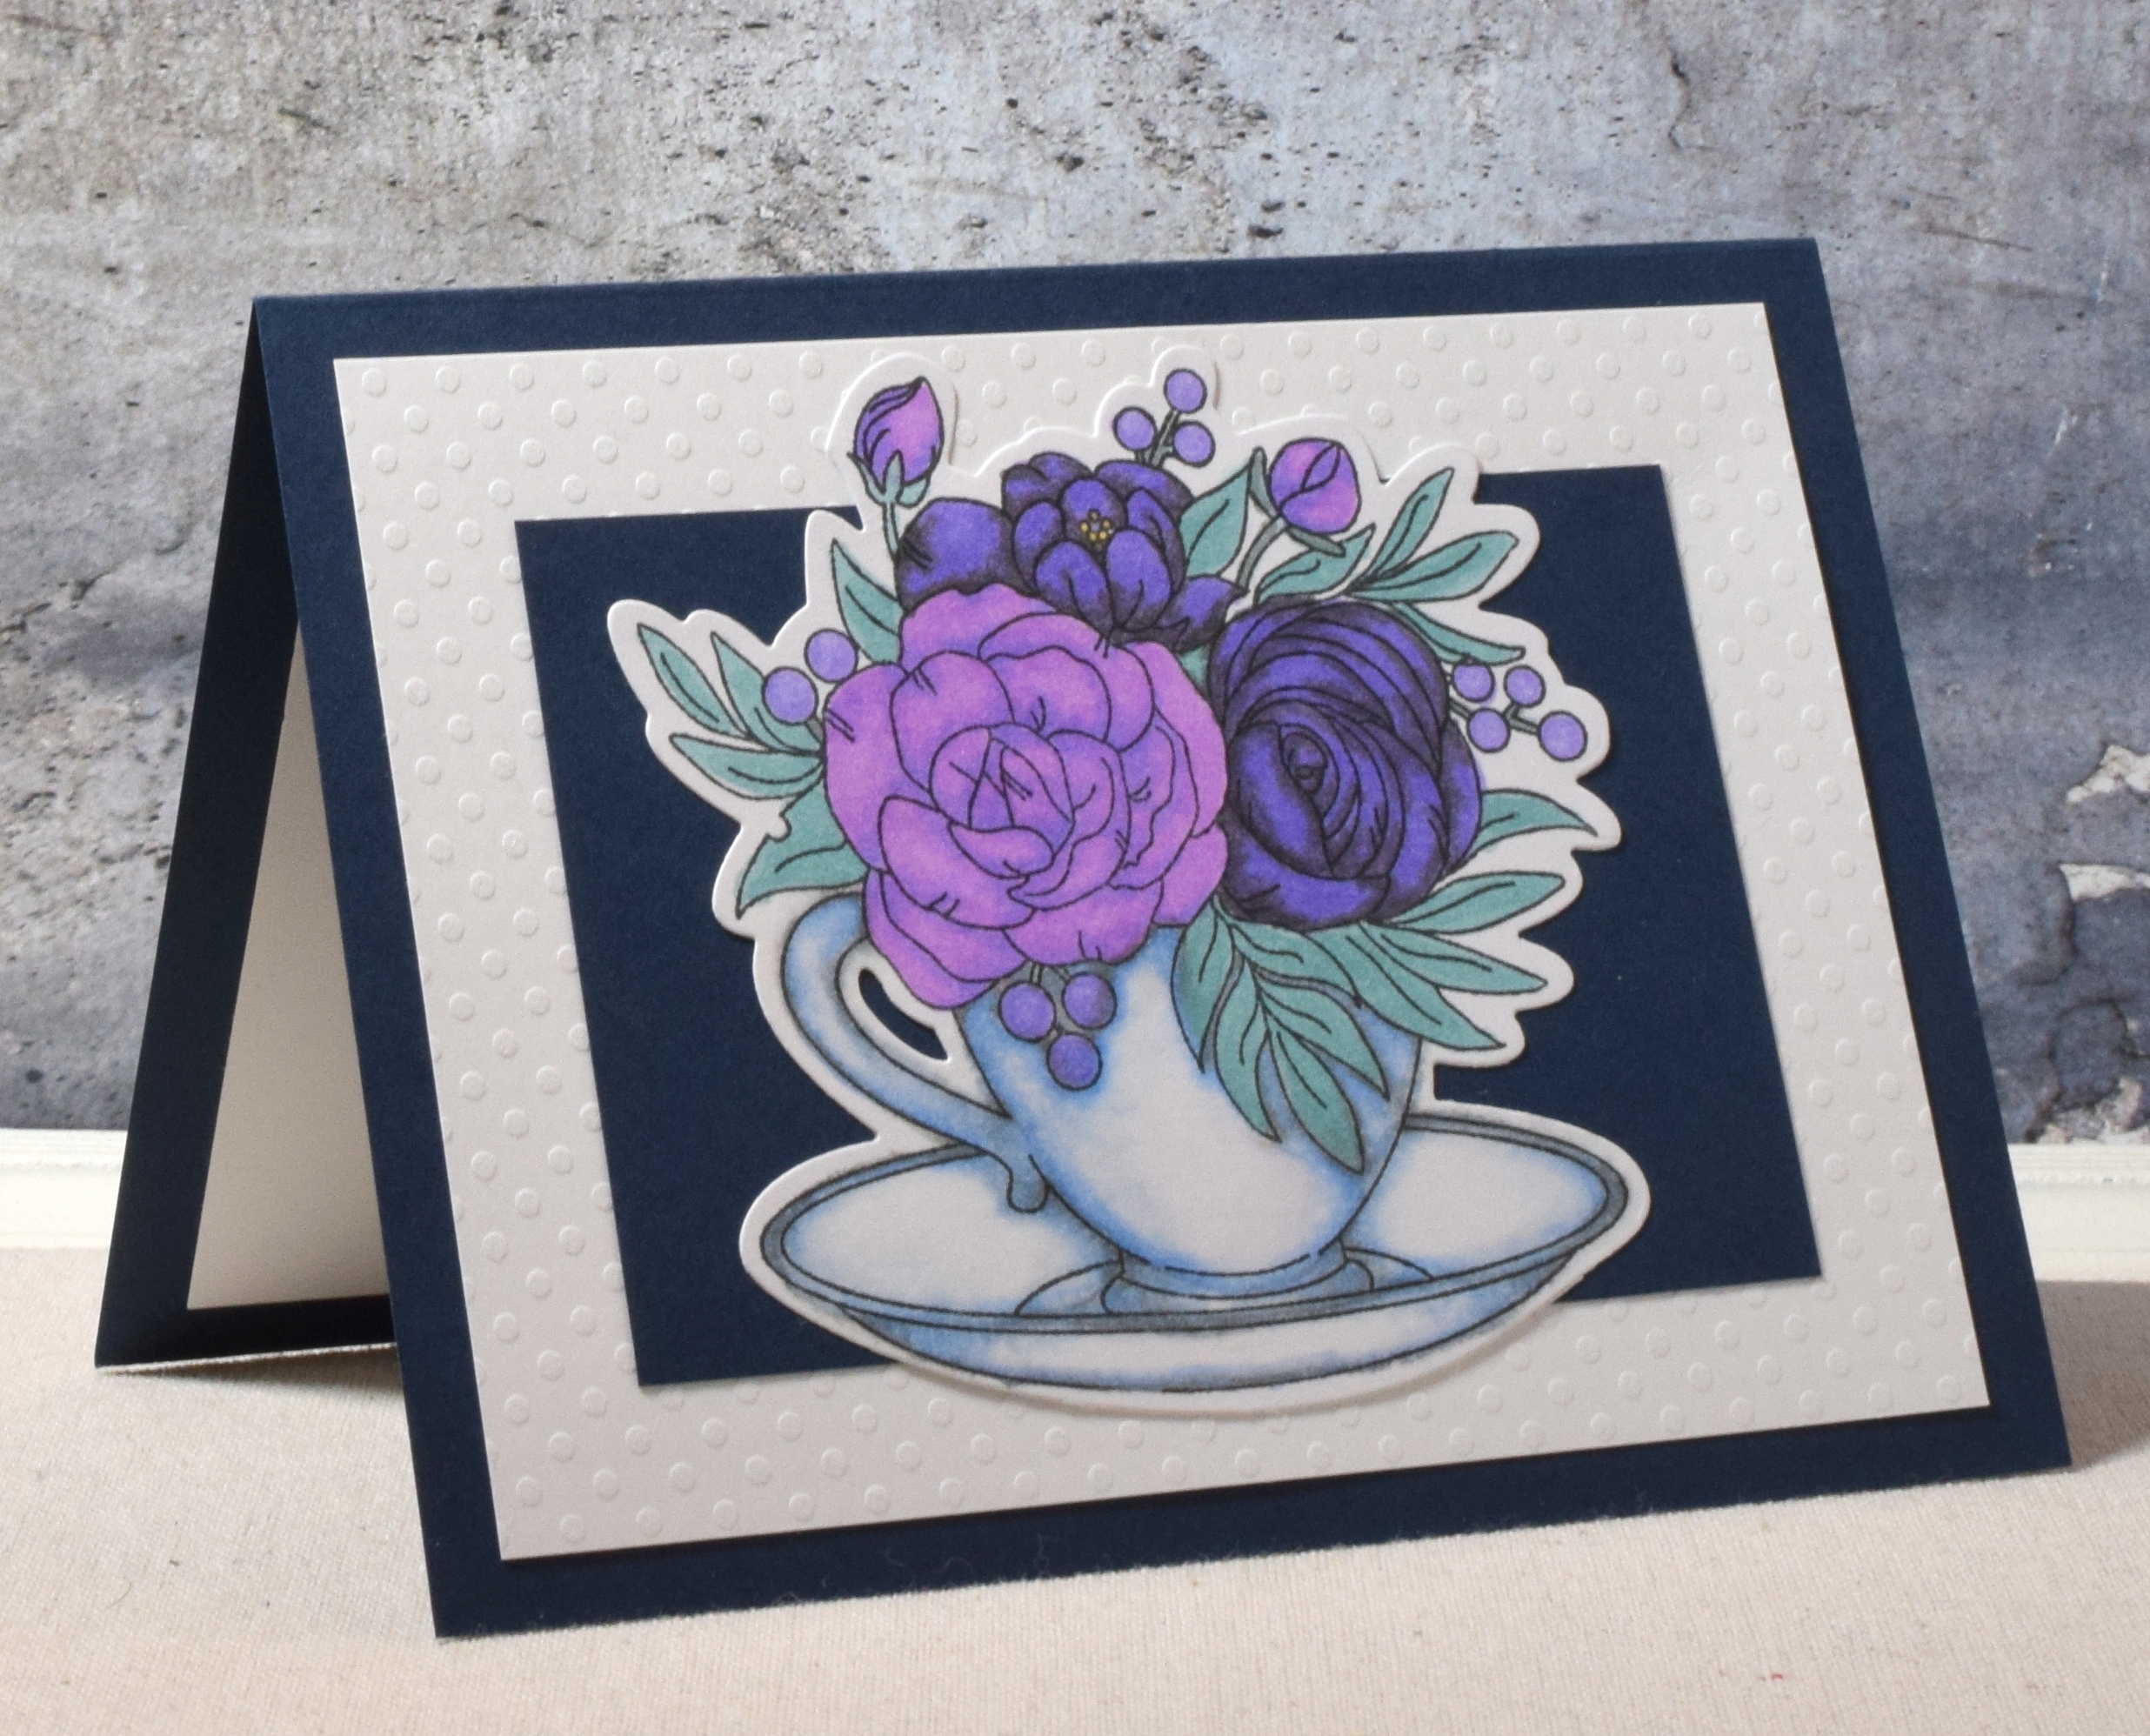
I used Milled Lavender and Seedless Preserves distress inks and Memento Danube Blue and Summer Sky.

While I had these ink pads out, I made another card where I stamped the wreath directly on the rectangular card panel (instead of on a smaller square).  If you focus on the top edge and corners of the panel (and ignore the bottom half that hangs out of the template) and rotate and stamp as you do with a square panel, you can achieve the same result.

wwDSC_1063

Both of these cards were made with just white card stock.  I applied ink to some of the card stock to create the matching background panels and mats.  I also added ink to white ribbon (on the second sample) to make the purple bow.

Thanks for checking out my card projects!

This content uses referral links as described in the disclosure policy on my sidebar.

CAS Make a Wish

CAS Make a Wish

zzDSC_1068

Here is a Clean And Simple card made with all white card stock.  I used an embossing folder, some inked panels for the mats, and a fun greeting panel that I created by stamping and rotating 4 times in my MISTI.  Super easy!

The greeting stamp is from a set called “Fairy Wishes” (unbranded?) which I cut to separate the words from the wand/dandelion image.  The candle is from a set called “Happy Birthday Stamps” (ms. sparkle & co.) that I found in a $2 bin at Joann Fabrics a while back.  The embossing folder is unbranded.

Thanks for checking out my card project!

This content uses referral links as described in the disclosure policy on my sidebar.


Another Double Z-Fold Card with Pop-up Panel (Wiper Card) – with Tutorial

Another Double Z-Fold Card with Pop-up Panel (Wiper Card) – with Tutorial

xxDSC_0995.jpg

Recently, I shared a wiper card I made for my class and have another sample (with same image from the  “Cup of Thanks” stamp set by Studio Katia) that I did with different colors.  (If you care to see how I made this card base, I’ve included a short tutorial at the end of this post.)  Again, I used Bic alcohol markers (polynesian purple, stone grey, petal pink, tranquil teal, cloud nine grey, ocean blue), and a blender pen to color my image.  I found this patterned paper called “Watercolor Dots” by Recollections at Michaels and liked that it had so many colors that worked well with the pencils, markers, and inks available to my students.

wDSC_1001

Here is a tent fold card layout with the same image.

wDSC_0974

If you wish to see how I made my Double Z-Fold card base with a pop-up panel (Wiper Card)… Continue reading

Birthday Cake Pop-Up Card

Birthday Cake Pop-Up Card

wDSC_0928.jpg

Yesterday, I posted a palm tree pop-up card made with one of Karen Burniston’s die sets, and here’s another pop-up design created with her “Cake Pop-Up #1028” dies.  (She has soooo many cool die sets!)

pop_up_cake_4

You can create any size card (at least 3 1/2″ – to cover the cake when the card is closed).  My card is 5 1/2 x 4 1/4.  The set includes dies for cutting a bride, a groom, or candles for the top of your cake as well as “icing” for each layer.  Her assembly video for this set is excellent so making this card is “a piece of cake!”

Here’s what my card looks like when it is closed.

wDSC_0920

I used heavy weight white card stock for the card base along with Gina K Designs “Blue Lagoon” and layering weight white.  The chevron pattern is “Perky #2000” by Fancy Pants Designs (retired?) and the yellow polka dot pattern is “Horizon #374026” by American Crafts.

The balloon die and stitched rectangle dies were both unbranded.

This card folds flat and fits in a regular A2 size envelope for mailing.

wDSC_0930

Thanks for checking out my card project!

This content uses referral links as described in the disclosure policy on my sidebar.

Palm Tree Pop-Up Card

Palm Tree Pop-Up Card

wwwDSC_0899.jpg

This pop-up palm tree was made with a die set called “Palm Tree Pop-Up Dies #1039” by Karen Burniston, and I just love, love, love it!  Karen’s excellent assembly video makes it super easy to make.  This card folds flat for mailing.

palm_tree_pop_up_gif

You can create any size card (at least 3 1/2″ – to cover the tree when the card is closed).  My card is an A2 size card, but Karen shows a larger card in her video where she includes two trees with a hammock.  So many options!

In addition to the dies for the palm tree that pops up, there are dies to create a slightly smaller (flat) palm tree which could be glued to the pop-up tree to create a cluster (I added two to my pop-up tree) and could also be used alone to decorate the card front or any other flat card panel.

Here’s a better look at my card front…

wDSC_0894


… which I created using this sketch:

Mojo218Sketch

Besides turning the sketch on its side, I placed my navy panel behind the long strip so there was more of the lighter piece showing behind the palm tree.  (This sketch is on the Dec. ’11 pdf.)

I used Bazzill “Butter Mints” heavy weight ivory card stock for the card base along with  “Deep Navy” by core’dinations.  I followed Karen’s example and repeatedly stamped a random dot pattern with brown ink onto kraft card stock to create the look of sand.  (She suggests using a dense sponge if you don’t have a stamp like this.)  The patterned paper is “Aqua Scales” by Recollections.  The parts for the trees were cut from scraps I had on hand.

Thanks for checking out my card project!

This content uses referral links as described in the disclosure policy on my sidebar.