Basic Paper Crafting Supplies

Basic Paper Crafting Supplies

craftsupplies pic from google

A friend, considering getting into card making, recently asked me for a list of the basic tools and supplies she might need.  Some of the items on my list are consumable and/or project-specific, and some are “necessities” that I use all the time.  I also included some of the tools needed for a few of my favorite techniques.  While I am NOT suggesting that a beginner should go out and buy everything on this list, I tried to come up with a list of things I use often.  Consider your needs and buy accordingly, and if you live near me, consider taking a “test drive” with my stuff before buying anything at all!

I’ve included links (in red) on some of the items below so that you can see samples and/or the specific brands I use, but these are by no means the best and/or only choices.

LIST OF BASIC PAPER CRAFTING TOOLS AND SUPPLIES… Continue reading

Banner Triple Punch by Stampin’ Up

Banner Triple Punch by Stampin’ Up

triple banner punch

I really like the look of fishtail banners on cards.  Sometimes they are large and are used to add texture and color to a design.  Sometimes they are smaller and are used to highlight the greeting.  I tend to like my greeting panels matted, so I was very happy to discover that Stampin’ Up makes one punch that will create three different sized banners that nest together perfectly.  It is called the Banner Triple Punch and is designed to create banners that are 1 inch, 1.5 inches, and 2 inches wide.  Because the punch just cuts the fishtail end, the length of the banner can be whatever you want.

triple banner punch sample

Basically, you cut a piece of paper/card stock to the desired width (and length).  Then you slide the strip into the punch making sure the sides fit inside the grooves that match your width.  The grooves keep the strip straight and centered so the notch cut from the end is perfect.

Dawn Olchefske does a great demonstration of this punch in this video (at the 4:30 mark).  She even discovered a trick to making a 3/4 inch banner in addition to the three sizes Stampin’ Up intended!

I found a helpful post HERE where Bekka gives measurements for how long your card stock needs to be so your finished banner is the size you want.

Thanks for checking out my post!

(Photos used in this post are from the Stampin’ Up website/catalog.)

Awesome Quilling Tool

Awesome Quilling Tool

quill ease.JPG

I think quilling is so beautiful and have tried a few basic projects in the past.  Many of the shapes start with a strip of paper that is usually coiled (by hand) around a slotted quilling tool.

hand-quilling

The problem is you often need to quill quite a few strips to create your designs or shapes, and this can get tiring/tedious.  This battery operated quilling tool called Quill Ease makes it so much easier and quicker!

using-quill-ease

HERE is a quick video demonstrating how it works.

I will admit that when I first saw the product in the store, I thought it was a great idea but was afraid that it would not work as well as I hoped.  I was more than pleasantly surprised!

I should point out that since purchasing and trying the Quill Ease tool, I’ve discovered that there are several other motorized quilling tools on the market.  Because I’ve only tried this one, I am not in a position to say how this tool compares to the others.  And since I’ve so far only used this tool for a half hour or so, I am not in a position to say how it will hold up over time, but my initial impression is that I will enjoy using this very much and am already thinking of card ideas that I can’t wait to try!  Hopefully, I’ll have one or two to share soon….

If you are interested in quilling and have not yet tried it, there are quite a few video tutorials on YouTube showing how to create basic quilled shapes that can be used as a starting point for your  projects.  This was one of the first videos I had seed and had found it to be quite helpful.

Thanks for checking out my post!

This content uses referral links as described in the disclosure policy on my sidebar.

Congratulations!!!

Congratulations!!!  The MISTIs win!

congratultions

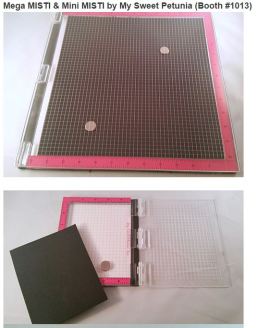
The CHA (Craft & Hobby Association) Mega Conference and Trade Show is going on in Anaheim, CA this week, and Iliana Myska, founder of the MISTI, won the 2016 Hot Product Award in the Paper Crafts category for her Mini MISTI and Mega Misti by My Sweet Petunia!!  Congratulations, Ilianna!!!  Click HERE to see all the finalists.

misti finalist photo

misti award

Click HERE to see her facebook post.

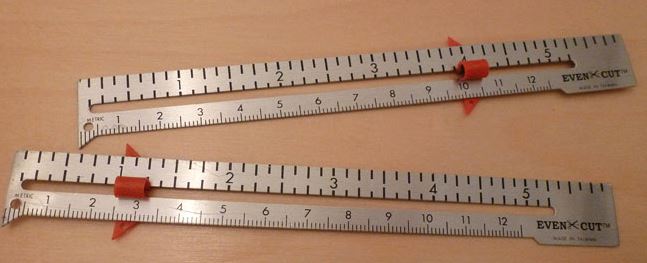
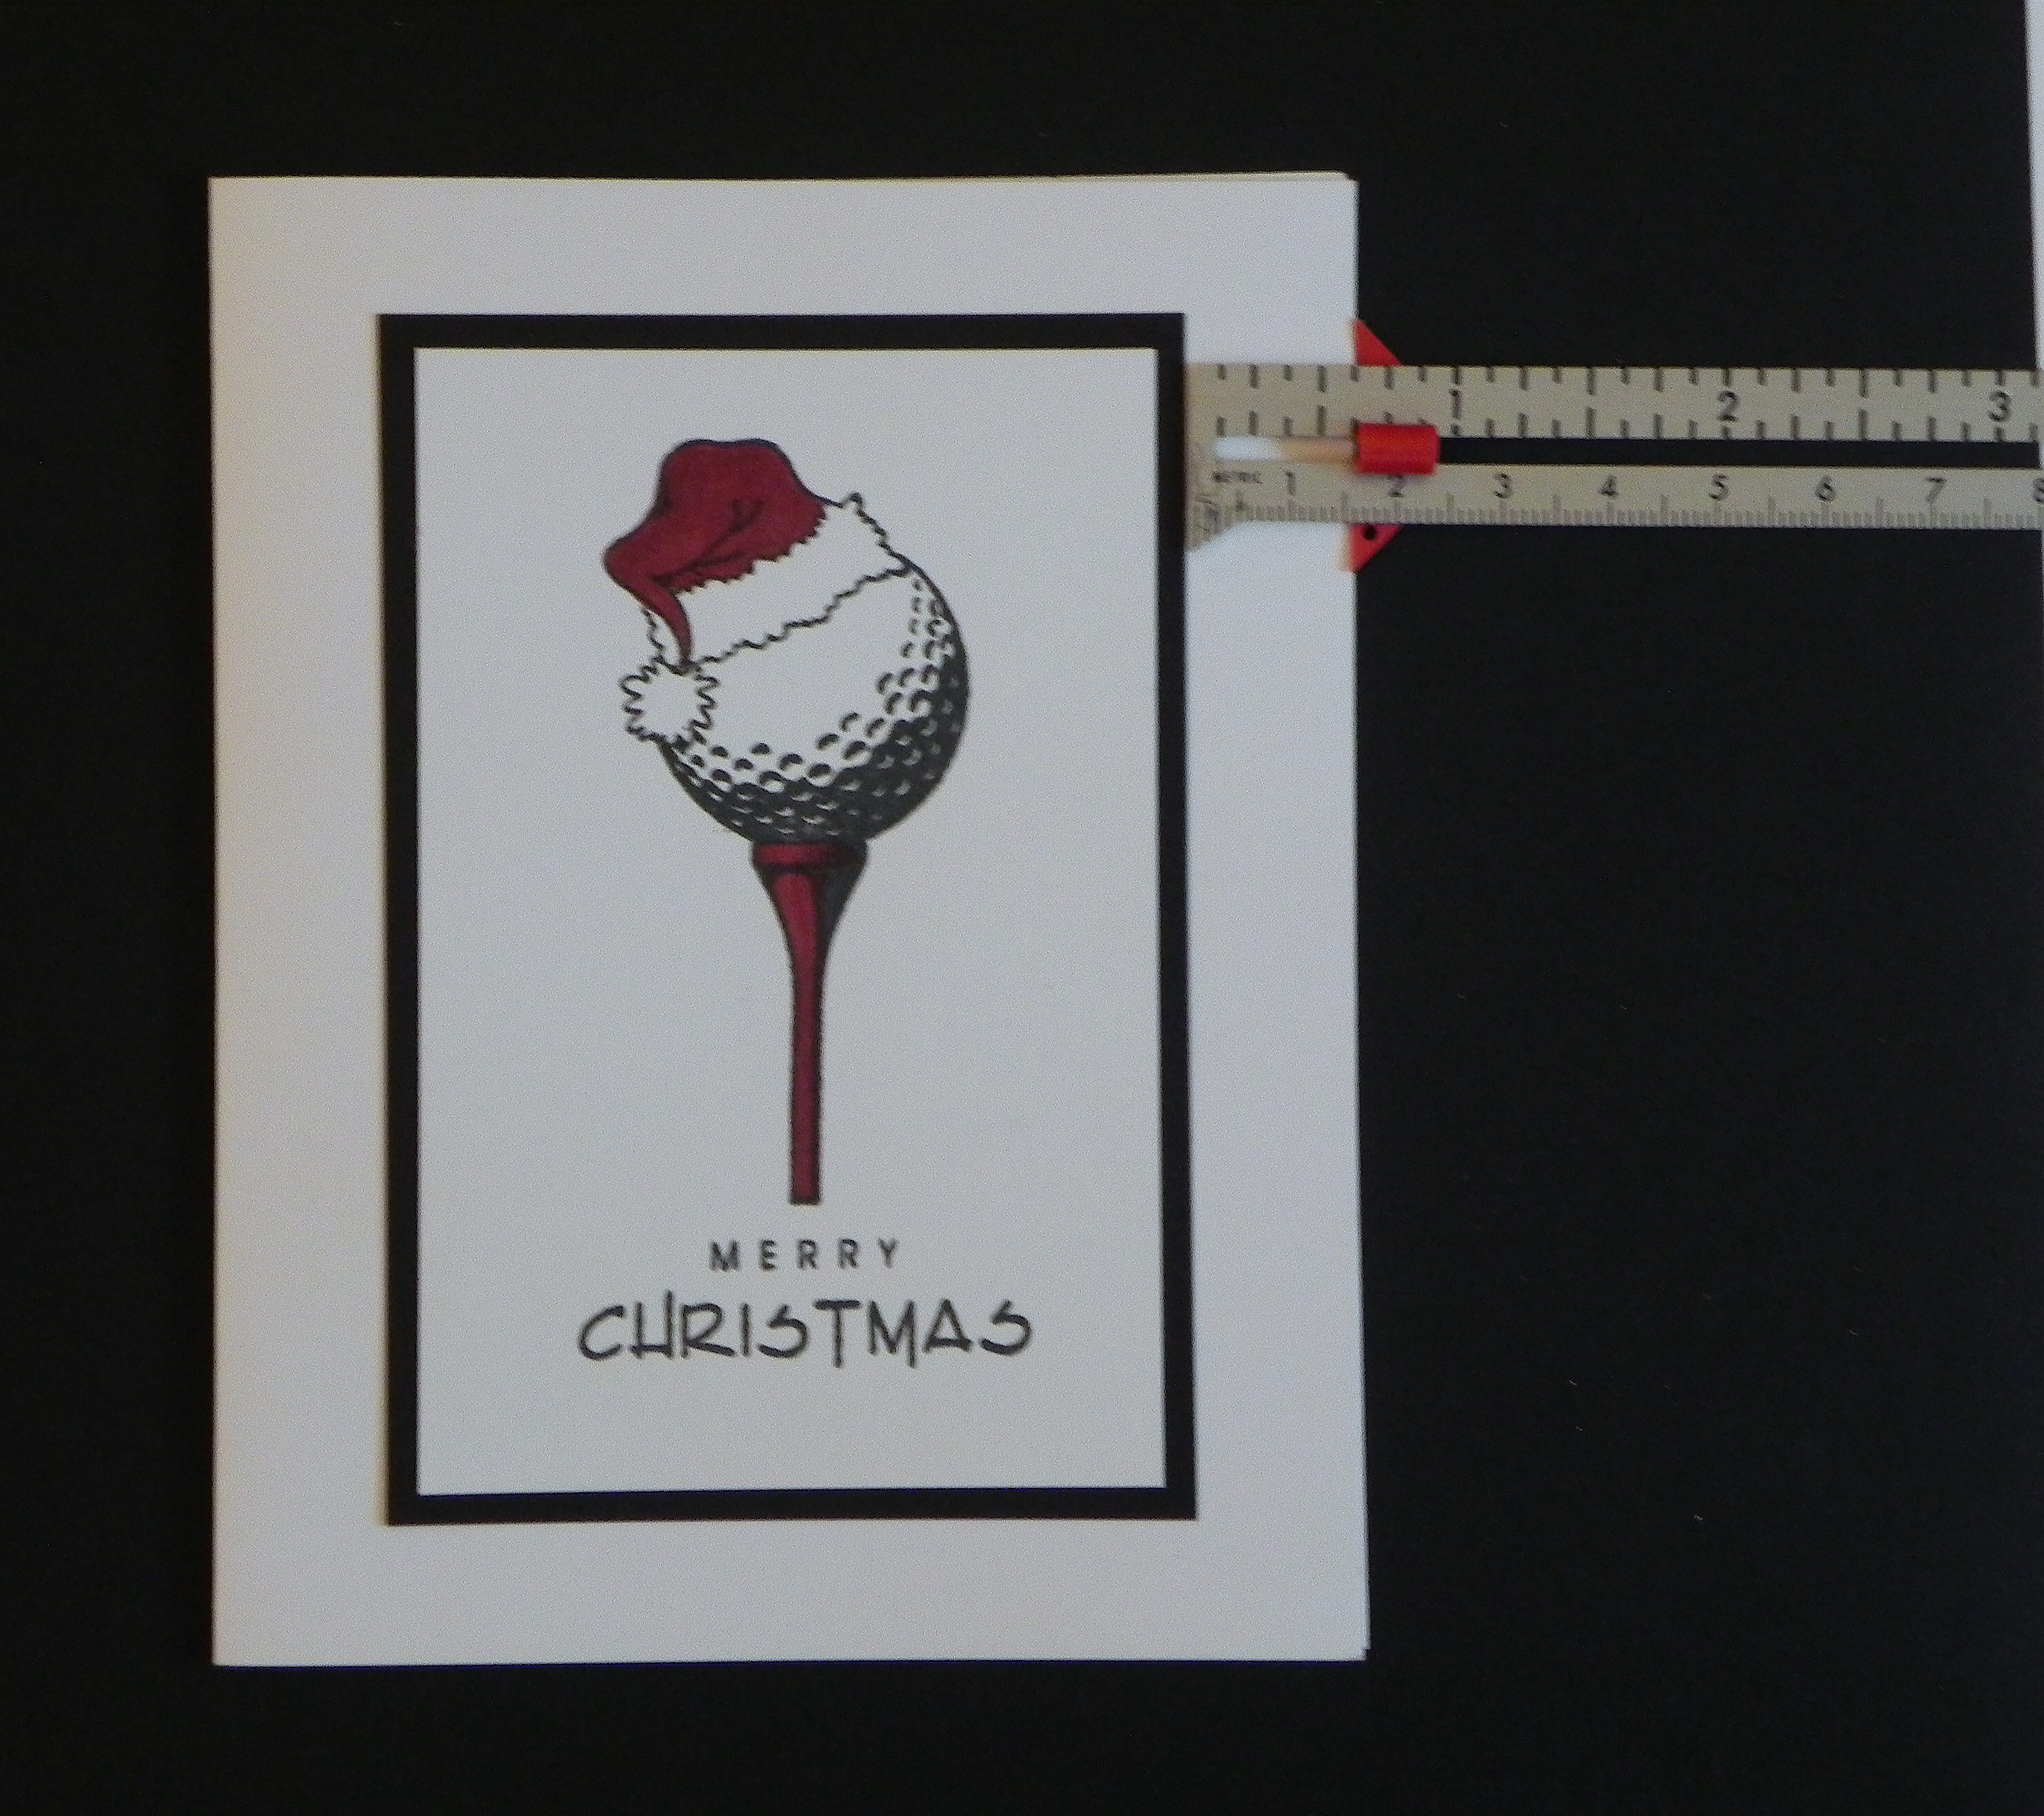
I use my original MISTI all the time and LOVE it!  I’ve been hoping for a larger MISTI for scrapbooking and to accomodate more stamps for card layouts. The mini MISTI looks like a nice travel tool.  Two more great ideas!  (Click HERE to see my original post reviewing the MISTI.)

Thanks for checking out my post!

(You can see the full posting from CHA HERE)

“The Craft & Hobby Association (CHA), the international trade association for the design, manufacture, distribution and retail sales of creative arts products, announced the category winners of its popular CHA Hot Product Awards. Manufacturers from all over the world submitted a record number of innovative retail products in this year’s competition. The judges of the CHA Hot Products–leading industry buyers, celebrities, bloggers and editors–selected the winners based on what makes the product unique; how the product will improve the crafter’s overall experience; and the interest and excitement the product generates for those outside of the crafting community. The CHA Hot Product Winners for 2016 are:

……. PAPER CRAFTS Mini MISTI and Mega MISTI by My Sweet Petunia, Inc., have a simple hinge design that provides consistent stamping for novice or experienced crafters and a platform for multiple stamp techniques that are impossible with traditional stamping mounts. Both products accommodate both red rubber cling stamps and clear stamps. (www.mysweetpetunia.com) “Congratulations to all the winners of the CHA Hot Product Awards,” said Mark Hill, President & Chief Executive Officer, CHA. “We are proud to recognize and showcase these outstanding innovations that have broad appeal for both experienced and novice makers. These Hot Product Winners, and all the submissions, will spark creativity and generate excitement and movement in the marketplace.”

…… The CHA Hot Products Winners were announced at the CHA Foundation Gala on January 10, 2016 during the CHA MEGA Conference & Trade Show in Anaheim, CA. The CHA MEGA Show, celebrating its 75th Anniversary, is the largest creative arts products conference and trade show in North America. CHA Hot Product winners, finalists, and all of the worldwide submissions are displayed in the Hot Product Showcase on the CHA MEGA Show exhibit floor. Attendees at the event can see these innovations firsthand and discover new ideas and business sources. The 2016 CHA Hot Product winners and finalists can be viewed here: http://www.chamegashow.org/events-and-features/hot-product-awards-finalists.

A New Use for an Old Tool – Card Making with a Sewing Gauge

A New Use for an Old Tool – Card Making with a Sewing Gauge

sewing gauge 2

I have had my sewing kit since high school home ec. class (I’m not going to tell you how old it is!), and one of the tools in it is a sewing gauge.   Recently, I discovered that this tool is very useful for making sure panels are straight on my cards.  I am usually a pretty good “eye-baller” but have a little trouble when positioning/adhering long, skinny panels that are kind of far from the edges (they always end up crooked!) or very small panels that have lots of space on all 4 sides (I have a hard time centering them). What is great about this tool is that once you determine how far away from the edge of the card you want your panel, you set the “sliding measure” and you can very quickly check all points on your panel to see if the distance from the edge is uniform.

   wDSCN8882      wDSCN8886

(Check two points on same side to see if the panel is straight.)

      wDSCN8896      wDSCN8897

(Check both sides to see if the panel is centered on right and left.)

A sewing gauge can be purchased in your local fabric store or online and is pretty inexpensive.  I’ve been using mine often; it has become one of my favorite tools!

Thanks for checking out my post!