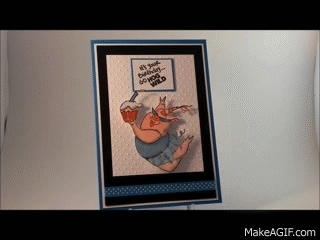
Hog Wild Birthday Card
This card is being entered in the Perfectly Rustics – PR Design Challenge No. 39 – Animals, where we are to “go wild” with animals in our creations. (http://perfectlyrustics.com/2015/01/12/prdc-no-39-animals/)
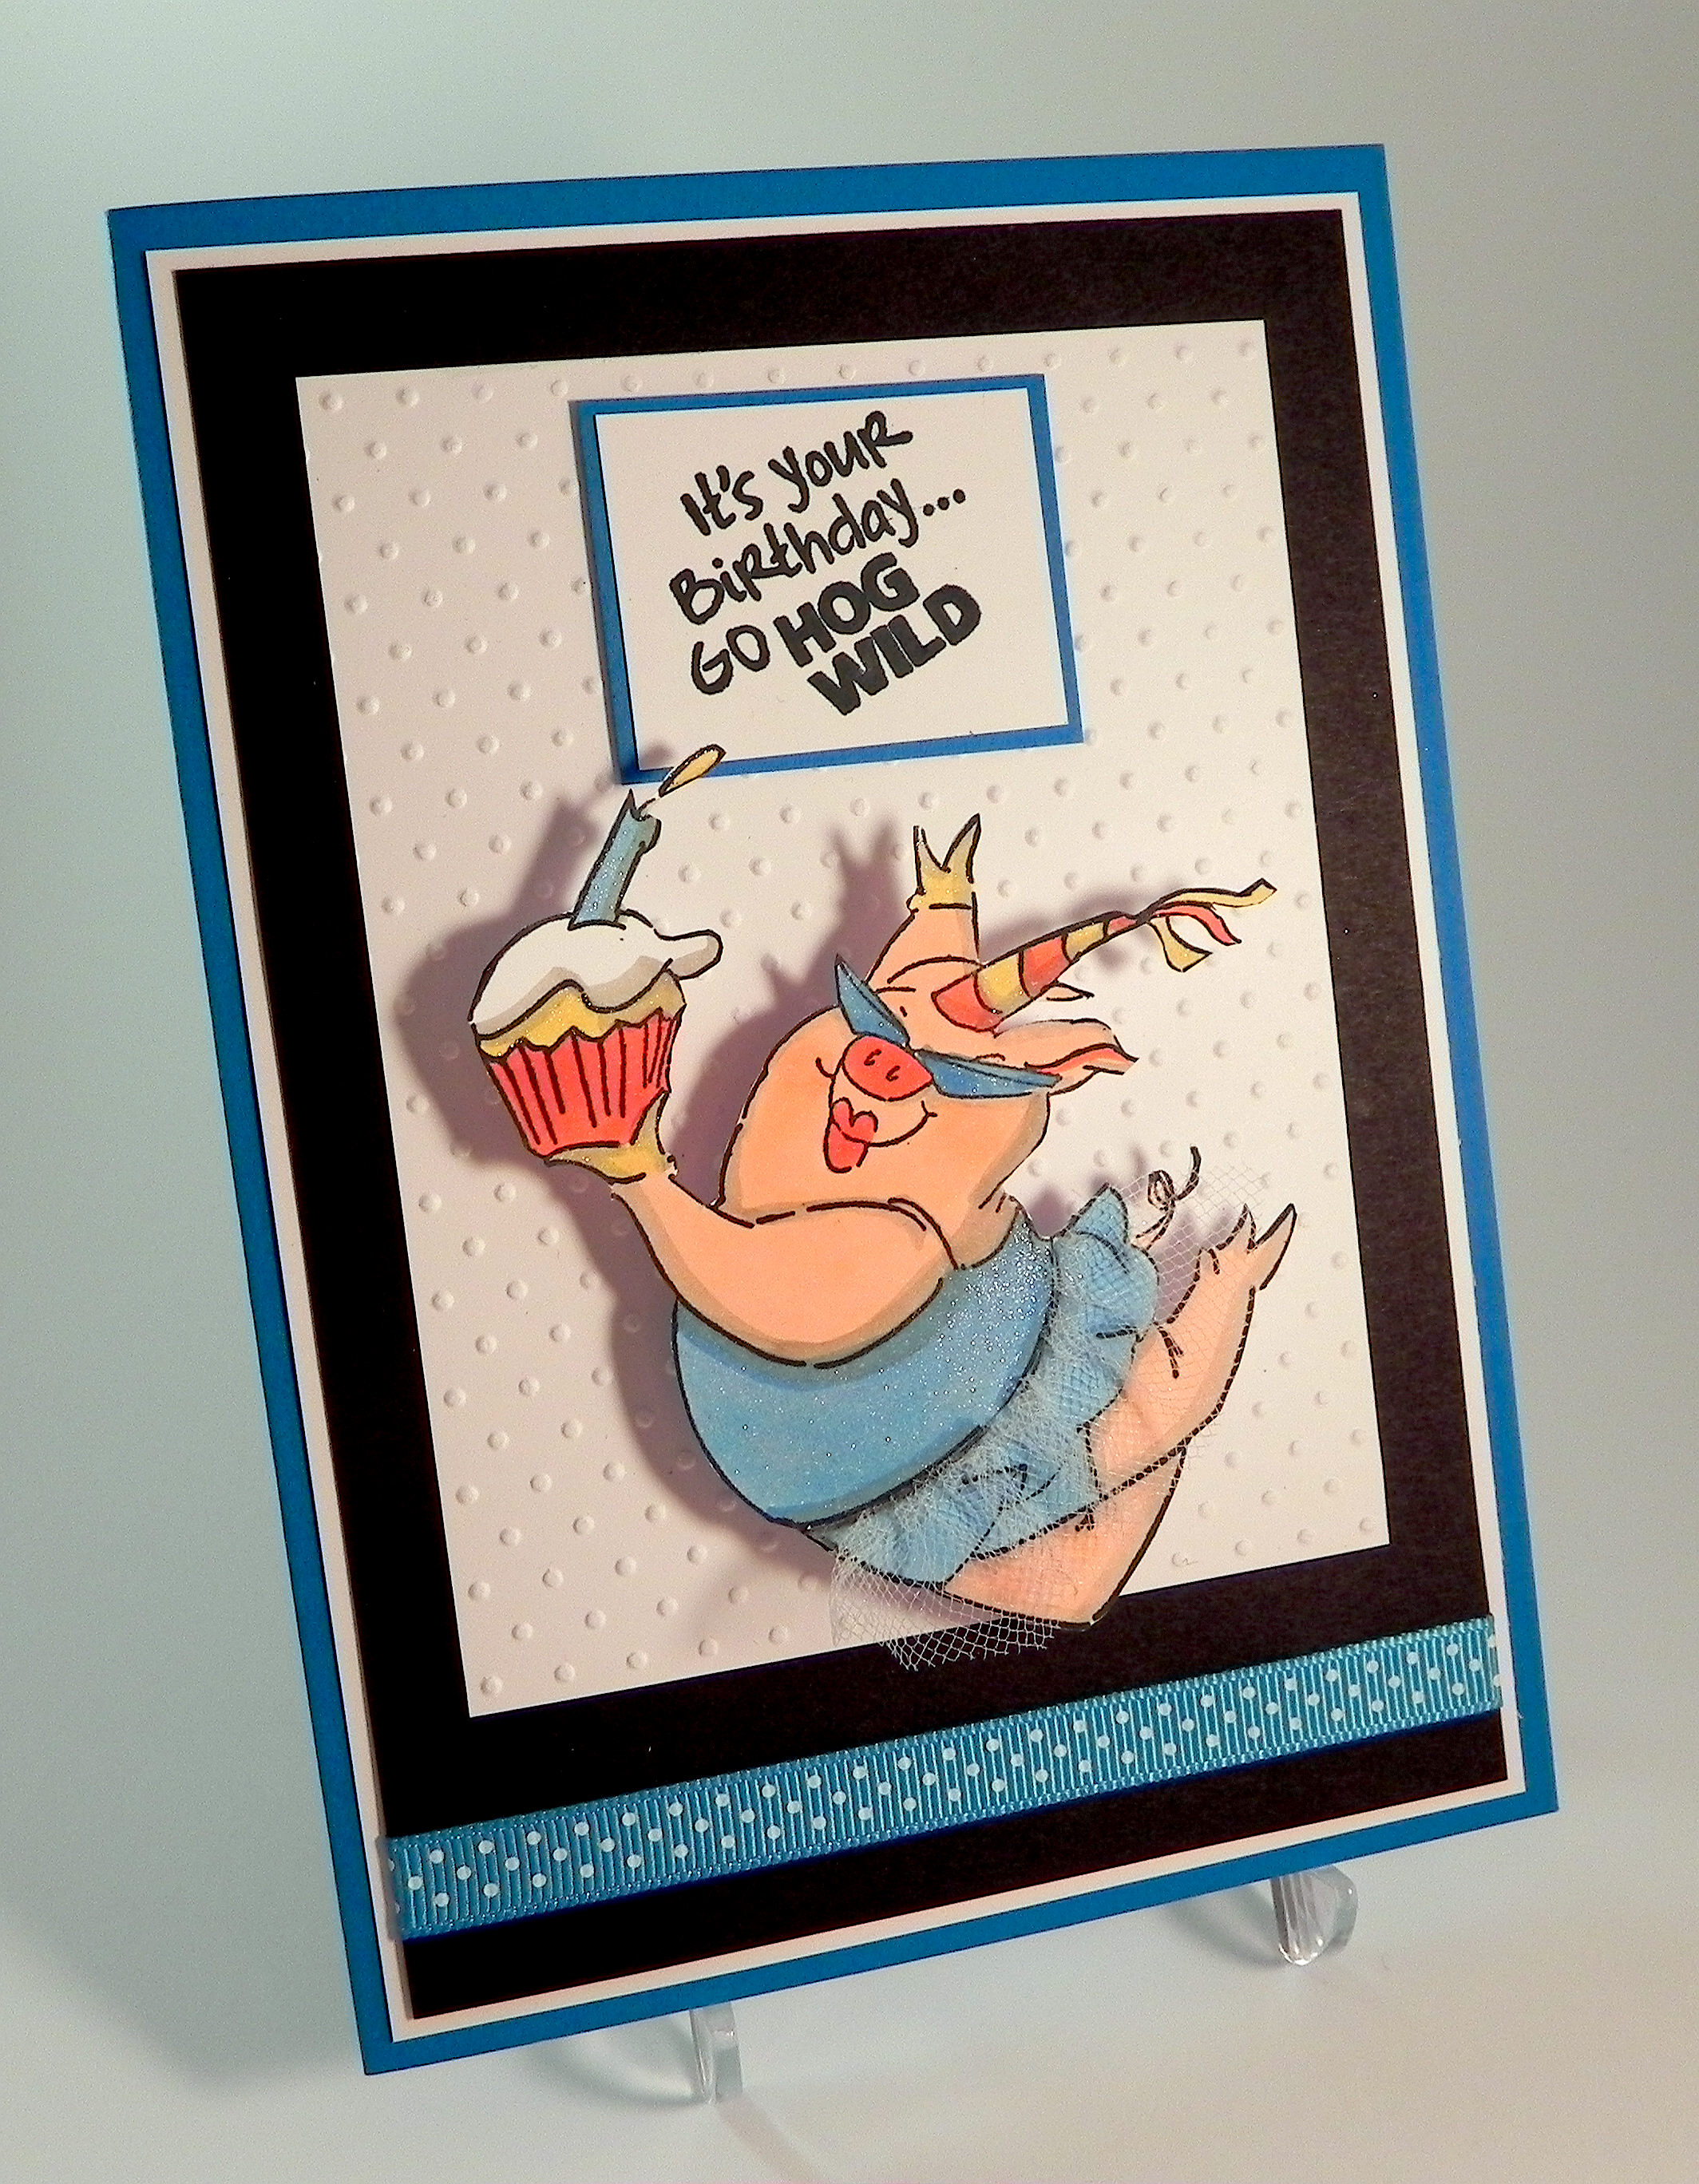
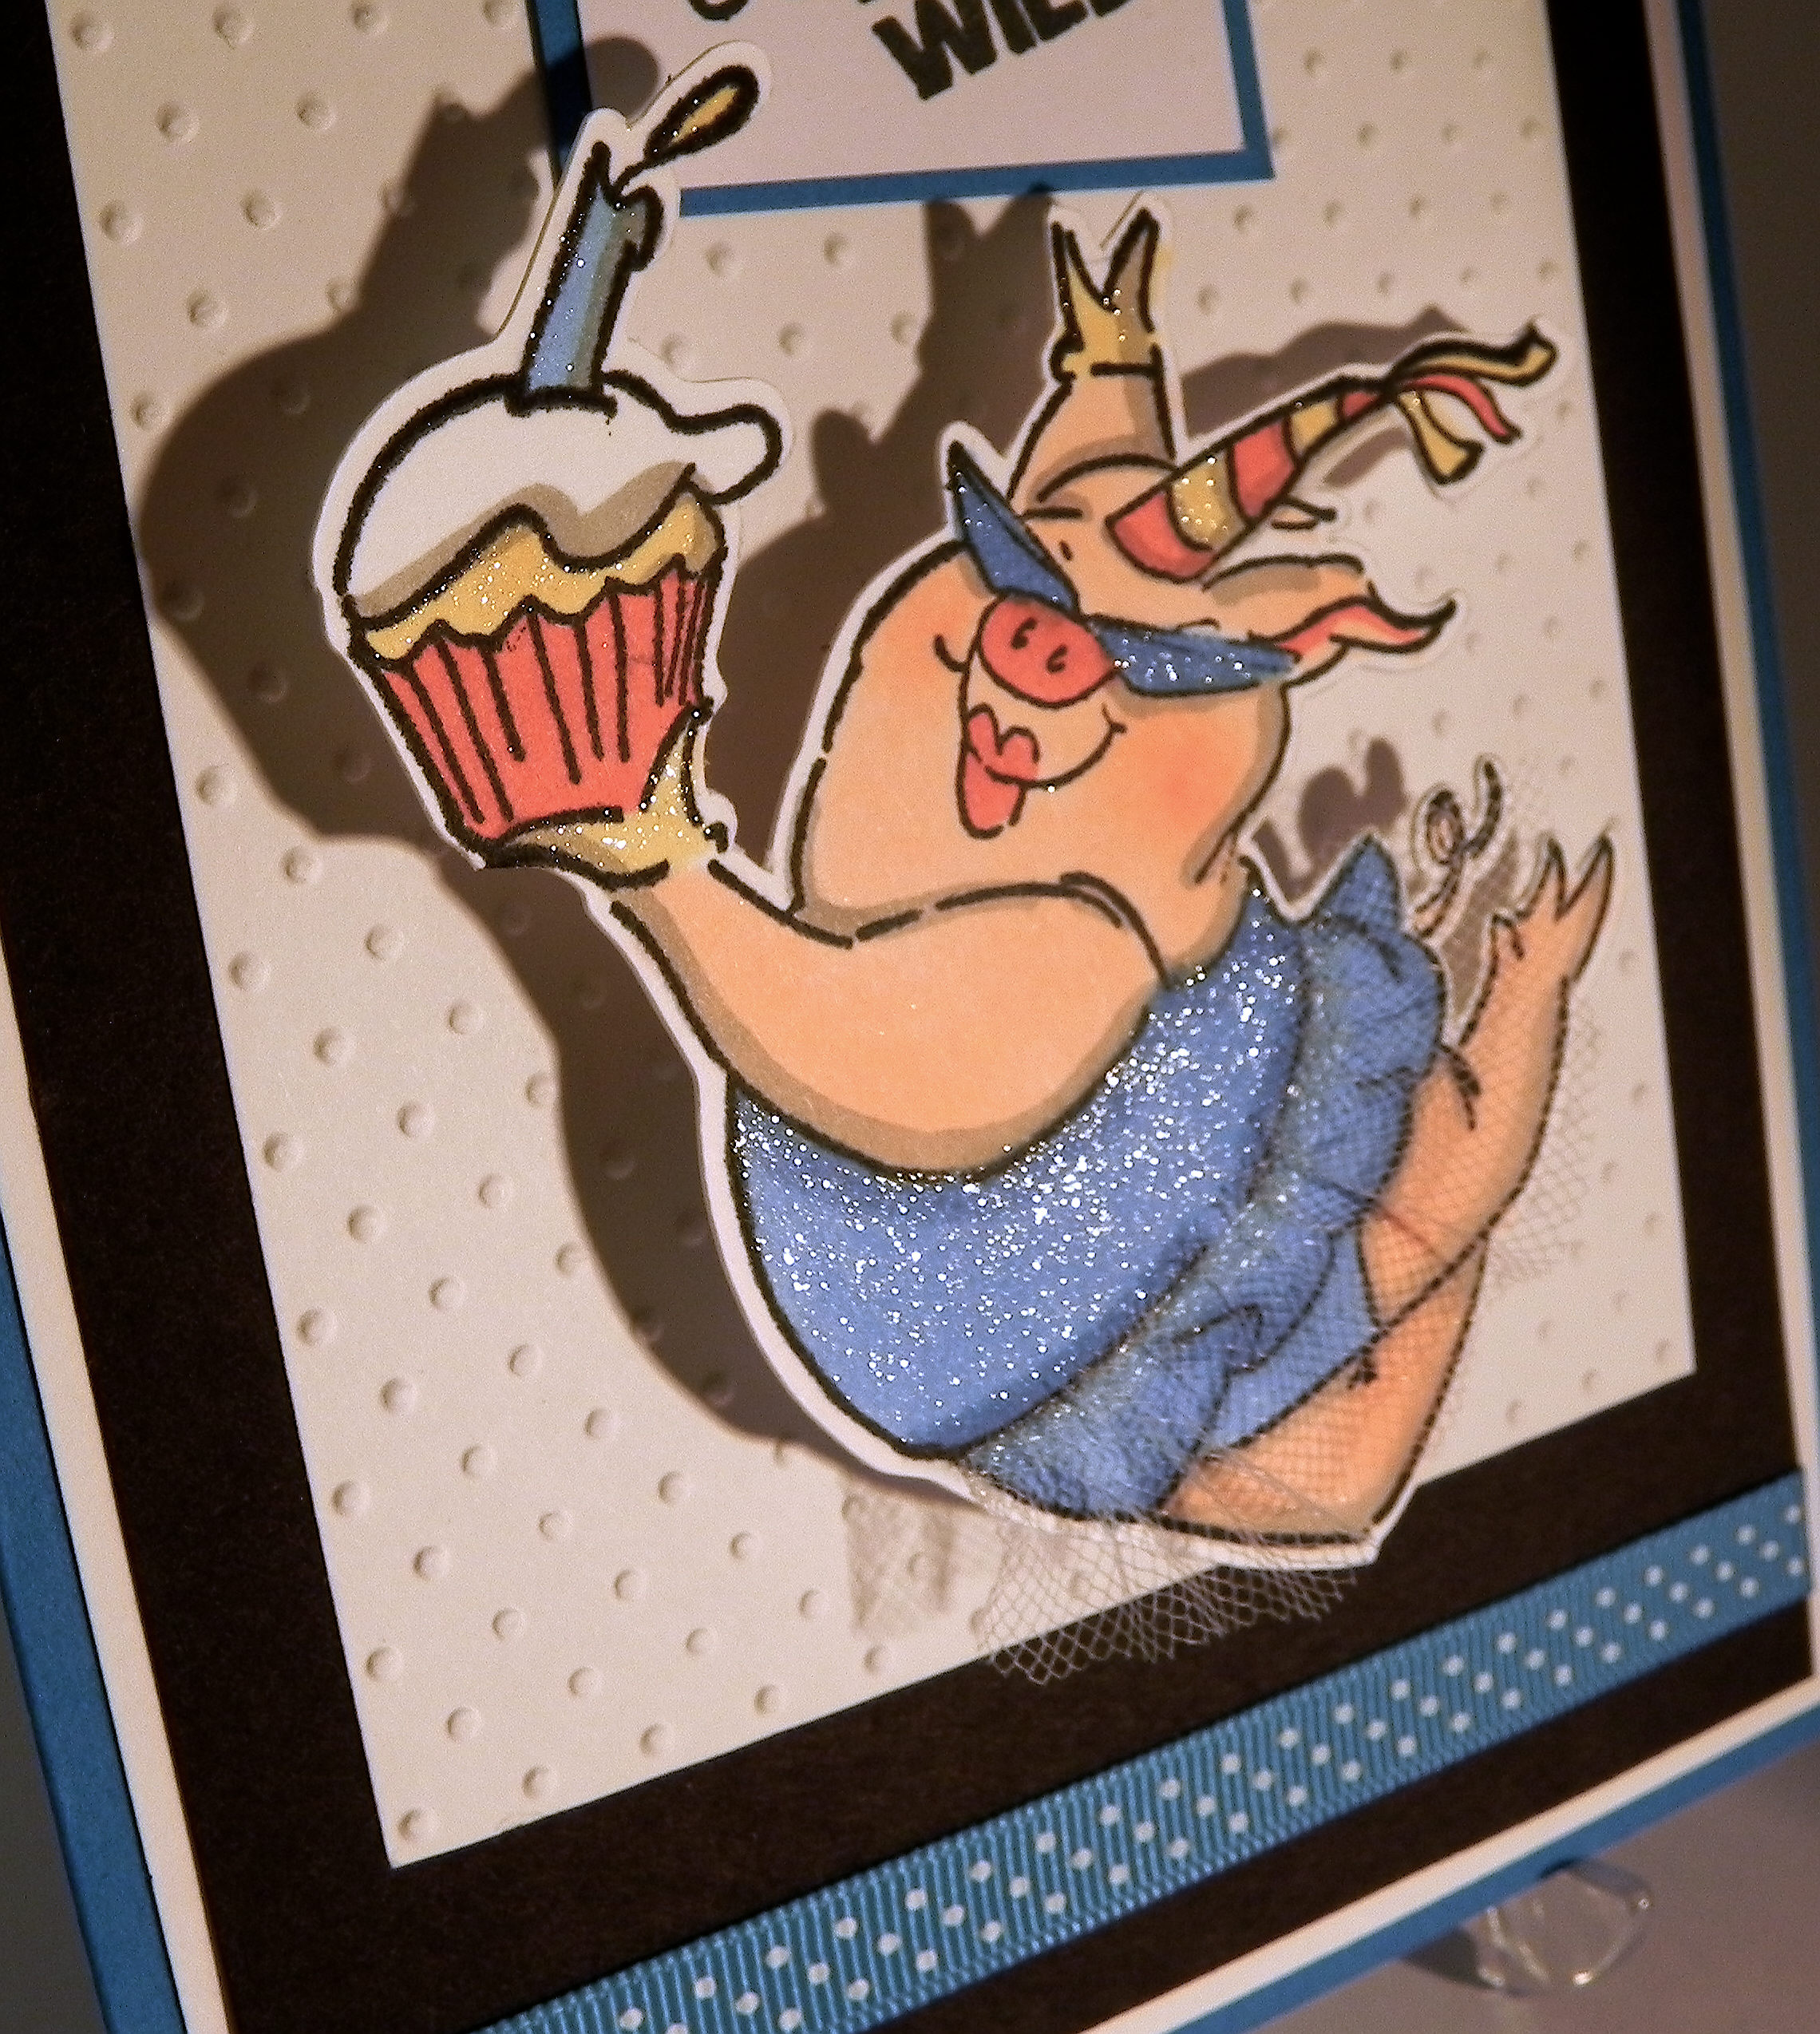
This was a fun card to make! I love this awesome party pig and sentiment by Art Impressions called “Hog Wild Birthday” from their Zoo Crew collection. She was stamped with Memento tuxedo black ink and colored with Copic Markers (R20, R24, Y23, B12, B14, and W4). I made her a tutu from white tulle which I attached with Score Tape.
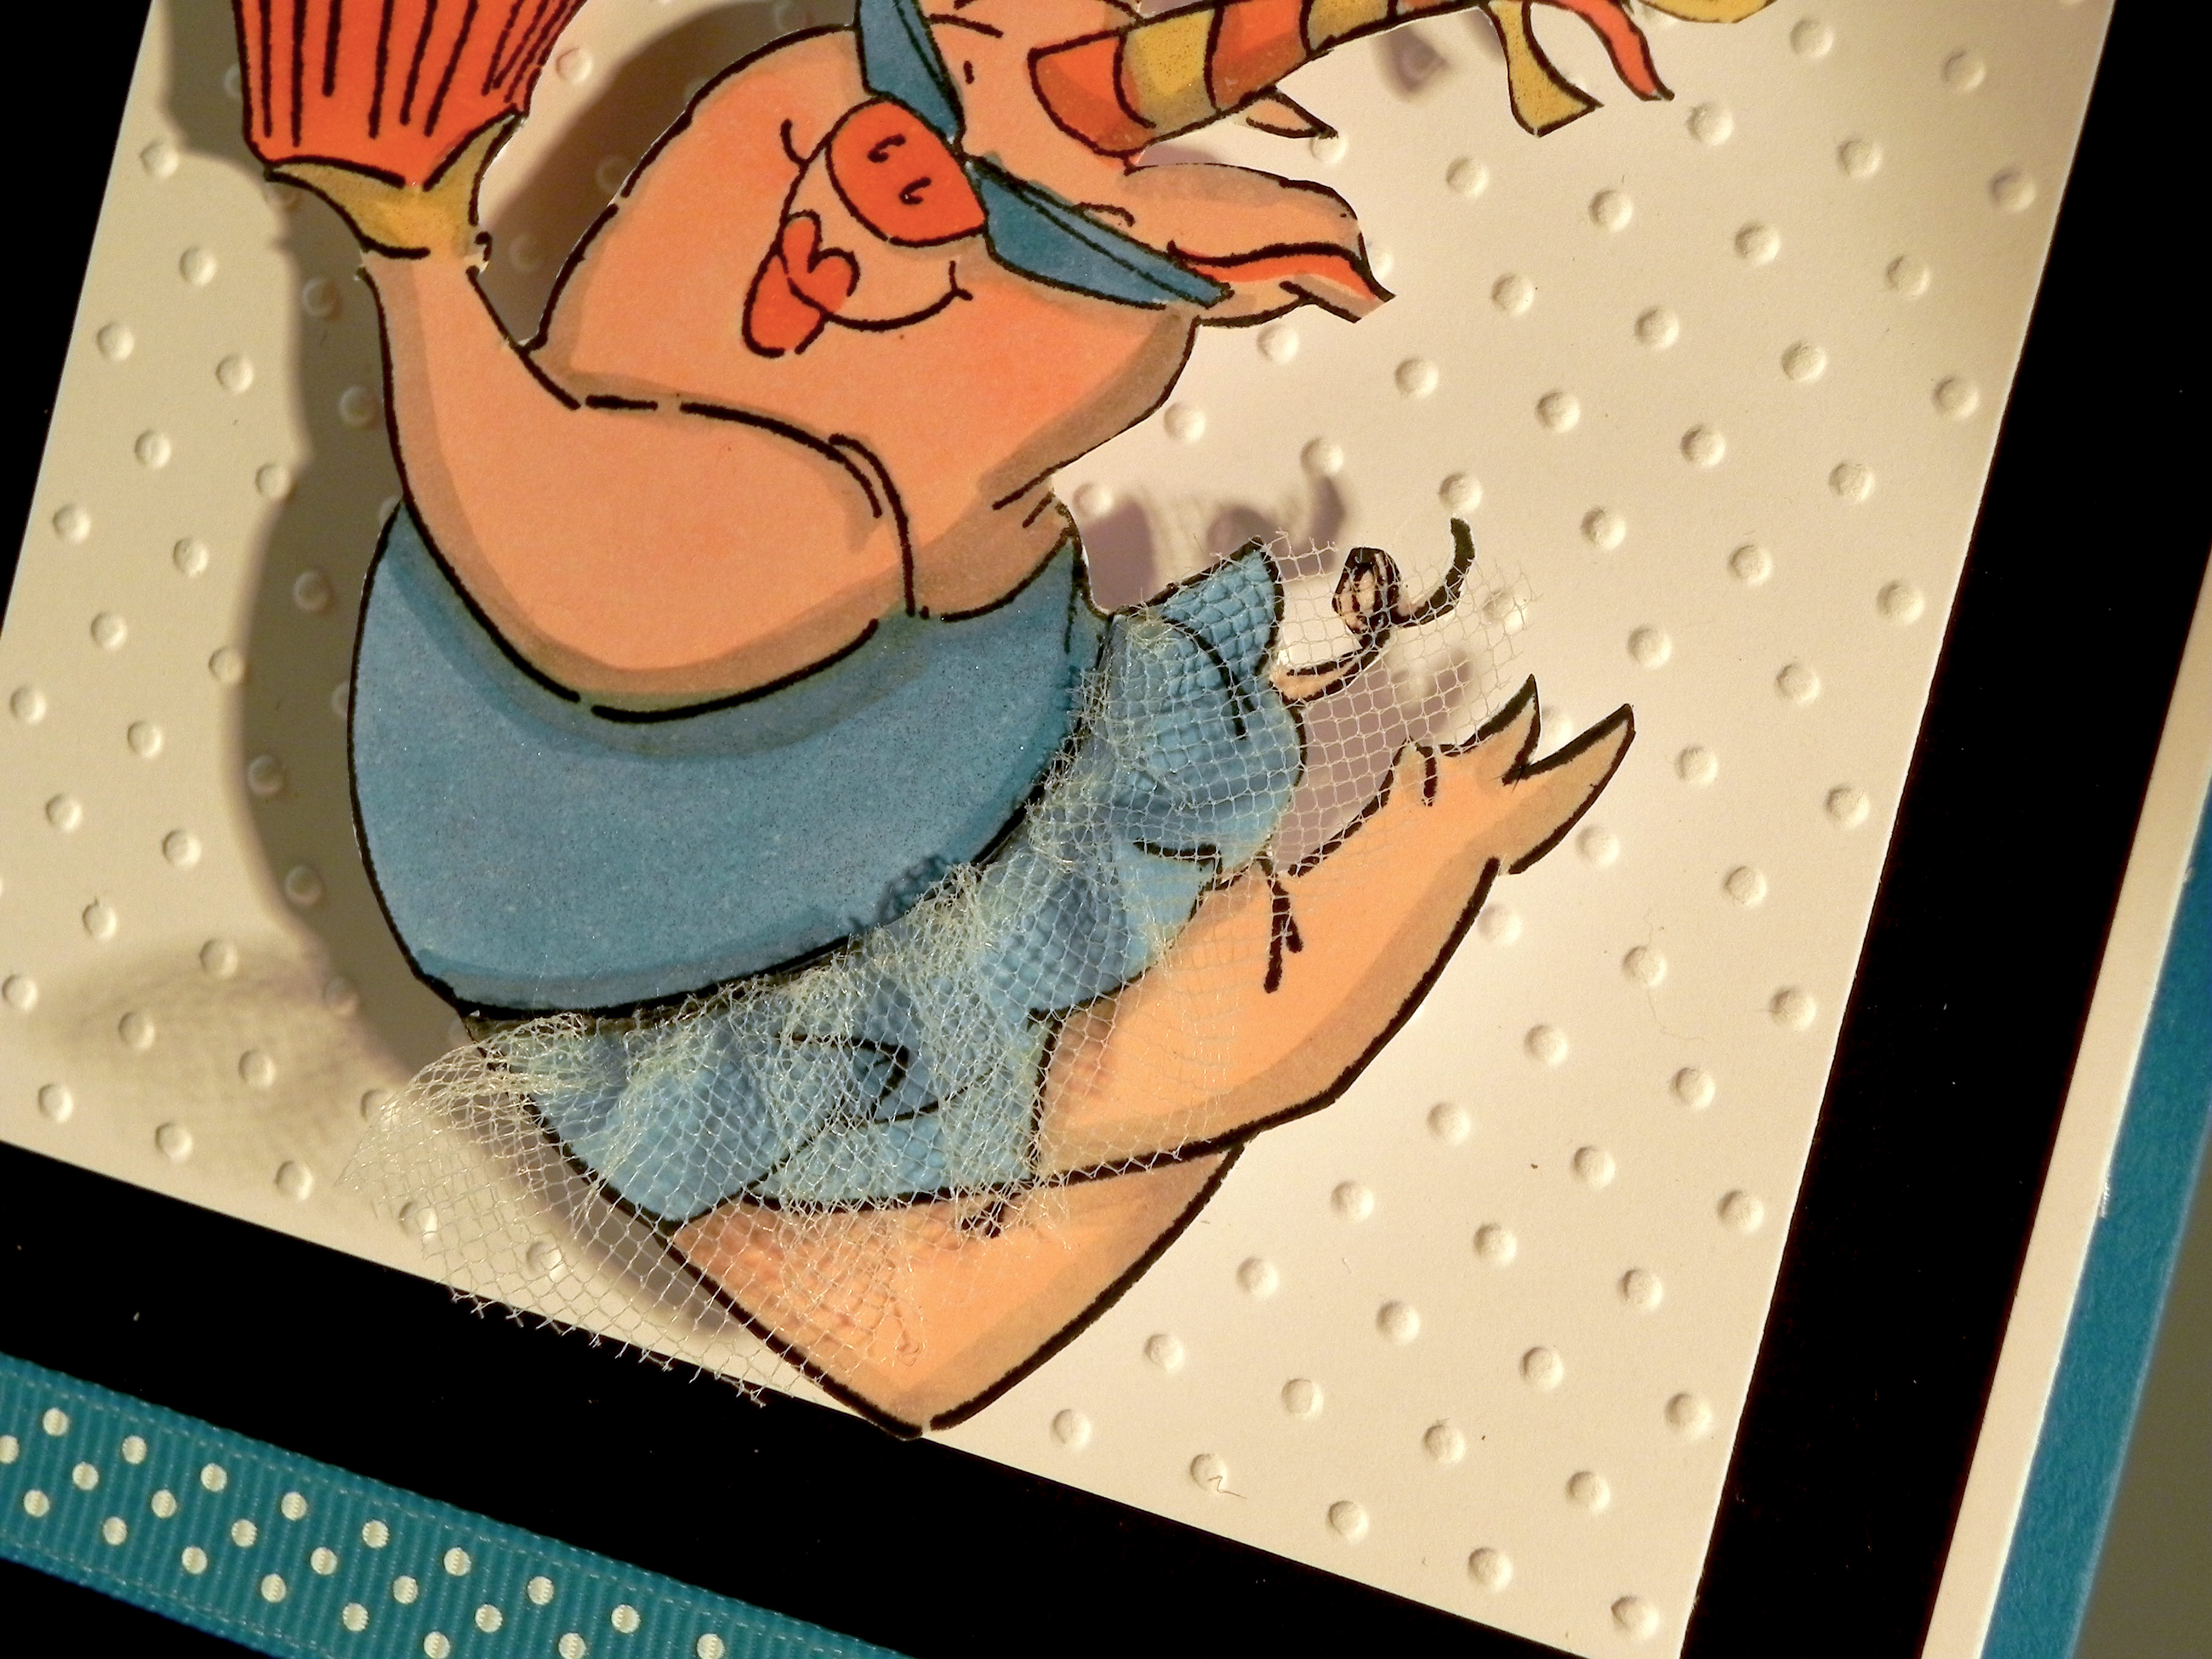
She was originally stamped on plain, white card stock and was then hand-cut, but there were too many thin lines, and I felt she wasn’t all that sturdy. I decided to make a second card using a heavier weight card stock for the stamped pig, but this was very hard to cut without bending it so I made a cut file on the Silhouette and stamped the image on that. (You’ll see the thin white border around the pig on the photo below.) Glitter was added with a clear Wink of Stella brush pen. (It’s on the card in the photos above, but it’s hard to see unless it catches the light at the right angle.)
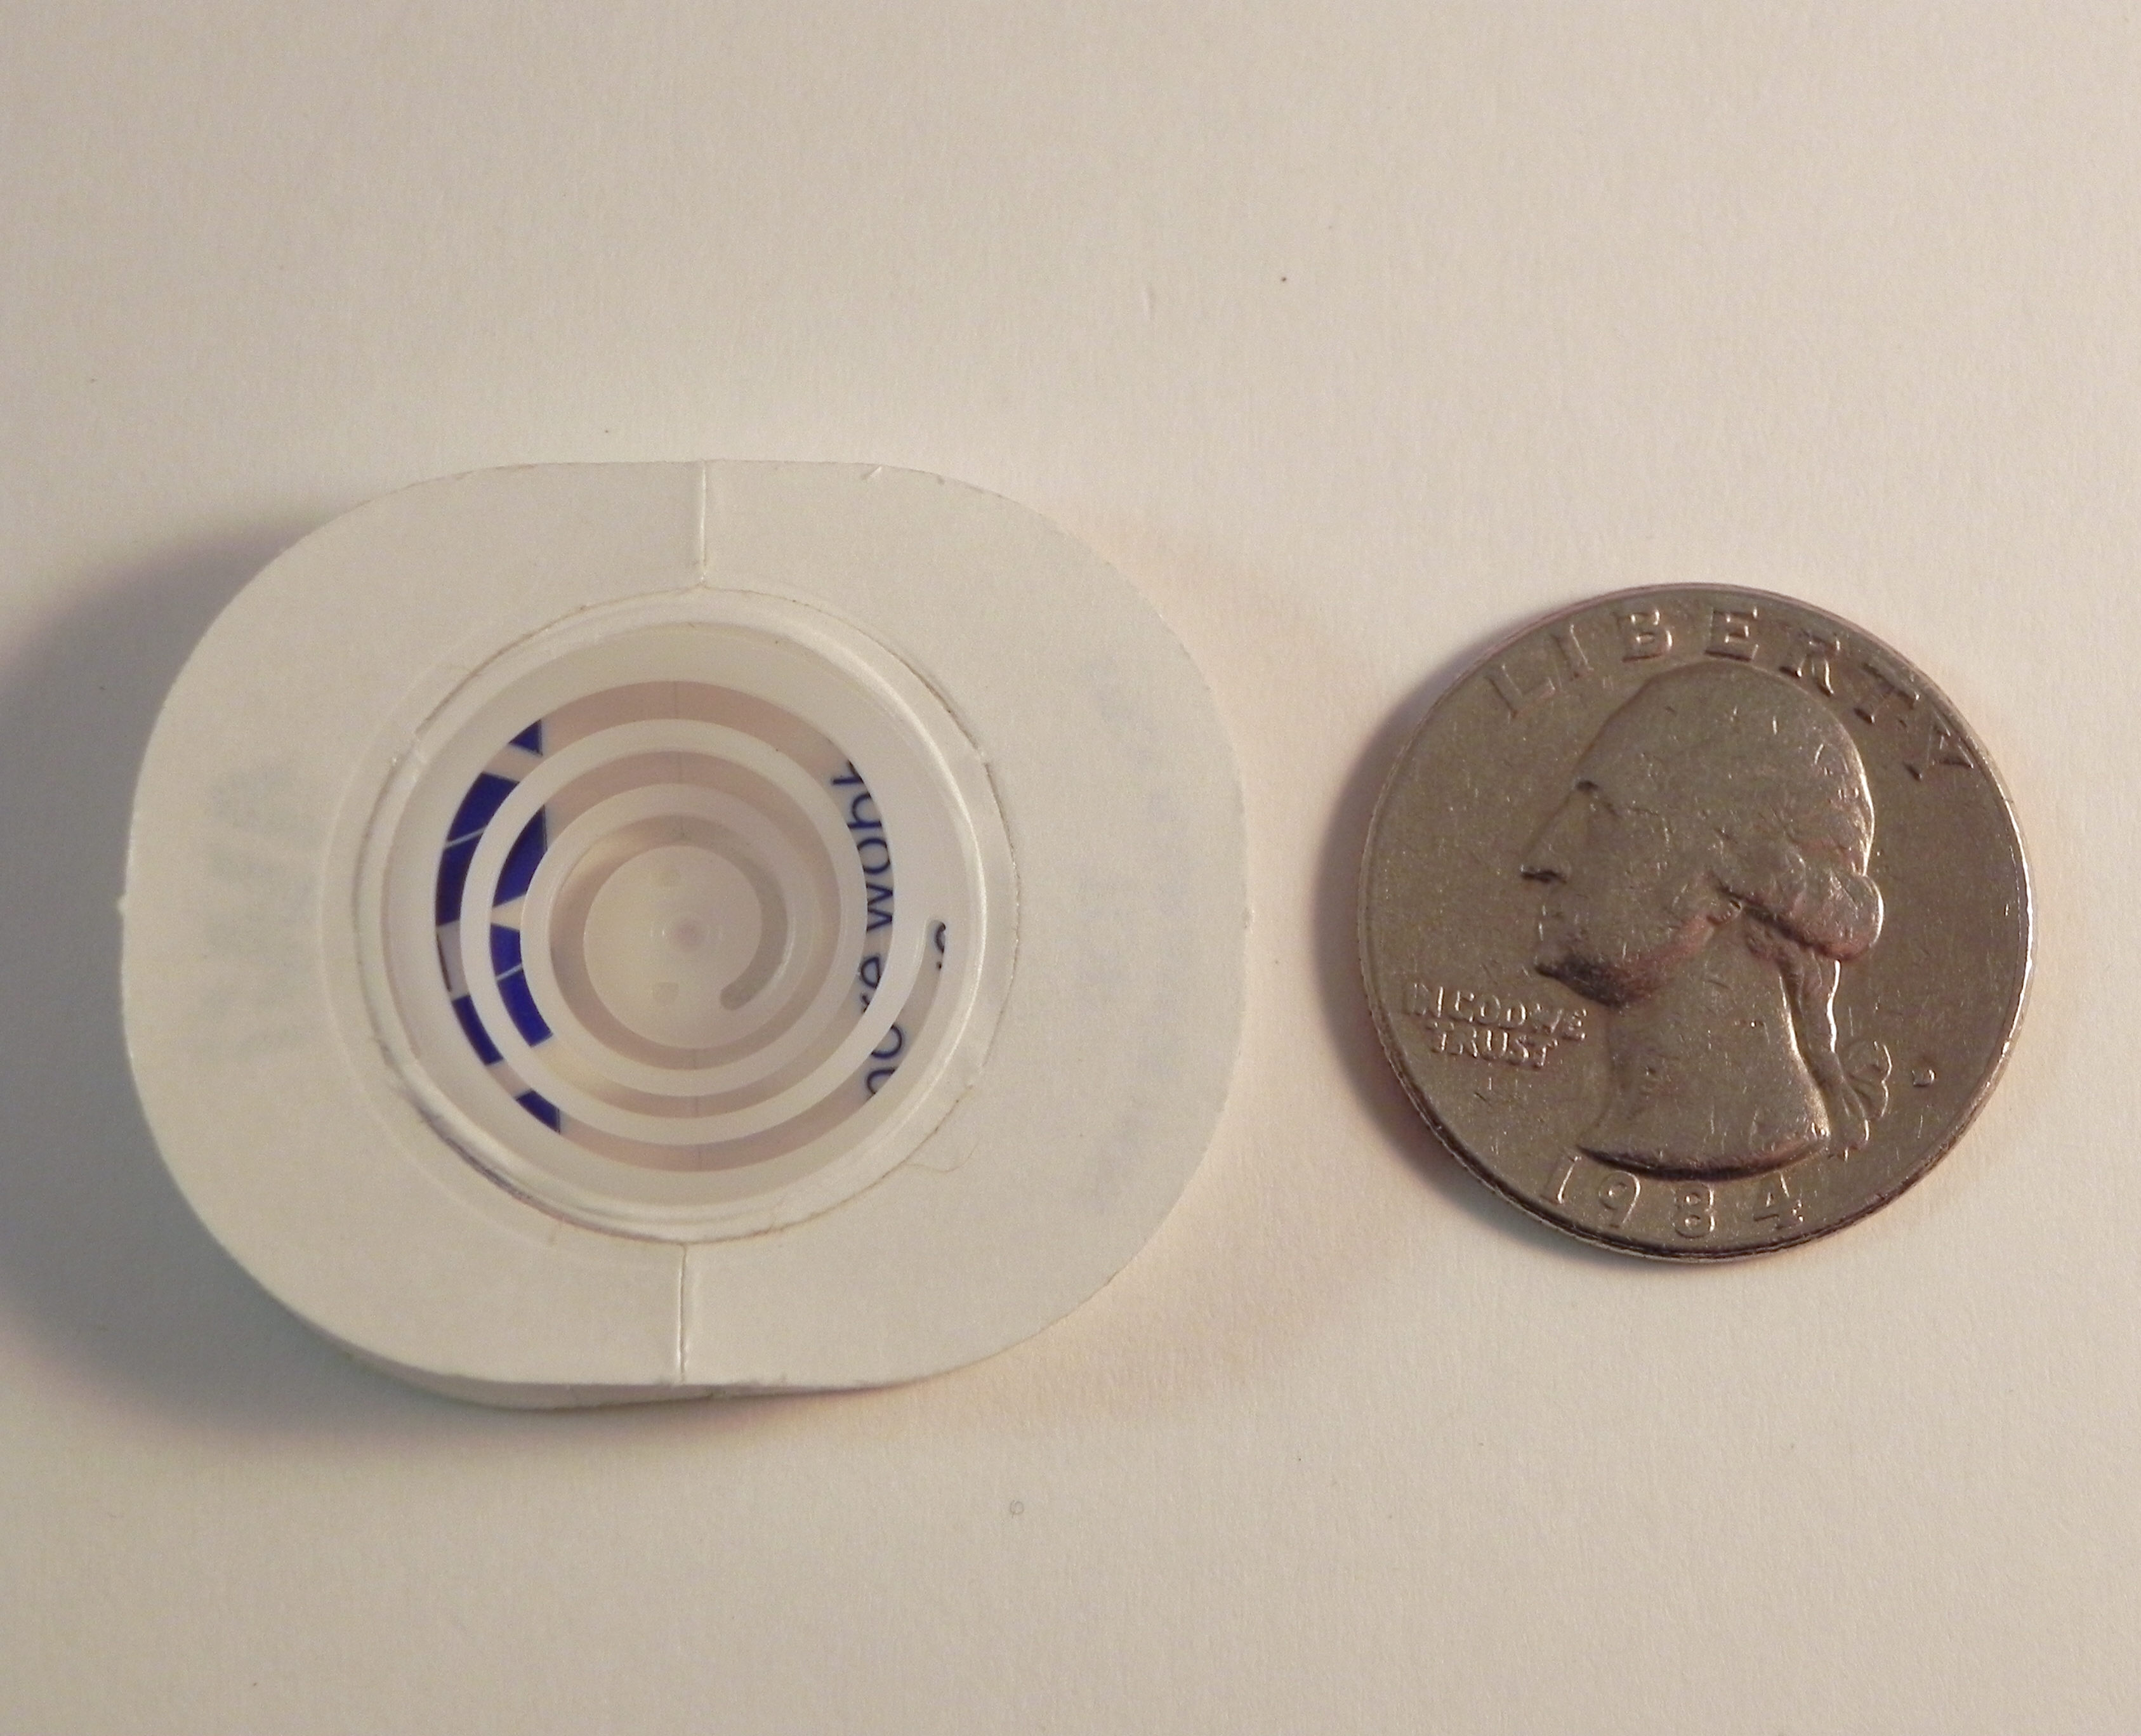
The pig cut-out was mounted on a spring, and it wobbles when the card moves. (If there is a big blank space below, click on it to see the gif file of the pig moving. Not sure why it’s sometimes visible and sometimes not!!)
The spring is called an “Action Wobble Spring” and is a plastic spring with adhesive on both sides so it sticks to your card project and to the element you want to wobble. I really love using these springs, but as you can see in the photo below, the adhesive panels are fairly large so your element needs to be big enough to cover the spring. (They now come in a smaller/mini size as well.)


Thanks for checking out my card project!
This content uses referral links as described in the disclosure policy on my sidebar.