Pink Shaker Birthday Card

Pink Shaker Birthday Card

Pink Shaker Birthday Card dddDSCN7093.jpg

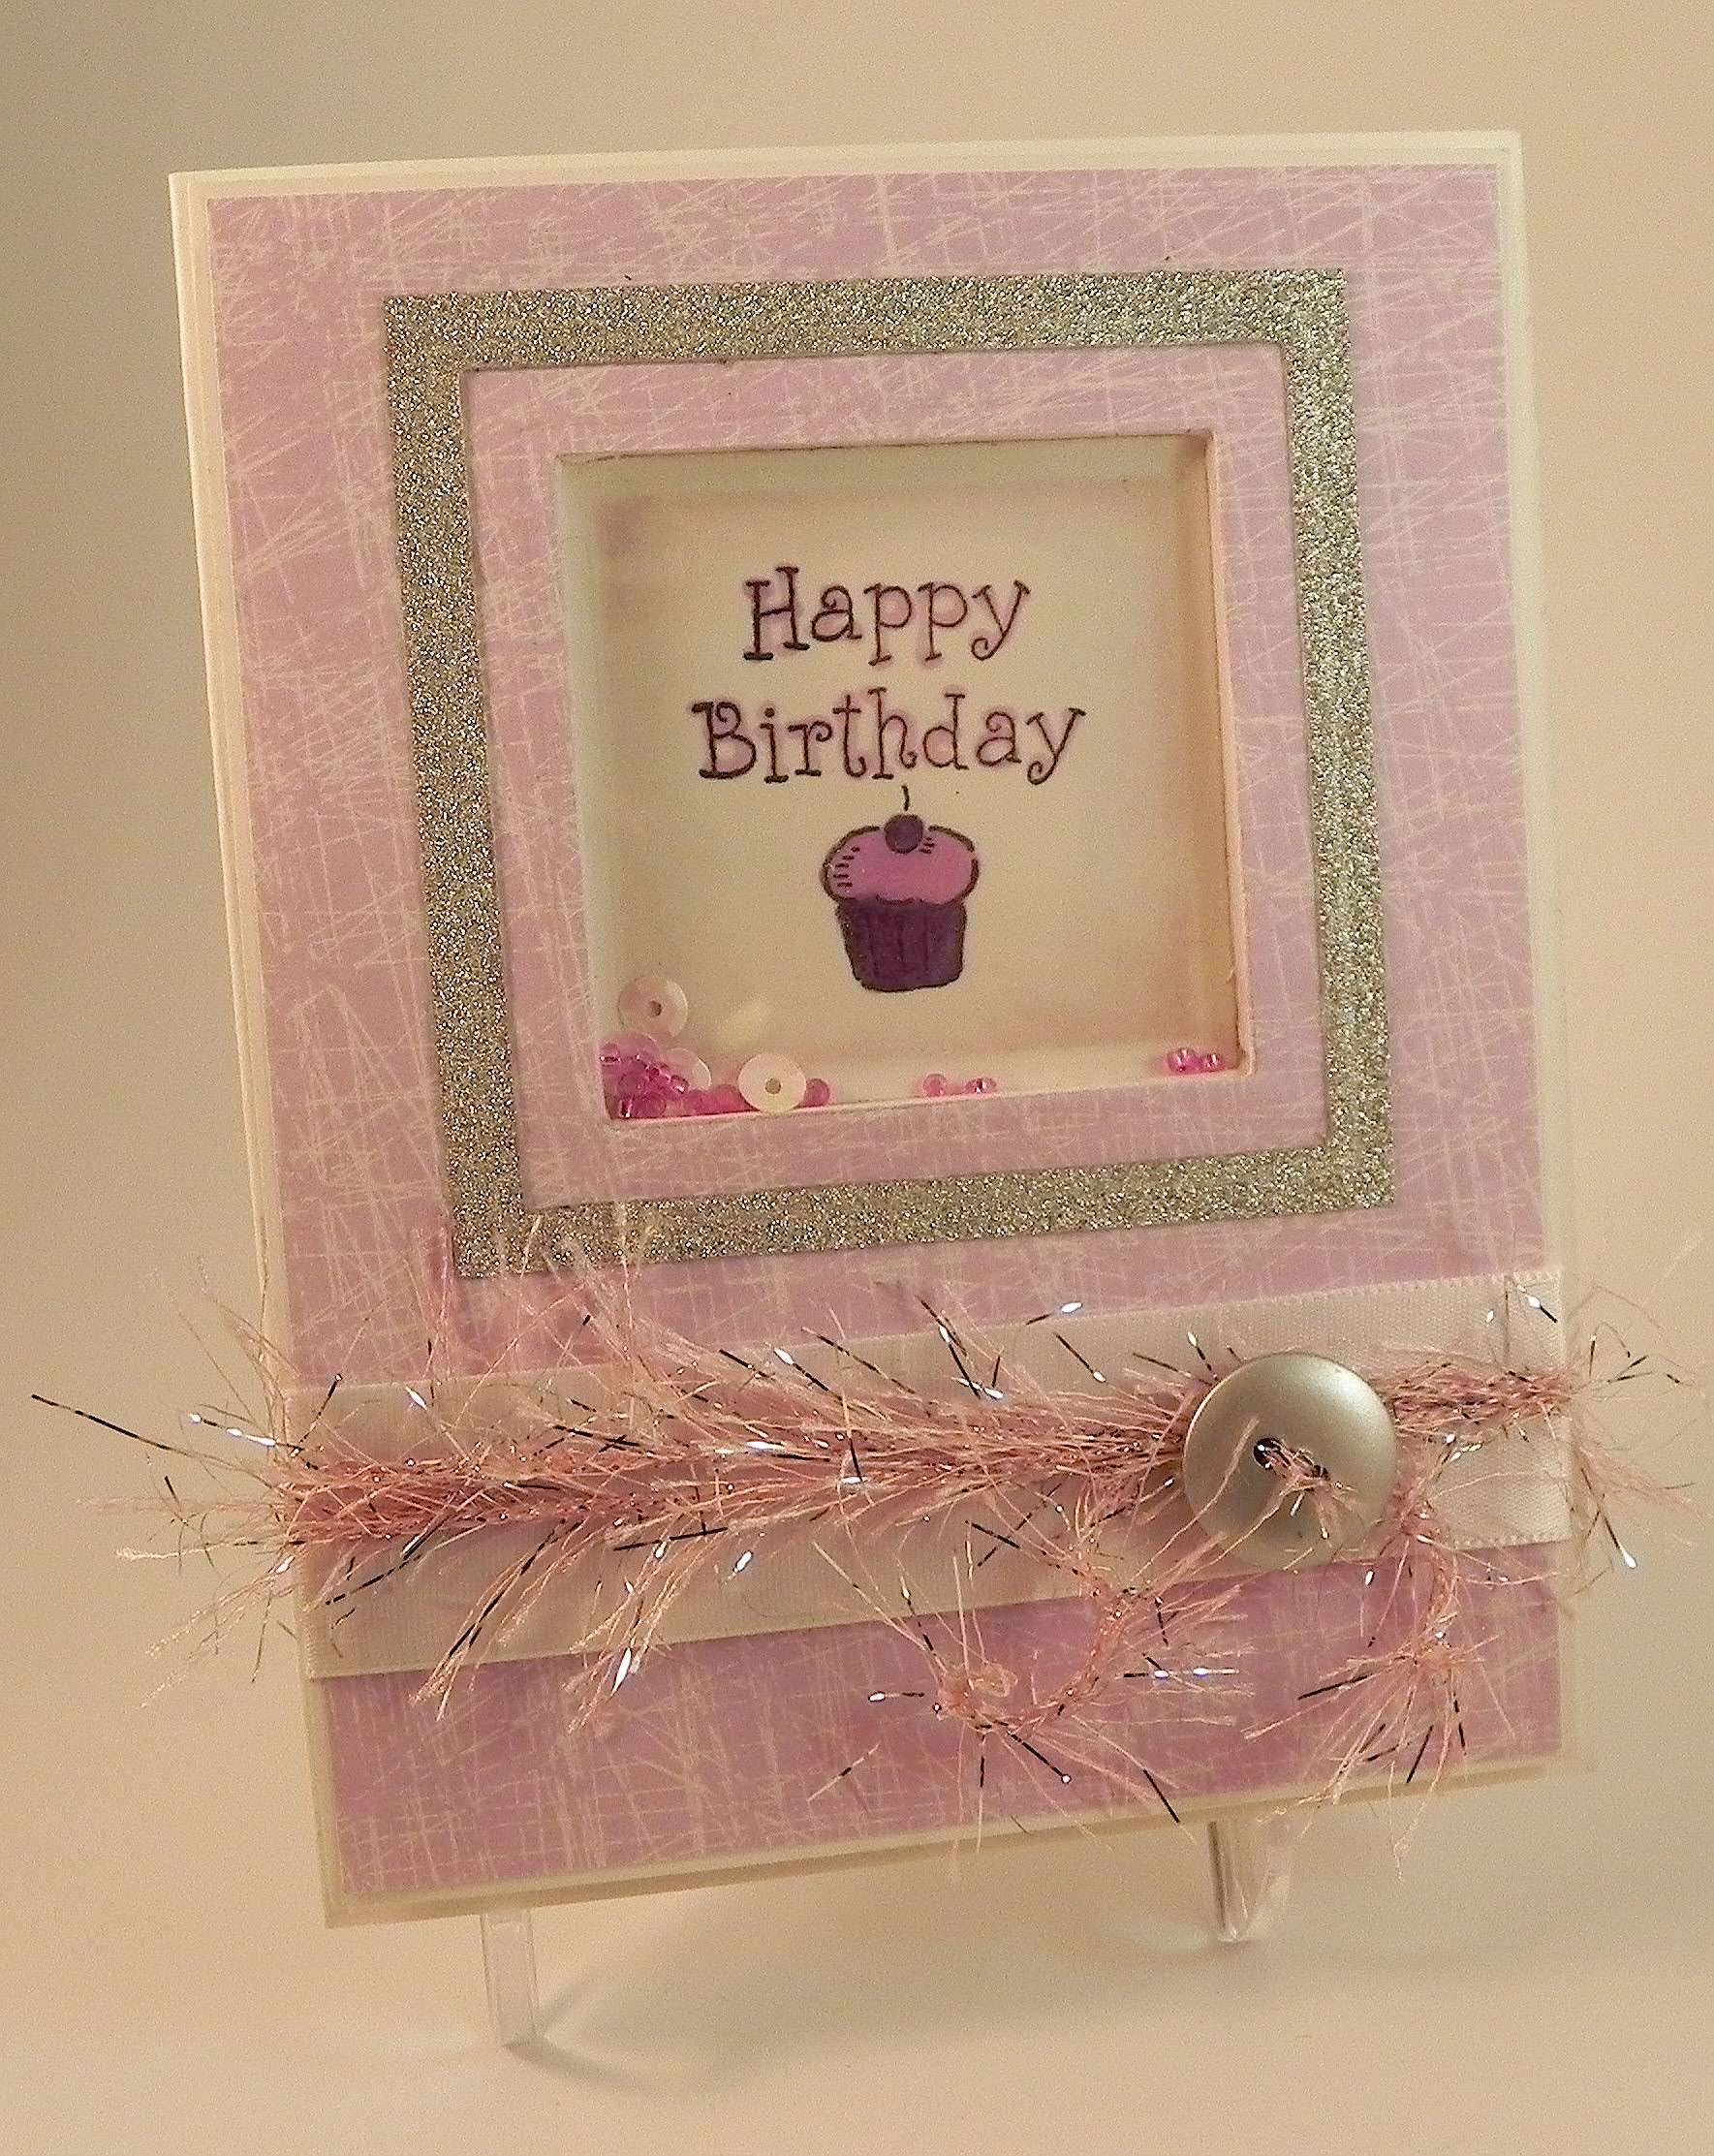
I made another shaker card similar to the snowman shaker thank you card  I made last week.  Again, I used the recessed window technique Theresa Momber shows HERE.  Instead of leaving it open as she suggests, I added some beads and sequins, covered the recessed window with acetate, added a cover frame, and used a few pop dots to adhere it to the card base.

aDSCN7151

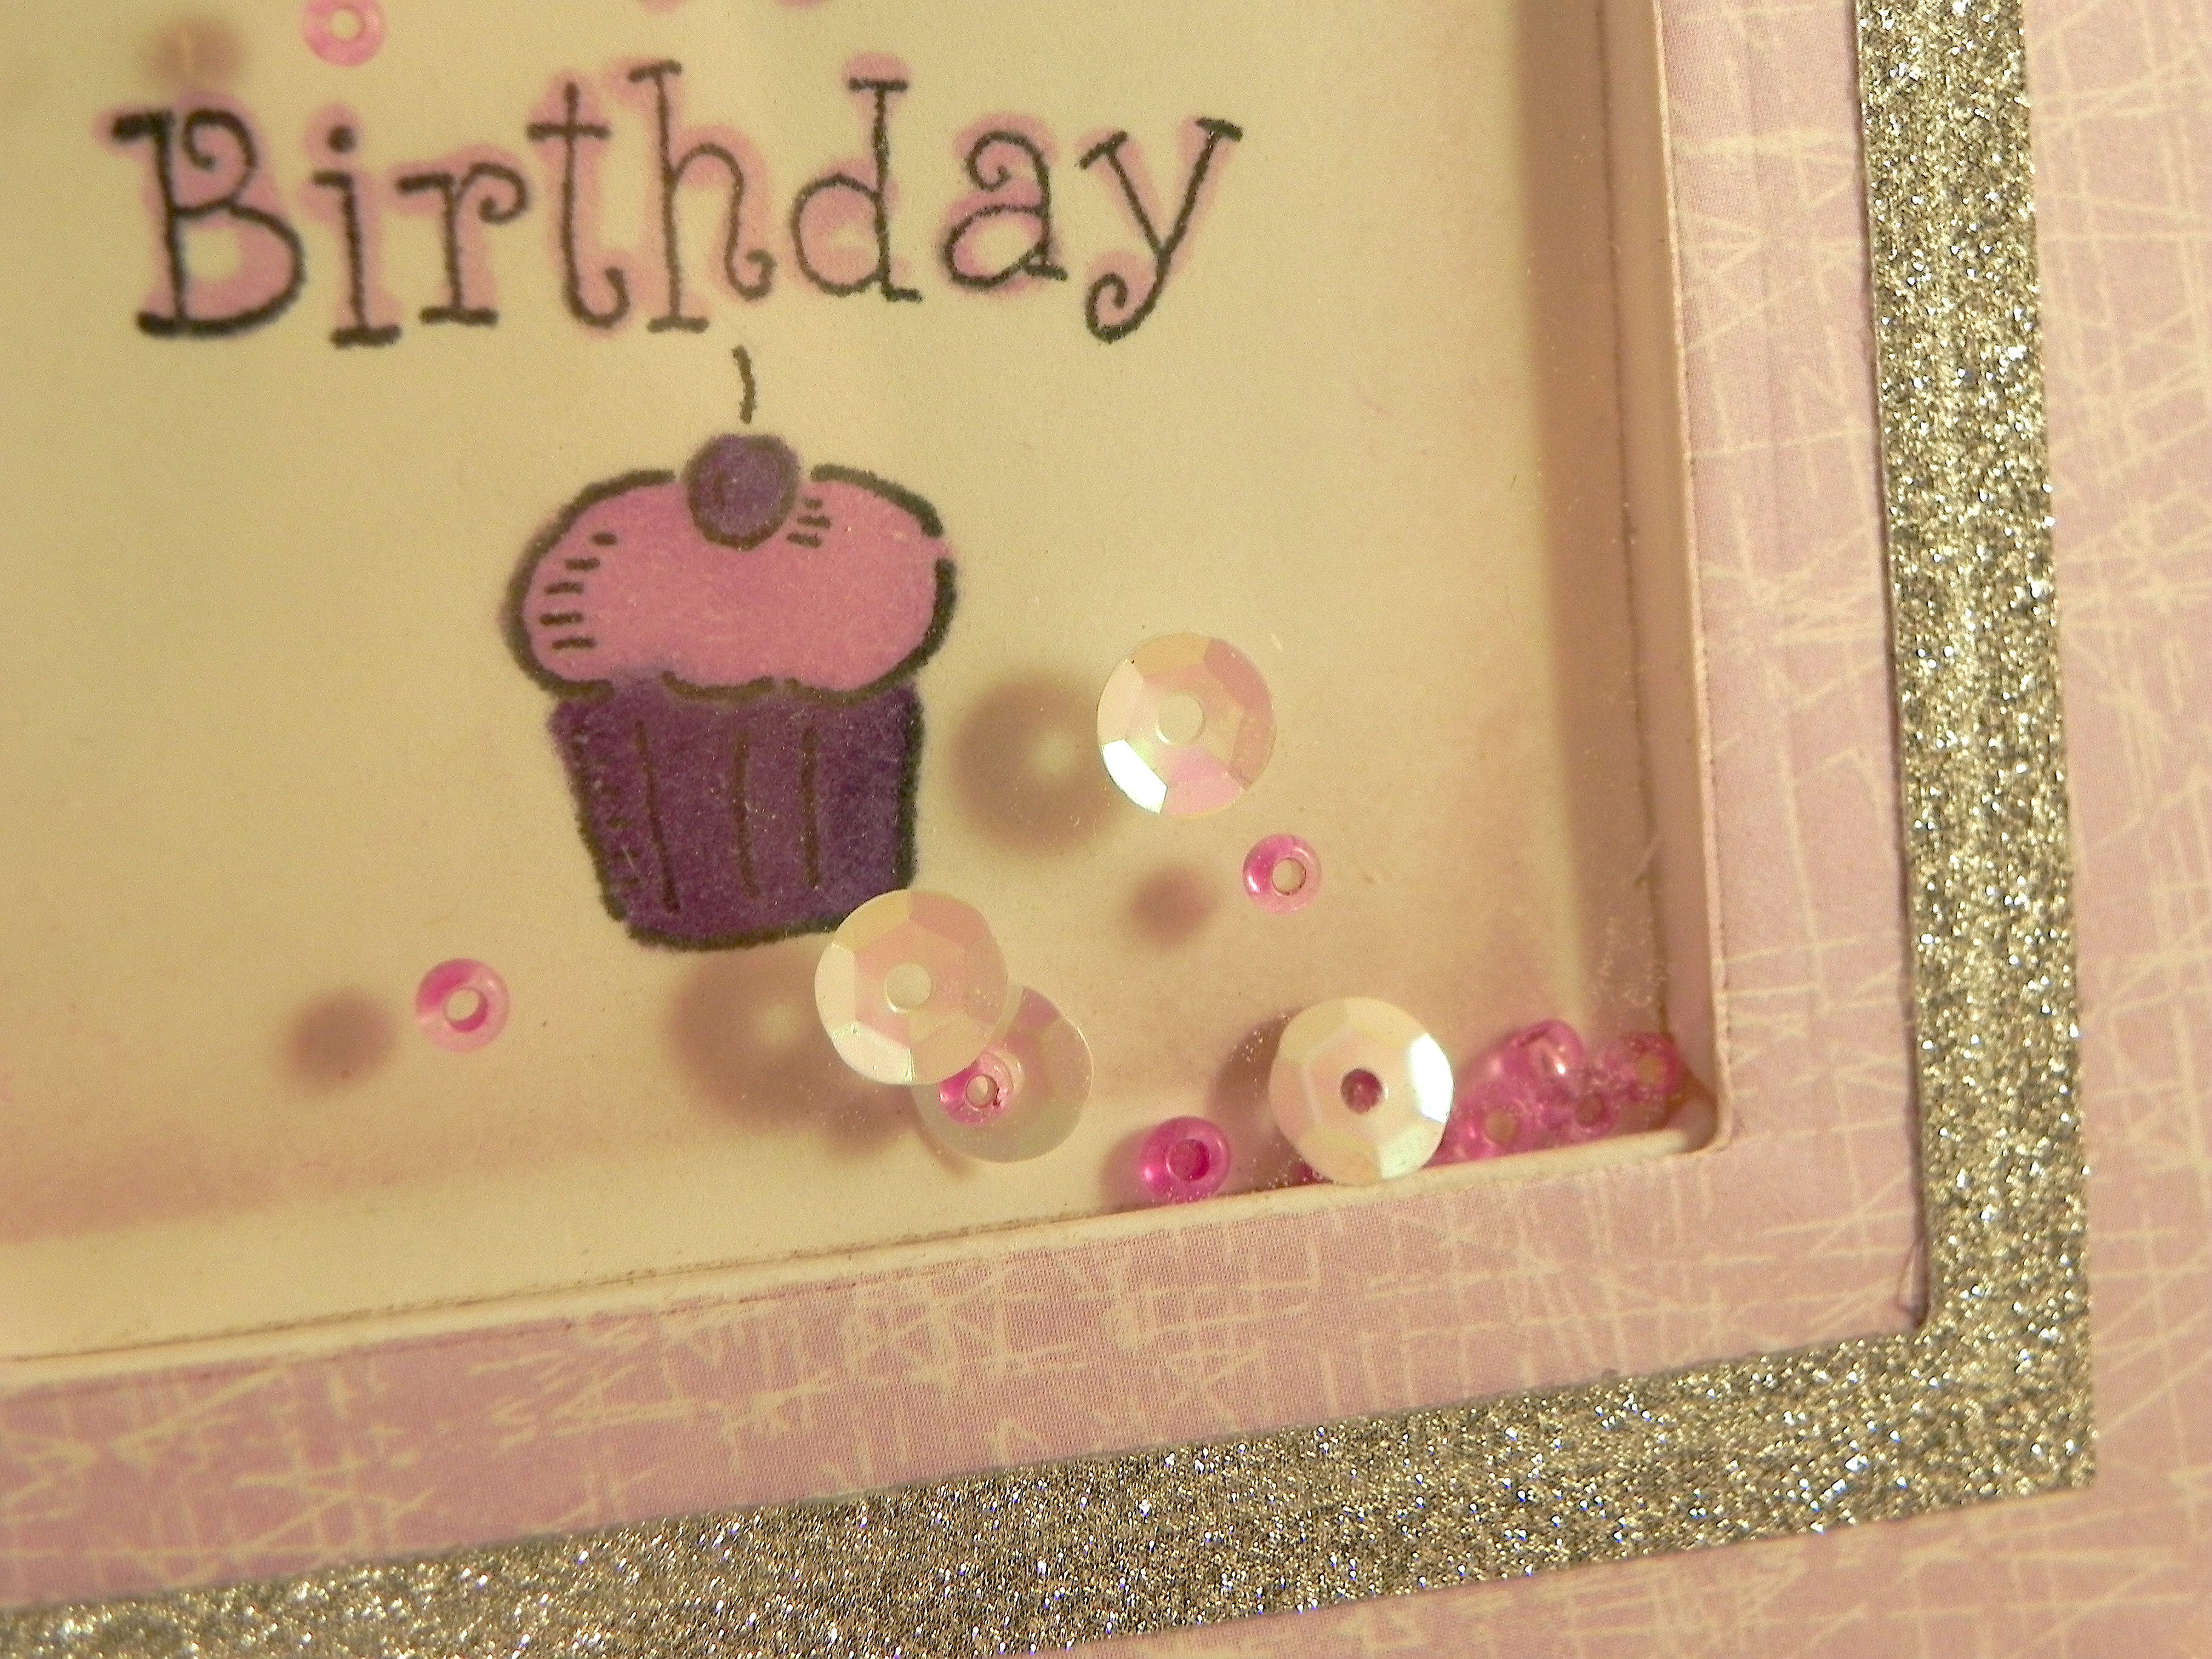
The stamp I used is from the Stampin’ Up “Simple Wishes” set.  I stamped it with Memento Tuxedo Black ink on white card stock and then added color with Copic Markers V17 and V12.  I used the Spellbinders Classic Squares Large dies to create the recessed window, the image panel, the cover frame and the glitter border frame.  While the focal panel was still in the die, I lightly sponged the edges with Tim Holtz Milled Lavender Distress Ink.  The pink printed paper is Recollections Lavender Lines, and the glitter paper is Recollections Foil Paper.  The pink and silver yarn is by Martha Stewart, and the button is American Craft.

I don’t usually use pink or so much glitz, but once I got going, I really had fun with this!

Thanks for checking out my card project and my 100th post!

This content uses referral links as described in the disclosure policy on my sidebar.

Snowman Shaker Thank You Card

Snowman Shaker Thank You Card

Snowman Shaker Card bDSCN6959.jpg

I recently saw a video tutorial by Theresa Momber making a Recessed Window Card.  She showed how to make the recessed window using a Spellbinders die and a craft knife, and I thought this recessed window card could be easily adapted to make a shaker card.

After I created the recessed window and inserted my stamped panel, I simply added my “shakers” and taped a piece of acetate (cut slightly larger than the window) over the recessed window.  I then cut a frame (using the same size die that I used to create the window) and adhered it over the acetate and window panel.  For the card above, I created a second frame with the patterned paper (with the next larger sized die) and adhered it on the blue frame.  The whole thing was attached to a card base with 4 small pop dots in the corners.  (I used to use lots of pop dots to create the enclosed window to keep in the shakers.)

bbDSCN6978

To create the snowman panel, I used stamps from the following Gina K Designs stamp sets:  Fabulous Holiday Fillers, Let’s Talk, Winter Cheer, and Fabulous Frame Fillers.  I stamped the images using Memento Tuxedo Black and used Gina K Blue Denim ink (and masks) to sponge the background. The snowflakes (hard to see) were stamped with Color Box Frost White pigment ink, although I’m not real happy with the way they came out.  (Heat embossing or versamark resist may have been better.)  I added color to the snowman with Copic Markers B39, B95, and Y17.  Spellbinders Classic Squares (Large) dies were used to make the recessed window and the frames around it.  The printed paper I used is “Winter Freeze” by Melissa Frances along with Gina K Blue Denim and Pure White card stock. To photograph the card, I rubbed the acetate with a piece of wool to build up a little static to make the sequins “stick” to appear to be shaken around; they usually sit on the bottom!

bDSCN6969

Thanks for checking out my card project!

This content uses referral links as described in the disclosure policy on my sidebar.

Holiday Card Collection from 2013 Michaels Classes

Holiday Card Collection from 2013 Michaels Classes

The following are the sample cards I made (and taught) for the 2013 Holiday Card Classes offered at Michaels last year.  I did not design these cards; the lesson plans were provided.  I thought I’d share them to show the types of projects/classes that were offered last winter.


Vintage Holiday Card Tricks Class:

This class featured distressing techniques, heat embossing, and using Sizzix dies with the Big Kick.  We created a waterfall card, used washi tape, and created an interesting ribbon embellishment.  I also added alcohol inks for coloring metal embellishments to the curriculum.

aDSCN1512  aDSCN1505

aDSCN1509


Very Merry Card Tricks Class:

This class featured heat embossing, using Spellbinders dies and a score board.  We added shimmer and bling  to all of the cards for a festive touch.

aDSCN1489     aDSCN1501

aDSCN1496


Classic Holiday Card Tricks Class:

This class featured dry embossing with an embossing folder and using a Sizzix die with the Big Kick. We created a card with vellum and a cut-out which glowed when a battery-operated tea light was placed behind the card front when it was displayed.  We also created a tri-fold card and a step card.

 
      aDSCN1532   aDSCN1519

aDSCN1515


Thanks for checking out my post!

Christmas Shaker Card

Christmas Shaker Card

Christmas Shaker Card yyDSCN7054

This is a shaker card I created where the stamped Santa image is recessed and sits behind a piece of acetate, and metal snowflakes are sealed between them.  When you shake the card, the snowflakes move around – hard to show that in a photo!

The Santa stamp is by Inkadinkado #5247 (Alma Lynne Designs), and the sentiment is from the Gina K Designs “Merry Tree” duo.

Santa was stamped in Memento Tuxedo Black ink and colored with Copic Markers:
holly – R89, zg24, G29
hair – E55, E57, E59
face – E30, E13
coat – R46, R59
mittens – B24, B29, C5, C7, C9
heart – R89, E49
fur & belt – E30, E33
checks – E40, E42
boots – E57, E59

Card stock used: Gina K Cranberry Tart and Kraft, Coredinations Hunter, along with patterned paper by Pebbles called Mary from the Walnut Grove collection.

Dies used: Spellbinders Matting Basics B (3rd from biggest), Ribbon Tag Trio Two, and the pine bough from Diemond Dies.

Inks used: StazOn cotton white and timber brown, Gina K dark chocolate and desert sand, and Memento tuxedo black.

For the white snowflakes, I hand drew them with a Sakura Gelly Roll white pen. The metallic snowflakes were from my stash. Scotch foam mounting tape was used to create and adhere the “window” over the image.

Thanks for checking out my card project!

This content uses referral links as described in the disclosure policy on my sidebar.

“The Magic of Christmas” Magic Card

“The Magic of Christmas” Magic Card – Tag and Card Project

the magic of christmas final

This tag was made for the Mod Squad Challenge “Tag It!” where we were to create a tag. We could make just a tag, any size, or attach one by using a little pocket on the card.   (Sadly, this site is no longer active.)

I’ve included a picture of the tag, the card itself (with the tag hidden inside the pocket), and various pictures of what the card looks like as you pull the tab on the tag.  Below are larger photos of each individual shot above.

Detailed instructions can be found HERE under my “Tutorials” tab.

The stamps I used for this project are from the Stampin’ Up “Star Santa” set.  I used Stazon black ink for the image and greeting.  Copic markers (R59, G29, Y17, E53, R20, N0, C1, and C3) were used to color the image.  Cardstock used was white and Gina K Cranberry Tart.  I used Spellbinders A2 Matting Basics A dies (4th and 5th from center) and a Creative Memories circle punch.

A card posted by David Maynard on StampTv and a You Tube video called “Magic Card With Dawn” inspired me to make this card. (Thank you David and Dawn!)

aDSCN0112

bDSCN0125

cDSCN0194

eDSCN0135

fDSCN0221

gDSCN0164

hDSCN0232

Thanks for checking out my tag and card project!

This content uses referral links as described in the disclosure policy on my sidebar.