Floral Palette Screen Divider Cards and Shutter Cards

(back: Wishing you a very happy birthday”
In my last post, I shared a few cards I made with the beautiful patterned paper called “Floral Palette” by Recollections.

Here are a few more cards I made using this same paper.
The pattern on the top of this paper is quite different from that on the bottom, and these patterns flow from left to right beautifully so I decided to keep the two patterns “as-is” for my screen divider cards. I had made a screen divider card last year and decided to “warm up” with the same punches. (Instructions on how I made these are included in that post.)
You can get 5 panels across the 12×12 inch page, and choosing two different groups of 4 gave me two variations.
This card is from the top (left) half:

Here’s another card from the top (right) half:

After I completed those, I played around with the bottom half of the paper and with a few different punches and dies for a different look. Here’s my third card (also shown at the top of this post):
*
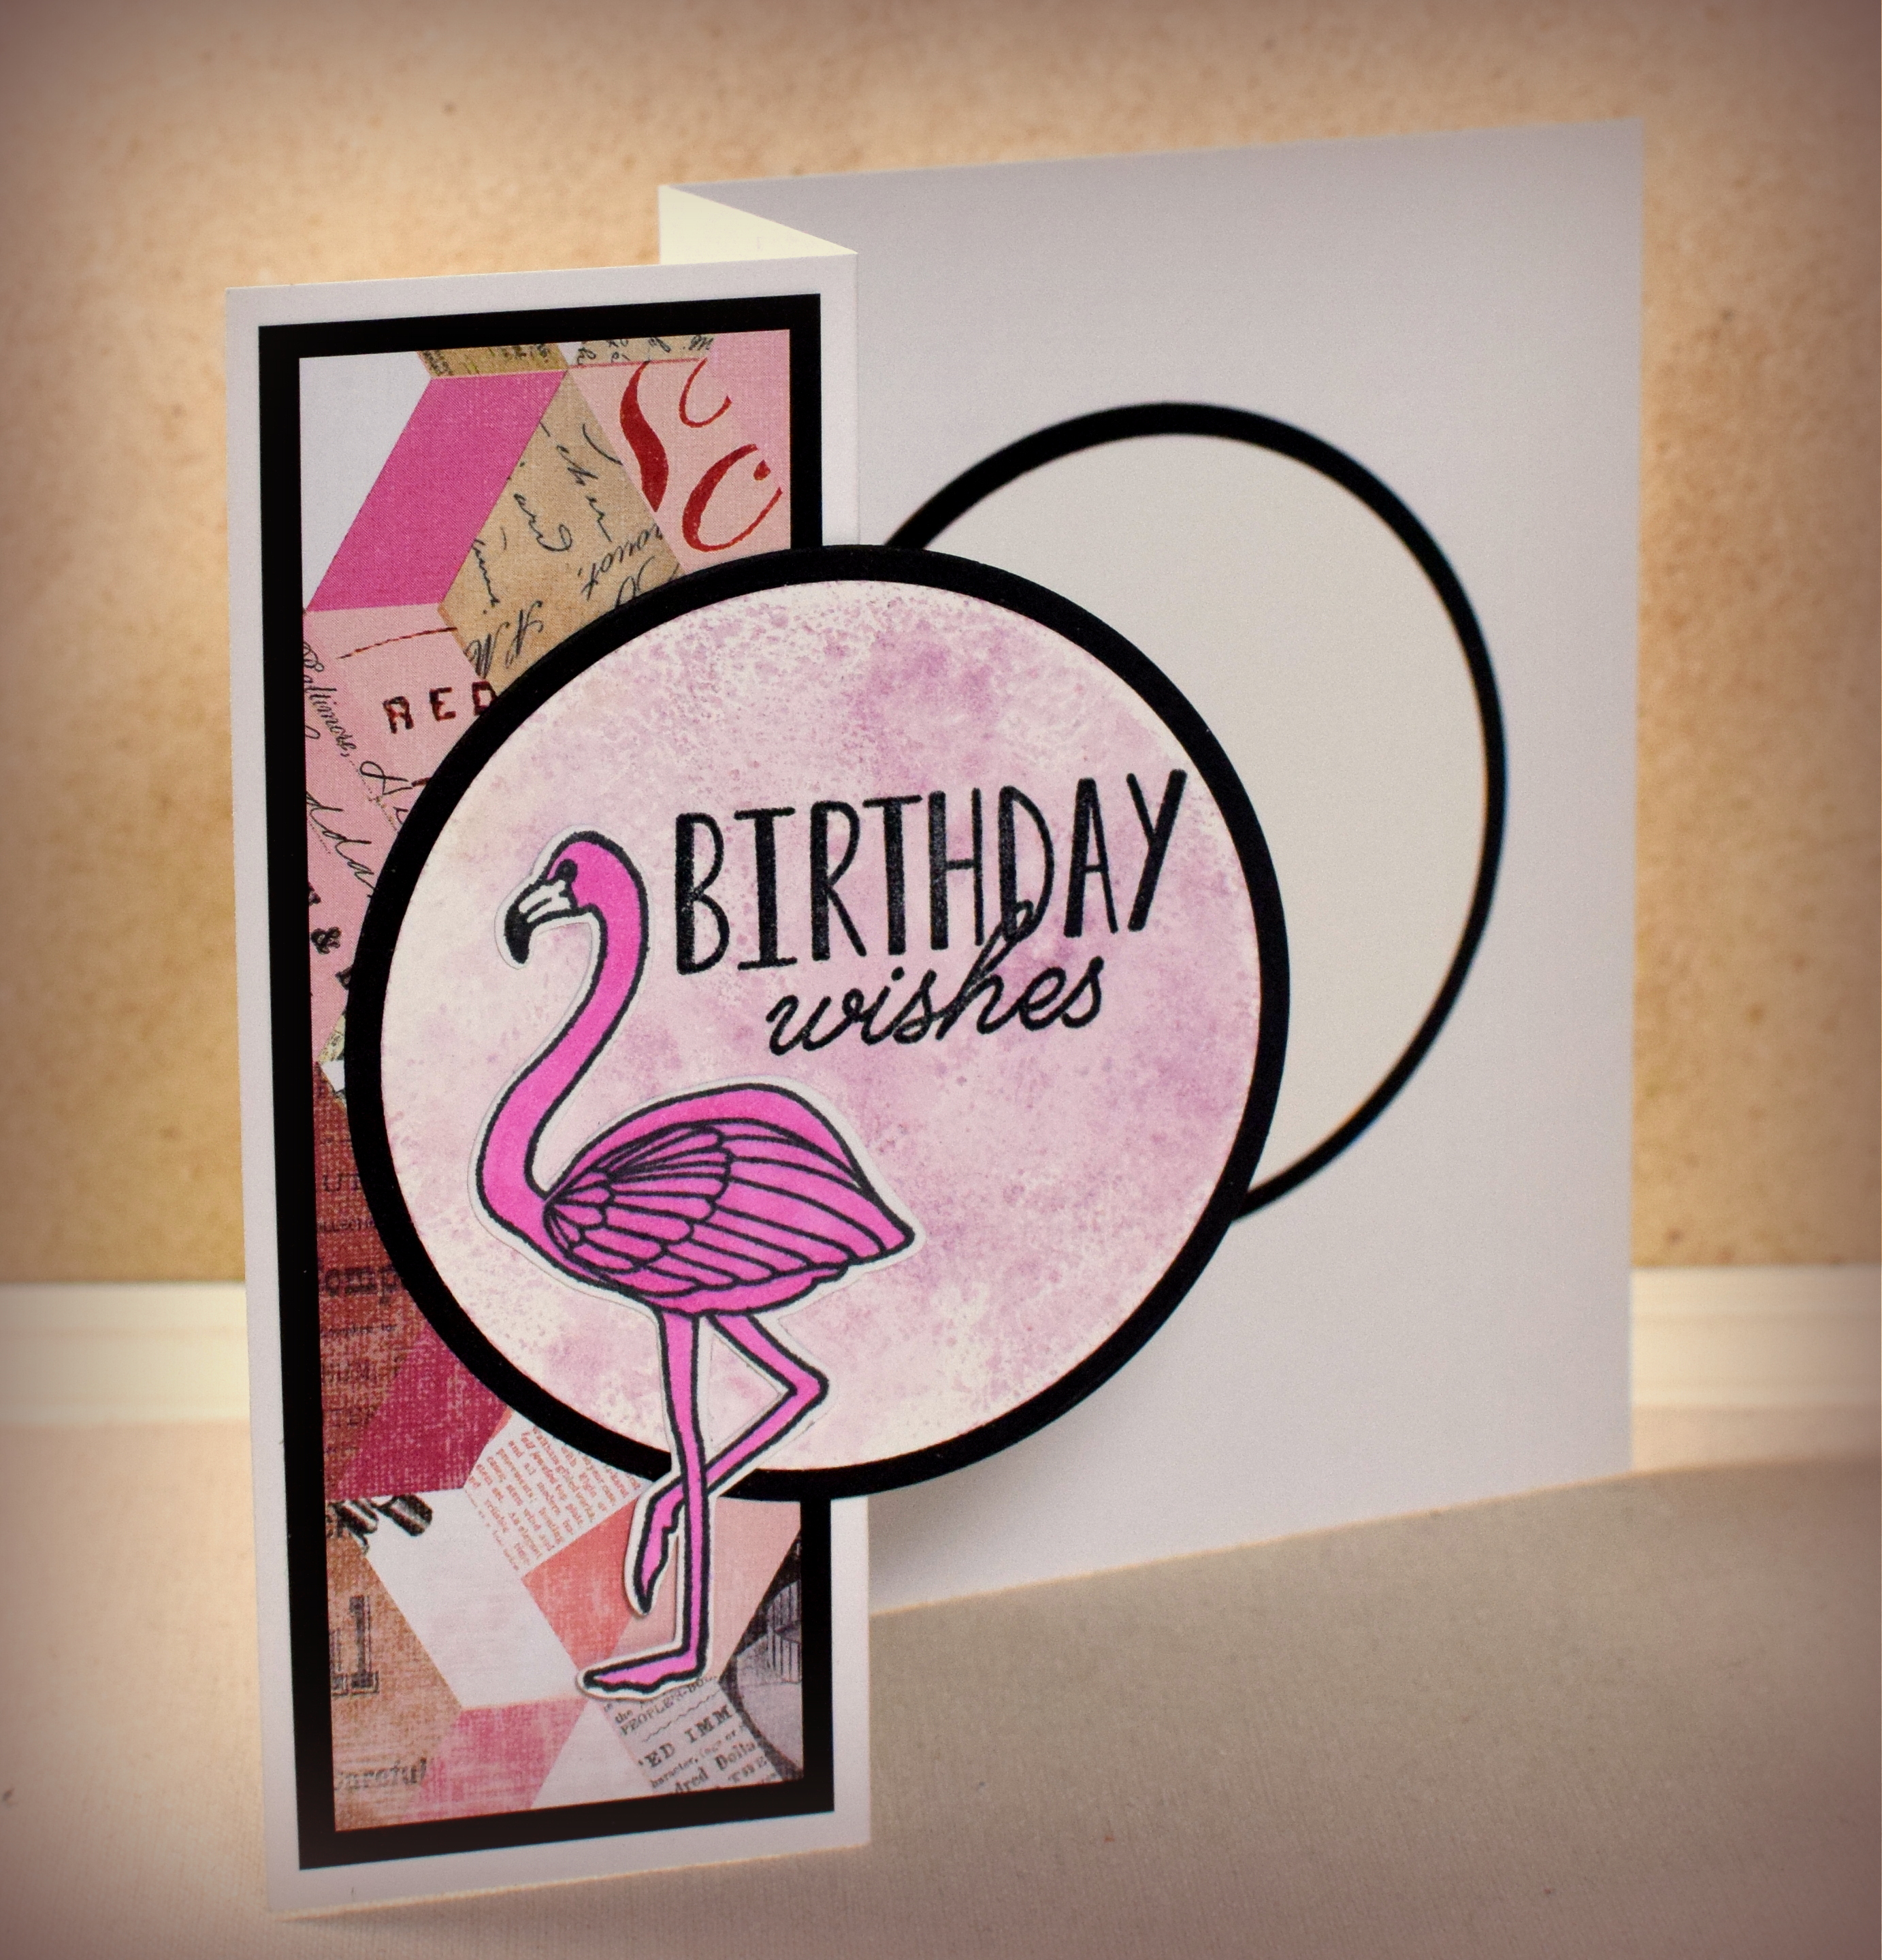
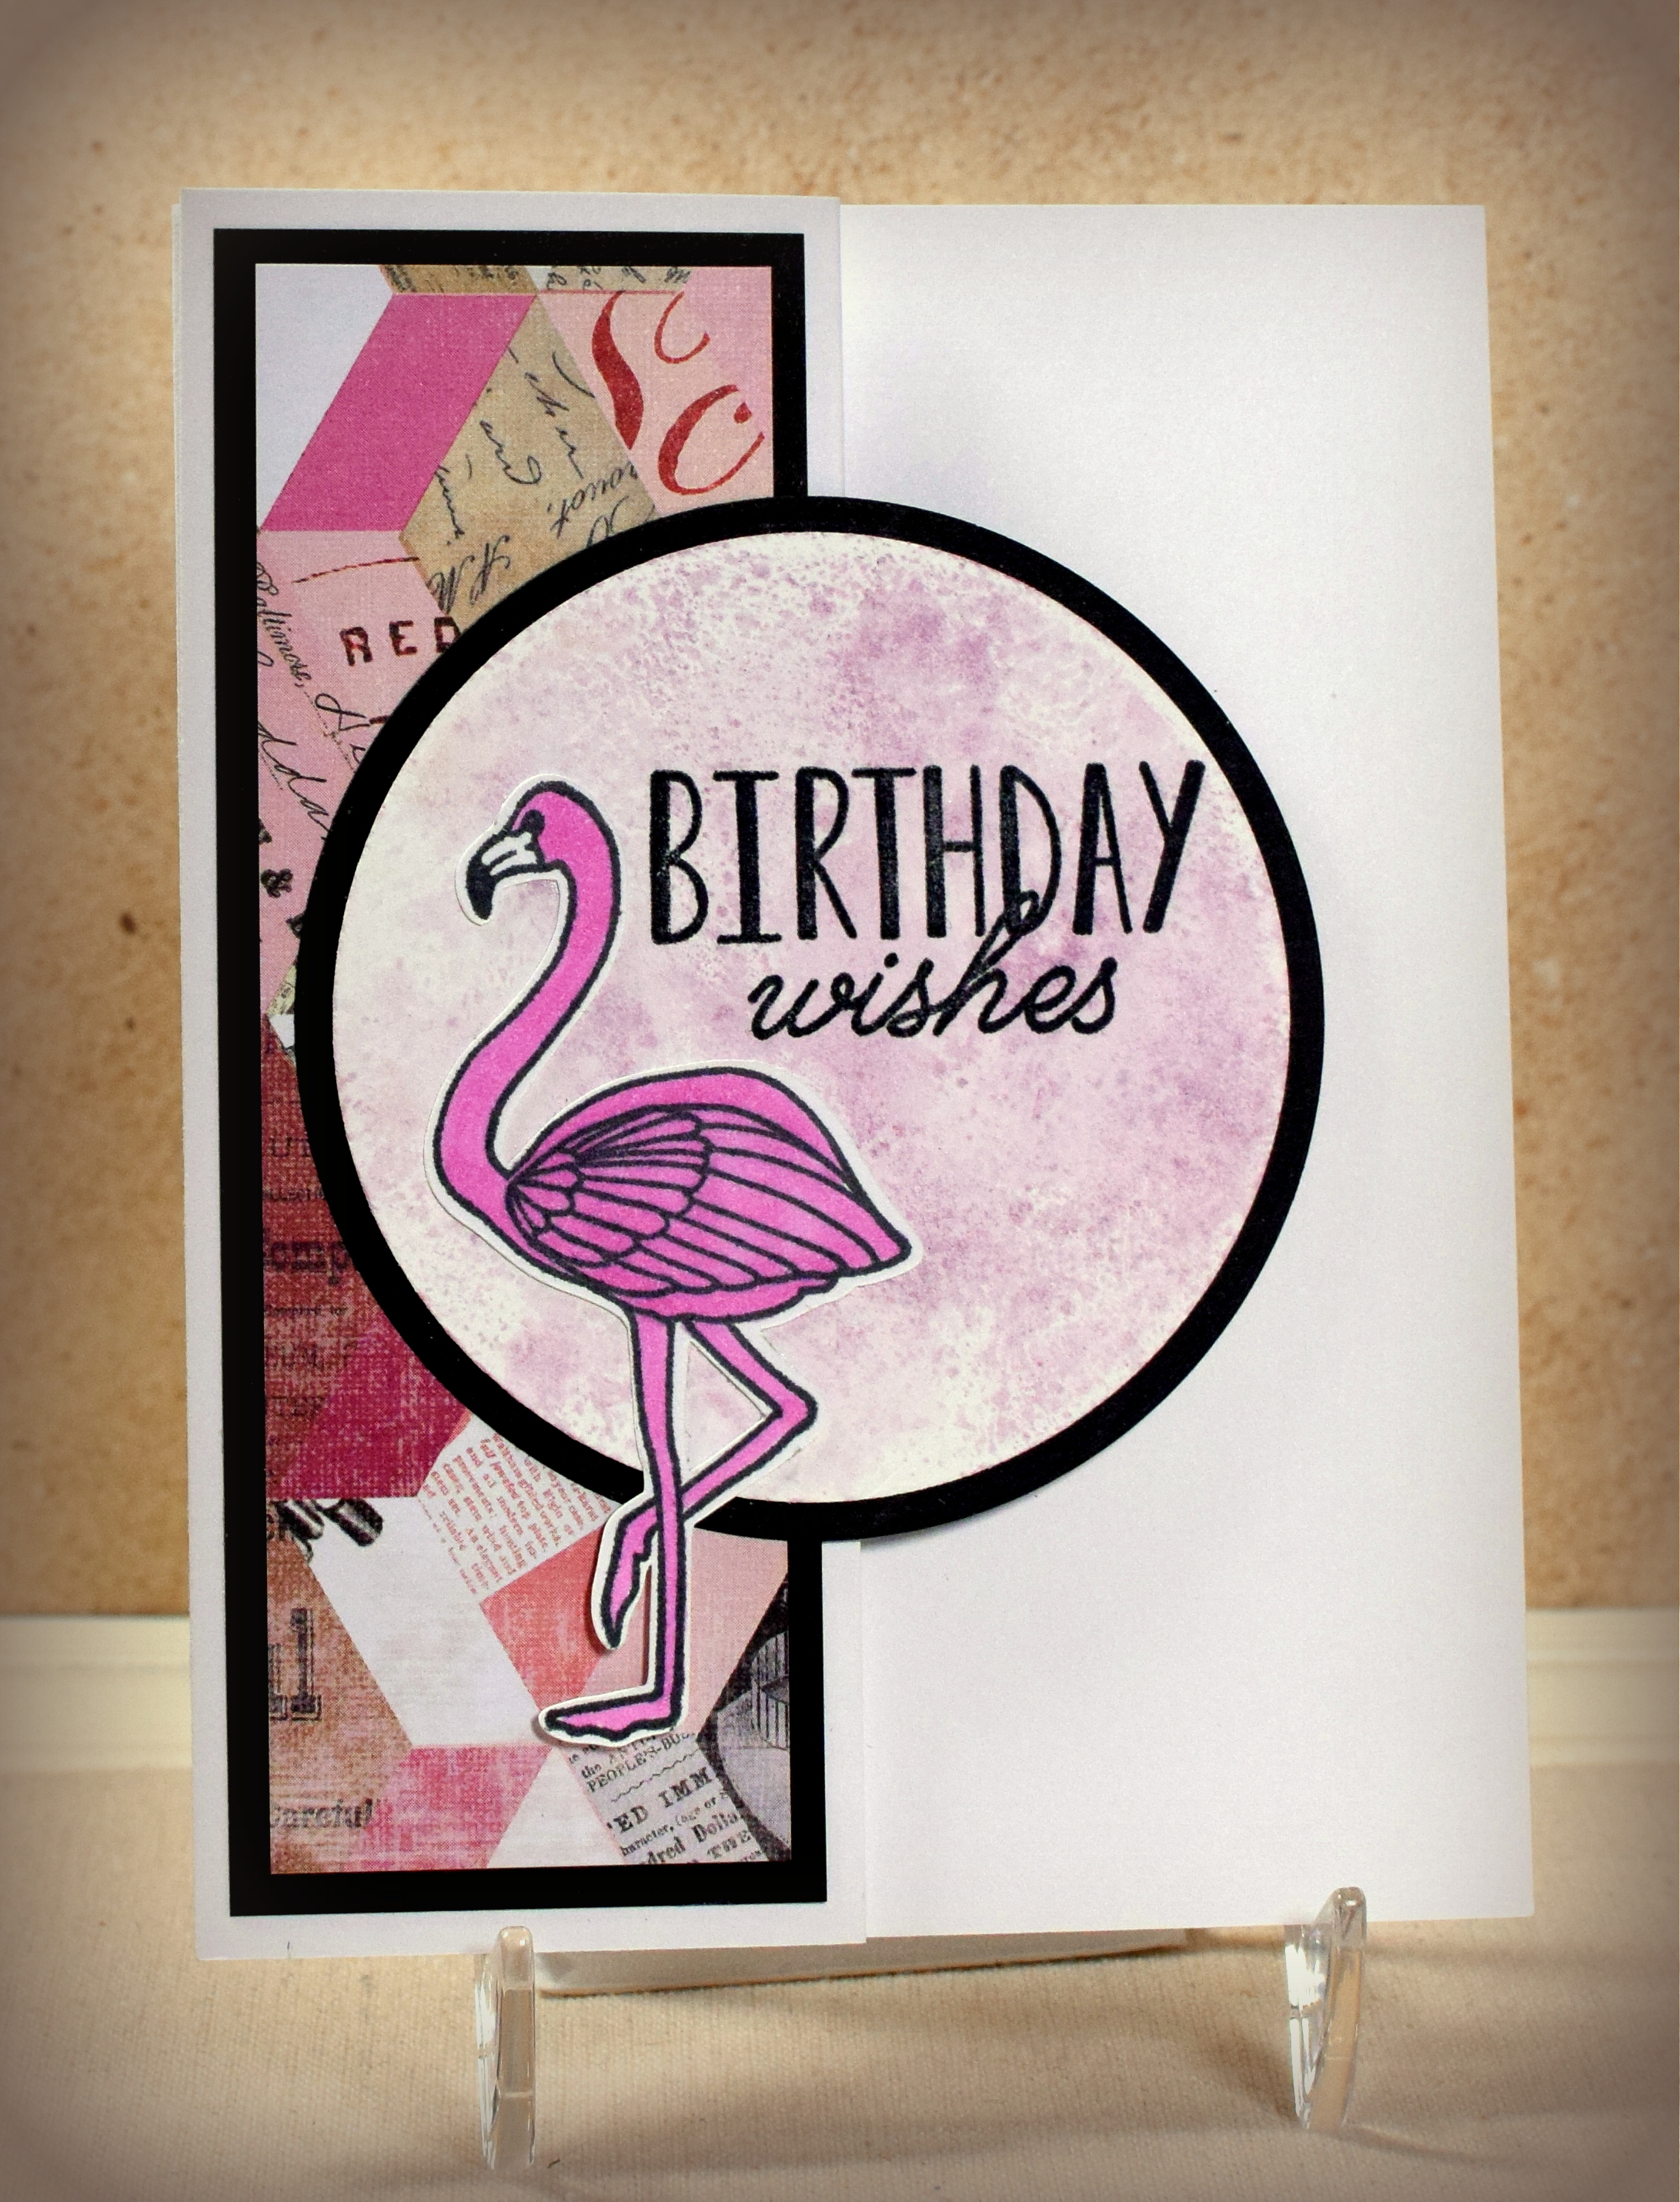
Floral Palette Shutter Cards
In addition to screen divider cards, flowing patterns also make great panels on shutter cards. (HERE is a video tutorial on making this type of card.) I left the “inside” blank and could add a stamped or hand-written message when the card is needed.