Autumn Tree Birthday Card (and other “Positively Negative” cards)

Autumn Tree Birthday Card (and other “Positively Negative” cards)

Autumn Tree Birthday Card wDSCN8814.jpg

I was asked to be the guest hostess for this week’s Mod Squad Challenge, and my challenge, called Positively Negative, is to create a project using the negative of a die (manual or electronically cut), punch, or hand-cut shape.  (Sadly, this site is no longer active.)

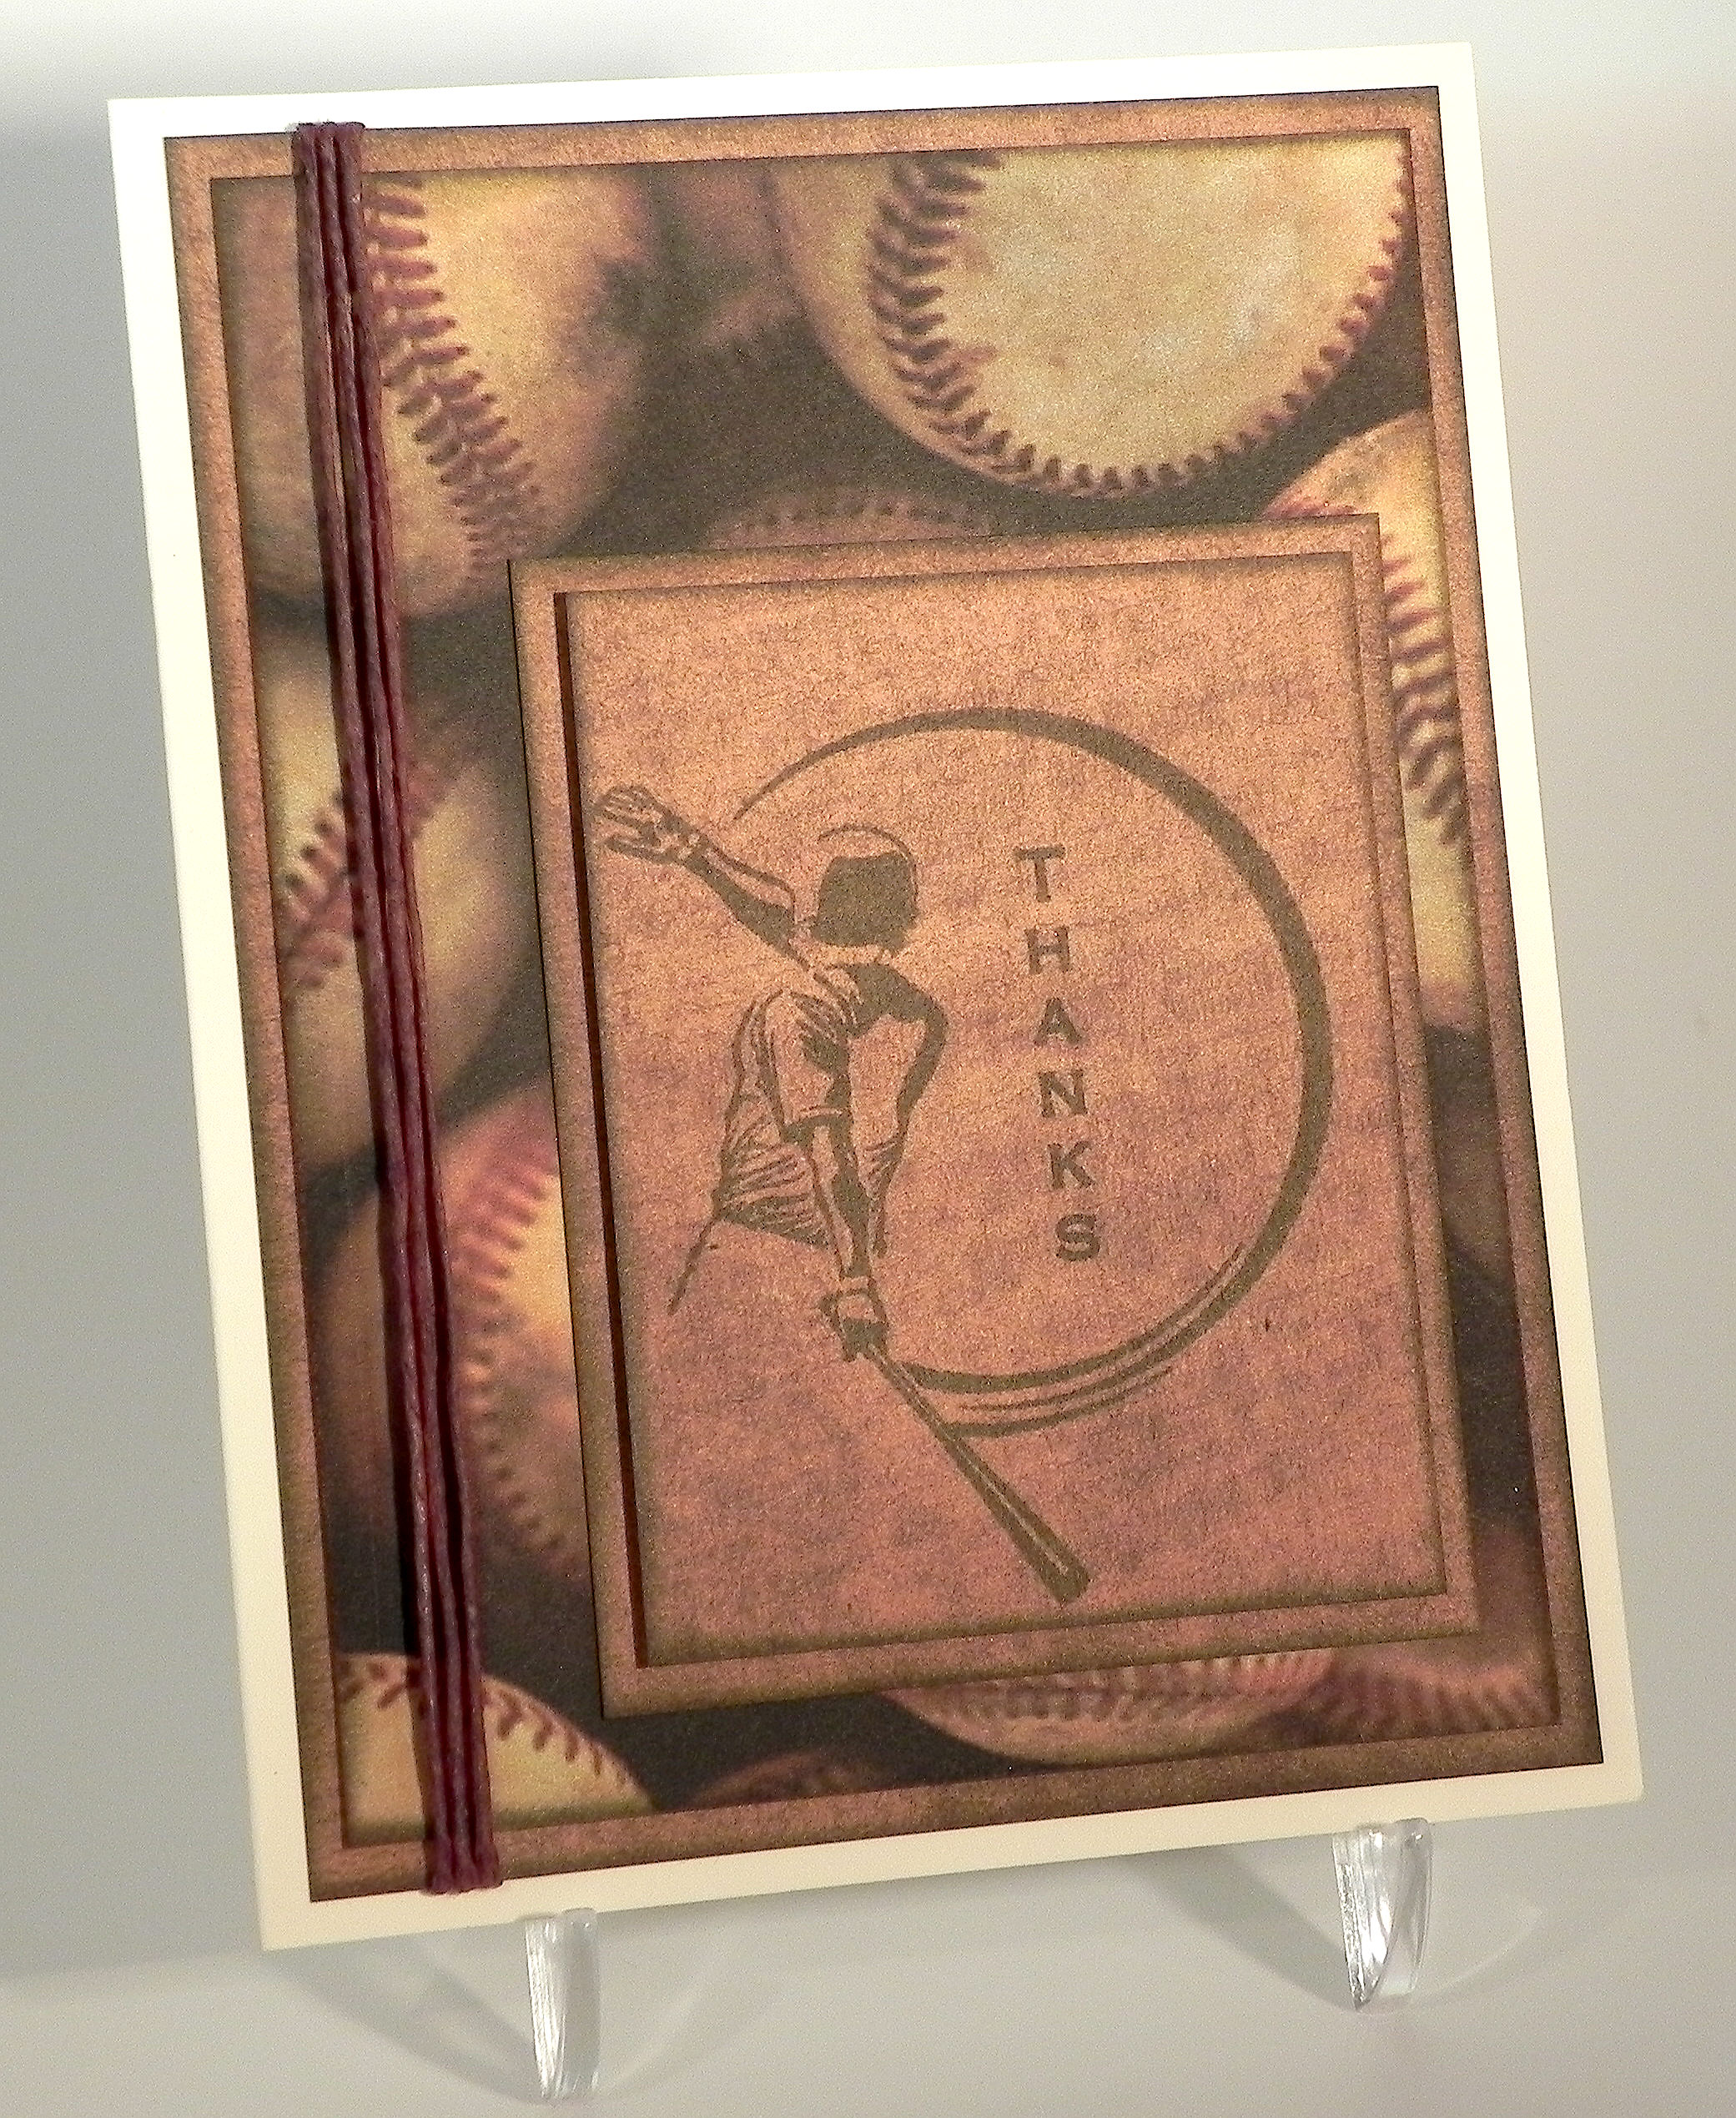
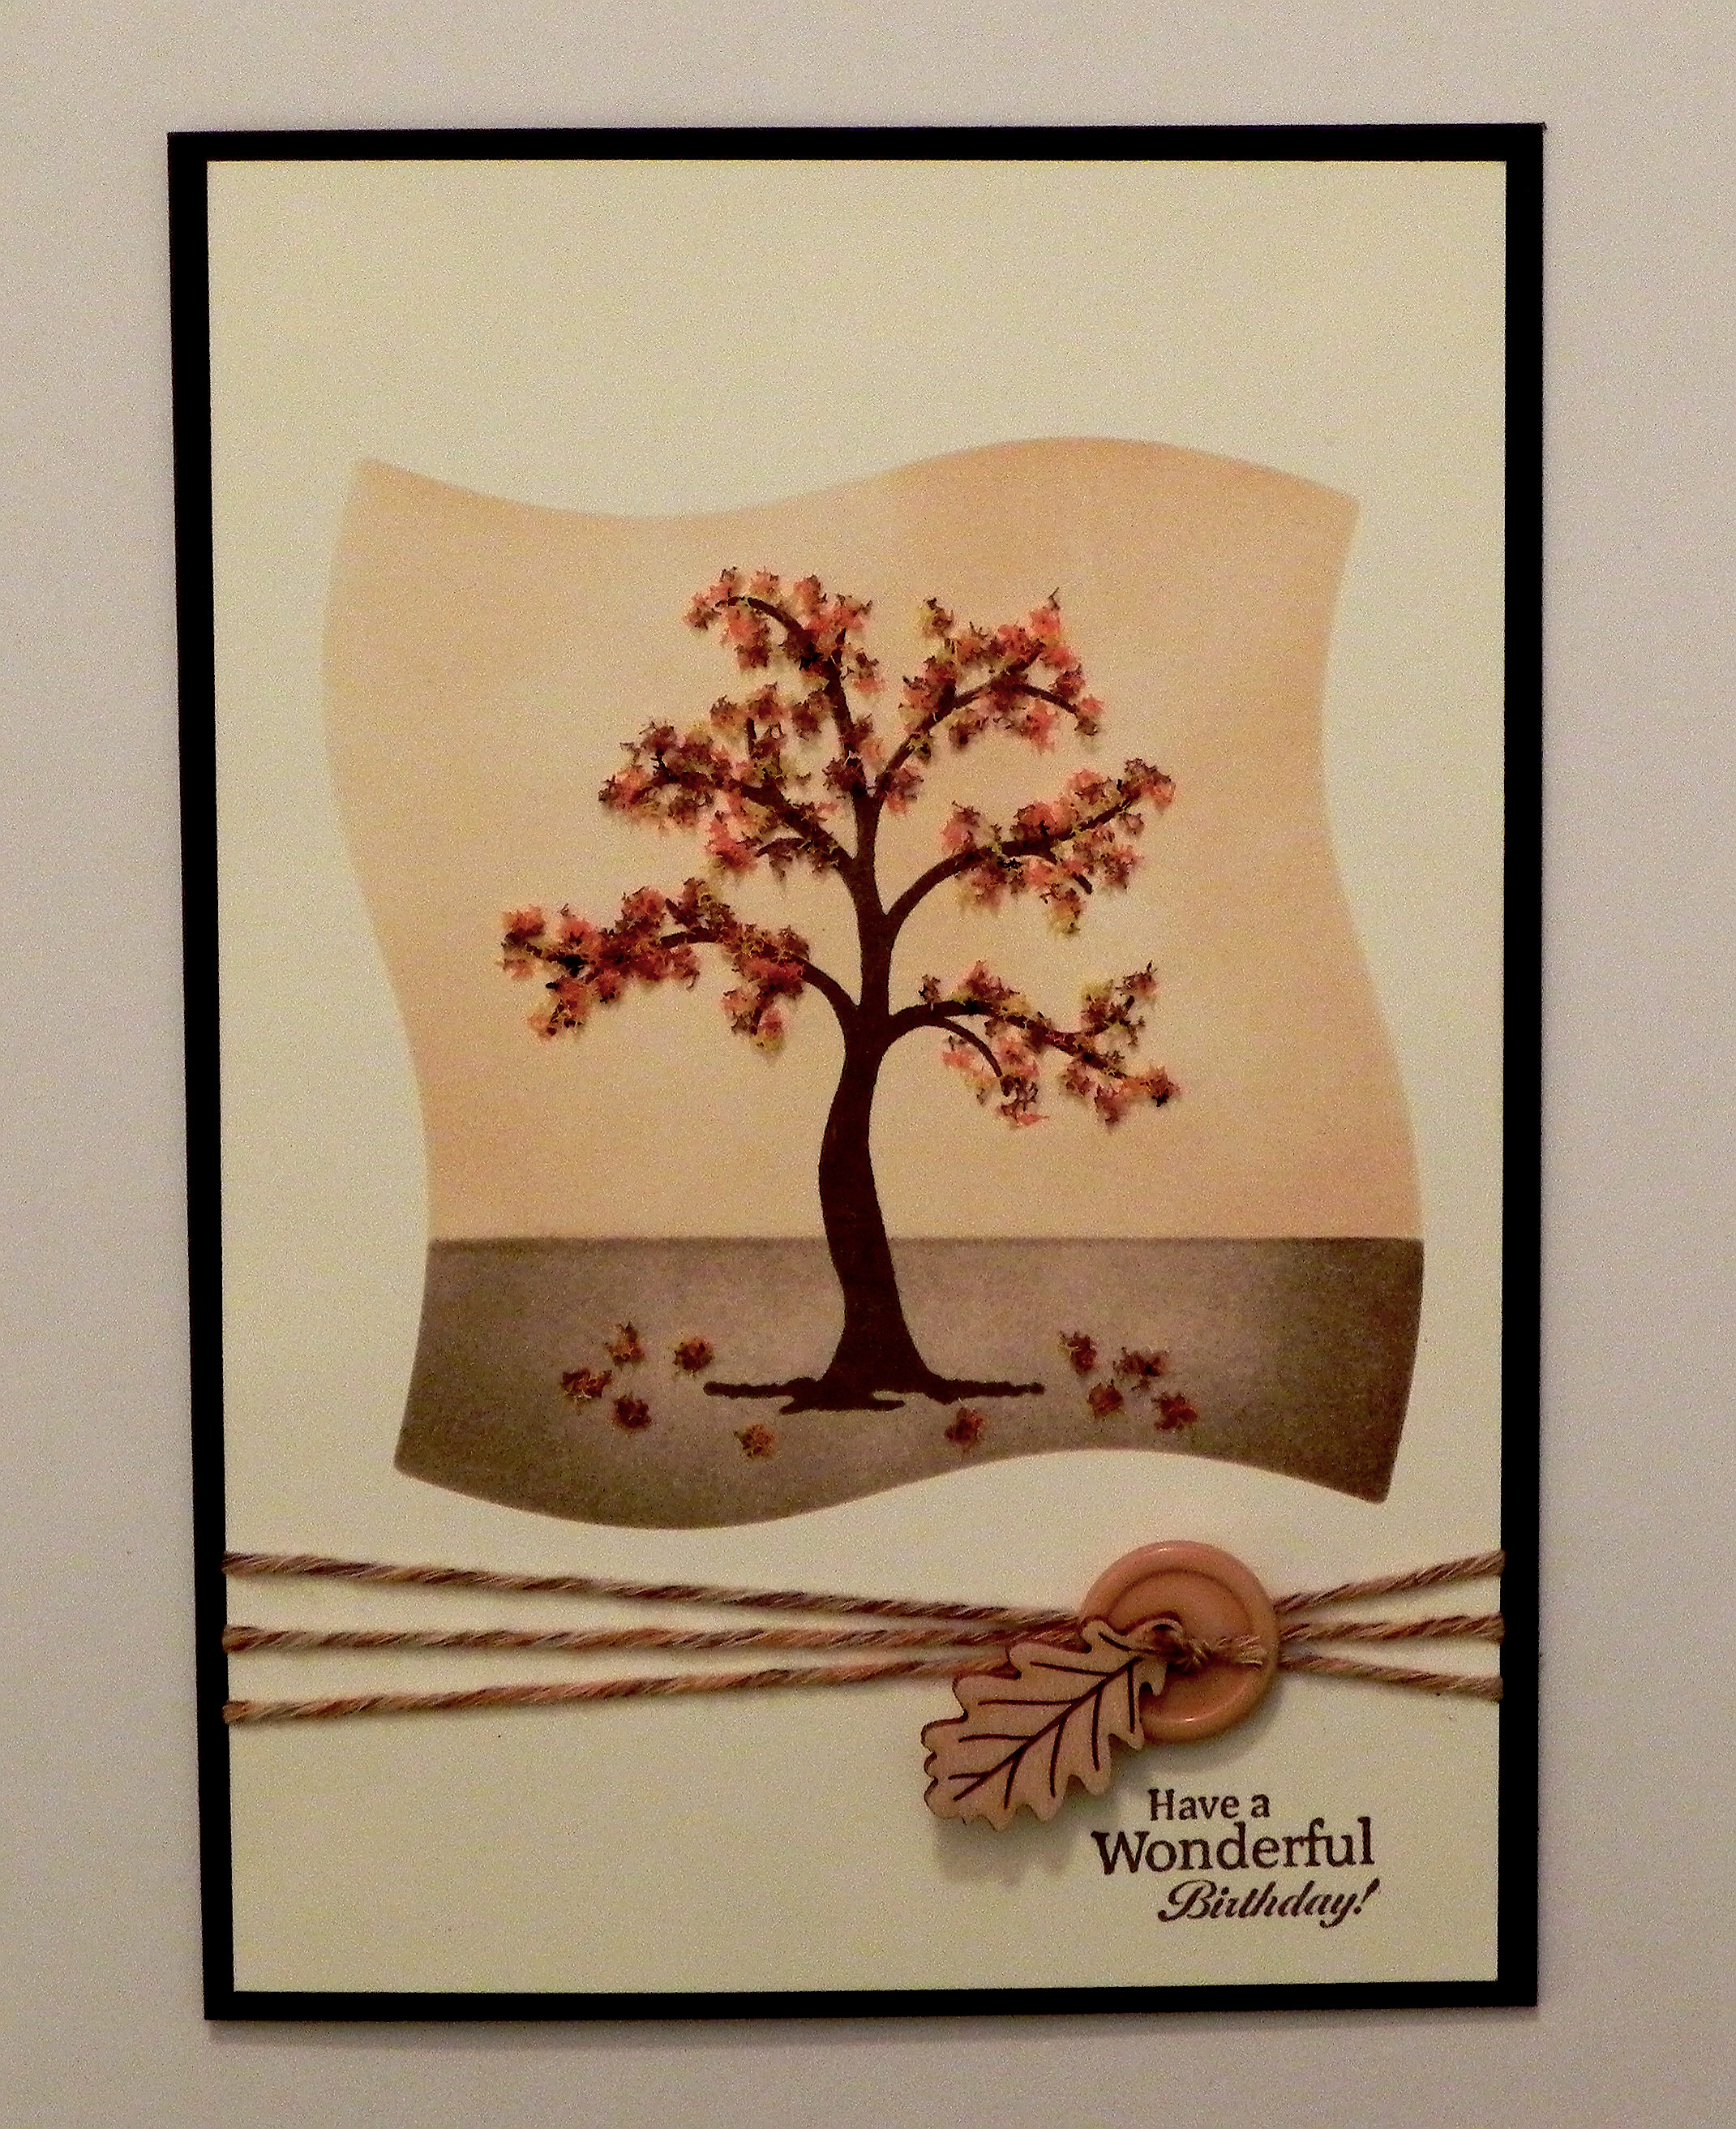
This card was originally posted in my stamptv gallery   (Sadly, this site is no longer active.), but I’m posting it here to show an example of a card where I did reverse masking (using the negative of a die) to create the sponged background for my tree image.

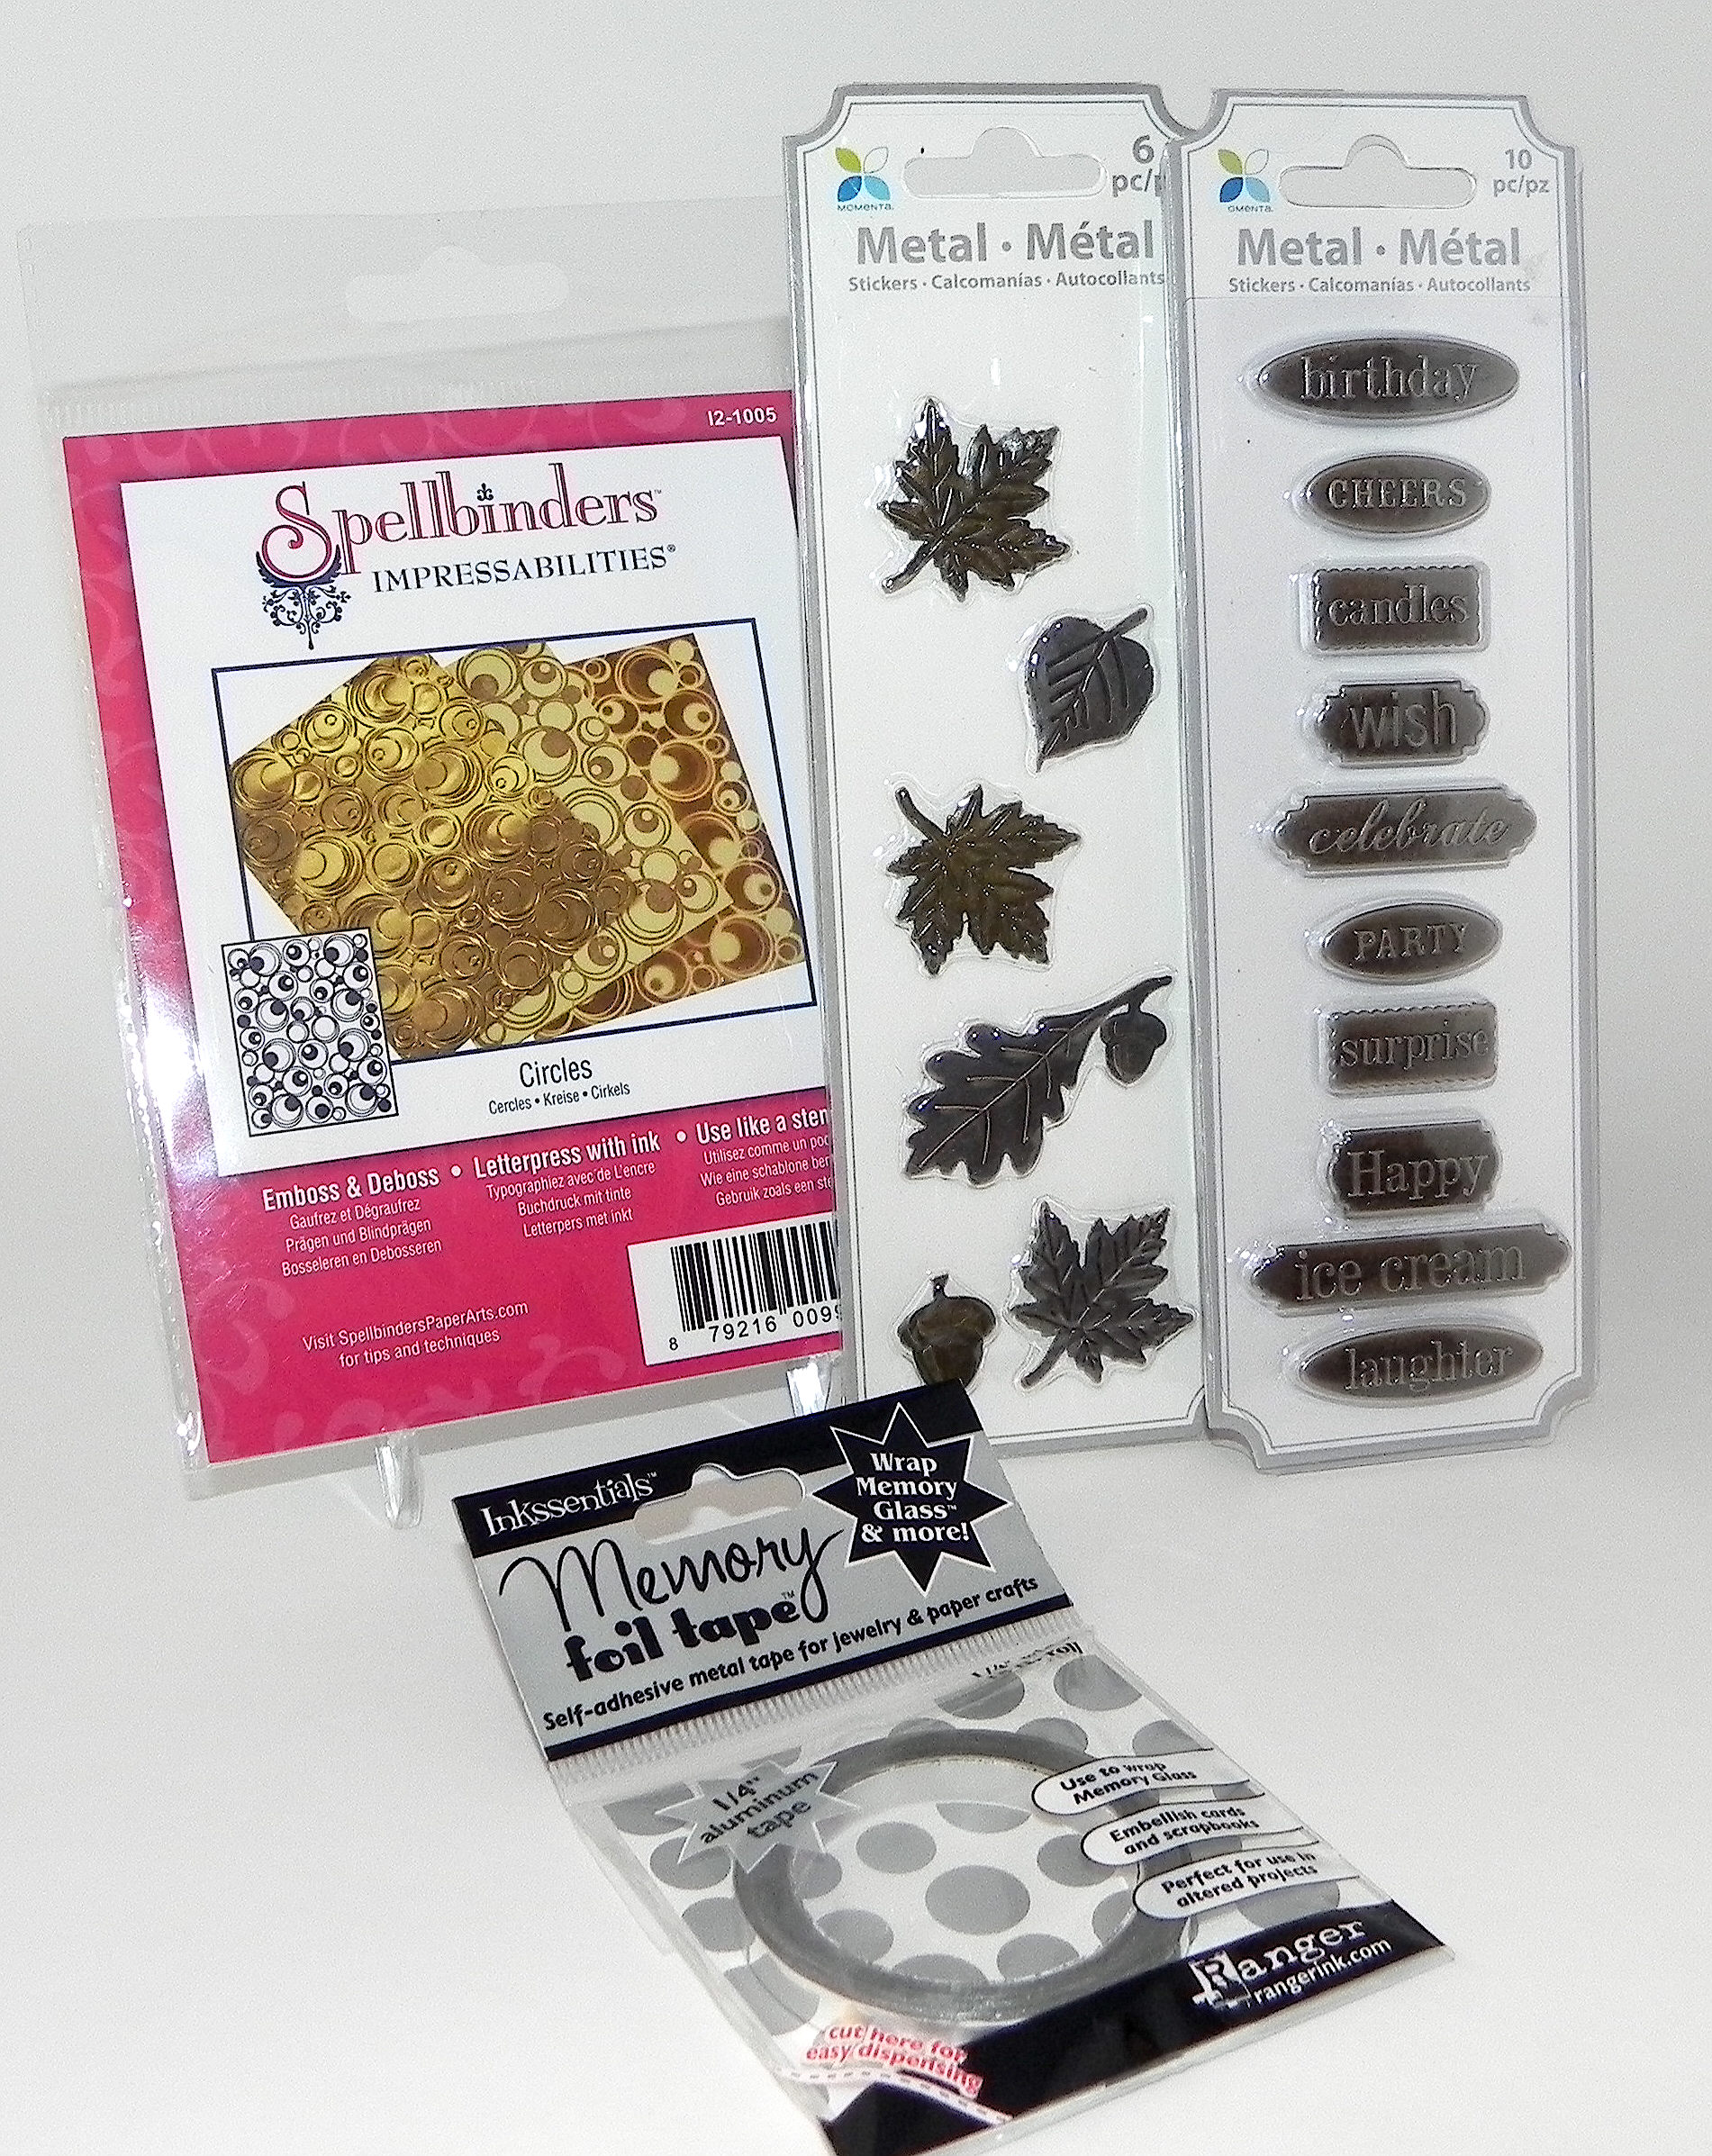
I used the Gina K Designs “The Giving Tree” set. Card stock used was gina k ivory and dark chocolate, and ink was gina k dark chocolate and memento desert sand. I used Flower Soft (autumn and nut brown) for the leaves. As mentioned above, a mat was made with the Spellbinders Wonky Squares die (discontinued?) to create the background for the tree. Yarn, a button and a gina k wood leaf finished it off.

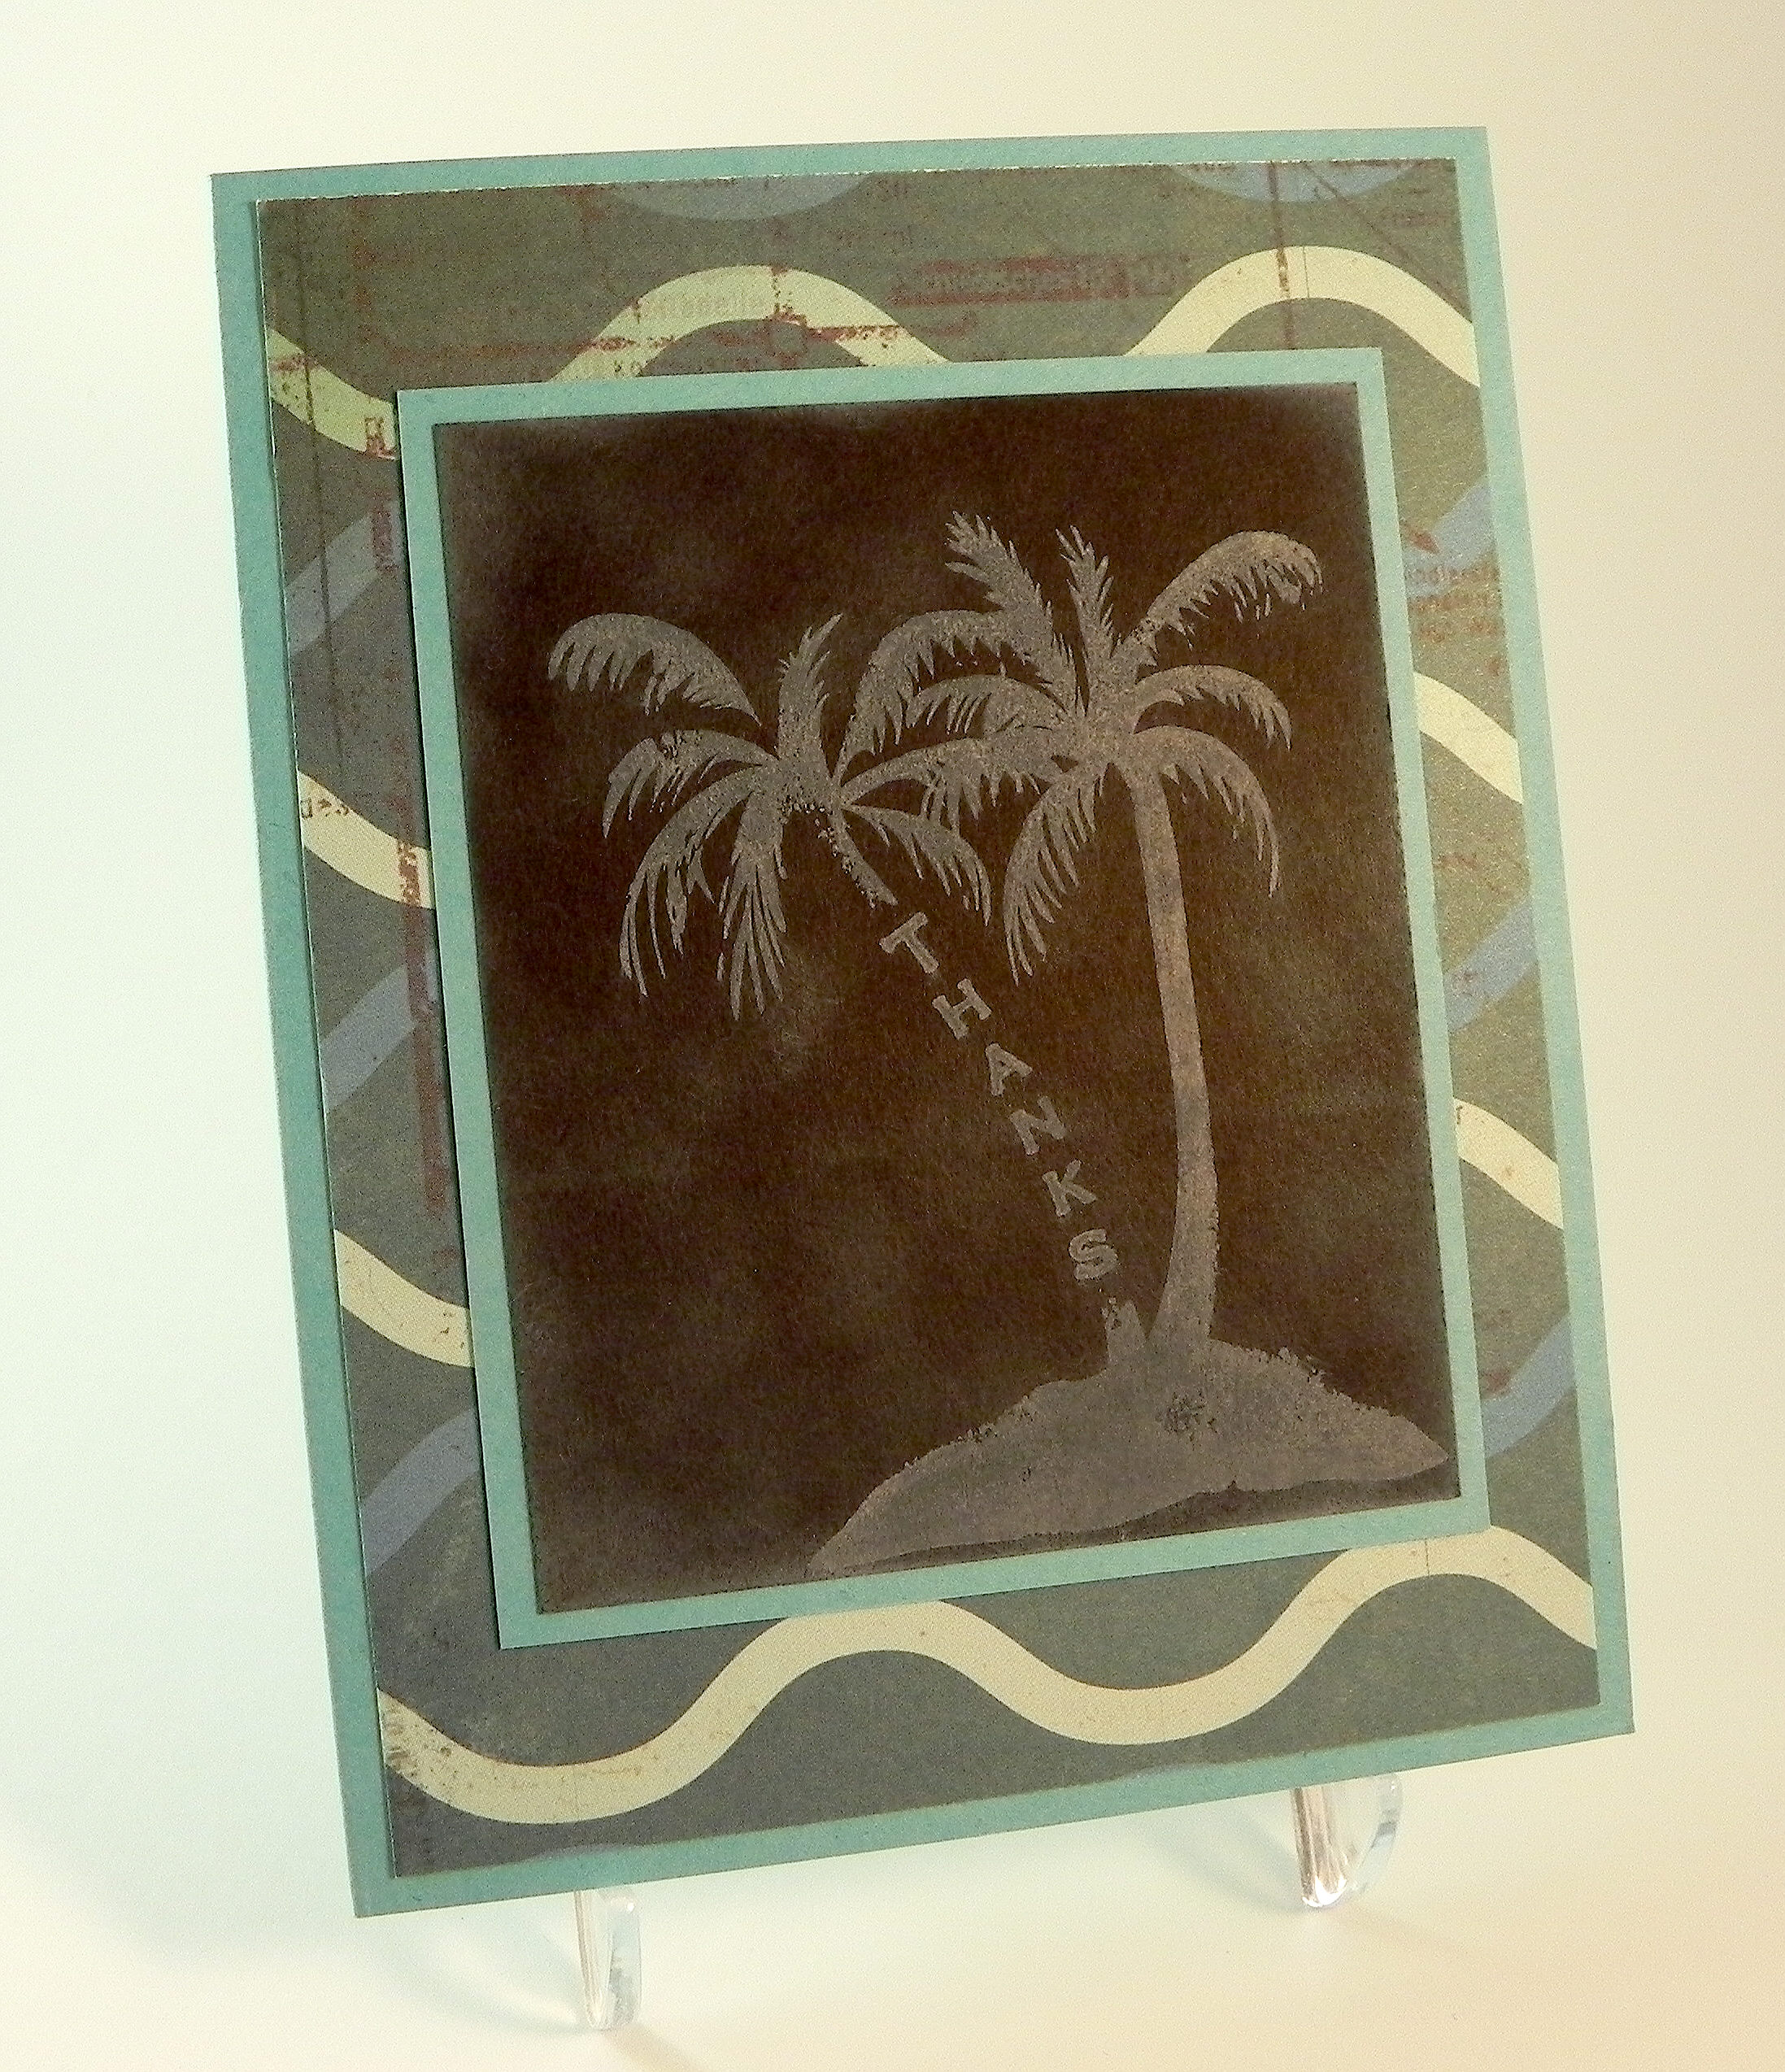
Two more cards using the negative to sponge the background for my stamped images are below:

Floral Get Well cDSCN7706.jpg

You can see the original post in my stamp tv gallery.   (Sadly, this site is no longer active.)

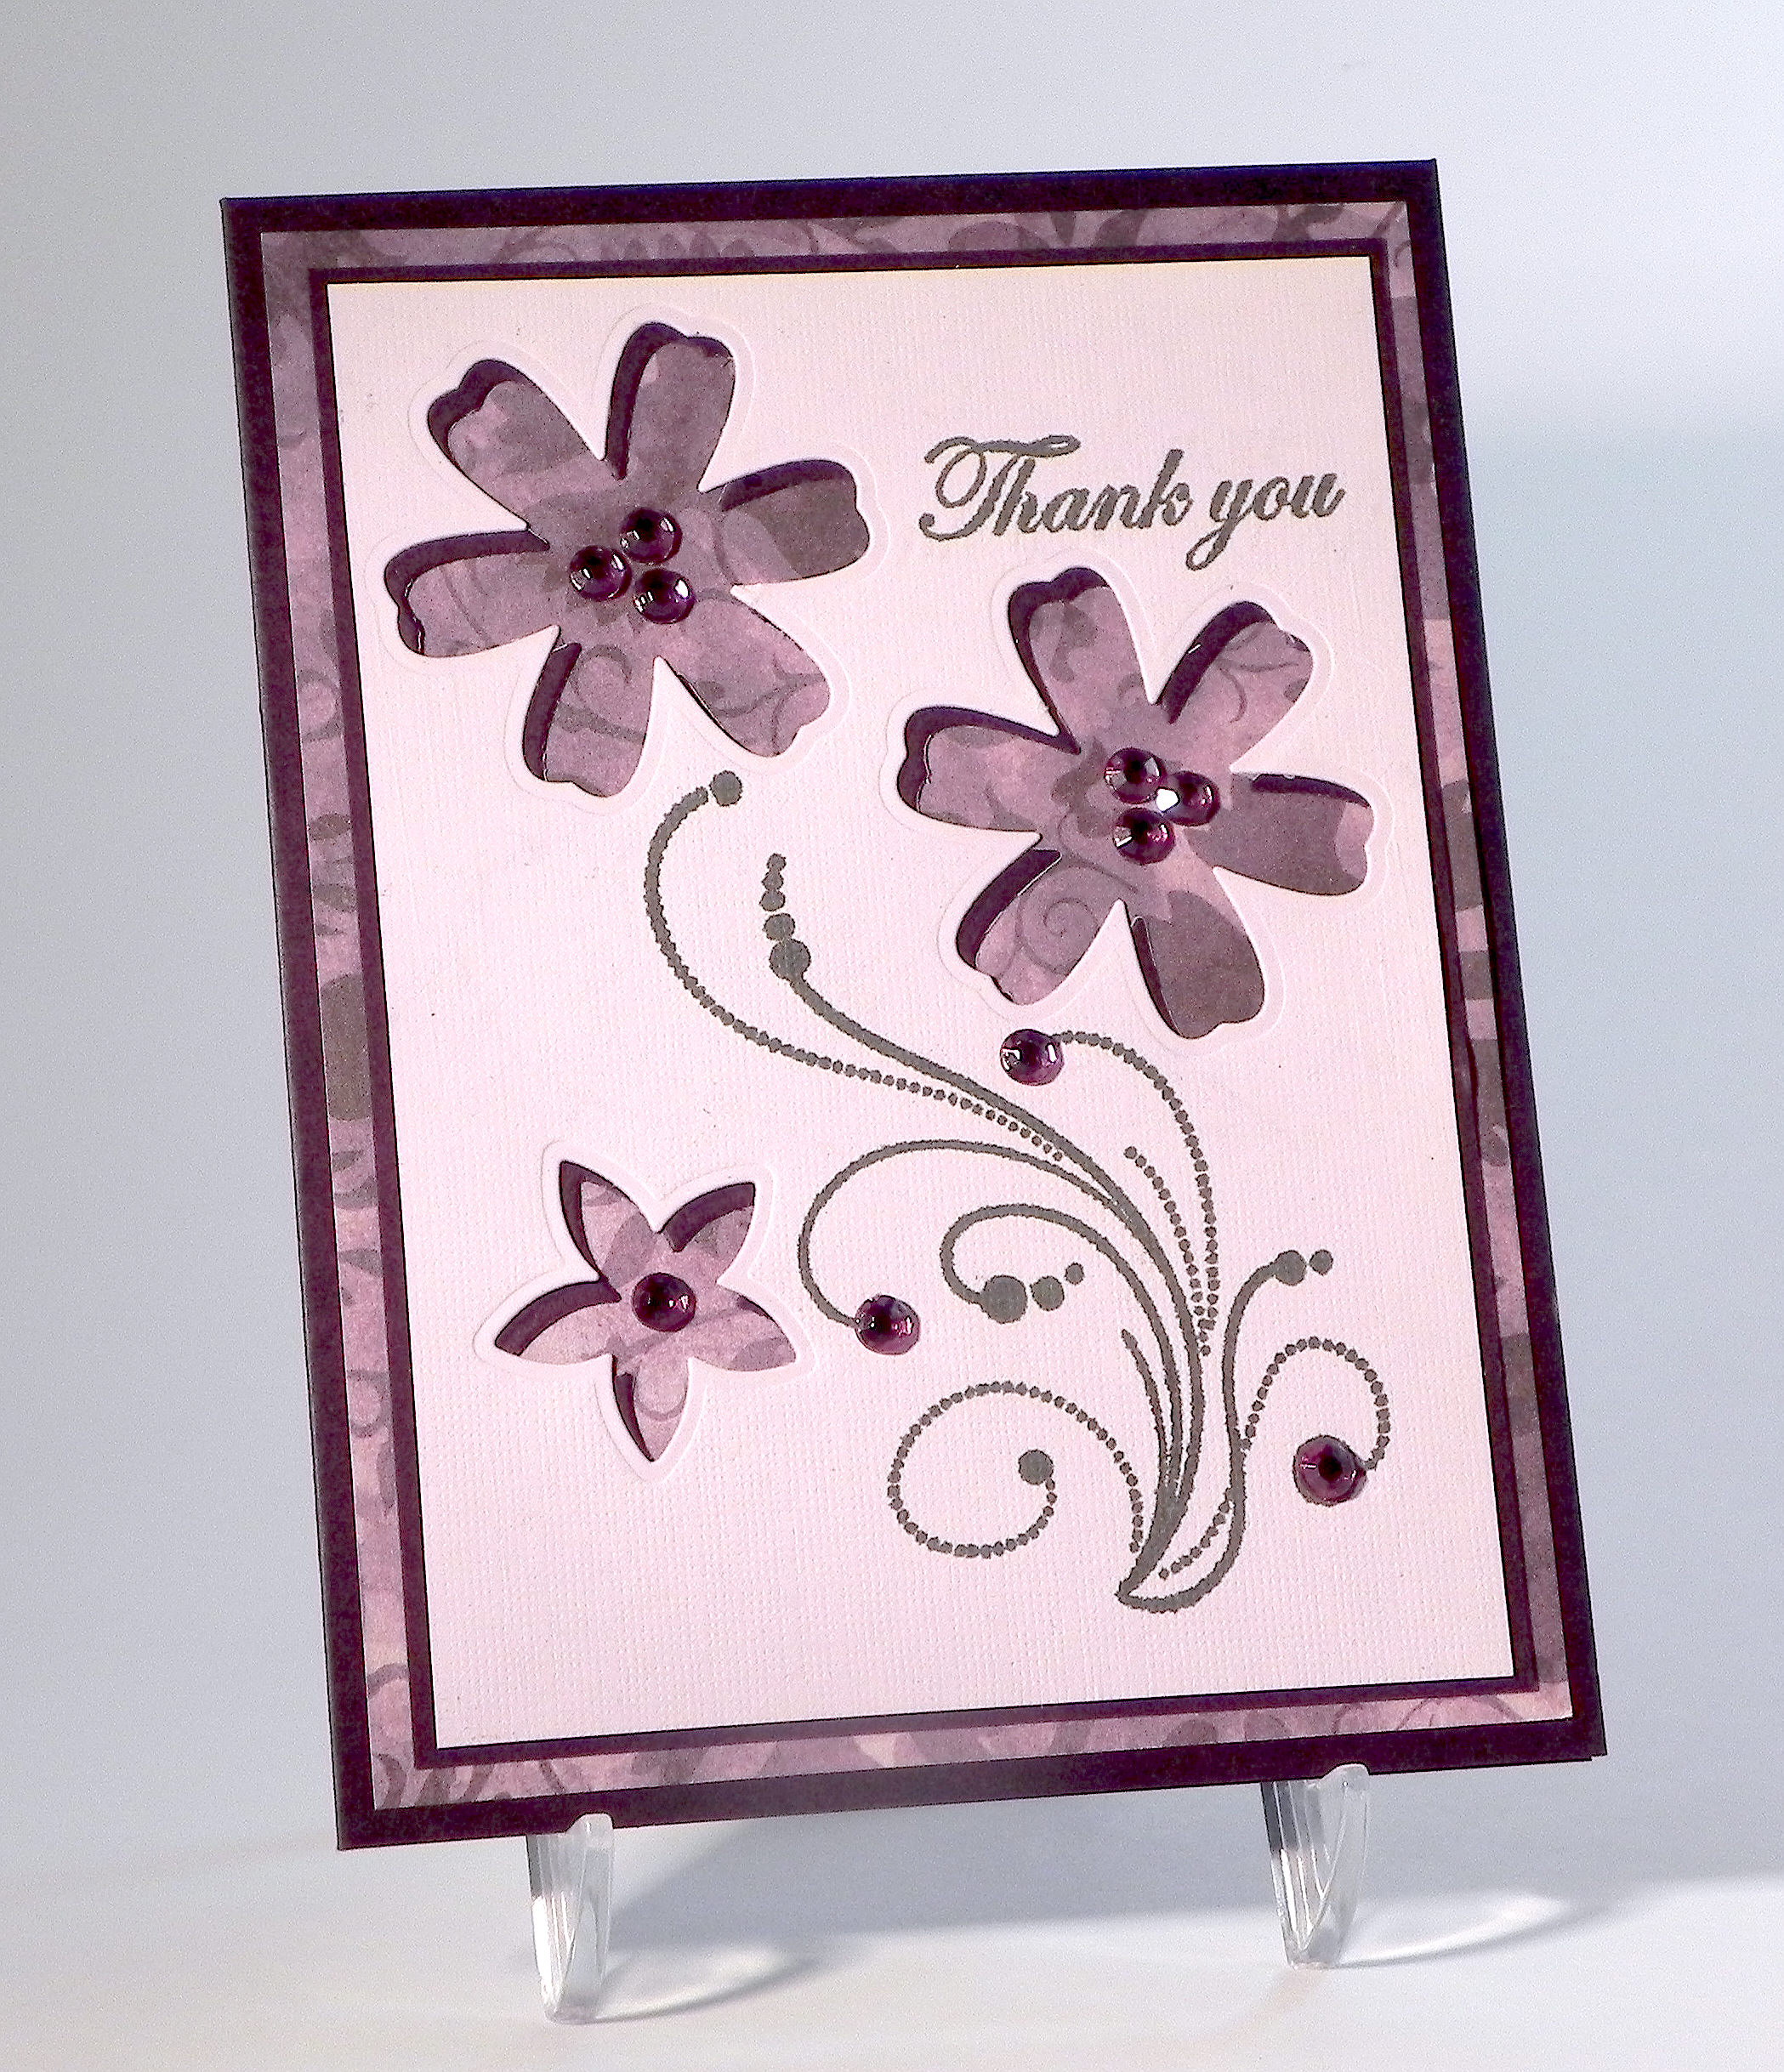
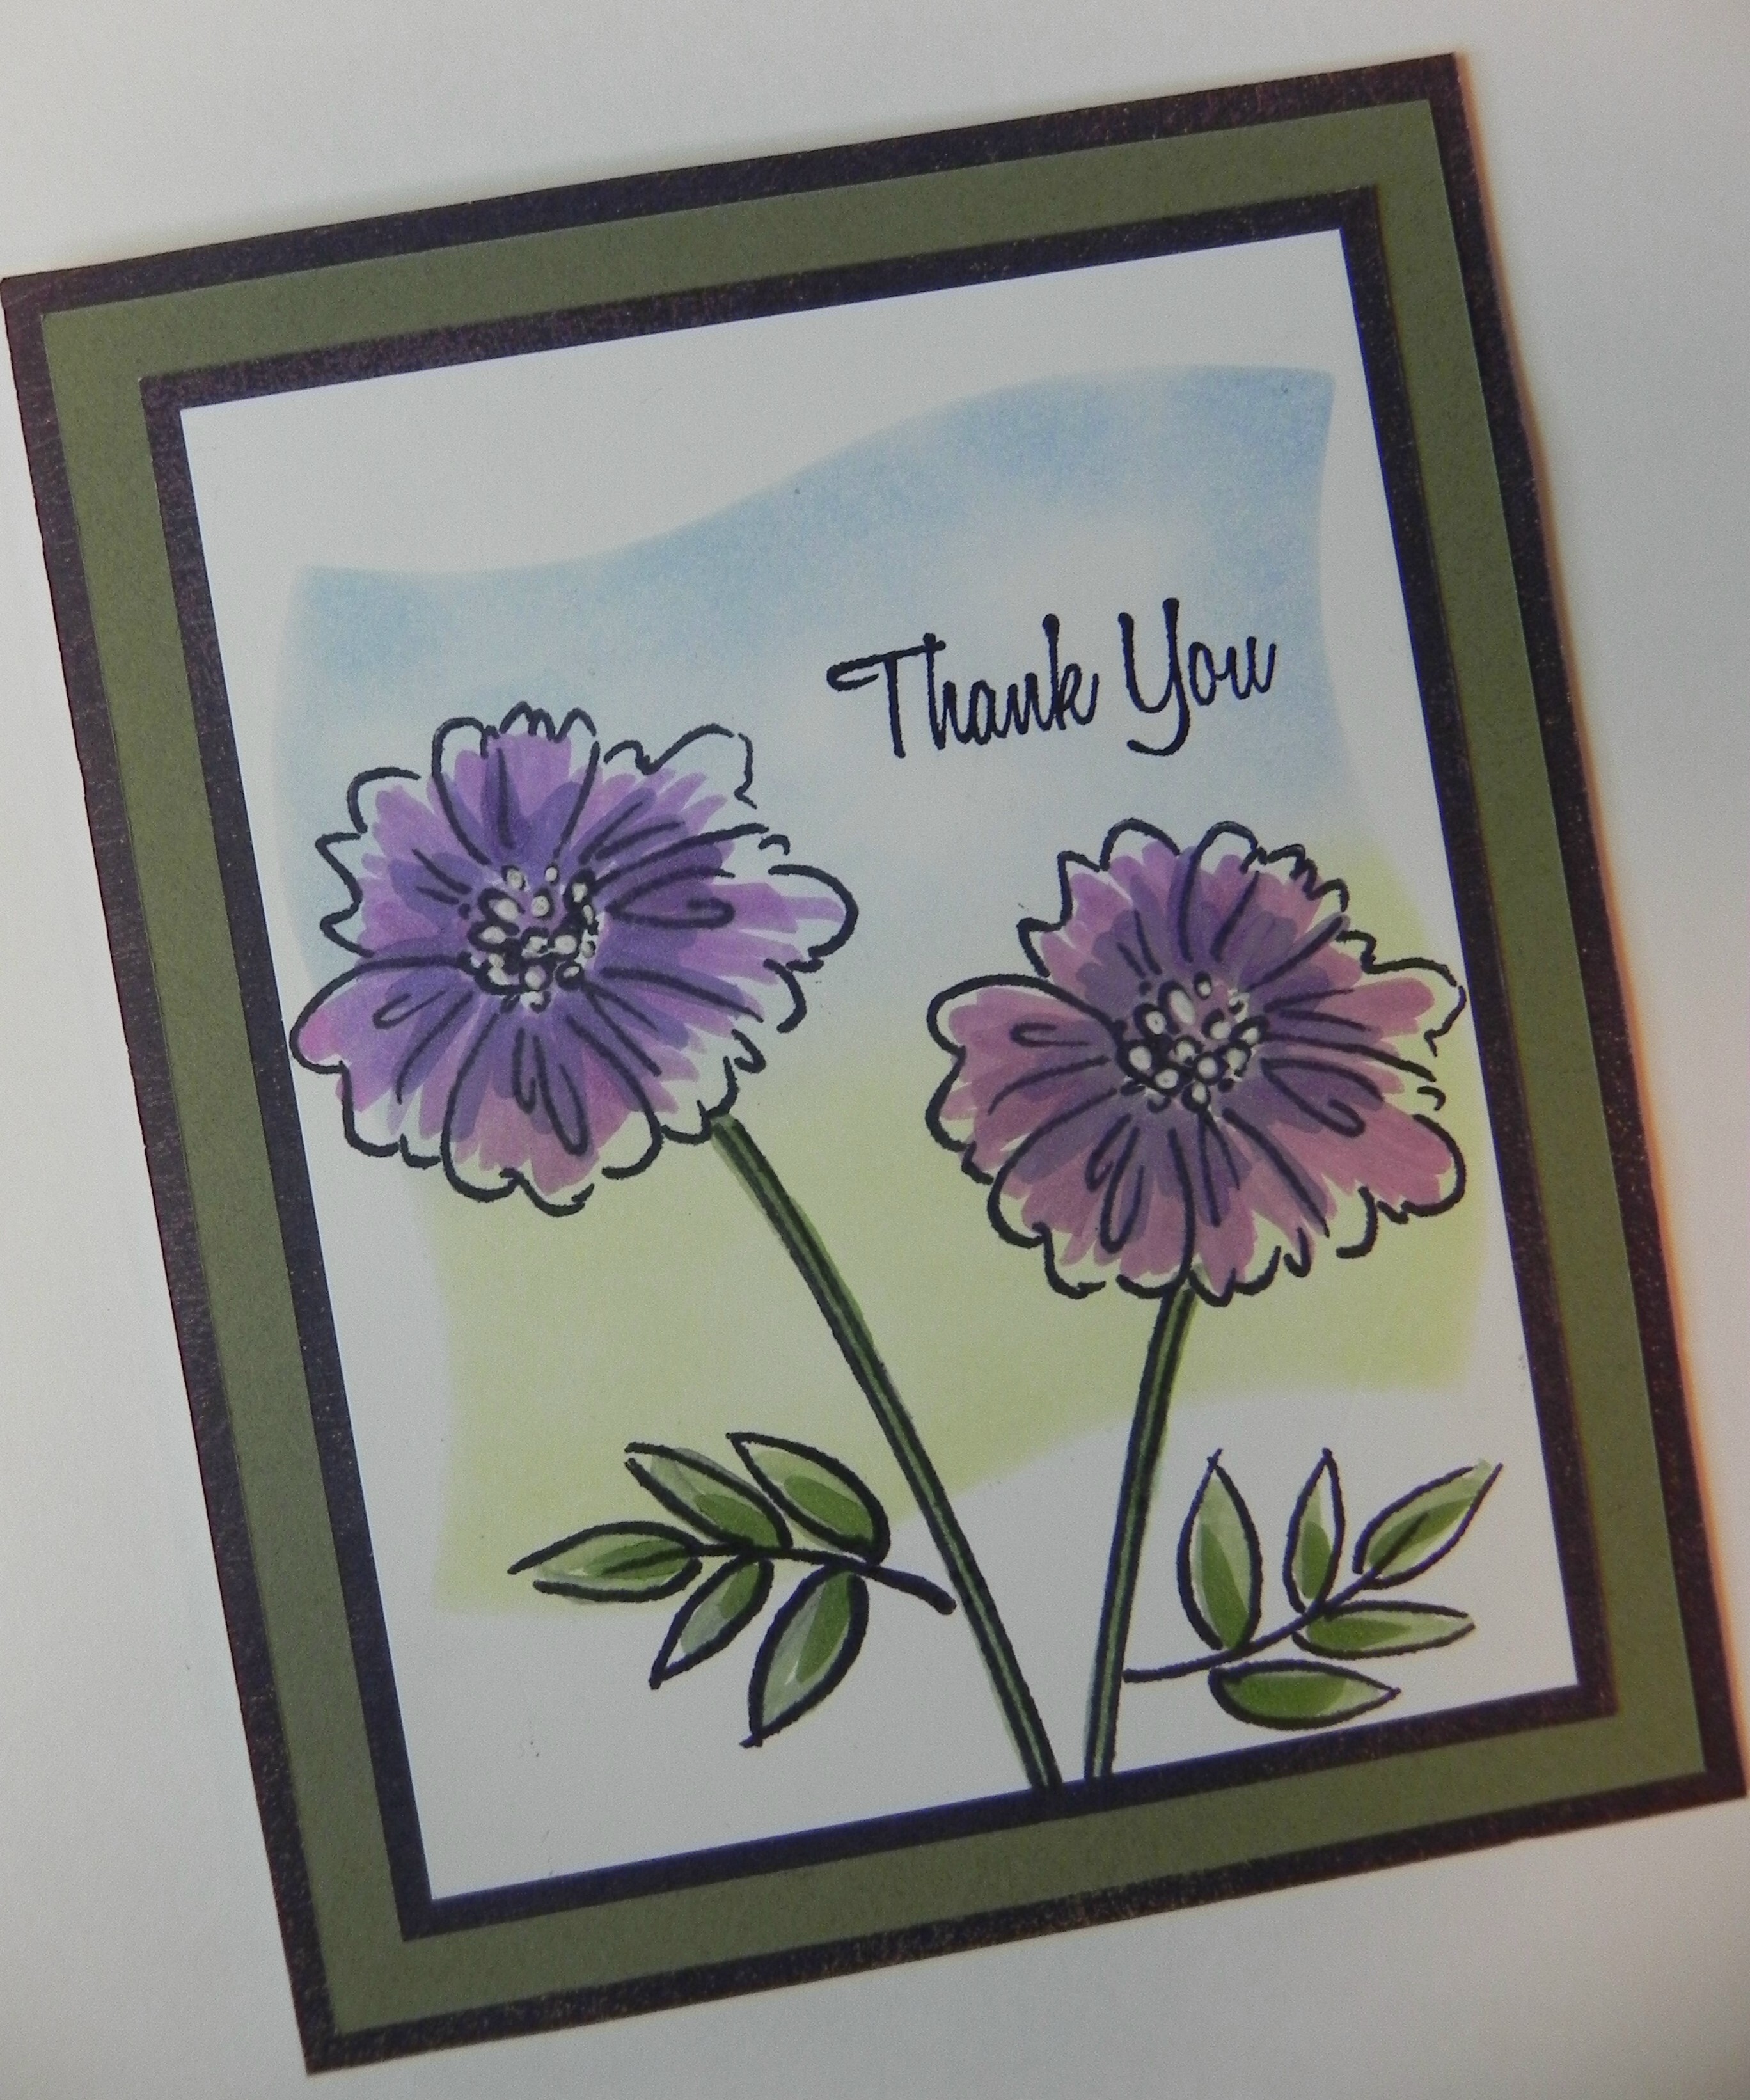
The sentiment and floral image on this card are from the “With Love & Prayers” set by GKD. Gina K Wild Lilac and Moonlit Fog inks with a square mask were used to create the background. The image and sentiment were stamped with Gina K’s Edible Eggplant ink.

and

Thank You Challenge card DSCN5976c

 My card was originally posted in my stamp tv gallery.   (Sadly, this site is no longer active.)

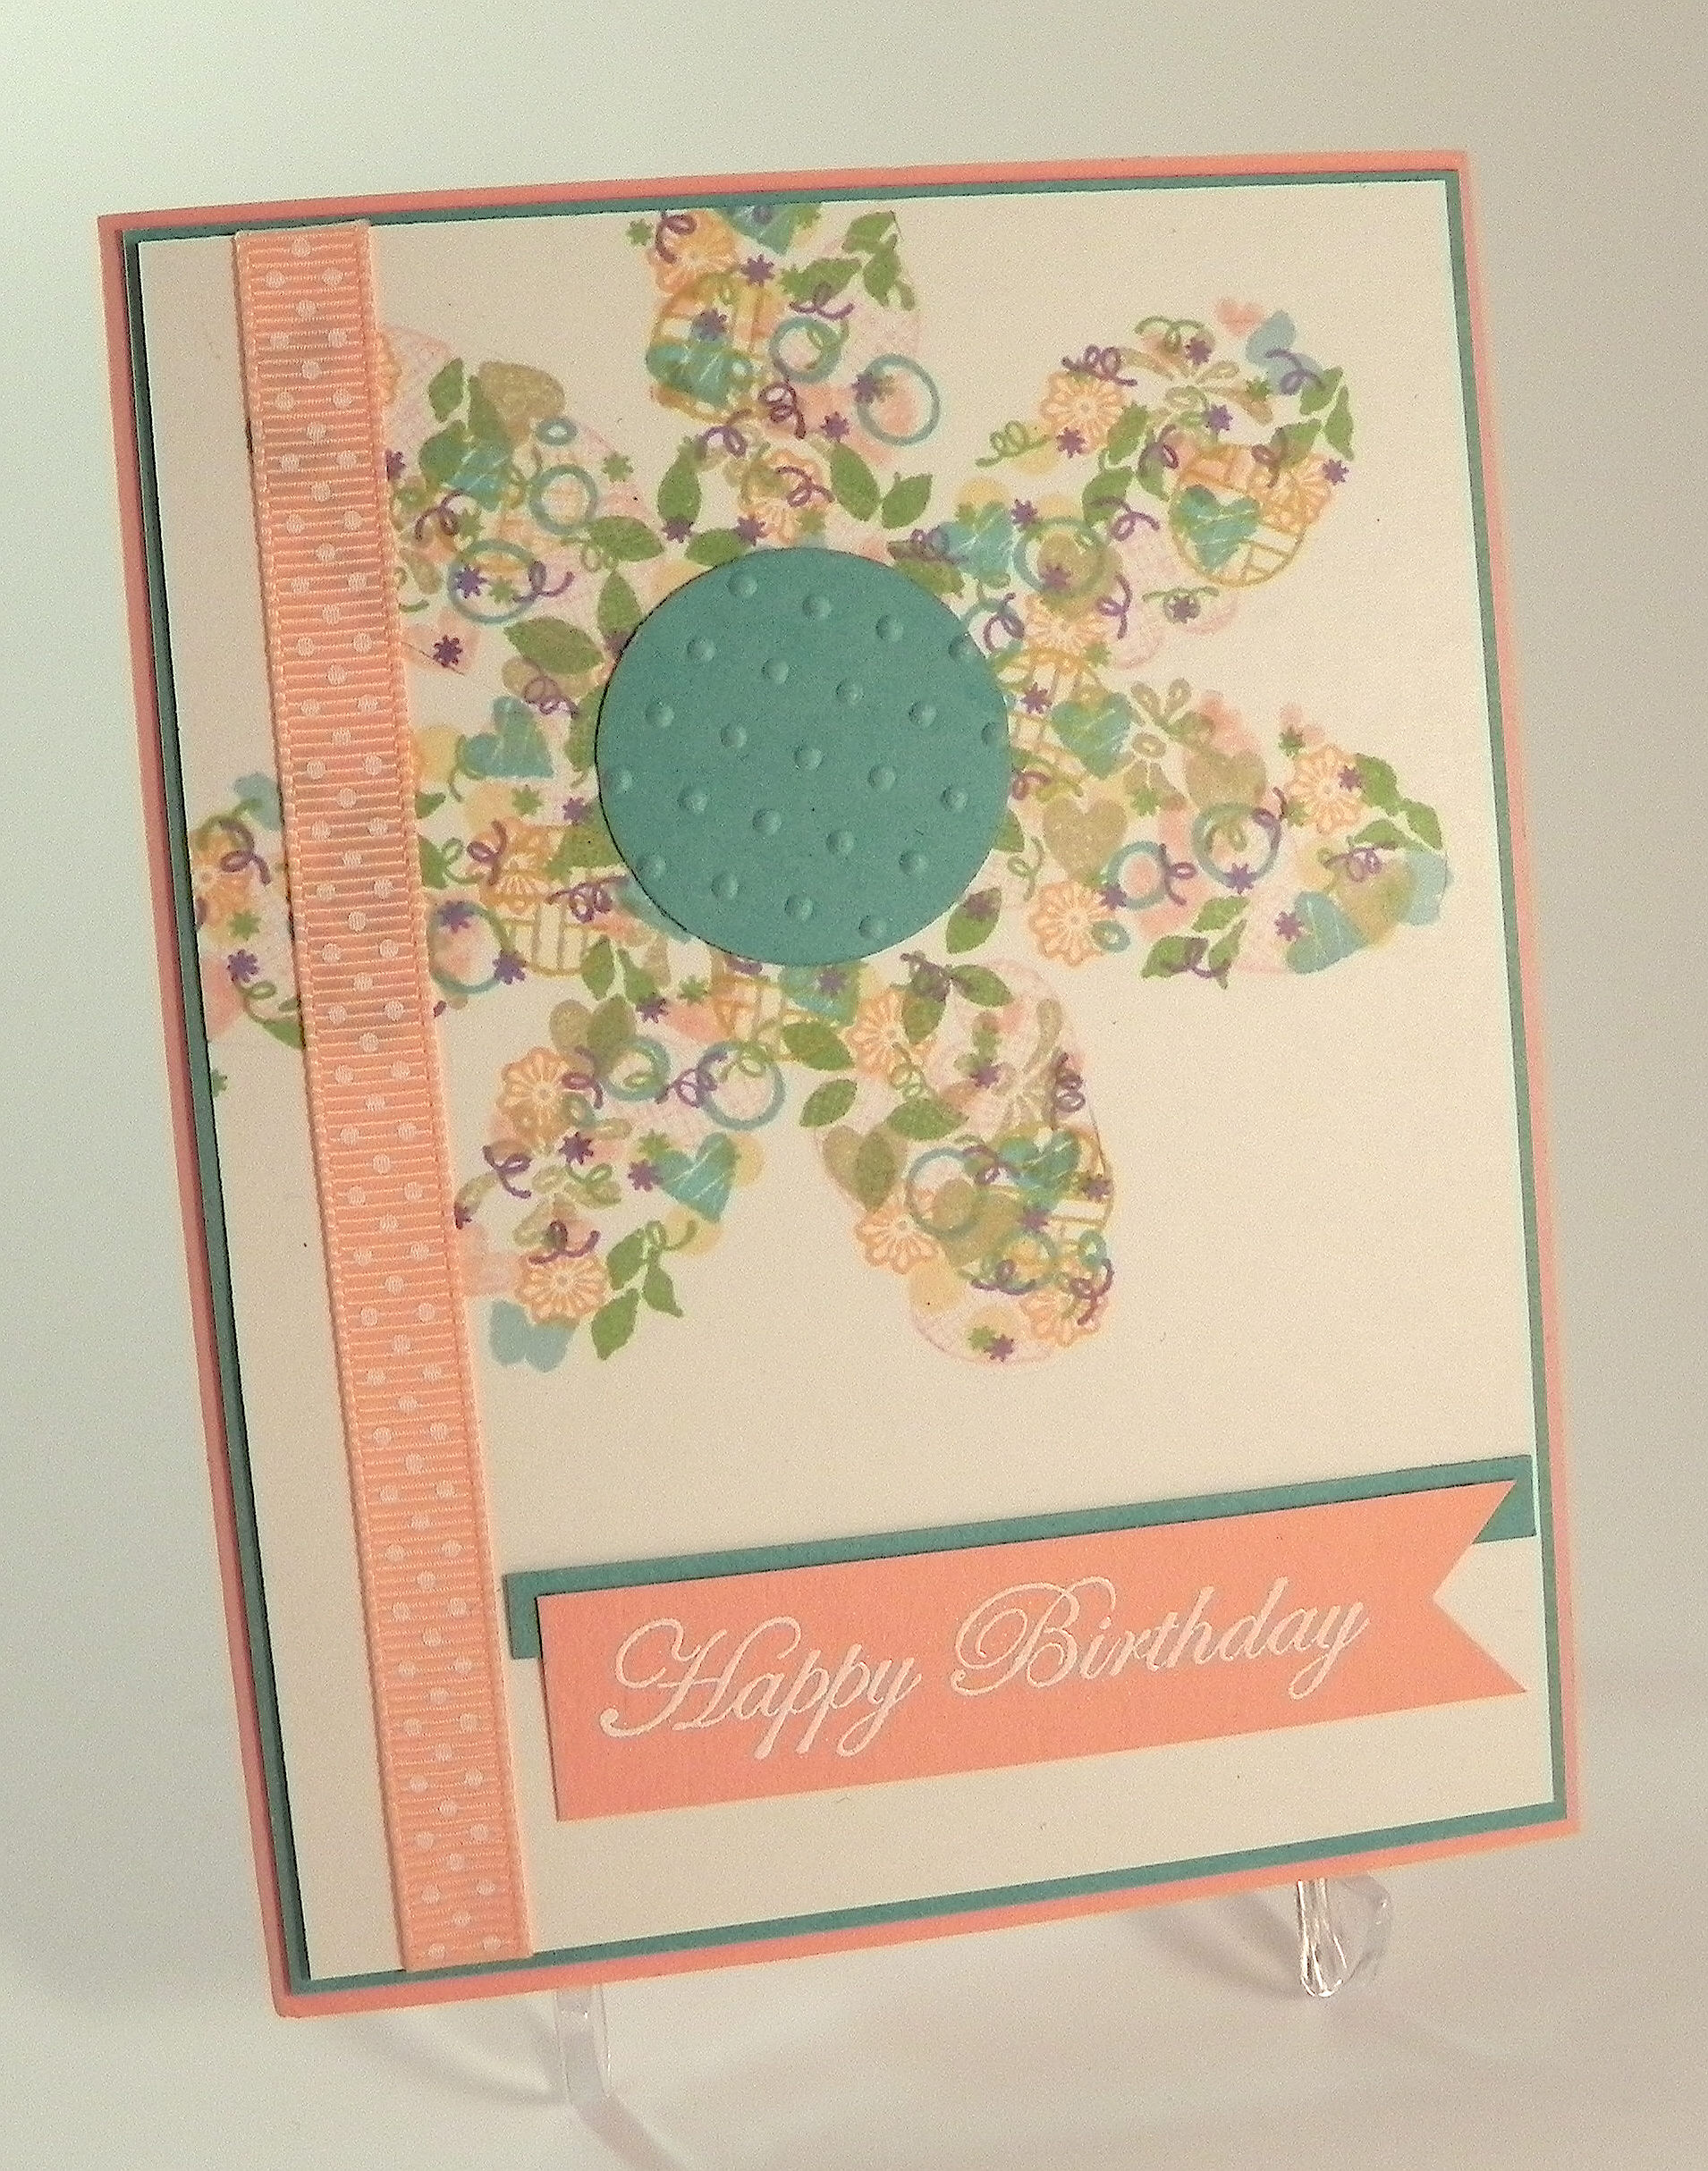
This is a card I CASED after watching Melanie Muenchinger’s tutorial (HERE).   The stamp sets I used are Gina K Designs “A Year of Flowers 2” and “All Occasion Tags” (retired?) for the sentiment.  I used the Spellbinders Wonky Square die for this reverse mask as well.


I also did a card a few weeks ago where I used the negative of a flower die cut to create the template for my image using the Confetti Cluster Stamping technique.

Confetti Cluster FLower Card DSCN9112

You can see my original post (HERE).


And finally, here is a sample of where I used the actual negative on my card of a heart I created and cut with my Silhouette.

With Love Anniversary Card DSCN5803

You can see the original post in my stamptv gallery.   (Sadly, this site is no longer active.)


I can’t wait to see your “Positively Negative” creations over at the Mod Squad Challenge Blog this week!

Thanks for checking out my post!

This content uses referral links as described in the disclosure policy on my sidebar.

Positively Negative Thank You Note

Positively Negative Thank You Note

xDSCN6243.jpg

I am so excited to have been asked to be the guest hostess for this week’s Mod Squad Challenge!  (Sadly, this site is no longer active.)

My challenge, called Positively Negative, is to create a project using the negative of a die (manual or electronically cut), punch, or hand-cut shape. (http://modsquadchallenge.blogspot.com/2015/05/positively-negative.html

The negative is the piece of paper (or other medium) from which the shape or shapes were cut. There are many different ways you could use the negative. You could do Confetti Cluster Stamping using the negative as your template. You could do Reverse Masking to create a background for your images.   You could use the actual negative on your project.   Stencils are negatives, too!   These are just a few examples of ways to use the negative on your project.

I needed to make a few thank you notes and wanted to create something that was easy to duplicate and wouldn’t require extra postage or a trip to the post office!

Using Gina K “Edible Eggplant” ink, I stamped my flourish (from Inkadinkado’s “Dot Flourishes“) and greeting (from Gina K Designs “Thank You Duo” – retired?) on a piece of Bazzill “Infatuation” card stock.

I wanted my flowers cut from this panel with the patterned paper showing through the “holes” left by the dies, and I also wanted a darker inner border showing around the inside border of each flower.  The problem was that I don’t have smaller dies to make the borders , so I placed this panel on a slightly larger panel of Gina K “Edible Eggplant” card stock, lining them up in the lower right corner (as shown)

wwDSCN6224

… and die cut the flowers (through both panels at once) using dies from the Momenta Flowers 2 (Lot 004798) die set.  (I added a bit of repositional adhesive to keep the two panels in place temporarily.)  Once the flowers were cut, removed (and saved for a later project!), I centered the lighter purple panel on the darker one.  This caused the cut-outs to be slightly offset creating a partial “shadow” effect.  It didn’t go around the flowers perfectly or completely, but it was enough to add a little contrast between the light panel and the patterned paper.  This matted panel was adhered to the patterned panel (“Dark Plum Damask” – Sonnets by Sharon – Creative Imaginations) and then to an Edible Eggplant card base. Lavender Gem Stickers  (Martha Stewart Crafts) were added to the centers of the flowers and on the flourish.

wDSCN6260

The Mod Squad Challenge prize (for a randomly drawn winner) is “stuff” from my stash [Spellbinders “Circles” Impressabilites (which can be used as a stencil if you don’t have a machine for embossing), two packs of metal embellishments, and silver foil tape.

Prize Photo

Join us for the Mod Squad “Positively Negative” Challenge this week.  (Details on the rules can be found HERE.)  I can’t wait to see what you create!  (Sadly, this site is no longer active.)

Thanks for checking out my card project and post!

This content uses referral links as described in the disclosure policy on my sidebar.

Wine Diva Thank You

Wine Diva Thank You

Wine Diva Thank You DSCN9190.jpg

A very kind and generous friend of my husband (I’ve not had the pleasure of meeting her yet) left a case of wine for us on our porch yesterday – just because!  So naturally, I thought of this stamp from an AI stamp set I recently purchased to make a thank you note for her.  Frankie is an alumna of the University of Pennsylvania and is involved with setting up interviews for prospective students with alumni in the area like my husband, which is how they met.  I wanted the card to be fun and to reflect the gift, but I also wanted it to have a Penn “feel” to it.  The Wine Diva image along with the red and blue color theme (did you notice her outfit and wine choice?) covered it all!

The stamp used on this card is from an Art Impressions set which I purchased at Michaels. There is no name on the set, but “Aged to Perfection” or “Wine Diva” seem to work when I searched the set on google.  Michaels now carries several Art Impressions stamp sets that Hampton Arts distributes, and if I understand correctly, these exact sets are made exclusively for Michaels and are not sold on the AI website.  Here is what is in this set:

 AI Wine Diva Stamp Set (SC0677)  ai wine diva stamp set clear image

This was the only set my store had when I was there last.  I will keep my eyes open for others as I think these stamp designs are a hoot!! (And using a 40% off coupon makes the price really attractive!)

The set comes with some very cute sentiments, but since this was to be a thank you note, I went with the “Thanks” stamp from the Gina K Designs “Vertical Greetings” stamp set instead.  I stamped it with Versamark ink and heat embossed it with Recollections snow embossing powder.

I used dies from the Spellbinders Standard Circles (large and small) sets for my focal image.  The embossing folders I used were Darice Dot and Sizzix (Stampin’ Up) Stripes (retired?).

The card stock colors I used were Gina K Cranberry Tart and In The Navy, and Express It white.

The image was stamped with Memento tuxedo black ink and colored with Copic Markers:  (Skin: E50, E31, E33; Lips: E04; Cheeks: R21; Shadow: W4; Hair: E25, E27; Clothes: B39, R89; Chair: E31, E55; Earrings & Wine Glass: C1 with a Clear Wink of Stella Glitter Brush Pen)

In addition to the Wink of Stella for a little shimmer, I also added texture to her dress with some Copic blending solution and a scrap of towel.  You can see how I did it HERE.

Wine Diva close-up DSCN9201

 (click on the photo to see the shimmer)

This was a fun card to make.  The AI images always make me smile!!

Thanks for checking out my card post!

This content uses referral links as described in the disclosure policy on my sidebar.

Baseball Thank You Note

Baseball Thank You Note

Baseball Thank You Note DSCN8983

My son needed another baseball themed thank you note, so I created this card.

The baseball print was from an image I found on google and printed with permission (photo courtesy of Tennessee Home & Farm, tnhomeandfarm.com originally seen HERE) on white card stock.  The brown paper is a digital paper I purchased on Etsy from a store called Happy Place Art and is from a set called Watercolour Series Nautical Set. (You can see the listing HERE.)  The THANKS stamp is from the Gina K Designs Vertical Greetings stamp set. (I LOVE their vertical greeting stamps and wish they would make more!) The baseball stamp is from the Hampton Art Warehouse Baseball Rubber Stamp Set (as seen HERE). Both were stamped with Gina K dark chocolate ink. All the edges were sponged with the dark chocolate as well. The stamped panel was adhered with foam tape to raise it up slightly. I finished it off with a bit of thin twine and adhered the whole thing to a Gina K Pure Ivory card base.

The greeting stamp had to be positioned “just right” with the other stamp, and because I stamped brown ink onto a somewhat dark brown card stock, I needed to stamp the images multple times in order to make the images dark enough to see well. I also wanted to make several copies of this card. My MISTI was the perfect tool for the job! (I talk about the MISTI in a previous post which you can see HERE.) It allowed me to precisely place the two stamps exactly where I wanted them, and it allowed me to stamp and re-stamp the images in the exact spot each time.  I posted a demonstration of how I used this tool to make this card HERE.

This card is being entered in the “Use Your Stuff” Challenge where we are encouraged to use stuff that we’ve had in our stash but have not used yet, and this week – to “Make it Monochromatic.”  It can be a card or a layout, altered art or an ATC – as long as it is monochromatic.  I used shades of brown and a baseball stamp that I purchased but hadn’t gotten around to using before now. (http://useyourstuff.blogspot.com/2015/03/176-monochromatic.html)

Thanks for checking out my card project!

This content uses referral links as described in the disclosure policy on my sidebar.

Palm Tree Thanks

Palm Tree Thanks

Palm Tree Thanks DSCN7876.jpg


Did you ever get stuck on an idea and even though it just isn’t working the way you envisioned it, you spend way too much time trying and trying?  I can be very stubborn and have been known to do this… a lot!  That’s what happened with this card.  My husband needed to send a thank you note to a friend he recently saw in Florida, and my daughter loves palm trees and needed some notes for her birthday which is coming up next week.  My original idea was to use the chalkboard technique to make a card using the palm tree stamp with the “Thanks” as the trunk.  (I was trying to avoid a realistic scene with a lot of sponging and coloring since I needed to make a number of these thank you notes, and I really wanted to use the wavy paper I just got on clearance at AC Moore.)

Here is my first attempt:

Chalkboard Palm Trees DSCN7871


It wasn’t bad, but I felt like it needed something more on the “chalkboard” panel, and in trying to make multiple copies, I just kept making a mess.  (I hate using pigment inks!)

I finally gave up on the chalkboard idea and the palm trees and tried to work around the wavy paper. Here is my second attempt:

Many Thanks DSCN7885


I actually really liked this design with the “Many Thanks” stamp (Gina K Designs “Lots of Lines” set) and was happy with the ease with which I could duplicate it.  However, my husband and daughter seemed to like the palm tree idea better.  So….

I ended up combining the two ideas and used the sponging and inking idea from the second card with the palm tree and greeting idea from the first card and ended up with my final project:

Palm Tree Thanks DSCN7876

A lot of time and wasted paper, but I am happy with the way it came out.  I guess it’s not so bad to be a stubborn crafter!  (Sometimes it just takes me a while to get to the end of the process!!)

The “thanks” stamp is from the Gina K Designs “Vertical Greetings” set, and the palm trees are by Recollections.  I created a mask to sponge the background and used Gina K turquoise sea and Tim Holtz pine needles distress inks.  The images were stamped with Memento tuxedo black ink.  The wavy paper is by Crate Paper called Poolside from the Pier Collection.  Gina K turquoise sea, black and white card stock was also used. I used my stamp-a-ma-jig and a mask to put the greeting where the trunk should have been, and these (along with the background mask) made it easy to make multiple copies of this layout.

Thanks for checking out my card project!

This content uses referral links as described in the disclosure policy on my sidebar.