Congratulations On Your Sweet New Arrival

Congratulations On Your Sweet New Arrival

This card features stamps from the “Baby Talk” set by Stampin’ Up (retired).  I masked off the greeting that was part of the carriage image stamp, and I cut the greeting stamp I actually used in half so I could use the two lines separately.  Nothing like a little stamp surgery to get your heart racing – lol!! (I almost always take my rubber stamps off their wood blocks and remount them on cling foam so I can use them with my stamp positioner; I occasionally cut the stamps themselves, although I usually have to work myself up to that!!)

The joy fold card base and decorative panels were cut with (my trimmer and) the “Angel Side Circle Card Die” set which is by Creek Bank Creations.

The inside sentiment is from the “Cuddles and Kisses” stamp set by Stampin’ Up (retired).

The card stand (that will be included with the card) was cut with the “Card Stand Die” which is also by Creek Bank Creations.  The faux ribbon was cut with Poppystamp’s “Grosgrain Ribbon” die.

Thanks for checking out my card project!

Hope Your Day is Par-fect!

Hope Your Day is Par-fect!

Hope Your Day Is Par-fect wDSC_3791

(inside: Enjoy your day!)

This card features the golfer and two greeting stamps from the “And Many Mower” stamp set from Stampin’ Up (retired).  I colored him with Copic Markers (E30, E31, E34, G21, G24, G28, YG63, C0, C3, and C5).  I used the “Argyle” embossing folder from Cuttlebug for the background.  The inside greeting is from the “Celebrate” set (SC0752) from Hampton Art.

Thanks for checking out my card project!

This content uses referral links as described in the disclosure policy on my sidebar.

Blue Birthday Flowers

Blue Birthday Flowers

wDSC_3790

This CAS card features stamps from the “Spring Flowers” set from Simon Says Stamp.

I stamped the images with Memento Tuxedo Black ink and colored them with Copic Markers (B91, B95, B97, G82, G94, and G99).

The greeting was heat embossed in white and was cut with the “Word Window Label” punch from Stampin’ Up (retired).

Over at The Paper Players, they are celebrating their 500th challenge! It is CAS, and it’s theme week – CELEBRATE where we are encouraged to celebrate any occasion or anyone (birthday, Christmas, anniversary, wedding, bar/bat mitzvah, friendship….).

Thanks for checking out my card project!

Eucalyptus Wreath Joy Fold Card

Eucalyptus Wreath Joy Fold Card

wwDSC_3770

(inside: wishing you all the best today and throughout the coming year)

This gorgeous wreath stamp is from the “Greenery Invites” set from Art Impressions.  The die set used to make this Joy Fold card base is the “Angel Side Circle Card Die” from Creek Bank Creations (D1952).

wDSC_3776  wDSC_3775  wDSC_3774

Creek Bank Creations also makes a “Card Stand Die” for cards that either do not stand up on their own or look kind of funky when displayed.  The die cut stand folds flat and fits in the envelope with the card – how cute is that?!

wDSC_3777  wDSC_3778

I stamped and water colored the image with Tombow Duel Brush Pens (Hunter Green #249, Dark Jade #177, and True Blue #526).  I used these same markers to “smoosh: my side strip panel.

The greeting is from the “Tiny Words” set from Simon Says Stamp and was stamped with Gina K Designs In the Navy ink.  It was then cut out with the Stampin’ Up “Word Window” punch (retired).

I did not properly center my wreath image on the stitched circle that is included with the Angel Side Circle set, so I re-cut it out with a die from the Spellbinders Standard Circles (sm) set and mounted that panel on another stitched circle die cut.  I like the extra layer so it was a happy mistake!

The sentiment on the inside is from the “Happy Birthday to You” set from Gina K Designs.  The stitched panel on the left side of the card and on the inside is also included with the card base set.  Everything else was cut with my paper trimmer.

A quick note – the card base die is 9 1/2 inches long; the sizzix extended platform and cutting plates are recommended.

Thanks for checking out my card project!

This content uses referral links as described in the disclosure policy on my sidebar.

Arbor Scene – Birthday Challenge #2

Arbor Scene – Birthday Challenge #2

wDSC_3736

You may recall that my birthday gift this year from my children was the gift of inspiration where they “assigned me” 12 card challenges based on some childhood memory or other significant connection we’ve shared.  Kelly came up with challenge #2.

While the COVID-19 pandemic had forced us to “stay at home” this past spring, taking walks outside was permitted, and we walked around our neighborhood (while keeping our distance from our neighbors) every day.  Kelly and I often admired and talked about all the beautiful flowers and trees that were starting to bloom or house and car colors that we saw and liked, etc.  Kelly’s challenge was inspired by these walks.  Her challenge was a two-parter; she challenged me to create an outdoor scene and to include a few of the colors that we saw on our walks around the neighborhood.

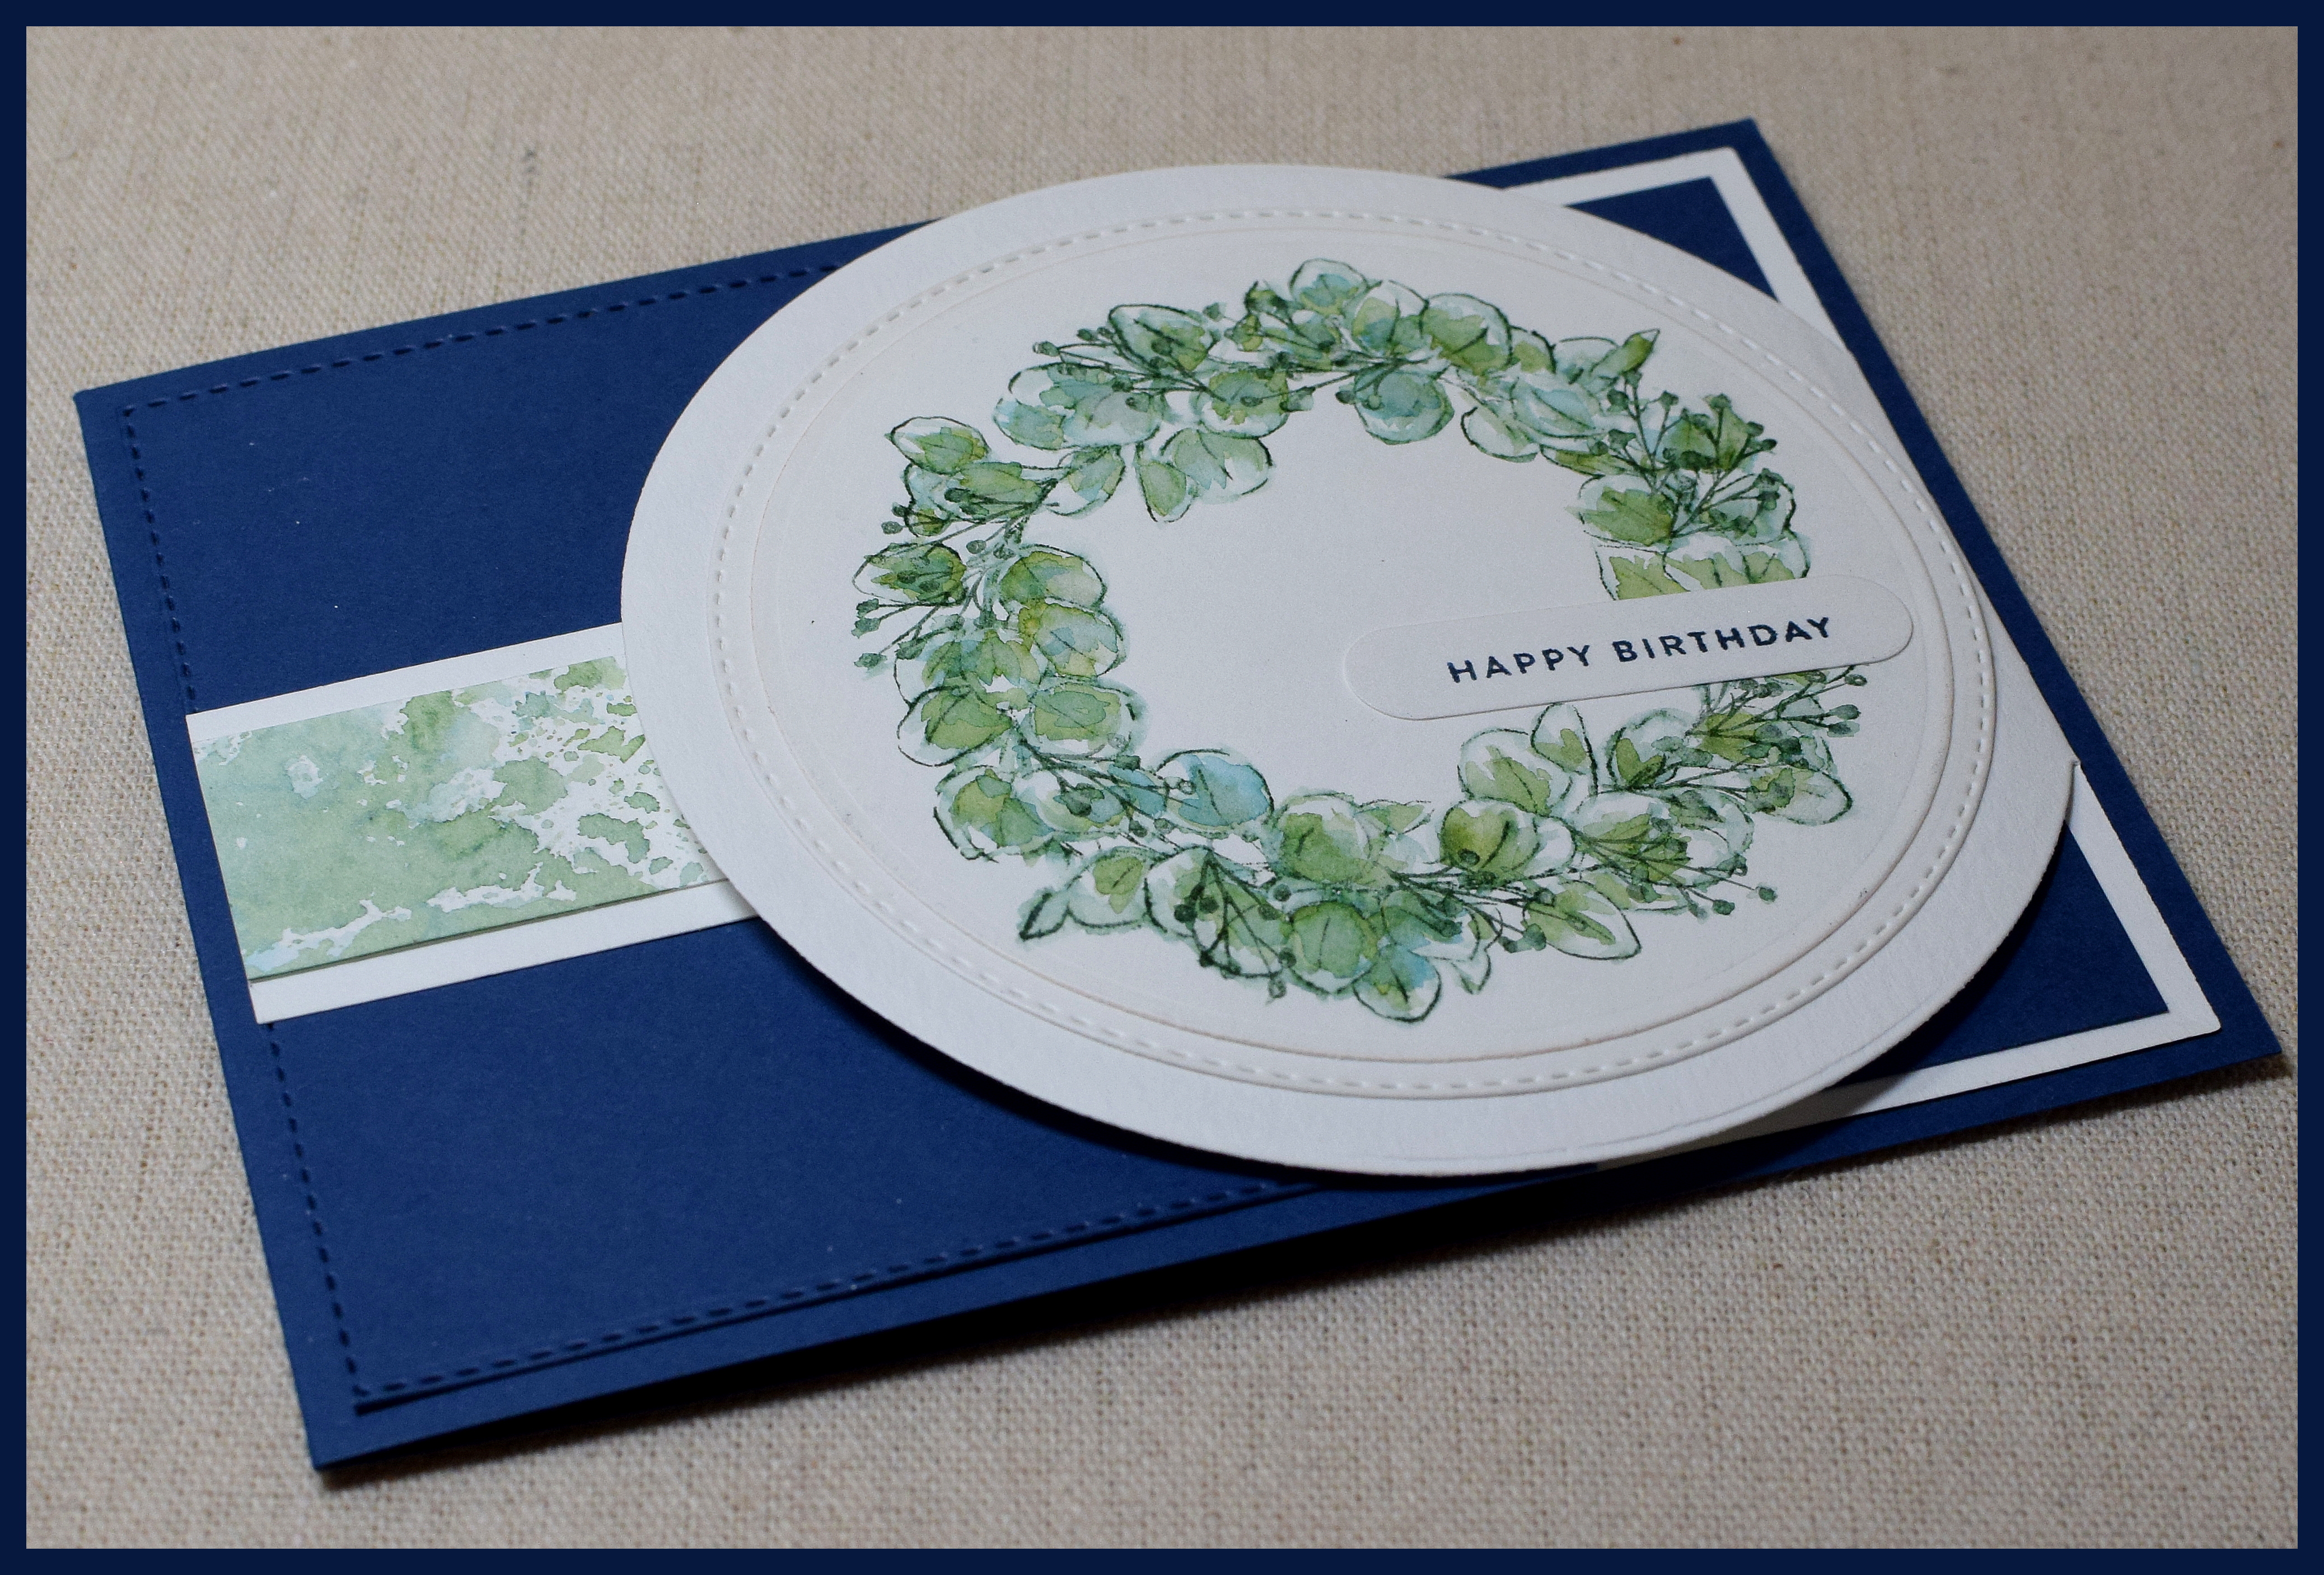
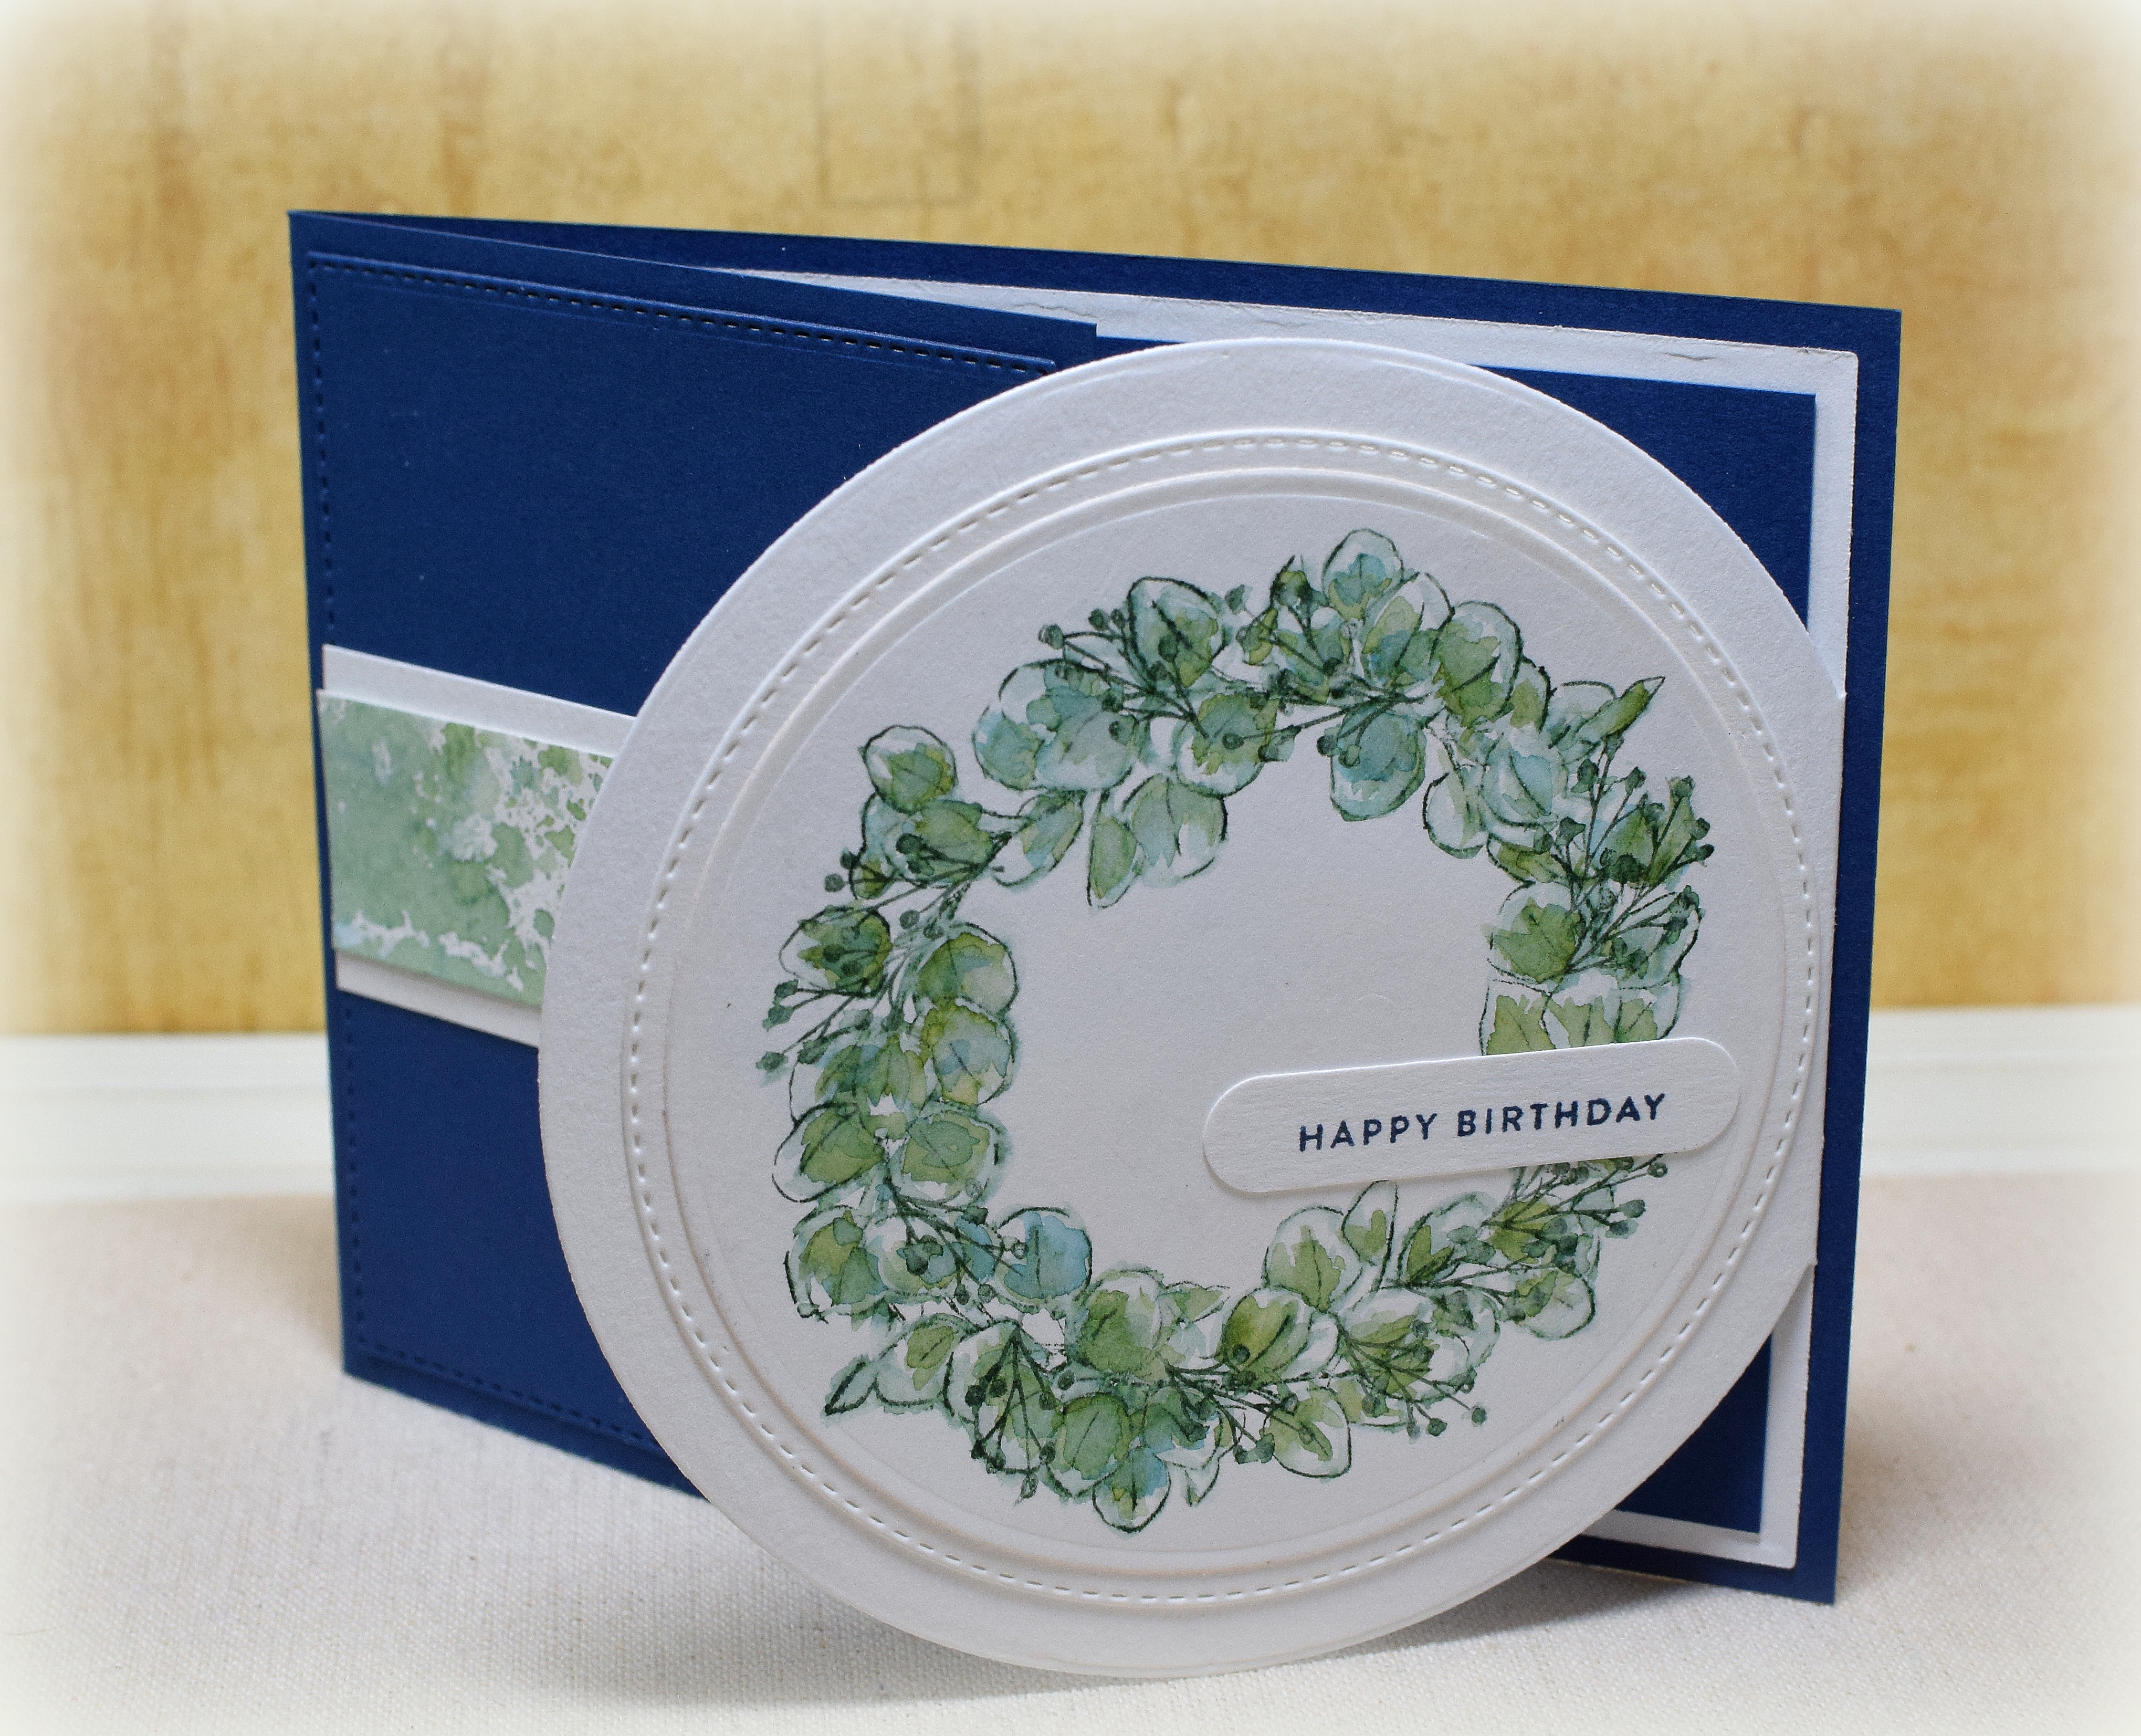
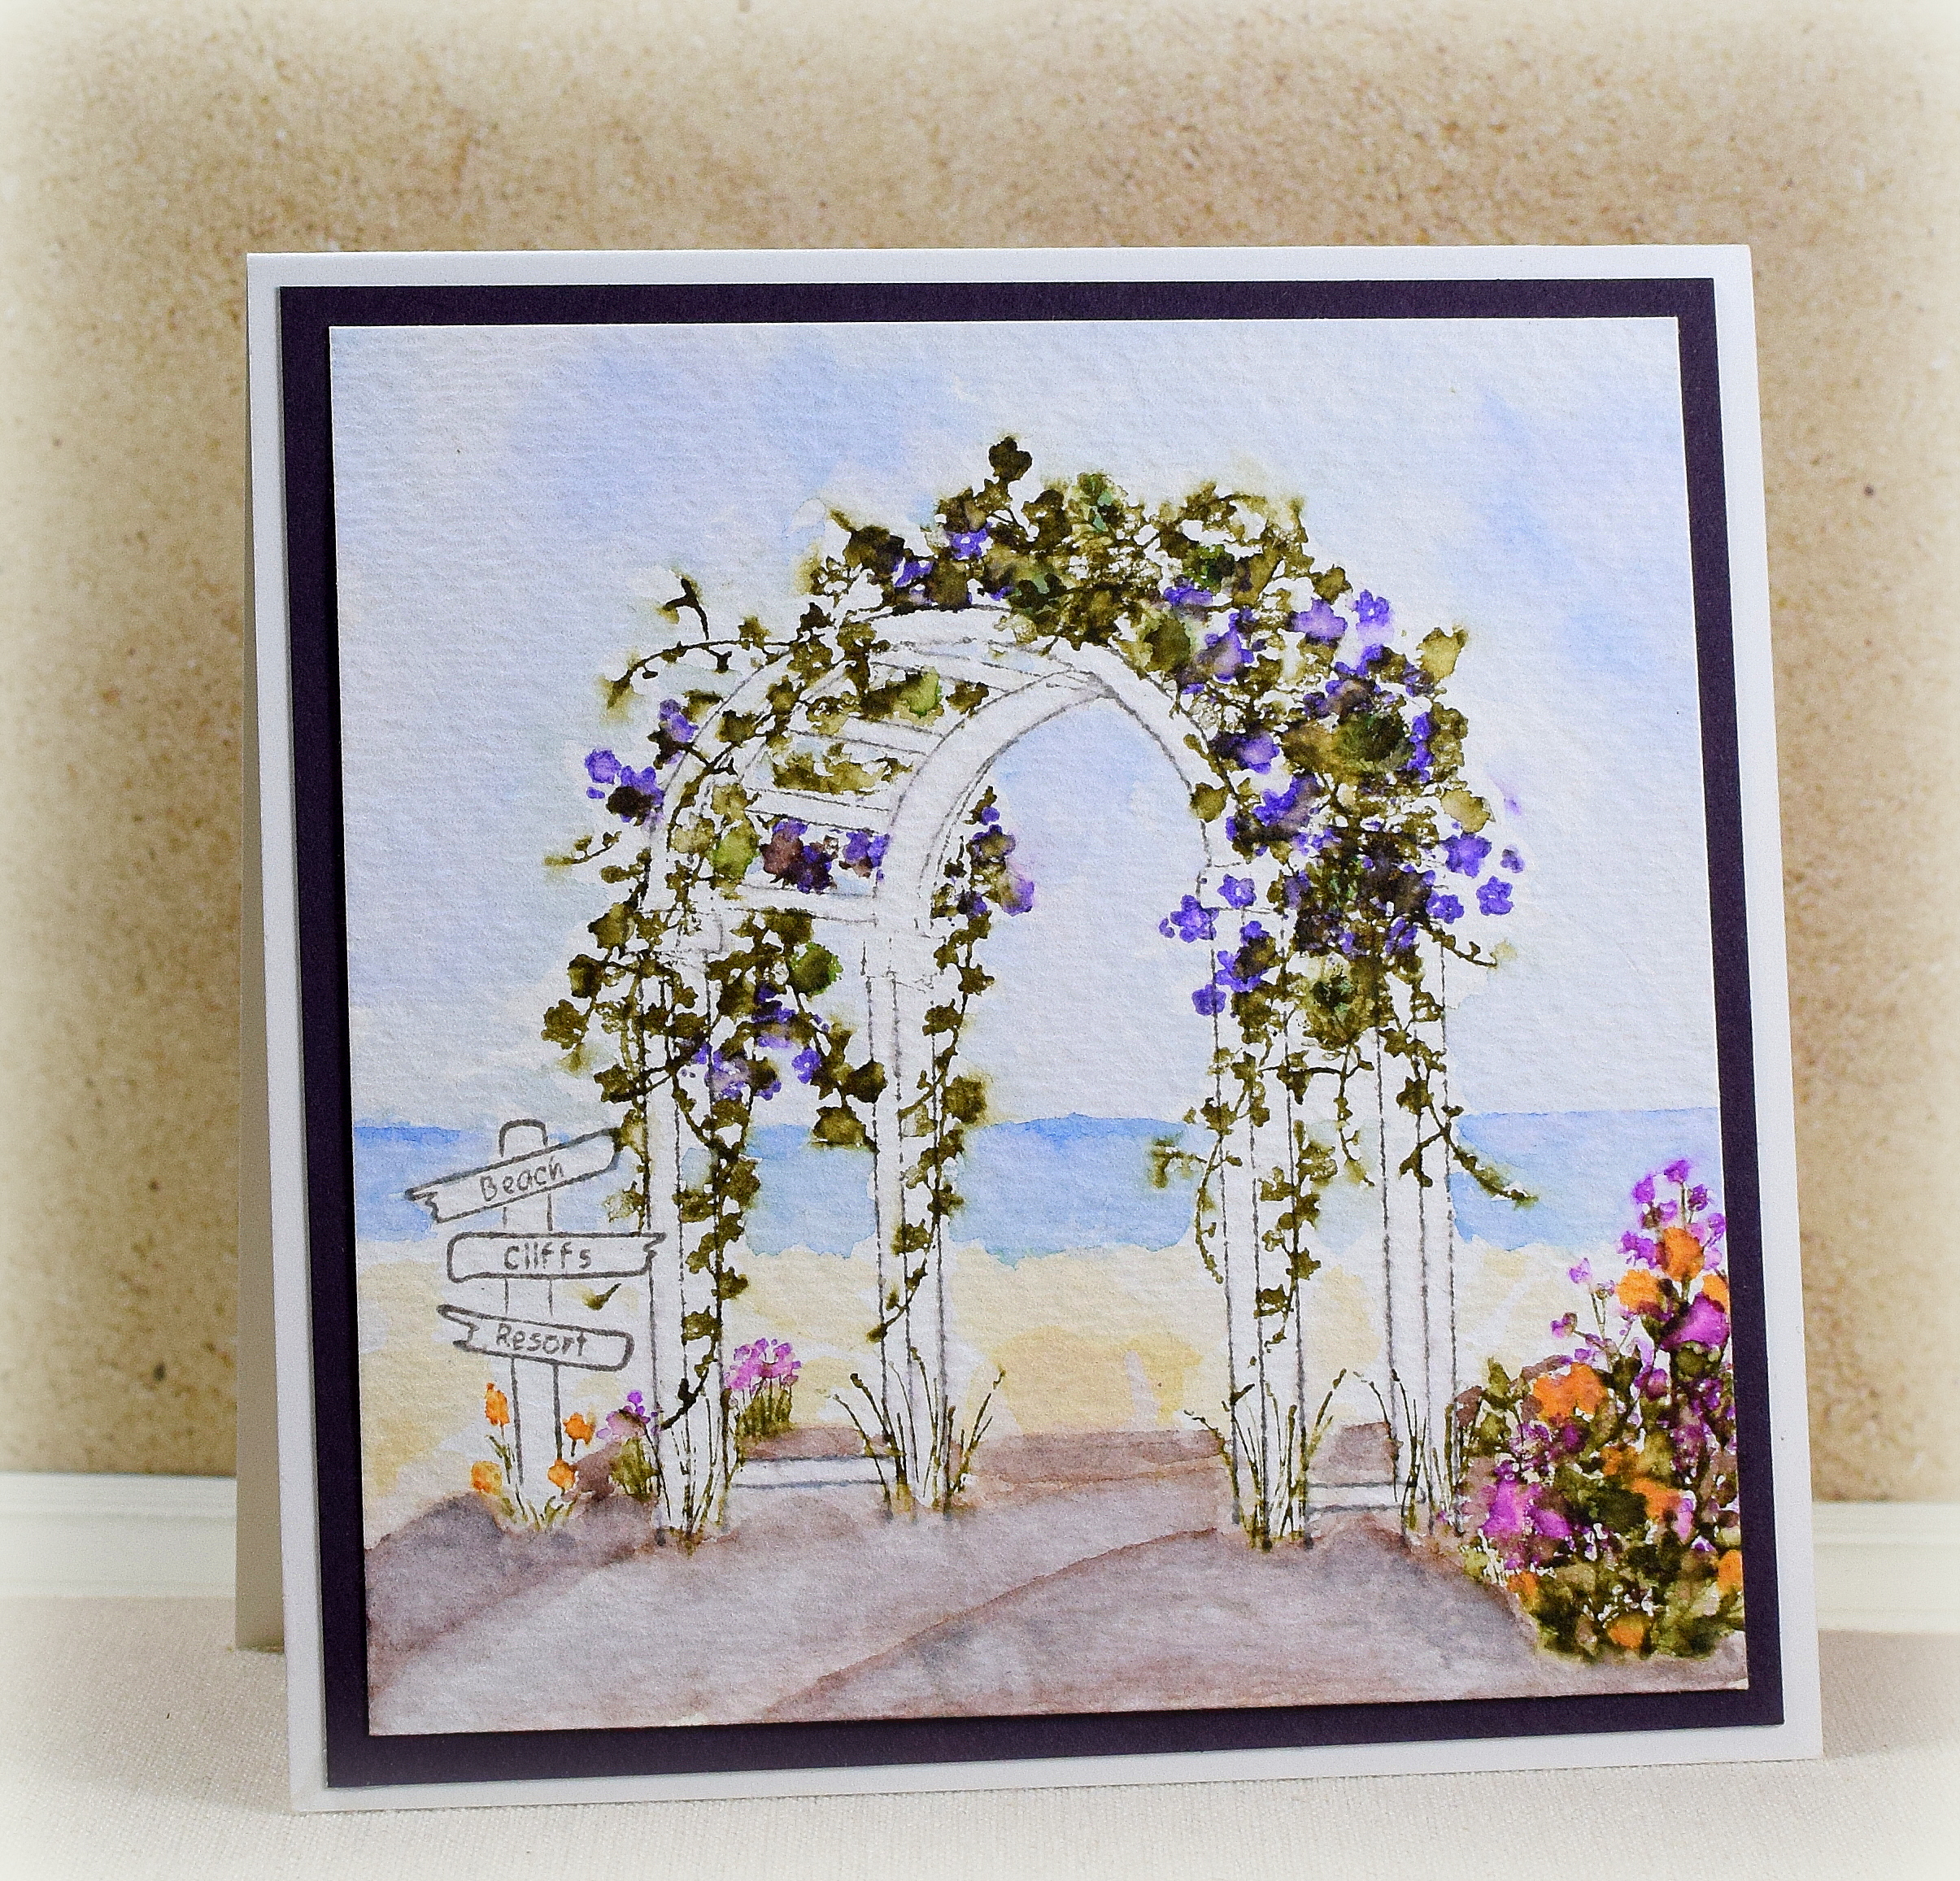
I decided to do water color stamping to create my scene.  (Can you tell I’m loving this new-to-me technique!?)

My color choices (purple, pink, green, white, blue, orange, and browns) can be seen in these photos we took while walking:

IMG_9405c  IMG_9394c  IMG_9403c

IMG_9435c  IMG_9412c

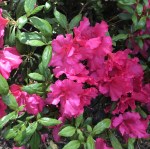
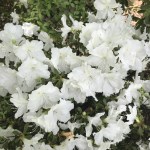
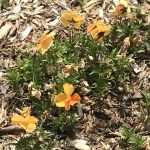
I have to admit that I cheated a bit with the color part of the challenge in that I took photos of every color imaginable and then selected the photos that matched my finished project.  (So many pretty flowers!!)  However, as you will see below, just adding color at all was the challenge for me – lol!

wDSC_3737

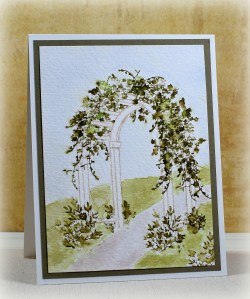
I did this (earlier) version with no flowers because I actually forgot to leave space for them as I was stamping the leaves and vines on the arbor!  I liked the way the greenery looked so I decided to do the whole card that way.  It didn’t work for the color part of the challenge though, so I came up with the additional sample at the top of this post.

I was excited when I found the Art Impression arbor stamp (retired?) to use for my scene since there was actually an arbor (with purple blooms) in our neighborhood.

IMG_9420c

Besides the arbor stamp (and the vines and leaves that came with it), I used stamps from several other Art Impressions sets:  Watercolor Starter Bundle (which includes the WC Decorative Jar Set – 5123, Foliage Set – 4051, and Flower Set – 4052), WC Foliage Set 4 (#5126), WC Mini Flower Set (#5009), and a floral image from the Watering Can (#4761) set.

The sign stamp on the first card was from the “Day at the Beach” set by Kittie Kits/Rubbernecker (retired?).

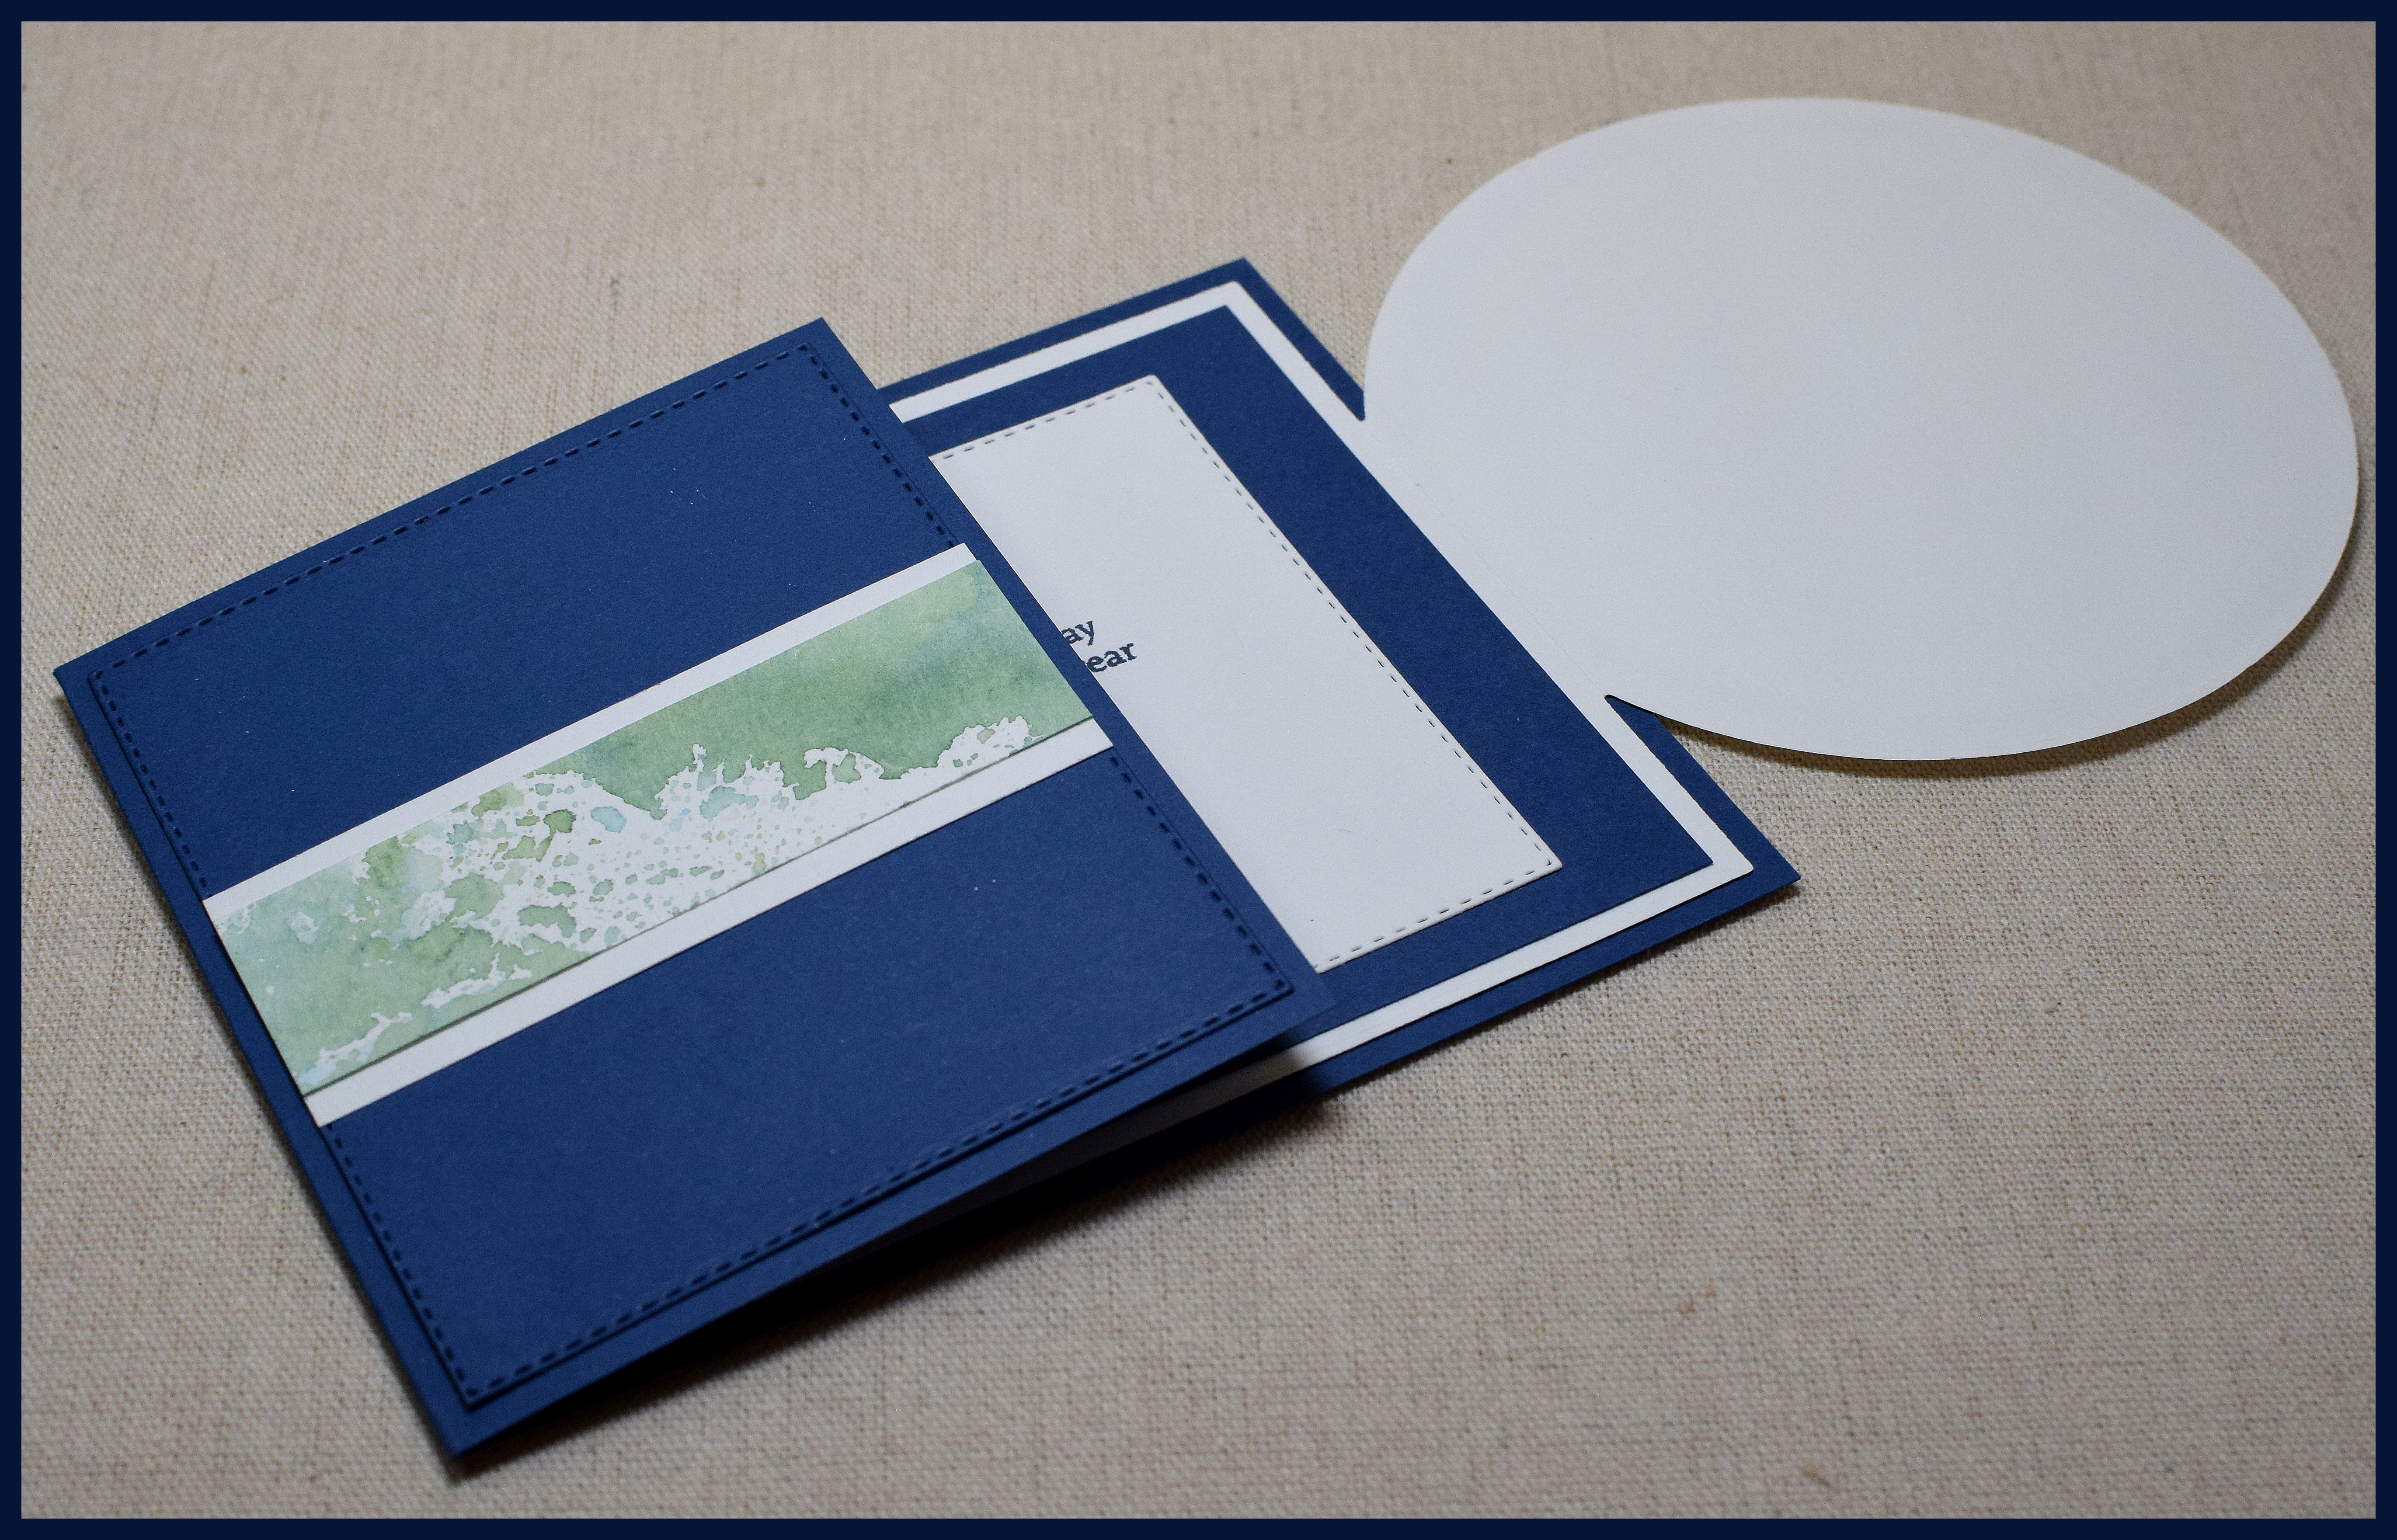
I used water color paper, Spectrum Aqua markers (from various sets) along with Gina K Designs Sandy Beach and Stormy Sky ink as my paint , a no. 4 paint brush, and water.

This image proved to be more challenging to work with than I imagined!  I trashed quite a few of my early attempts while trying to figuring out how to add the foliage and blooms without it looking like an unruly mess; it’s easy to get carried away once you start stamping!  I discovered that less is definitely better with this image.  (The upper right portion is meant to be fuller as there is a big gap on the arbor design.)

stamp set

I also starting masking portions of the arbor while I added the vines, leaves, and flowers which really helped.

I’m still getting used to how much water to use with the ink, and getting the backgrounds to look like they did in my head was much harder than I expected as well!  I did enjoy the process though and will keep practicing!

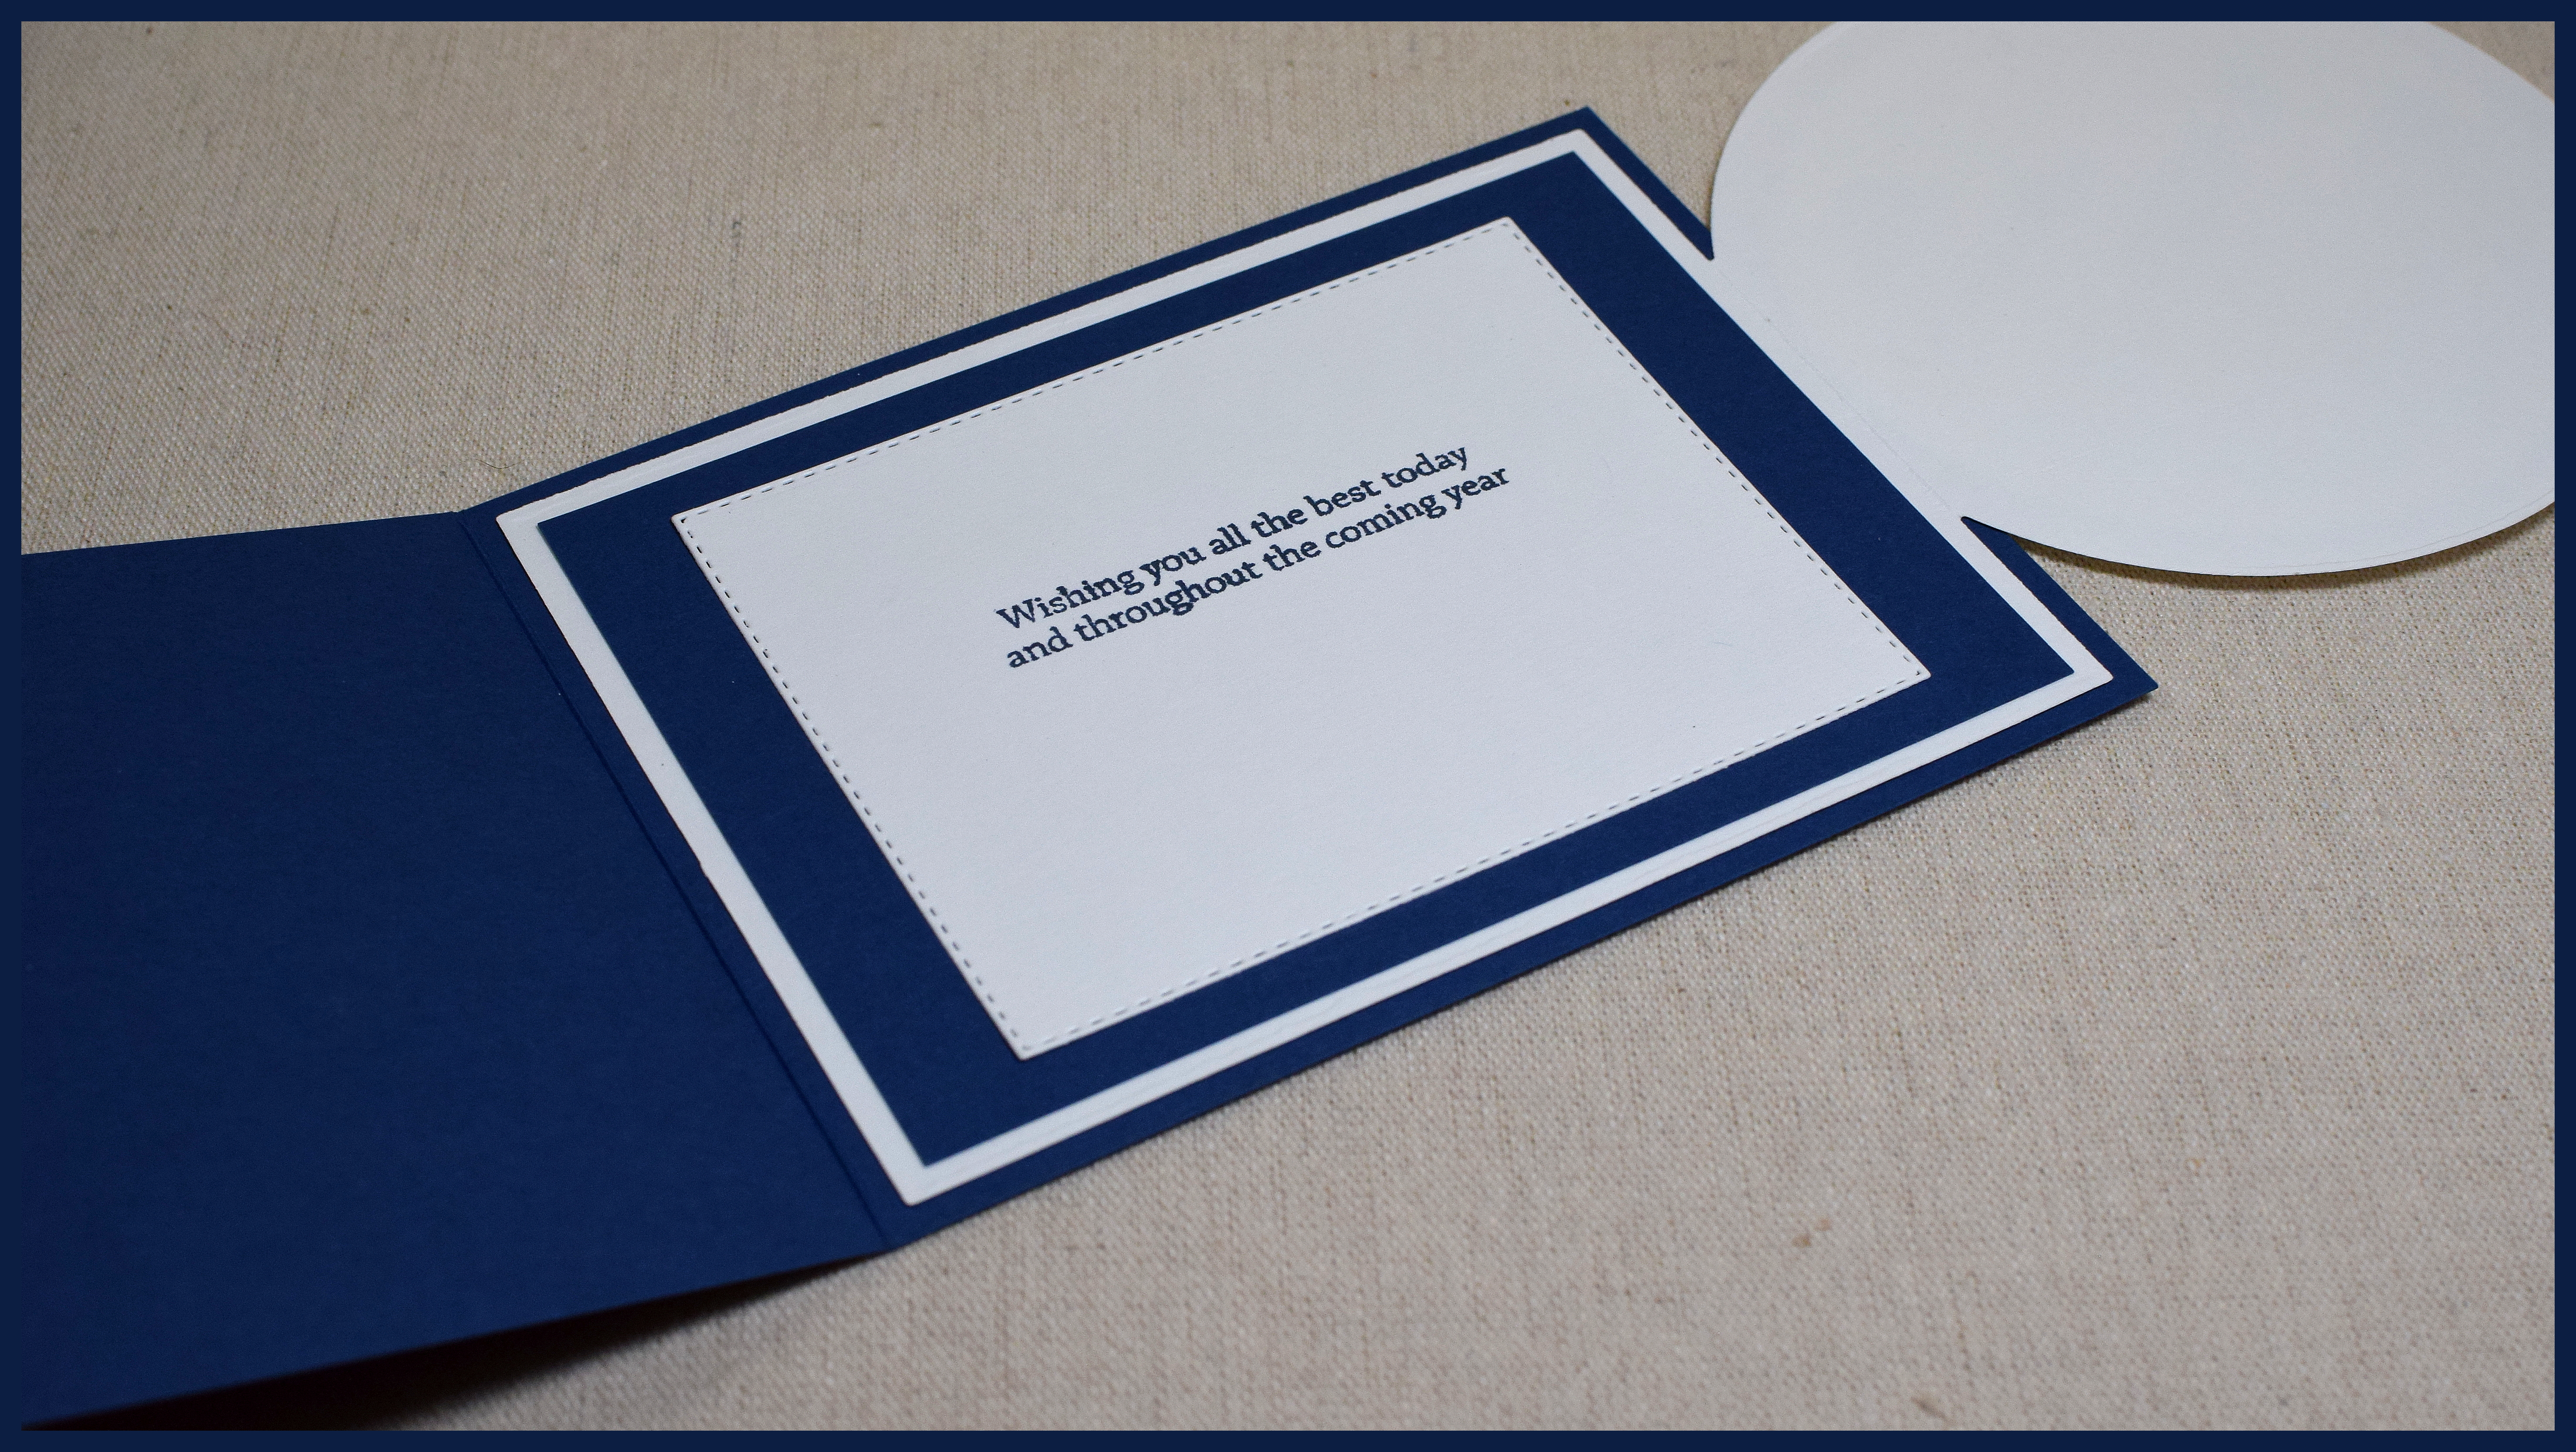
Thanks for checking out my card projects!

This content uses referral links as described in the disclosure policy on my sidebar.