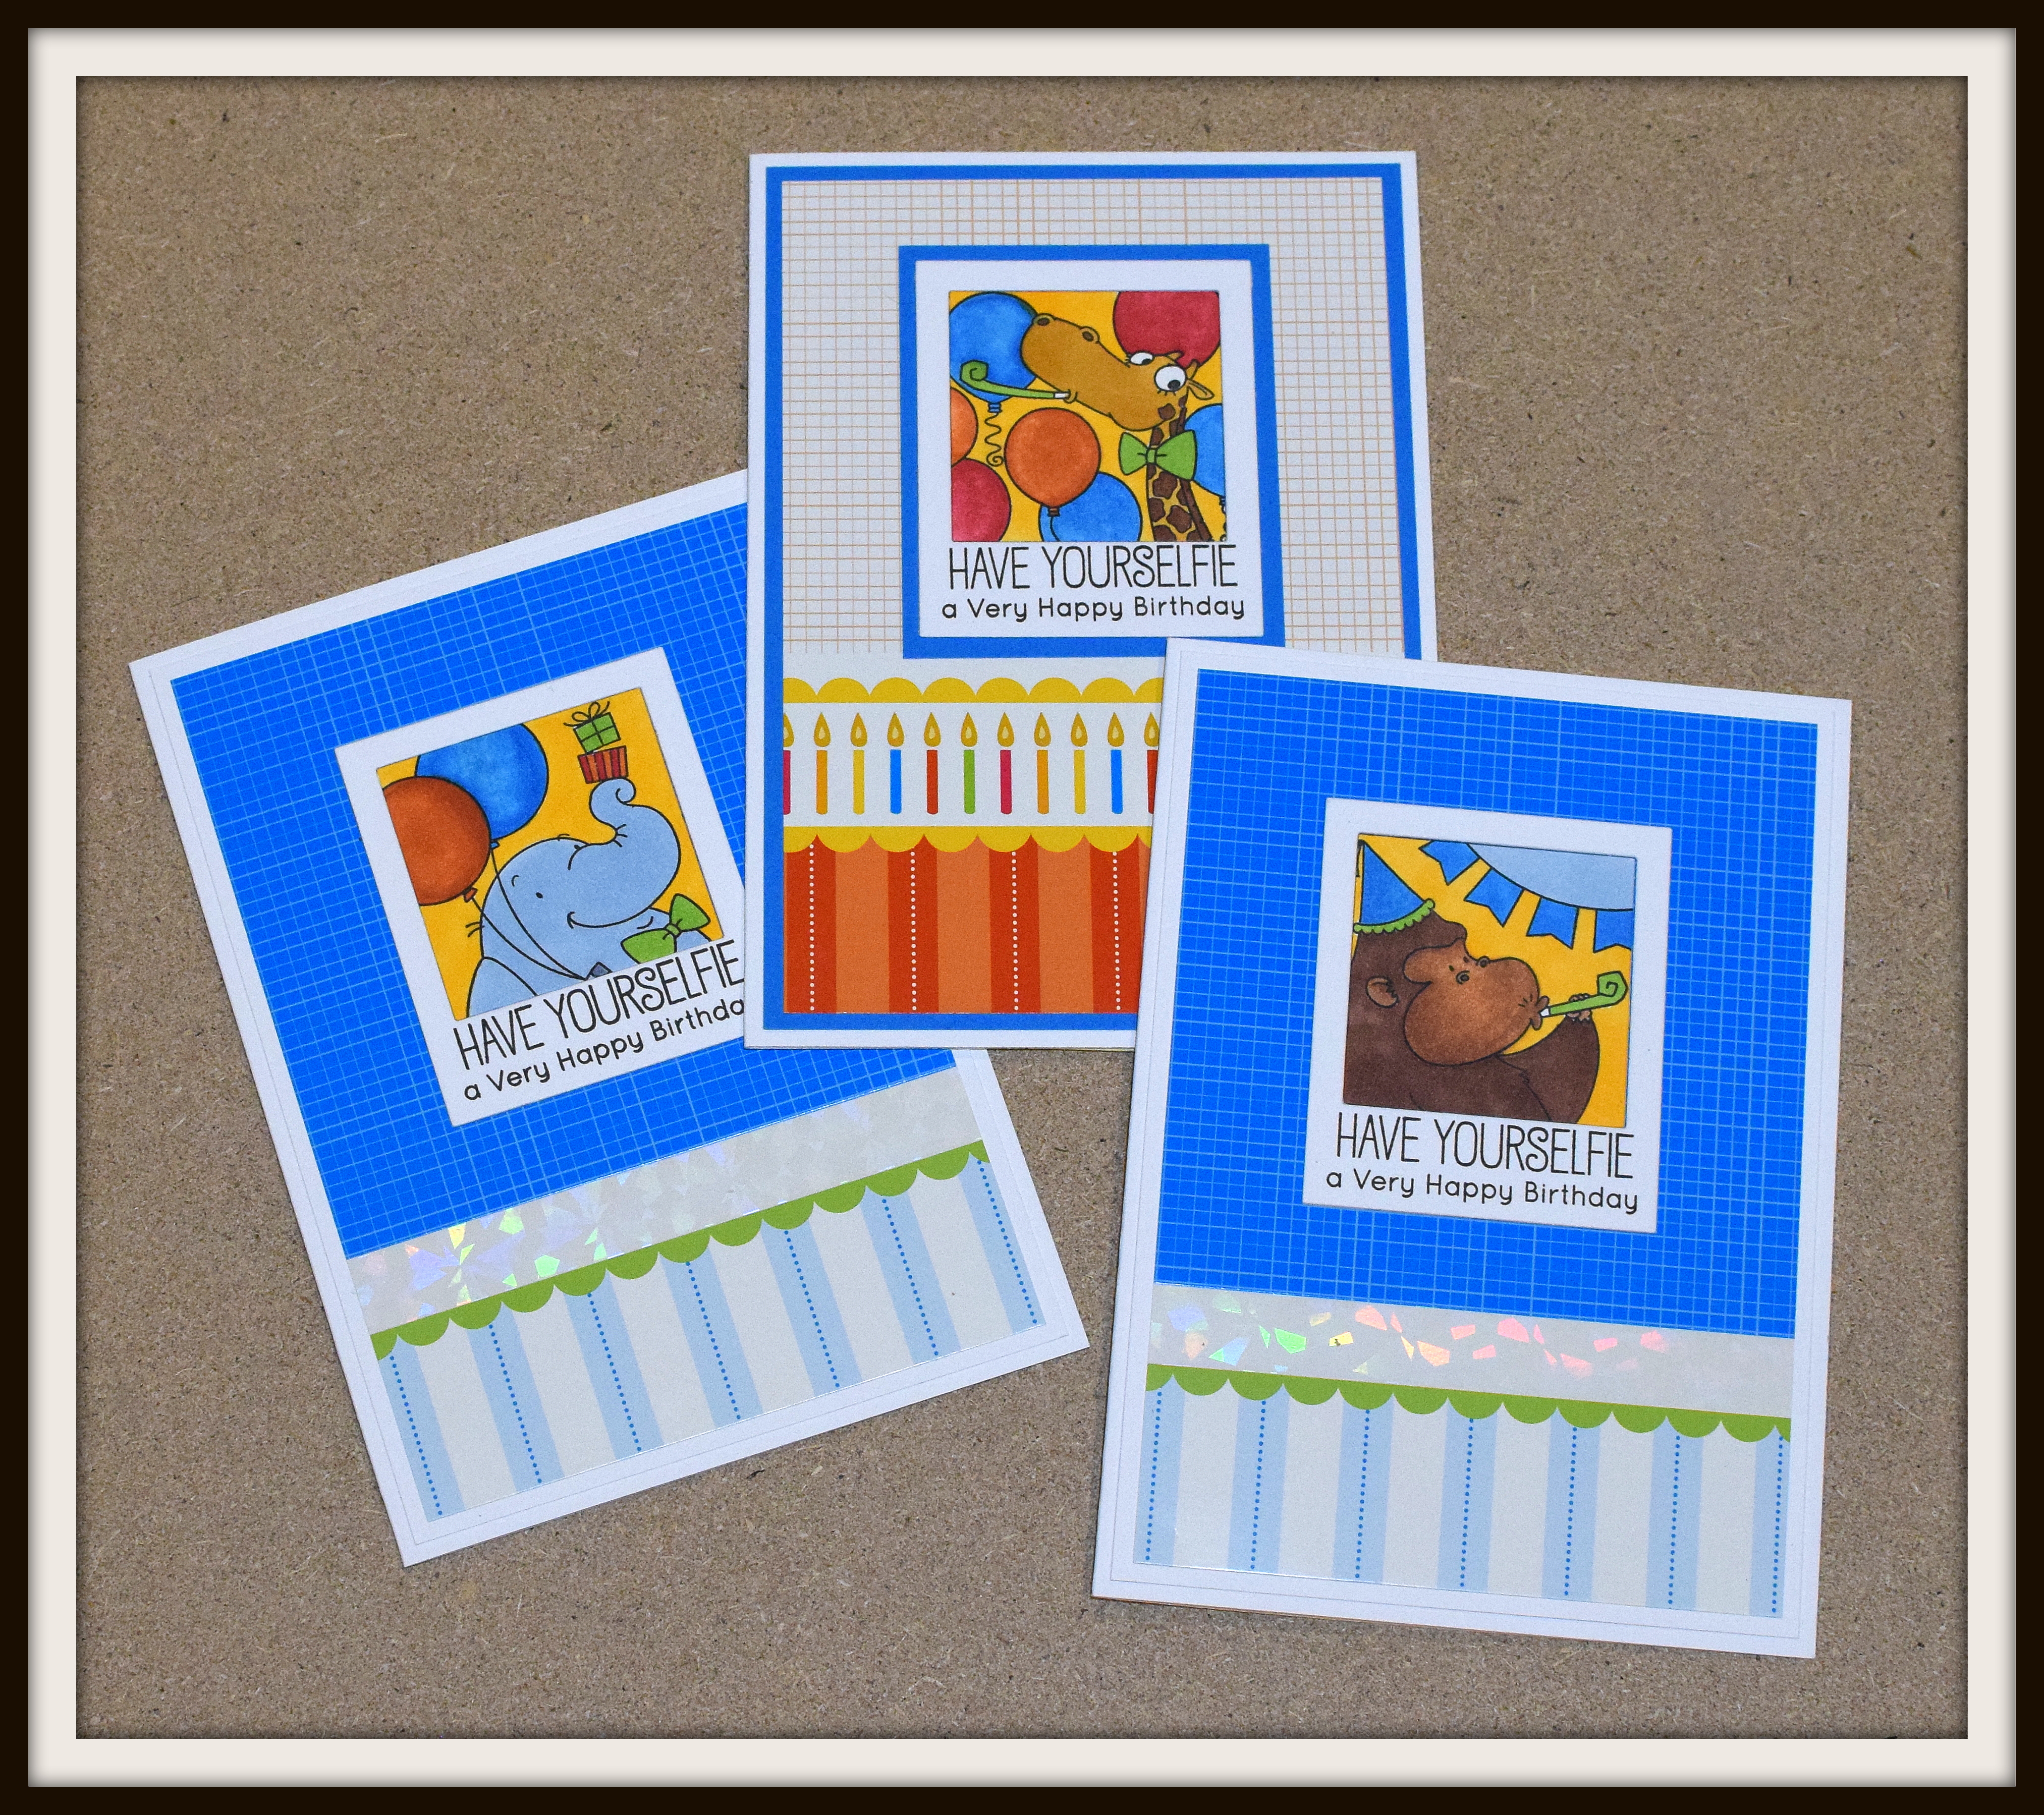
Chevron Fold Birthday Wishes

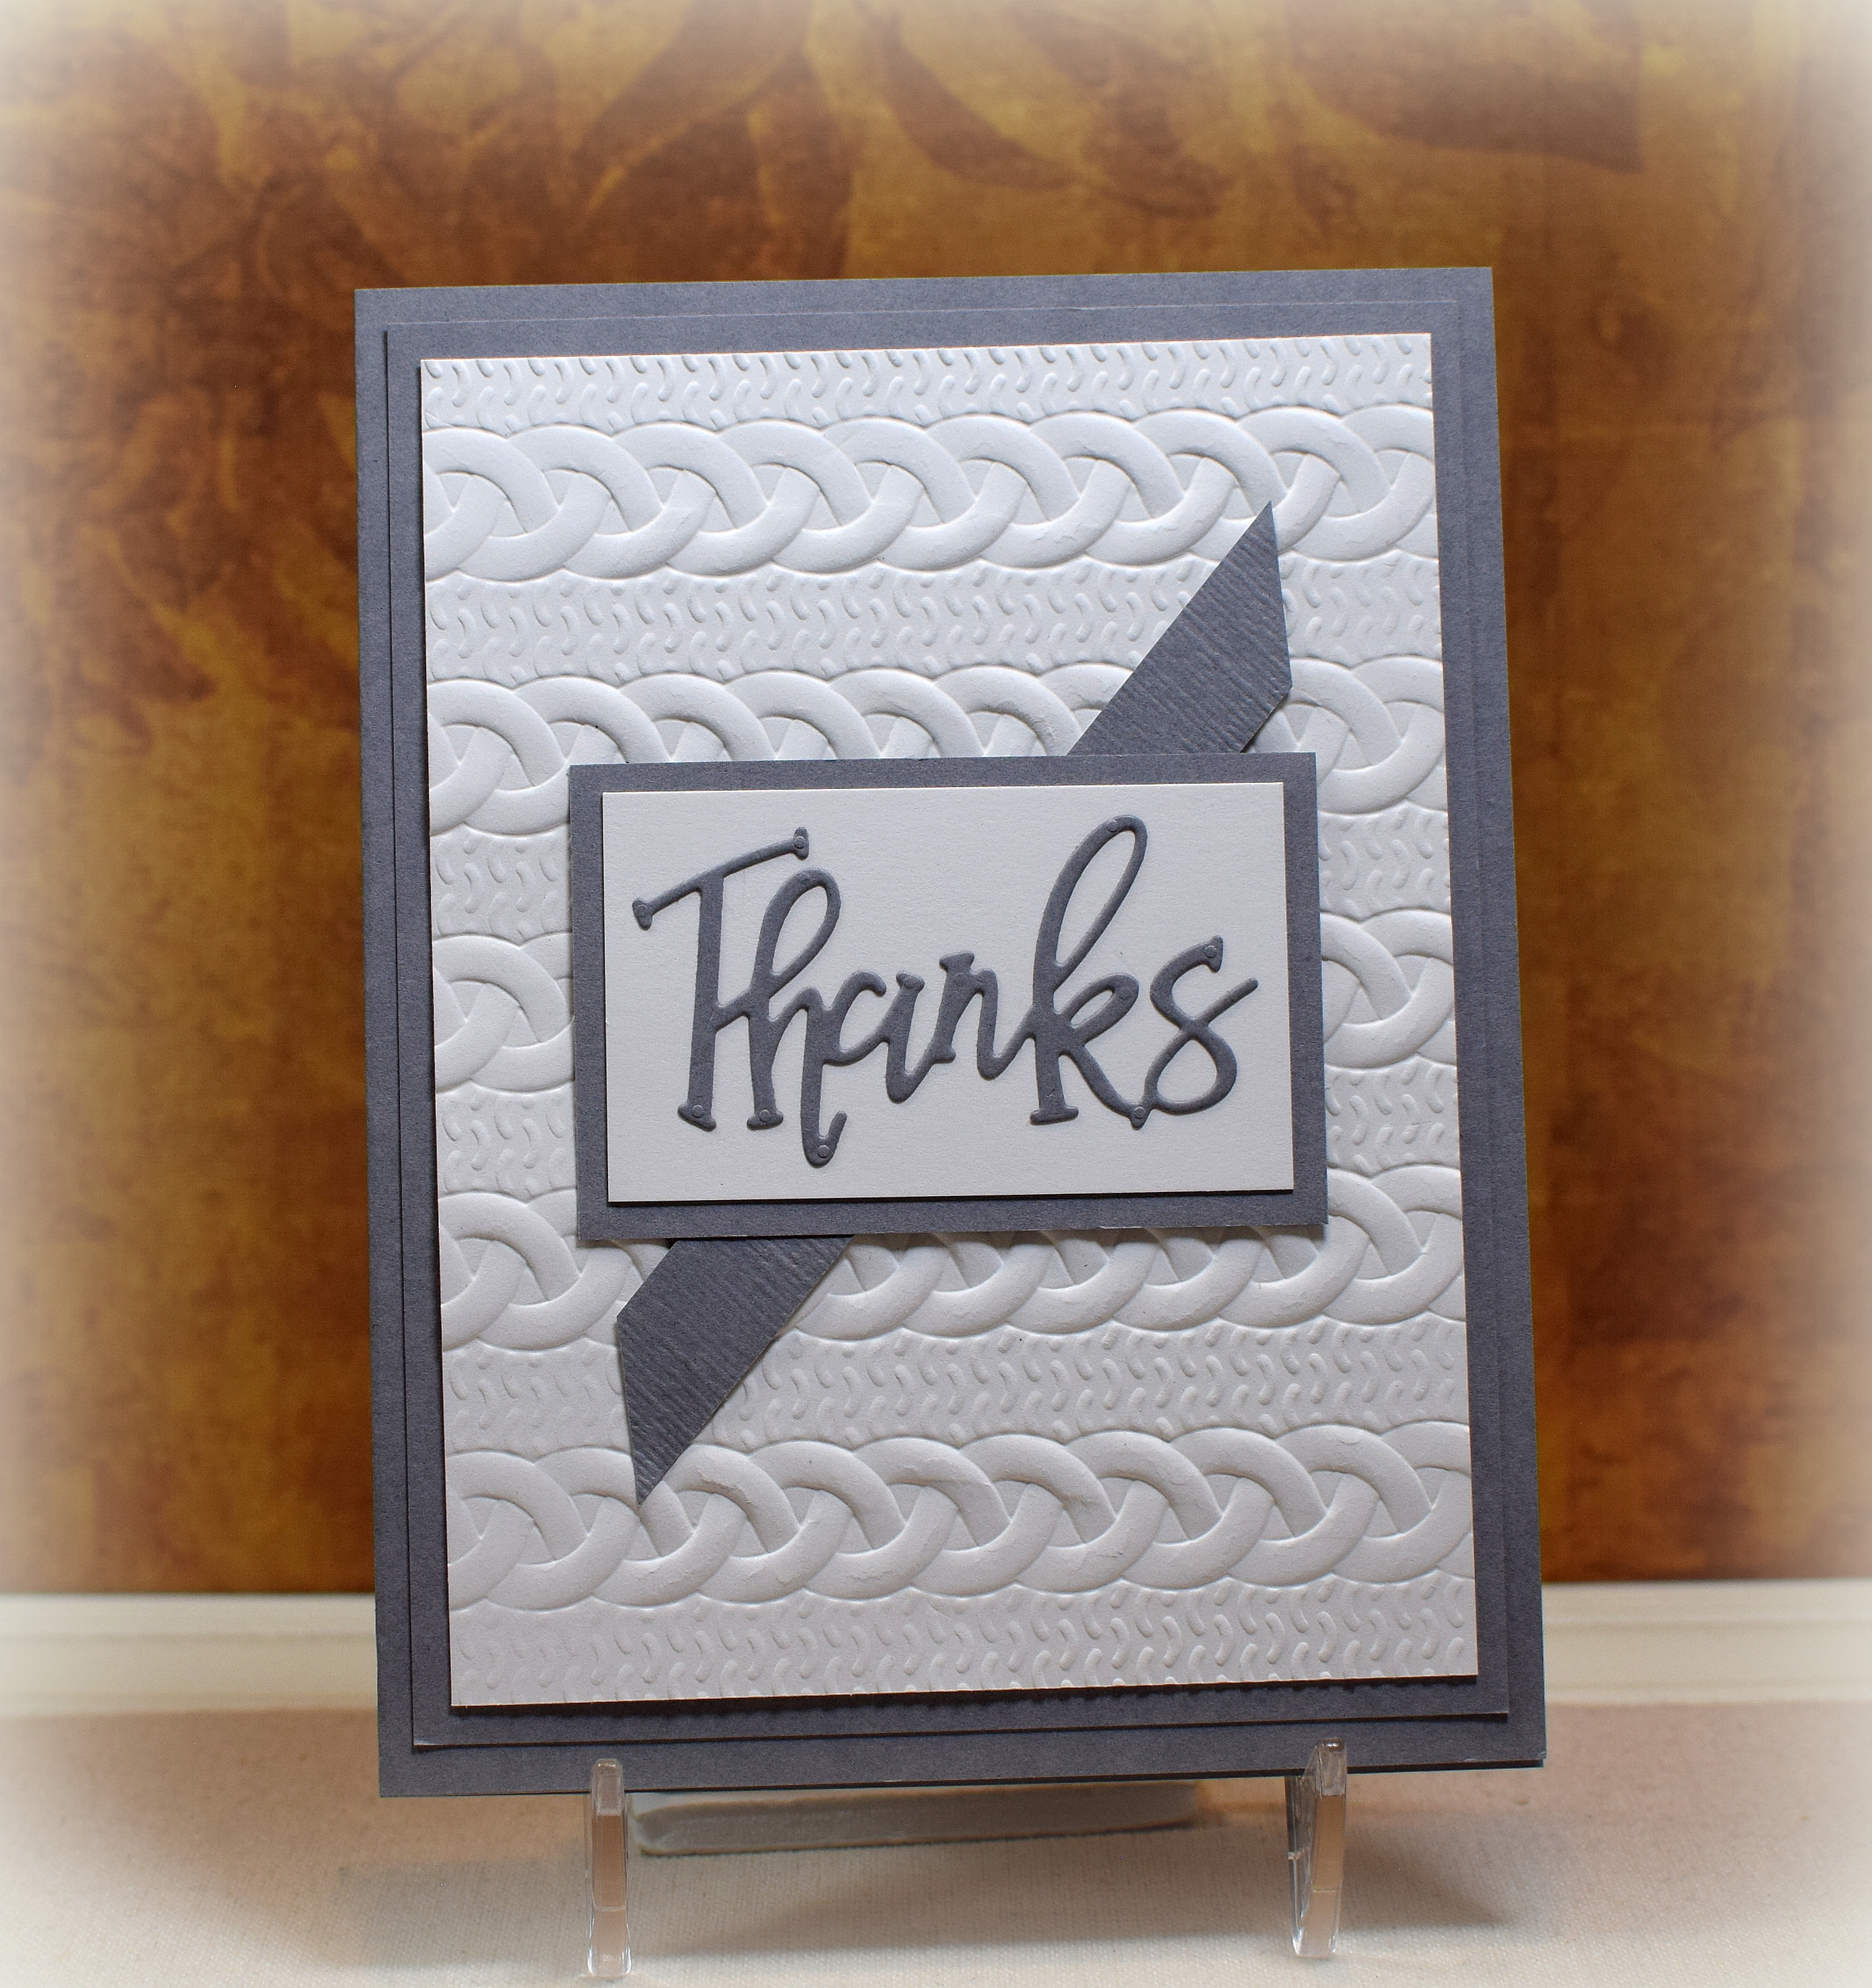
In an effort to use more of the patterned paper I’ve been hoarding accumulated, I thought I’d try the “Chevron Paper Fold” technique I saw HERE.
For this technique, you need two-sided printed paper as you will see both the front and back after the pieces are folded.
The paper I used on this card is an old piece by Stampin’ Up. I was looking for a specific pack I purchased a bit ago (still haven’t found it) and stumbled on this sheet. Unfortunately, I have no idea from which pack it came since I bought several of these loose sheets on ebay and can’t seem to find the order info to see what it was called. My original thought was to just use it as scrap to try the technique and see if I liked it before looking for “the perfect” paper. I plopped the folded pieces on a white scrap and was pleasantly surprised at how it turned out. Go figure! Finished it off with a computer generated greeting strip and some kraft card stock for the greeting mat and base.
Thanks for checking out my card project!