Faux Metal Embossed Birthday Cards

Faux Metal Embossed Birthday Cards

I recently discovered Tim Holtz Foundry Wax after watching his DEMO VIDEO. I was intrigued, ordered some to try, and absolutely LOVE the results!

While it is not at all difficult to use (and not even that messy!!), I found it very important to watch the video (or a video) to see exactly how the wax behaves once it hits the air, how to apply it, etc. The video linked above is long (almost 2 1/2 hours!) because he explains how it was developed, how it behaves, different ways to apply it, how to apply it to a variety of surfaces, etc. He does break the video down if you don’t need it all: 0:00 Distress Foundry Wax Overview 11:55 Foundry Wax Basics (DEMO) 24:15 Foundry Wax on Embossing (DEMO) 41:15 Foundry Wax on Metal (DEMO) 1:02:00 Foundry Wax on Resin/Glass (DEMO) 1:23:53 Foundry Wax on Wood (DEMO) 1:29:55 Foundry Wax with Backgrounds (DEMO) 2:13:50 Foundry Wax with Stencils (DEMO). But I think understanding the product really helps with using it. And Tim’s enthusiasm is infectious – lol!

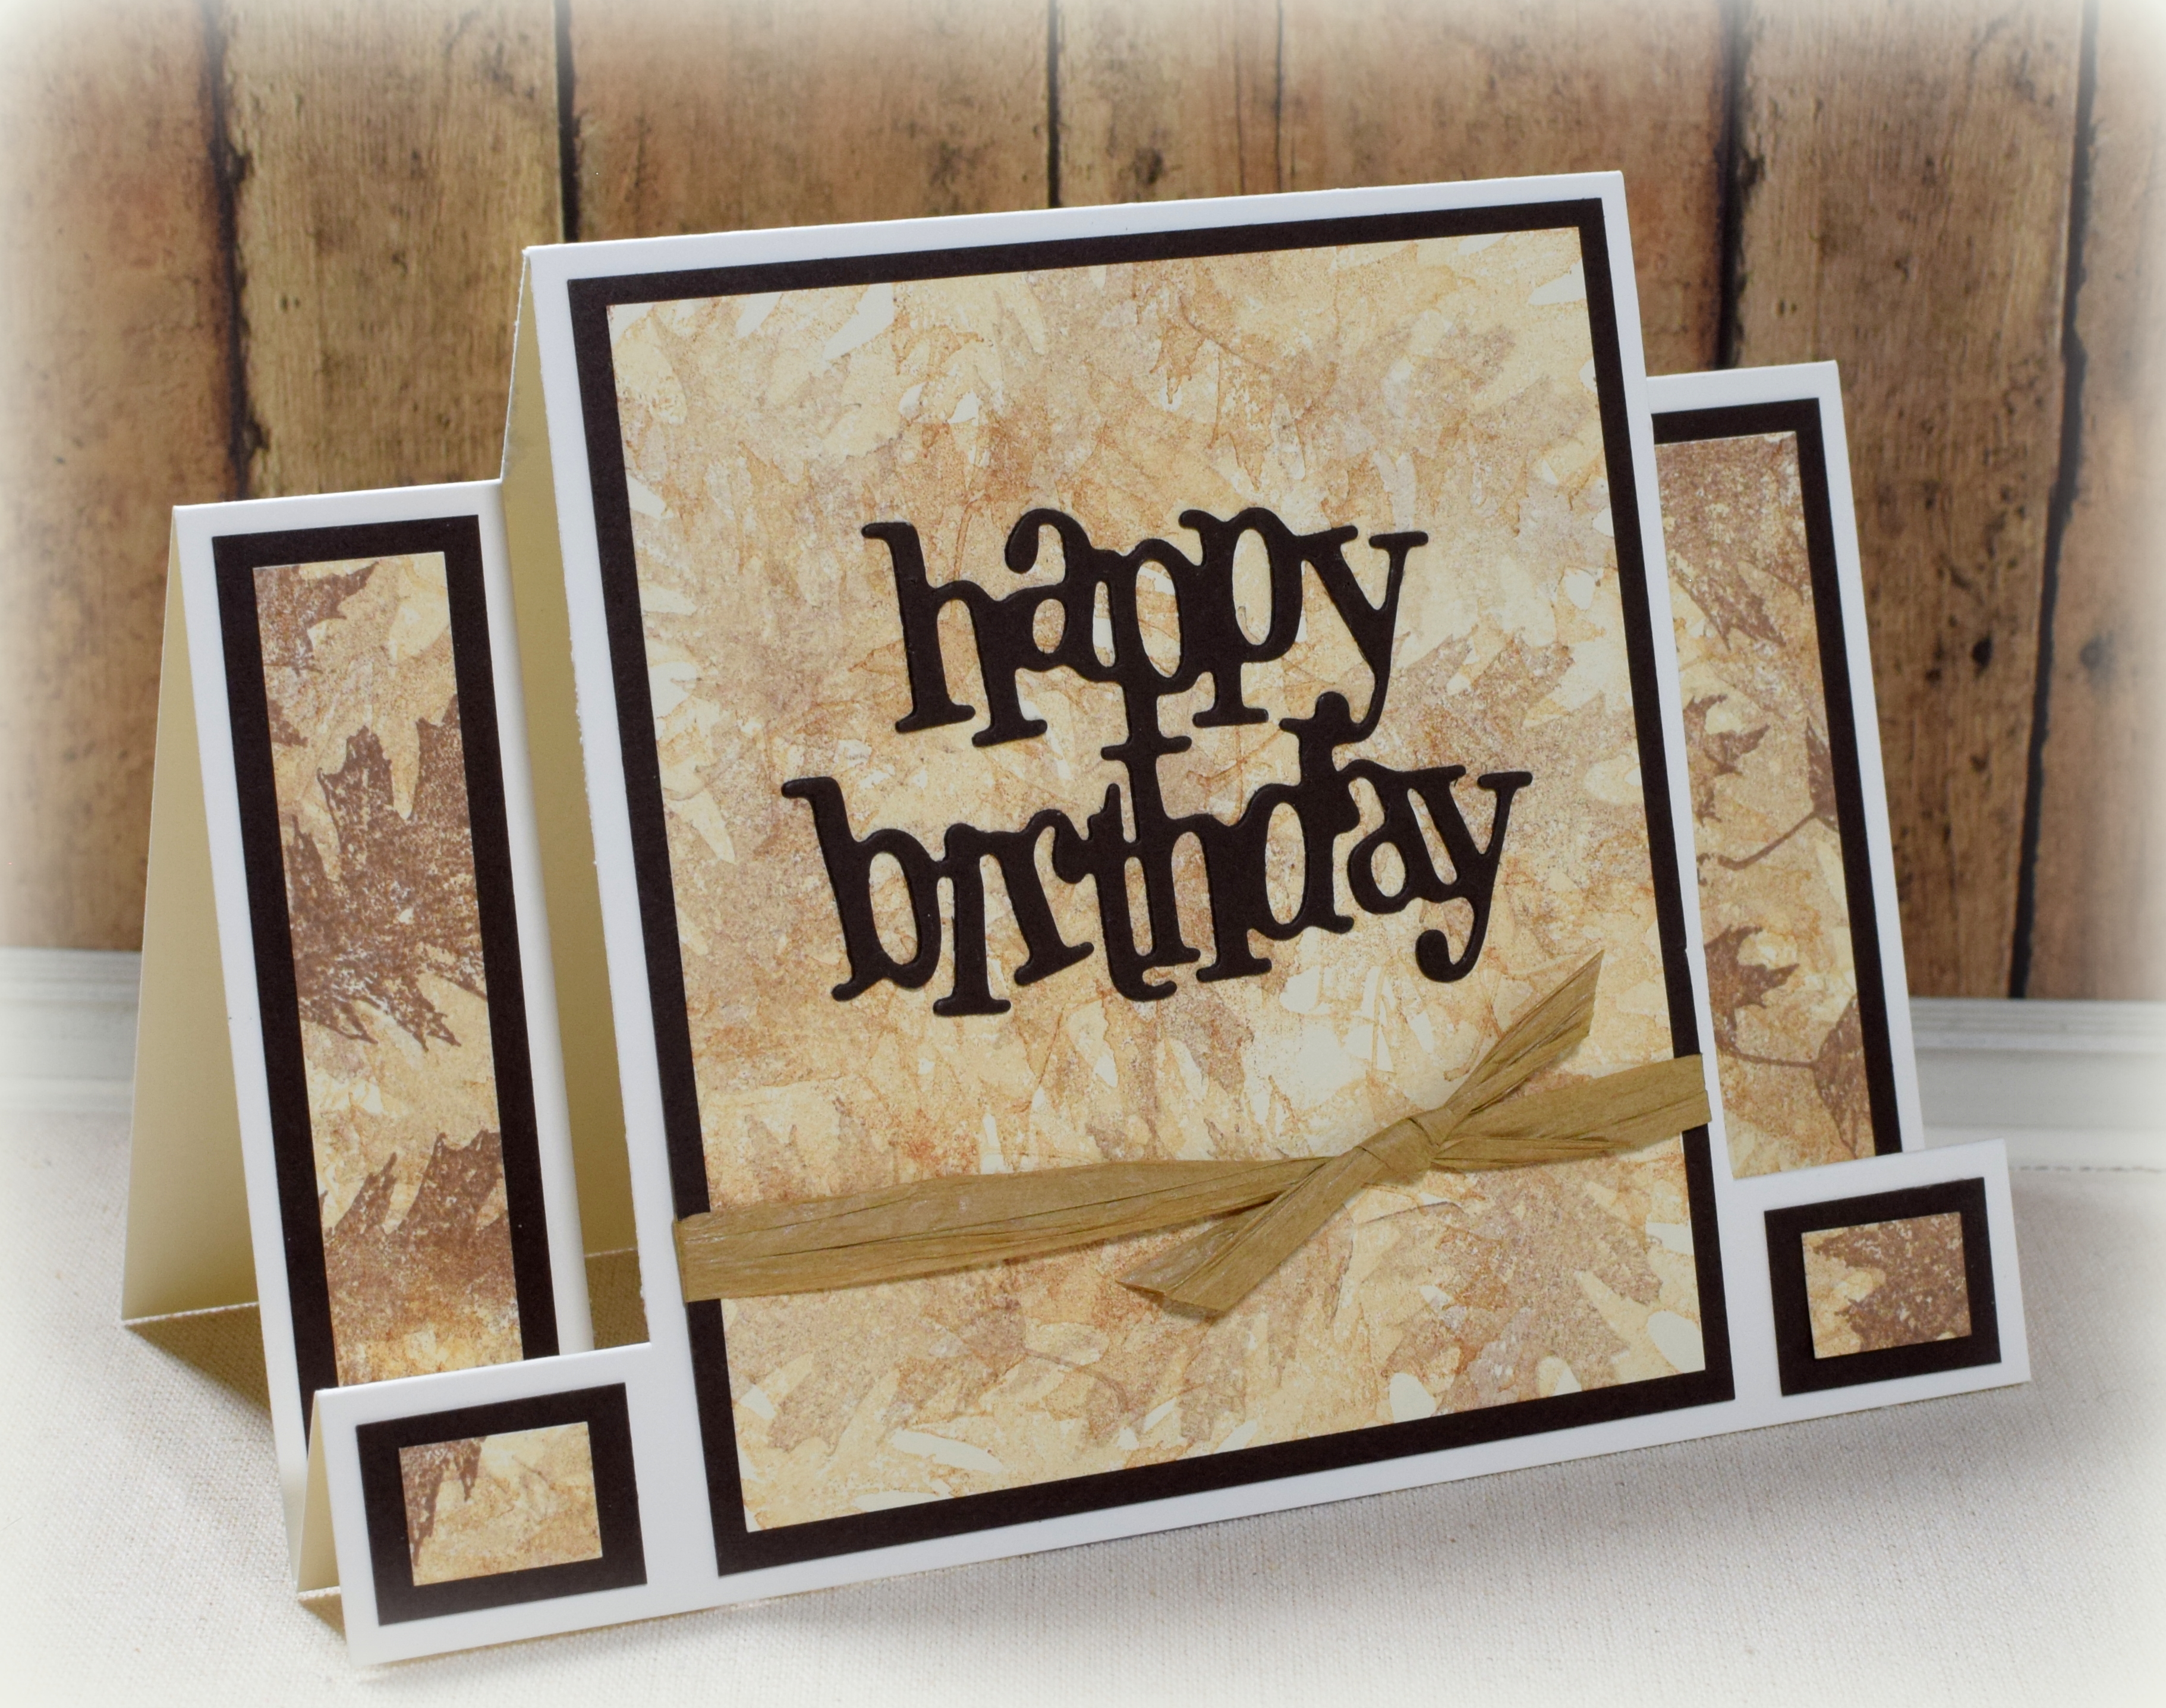
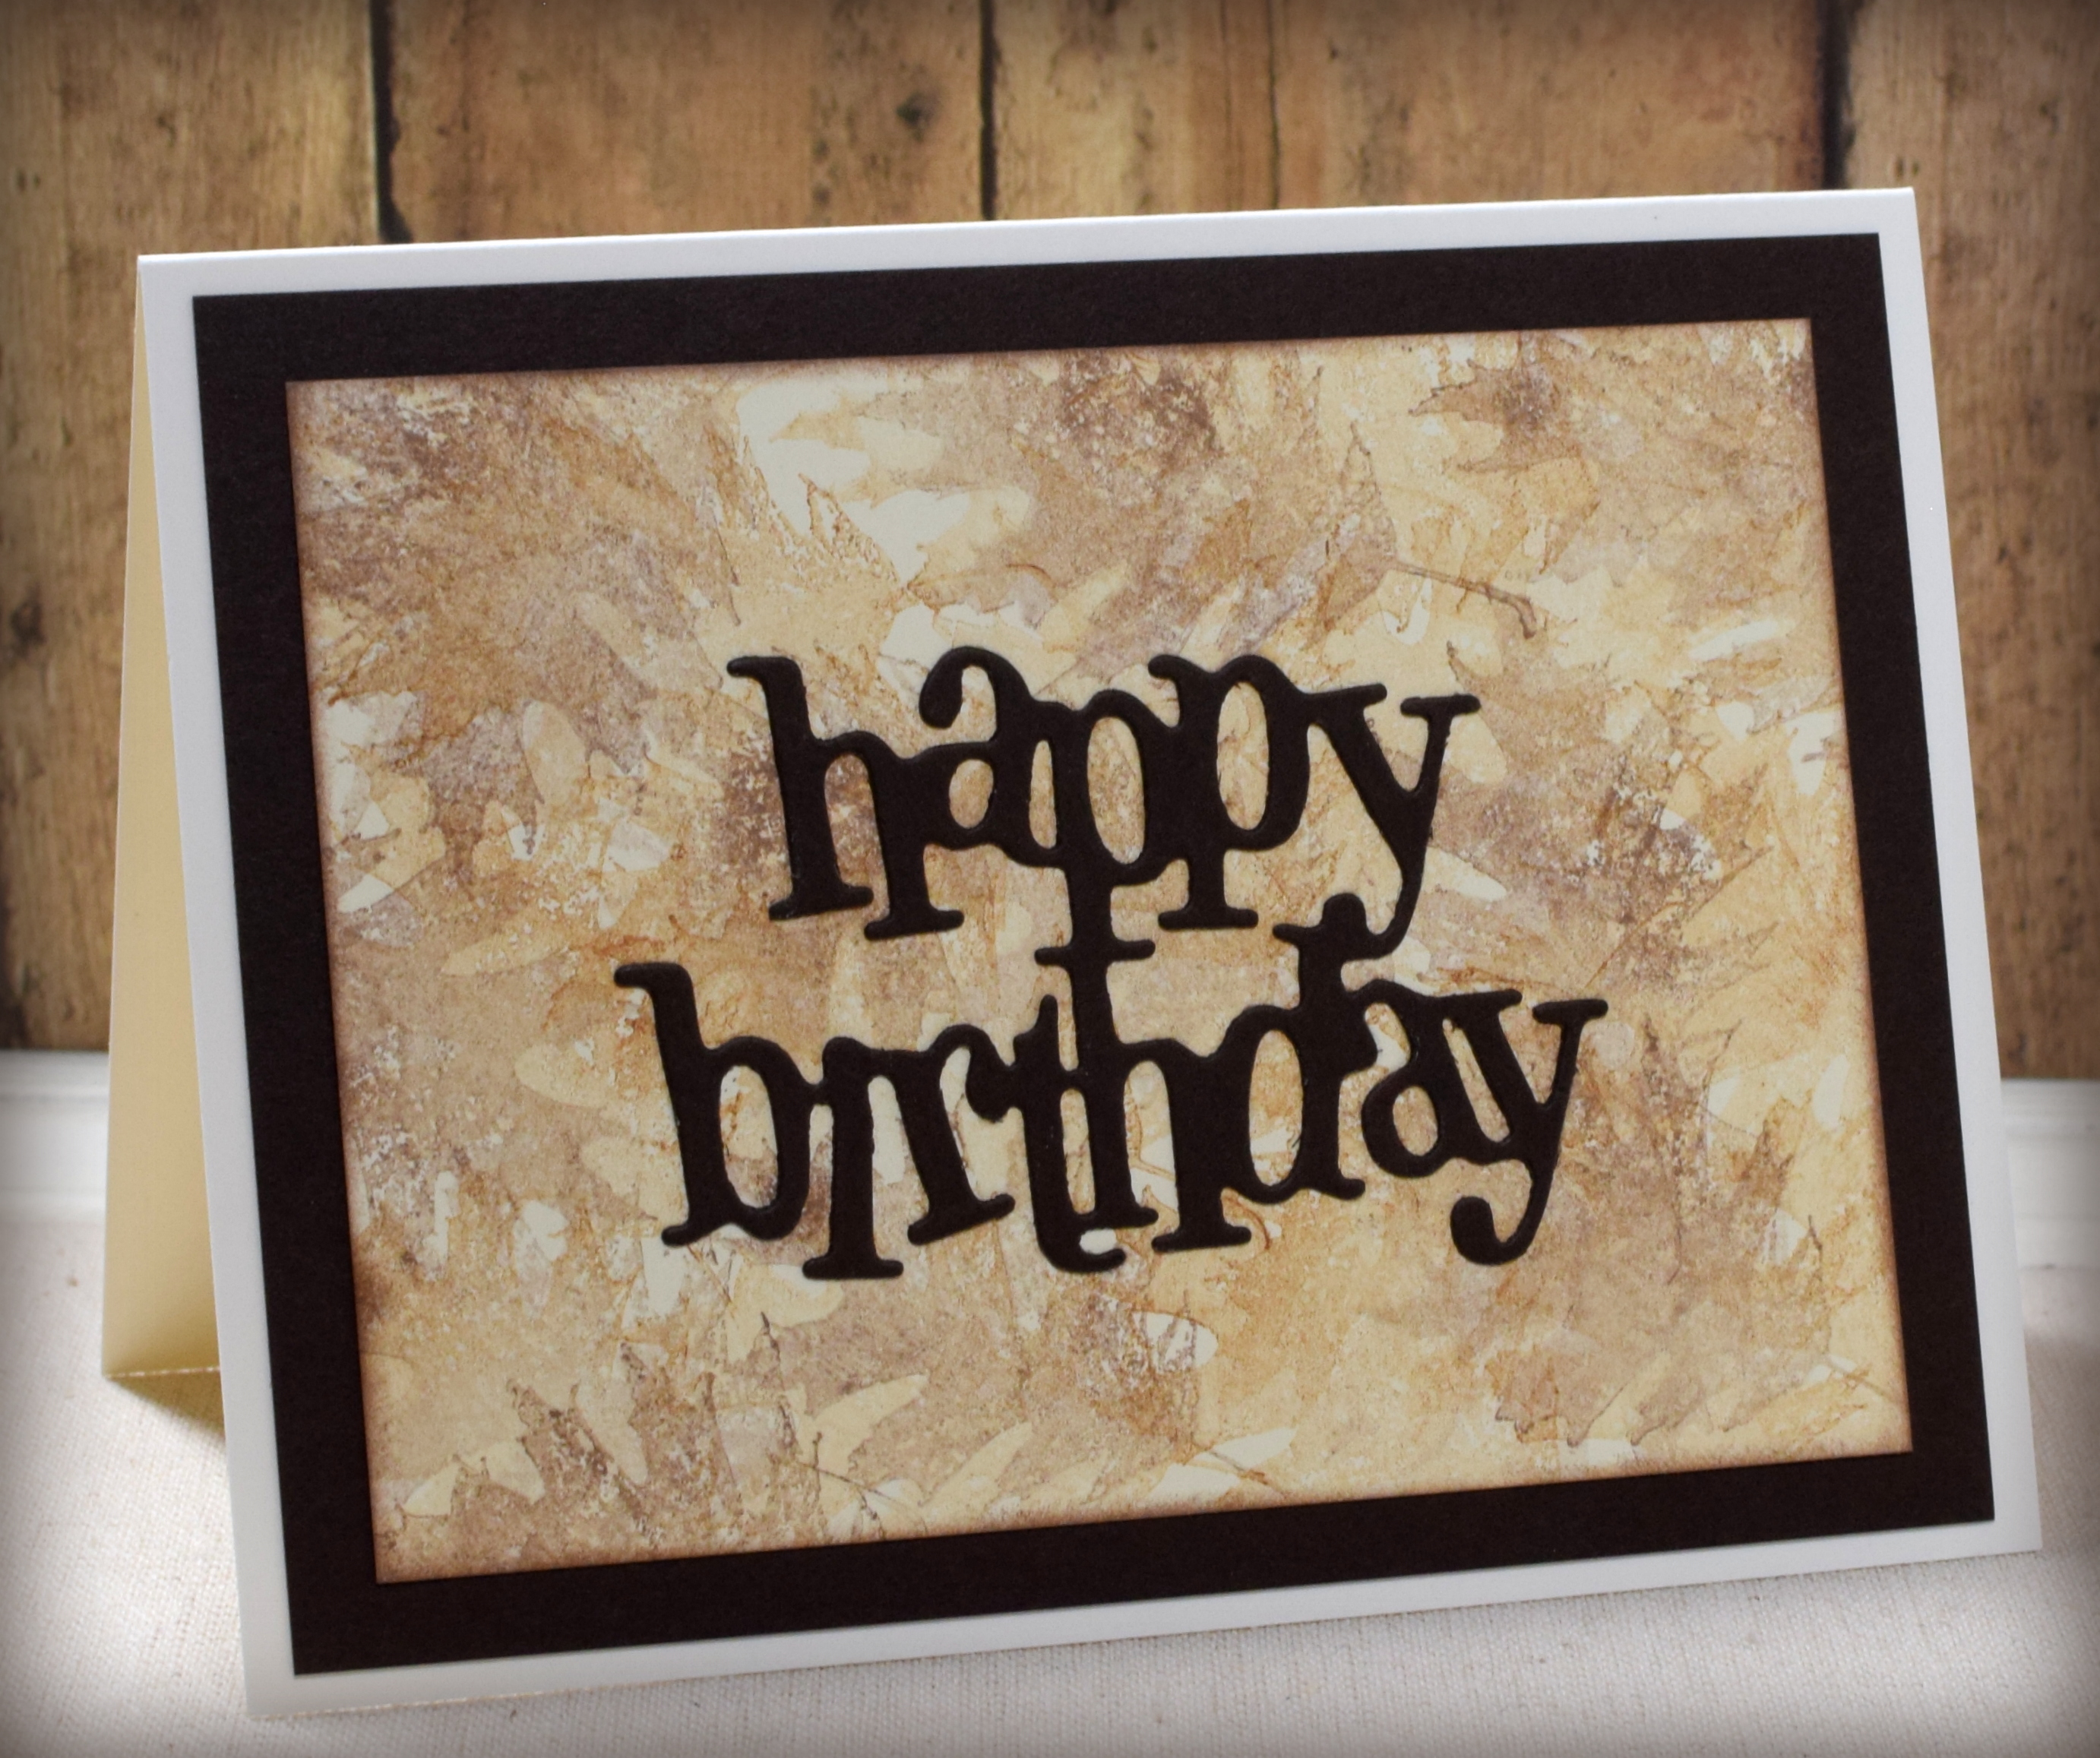
For all these cards, I embossed black card stock with an unbranded folder and applied “Statue” Foundry Wax with a brush. Then I zapped it with a little heat, and the paper was transformed with that amazing metallic finish! It looks like a solid metal plate to me. And a little wax goes a long way.

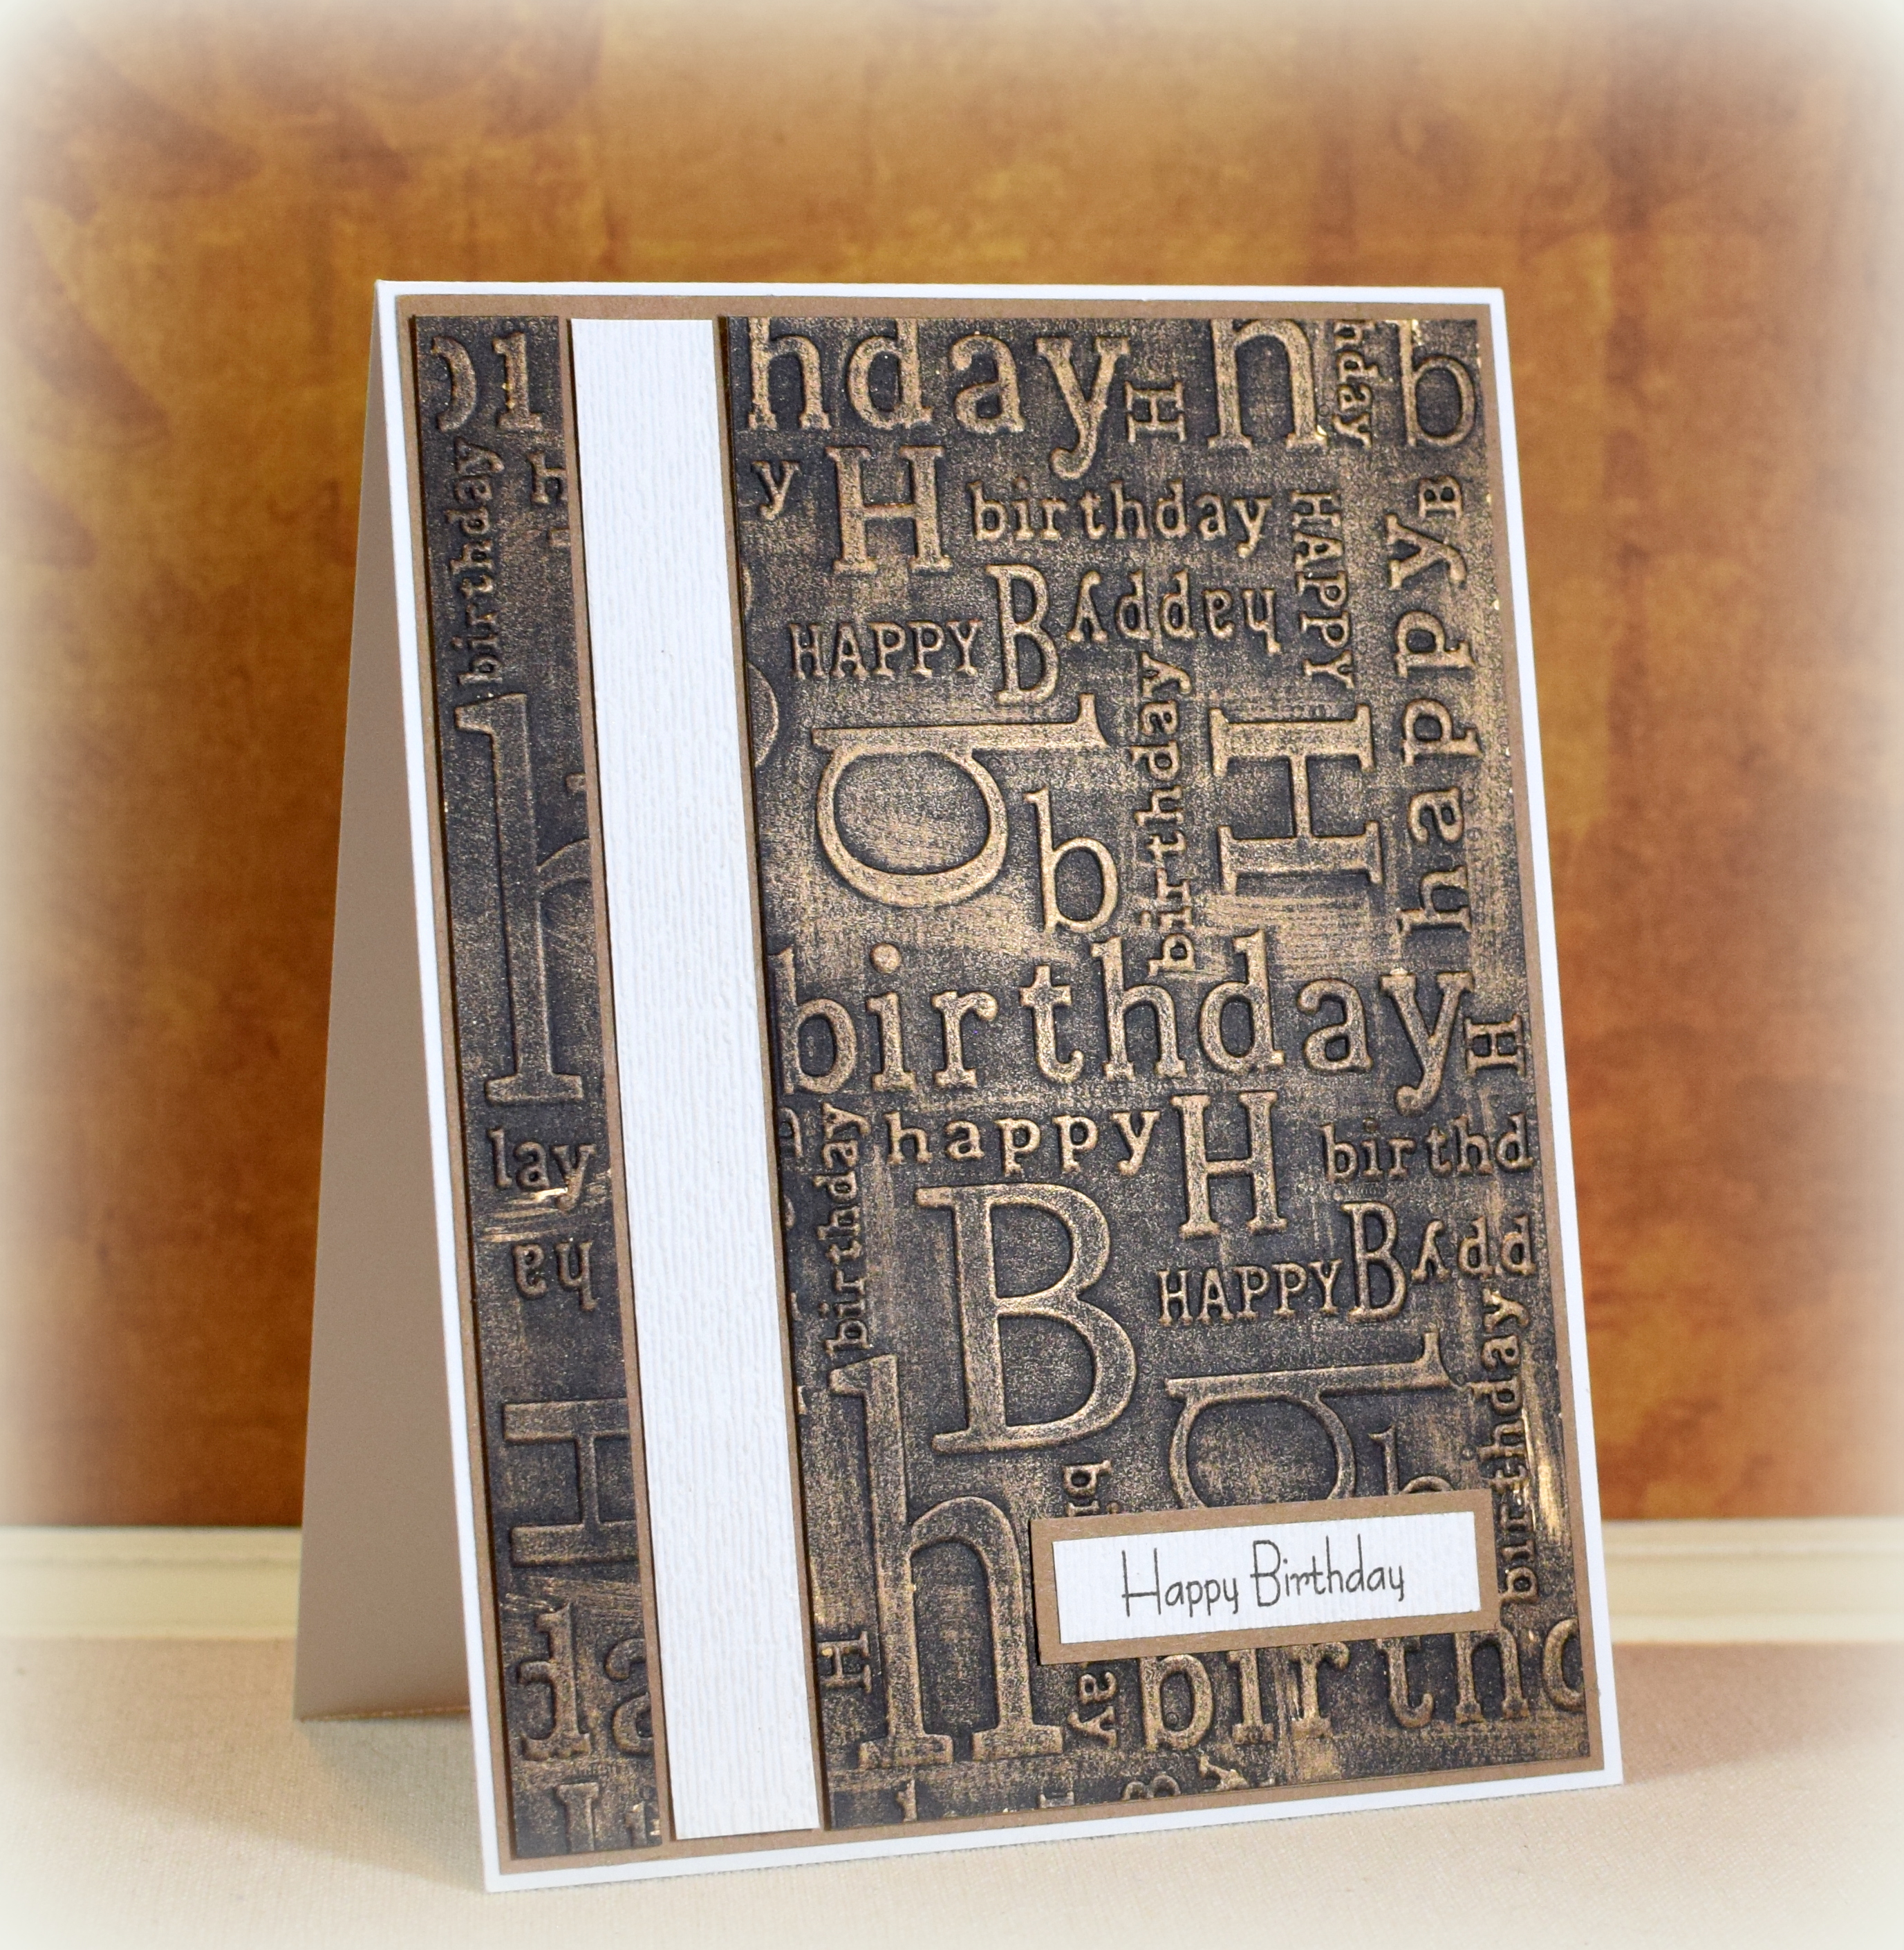
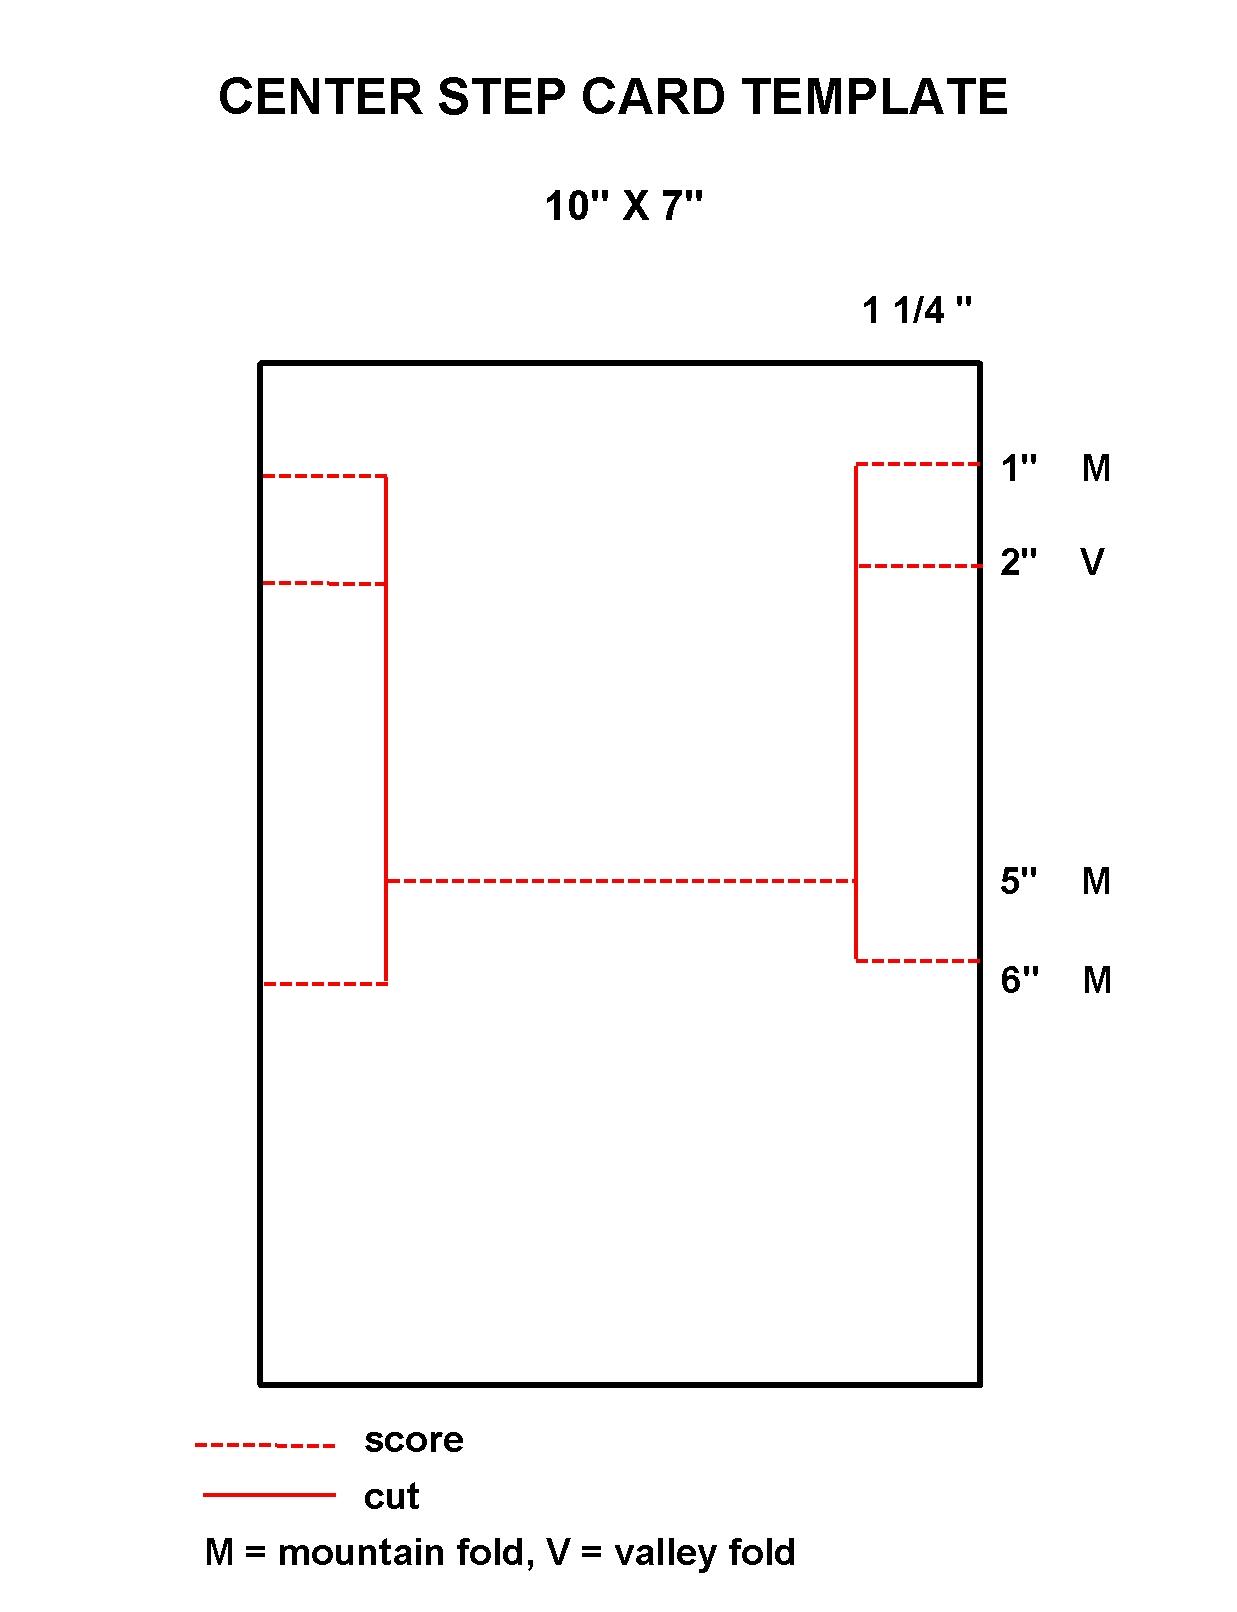
For this one, I started with a 4 x 5 1/4 inch rectangular panel and cut/removed the 5/8 inch vertical strip. I then added the strip of white, embossed card stock to separate the two pieces and fill in the space. I had made several panels as I practiced with the wax and made several cards like this.

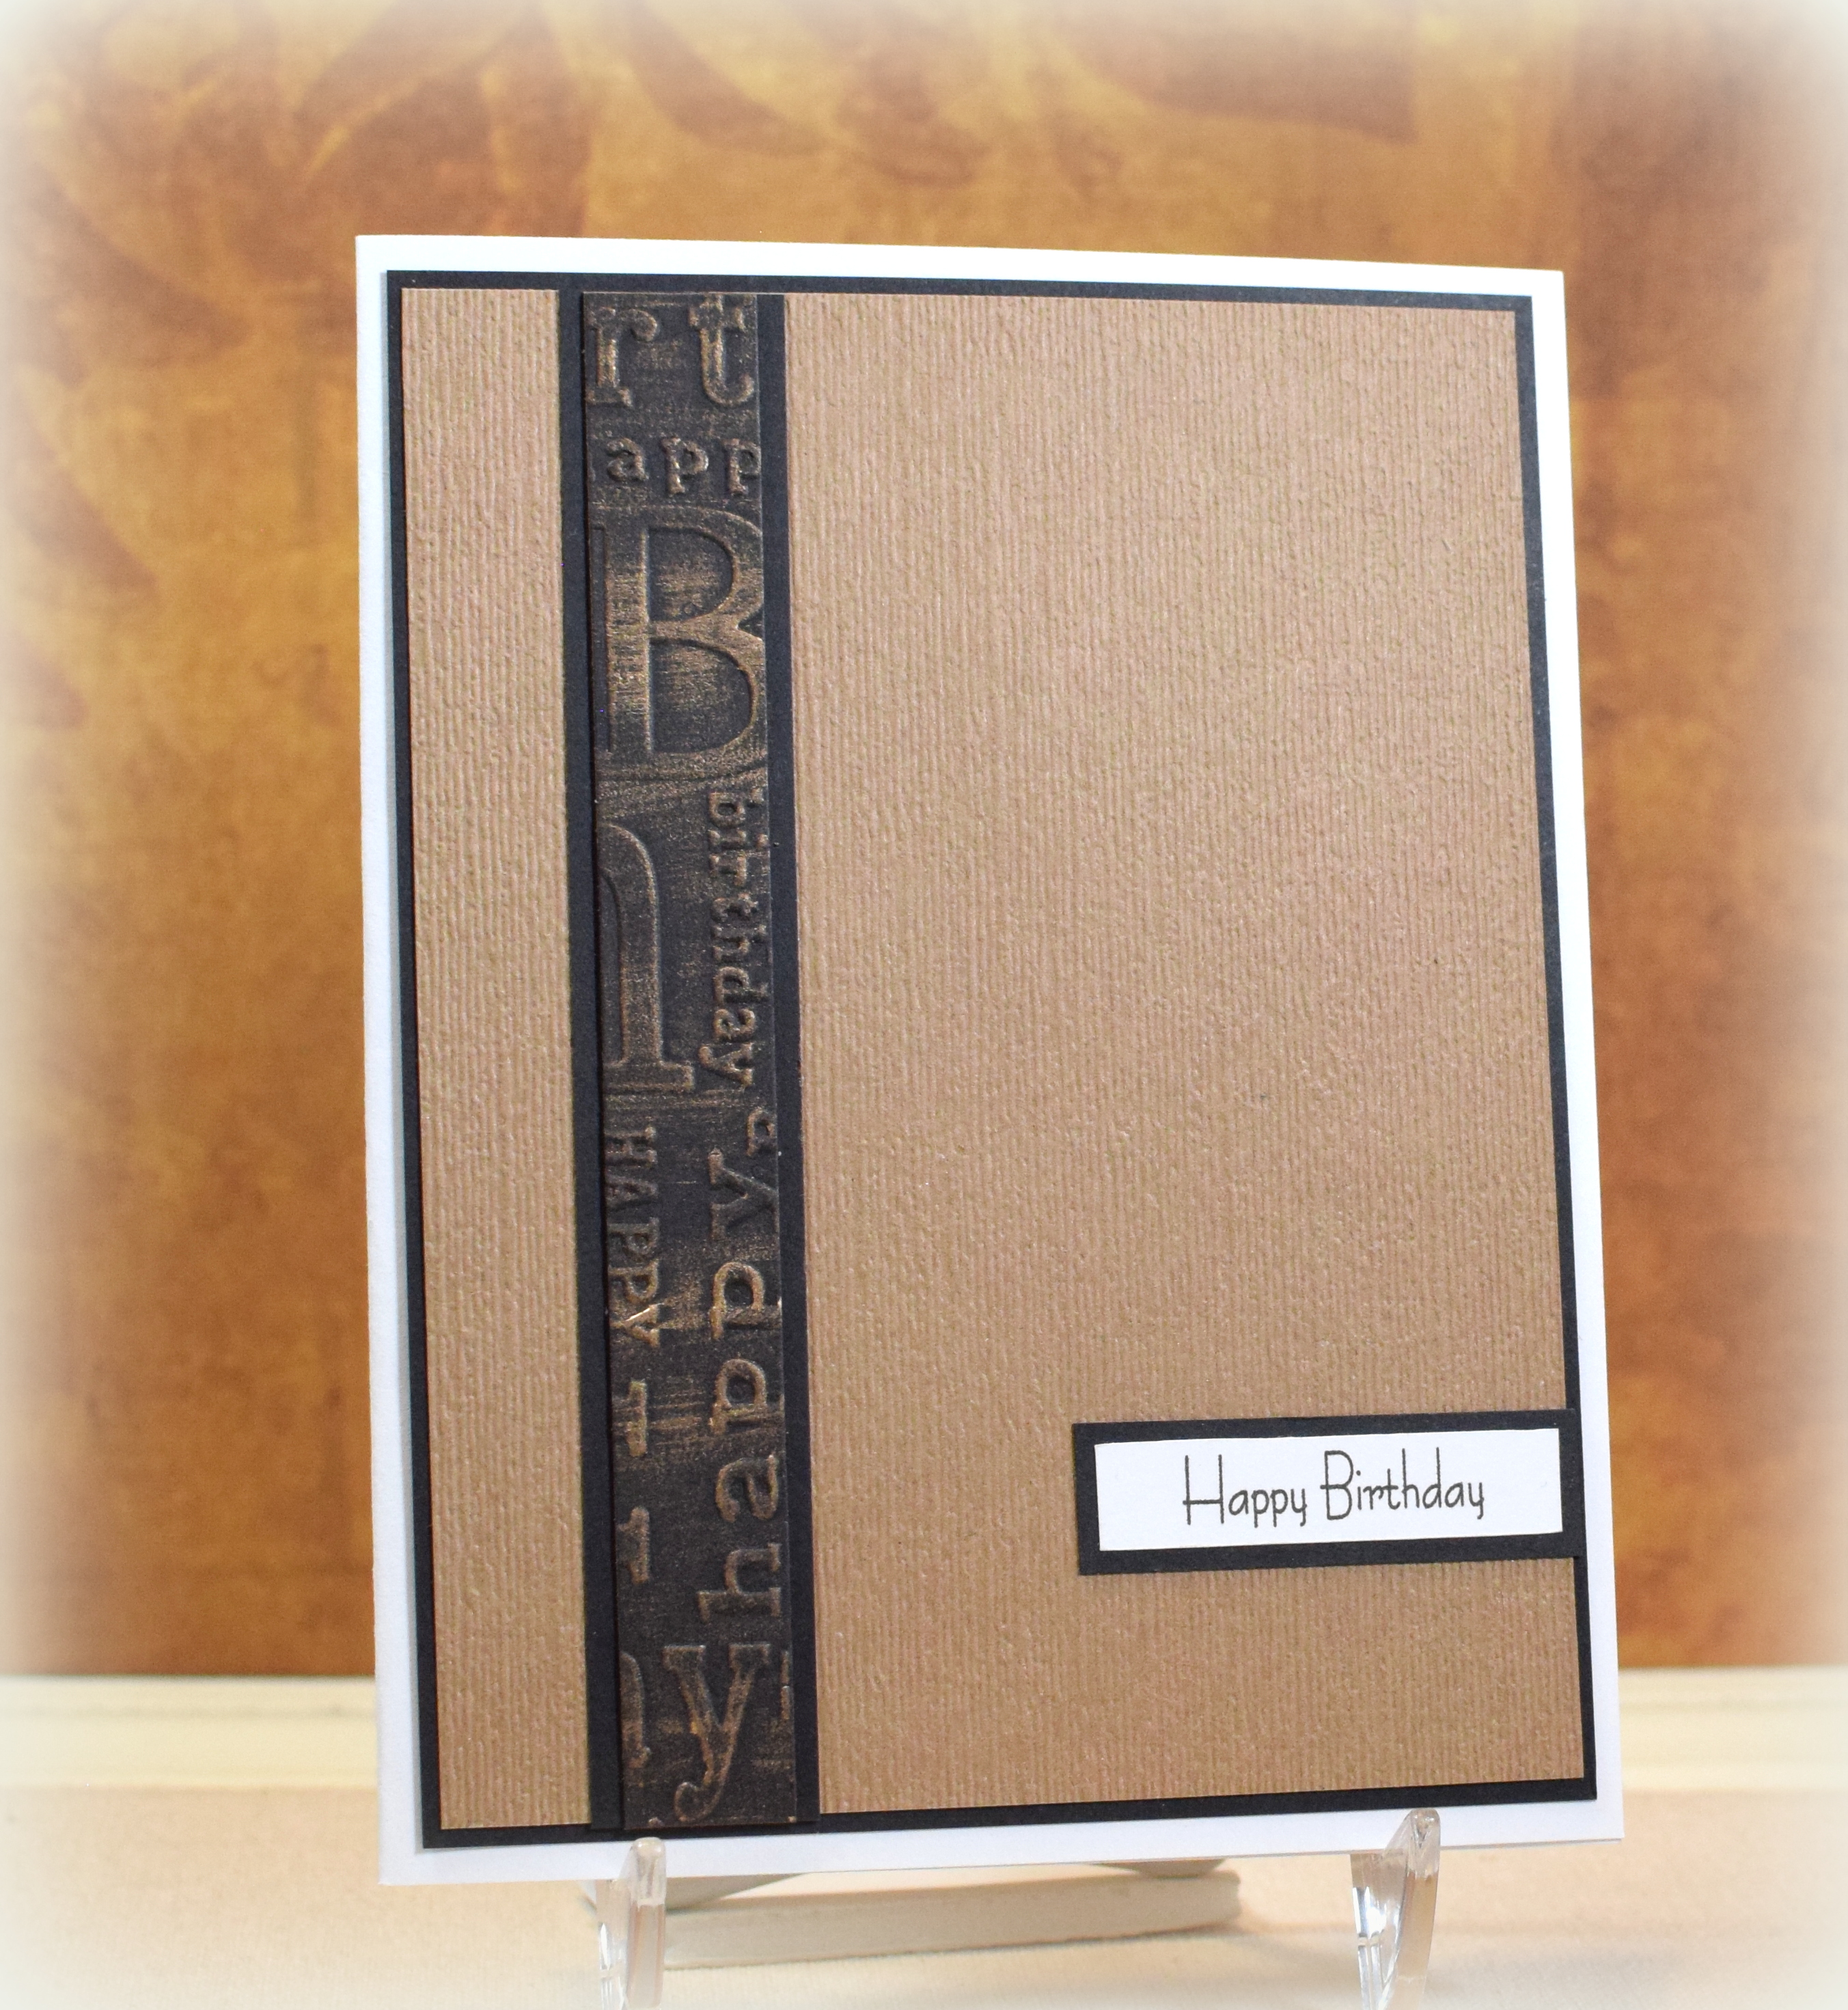
With one of the leftover strips, I created this design – a simple card with a metallic accent strip.

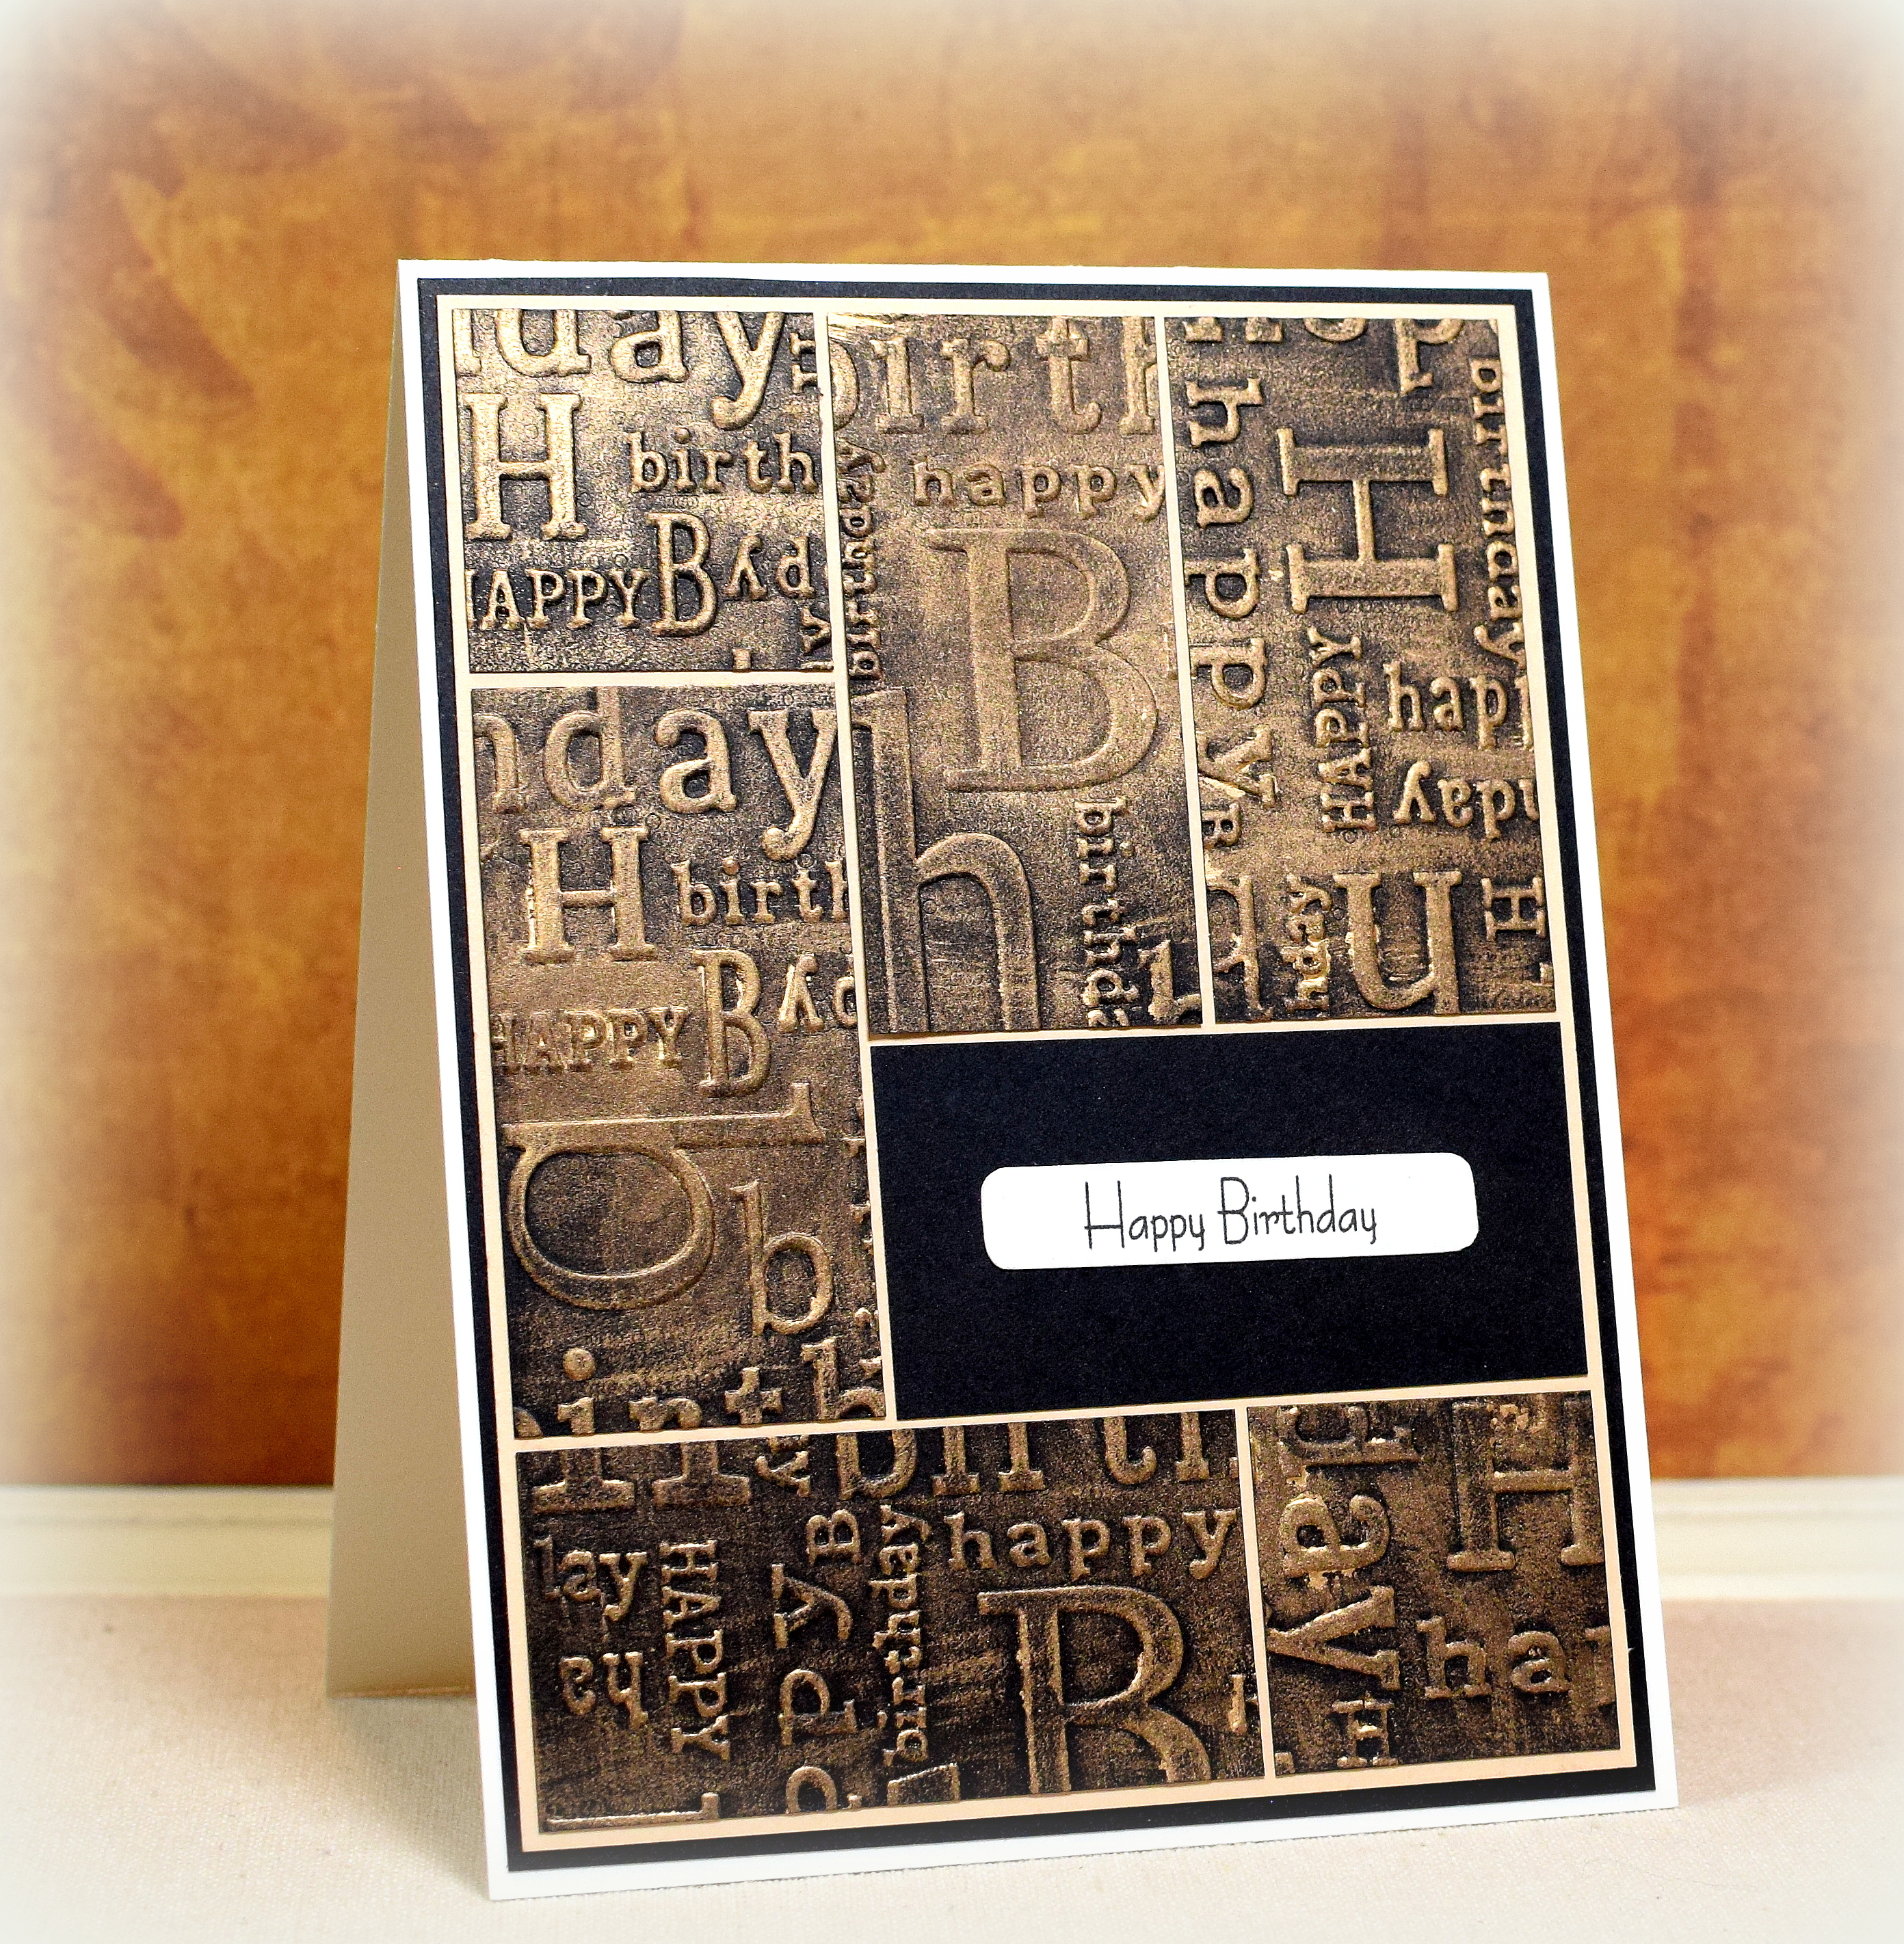
I discovered an additional panel hiding on my desk after I thought I was done, so I chopped it up and made this scrambled block version.

Recollections kraft, black and white card stock was used along with the Stampin’ Up “Subtle” embossing folder (retired), an unbranded “Happy Birthday” embossing folder, the wax, and a computer generated greeting. (GKD Warm Glow card stock was used instead of kraft on the scrambled block design. As I said, this version was an afterthought!)

Three different card designs while playing with a new-to-me product – a productive and fun afternoon!

Thanks for checking out my card projects!

This content uses referral links as described in the disclosure policy on my sidebar.

Gold Foliage Birthday Card

Gold Foliage Birthday Card

(inside: May your birthday be filled with love, laughter and everything that makes you HAPPY)

In a previous post, I shared a card I made where I used strips of patterned paper to create a background panel, and here is another one using the same technique.

For this one, I used some beautiful handmade marbled paper from Emily Romero Marbled Paper & Designs. I paired this with Recollections Matte Gold Foil and black card stock.

The “Fresh Foliage” die is from Memory Box. I used Gina K Designs Fine Detail Gold embossing powder and a stamp from the “Itty Bitty Birthday” set from My Favorite Things for the greeting.

This inside sentiment is from the “Happy Birthday to You” set (retired?) from Gina K Designs.

Here’s a look at the gold without direct light hitting it:

Thanks for checking out my card project!

This content uses referral links as described in the disclosure policy on my sidebar.

Pretty Posy Birthday Wishes

Pretty Posy Birthday Wishes

This card features stamps from the “Pretty Posy” set from Gina K Designs.

The images were stamped with Memento Tuxedo Black ink and colored with Copic Markers (YR27, E18, Y35, Y38, YR09, YR04, G82, and G94).

The stamped and colored panel was embossed with the “Subtle” embossing folder from Stampin’ Up (retired).

Black card stock was used in addition to the white.

Thanks for checking out my card project!

This content uses referral links as described in the disclosure policy on my sidebar.

Autumn Birthday Center Step Card

Autumn Birthday Center Step Card

It’s that time of the year again for brown cards – my favorite – lol!

I created the panels by repeatedly stamping the leaf from the “Nature” set by Momenta (lot #0005702) with Vintage Photo distress ink and Memento Rich Cocoa ink. For the lighter pattern in the center, I “stamped off” each time before stamping on the panel. For the side panels, I stamped over a “stamped off” layer with the ink at full strength.

The happy birthday die cut was cut from Gina K Desings Dark Chocolate card stock as were the mats. Recollections Heavy Weight Ivory was used for the base. A piece of raffia finished off this simple design.

Here is the template to create the base:

Here is a similar design on a traditional A2 card base:

Thanks for checking out my card projects!

This content uses referral links as described in the disclosure policy on my sidebar.

You Are REX-CEPTIONAL Birthday Card

You Are REX-CEPTIONAL Birthday Card

I made this card for my son for his birthday. OK… he just turned 28, but he has always loved dinosaurs and enjoys things that remind him of his childhood! (I made him a “big boy” card as well – lol!)

This double z-fold card was made with elements from 3 different Silhouette files and a lot of tweaking to get it the way I wanted it. The general card design started with Lori Whitlock’s “Pop Up Box Card – Dinosaur” (design ID 143162). Her card had a brontosaurus and a different dino pun. I came across “You Are Rex-ceptional” and liked that sentiment better, but it didn’t go with the brontosaurus. So I used the t-rex from Studio Ilustrado’s “T-Rex Dinosaur Card” (design ID 135707) instead.

The Rex-Ceptional emblem was actually designed as a whole card front called “Card Dino T Rex Ceptional 6×6” (design ID 445052) by Heartsewn. After I shrunk down all the pieces to fit on my card, the letters were too small to cut individually so I created a print and cut file for that strip instead. (I also substituted the t-rex skull that was included in their design with stars.)

I added a panel on which to write a message and sign the card.

The card stock I used was Recollections Kraft, Christmas Green, and white; Core’dinations Valentia; GKD Powder Blue and Chocolate Truffle; and darker green, yellow, black, and red scraps from my stash. I also used a piece of heavy weight acetate to hold up one of the clouds. (It’s hard to see in the photos that the middle cloud is “floating” between the palm trees toward the front and the other two clouds on the back.)

The finished card folds flat for mailing and measures 5 1/2 x 5 1/2 inches so I created a custom envelope using my We R Memory Keepers 123 Punch Board envelope maker.

*

Eric wanted to be a paleontologist when he was younger. This is Eric with his friends at his 5th birthday party – dinosaur themed – extracting and studying (very seriously!!) mini dinosaur skeletons!

Fun times!!

Thanks for checking out my card project!