Holiday Planners
(one of several designs; see more below)
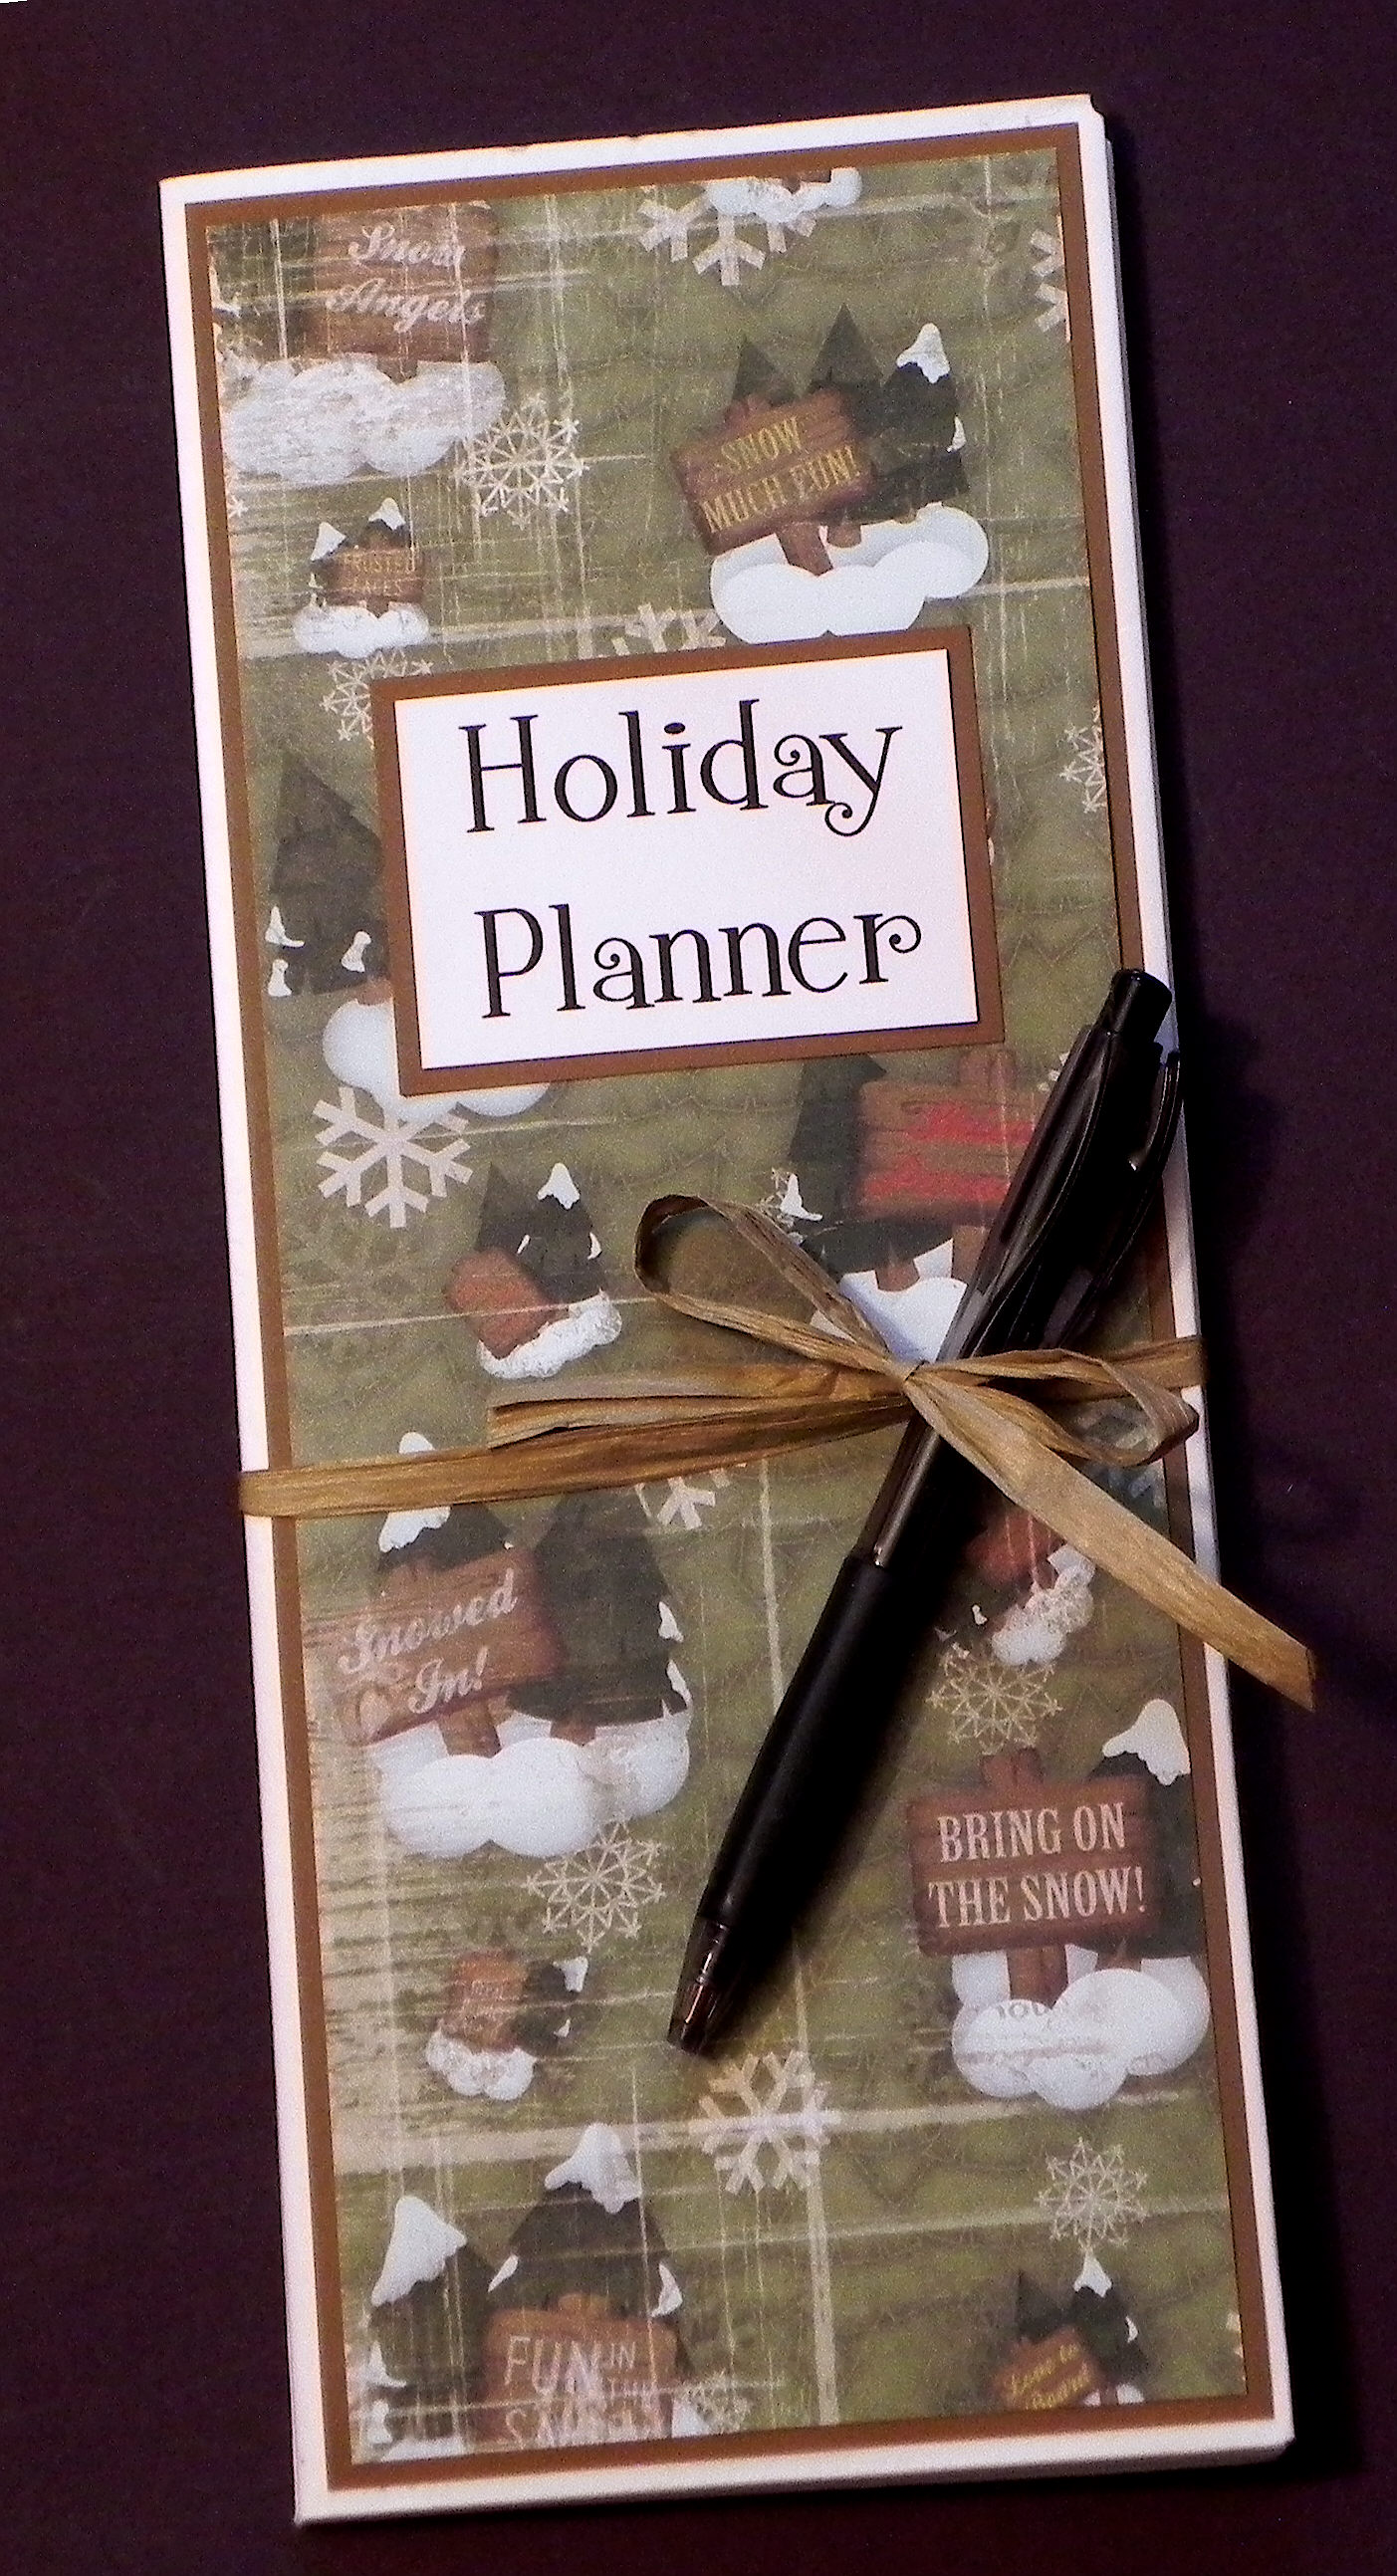
I loved this “Holiday Planner” idea when I saw it HERE on Melissa The Stamp Doc’s blog. I thought planners would be useful, fun to make, a great way to use up some of the paper I have piling up in my craft room (I think I’m addicted to buying the stuff!!), and a cute item to offer at the Rolling Green Golf Club Holiday Boutique which is at the beginning of December (the perfect time to start planning for the holidays!). So I decided to make a bunch of them!
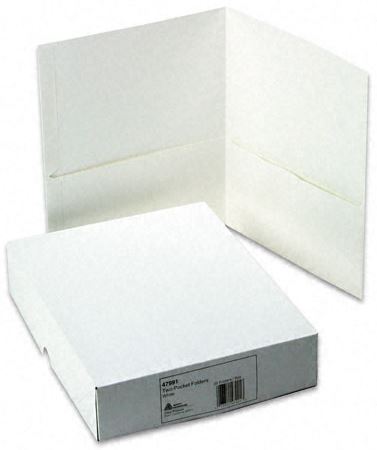
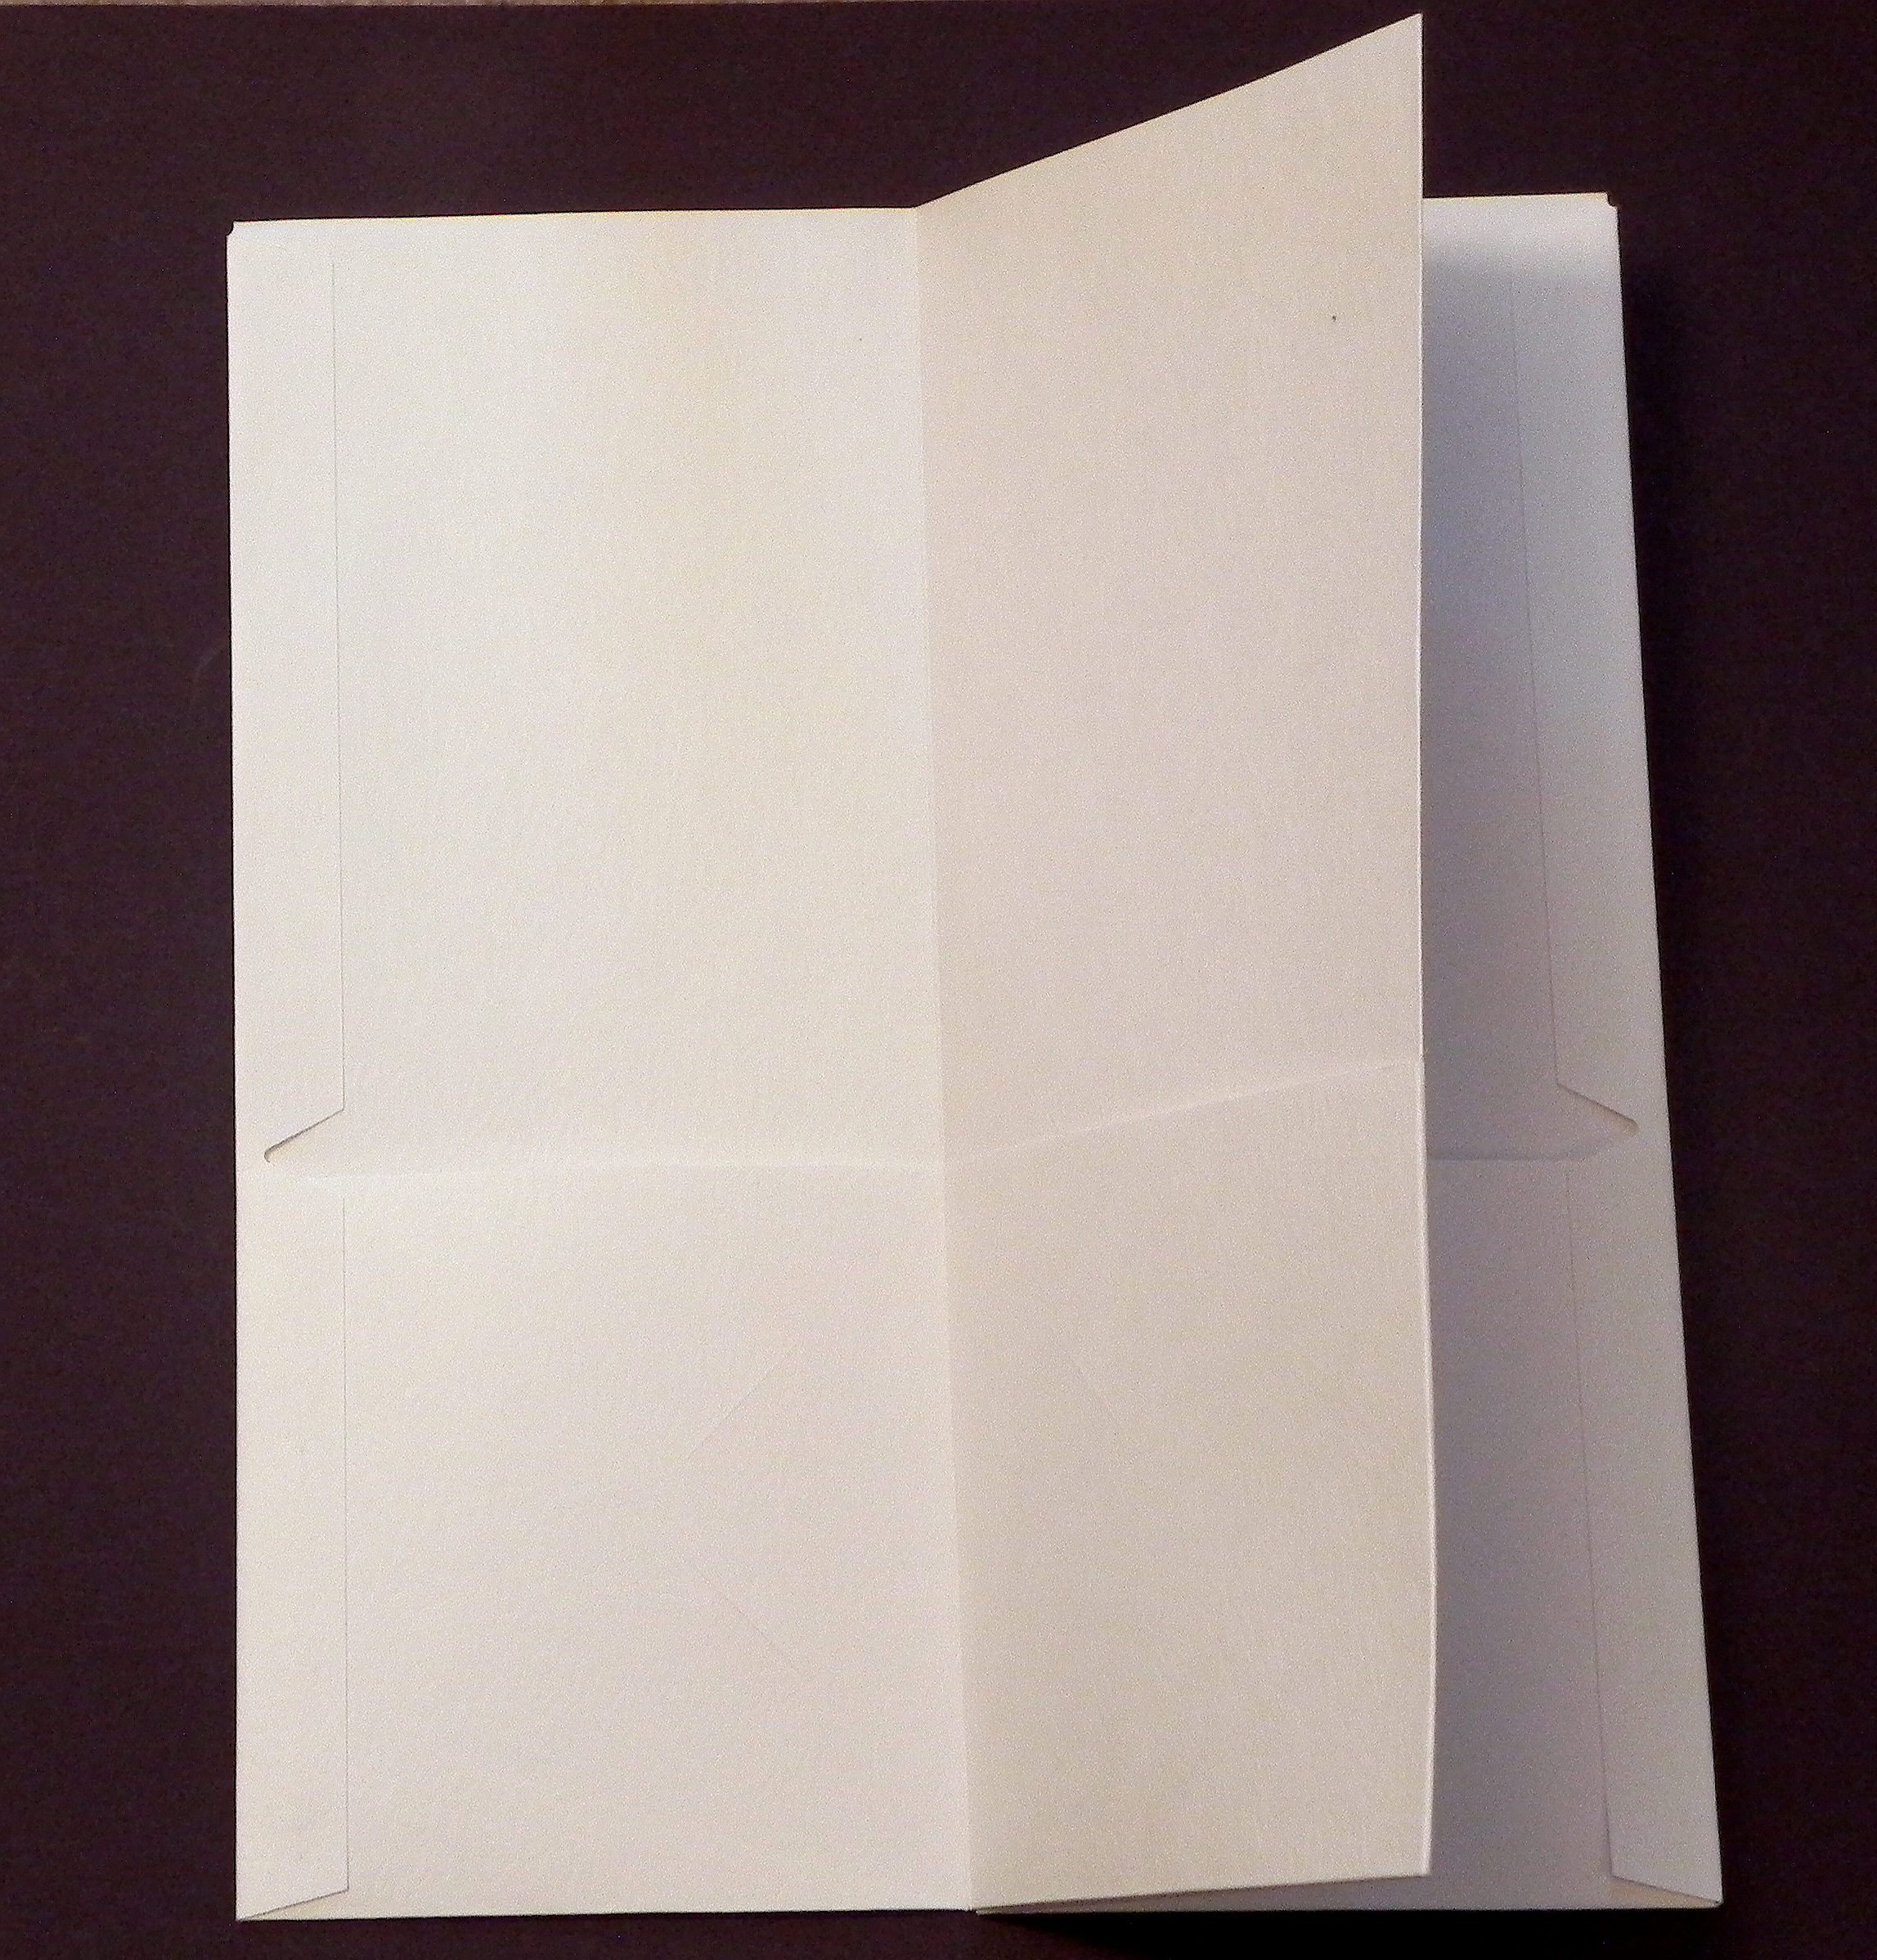
The base for each of the planners is a pocket folder which I ordered on Amazon, but you can also get them in office supply stores and where school supplies are sold.
I scored each side of the folder in half vertically and folded them so the pockets were on the inside.
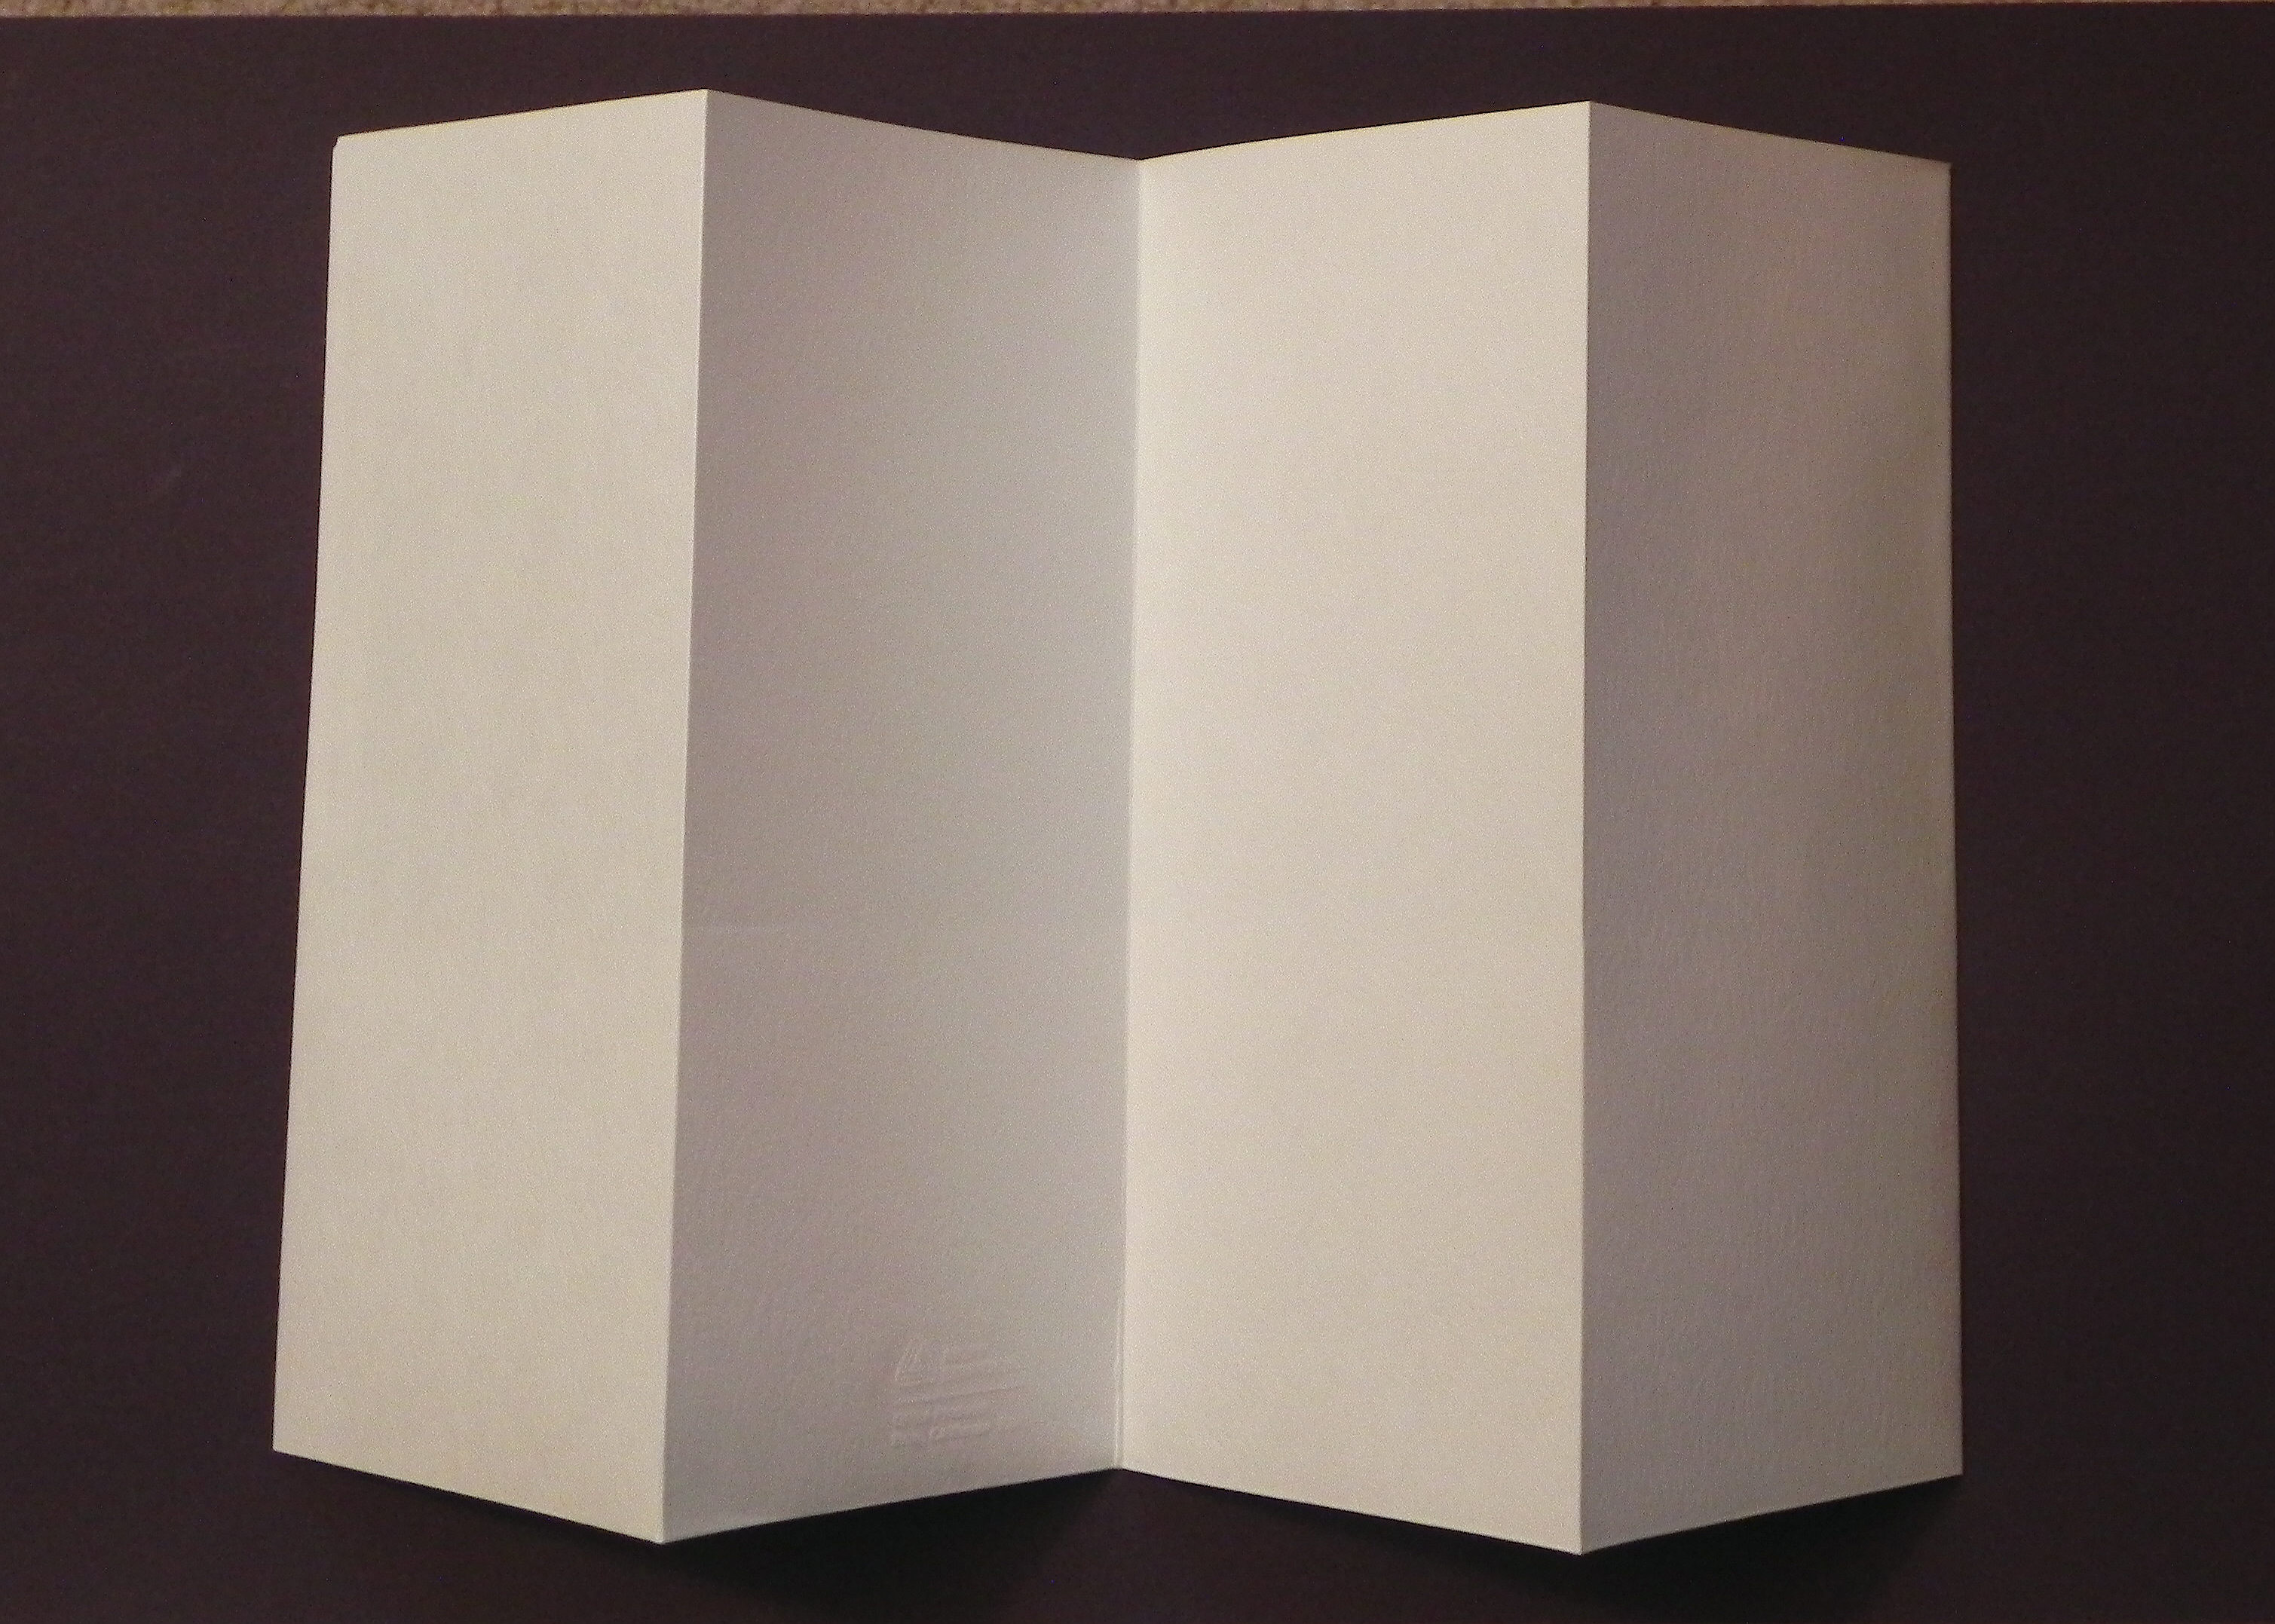
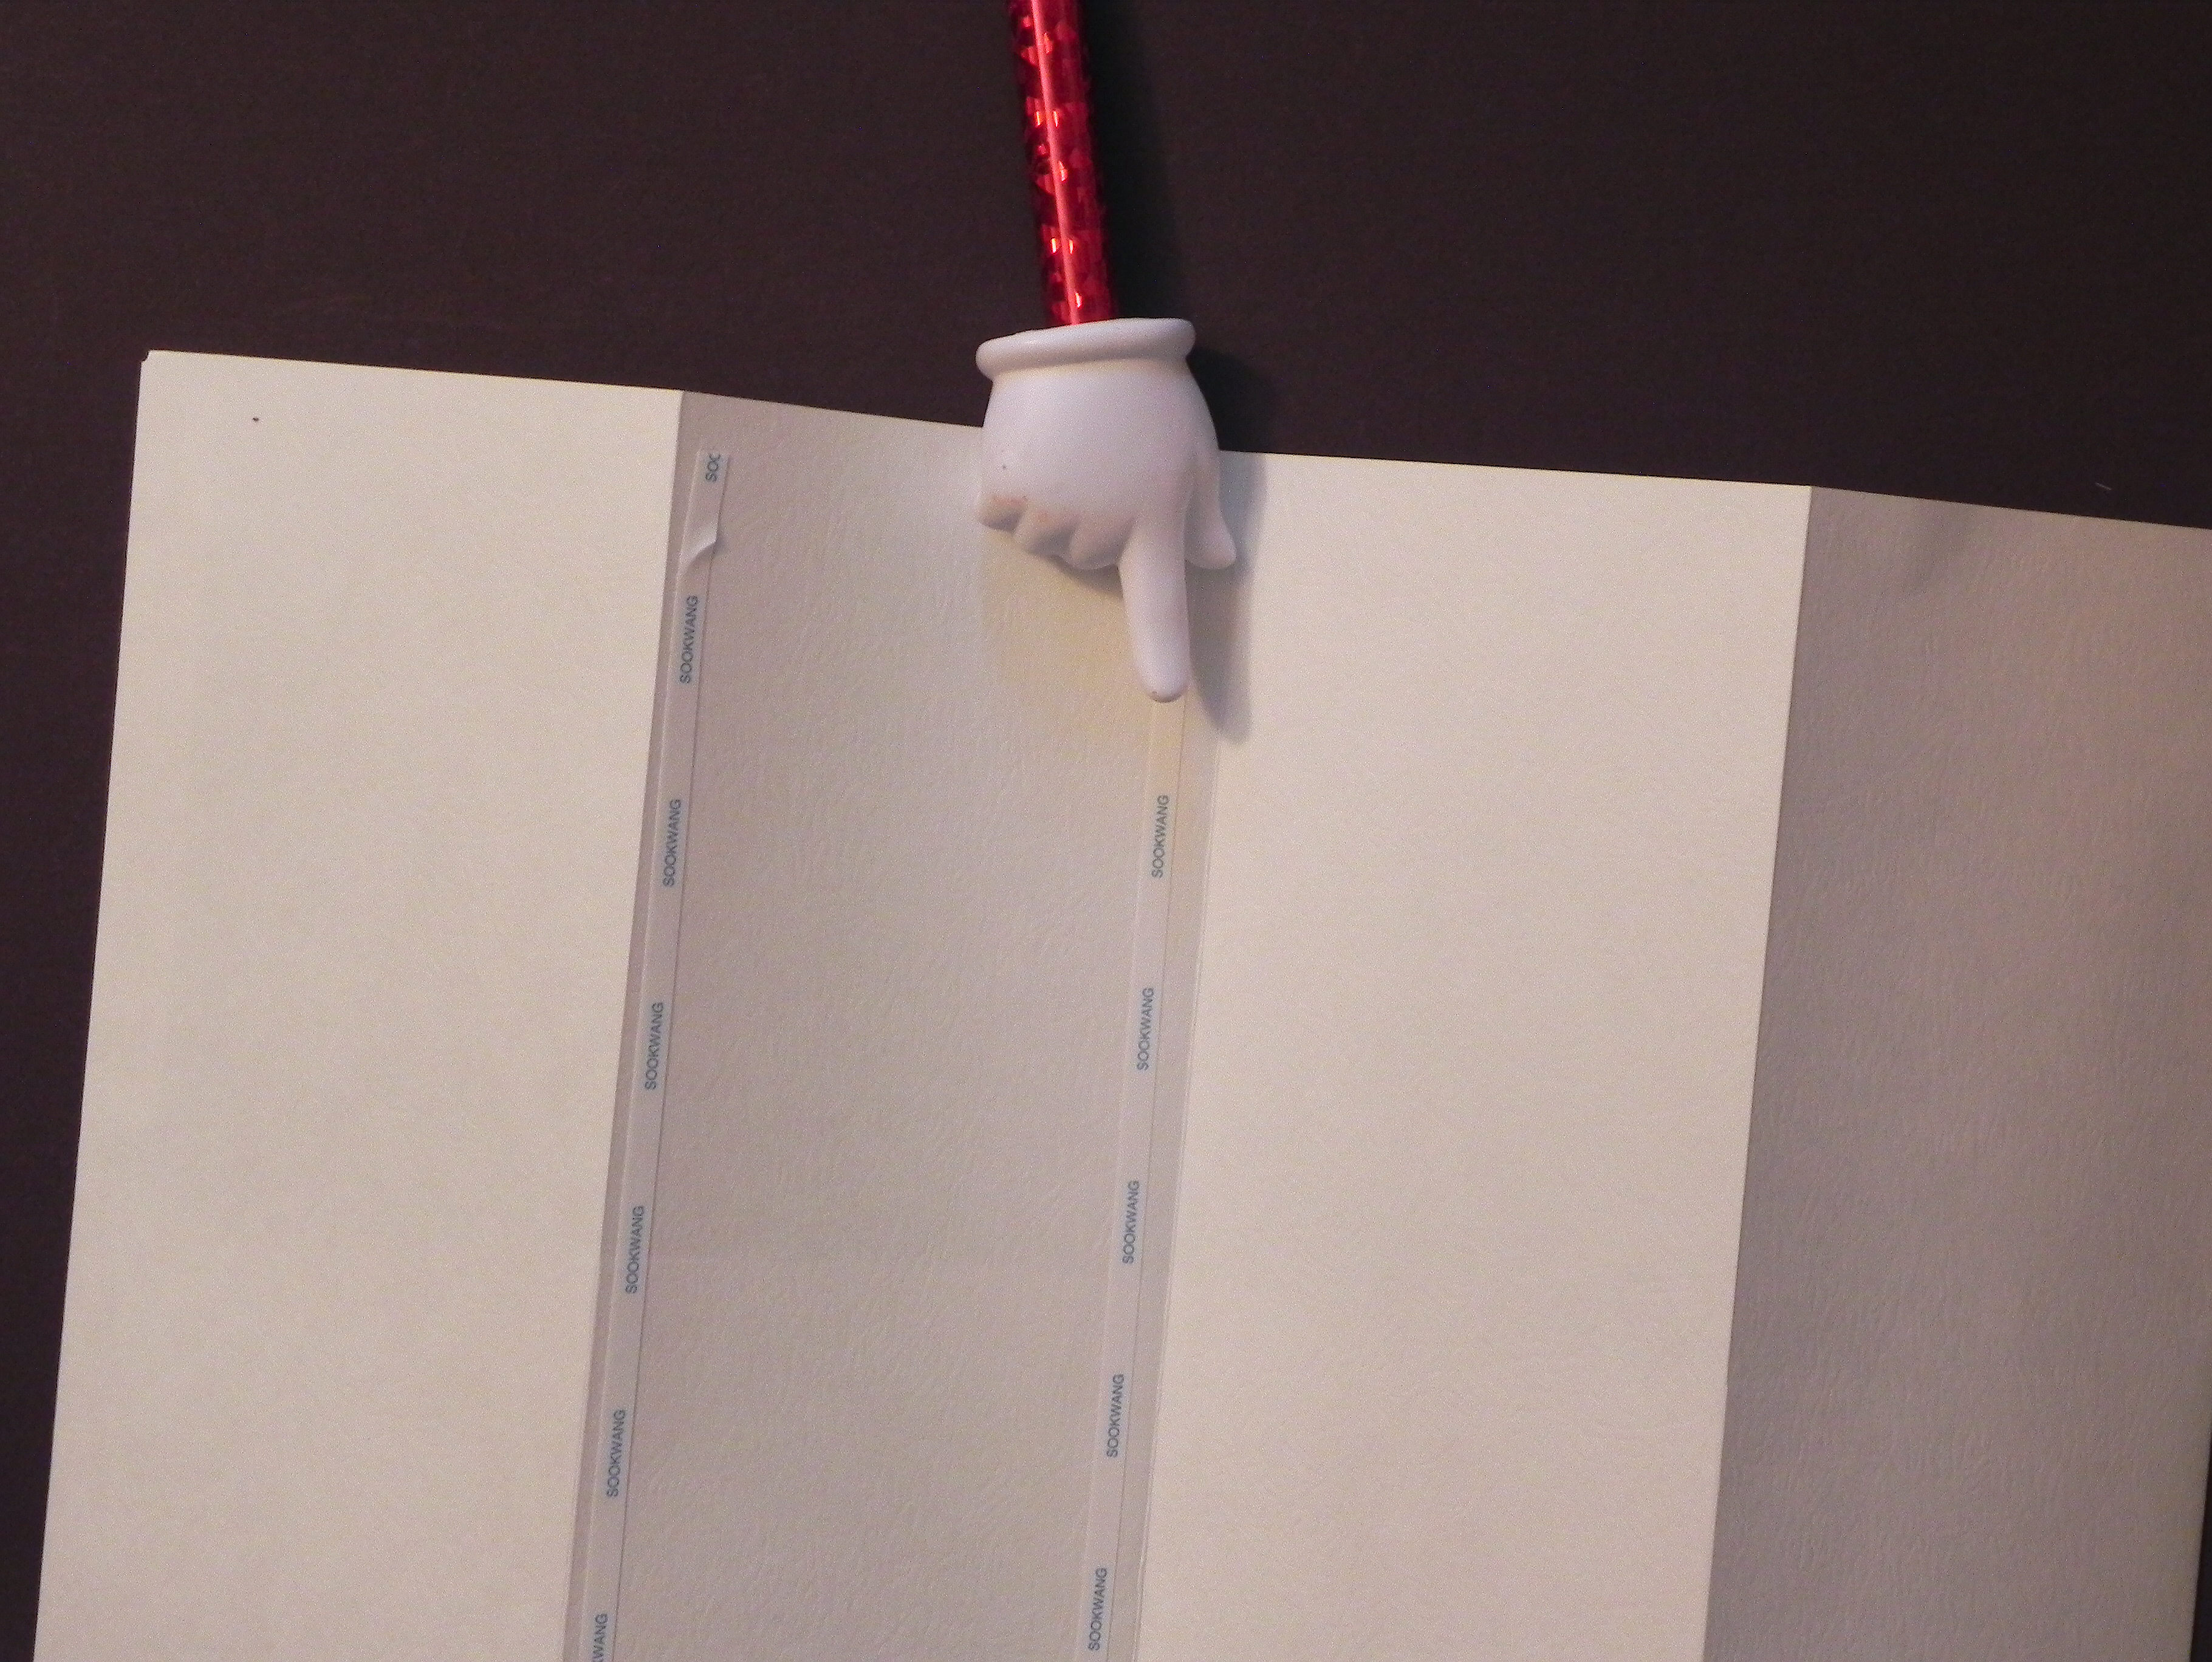
I added score tape to the back of the middle panels so they would stay together and form a tall, skinny book. (Melissa’s opened flat.)
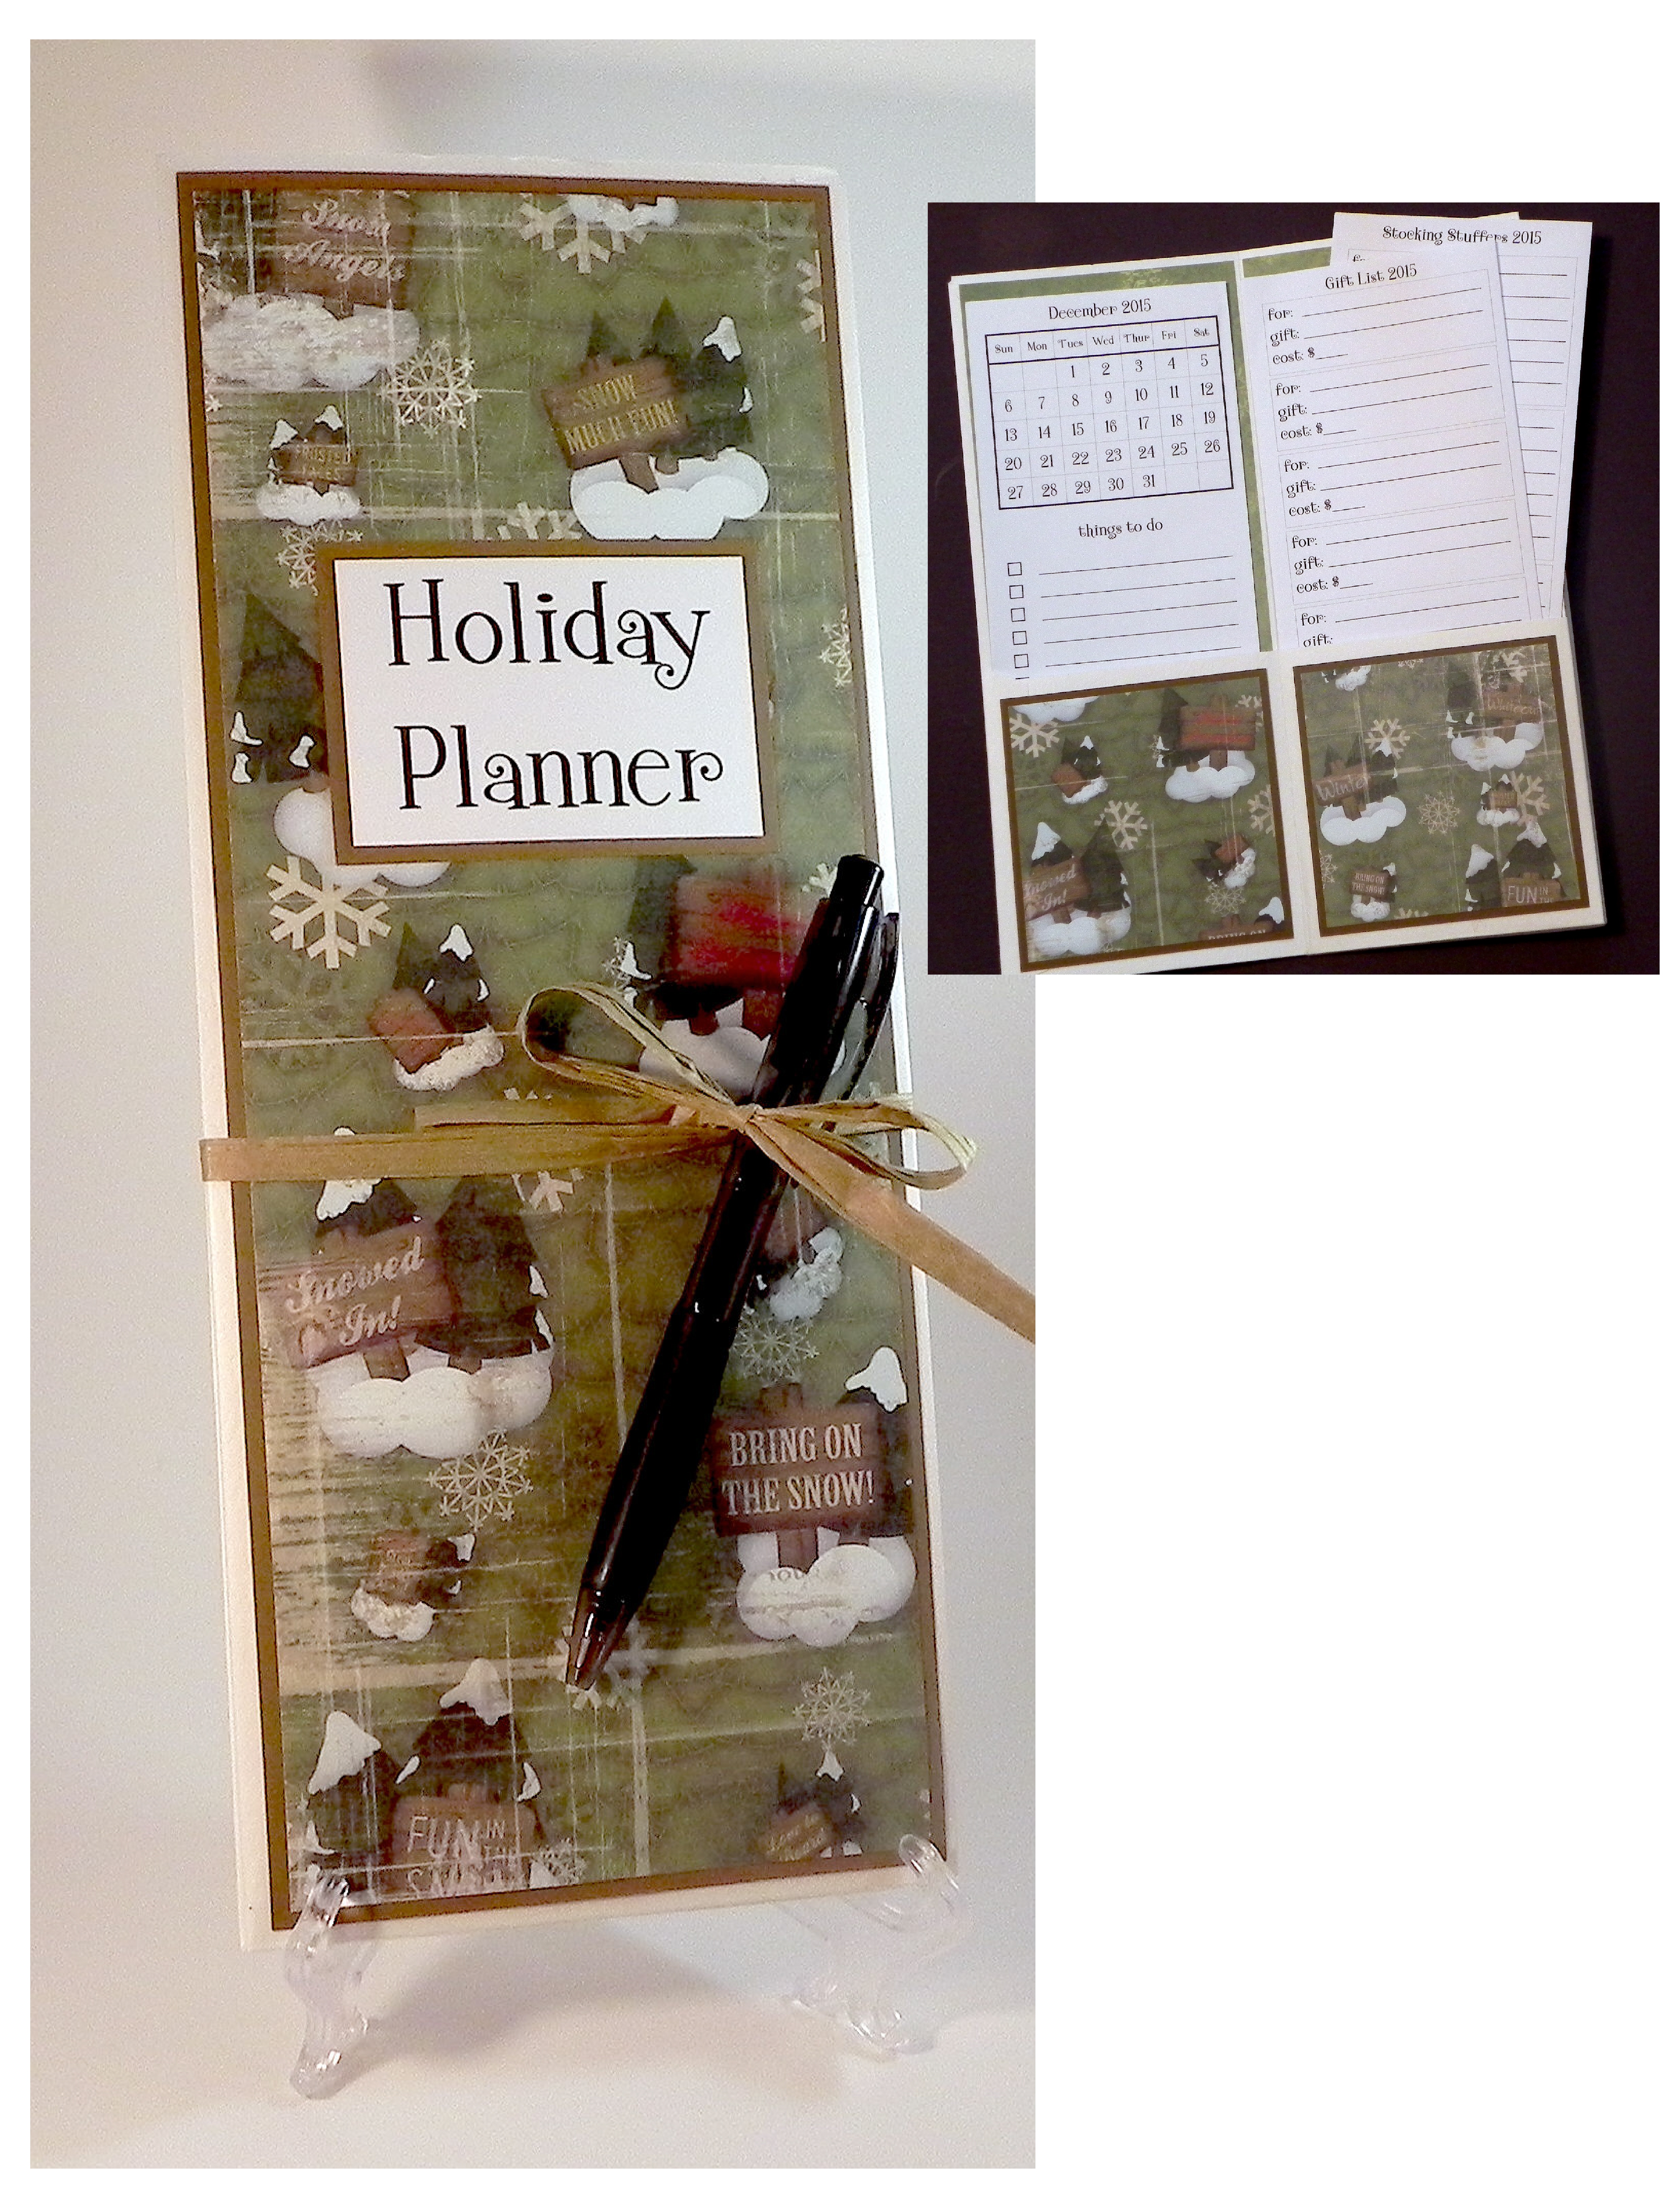
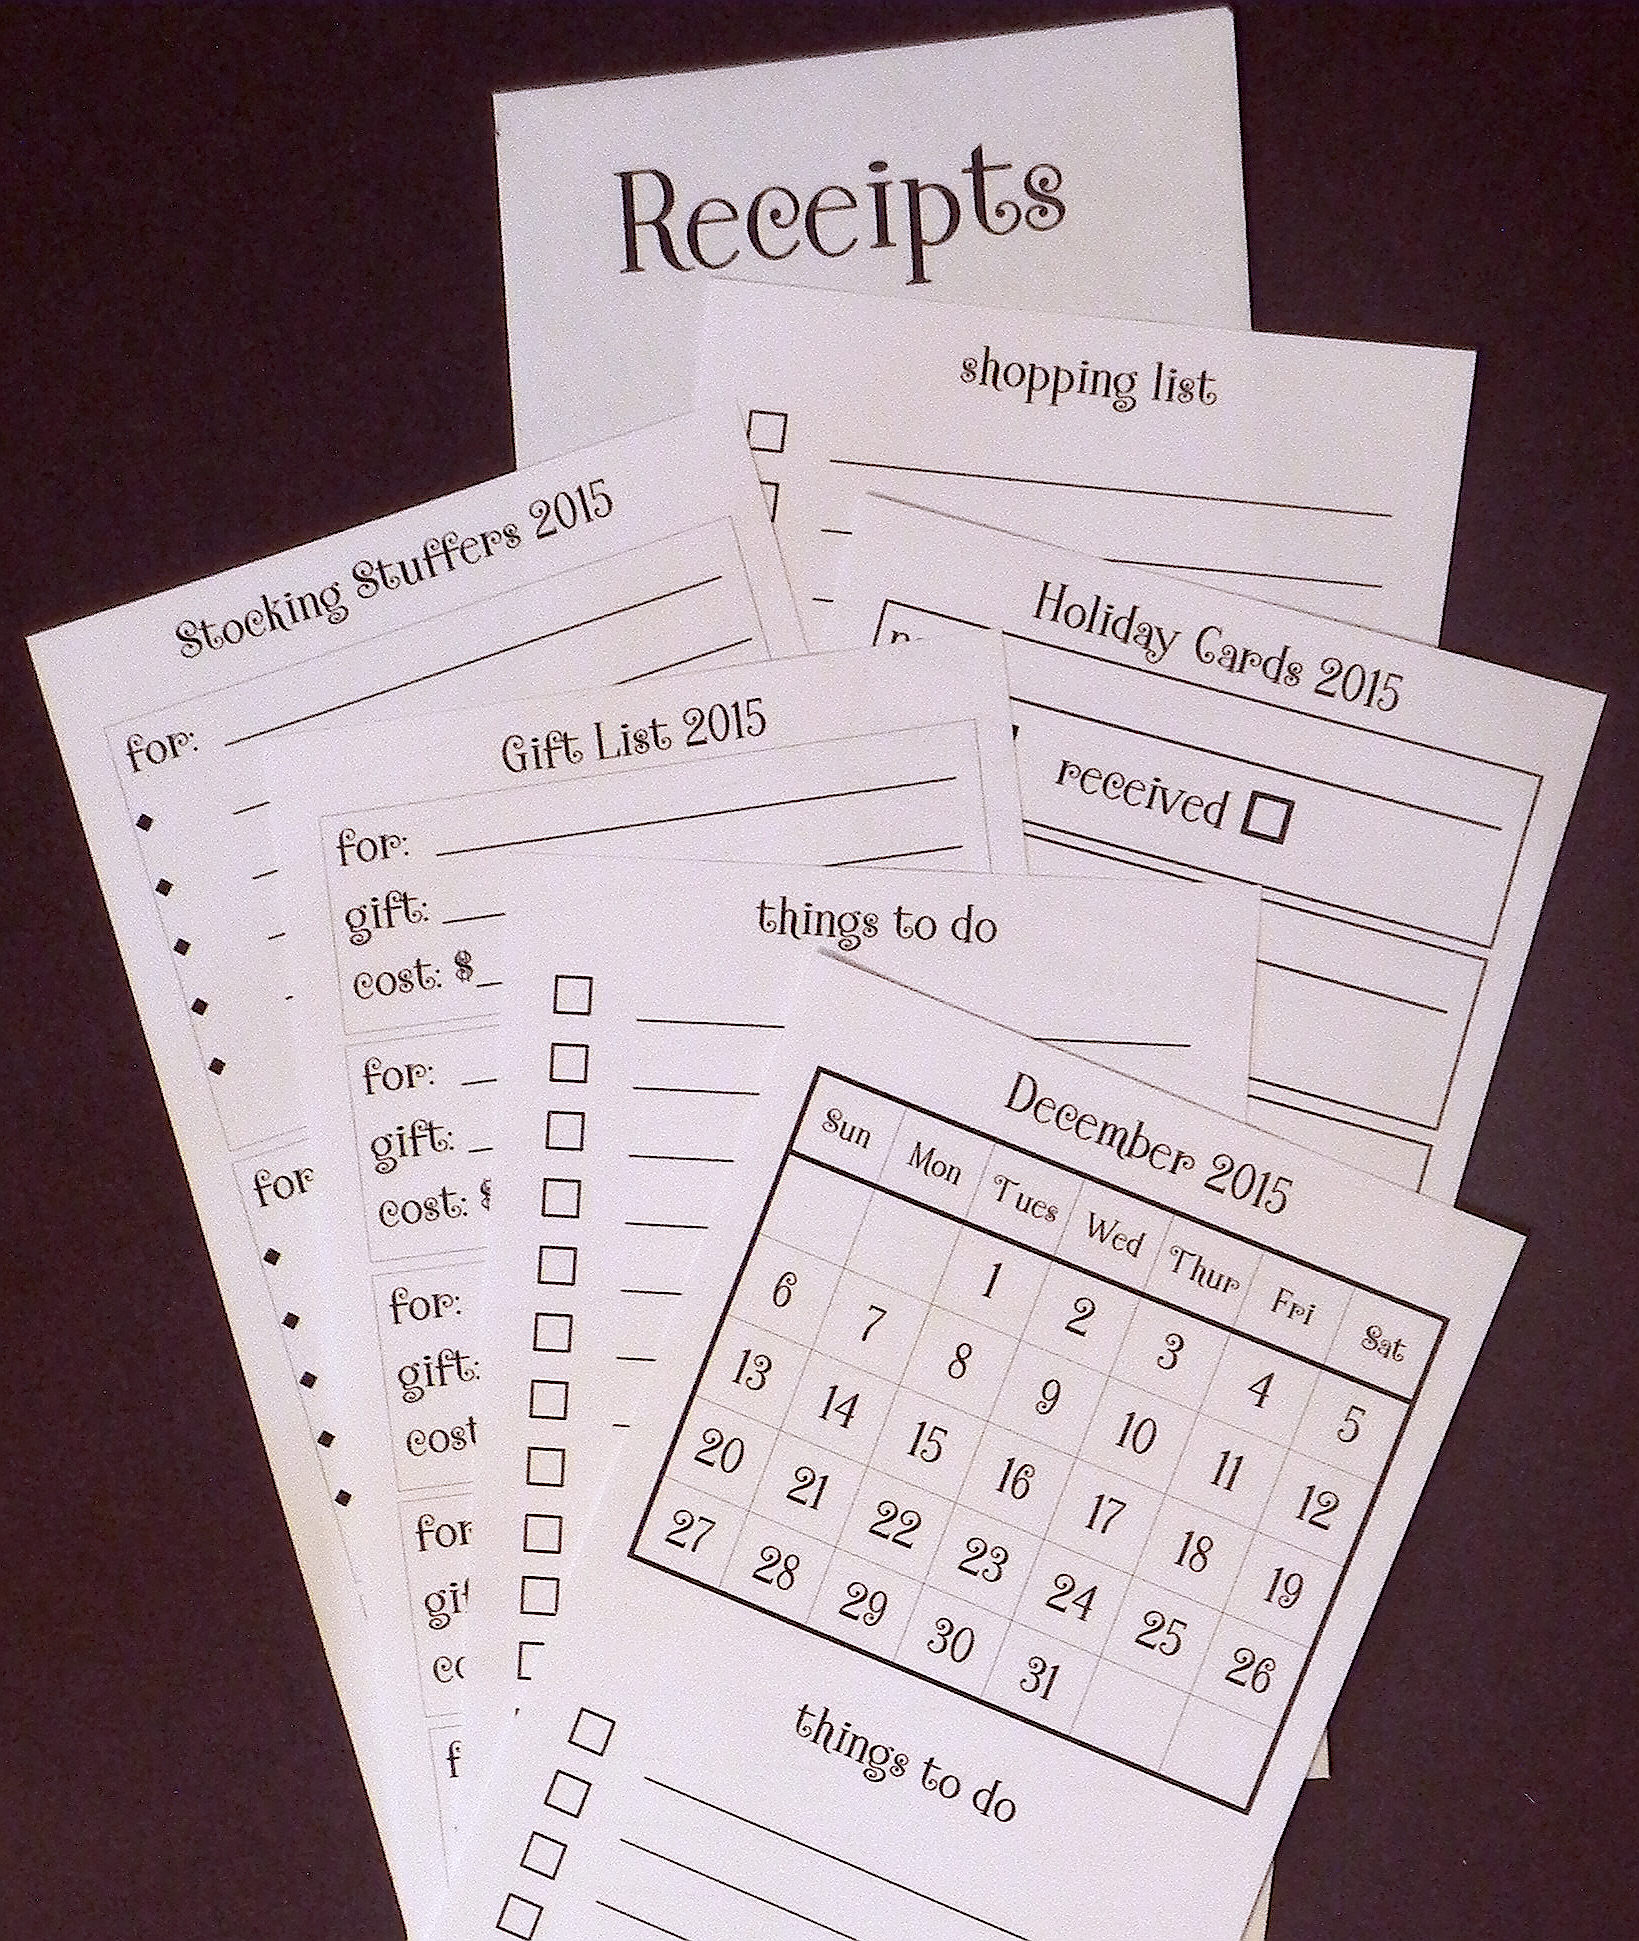
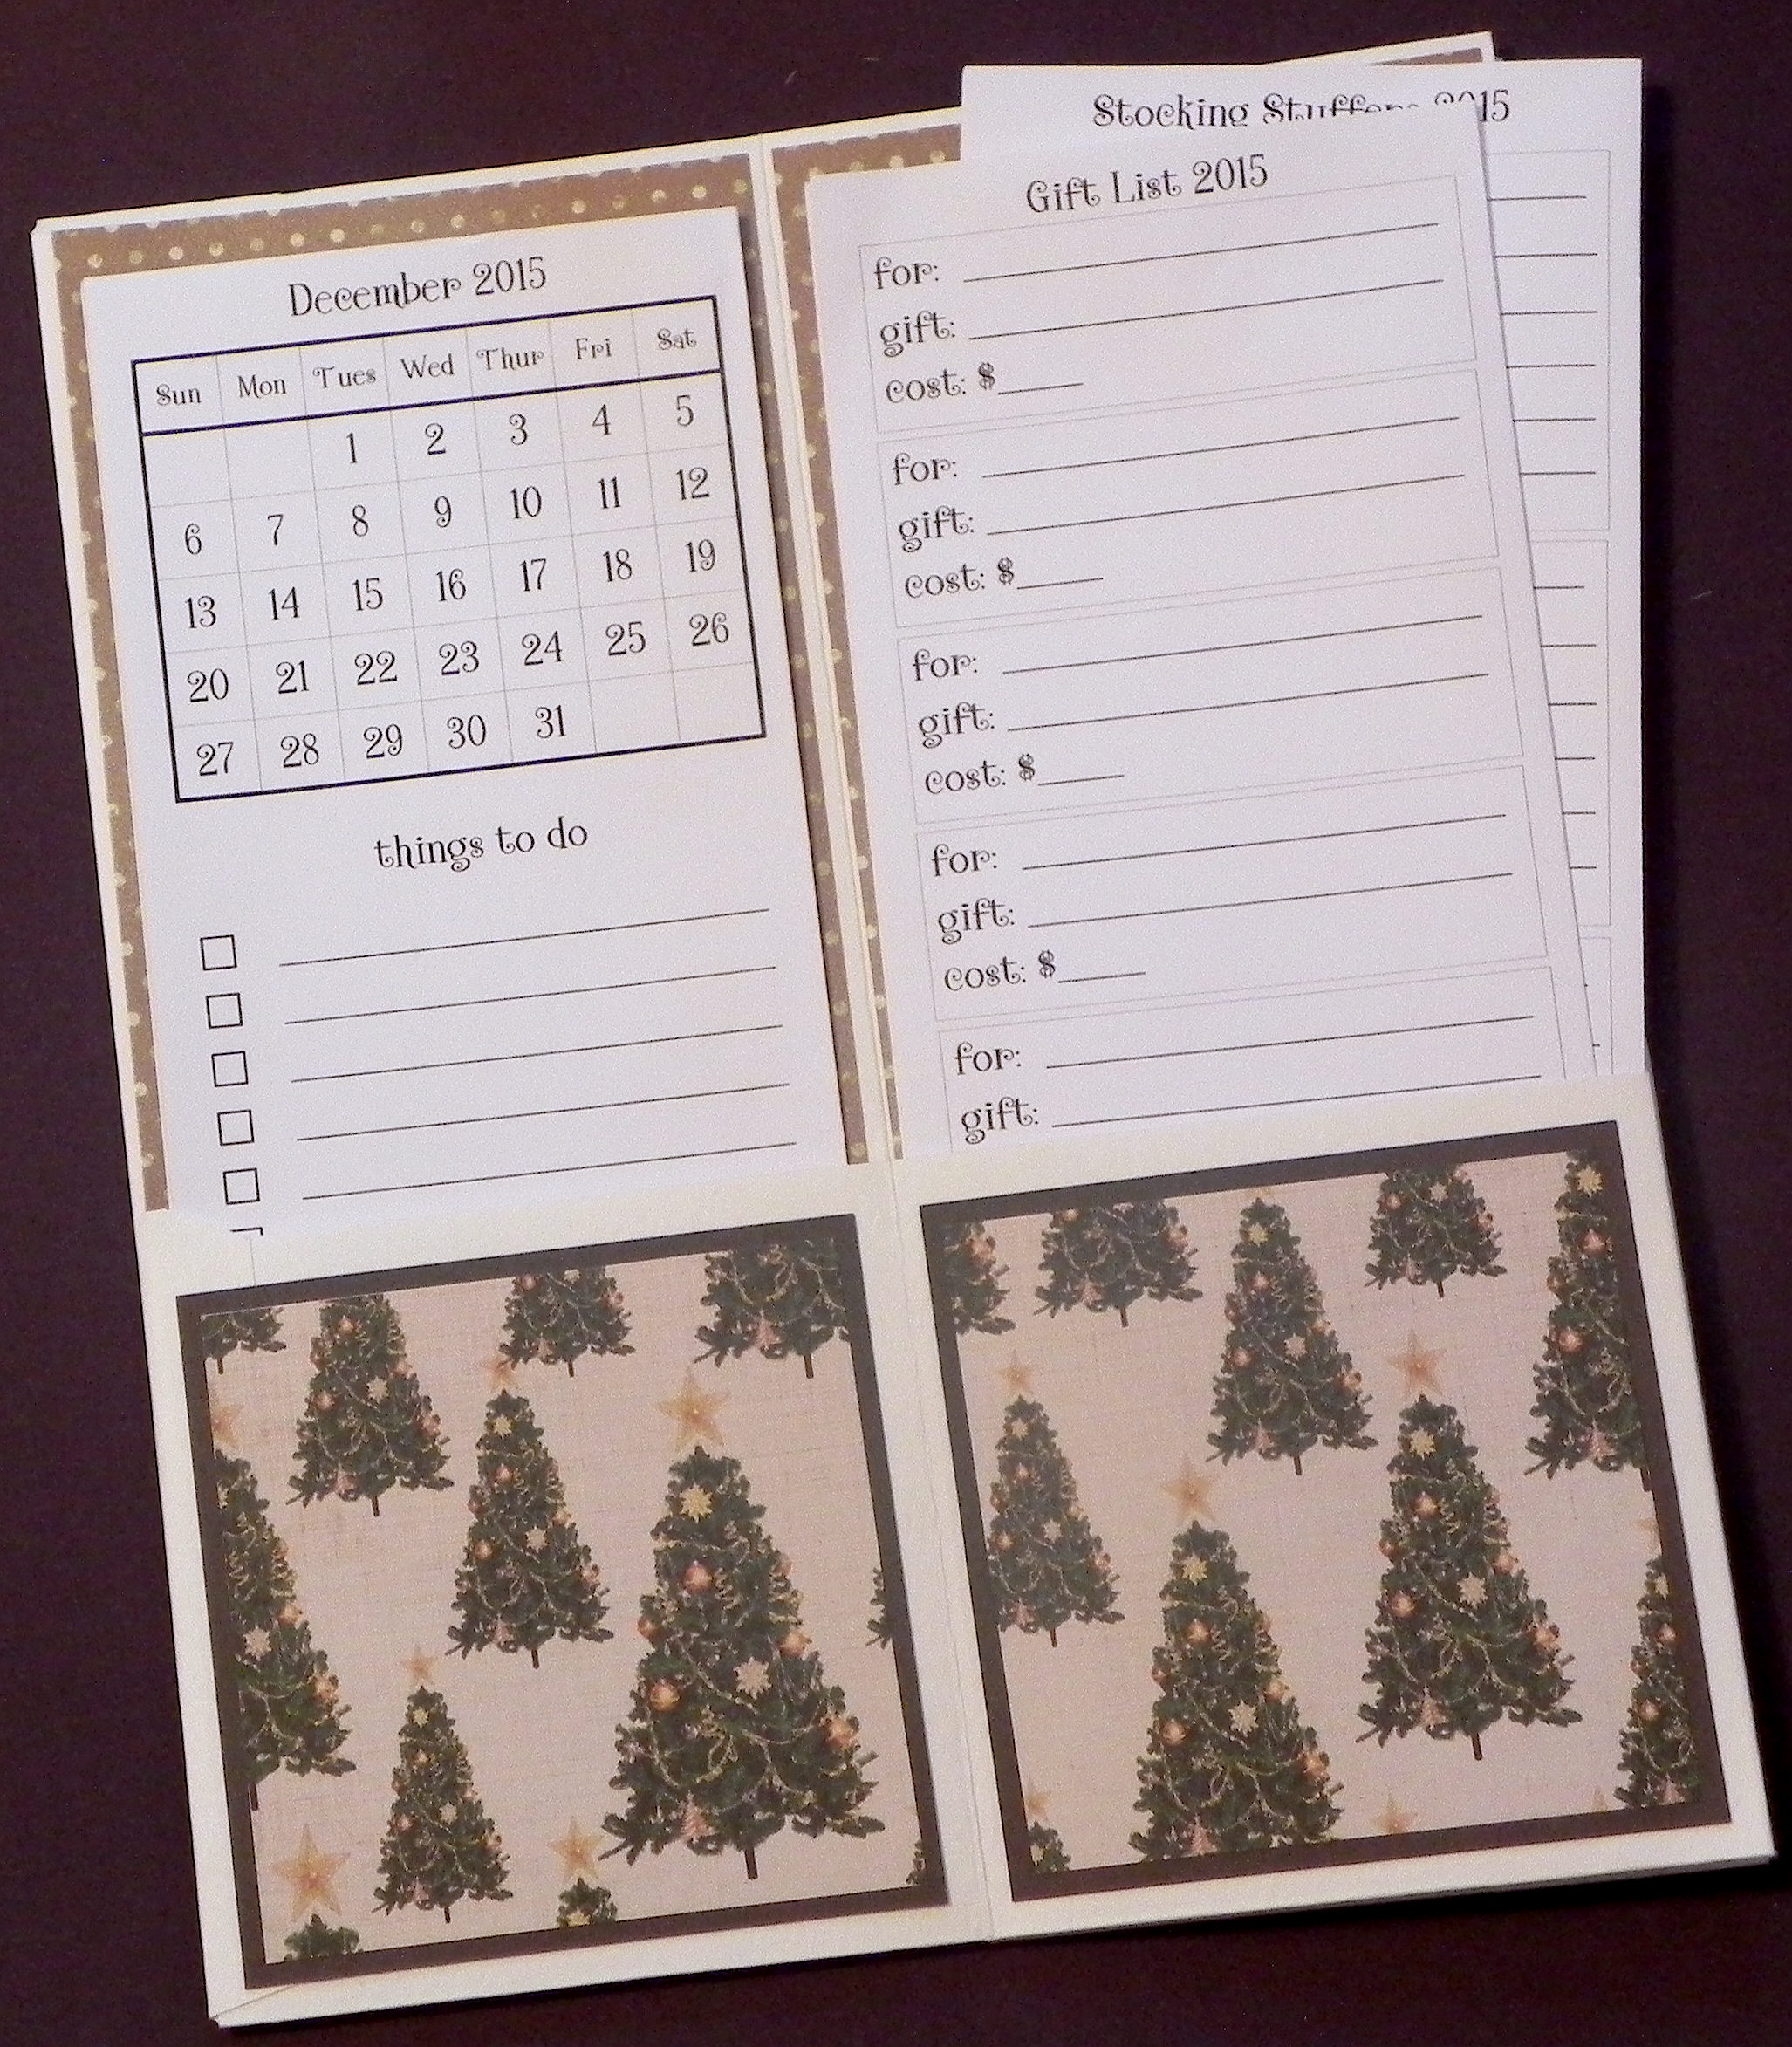
I designed and printed my own inserts for each planner. I included a calendar, “to do” lists, shopping lists, stocking stuffer and gift lists, card lists, and an envelope for receipts. (A link for inserts was provided in Melissa’s blog post, but these are copyrighted and cannot be used in products for sale.) I will include contact information with each planner I sell so the customer can request and print additional/updated sheets for later, if desired.
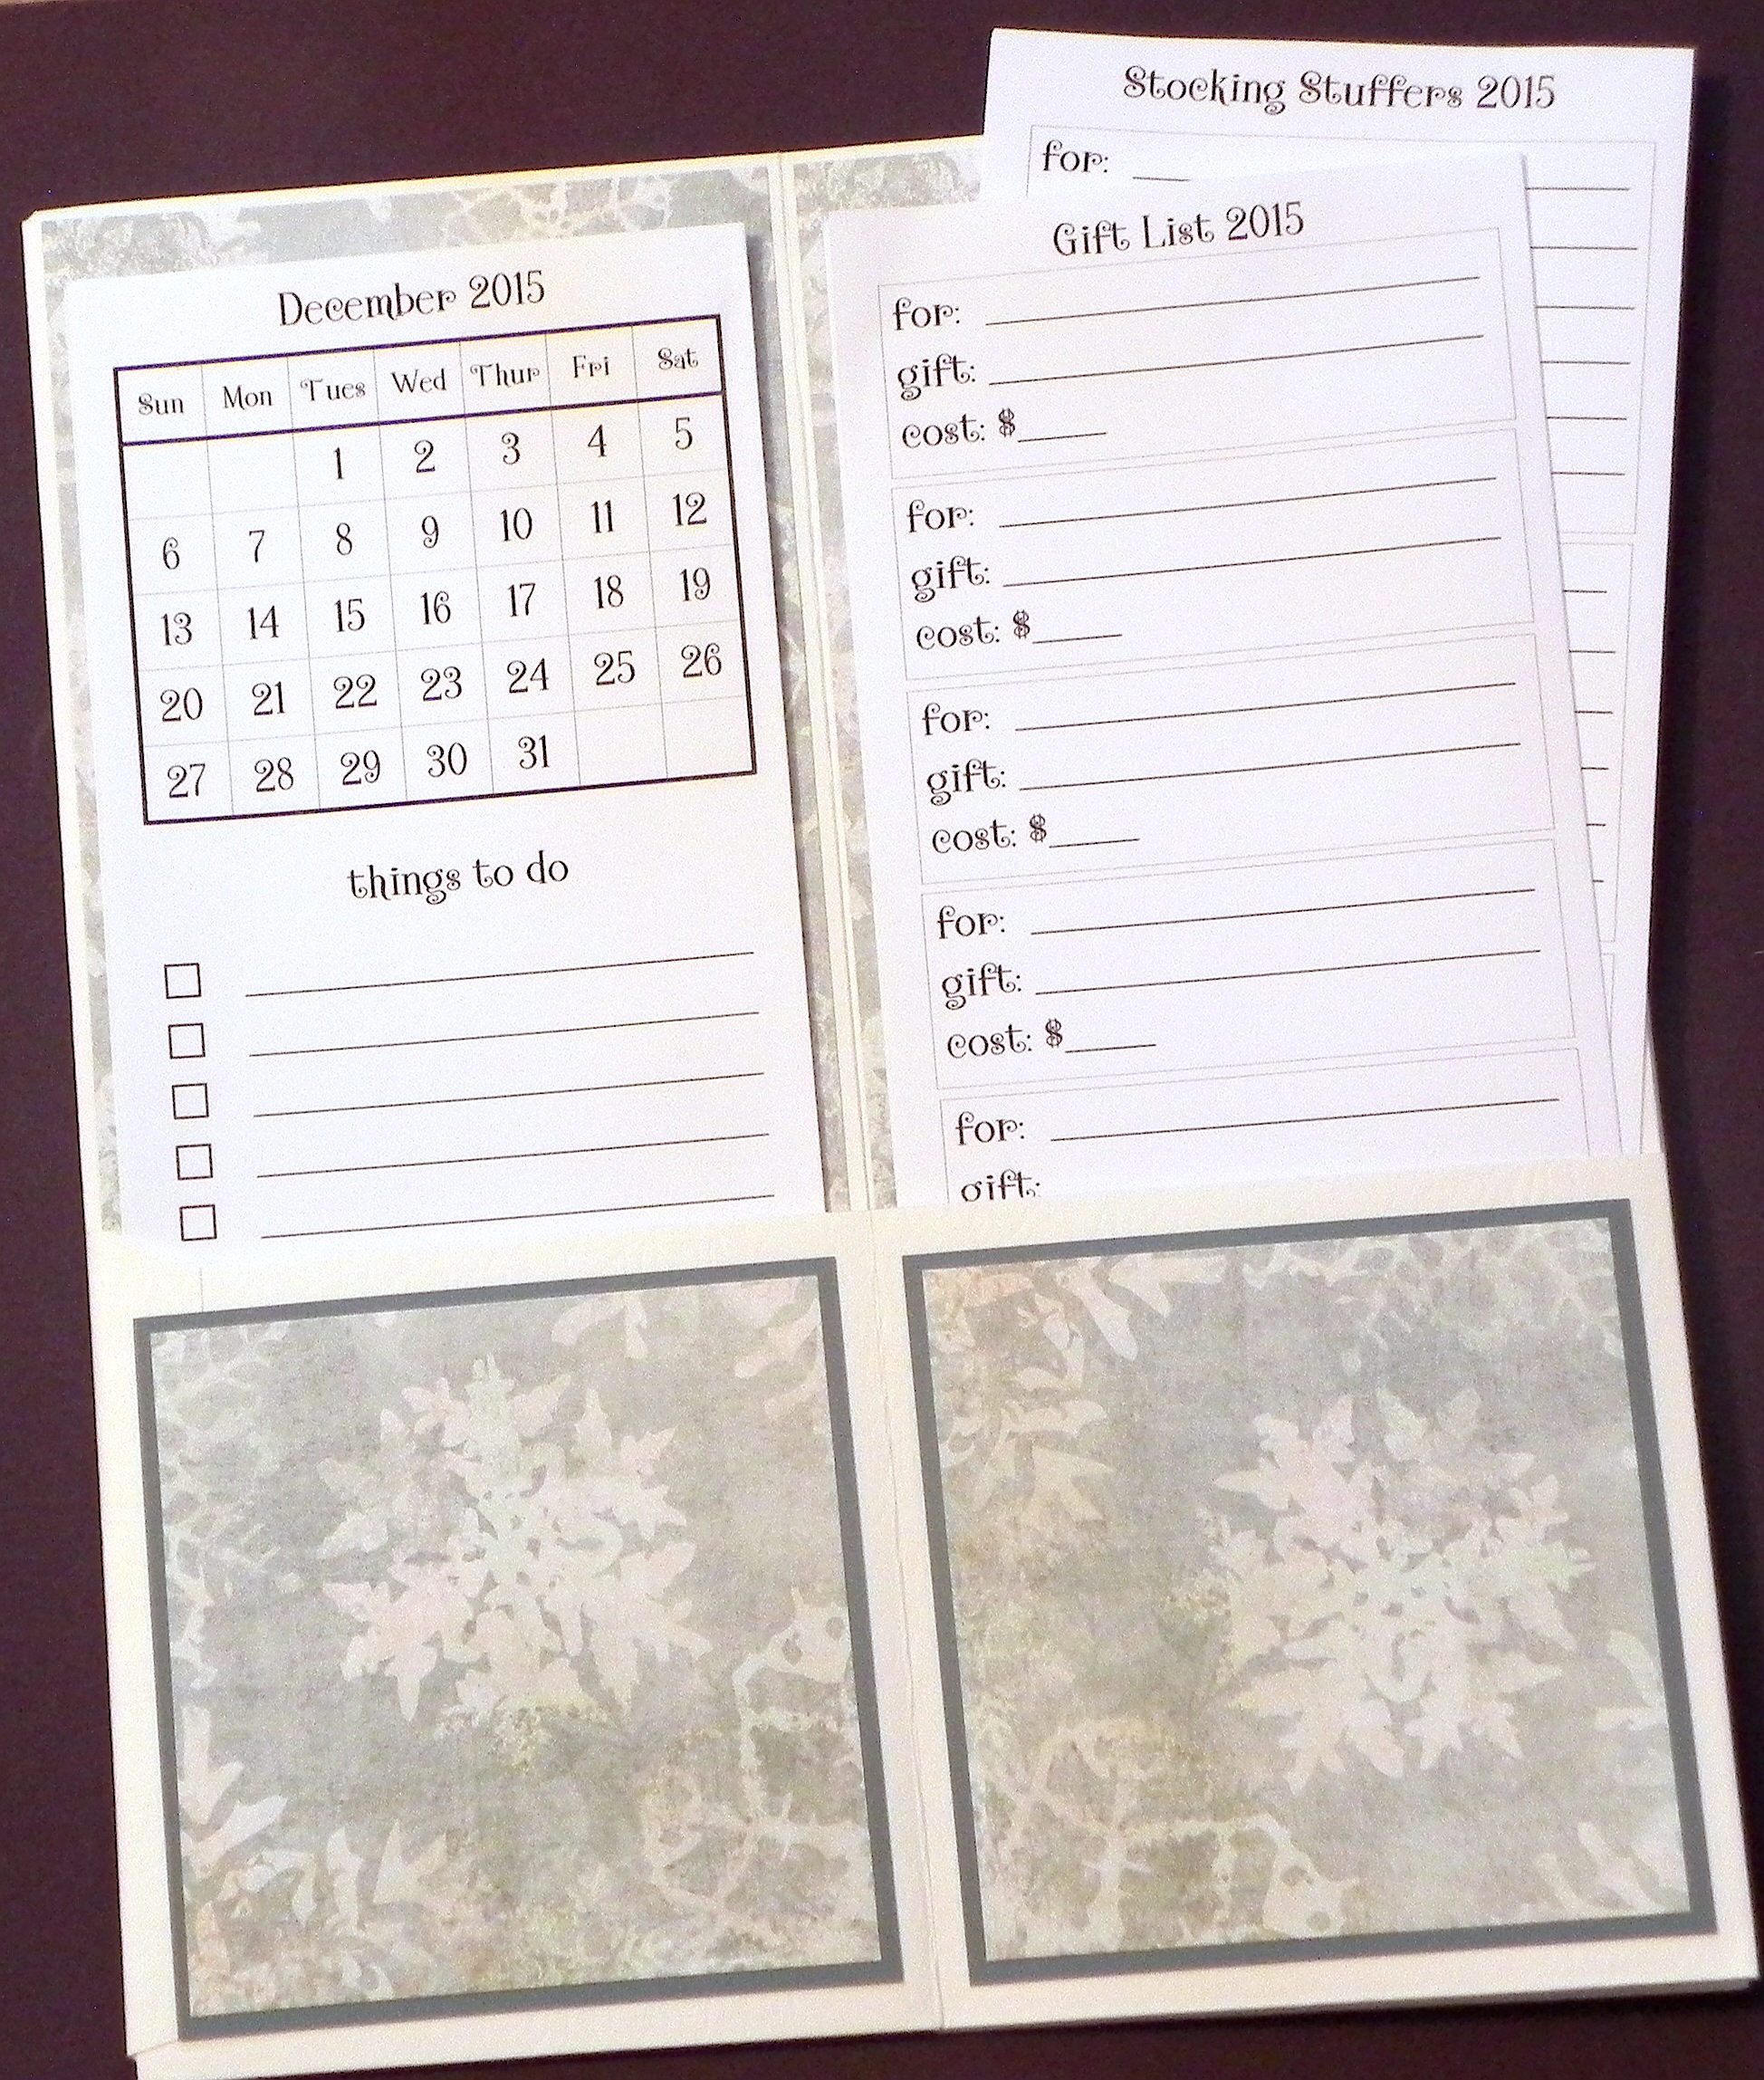
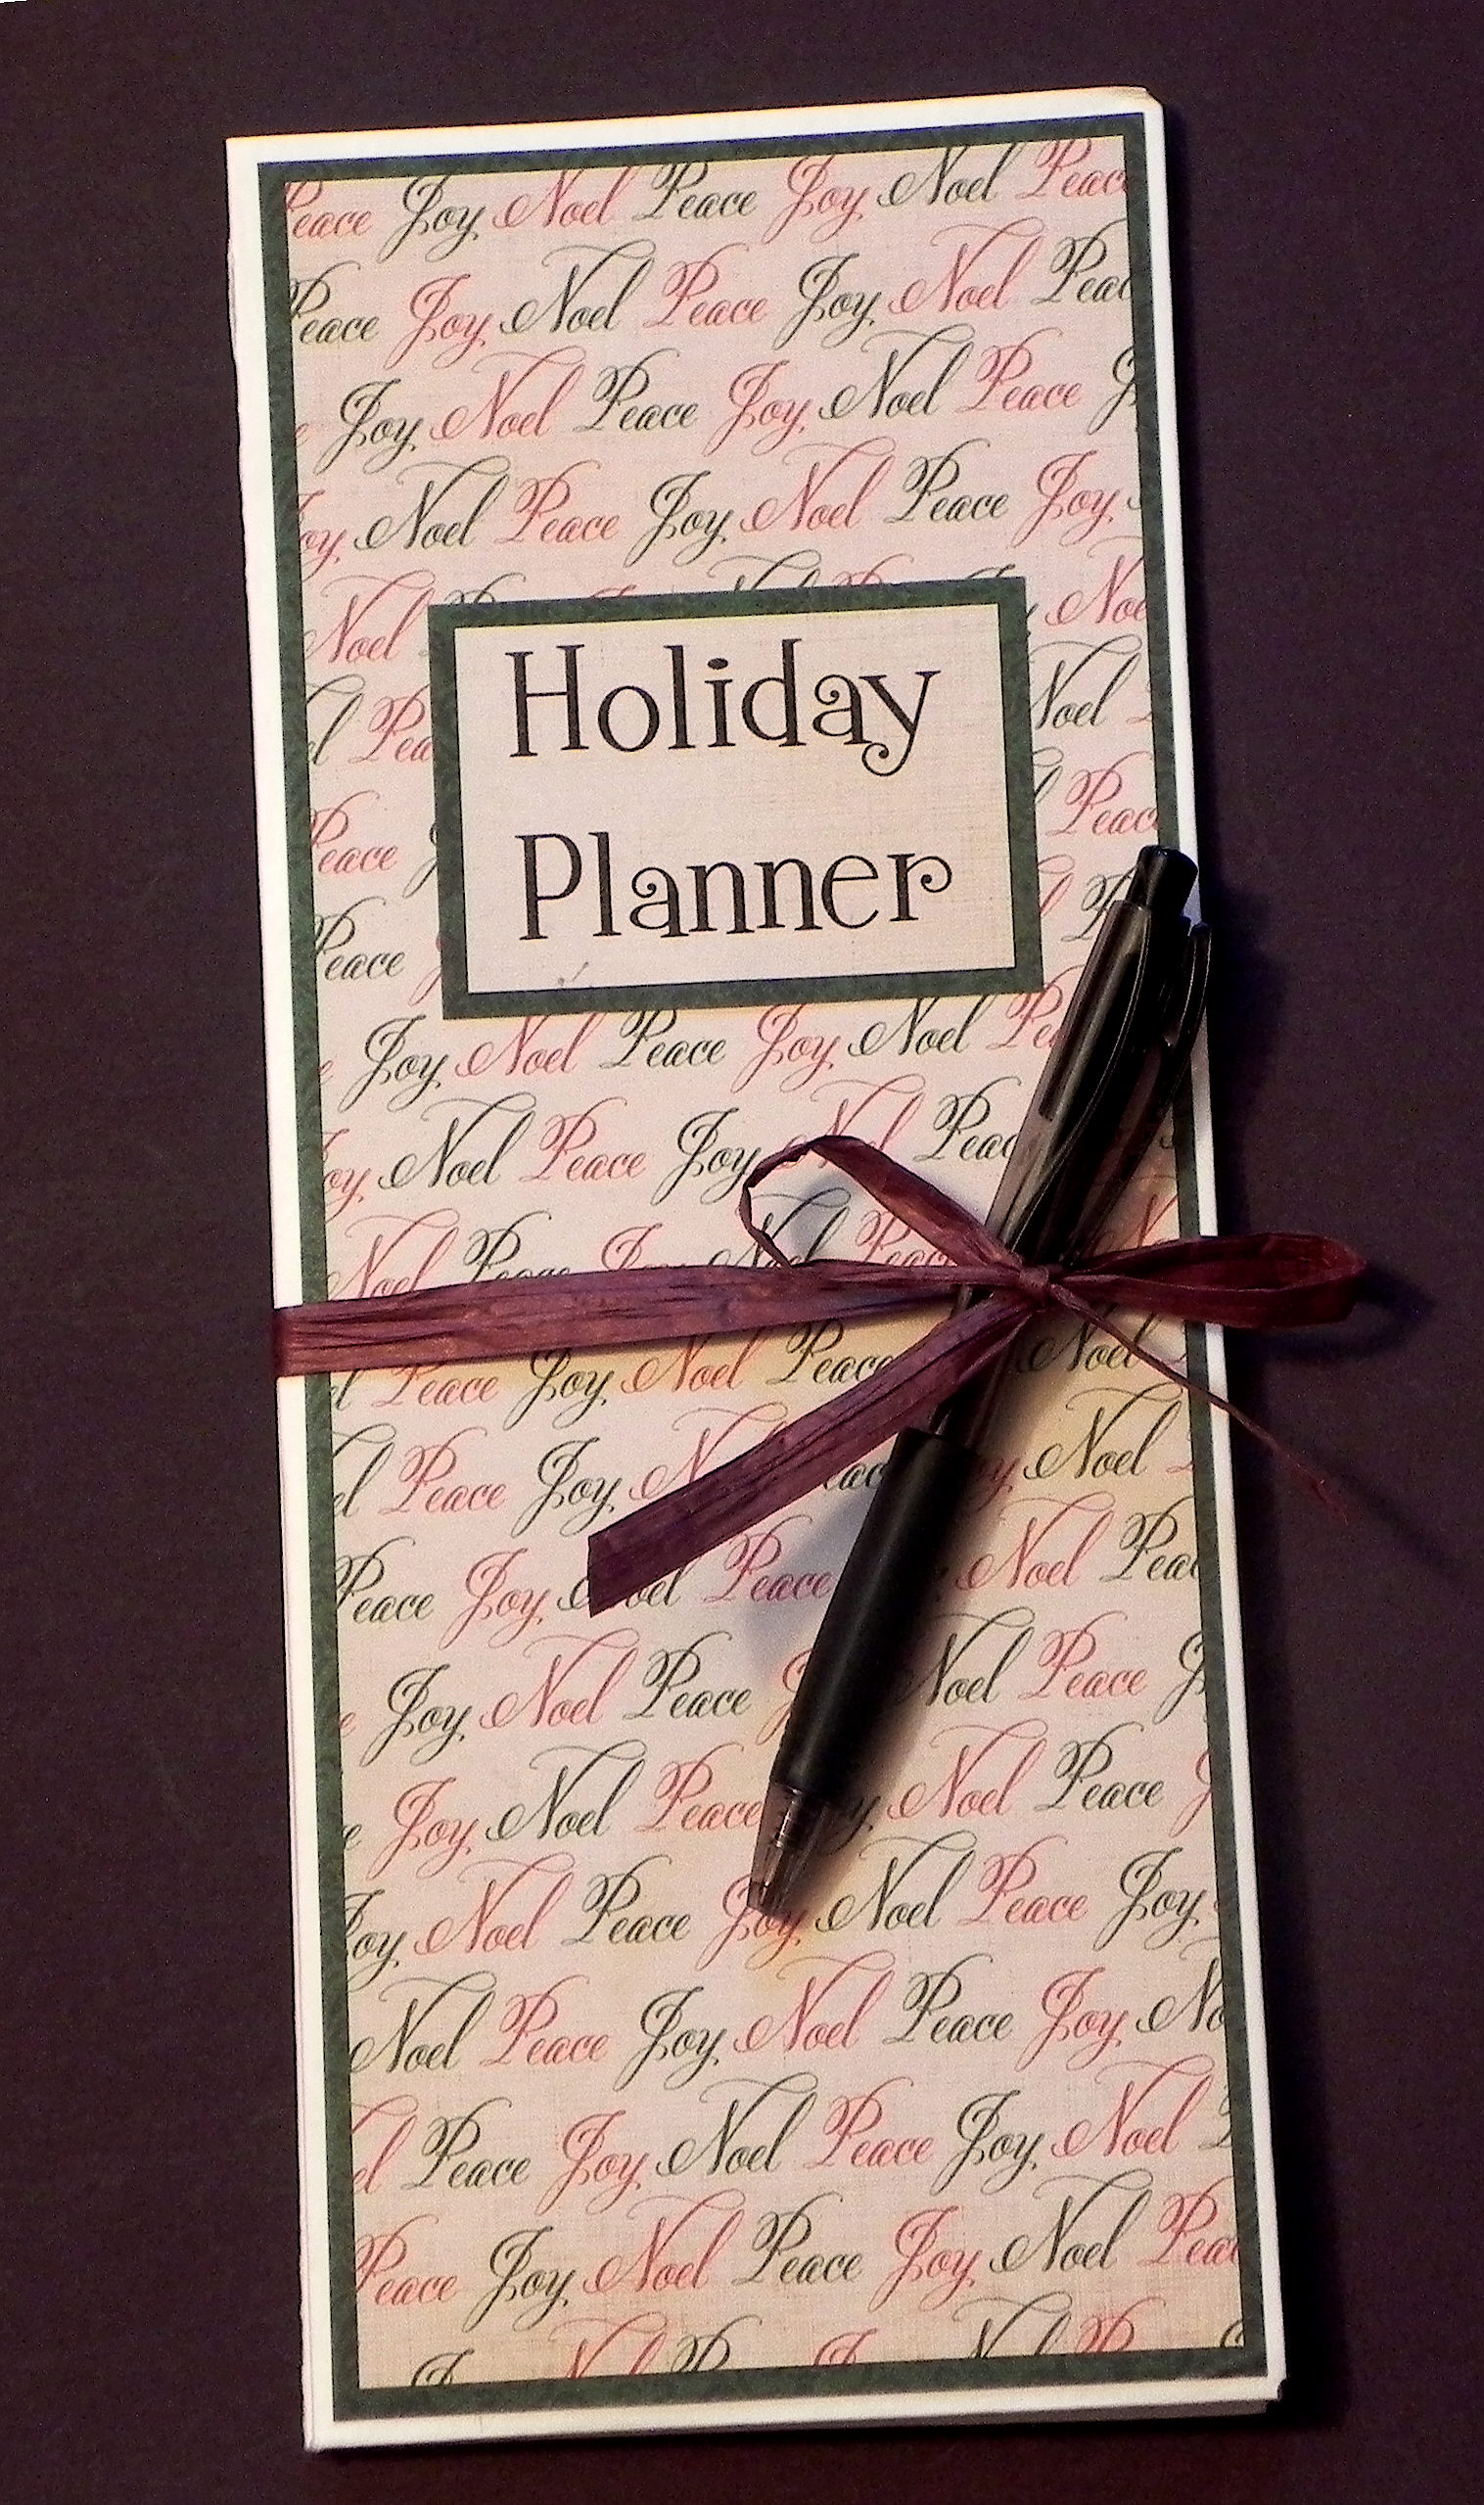
I added decorative paper and mats to the fronts and inside pocket panels and made a “Holiday Planner” label (computer generated) for the fronts. To finish them off, I tied pens to the planners with raffia. For the sale, each planner will be placed in a plastic sleeve (actually made for license plates) that I found at Bags Unlimited and sealed with clear, circular mailing seals.
I made several different styles. (Click on each photo for a larger view.)
*

My Mind’s Eye “Holly Berries” from the “Holly Jolly” collection
Recollections card stock (sku 4 0010073676 0)
*


Jillibean Soup “Folded Flakes” from the “Christmas Cheer Chowder” collection (front and back)
Reminisce “Under the Tree” from the “Santa’s Workshop” collection
*

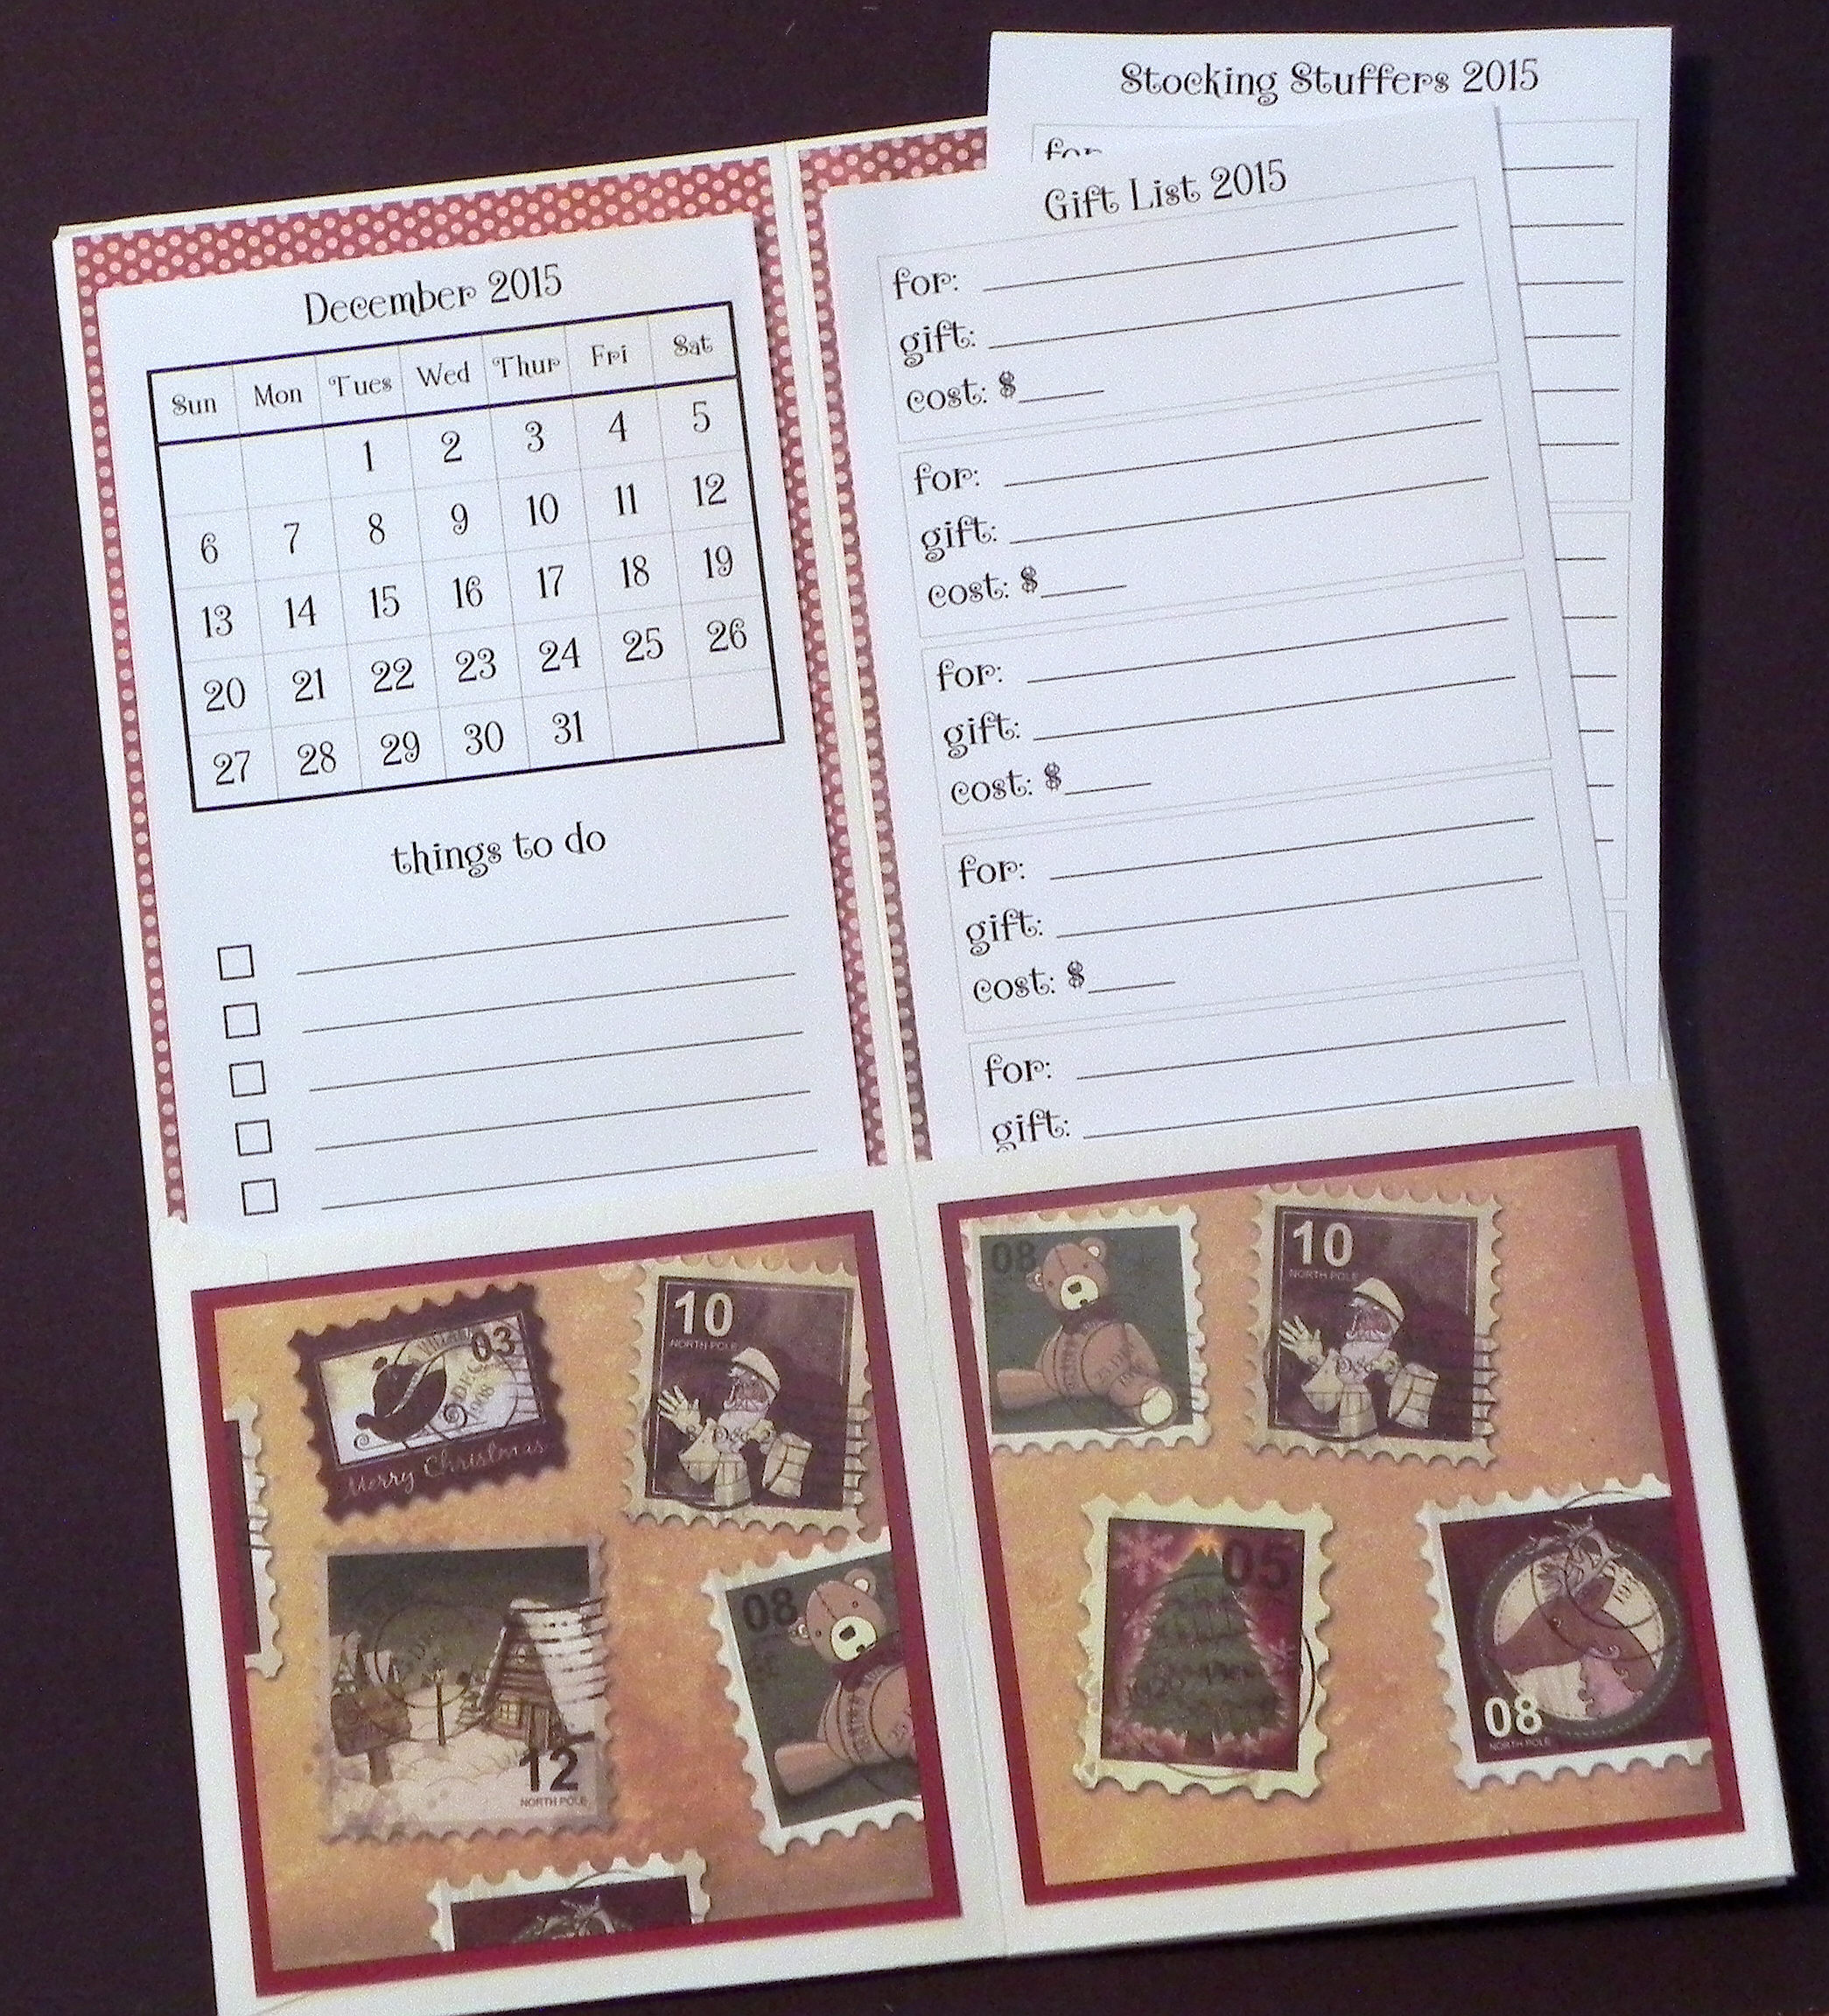
Karen Foster Design “Christmas Stamps”
Glitz Design “Joyeux Noes Polka” from the “Joyeux Noel” collection
Gina K Cranberry Tart card stock
*

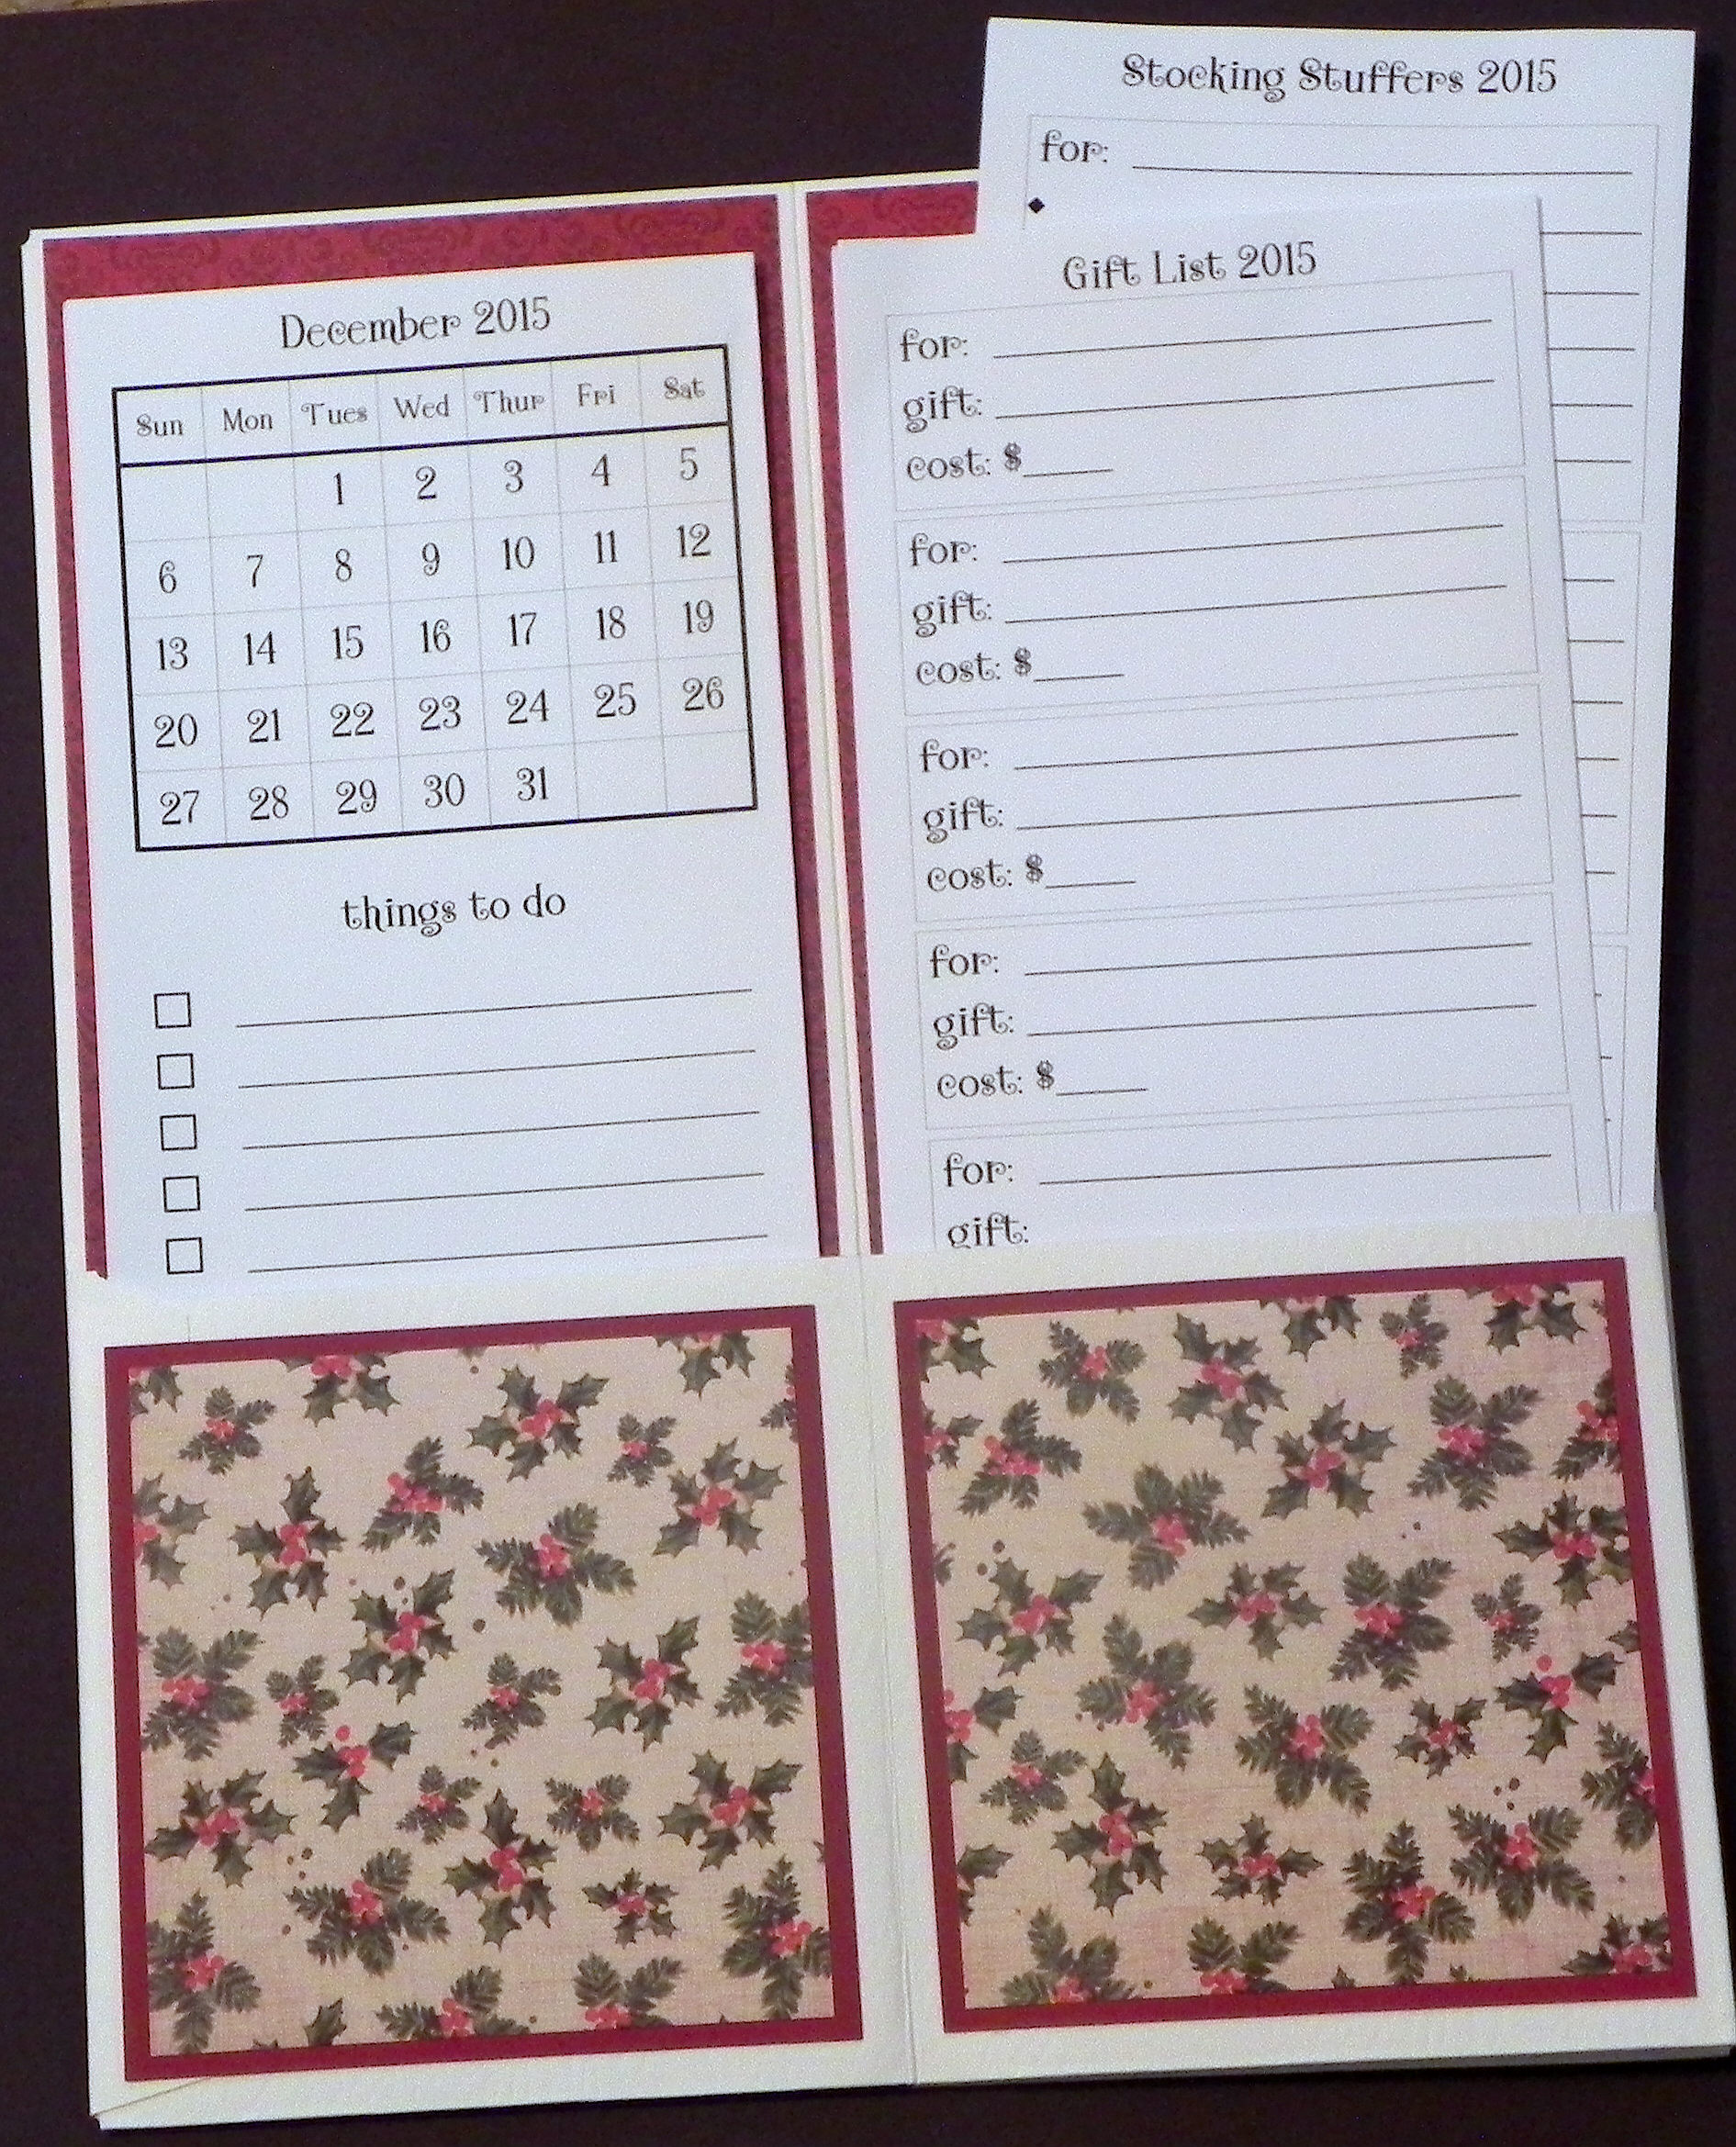
Reminisce “Christmas Holly” from the “A Christmas Story” collection
Reminisce “Christmas Joy” from the “A Christmas Story” collection
Gina K Cranberry Tart card stock
*
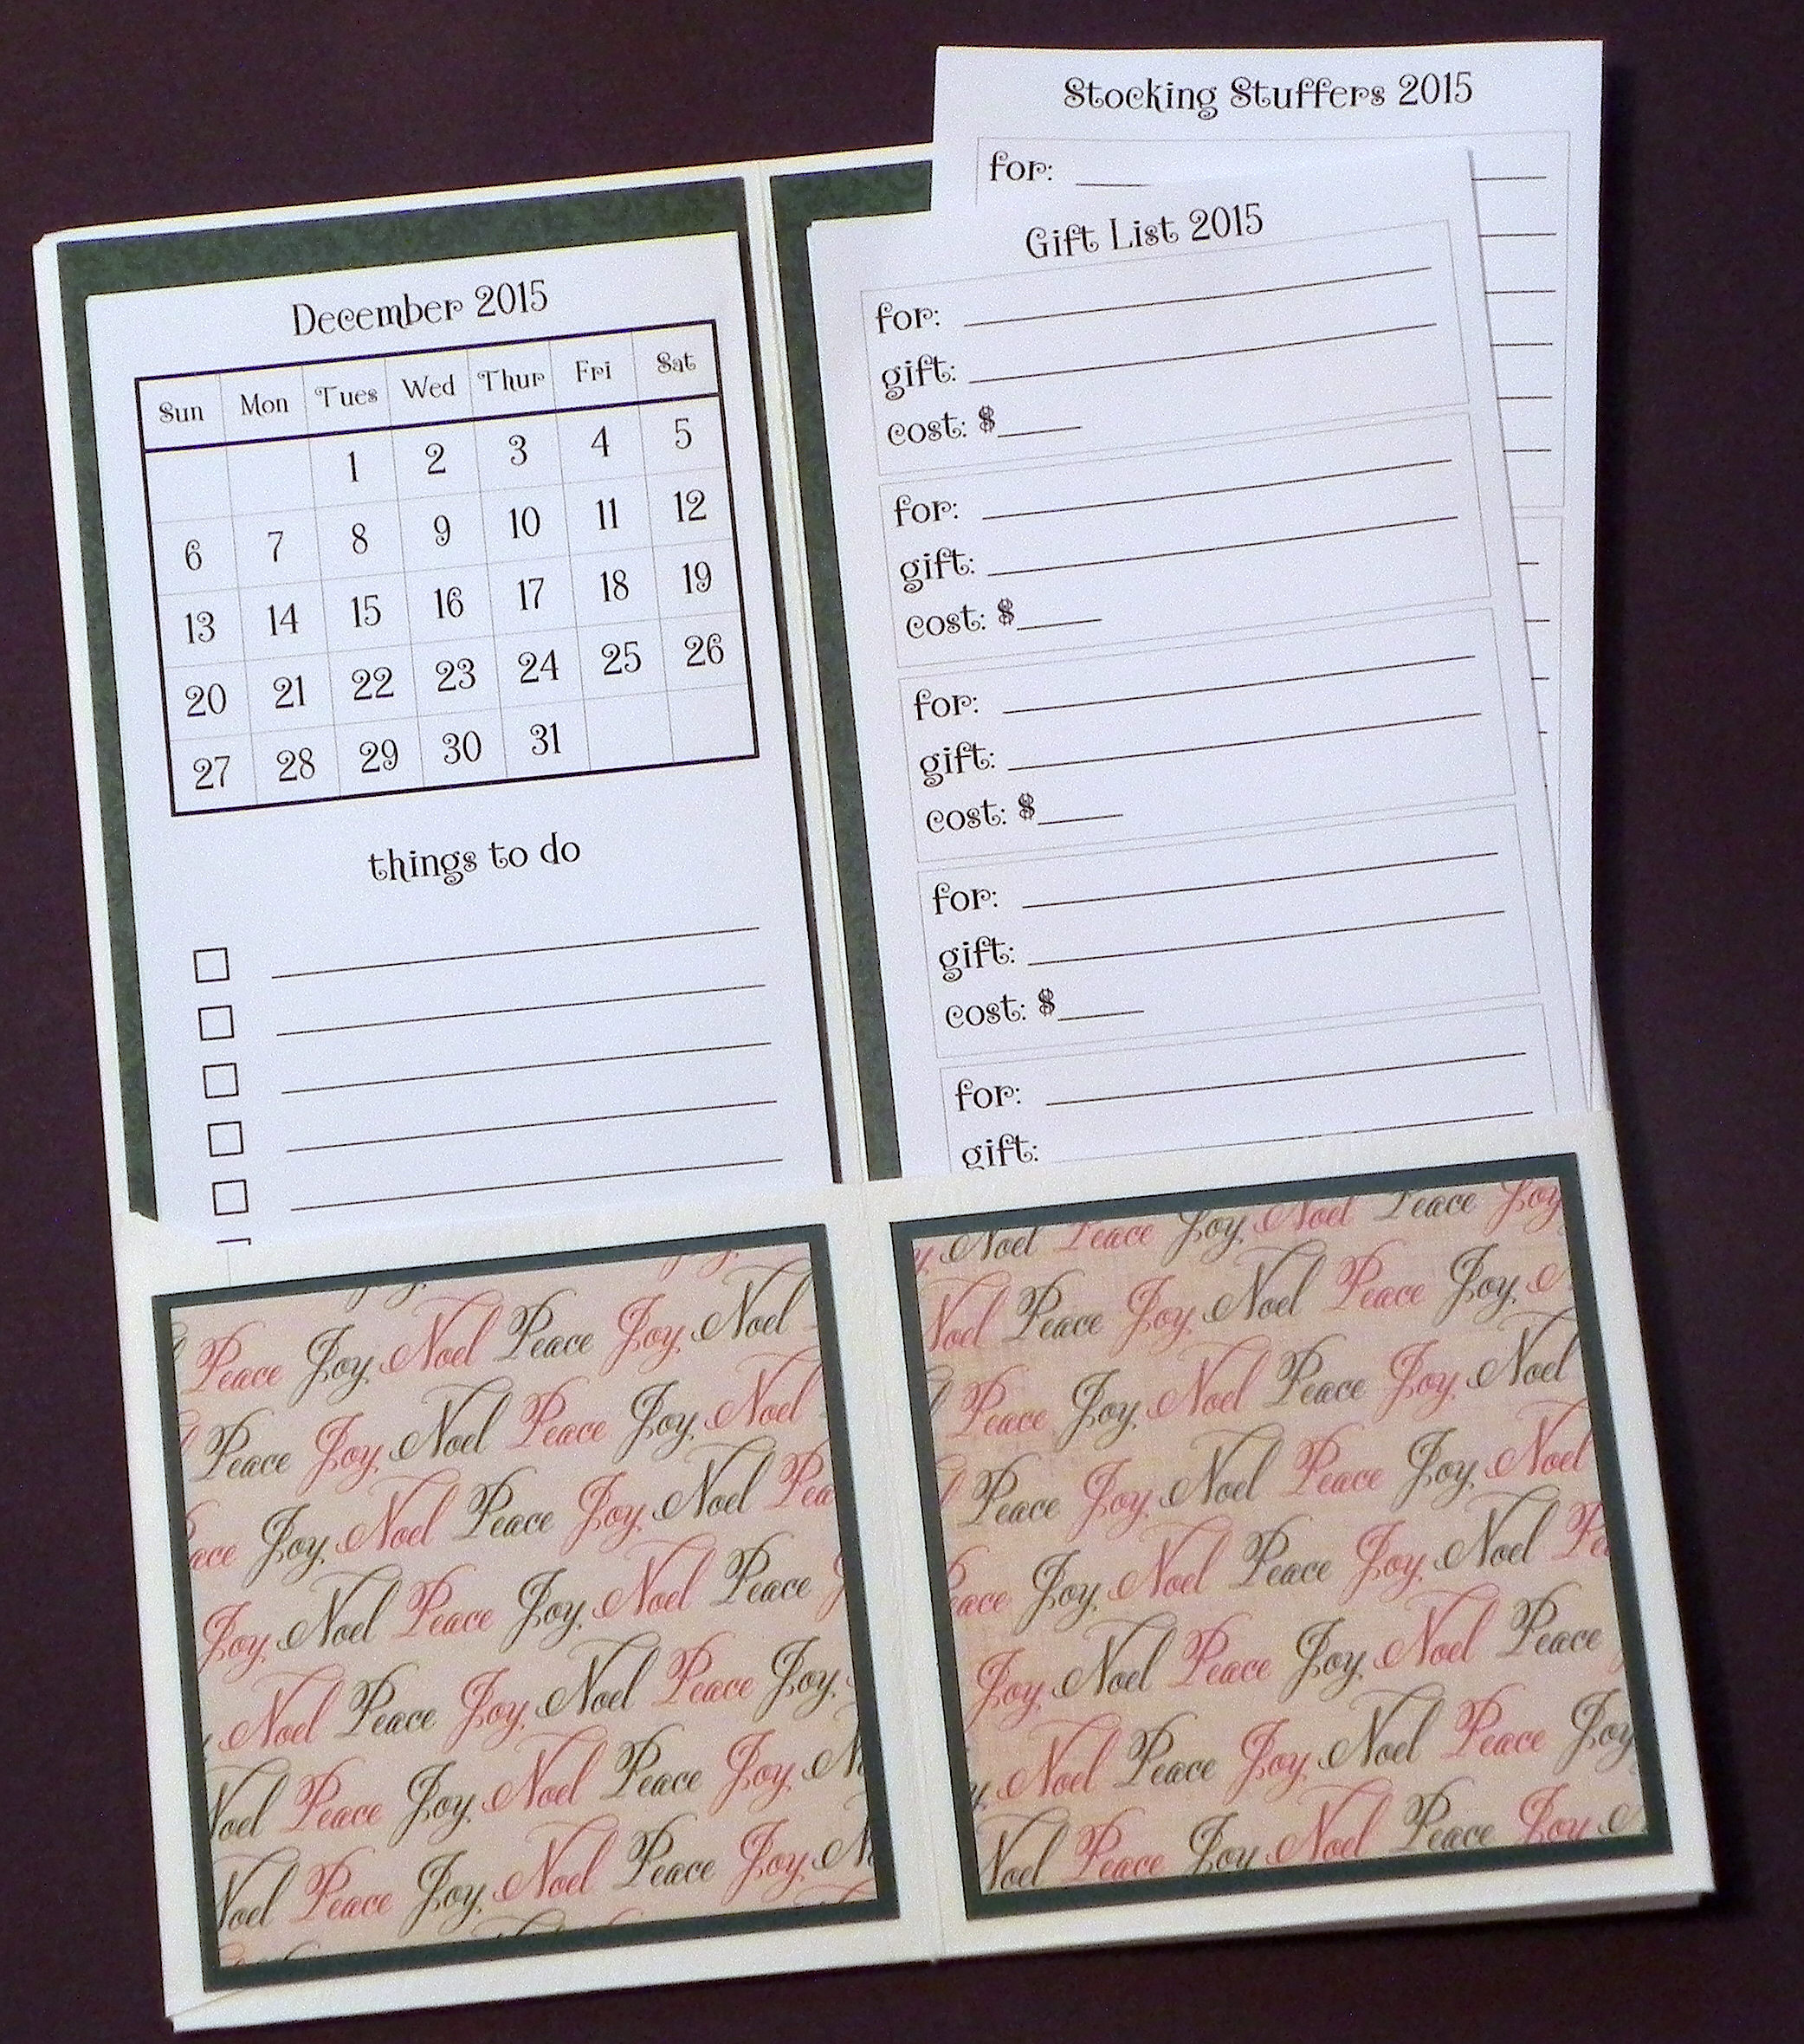
Reminisce “Christmas Joy” from the “A Christmas Story” collection
Reminisce “Christmas Holly” from the “A Christmas Story” collection
Gina K Christmas Pine card stock
*

My Mind’s Eye Unforgettable “Happiness” Delight Paper
TPC Studio “Apple Picking” from the “Rustic Garden” collection
Gina K Charcoal Brown card stock
*

Karen Foster Design “Signs of Winter”
Melissa Frances “First Snowfall”
Gina K Warm Cocoa card stock
AC Moore Chestnut 12×12 card stock (PPR9010)
*
Thanks for checking out my post!


