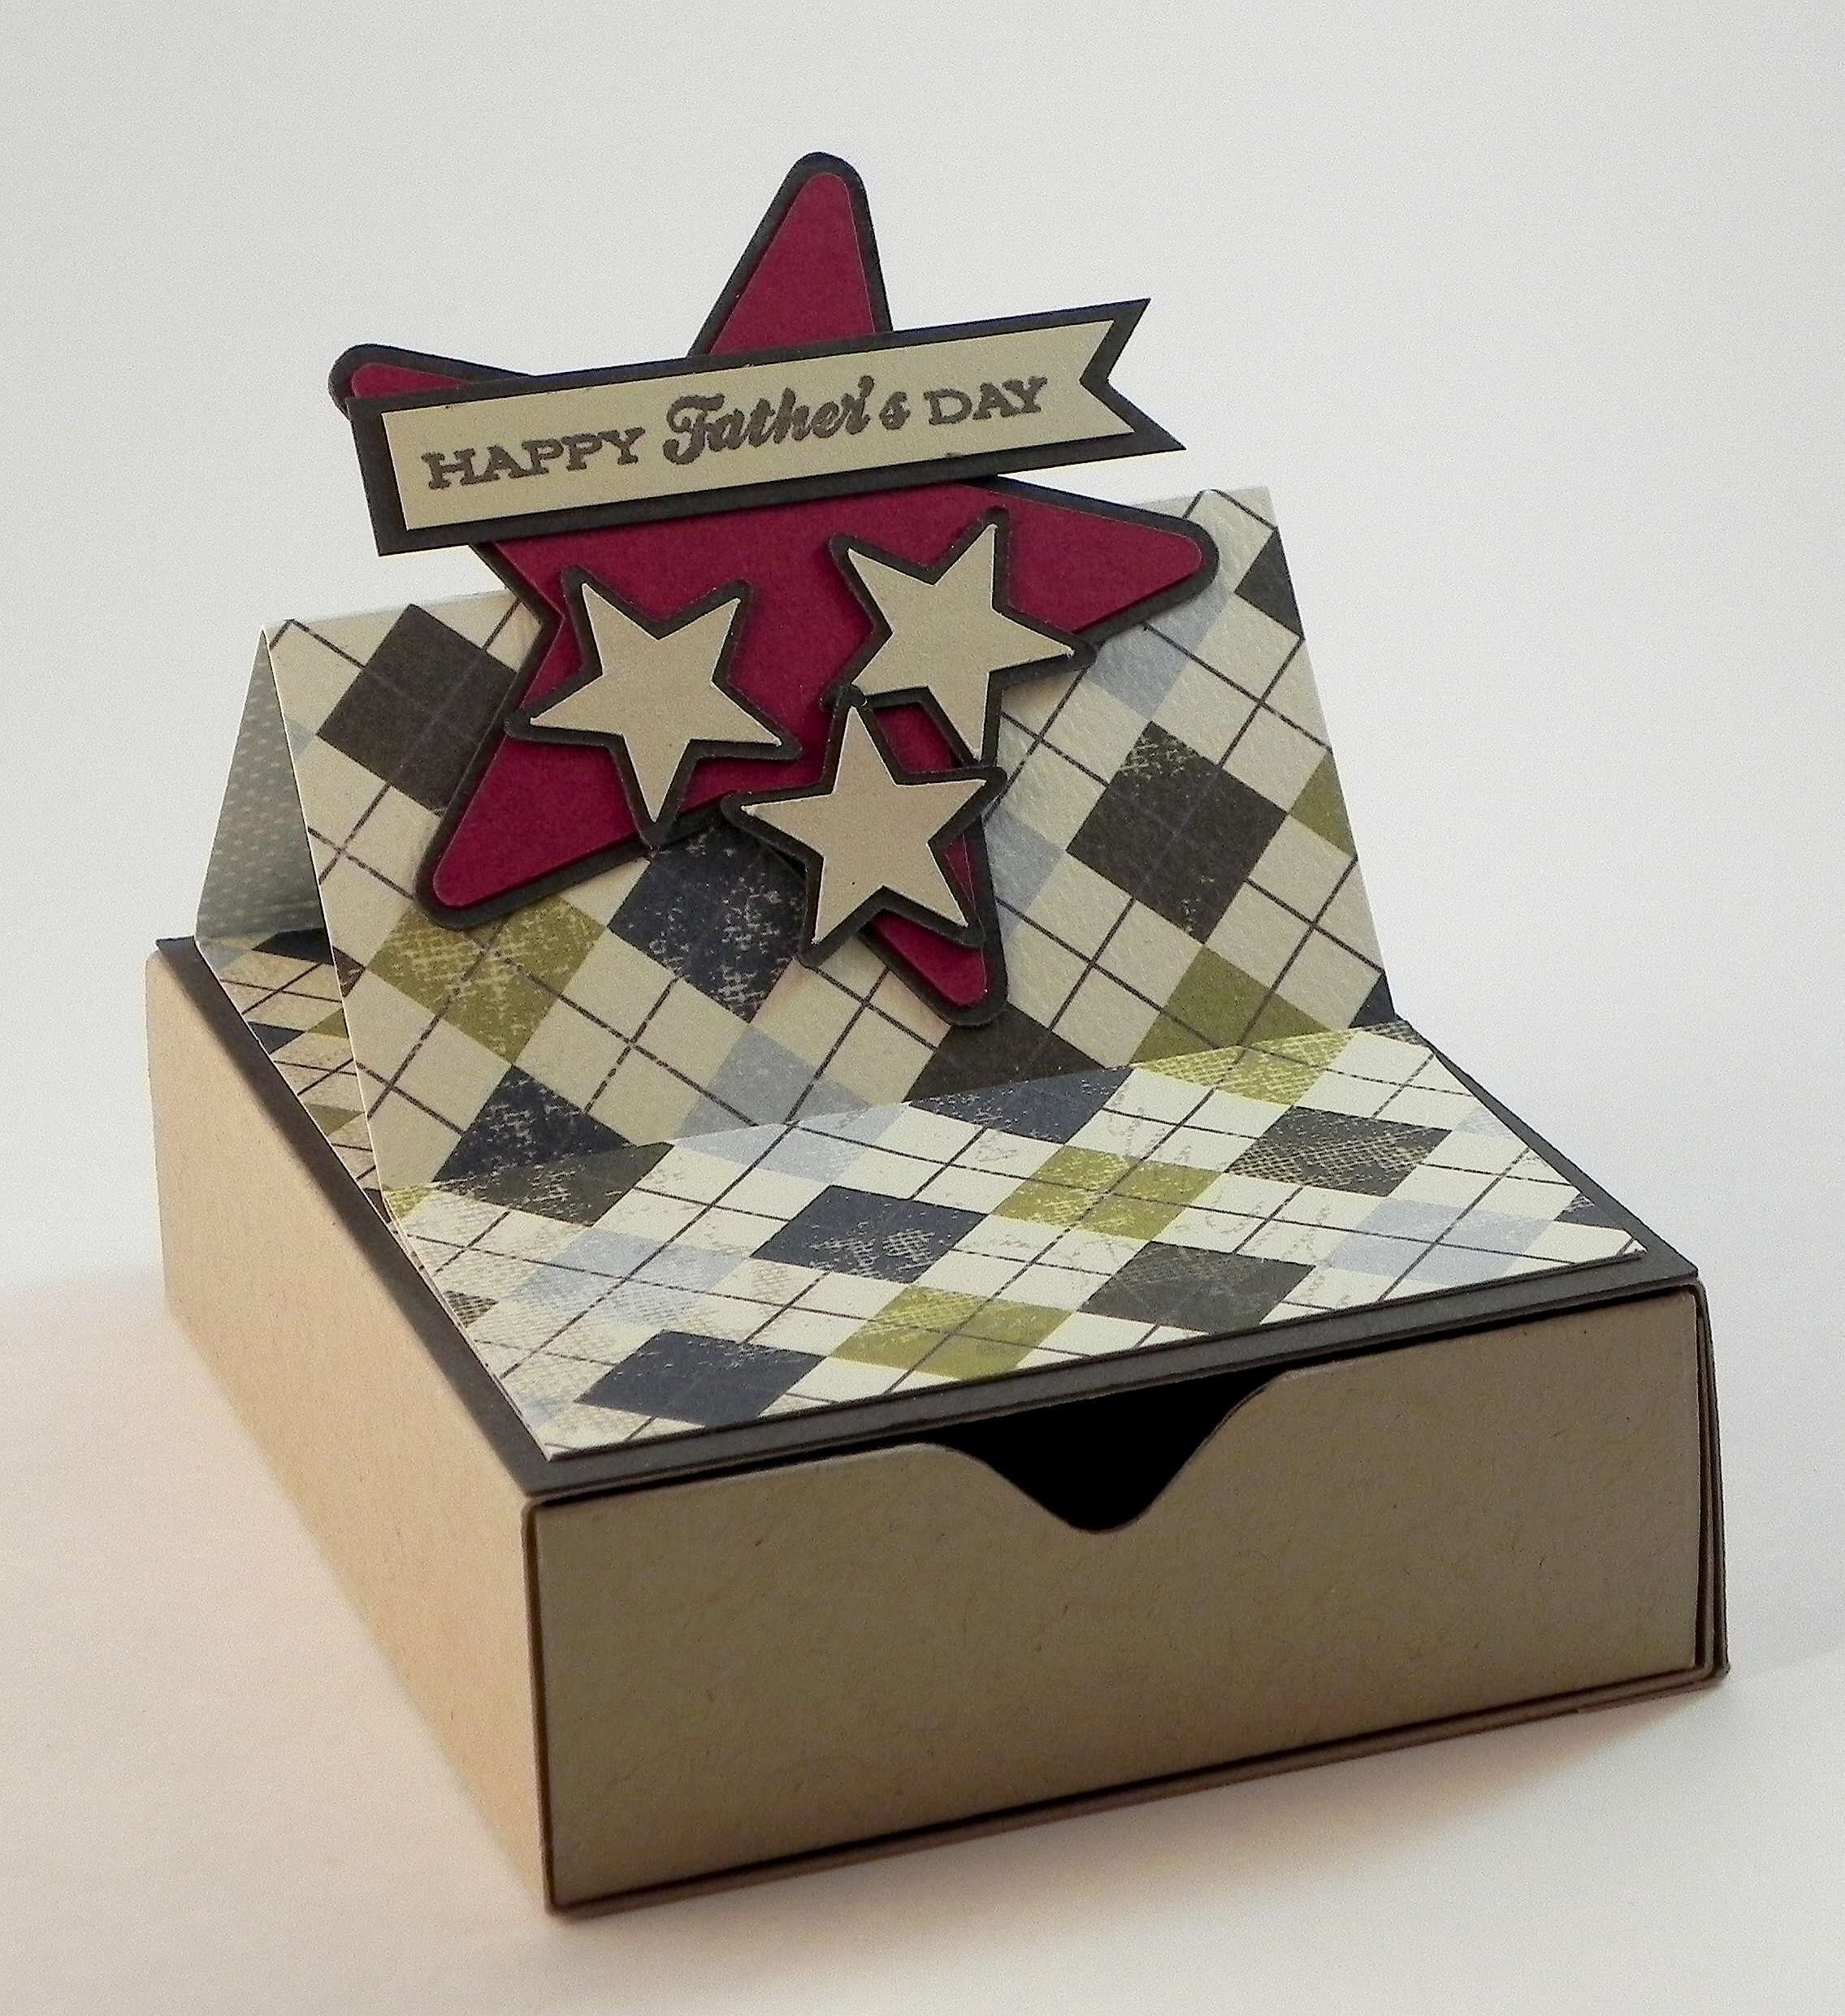
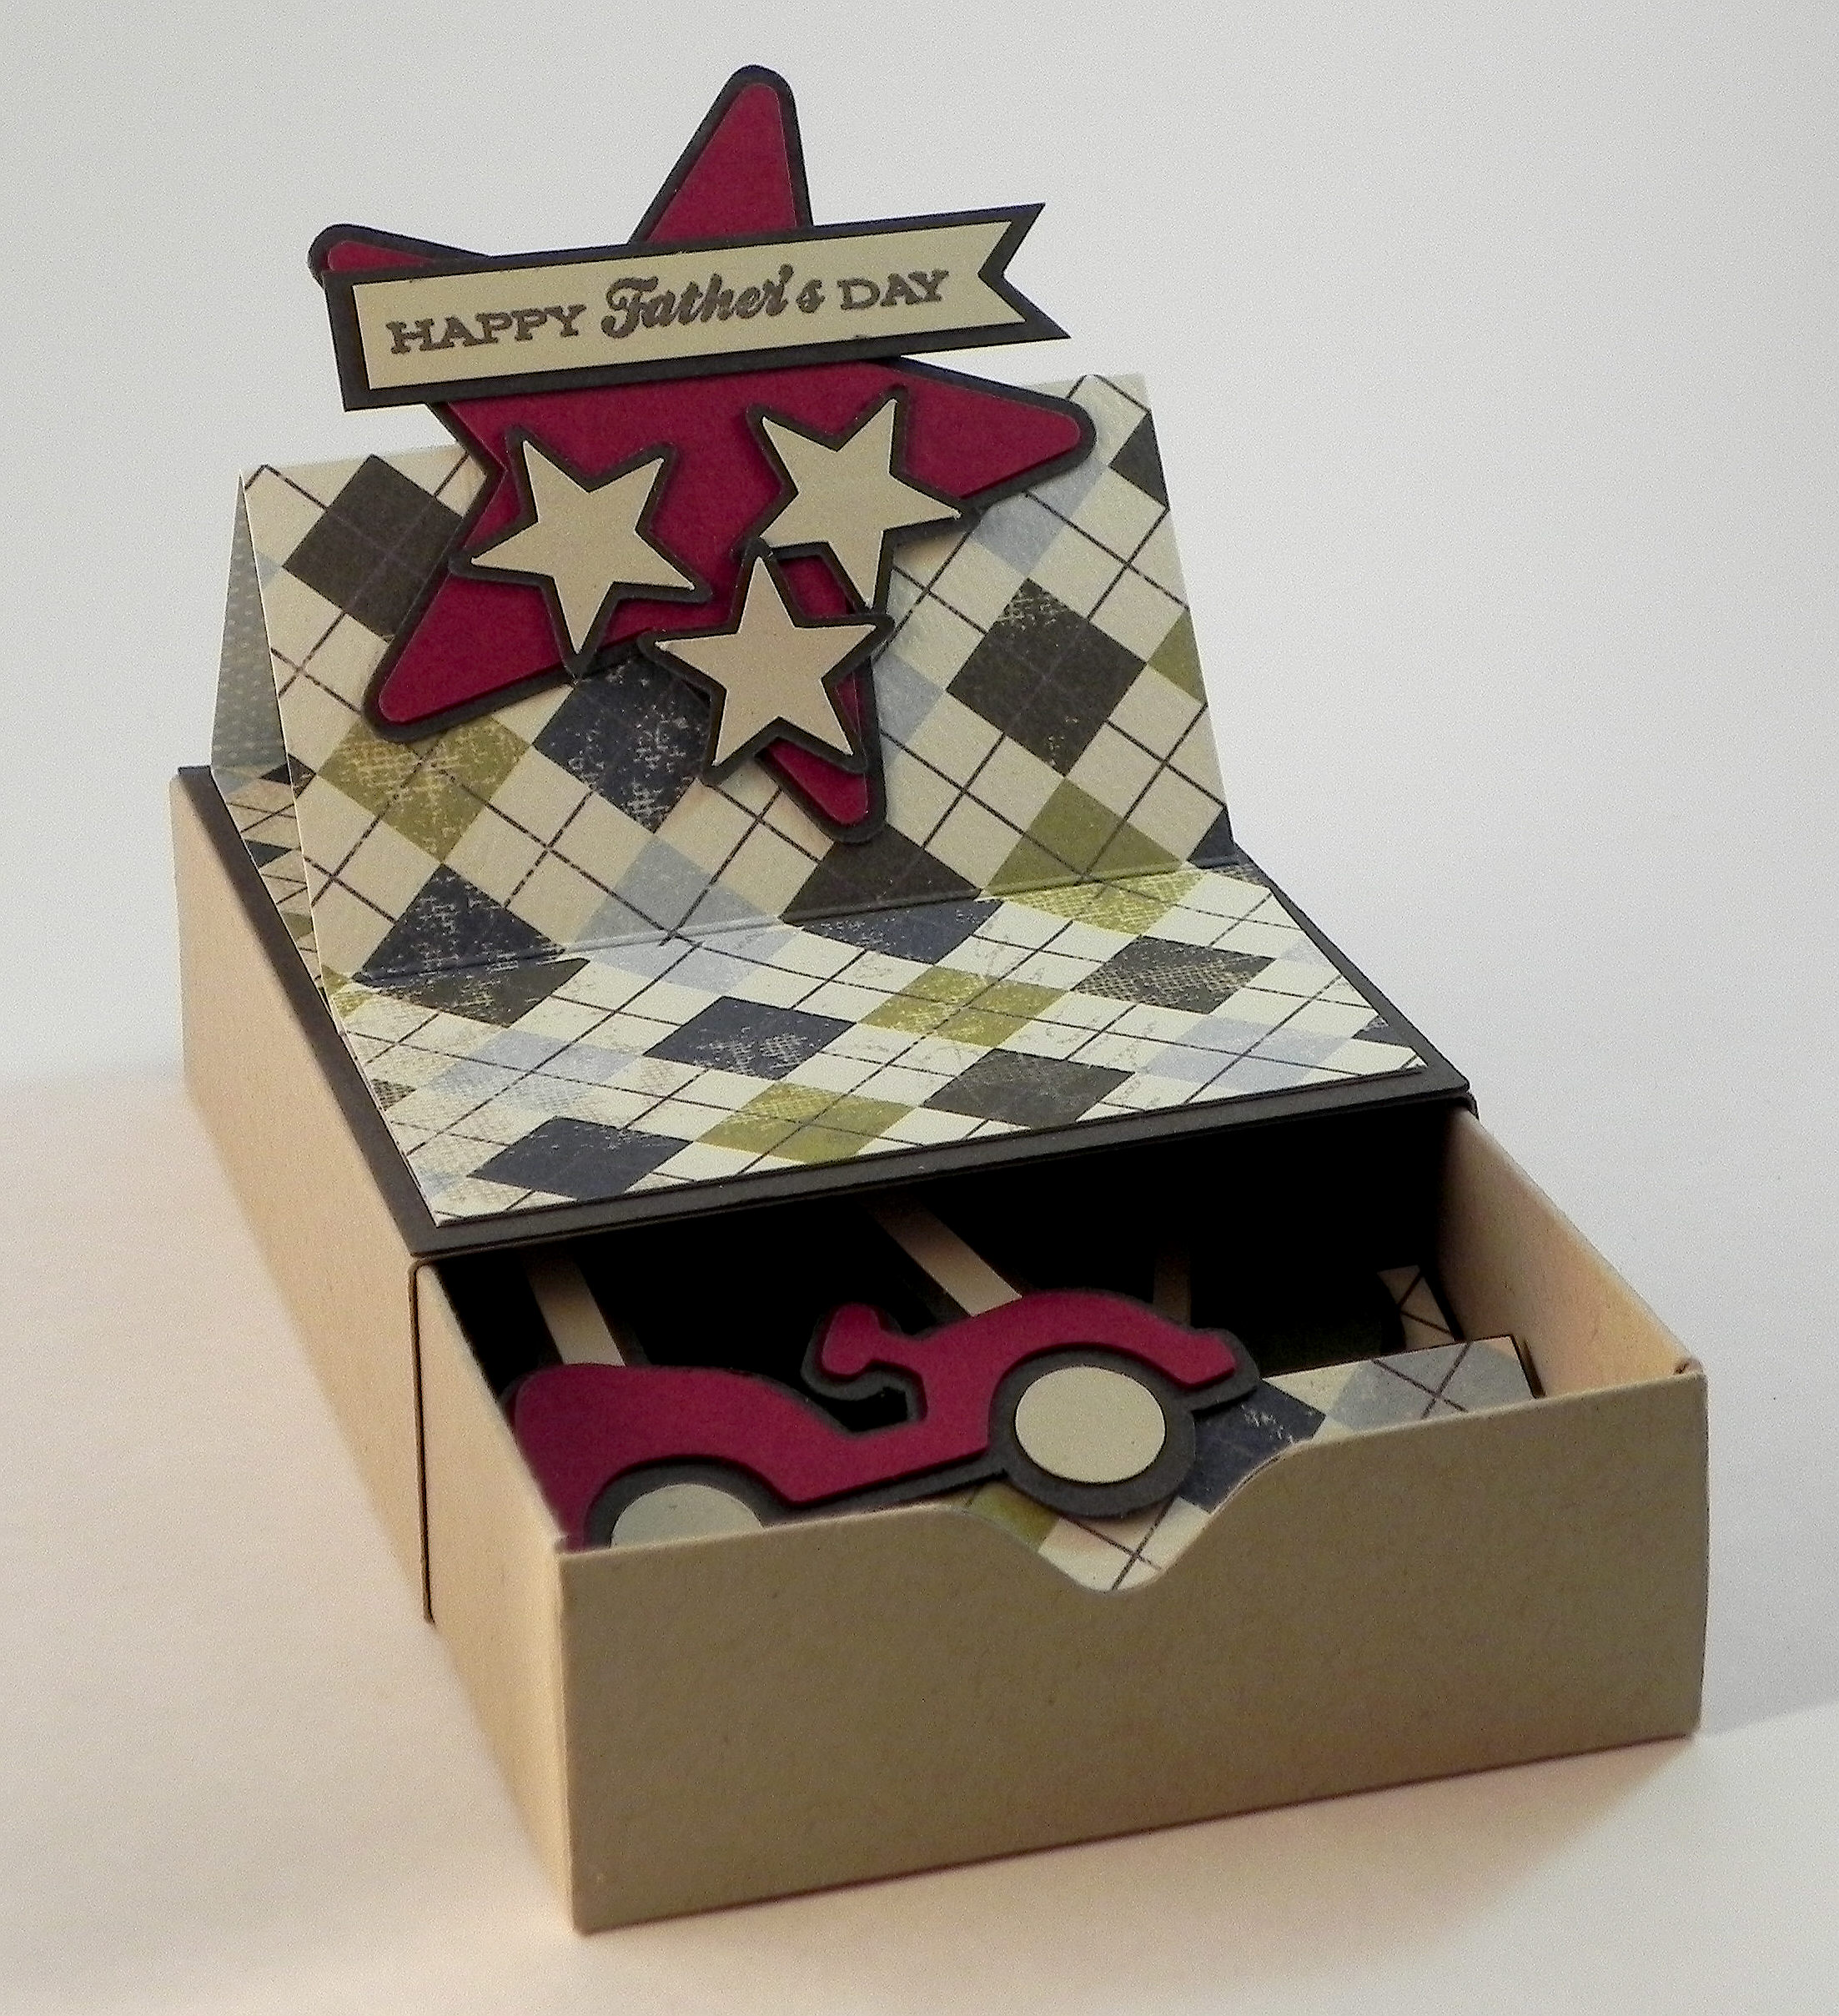
Spring Blossoms Mother’s Day Box Card

I have another holiday project to share in honor of the “Your Favourite Holiday” challenge over at Die Cut Divas where they have monthly challenges where all cards/projects must be made using at least one die cut or embossing folder. (Click HERE to see all the challenge rules.) I created this box card for Mother’s Day.
One of my favorite sites for svg files is svgcuts.com. Leo and Mary create such beautiful project files with amazing samples and tutorials for assembling the projects. This beautiful box card is from the “Spring Blossoms SVG Kit” which you can see HERE. The kit contains several Asian-inspired projects for Spring or any time of year. Projects include a paper lantern which has a reinforced hole in the back for plug-in lights or a battery operated tea light, a beautiful tiered pagoda that could be used as a very fancy gift box or centerpiece (for a spring wedding perhaps!), and several card designs. They provide the svg files that you can cut with your electronic die cutting machine, and you choose the papers and embellishments. Once all the pieces are cut out, you assemble them into beautiful projects. The tutorial VIDEO makes assembly a breeze!
I loved the colors in the sample and used similar colors for my card. The card stock I used was Core’dinations April Lovely and Nutmeg. The printed paper was Sandy Lion Pink Flowers. The greeting was heat embossed with versamark ink and and Tsukineko silver embossing powder. (I can’t seem to locate the stamp I used but will keep looking and will include it here when it turns up!) Recollections adhesive rhinestones and a Creative Memories Precious Elements (silver) Pen were used to add a touch of sparkle to the centers of the blossoms.

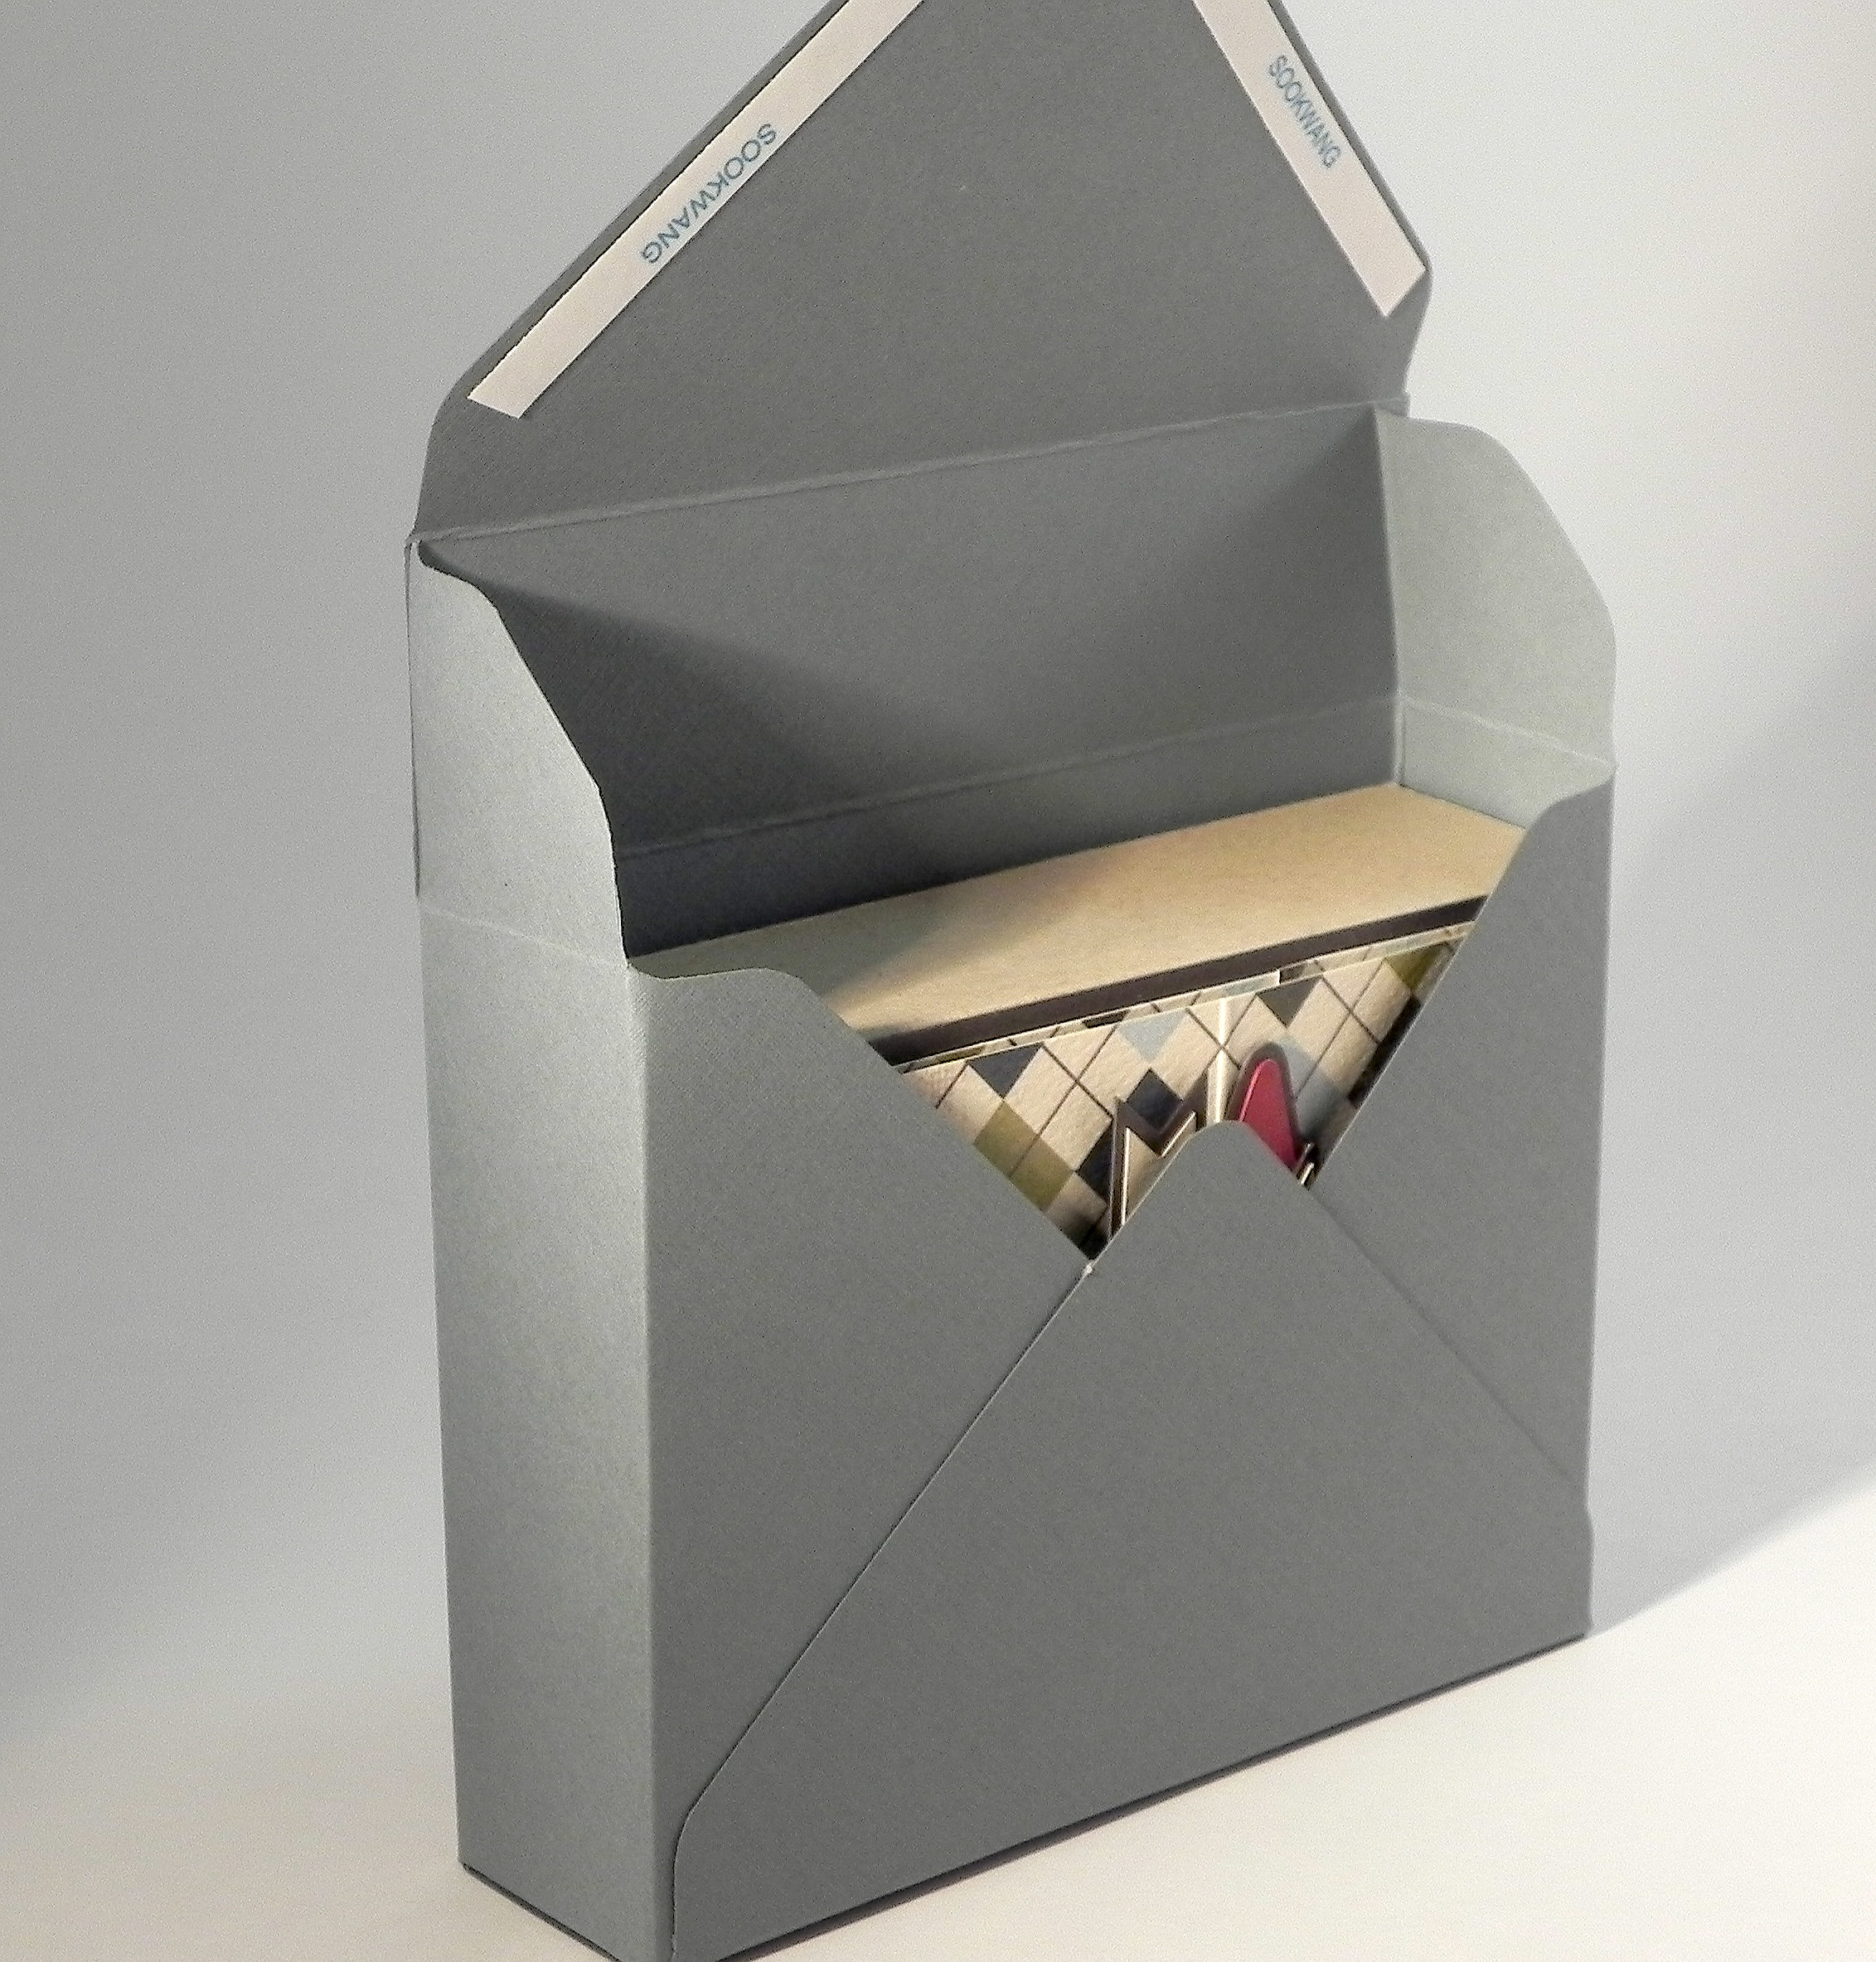
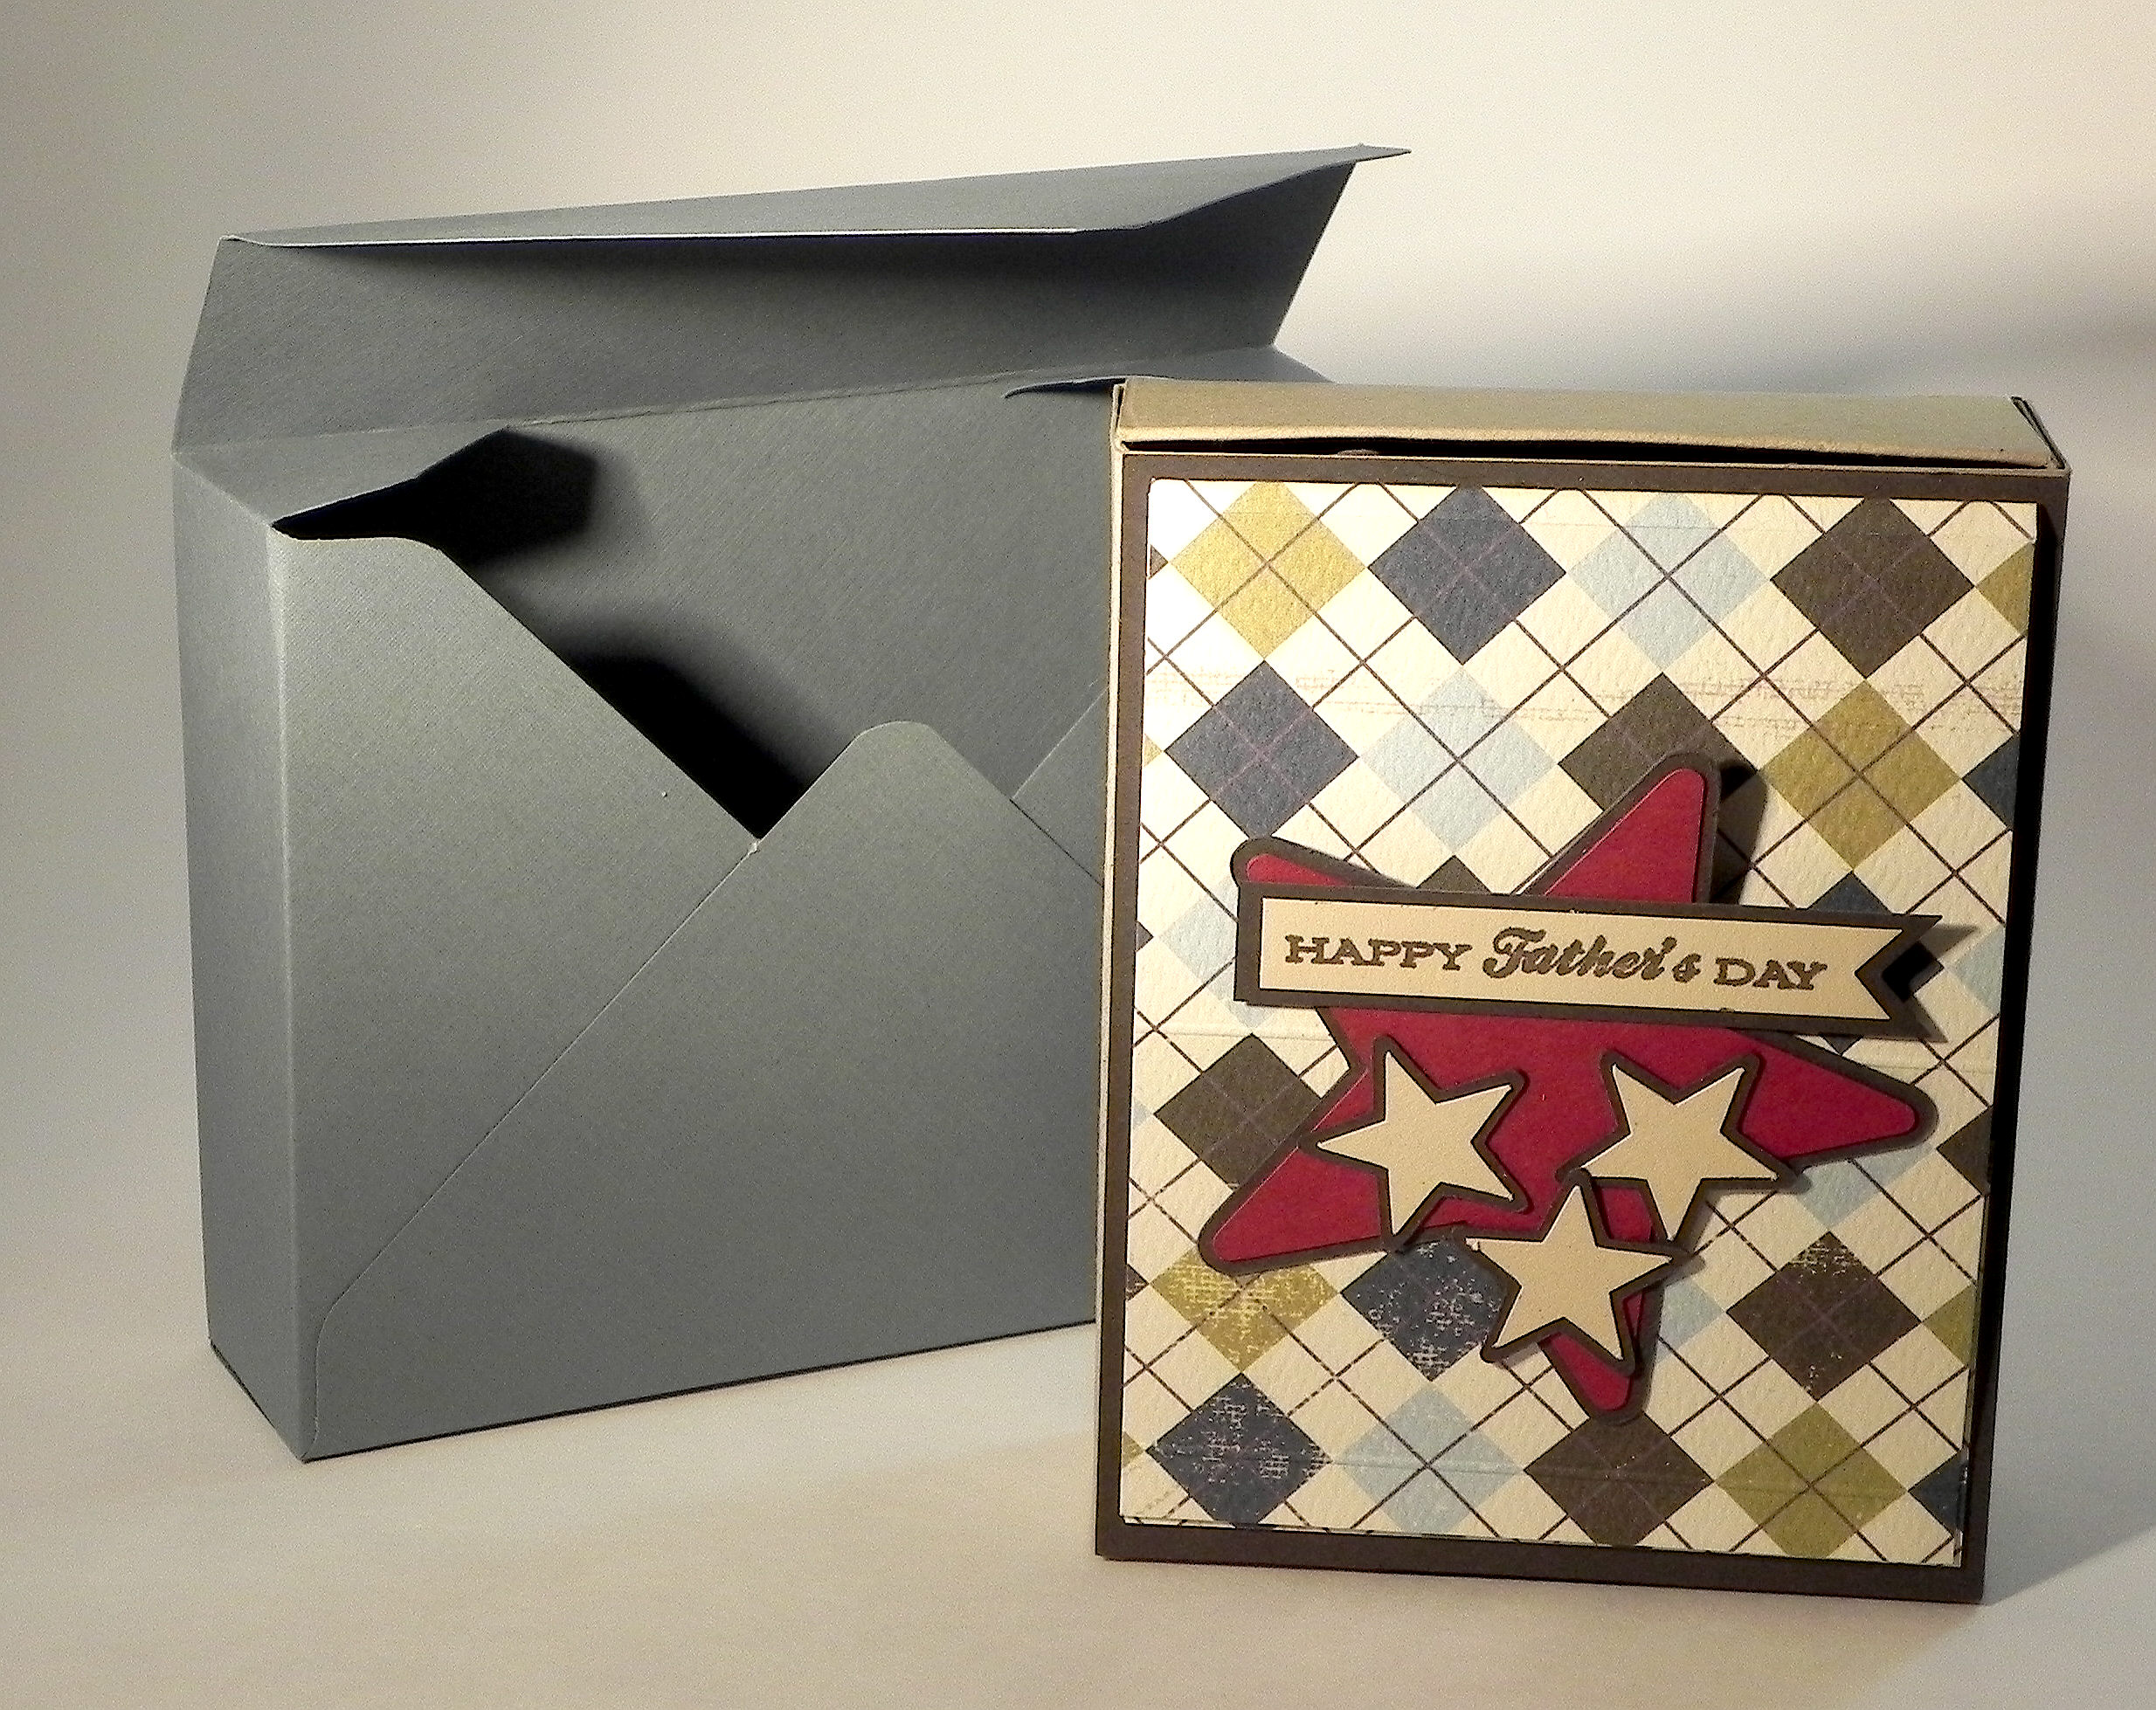
When open, the card stands like a box, but it closes flat for easy mailing. There is room on the back of the box to add a panel of plain paper with a sentiment and signatures.

Thanks for checking out my card project!
This content uses referral links as described in the disclosure policy on my sidebar.