Dramatic Background with Water Colors

Dramatic Background with Water Colors

Today’s class of the “Simply Watercolor Christmas” course (from Online Card Classes) was called “Dramatic Backgrounds” where we were to use metallic or white paint over a dark background. This card design is a combination of ideas from today’s lesson and from an earlier lesson on masking with liquid masking fluid.

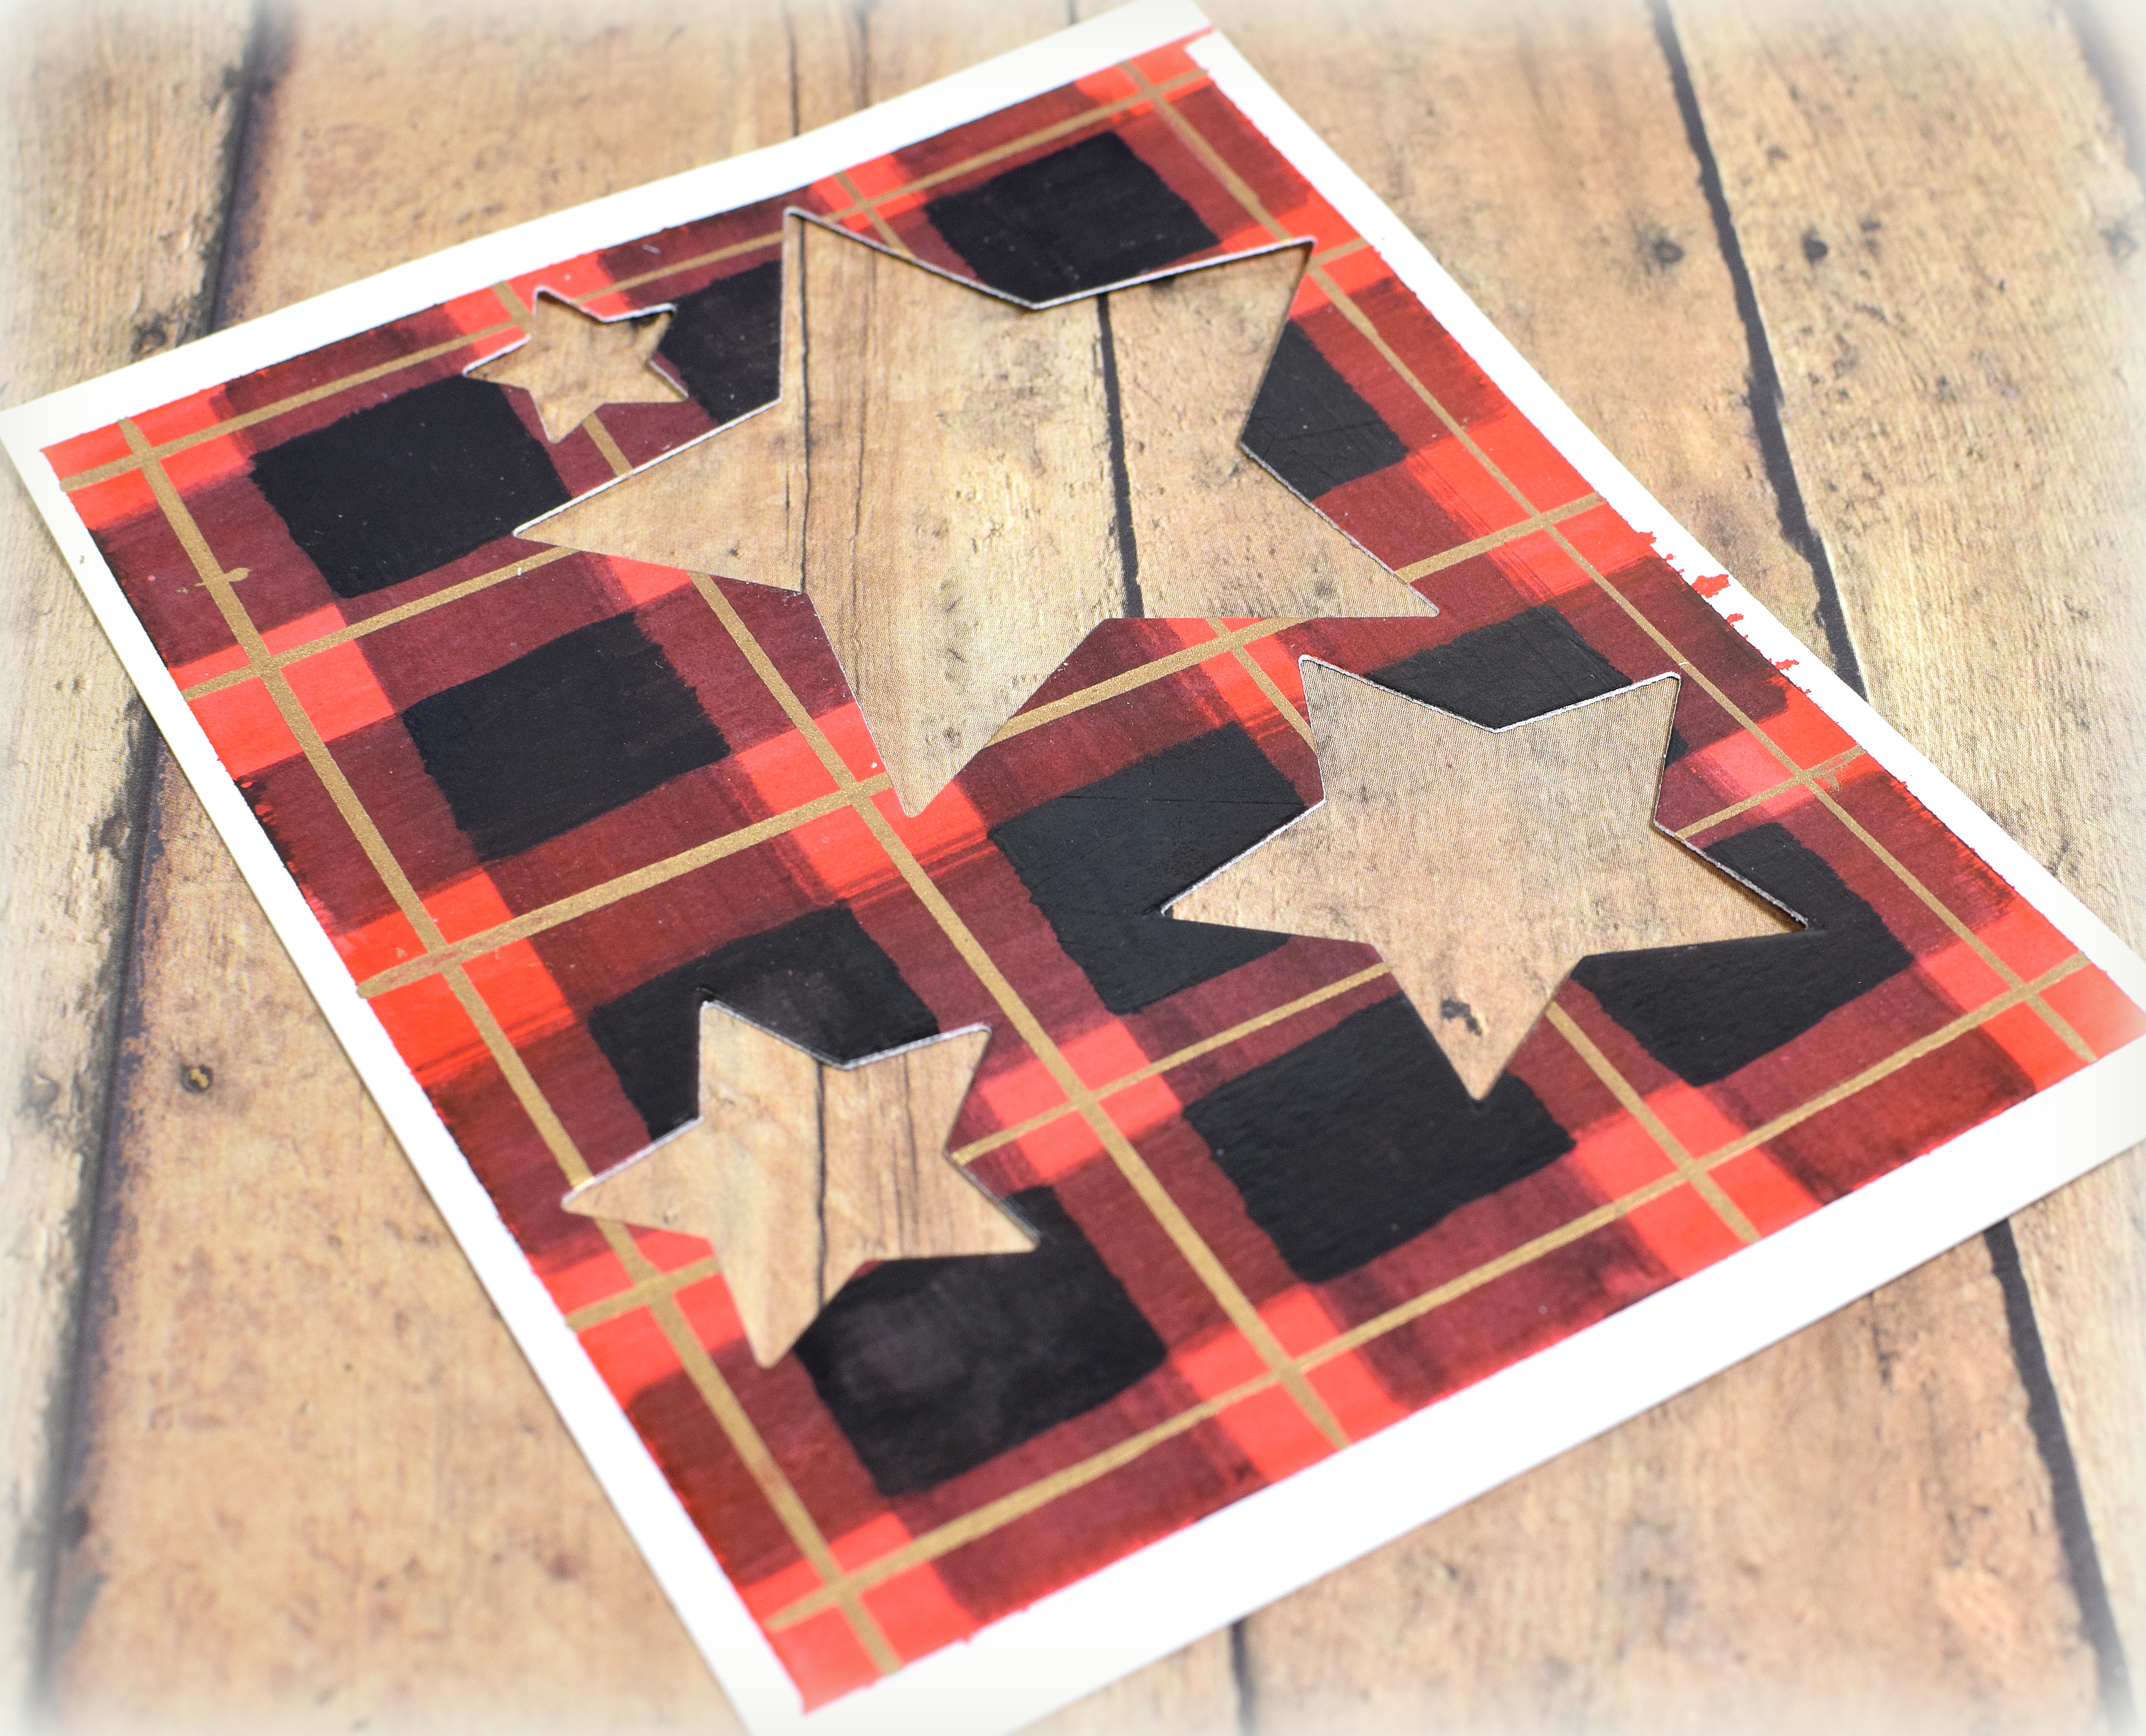
Using the graphite transfer technique, I transferred the tree and merry image (that was included in the course materials) to my water color paper and covered the image and greeting with liquid masking fluid. (I could have just painted my gold images directly over my background as shown in today’s lesson, but I wanted to practice the masking and transfer techniques I hadn’t yet tried from lessons 2 and 3.)

After the masking fluid was completely dry, I created my dark background with several layers of paint from my Kuretake GANSAI TAMBI Water Colors (# 56 Forest Green, 52 Hooker’s Green, and 20 Black). Once the background was complete, I used a toothbrush to splatter # 90 gold paint all over it.

I then removed the mask and filled in the white areas with gold paint. Kristina and her guest instructors make painting/brush control look so easy – lol!

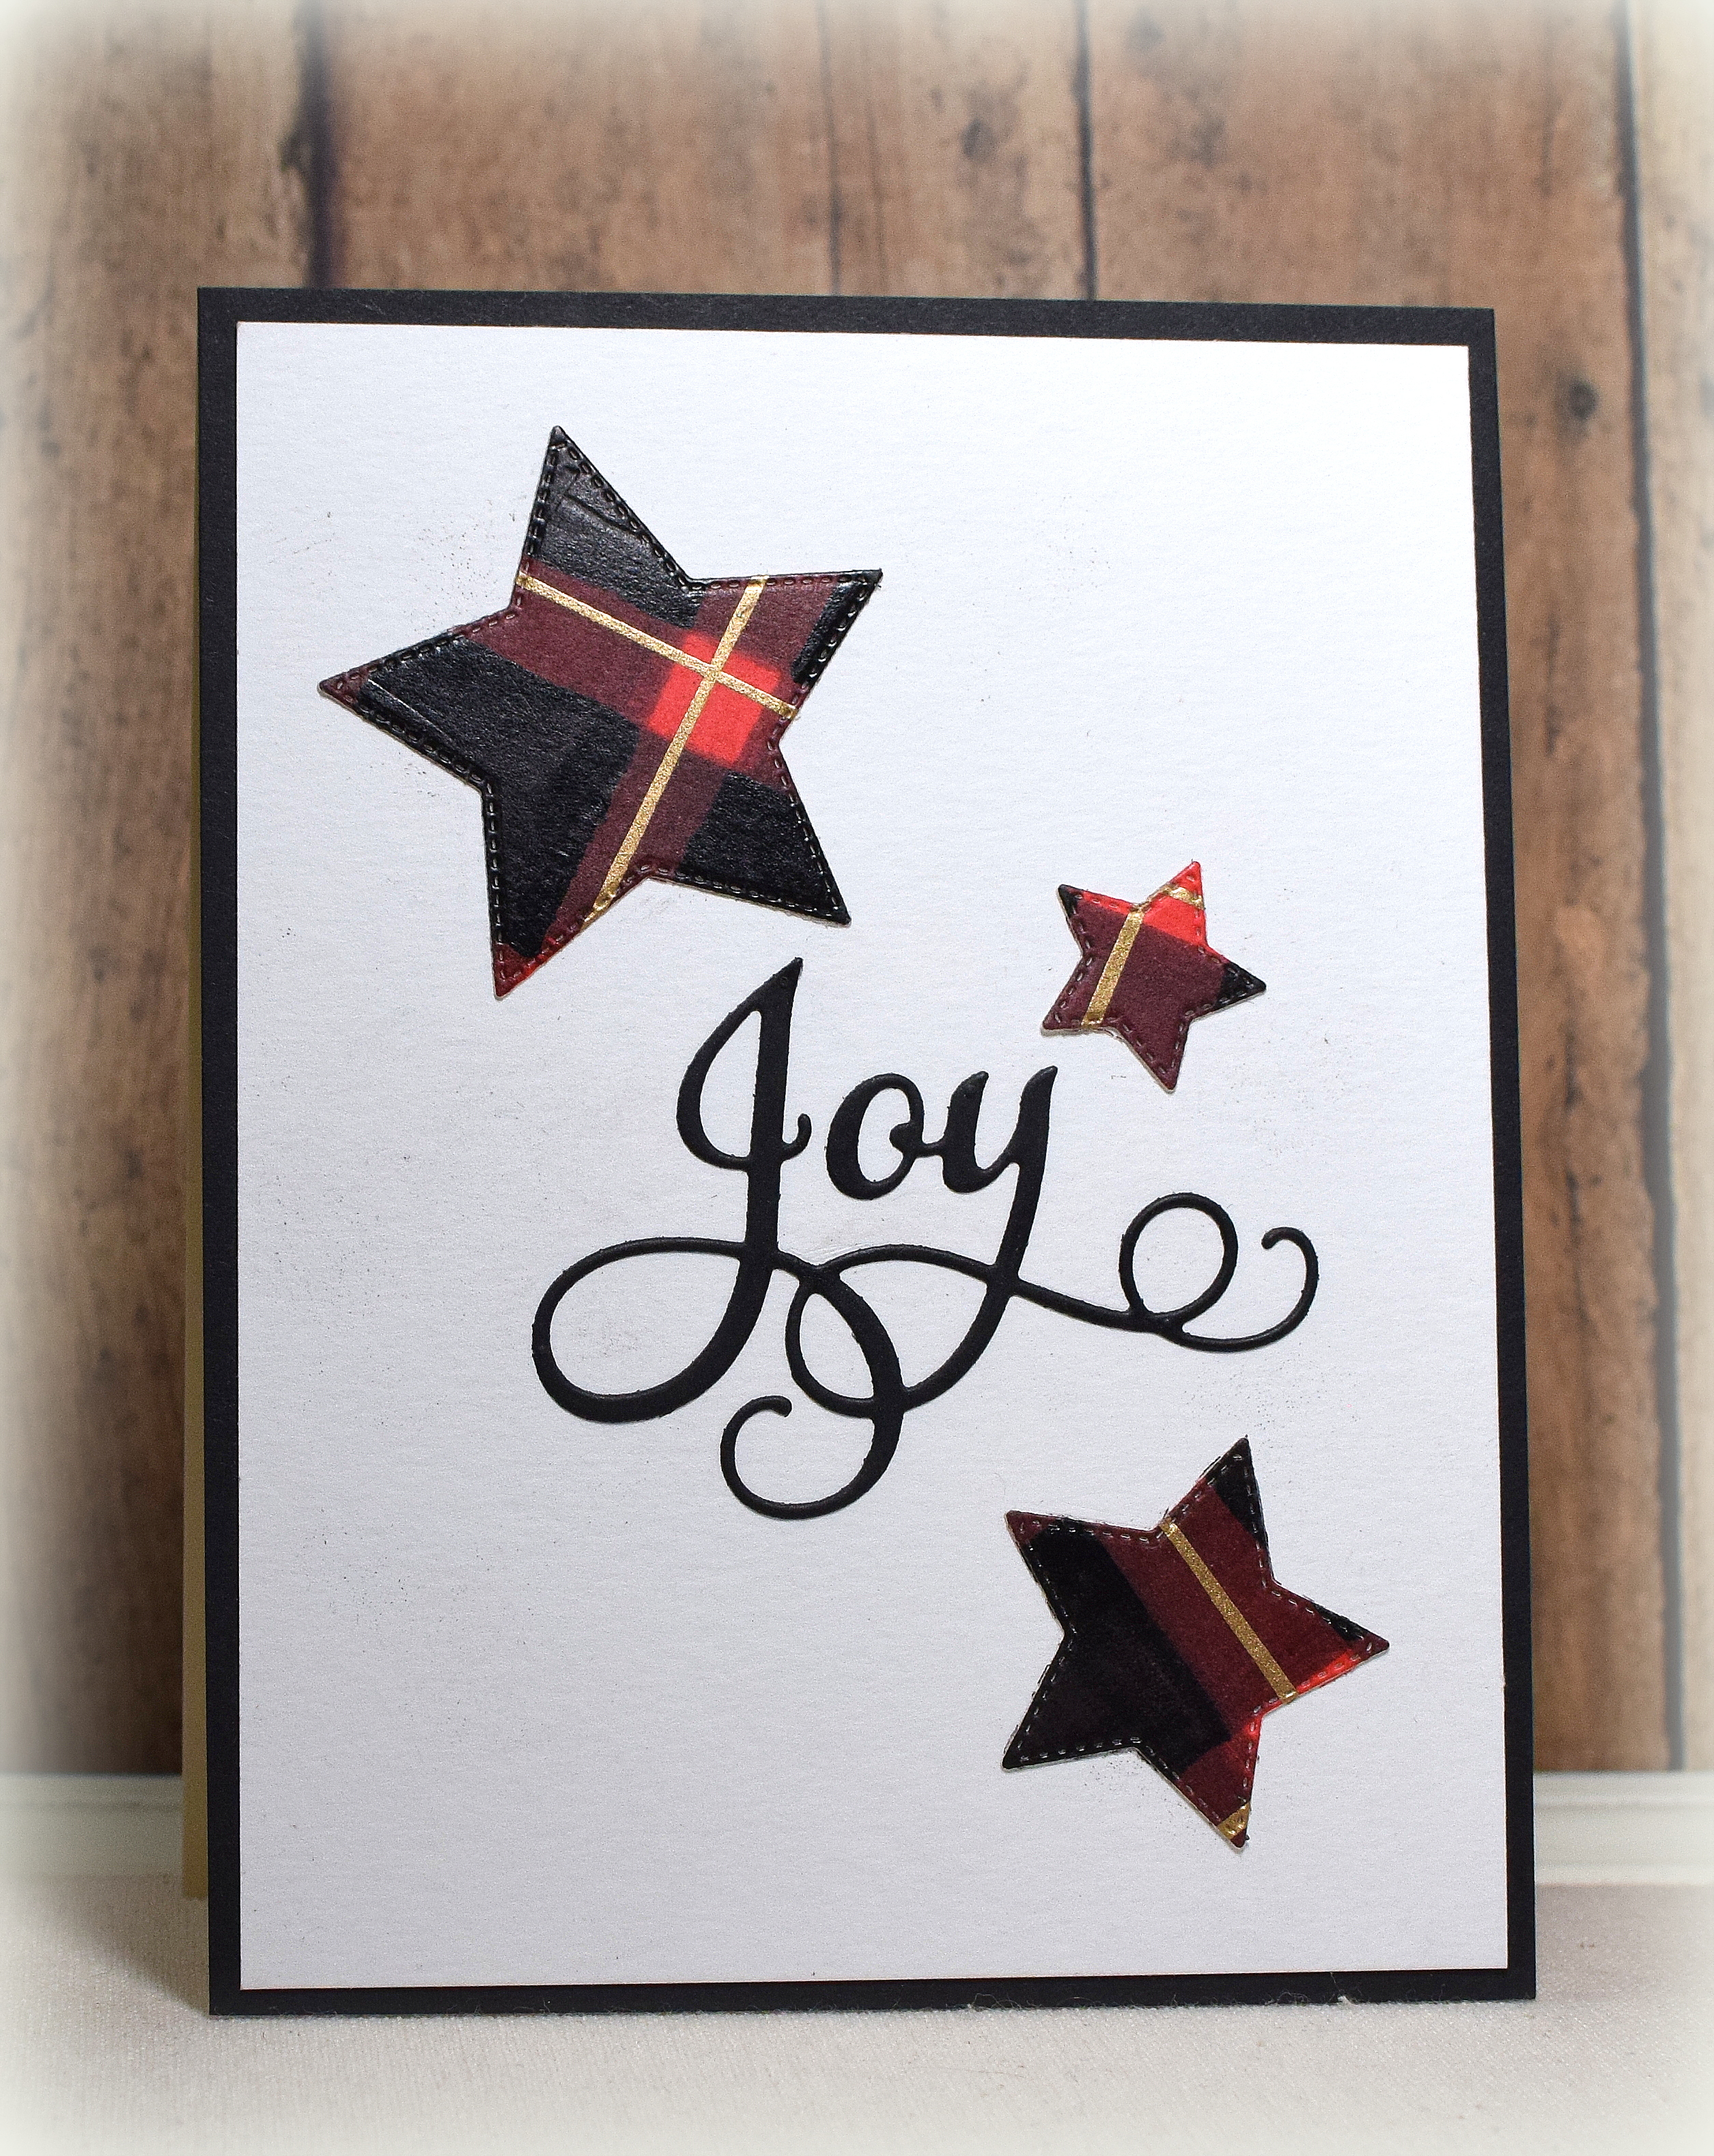
I trimmed my finished panel down, mounted it on a plain piece of water color paper, and then adhered that to a heavy weight card base.

Thanks for checking out my card project!

This content uses referral links as described in the disclosure policy on my sidebar.

Painted Plaid

Painted Plaid

Today’s class of the “Simply Watercolor Christmas” course (from Online Card Classes) was called Plaid Patterns, and we were shown how to paint a few different styles of plaids. The instructors cut various shapes from their painted panels to use on their card samples.

I had A LOT of trouble with this class! Drawing/painting straight lines (freehand) is not my forte, and plaids are basically a bunch of straight lines. MANY panels ended up in the trash, but I eventually created a panel from which I could cut my stars. (The crooked lines were not as obvious in small doses. It’s going to take A LOT more practice before I can use a whole panel as a backgound!)

I didn’t have a clear idea of a card design in mind once I finished painting my panel so I cut several stars and greetings to play around with and had leftovers for a second card.

I used water color paper and Kuretake GANSAI TAMBI Water Colors (# 32 red, and #20 black) with a wide, flat brush to create the basic pattern, and then I added lines of #20 gold paint with a ruling pen and ruler. I had never used a ruling pen before; what a cool tool! (HERE is a video showing how to use it.)

The pierced nesting stars were unbranded. The greeting was cut with the “Joy” die by Impression Obsession (DIE436-D). The gold greeting on the first card was cut from a panel I painted with the same gold water color paint I used for the gold lines on my plaid panel. The other was cut from black card stock.

Here is the painted panel (or what is left of it):

Thanks for checking out my card projects!

This content uses referral links as described in the disclosure policy on my sidebar.

Masked Christmas Tree

Masked Christmas Tree

The first class of the “Simply Watercolor Christmas” course (from Online Card Classes) covered simple masked shape cards, and this is a CASE of the card Jennifer McGuire shared. (Kristina Werner shared some fun cards as well using masked squares as gift boxes.)

I used water color paper,  Kuretake GANSAI TAMBI Water Colors (# 56 and 58) and some masking tape to create the tree and then added some shapes punched from “Copper” card stock to embellish it. The star was an unmarked punch I’ve had forever, and the circles for the ornaments were made with the “Bubbles Border Punch” by Fiskars. The painted panel was adhered to a copper card base.

The greeting is from the “Peace and Joy” set from Gina K Designs and was stamped with Hero Arts Copper embossing powder.

I did have a problem with my first attempt that I wanted to mention. I used a heat tool to dry the different sections as I worked. However, in addition to speeding the drying process, the heat also weakened the adhesion on the masking tape a bit so I ended up with spots where paint seeped under the tape as I continued to work on the different sections. It’s important to make sure ALL the tape is secured well (I used a bone folder) after EVERY application of heat.

I don’t usually have much success water coloring images without using stamps, but this technique (with great instruction) made it easy and a lot of fun! I am excited to try this technique again with different masked shapes.

Thanks for checking out my card project!

This content uses referral links as described in the disclosure policy on my sidebar.

A Father Is…

A Father Is…

wDSC_3573

(inside: Happy Father’s Day)

This simple card features the “Father Calligraphy” stamp (G10093) from Paper Inspirations and the background stamp from the “You’ve Got This” set from Stampin’ Up (retired).

For the background, I inked up the stamp with Gina K Designs Powder Blue ink  and “stamped off” the image onto scrap paper.  Then I spritzed the stamp (and remaining ink) with water and stamped the wet ink onto a white card panel.  Once that dried, I stamped the “Father” sentiment with GKD In the Navy ink at full strength.

I used my Tim Holtz distress marker spritzer tool with a Copic Marker (B39) to add some tiny ink spots and then embossed this panel using the “Subtle” 3D embossing folder from Stampin’ Up.  This was added to a GKD In the Navy mat and a white card base.

Happy Father’s Day!

Thanks for checking out my card project!

This content uses referral links as described in the disclosure policy on my sidebar.

Faux Metal Leaves for Father’s Day

Faux Metal Leaves for Father’s Day

xxDSC_3447

(inside: wishing you the wonderful day you deserve)

In my family, late spring/summer is the start of a busy “masculine card season” so I thought I’d better start playing with some Father’s Day and masculine birthday card designs!

The leafy branches were made with the “Fresh Foliage” die from Memory Box and Prima Marketing “Brown Rust” Rust Effect Paste.  I dabbed the paste on my die cut after it was cut from plain white card stock, and it dried with a gritty, “rusty metal” finish.

The greeting is from the “Masculine Tags” stamp set (retired?) from Gina K Designs.  I also used the “French Script” and “Linen” background stamps from Stampin’ Up (both retired?) for the two small panels behind the leaves.  The inside stamp is an unmarked wood-mount rubber stamp.  All the stamping and inking was done with Gina K Designs Dark Chocolate ink.

I used the “Subtle” 3D embossing folder from Stampin’ Up for the larger cream panel.  (It is recommended that you use Stampin’ Up’s Specialty Plate with their 3D folders.)

The darker card stock all came from the “Nostalgia” paper pack, and the heavyweight ivory card stock came from the “Coffee and Cream” pack – both from Recollections/Michaels.

Thanks for checking out my card project!

This content uses referral links as described in the disclosure policy on my sidebar.