Painted Plaid

Painted Plaid

Today’s class of the “Simply Watercolor Christmas” course (from Online Card Classes) was called Plaid Patterns, and we were shown how to paint a few different styles of plaids. The instructors cut various shapes from their painted panels to use on their card samples.

I had A LOT of trouble with this class! Drawing/painting straight lines (freehand) is not my forte, and plaids are basically a bunch of straight lines. MANY panels ended up in the trash, but I eventually created a panel from which I could cut my stars. (The crooked lines were not as obvious in small doses. It’s going to take A LOT more practice before I can use a whole panel as a backgound!)

I didn’t have a clear idea of a card design in mind once I finished painting my panel so I cut several stars and greetings to play around with and had leftovers for a second card.

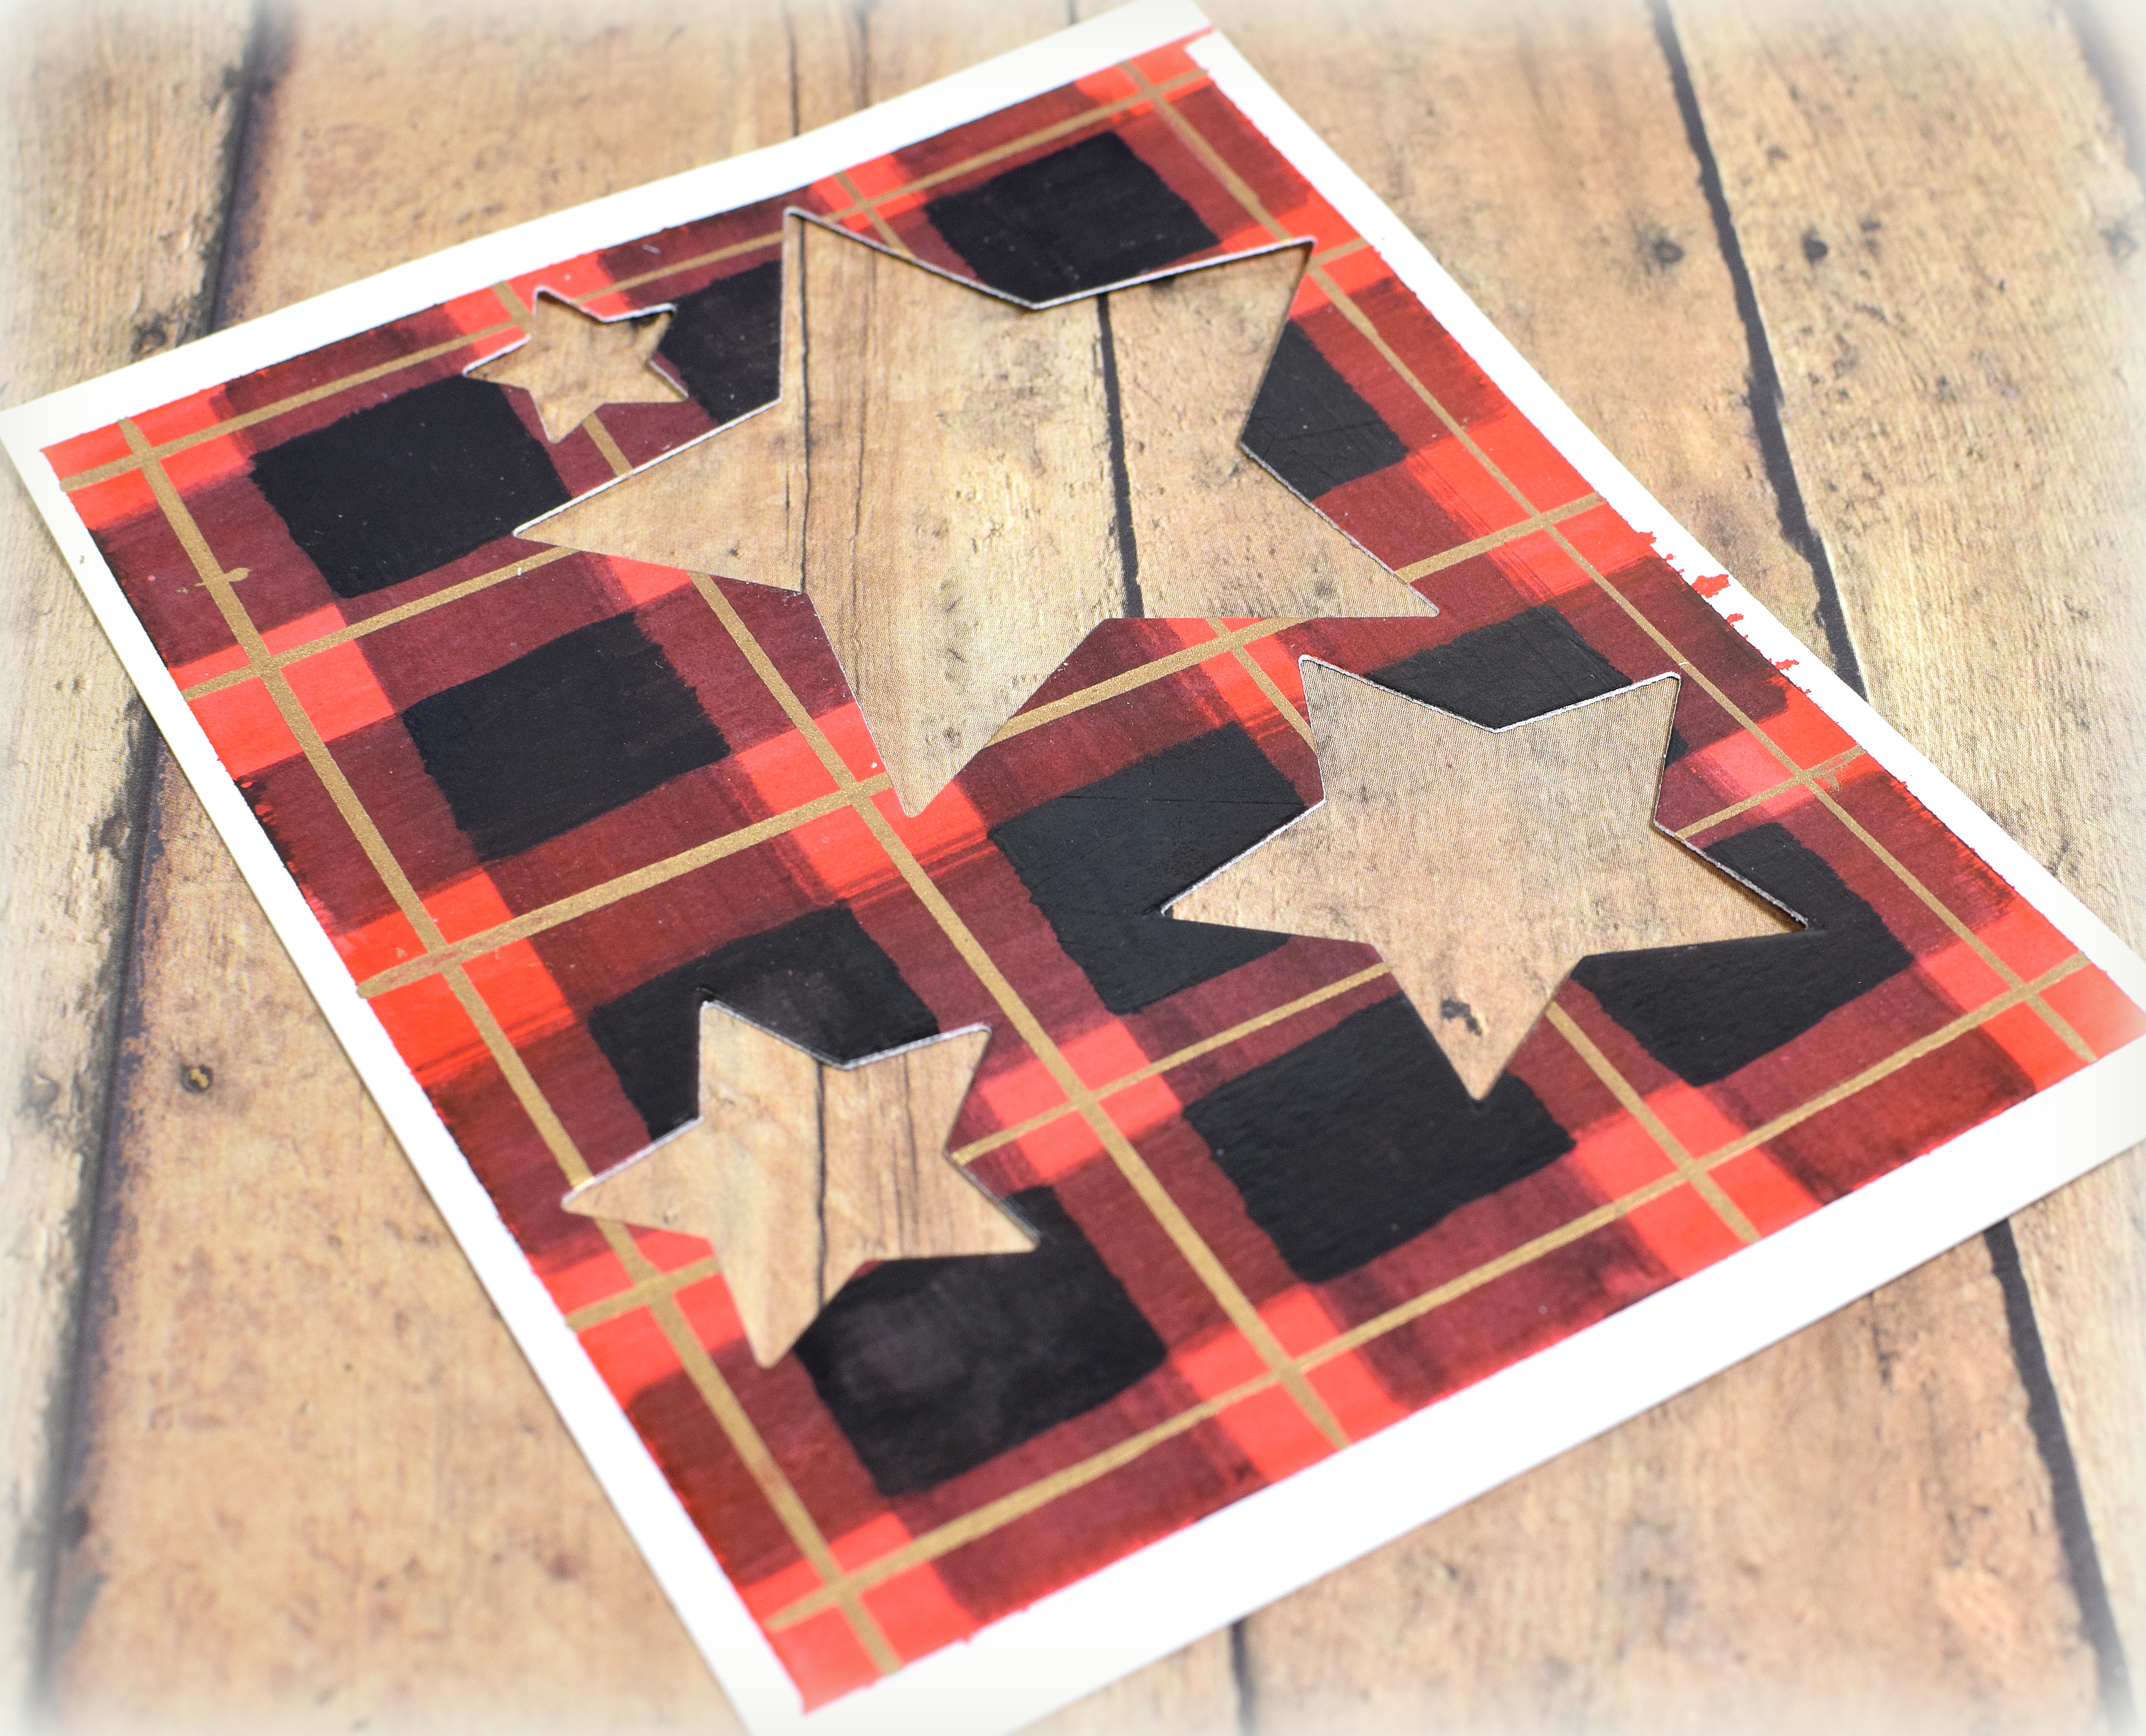
I used water color paper and Kuretake GANSAI TAMBI Water Colors (# 32 red, and #20 black) with a wide, flat brush to create the basic pattern, and then I added lines of #20 gold paint with a ruling pen and ruler. I had never used a ruling pen before; what a cool tool! (HERE is a video showing how to use it.)

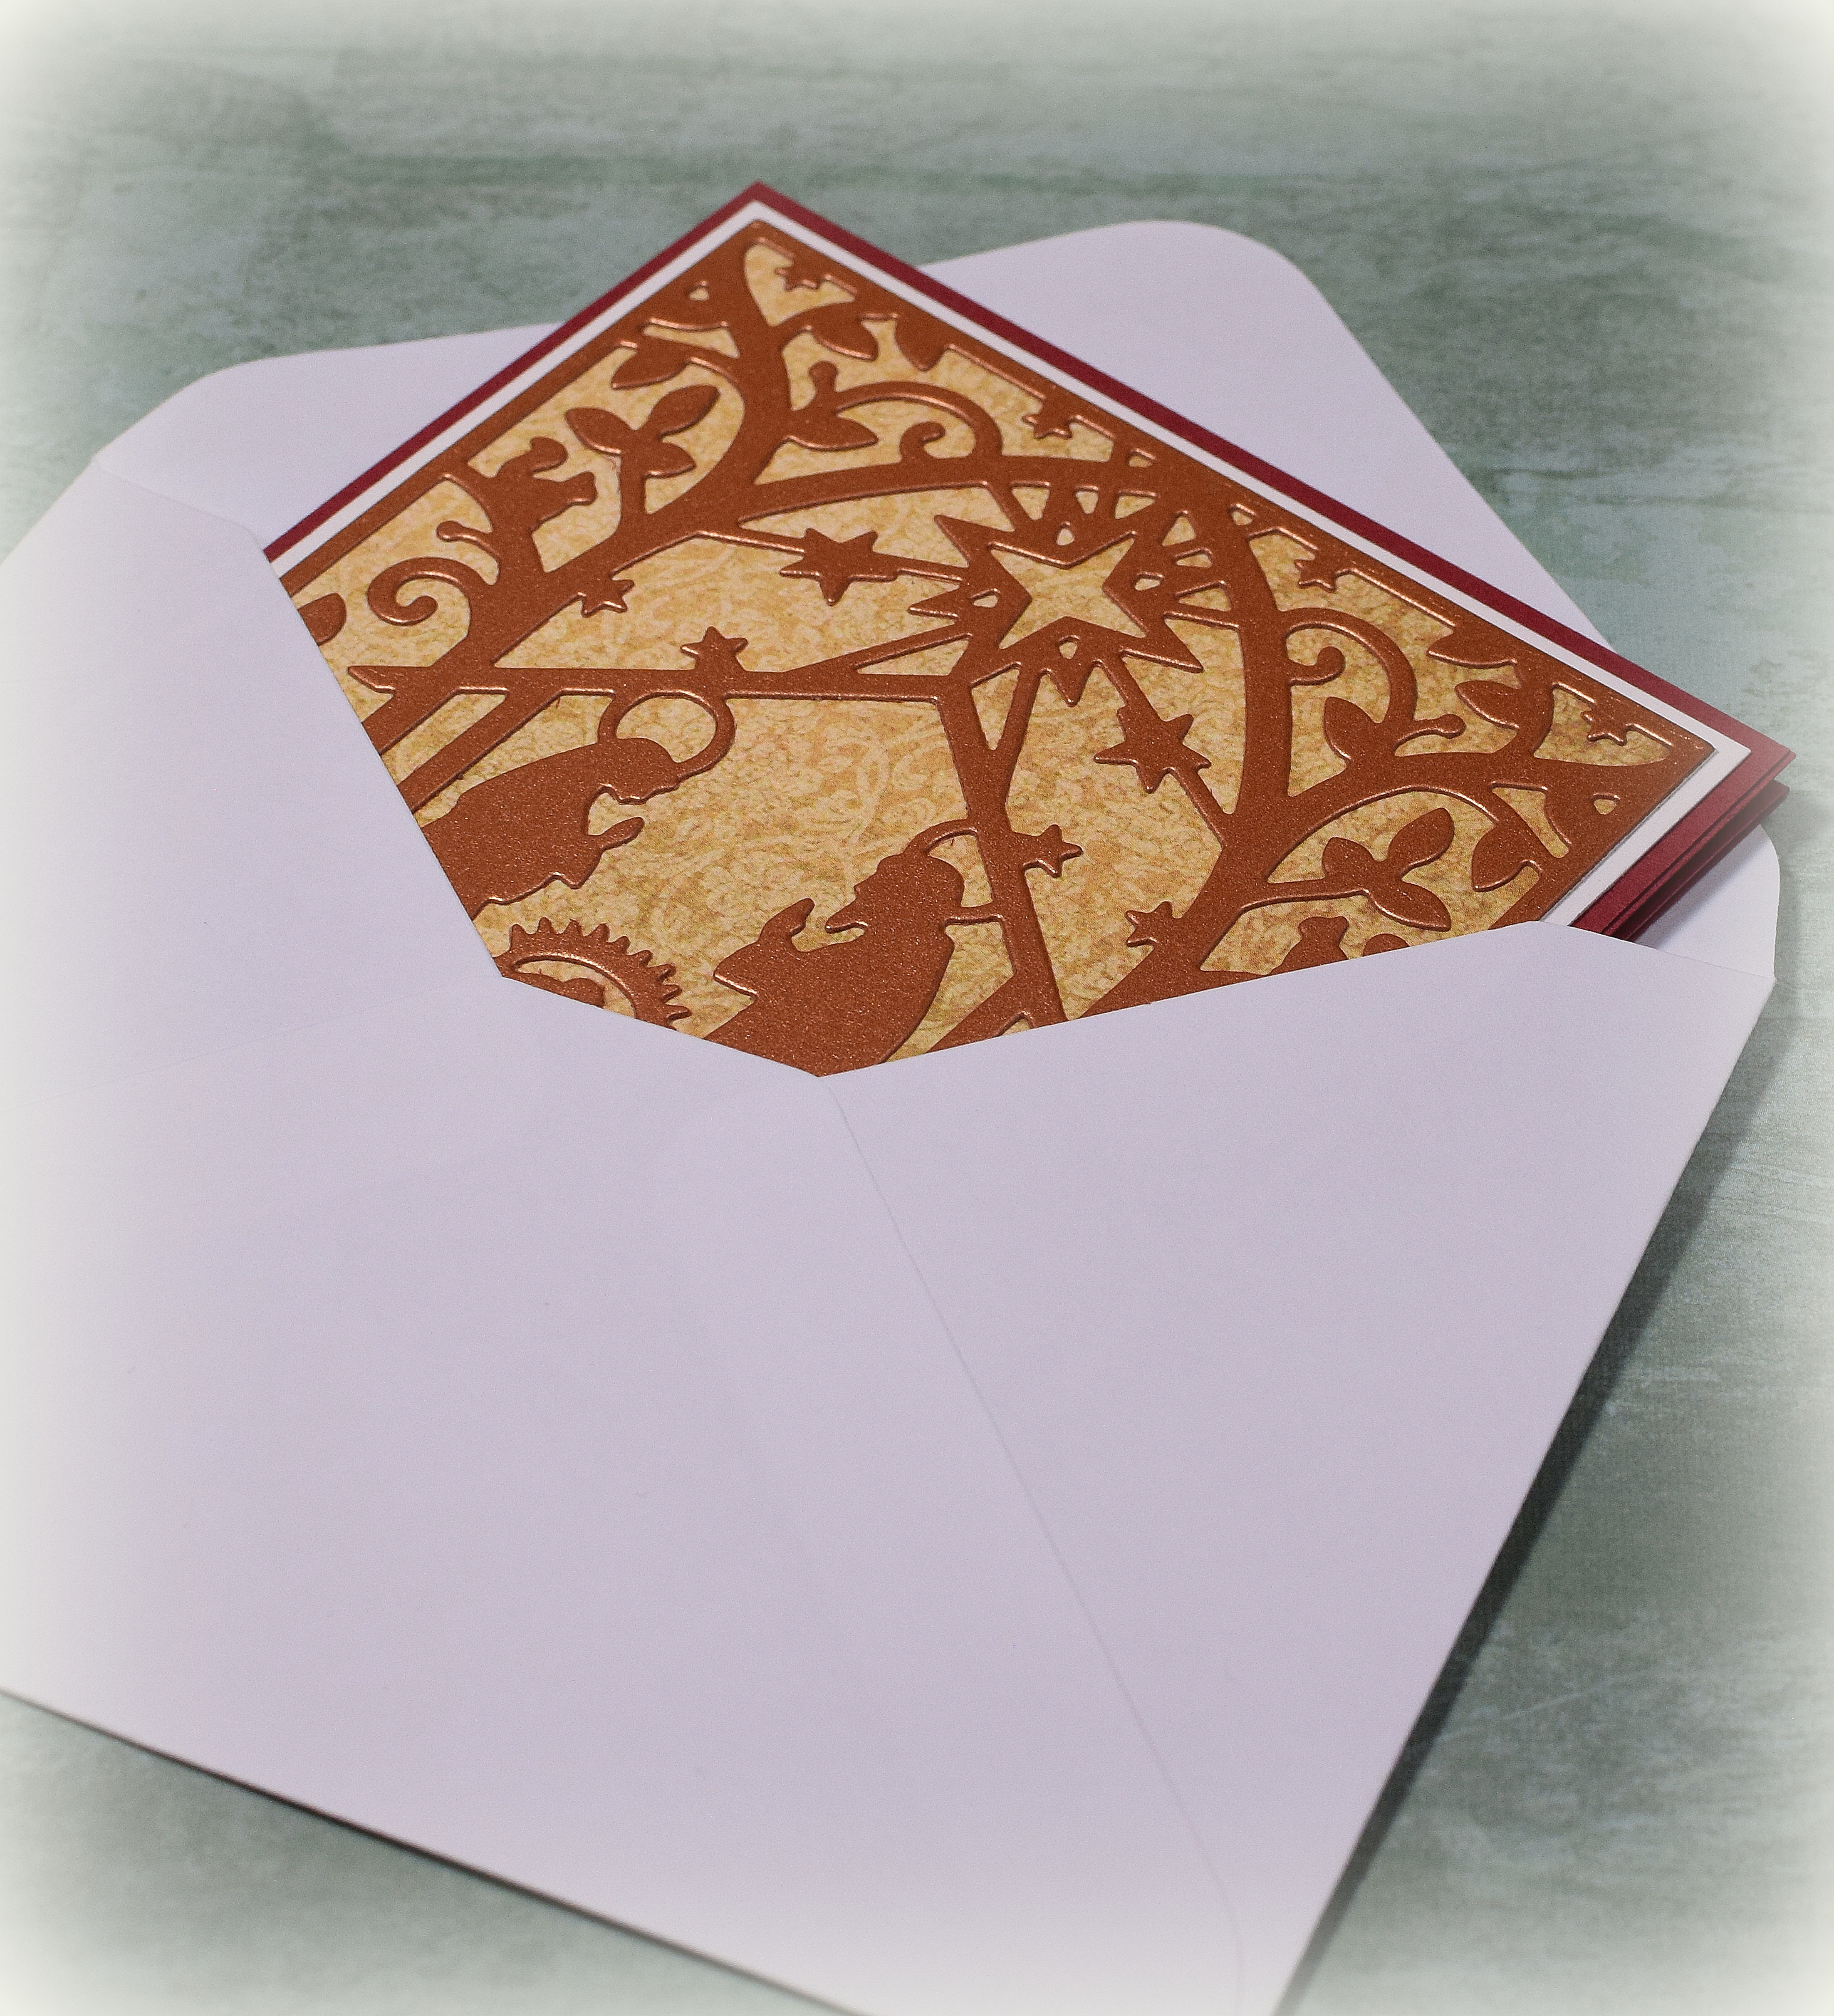
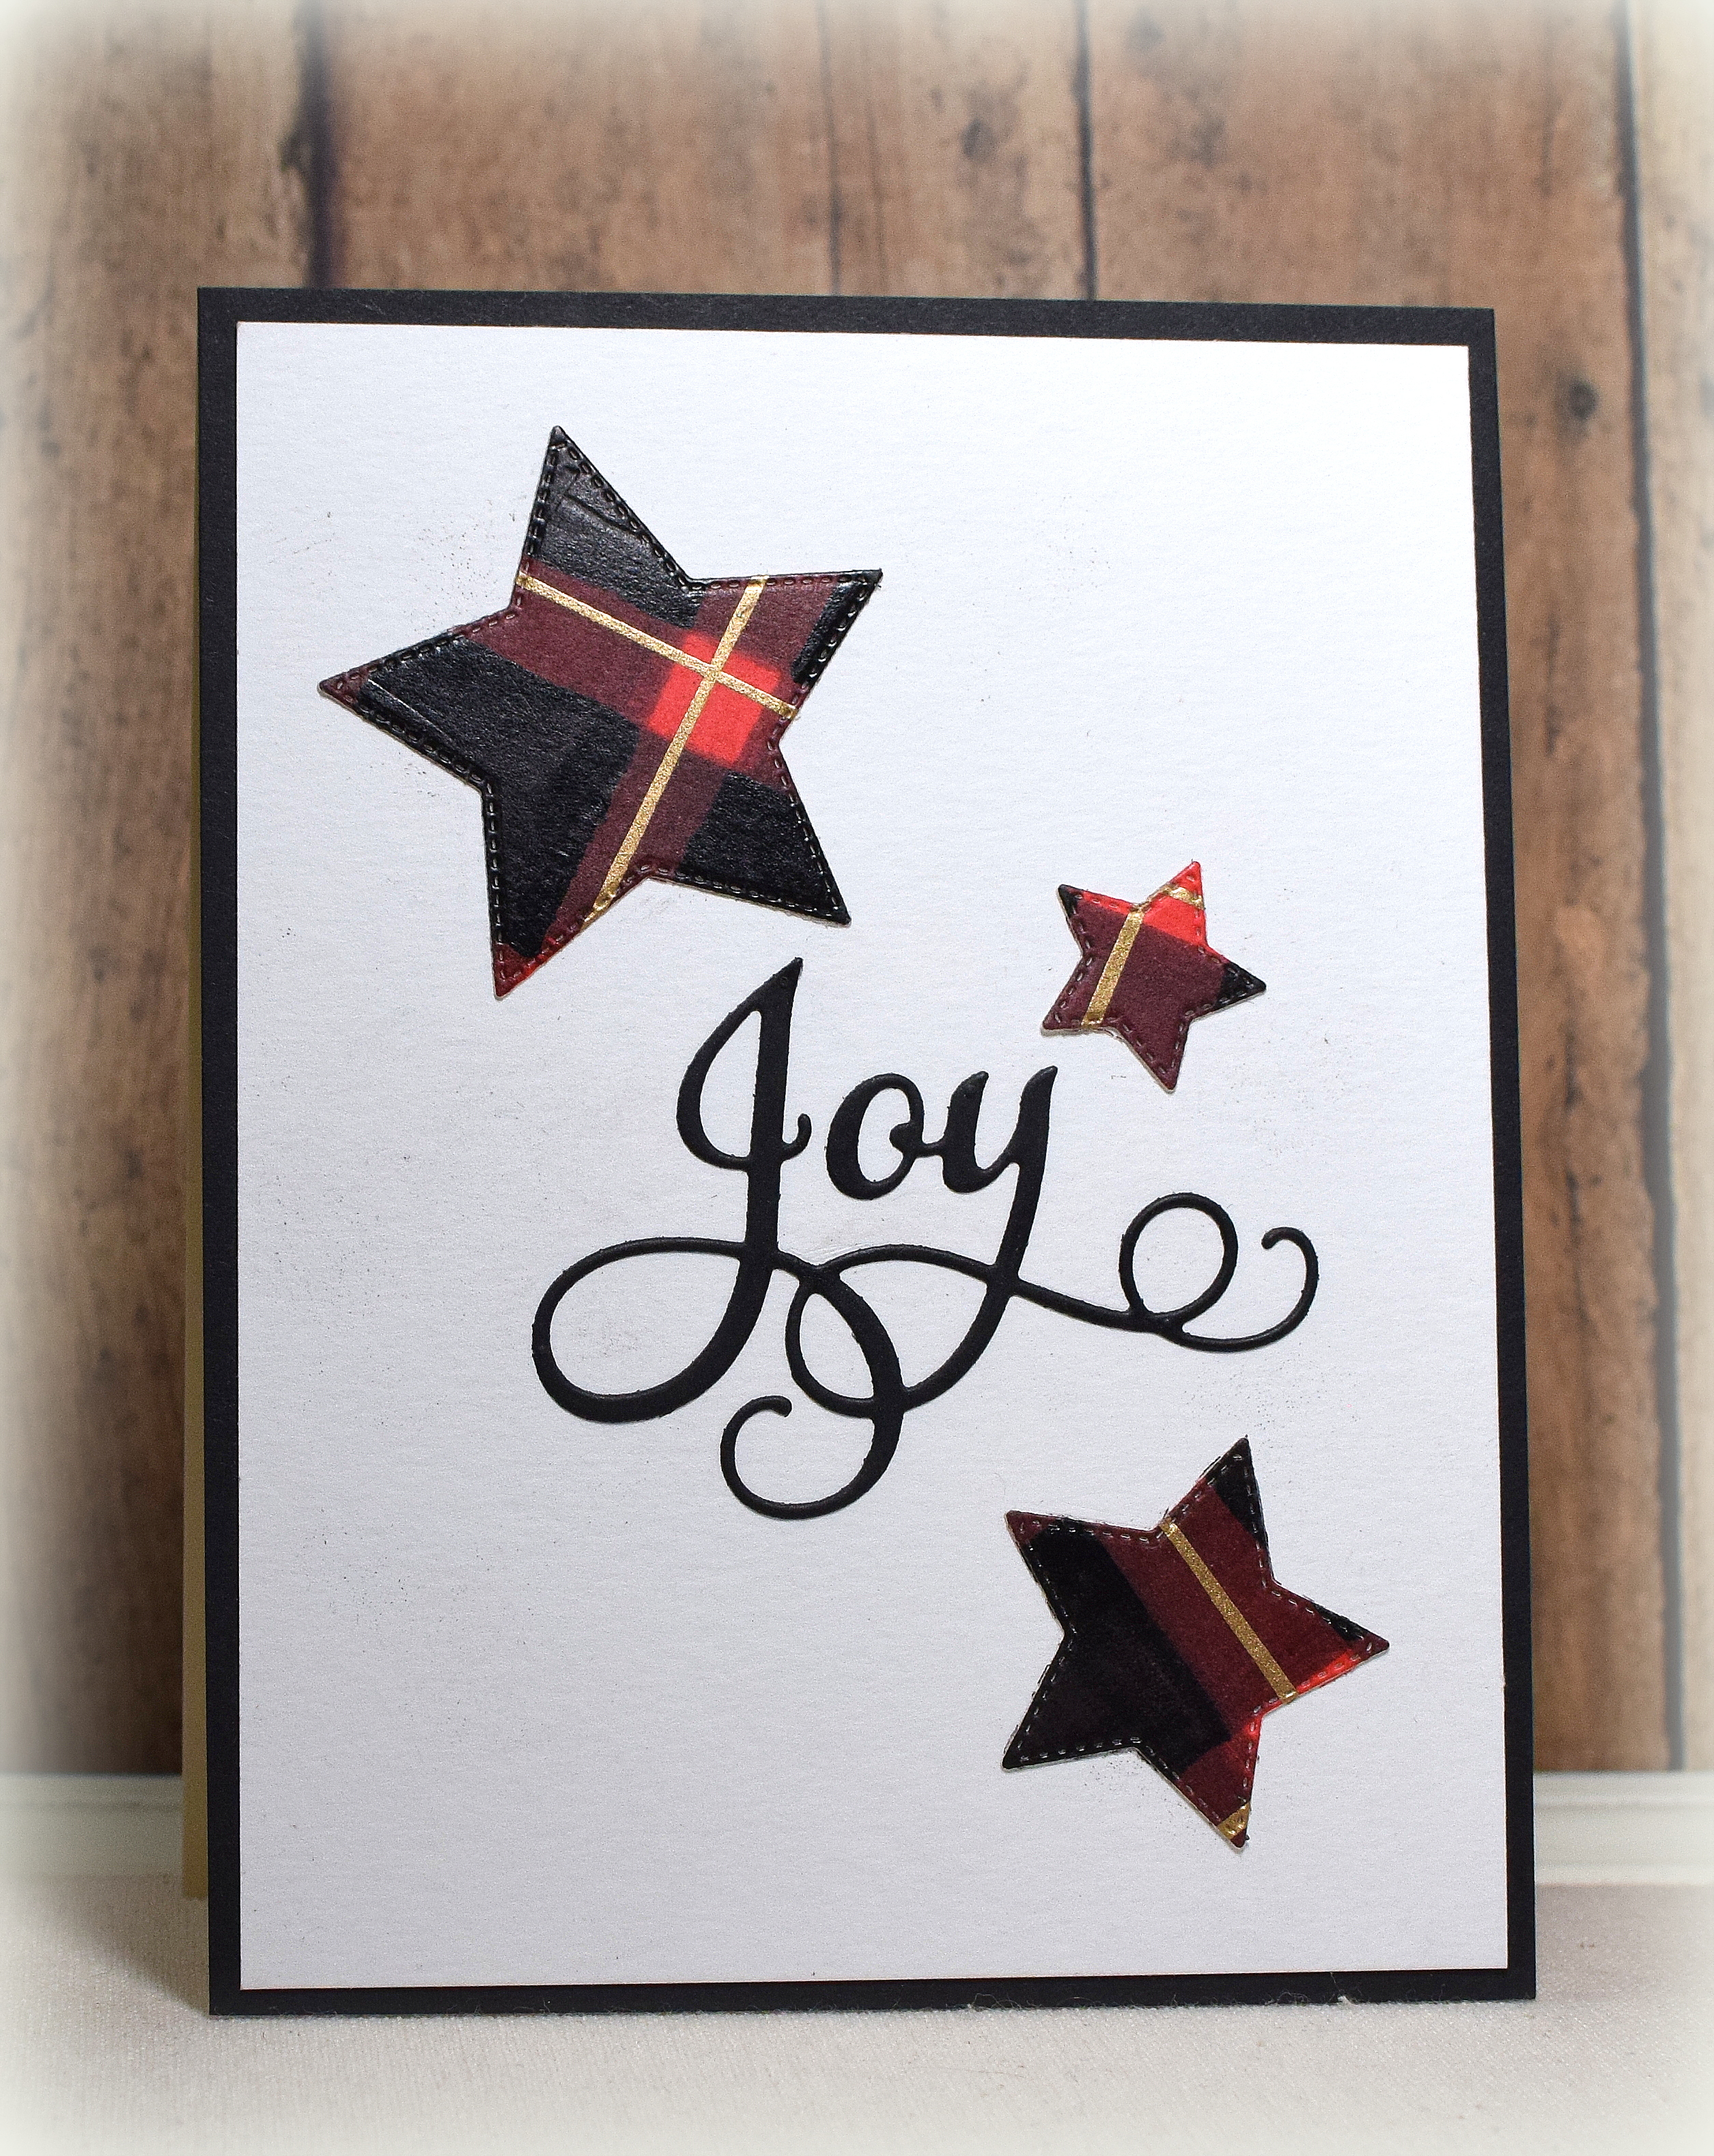
The pierced nesting stars were unbranded. The greeting was cut with the “Joy” die by Impression Obsession (DIE436-D). The gold greeting on the first card was cut from a panel I painted with the same gold water color paint I used for the gold lines on my plaid panel. The other was cut from black card stock.

Here is the painted panel (or what is left of it):

Thanks for checking out my card projects!

This content uses referral links as described in the disclosure policy on my sidebar.

Masked Christmas Tree

Masked Christmas Tree

The first class of the “Simply Watercolor Christmas” course (from Online Card Classes) covered simple masked shape cards, and this is a CASE of the card Jennifer McGuire shared. (Kristina Werner shared some fun cards as well using masked squares as gift boxes.)

I used water color paper,  Kuretake GANSAI TAMBI Water Colors (# 56 and 58) and some masking tape to create the tree and then added some shapes punched from “Copper” card stock to embellish it. The star was an unmarked punch I’ve had forever, and the circles for the ornaments were made with the “Bubbles Border Punch” by Fiskars. The painted panel was adhered to a copper card base.

The greeting is from the “Peace and Joy” set from Gina K Designs and was stamped with Hero Arts Copper embossing powder.

I did have a problem with my first attempt that I wanted to mention. I used a heat tool to dry the different sections as I worked. However, in addition to speeding the drying process, the heat also weakened the adhesion on the masking tape a bit so I ended up with spots where paint seeped under the tape as I continued to work on the different sections. It’s important to make sure ALL the tape is secured well (I used a bone folder) after EVERY application of heat.

I don’t usually have much success water coloring images without using stamps, but this technique (with great instruction) made it easy and a lot of fun! I am excited to try this technique again with different masked shapes.

Thanks for checking out my card project!

This content uses referral links as described in the disclosure policy on my sidebar.

Merry Christmas!

Merry Christmas!

merry christmas on wood 7x5

I’d like to wish you all a very Merry Christmas and a Happy New Year!

I’d also like to take a moment to thank you all for taking the time to visit my blog and for all your support and encouragement.  I really appreciate it!

*

(The above image was found online HERE.)

Winter Flowers

Winter Flowers

wDSC_3034.JPG

This card features stamps from the “Winter Flowers” stamp set by Simon Says Stamp.

I heat embossed the images in Hero Arts Copper embossing powder on black card stock and colored them with Prismacolor Pencils and a Dove Blending Pen.  I am honestly not sure how I feel about this as it is awfully dark.  I was trying to use traditional red and green, but I think it might have needed lighter colored pencils?  I did think it was cool that the colored pencils actually showed up on the black; I was expecting to need to put white pencil or ink down first (and I did not need to).  Anyway, I also purchased the “Spring Flowers” set which is similar in style, and I think I will try this technique again with lighter colors.

The mat is “Copper” card stock from Cardstock Warehouse’s Starstream Collection with an ivory card base.  The Merry Christmas stamp is from the “Sentimental Holidays” set (retired?) from Gina K Designs.

While I still had the embossing supplies out and the stamps on my MISTI, I decided to make a few simple thank you notes.

yDSC_3047

The thank you stamp was from the “Wonderful Words I” set (retired?) from Stampin’ Up.  There were long lines/tails at the beginning and end of the words that I masked off for this card.

thank you stamp

The card based is “Ocean Tides” from Papertrey Ink.  It’s hard to see in the photo, but I added texture to the stamped panel with Gina K Designs Whisper Amalgam Ink and the GKD Gauze background stamp.

Thanks for checking out my card project!

This content uses referral links as described in the disclosure policy on my sidebar.

Copper Nativity Easel Card

Copper Nativity Easel Card

wDSC_3023.JPG

This card features the beautiful “Nativity Forest” die from Tutti Designs (Tutti-570).  The die cut was cut from “Copper” card stock from Cardstock Warehouse’s Starstream Collection and backed with a piece “Chiffon Vintage” printed card stock by Bo Bunny (#12CV838).  That was then matted on Gina K Designs Ivory and a Cranberry Tart base.

Here is the inside:

wDSC_3033

These stamps are from the “City of David” and “Christmas Joy” stamp sets (both retired?) from Gina K Designs.  I heat embossed them with versamark ink and Hero Arts Copper embossing powder.

You can see the shine of the copper card stock better in this photo:

wDSC_2984

The die cut is about 3 7/8″ square so I was able to double mat it for a 4 1/4″ square card when folded flat which allowed me to use an A2 size envelope (with a little extra room on each side).

wDSC_2995


Thanks for checking out my card project!

This content uses referral links as described in the disclosure policy on my sidebar.