Layered Christmas Poinsettia

Layered Christmas Poinsettia

As I mentioned in my last post, Day 1 of the Holiday Card Workshop 2022 focused on die cutting, and the second lesson was called “Layers of Die-Cuts” taught by Dawn Woleslagle.

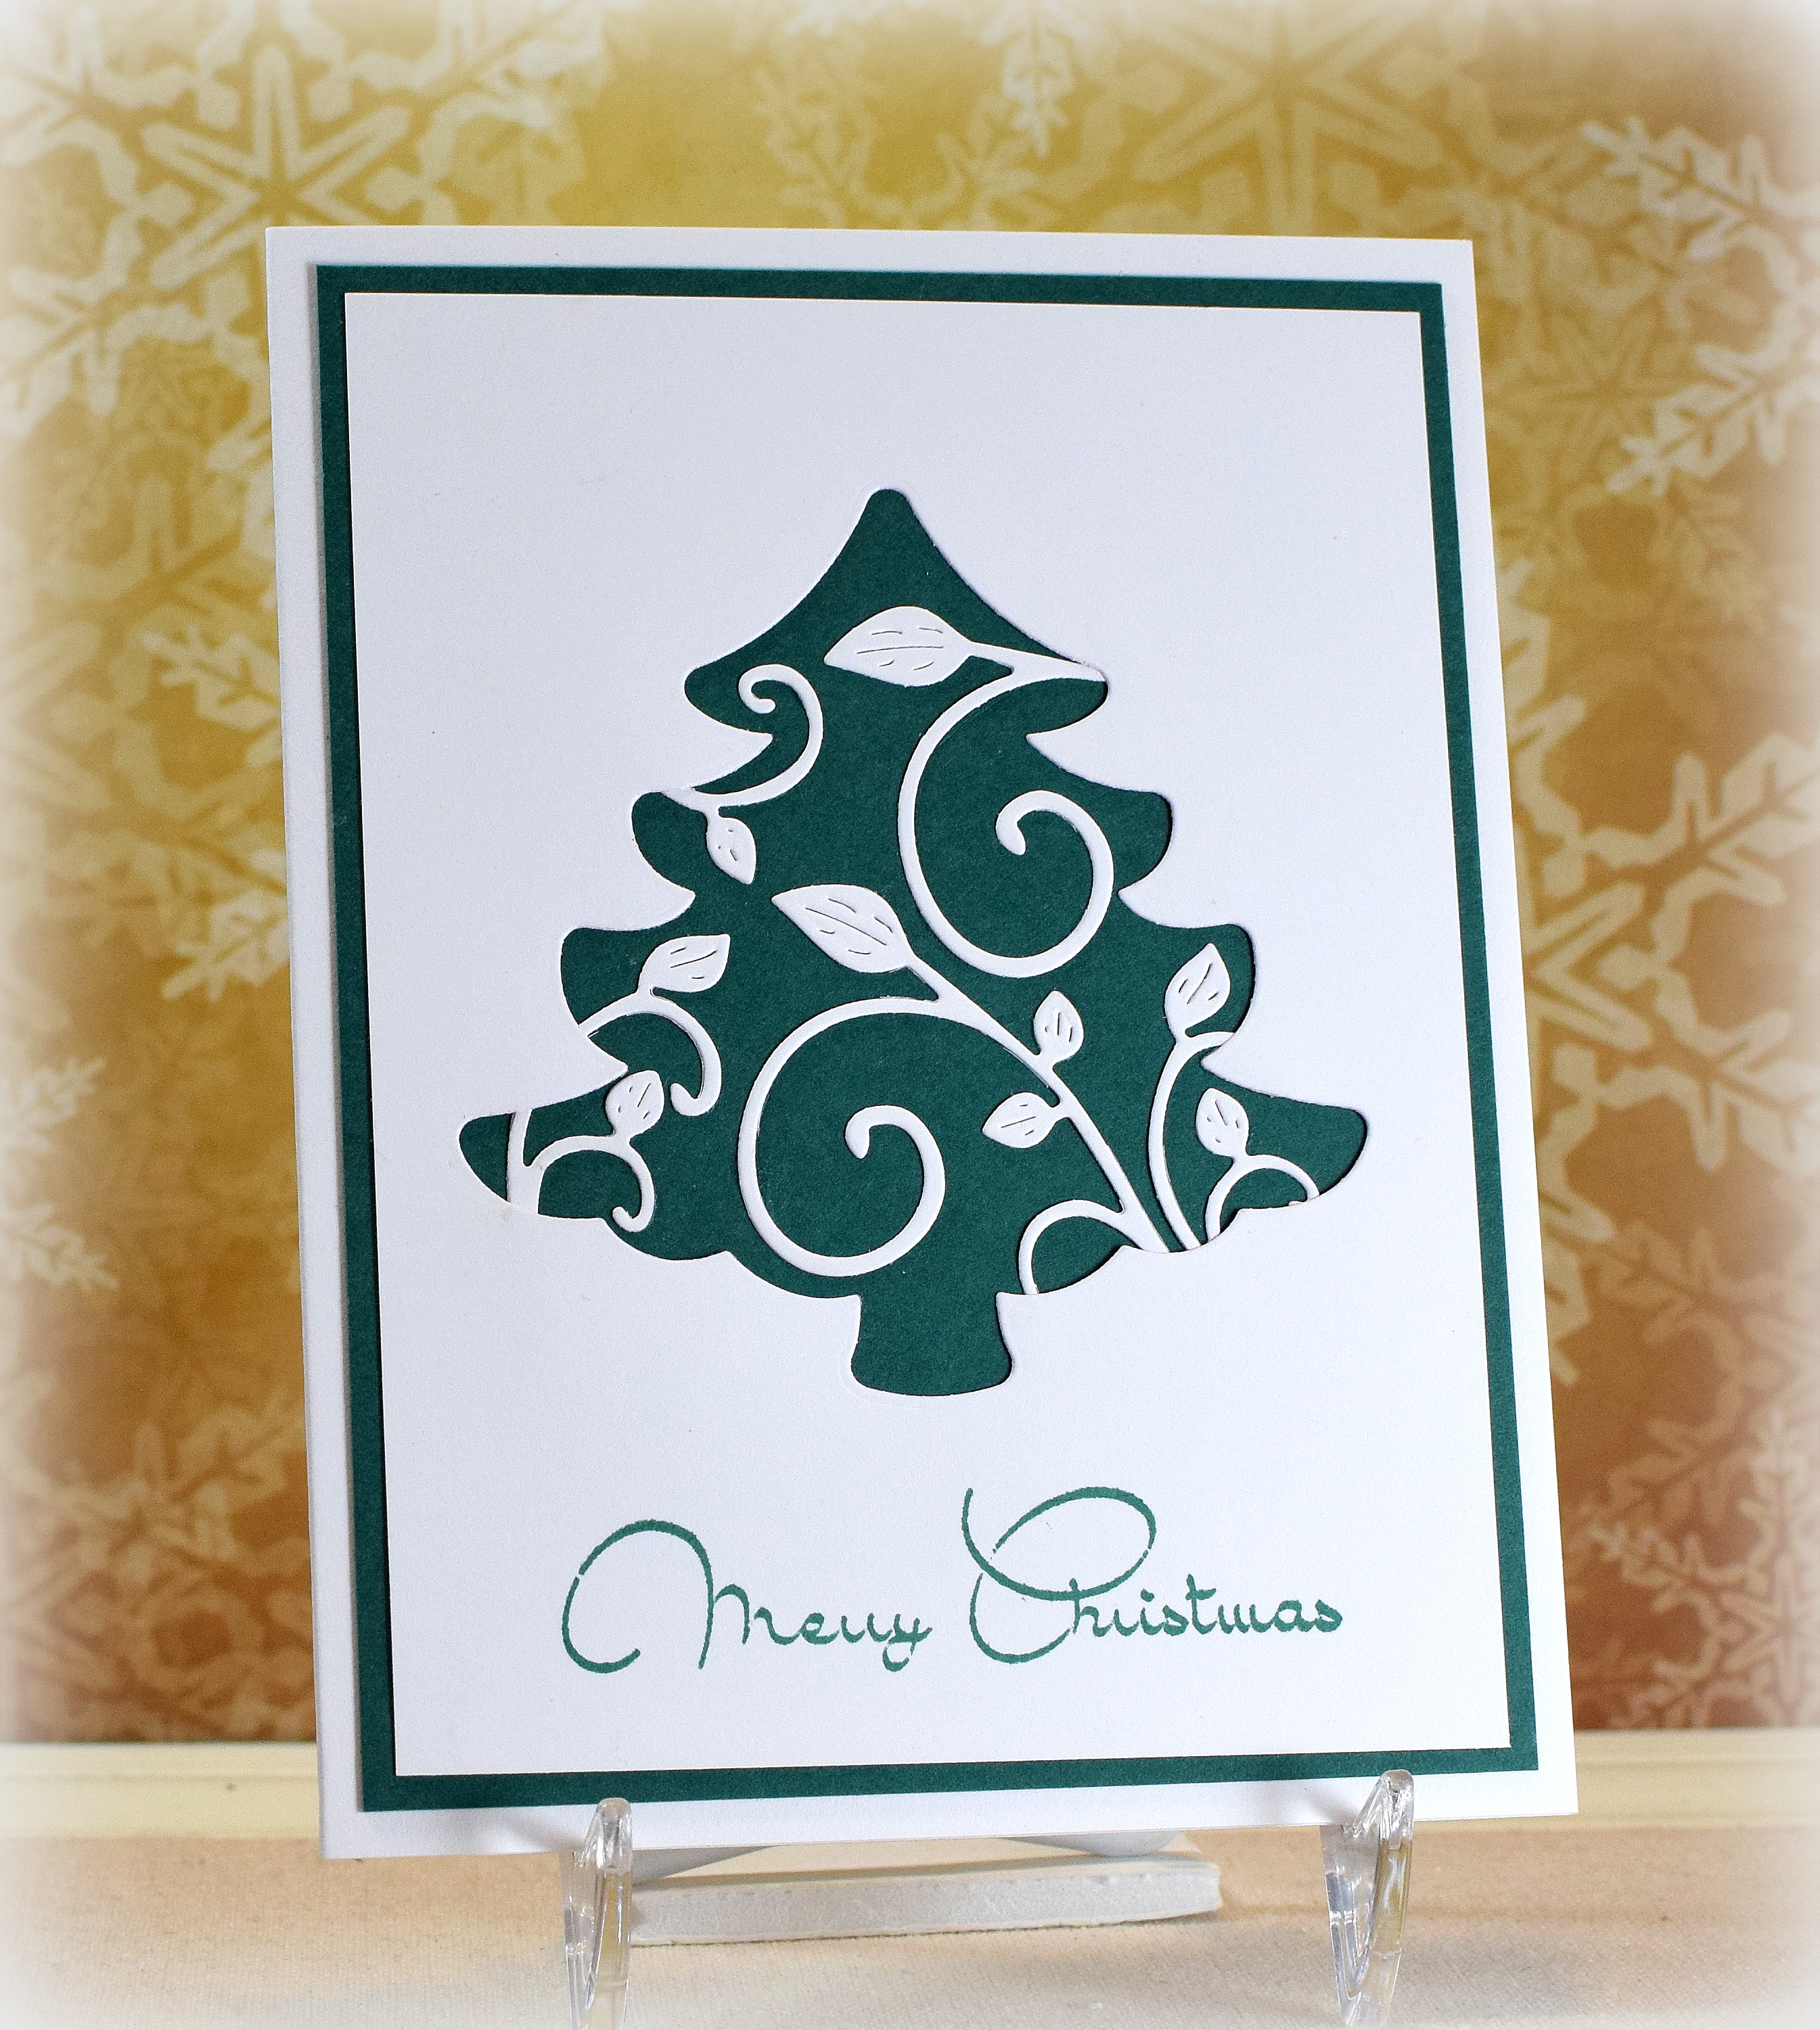
I used Gina K Designs Cherry Red and Christmas Pine card stock along with Cranberry Tart and Christmas Pine ink and an unmarked die set to create my poinsettia. I added some ManGo Mini Prills to the center.

I also used the Stampin’ Up “Subtle” embossing folder and the die and a stamp from the “Merry Stamp & Cut” set from Hero Arts.

If you are interested in seeing how to quickly add dimension to your layered die cuts, check out the class over at Online Card Classes!

Thanks for checking out my card project!

This content uses referral links as described in the disclosure policy on my sidebar.

Faux Laser Cut Christmas Tree

Faux Laser Cut Christmas Tree

I recently took the Holiday Card Workshop 2022 and really enjoyed using the techniques and inspiration to create a bunch of holiday cards. I had been suffering from a serious case of “lack of mojo-itis” (and limited time), and this was just what the doctor ordered! I focused on the techniques for each of the classes and kept the “finishing” of the cards pretty simple. And I did not stress if I only got to one of the two lessons each day. It’s supposed to be fun, right?!

Day 1 focused on die cutting, and the first lesson was called “Faux Laser Cut Cards” taught by Jennifer McGuire. You need two dies for this technique; the tree die came from the “Christmas Tree Shaker Die” set from Cheery Lynn Designs, and the second die was the “Flourish Vine Die” from Gina Marie Designs (no longer available?). I know the vine is not “Christmas-y, but I am trying to limit my purchases for this class so I used what I had!

I used Gina K Designs Christmas Pine ink and card stock. The greeting was from the “Merry Tree” mini set, also from GKD.

If you are interested in seeing how to do this technique, check out the class over at Online Card Classes!

Thank you for checking out my card project!

Merry Christmas!

Merry Christmas!

*

I’d like to wish you all a very Merry Christmas and a Happy New Year!

I’d also like to take a moment to thank you all for taking the time to visit my blog and for all your support and encouragement this past year.  I really appreciate it!

(The above image was found on google and is not my own.)

Merry Christmas!

Merry Christmas!

I’d like to wish you all a very Merry Christmas and a Happy New Year!

I’d also like to take a moment to thank you all for taking the time to visit my blog and for all your support and encouragement this past year.  I really appreciate it!

(The above image was found on google and is not my own.)

Tall Nativity Christmas Card

Tall Nativity Christmas Card

(inside: Sending love & prayers for a blessed Christmas and a joyous new year!)

The holy family and star die cuts are from a Silhouette cut file called “Tall Nativity” by Lori Whitlock (Design ID 161572) and was cut with my Silhouette electronic die cutting machine. These images are shaped perfectly for a slim line card.

The greeting was cut with the “Joy” die by Impression Obsession (DIE436-D).

The patterned paper is from a digital file called “Snowy Paper” (no longer available?) by SBDigitalDesigns that I purchased on Etsy.

The inside sentiment is from the “Christmas Blessings” stamp set from Divinity Designs (previously Our Daily Bread).

I added a recollections rhinestone gem to the star to finish it off.

My finished card measures 4″ x 9 1/4″ and fits in a regular business envelope, but if you wanted to make a custom envelope with the We R Memory Keepers envelope punch board, start with a 10 5/8″ square and line up at 7 1/8″ for first punch/score line.

Thanks for checking out my card project!

This content uses referral links as described in the disclosure policy on my sidebar.