Merry Christmas with Buffalo Plaid Ribbon – Take 2

Merry Christmas with Buffalo Plaid Ribbon – Take 2

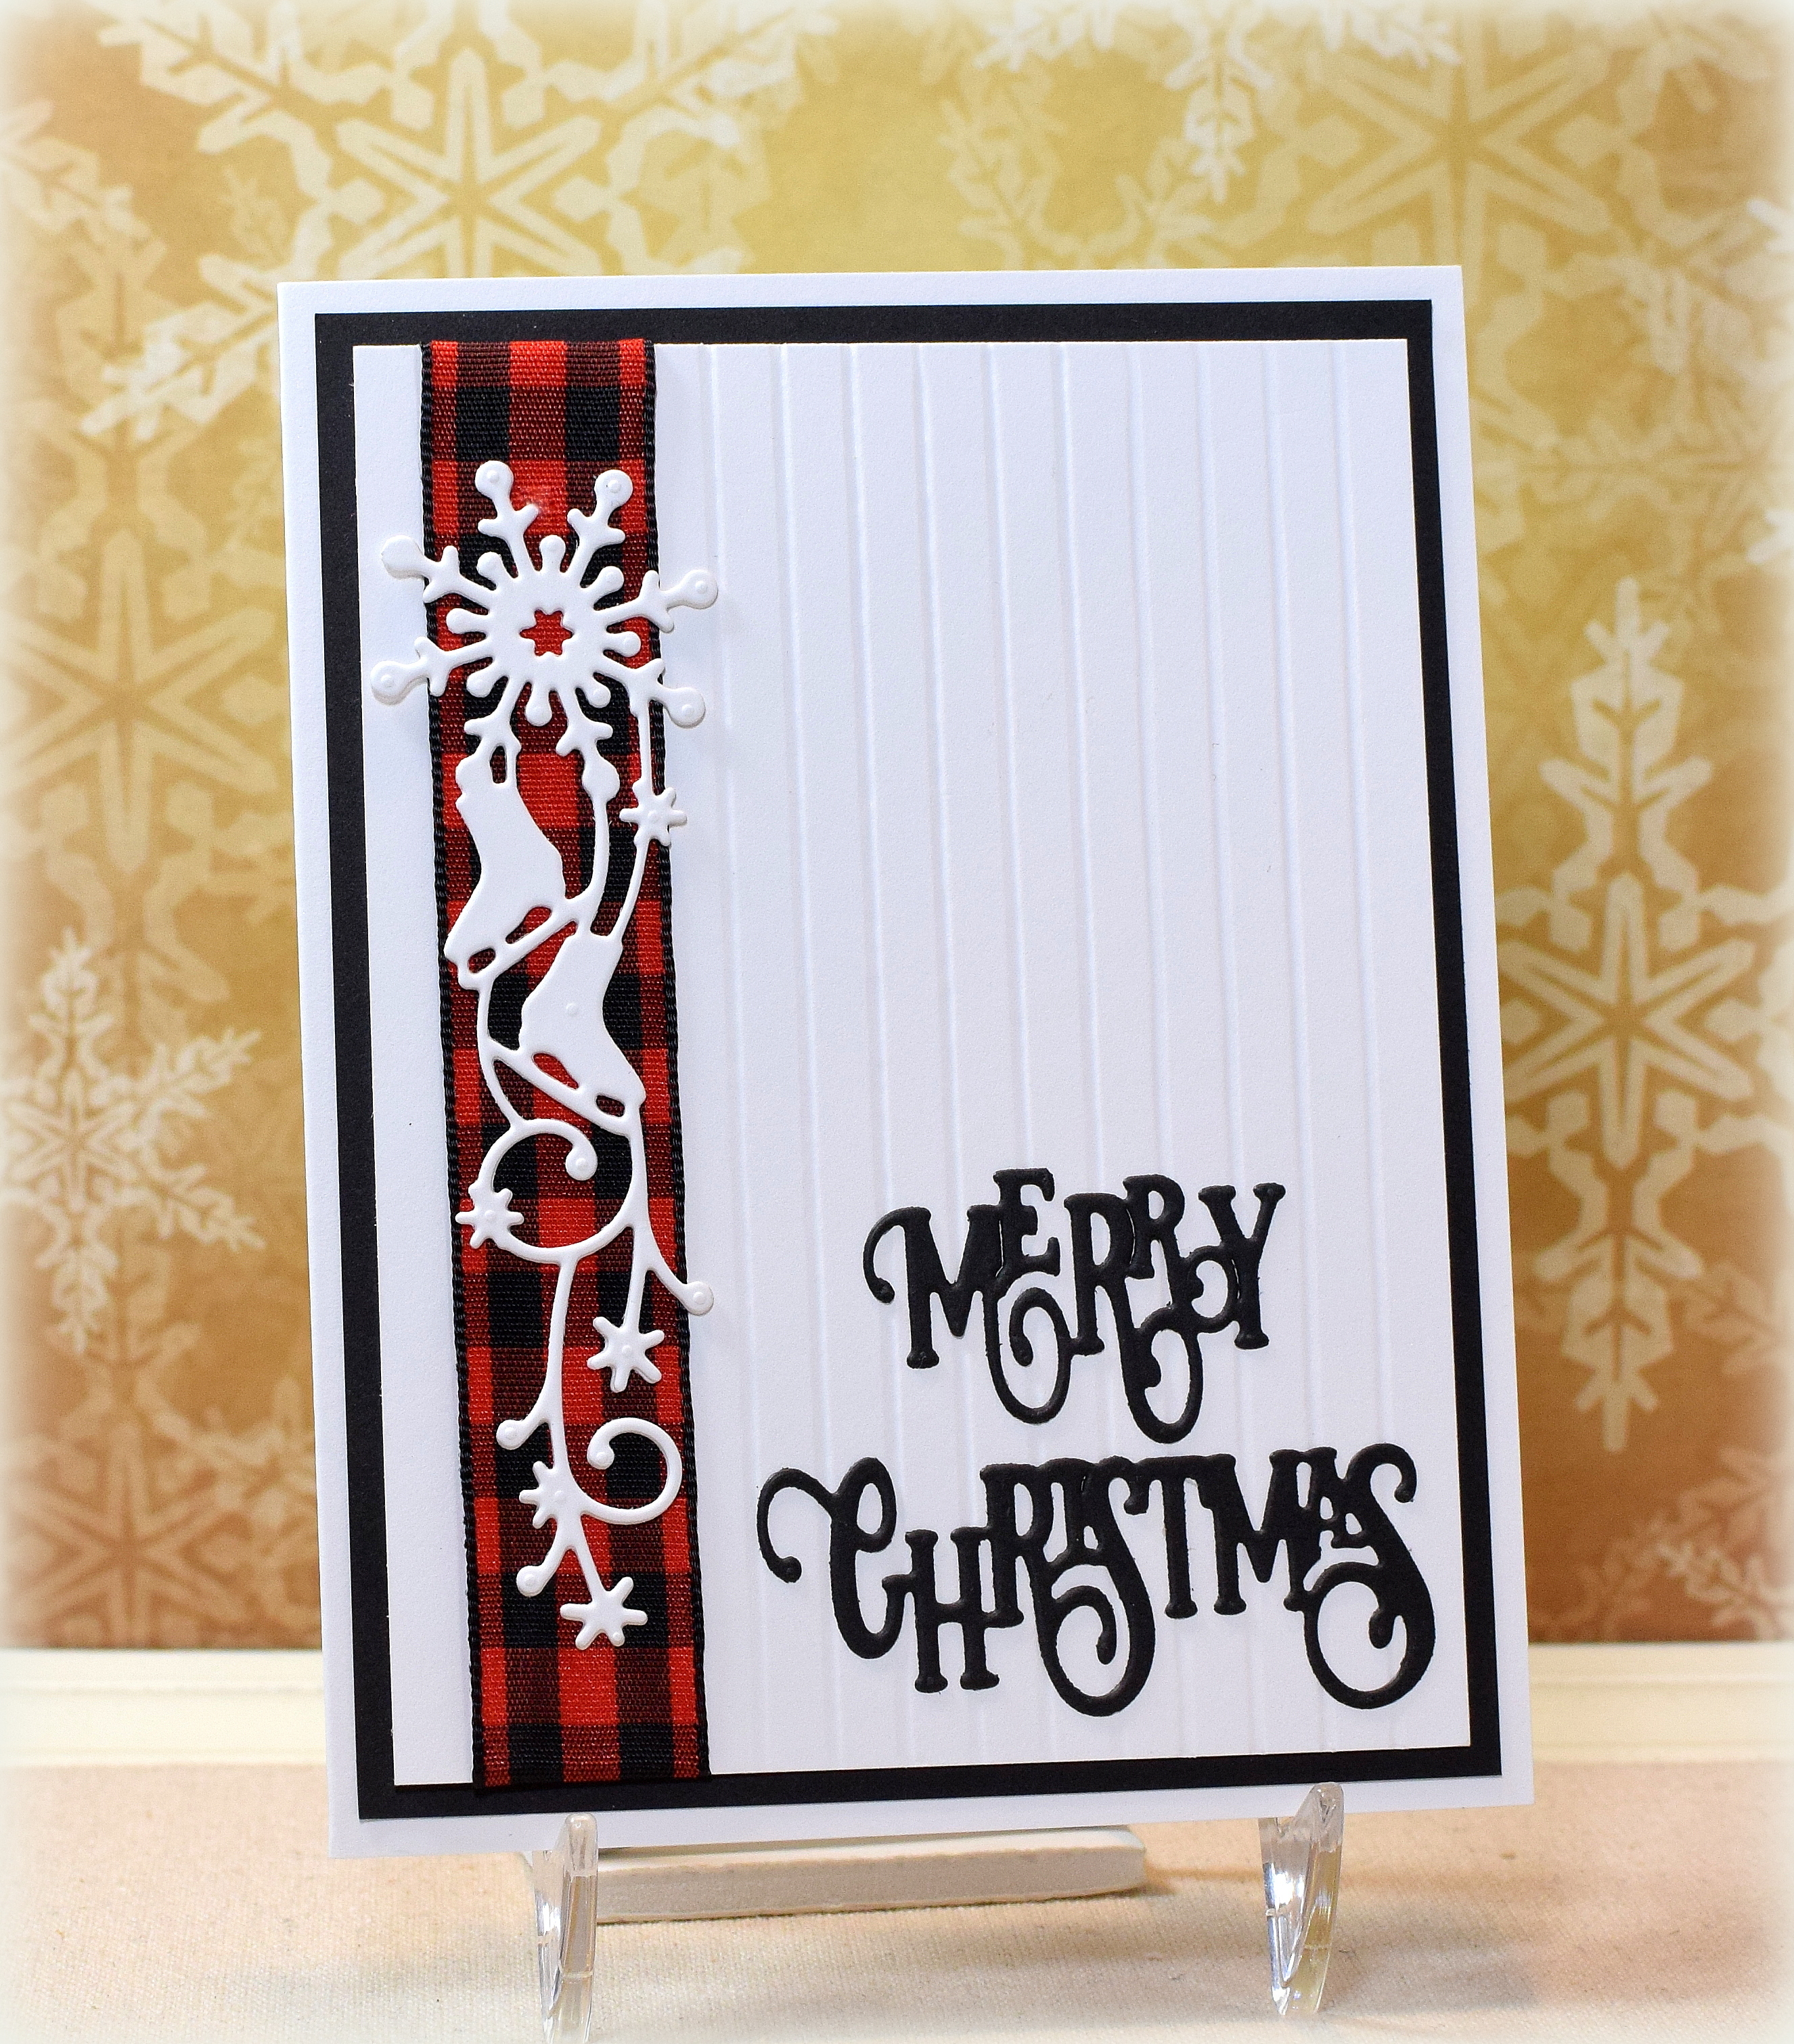
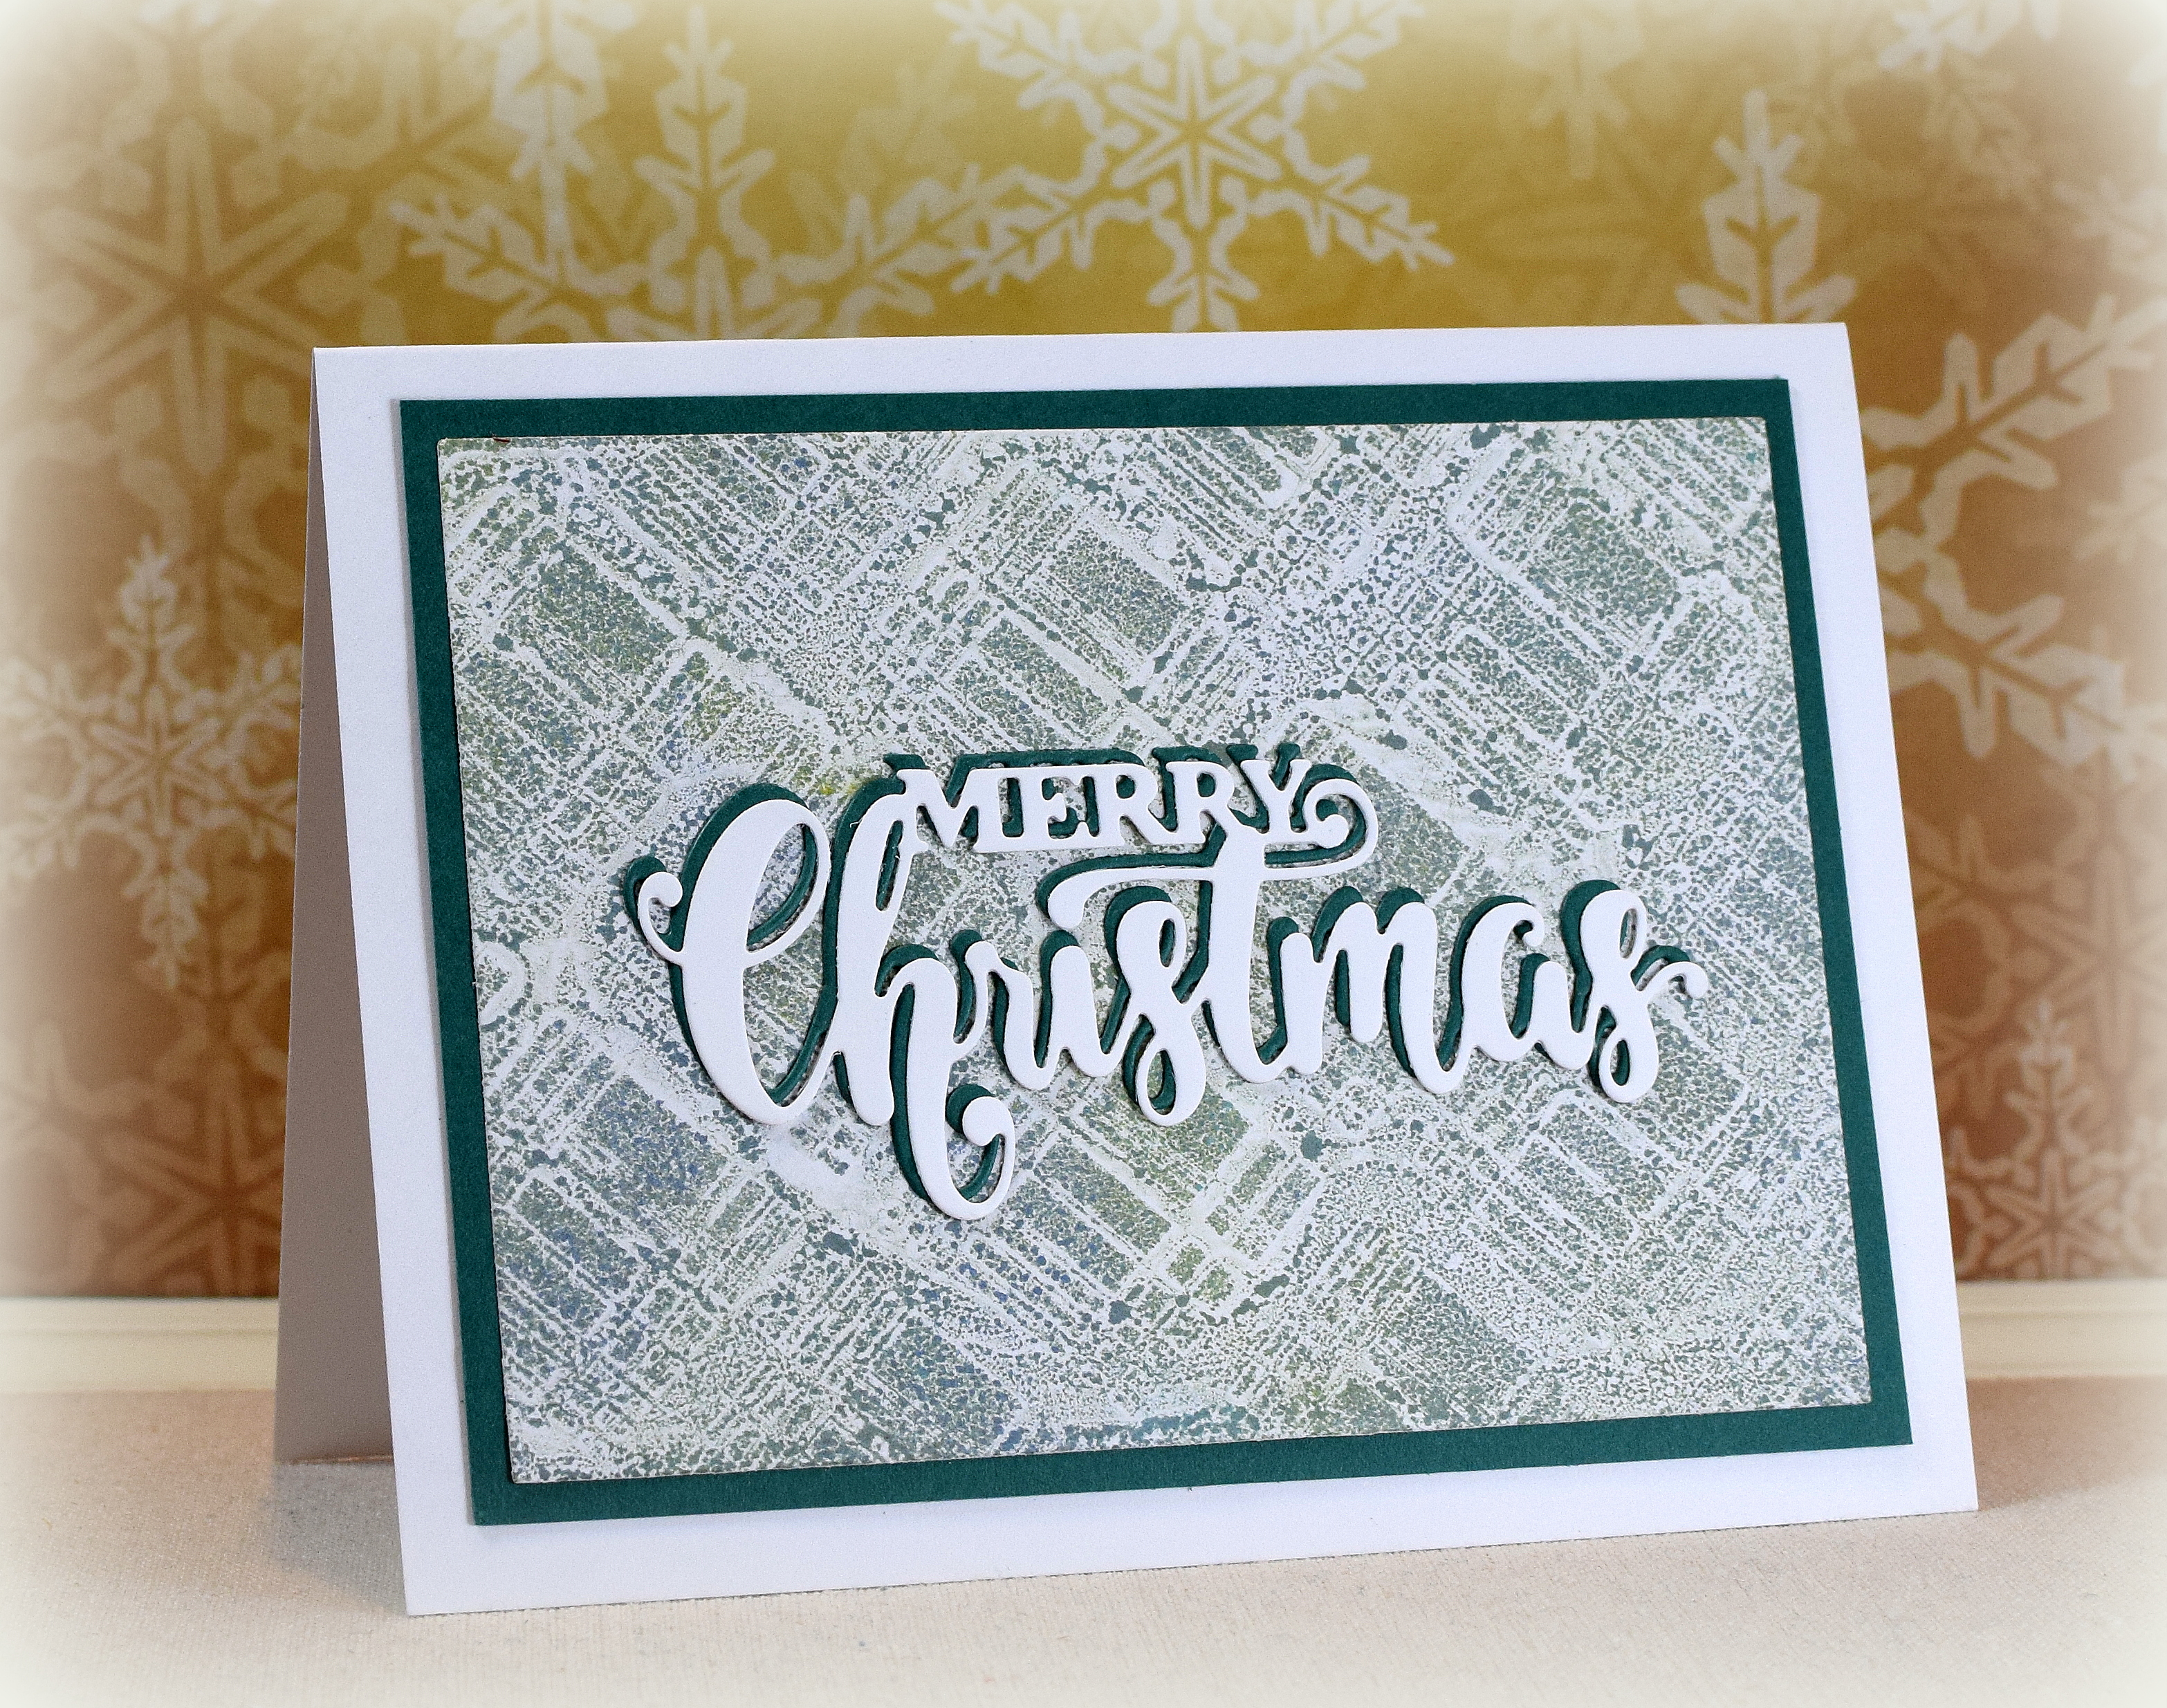
This card features buffalo plaid ribbon that I embellished with a stacked die cut called “Winterfun Corner” from Precious Marieke and the “Elegant Merry Christmas” die by Frantic Stamper (#FRA-DIE-10339). I debossed the background panel with my score board to add some texture. I had to cut off the “corner” part of the “corner” die cut as it went in the wrong direction for my design.

This was my original card design…

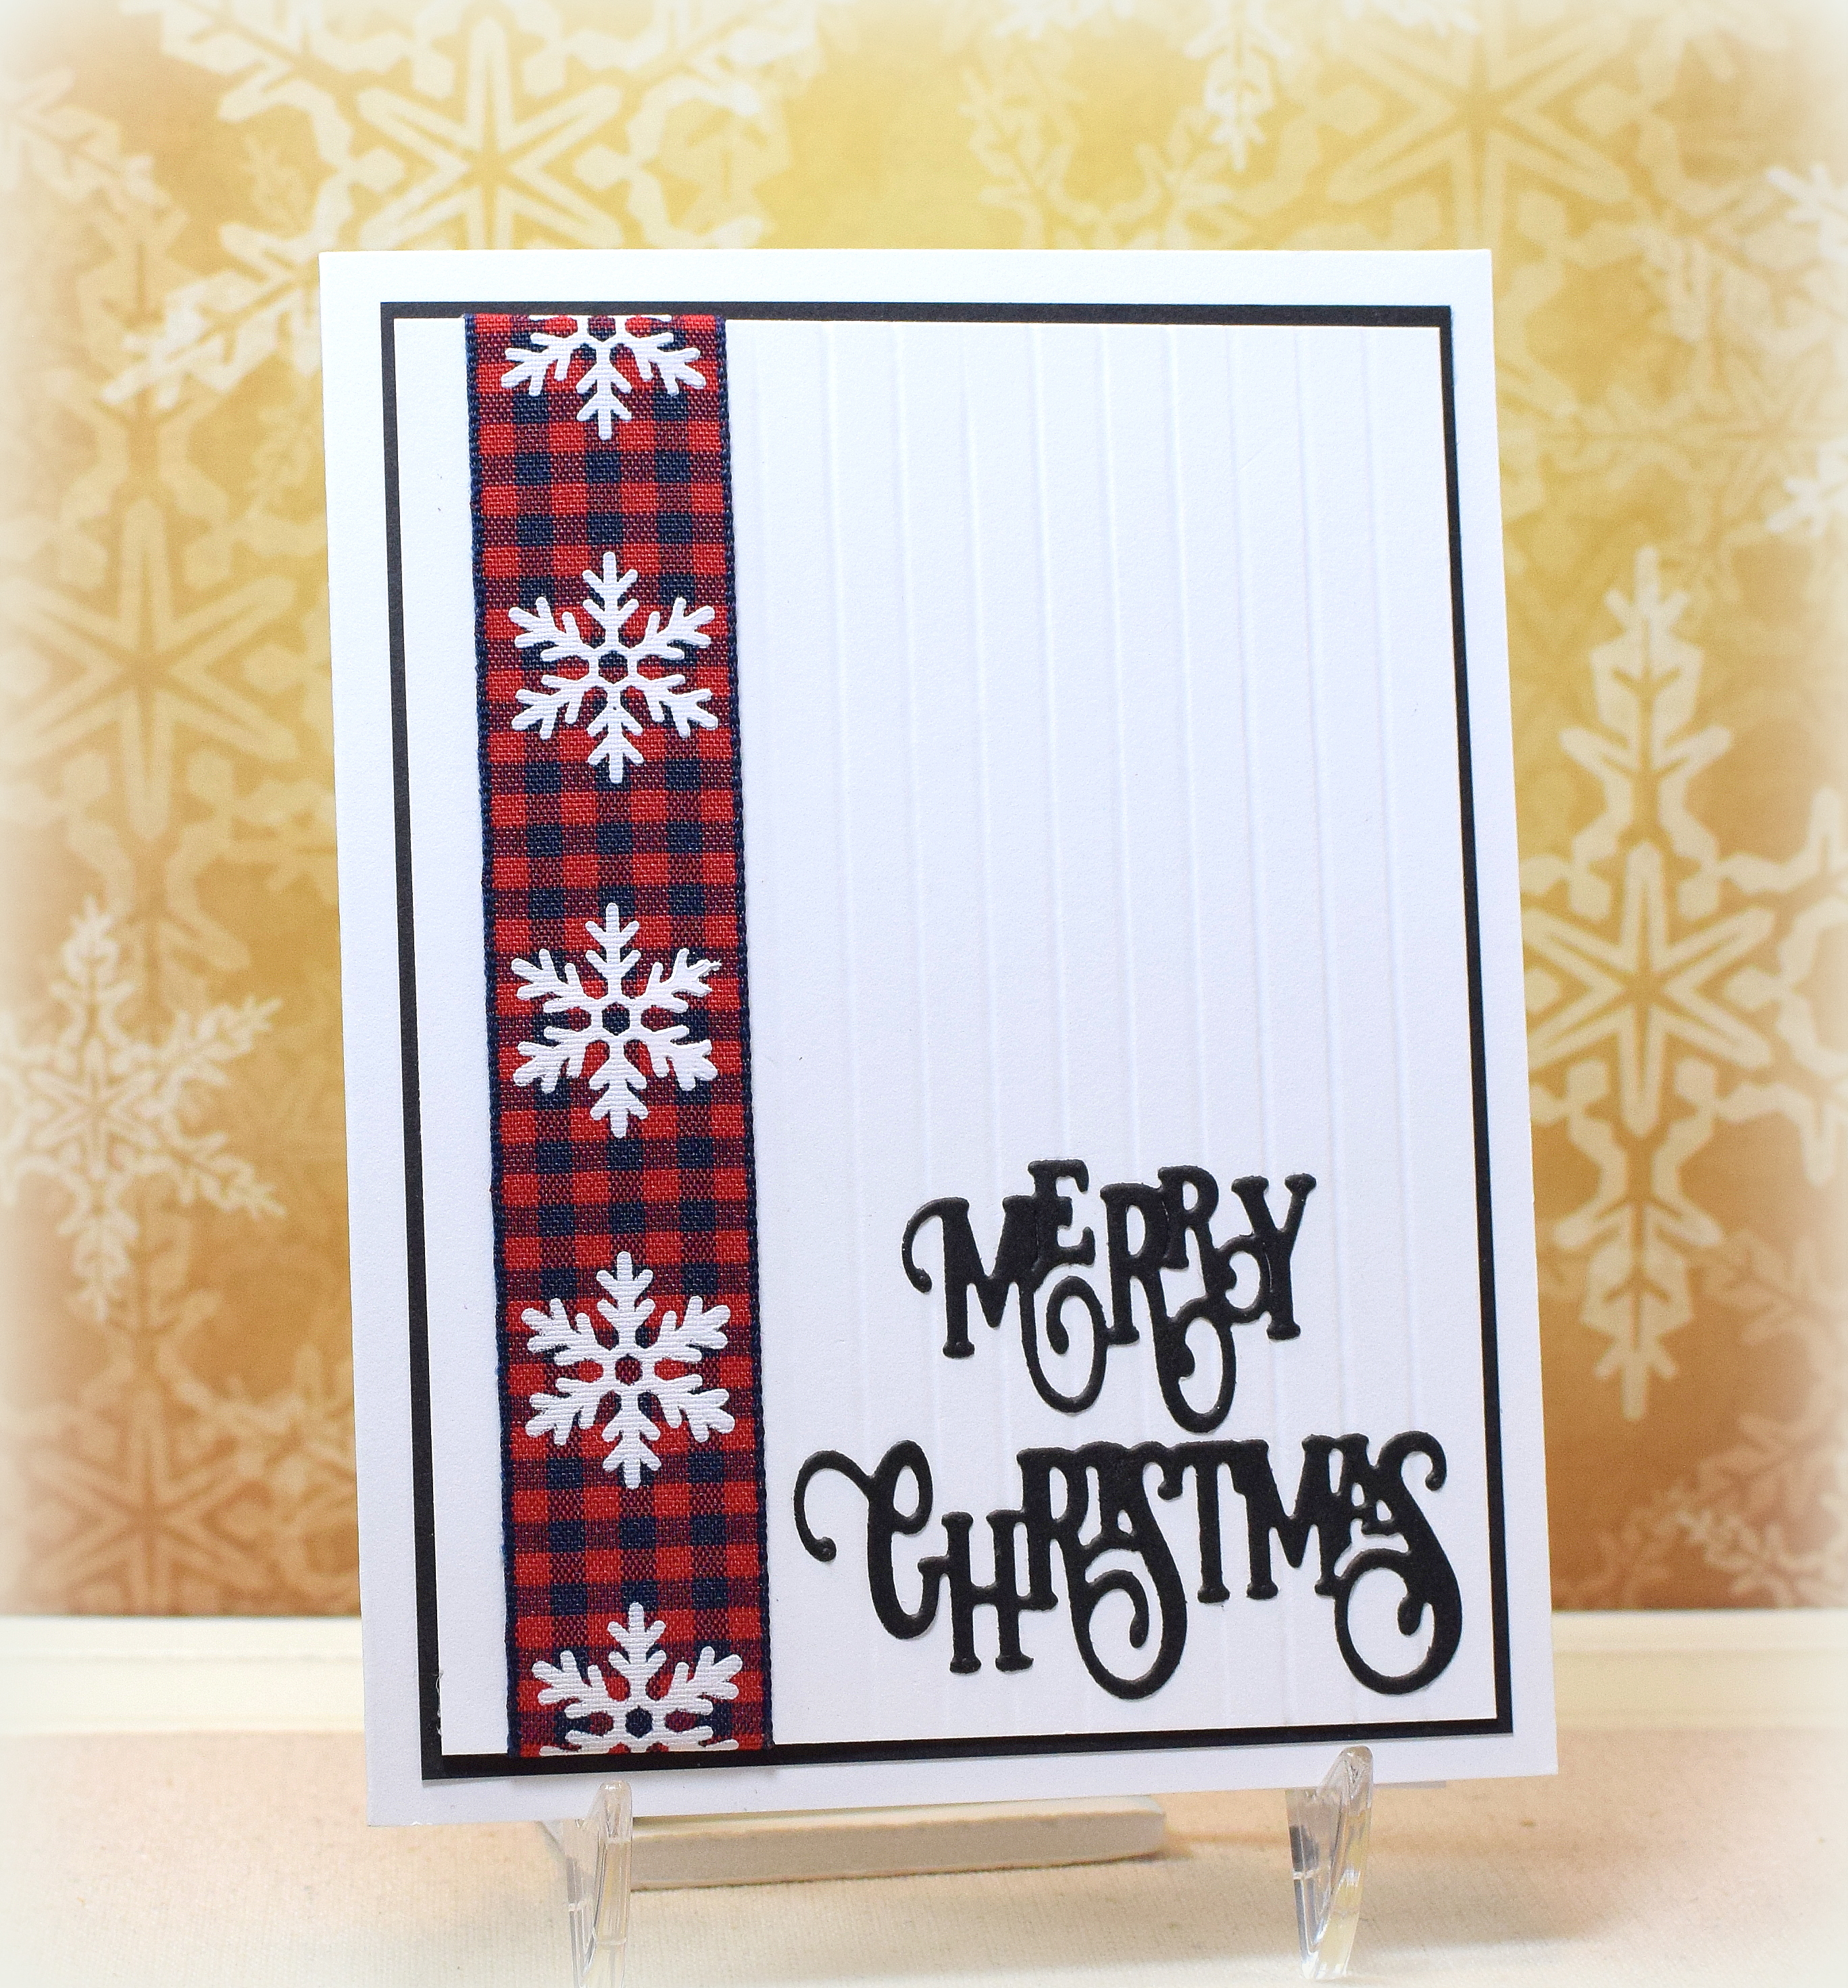
I really loved this ribbon with the snowflakes and was excited to use it on this card design. I originally worked on this card sample in the evening with lamps on in my craft room. Later, when I went to make a bunch more of these cards to send, it was a very sunny afternoon, and in the natural sunlight, I realized the ribbon was blue and not black! I had already cut and adhered all the black greetings and had cut all the black mats so I scrambled for a plan b (the sample above). Glad I caught it before completely finishing all the cards! I’ll need to come up with another card design for this ribbon.

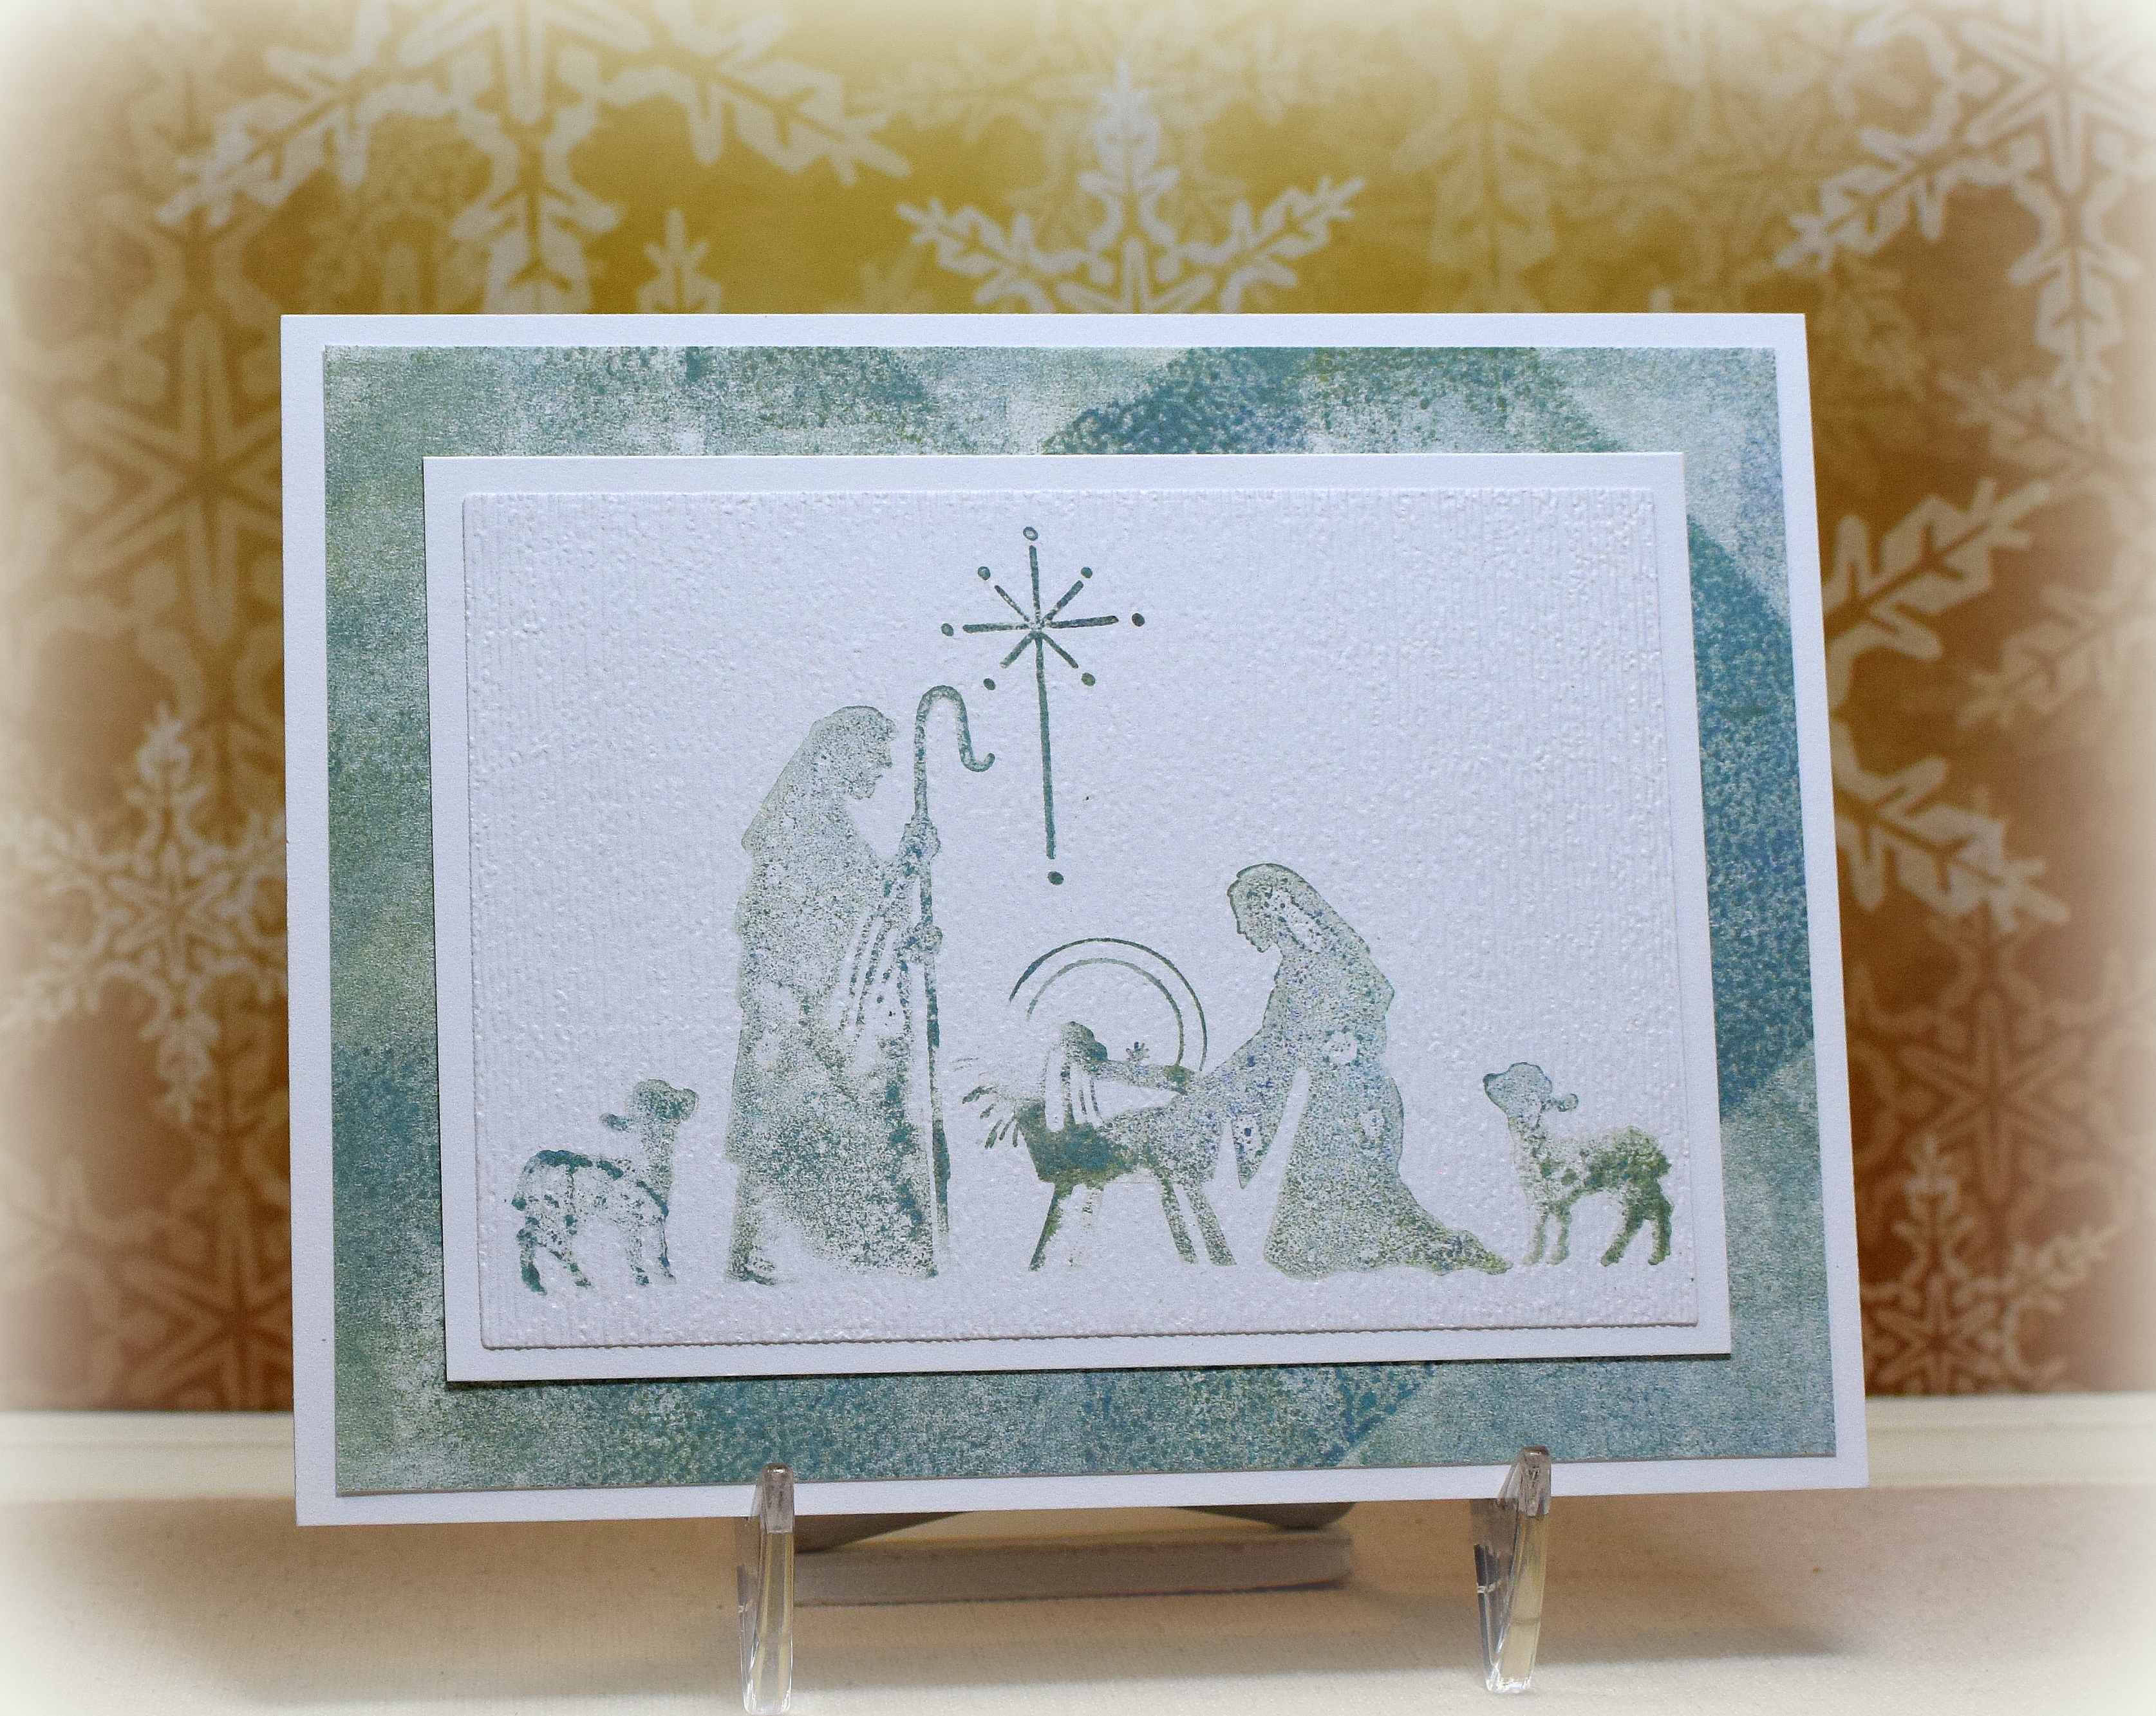
Thanks for checking out my card project(s)!

This content uses referral links as described in the disclosure policy on my sidebar.

Gel Press Printed Holiday Cards

Gel Press Printed Holiday Cards

Day 3 of the Holiday Card Workshop 2022 focused on making fast backgrounds. One of the lessons was called “Gorgeous Gel Press Printing” taught by Lydia Fiedler. I still had plaid on my mind from the day 2 class, so I thought I’d try a plaid stamp with this technique for today’s lesson.

Lydia used alcohol inks and acrylic paint for her backgrounds. I used Distress Oxide inks. She also used dies to create her images while I used rubber stamps. (I’d get a “does not follow directions” on my report card for this class – lol!)

The background on this one (above) was made with ink that was picked up by the stamp from the gel plate after the inks were blended with a brayer. (The gel plate acted as an ink pad.) My stamp seems to have an imperfection in the center, and I have never been able to get a clean image with it. This technique is very forgiving in that the image is not meant to be clean and crisp so it is perfect for this particular stamp of mine!

The background on this next one was made with the ink that was left behind after lifting the ink with the stamp for the first one. I simply placed the card stock on the inked gel plate and gently rubbed.

And one more card to share…

I reinked and blended the gel plate and cleaned my brayer off onto another piece of card stock that I used for the background (mat) on this nativity card design. I then inked the stamp from the gel plate and stamped the image onto the card stock.

The supplies used for these cards are: a gel plate, “Plaid 4×6” stamp from Echo Park, the “Merry Stamp & Cut” set from Hero Arts, “Tree Punch” from Stampin’ Up, “Star Punch” (unbranded), “Stacked Merry Christmas” Die from Creative Expressions, “Cling Manger Scene” from Stampendous, “Subtle” embossing folder from Stampin’ Up, and Broken China, Faded Jeans, and Peeled Paint Distress Oxide inks.

I have a bunch of stamped and inked panels for additional cards. (You really can make a lot of panels quickly with this technique!)

If you are interested in seeing how to create some fast backgrounds using a gel plate, check out the class over at Online Card Classes!

Thanks for checking out my card projects!

This content uses referral links as described in the disclosure policy on my sidebar.

Gold Joy Nativity

Gold Joy Nativity

Day 8 of the Holiday Card Workshop 2022 focused on Foiling. One of the lessons was called “Hot Foiling for the Win” taught by Yana Smakula. I have used hot foil plates before, but she shared several tips and tricks for successful foiling which I found helpful.

For my card, I used the Spellbinders “Plaid Tidings Background” plate with gold foil. I do own a solid hot foil plate (to create my own foiled/gold card stock) but had already cut the CottageCutz Joy Nativity die cut from the metallic gold card stock so I used that (and the scrap from which I had cut it) for my focal image and mat. Gina K Designs Chrismas Pine and white was also used.

***

Day 5 of the Holiday Card Workshop 2022 focused on Using Scraps.

Jennifer McGuire, and Koren Wiskman taught two lessons with really cute ideas for using scraps to create holiday cards which I will definitely need to try when I have a bit more time, but I had some scraps on my desk (including a messed up foiled panel from the above project) and a “Tree Punch” from Stampin’ Up, so I whipped up this quick and easy card.

The red trees were embossed with the “Subtle” embossing folder from Stampin’ Up. I used my score board to deboss the background. The greeting was foiled with a hot foil plate from the “Holiday Sentiments Series 2” set and the scrap of plaid was made with the “Plaid Tidings Background” hot foil plate, both by Spellbinders. Gold foil was used along with GKF Christmas Pine and Cherry Red card stock.

If you are interested in seeing how to use hot foil plates or in creative ways to use your scraps, check out the classes over at Online Card Classes!

Thanks for checking out my card project!

This content uses referral links as described in the disclosure policy on my sidebar

Using Tiny Stamps to Create Backgrounds

Using Tiny Stamps to Create Backgrounds

Skipping around a bit…

Day 6 of the Holiday Card Workshop 2022 focused on using our small and tiny stamps. One of the lessons was called “Teeny Tiny Backgrounds” taught by Chari Moss. She created a tone on tone background using small stamps and then filling in the spaces with tiny stamps.

This first card was done as taught. I used Gina K Designs Cherry Red card stock and Cranberry Tart ink along with stamps from an unmarked set that had several adorable holiday characters (and coordinating dies). I also used tiny filler stamps from the GKD “Holiday Wreath Builder” stamp set and the “In A Word: Merry” stamp set from Winnie & Walter.

For the second card, I created a background with the same unmarked stamp set, but I created a colorful background without the filler stamps. Copic Markers used were R59, G29, Y17, 100, E21, B29, E31, E35, E37, N0 R83, C4, and YR04. The greeting is from the GKD “Holiday Wreath Builder” stamp set and Christmas Pine ink. I also used a die from the “Alison’s Ribbons” set from Cheery Lynn Designs.

Just for fun, I created a third note card featuring the Santa image!

Also used on these cards, greetings from the “Itty Bitty Holiday” stamp set from My Favorite Things, GKD Christmas Pine card stock, GKD Black Amalgam ink, Cuttlebug “Swiss Dots” embossing folder, Stampin’ Up “Subtle” embossing folder, Spellbinders circle dies, and a score board.

If you are interested in seeing how to use your small stamps to create fun backgrounds, check out the class over at Online Card Classes!

Thanks for checking out my card project!

This content uses referral links as described in the disclosure policy on my sidebar.

Holiday Cards with Homemade Plaids

Holiday Cards with Homemade Plaids

Day 2 of the Holiday Card Workshop 2022 focused on making plaid patterns. One of the lessons was called “Stamps and Stencils” taught by Kristina Werner. She showed a number of tools and products one can use to create plaids.

This first card was made with the “Diagonal Plaid – PFST18” layering stencil set from Pinkfresh Studio and Gina K Designs Tranquil Teal and Soft Stone inks. The focal image is cut from the Simon Says Stamp “Merry Christmas Ornament” die.

My original idea was to simply cut several white die cuts and stack them so it was thicker. I forgot to put super tacky tape on the back of the first piece of cardstock to make it a sticker before I cut it. So I thought I’d make a card stock sandwich (tape on front and back of a second piece of card stock) for the next layer so I could stick it between the first die cut and a third one. The problem was it was too thick and didn’t cut through all the layers. And the top protective sheet came off with the die leaving the top sticky side exposed so I couldn’t run it through again. It looked like the ornament shape with a faint die cut etched on it. Hmmm… I ended up sticking the original die cut on it, and then I covered the remaining exposed sticky areas with Artsyfartsy Crafts “Glasier Blue” microfine glitter powder. Not what I intended, but it’s definitely more interesting than a plain stacked die cut – lol!

***

For my second card, I used one of the long border stamps from a set called “Background Basic Lines” from Inspired by Stamping. Kristina shows how to use several colors and stamps of varying widths to create plaids, but I had enough trouble with only one of each! Using a single stamp and making sure it was repeatedly stamped straight and evenly spaced was challenging enough for me!! Once I finally got the first color done, I was afraid of messing it up by adding more. (Been there, done that on my first few attempts!!)

I used Gina K Designs Christmas Pine and Kraft ink along with Christmas Pine and white card stock. I cut a greeting using the “Oversized Merry” die from Waffle Flower and used a stamp from the “Merry Stamp & Cut” stamp set from Hero Arts to complete this card.

If you are interested in seeing how to create homemade plaids with stamps and stencils, check out the class over at Online Card Classes!

Thanks for checking out my card project!

This content uses referral links as described in the disclosure policy on my sidebar.