Birthday Cake Pop-Up Card

Birthday Cake Pop-Up Card

wDSC_0928.jpg

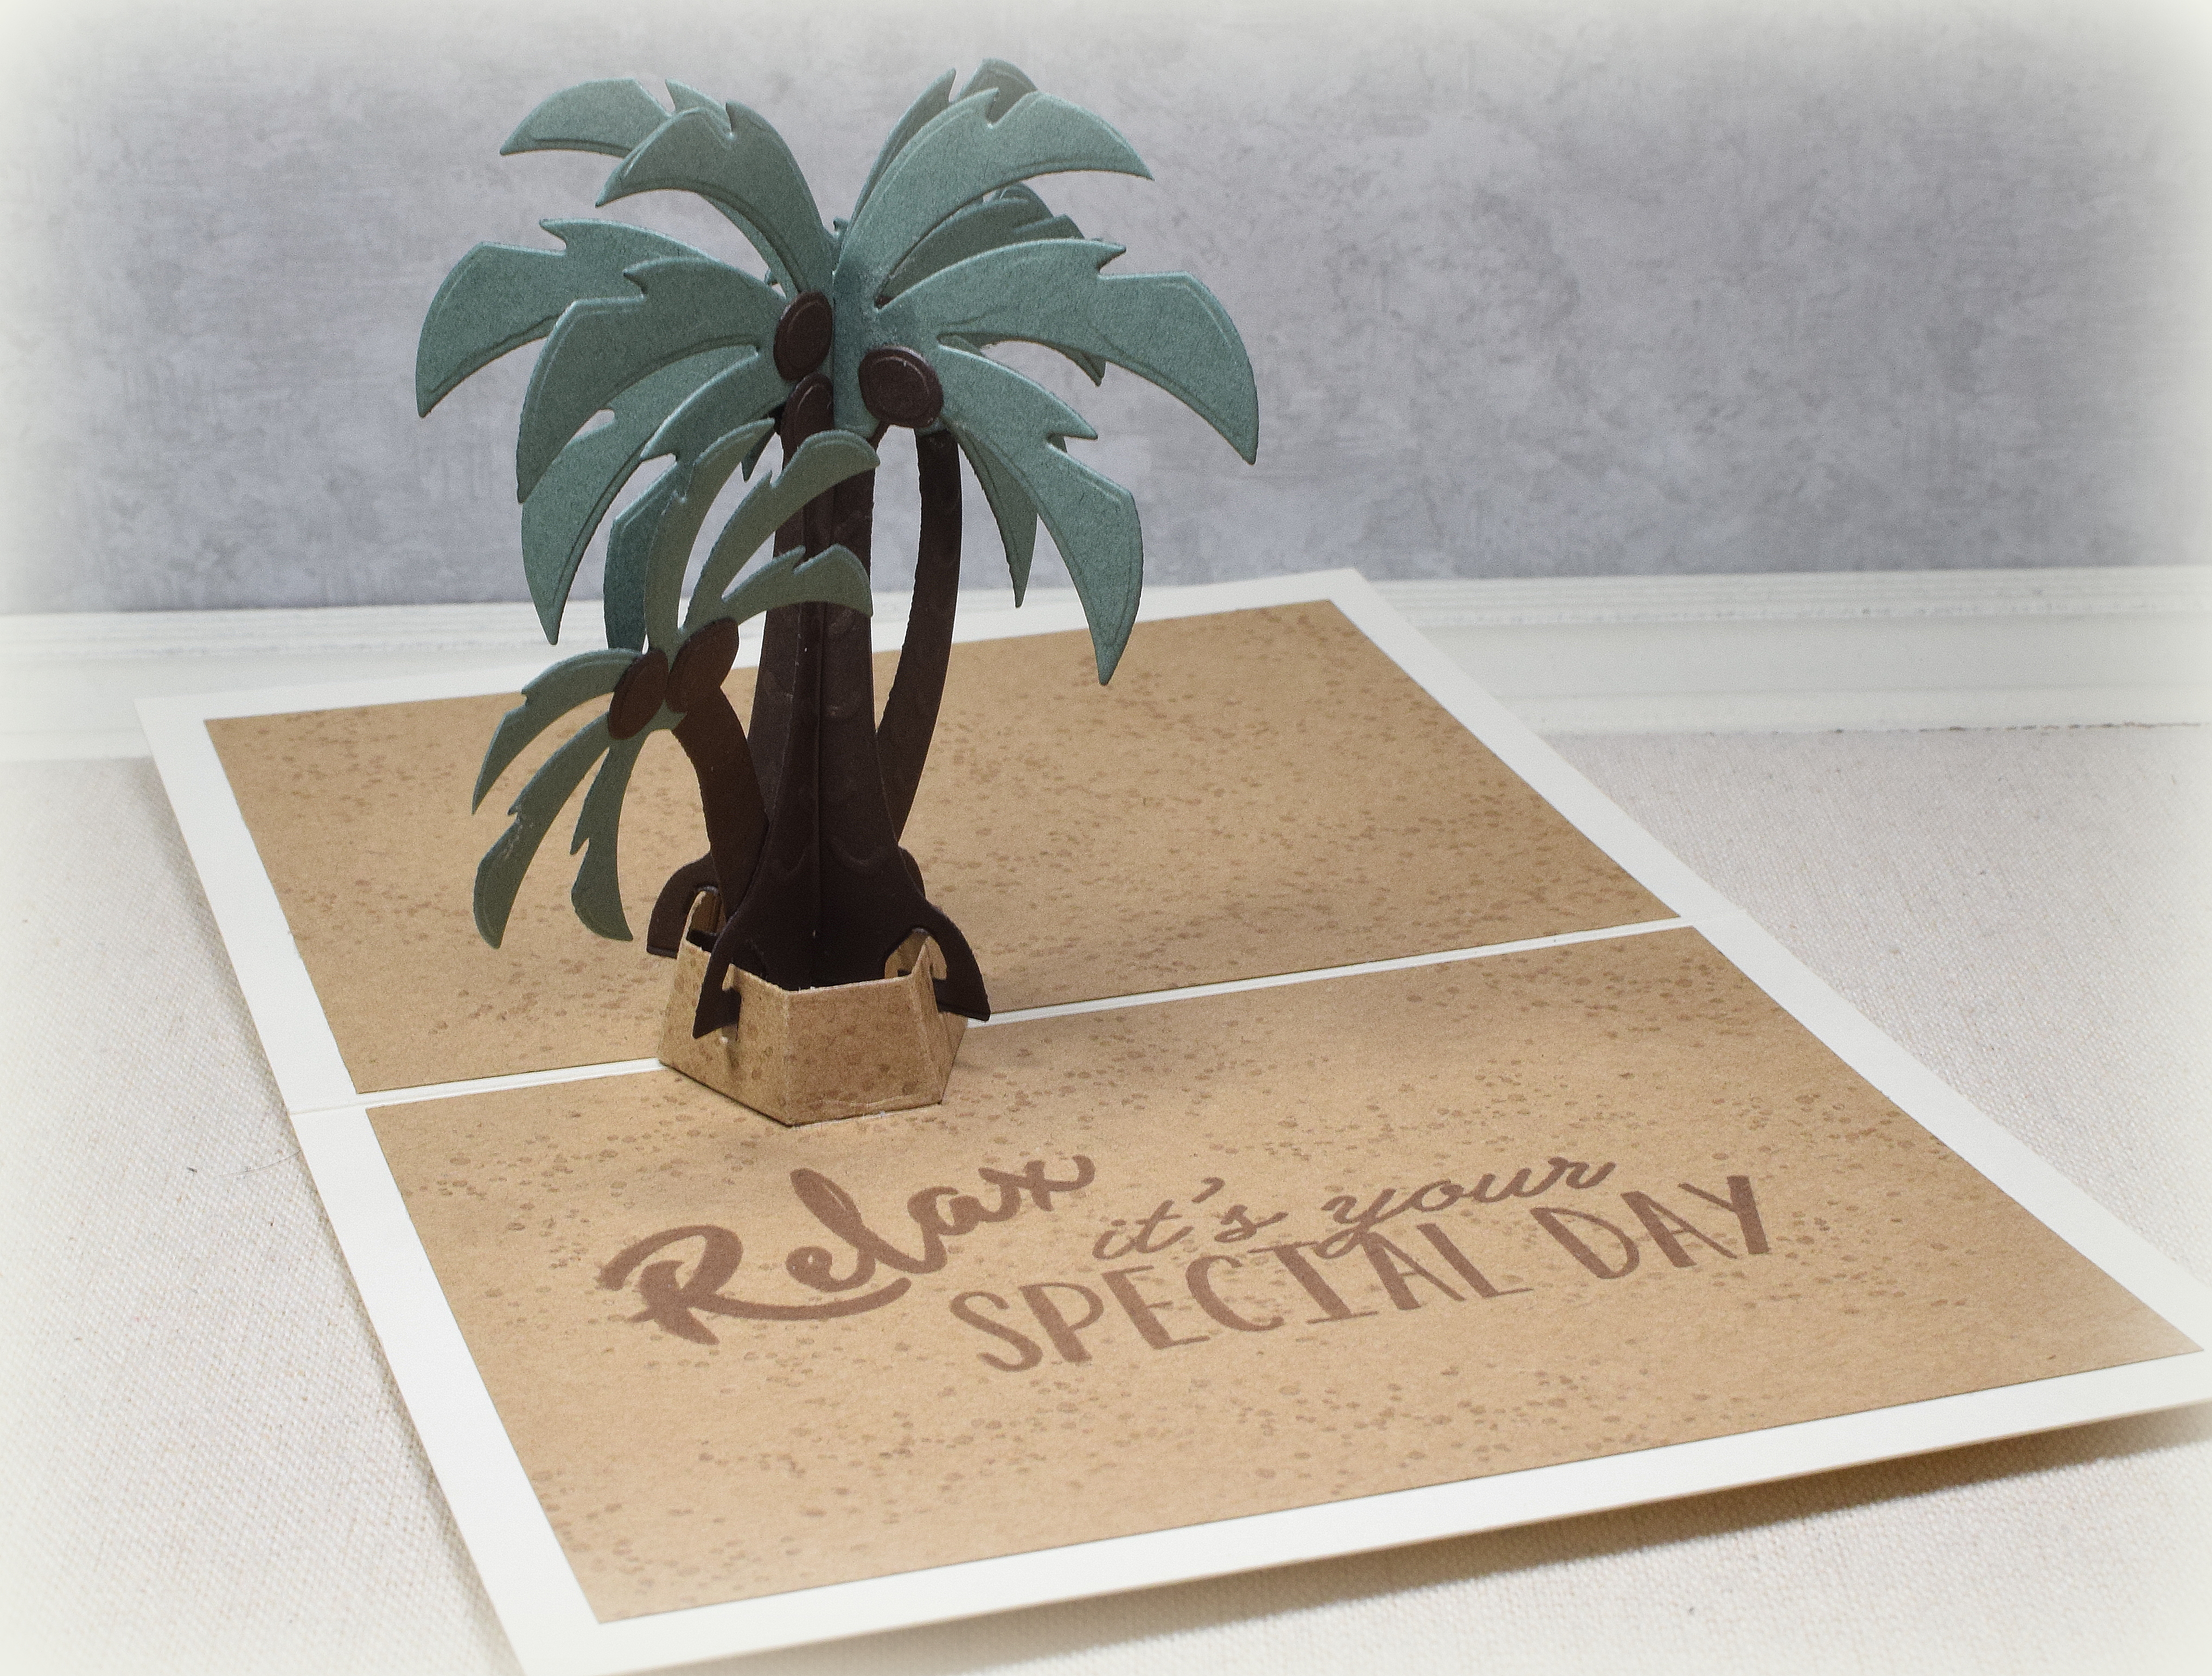
Yesterday, I posted a palm tree pop-up card made with one of Karen Burniston’s die sets, and here’s another pop-up design created with her “Cake Pop-Up #1028” dies.  (She has soooo many cool die sets!)

pop_up_cake_4

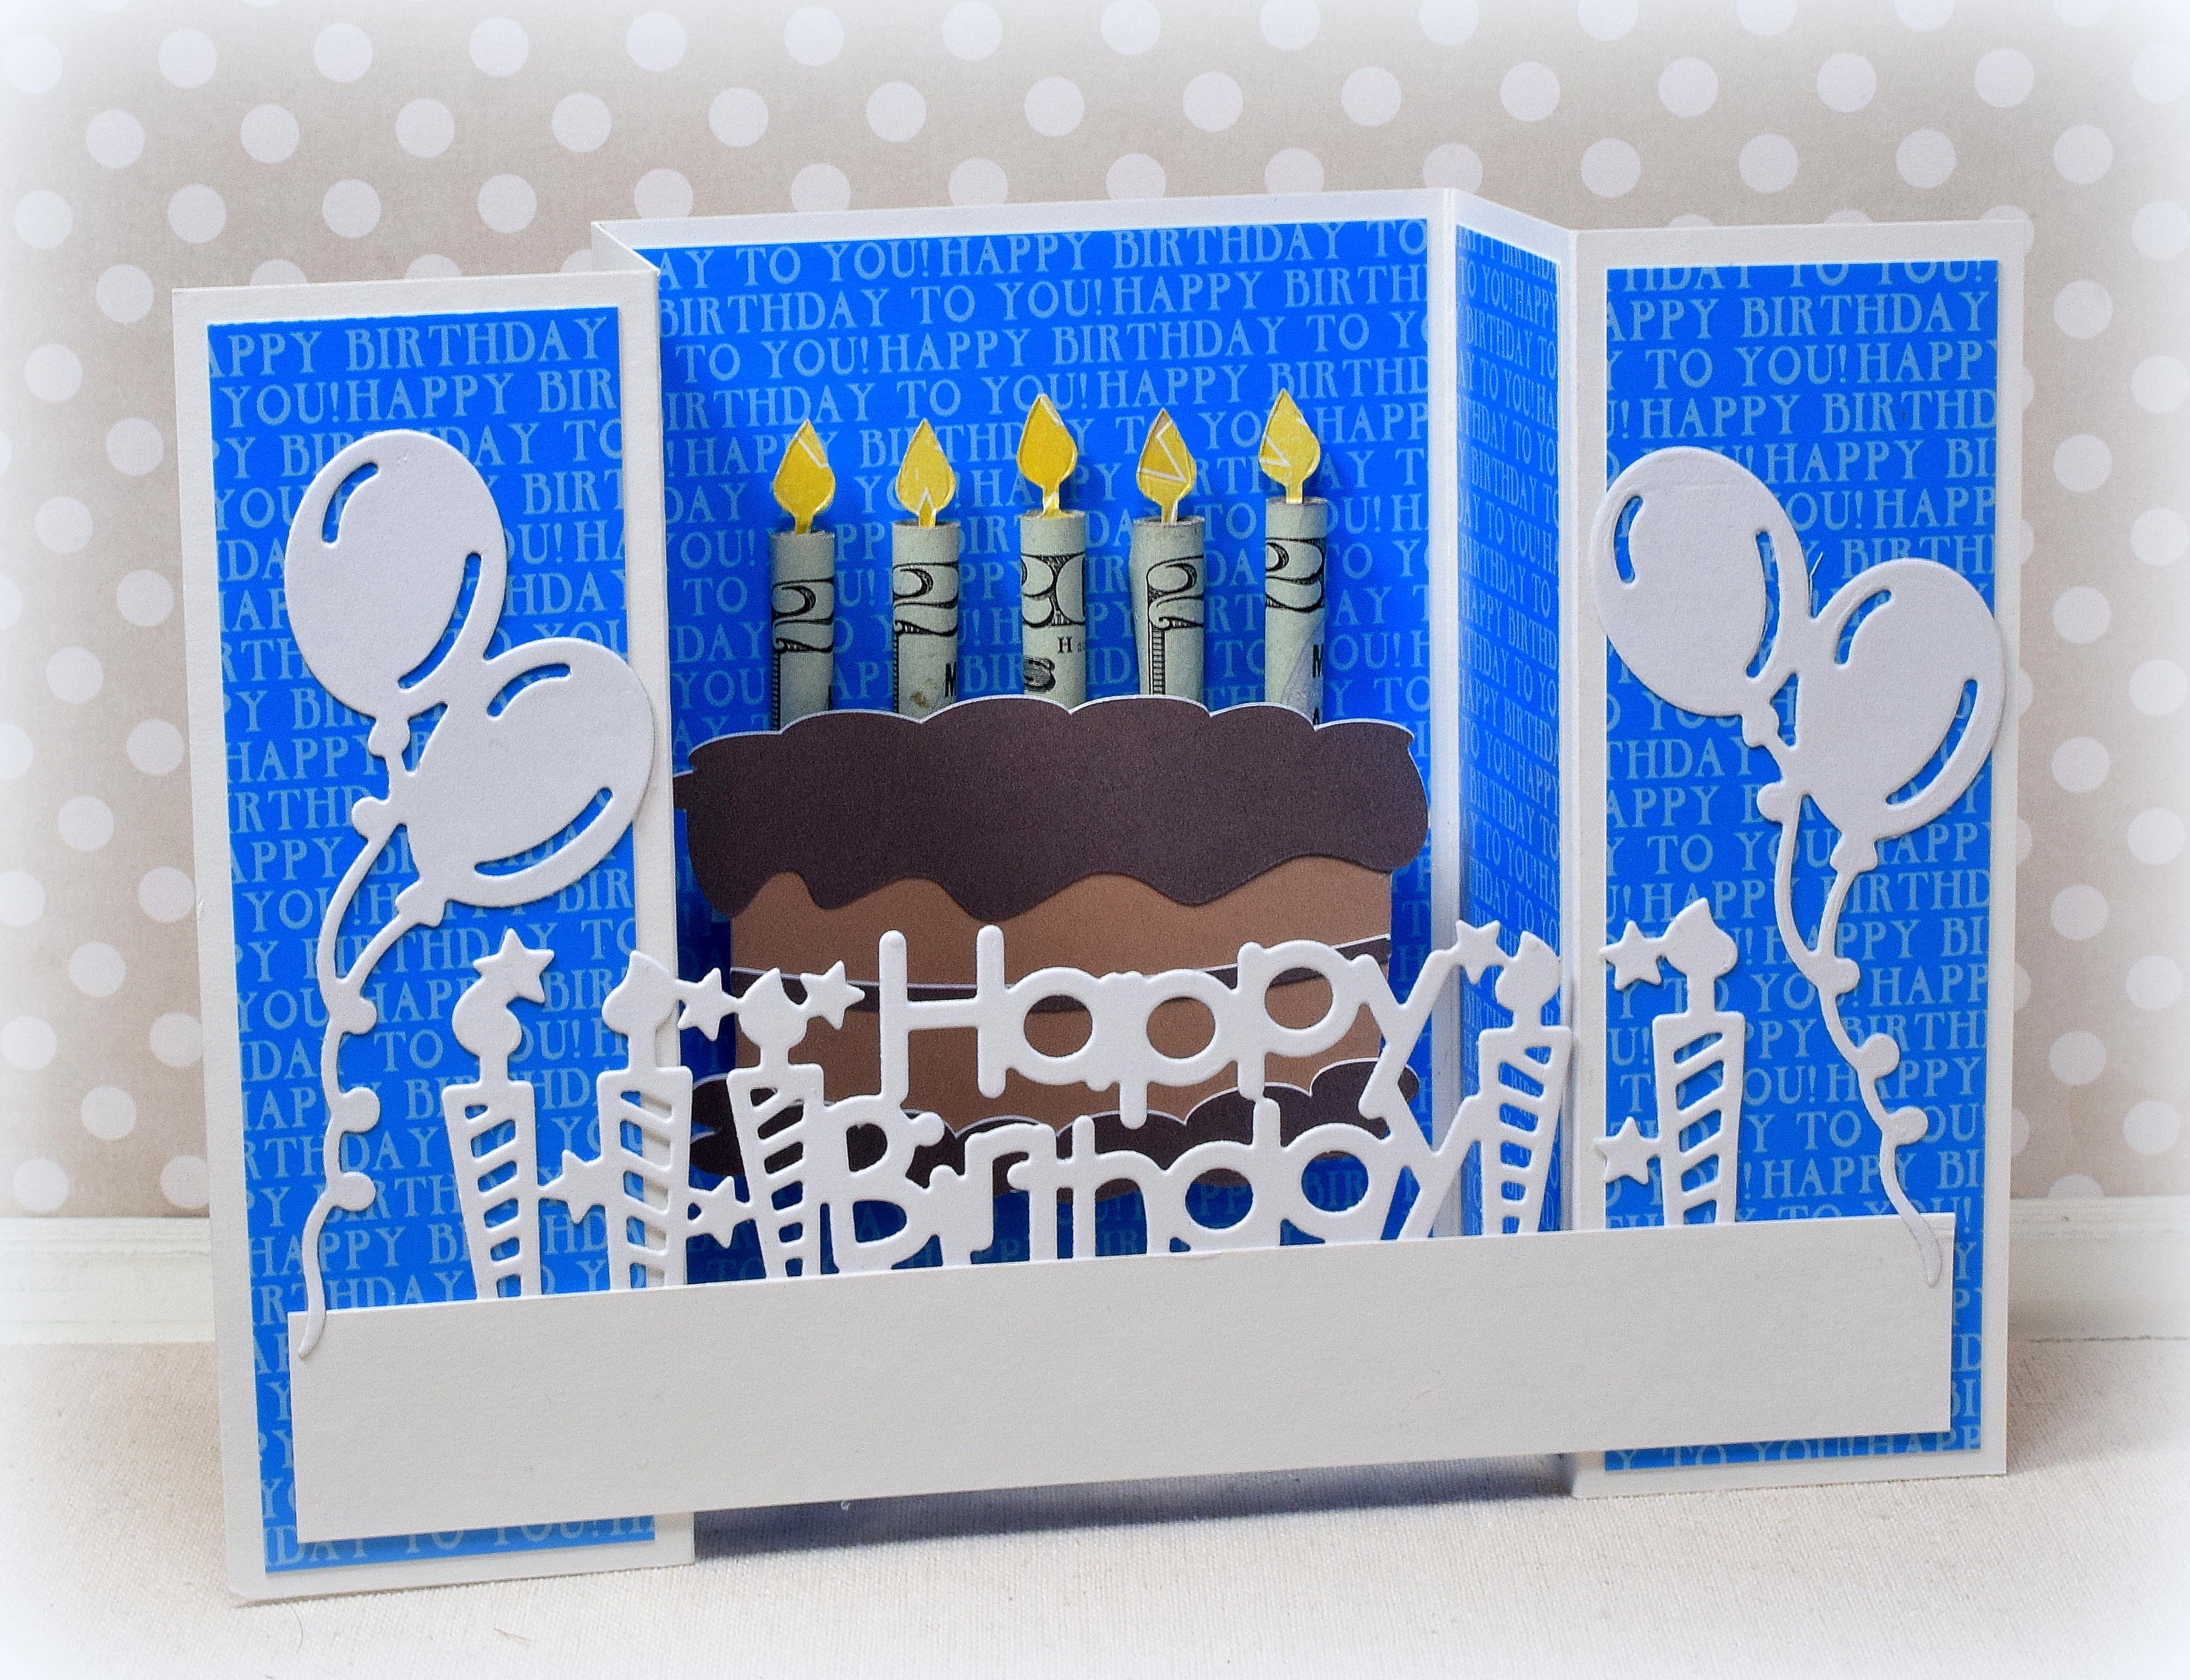
You can create any size card (at least 3 1/2″ – to cover the cake when the card is closed).  My card is 5 1/2 x 4 1/4.  The set includes dies for cutting a bride, a groom, or candles for the top of your cake as well as “icing” for each layer.  Her assembly video for this set is excellent so making this card is “a piece of cake!”

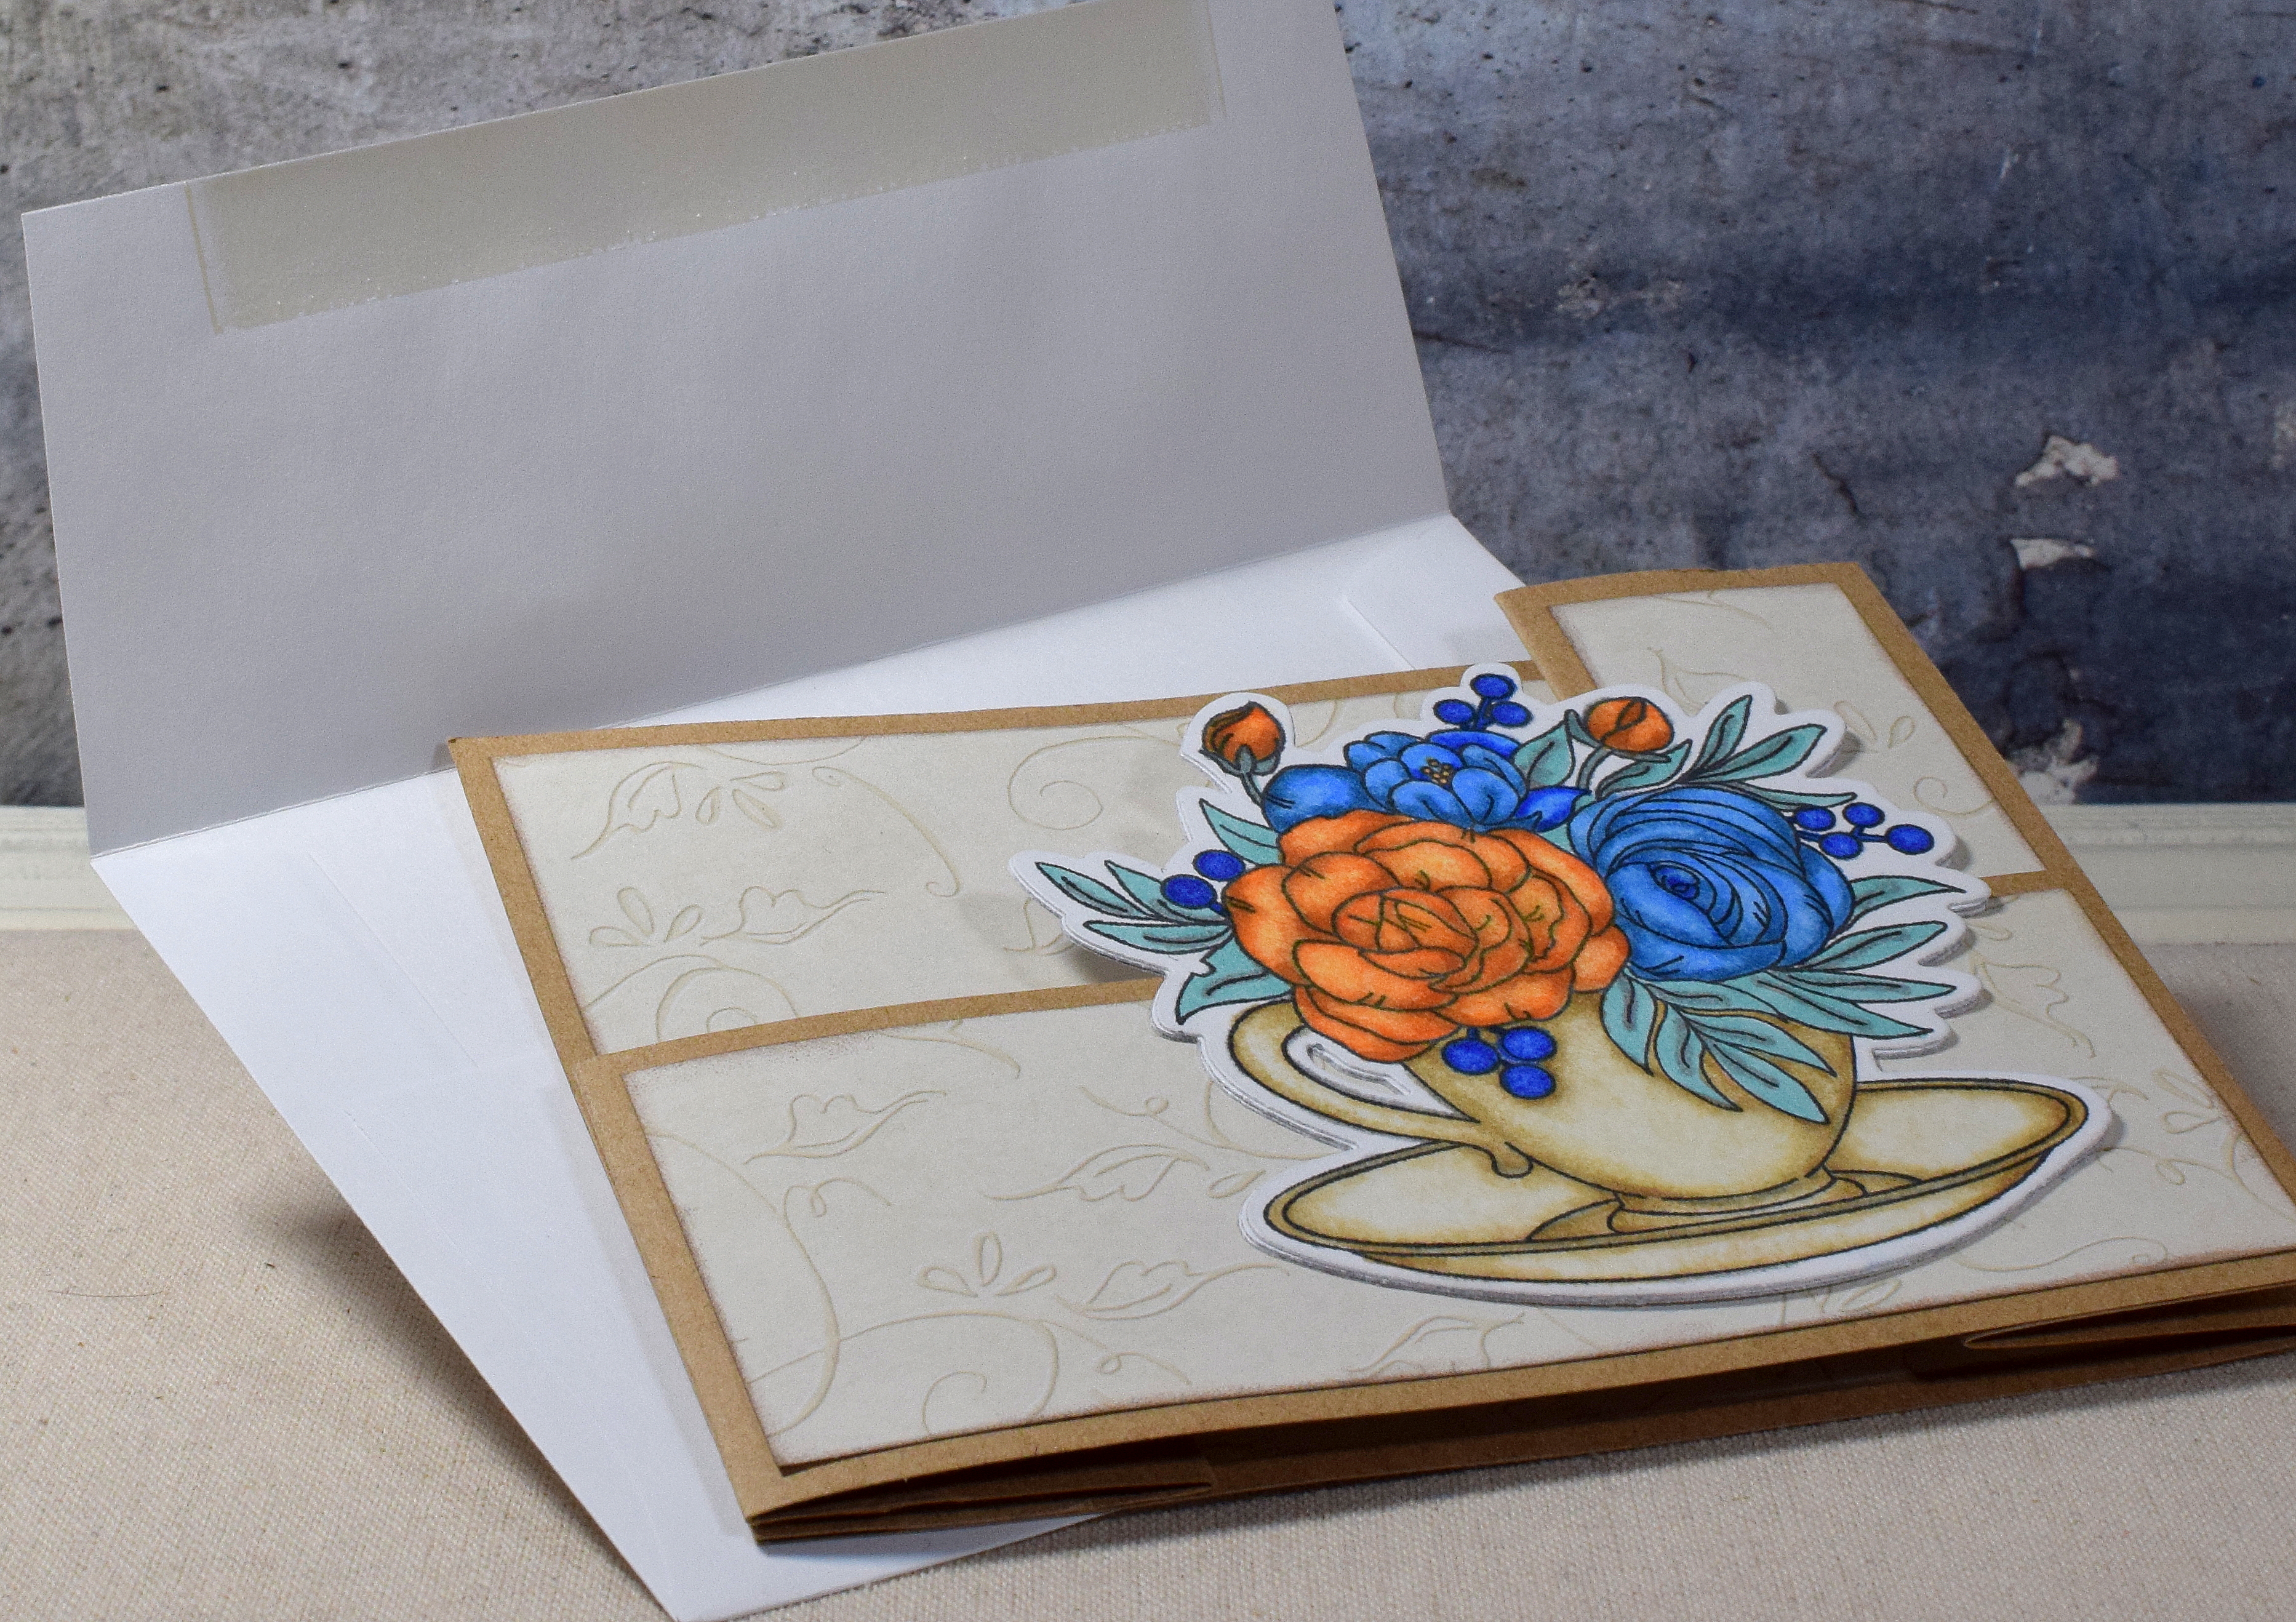
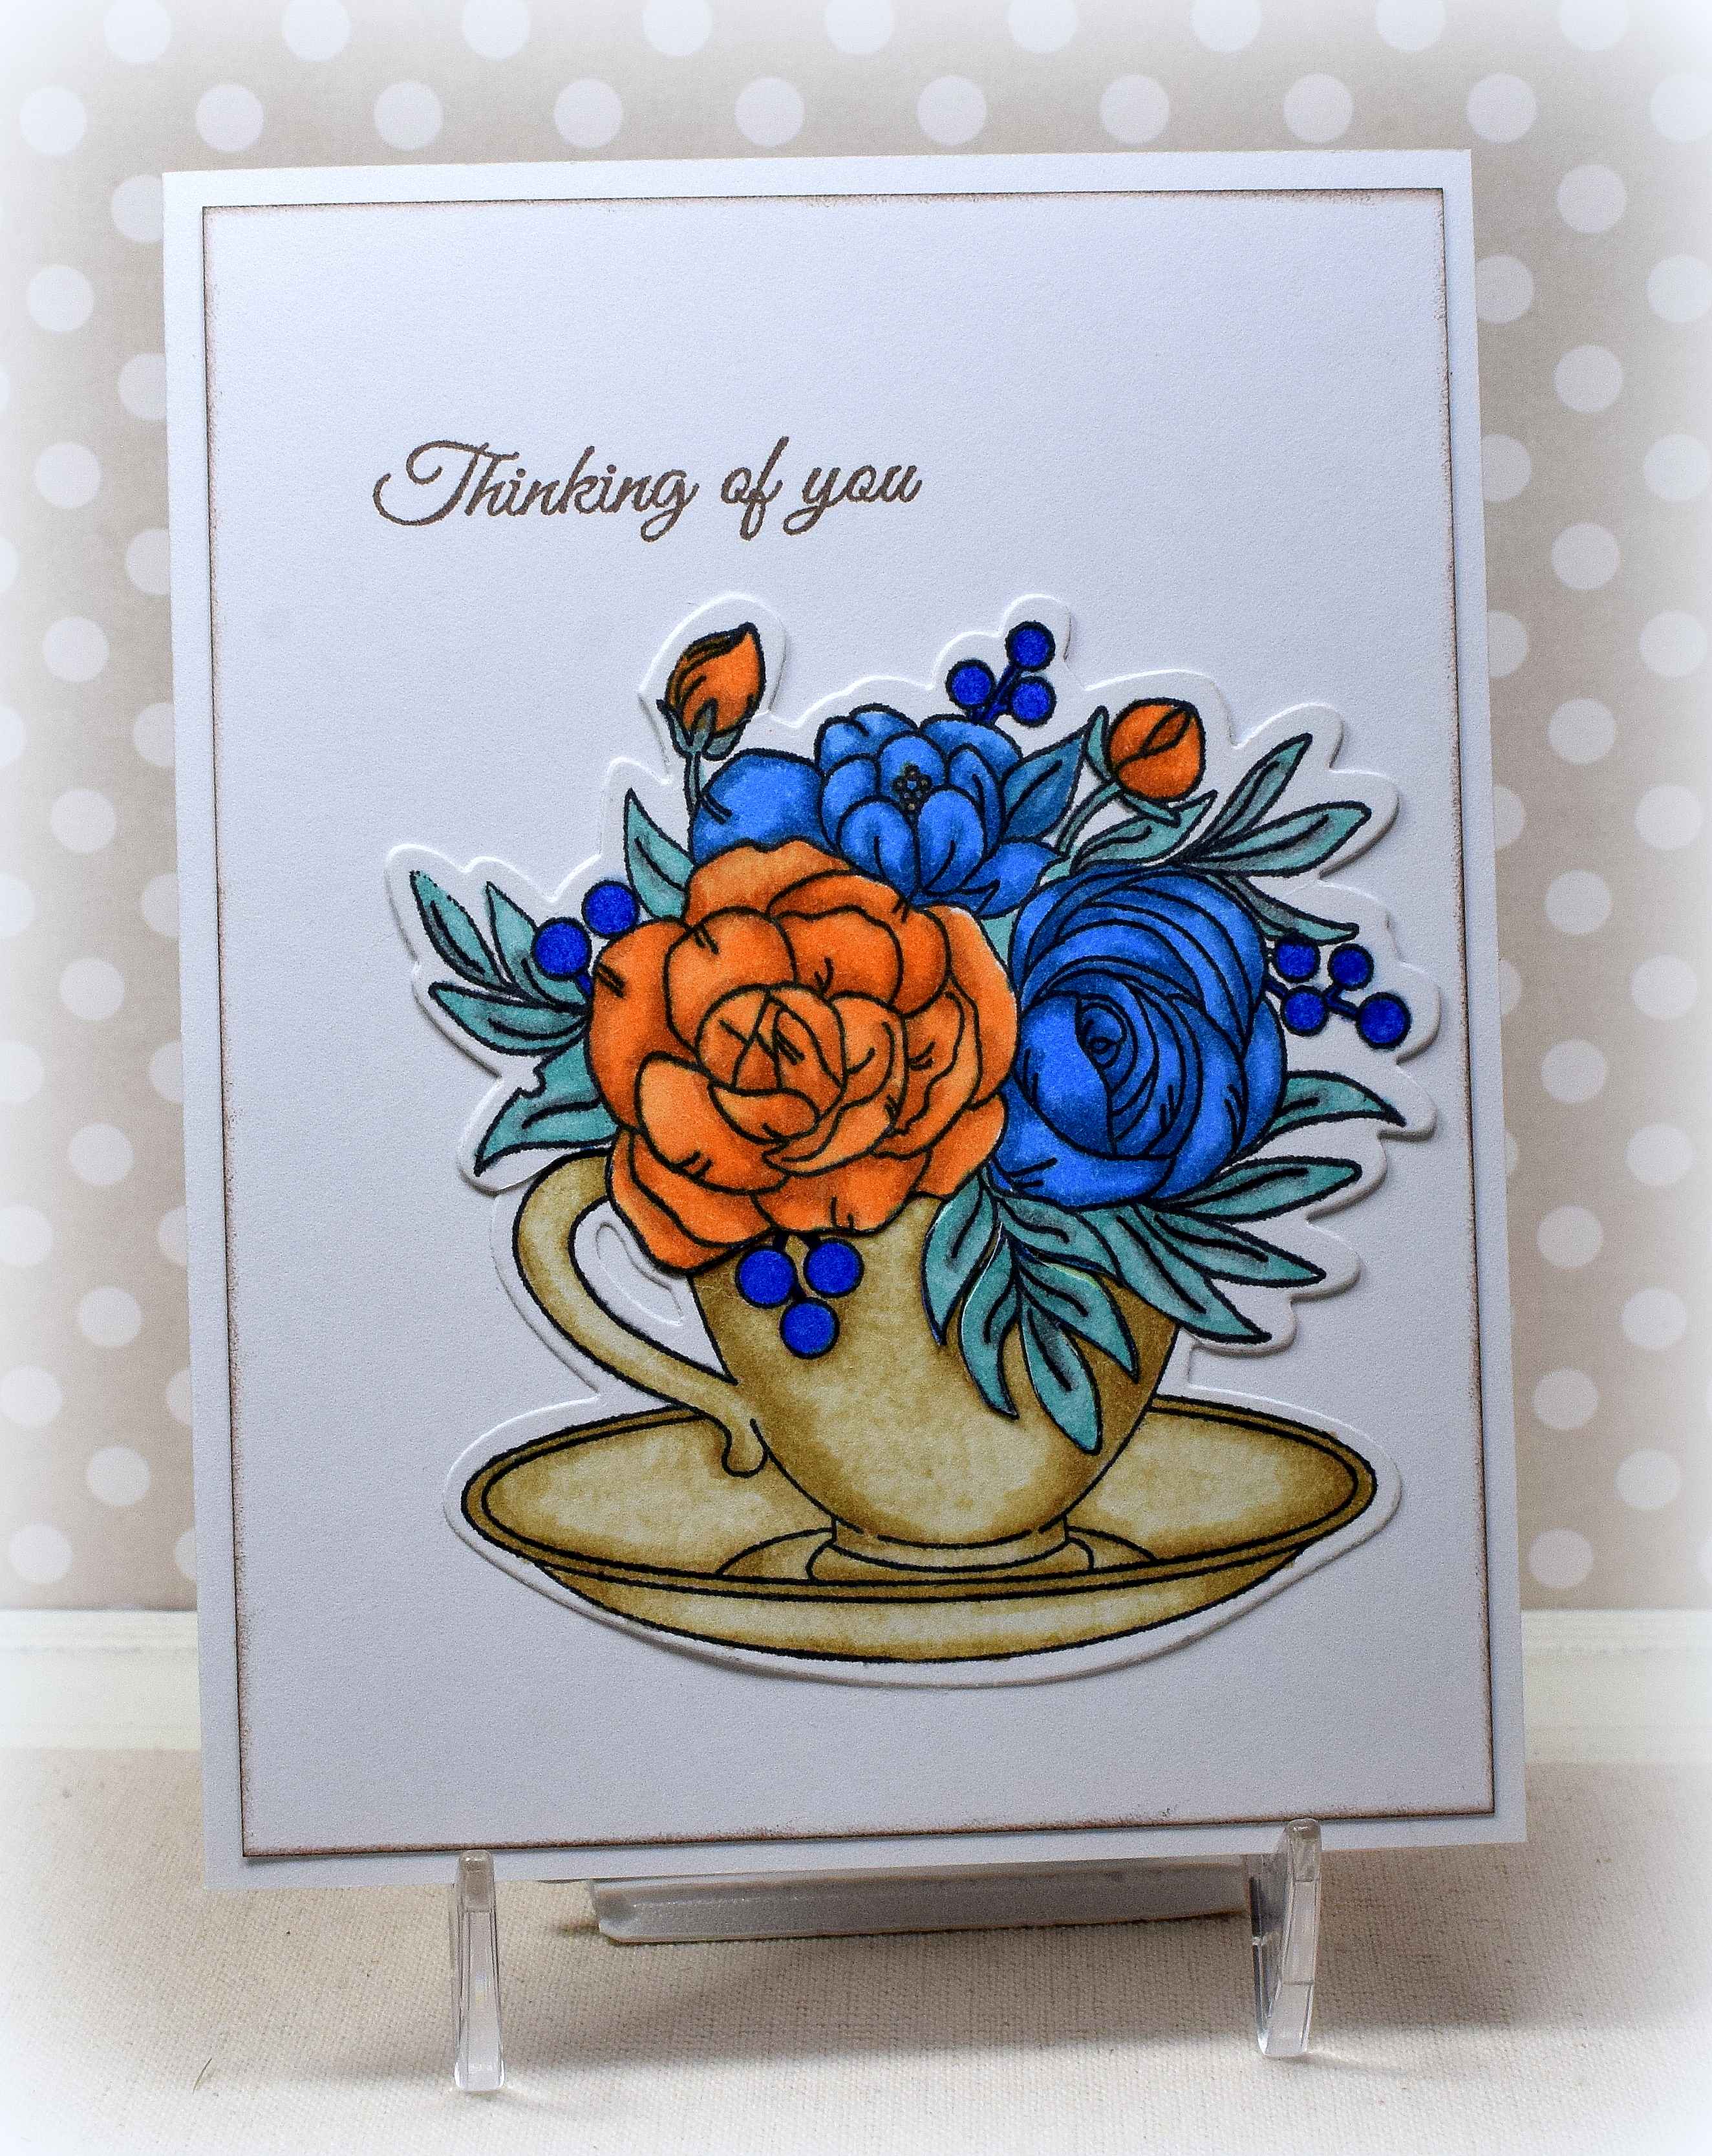
Here’s what my card looks like when it is closed.

wDSC_0920

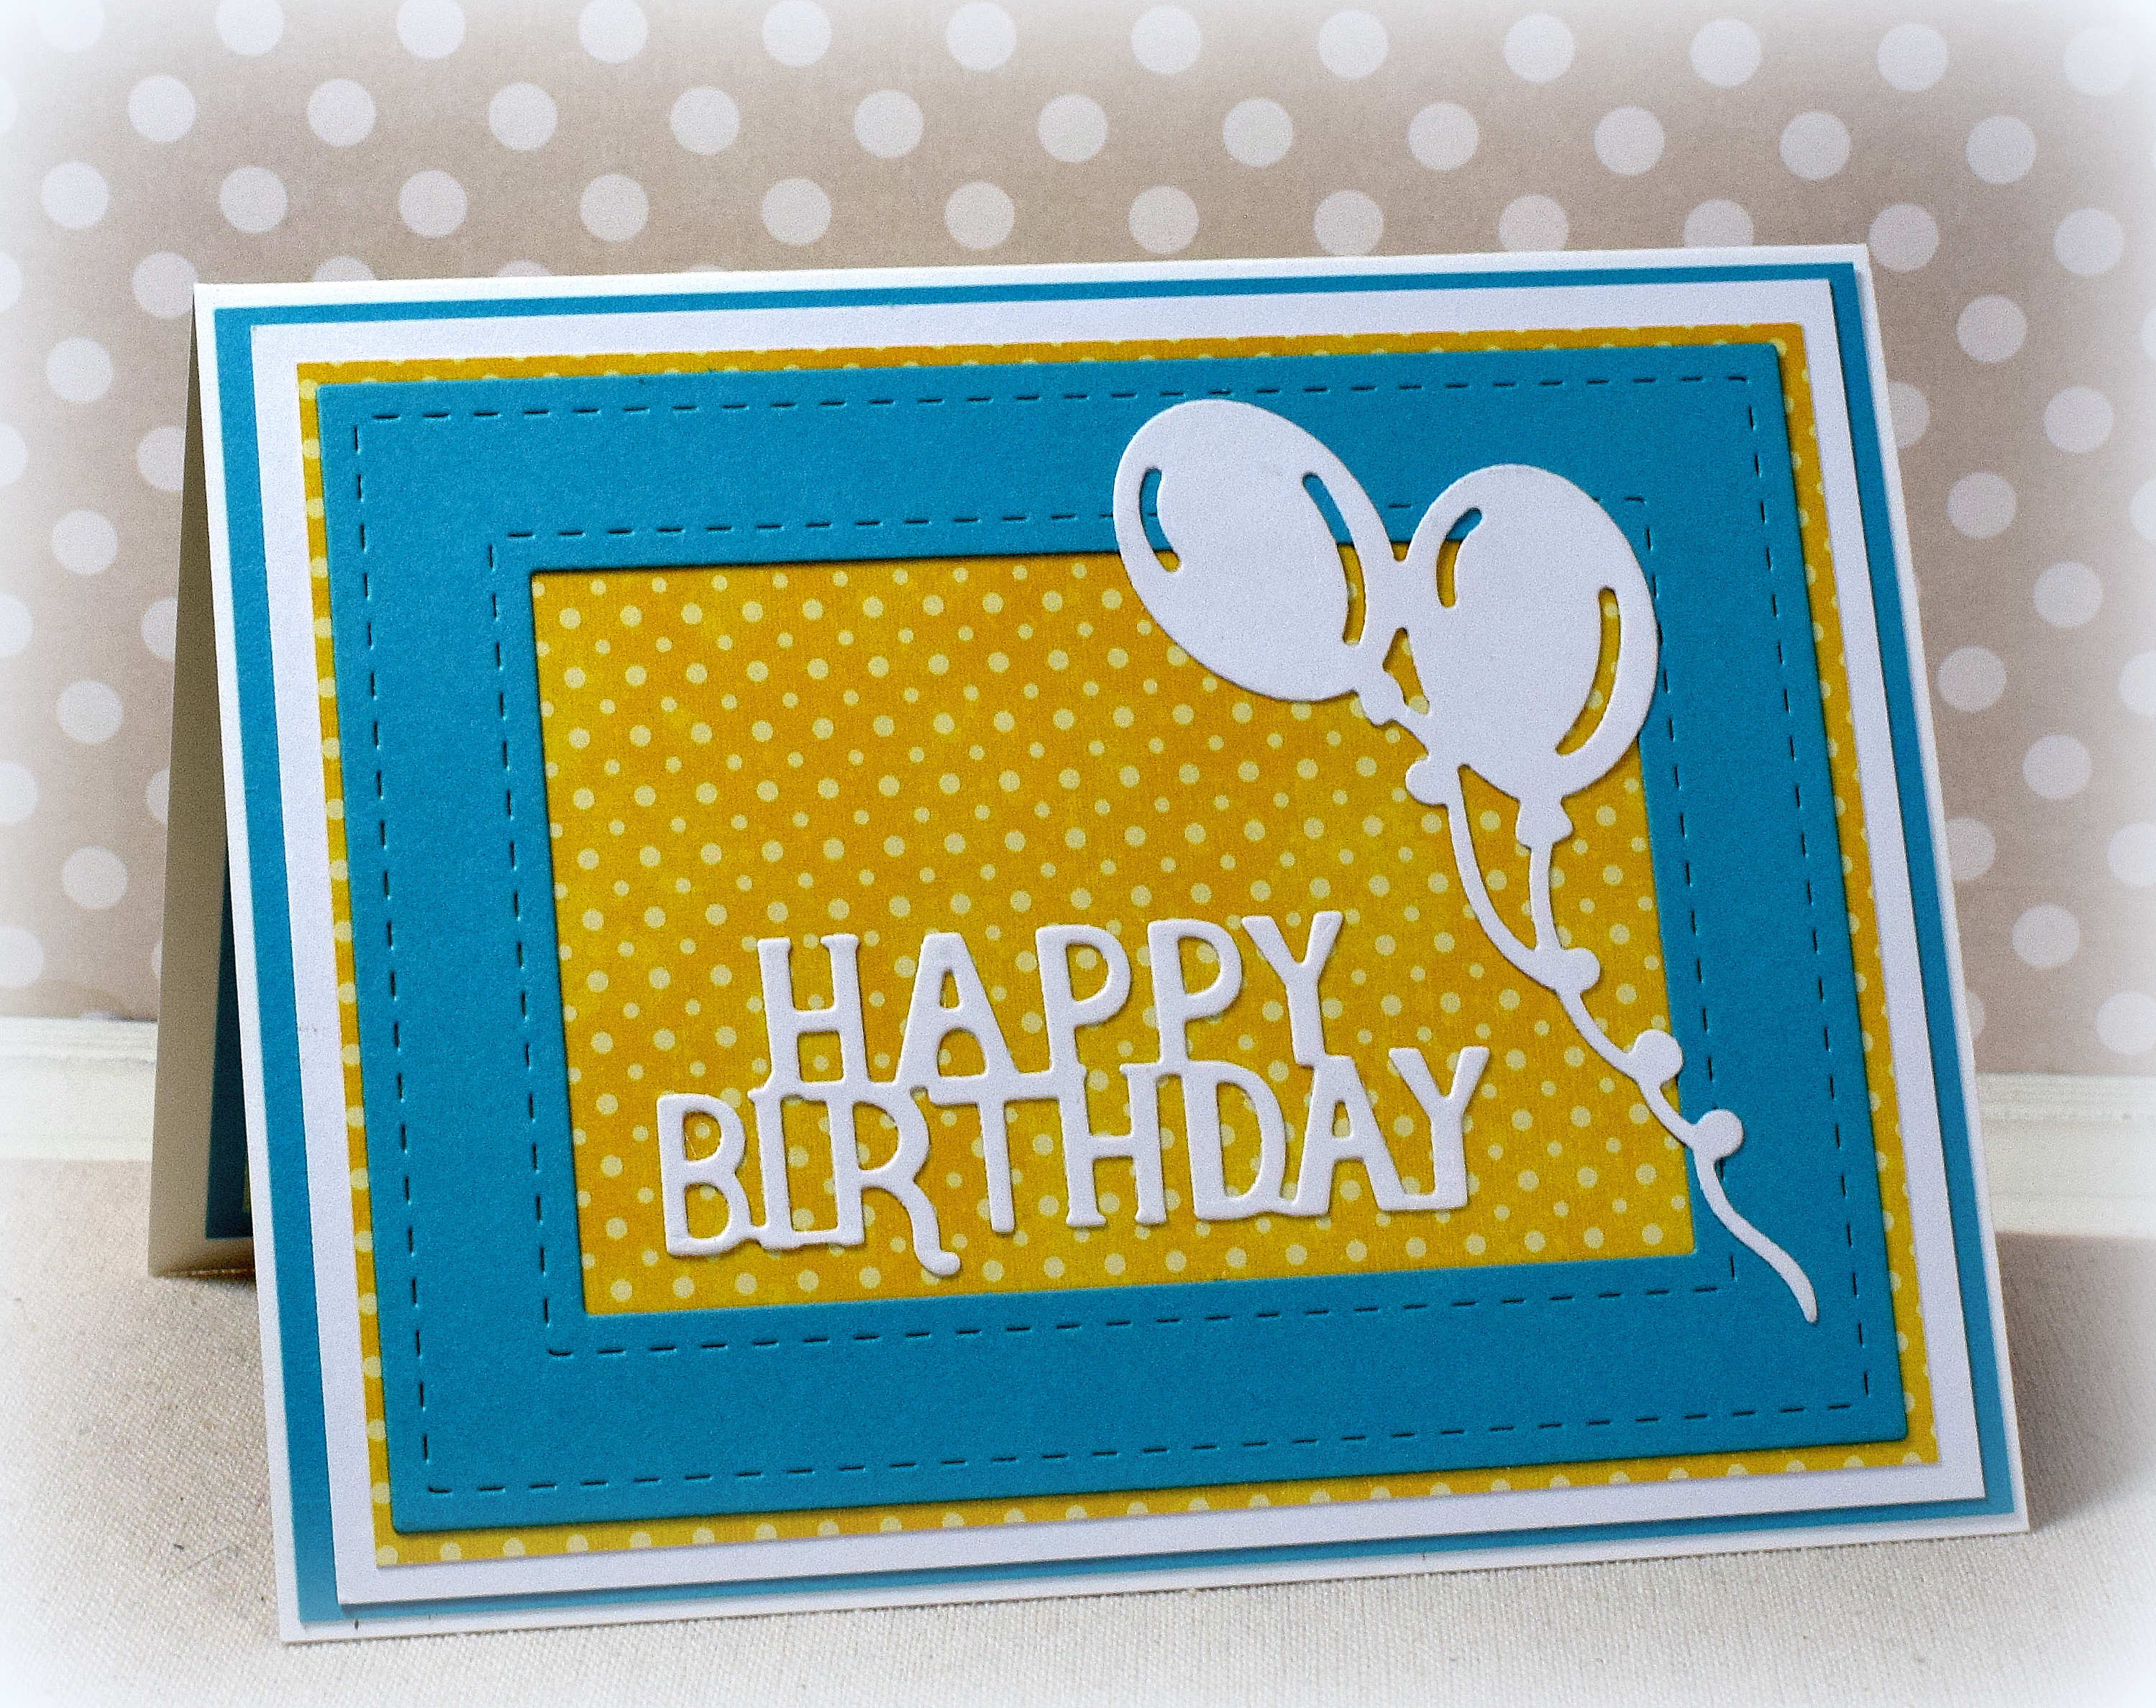
I used heavy weight white card stock for the card base along with Gina K Designs “Blue Lagoon” and layering weight white.  The chevron pattern is “Perky #2000” by Fancy Pants Designs (retired?) and the yellow polka dot pattern is “Horizon #374026” by American Crafts.

The balloon die and stitched rectangle dies were both unbranded.

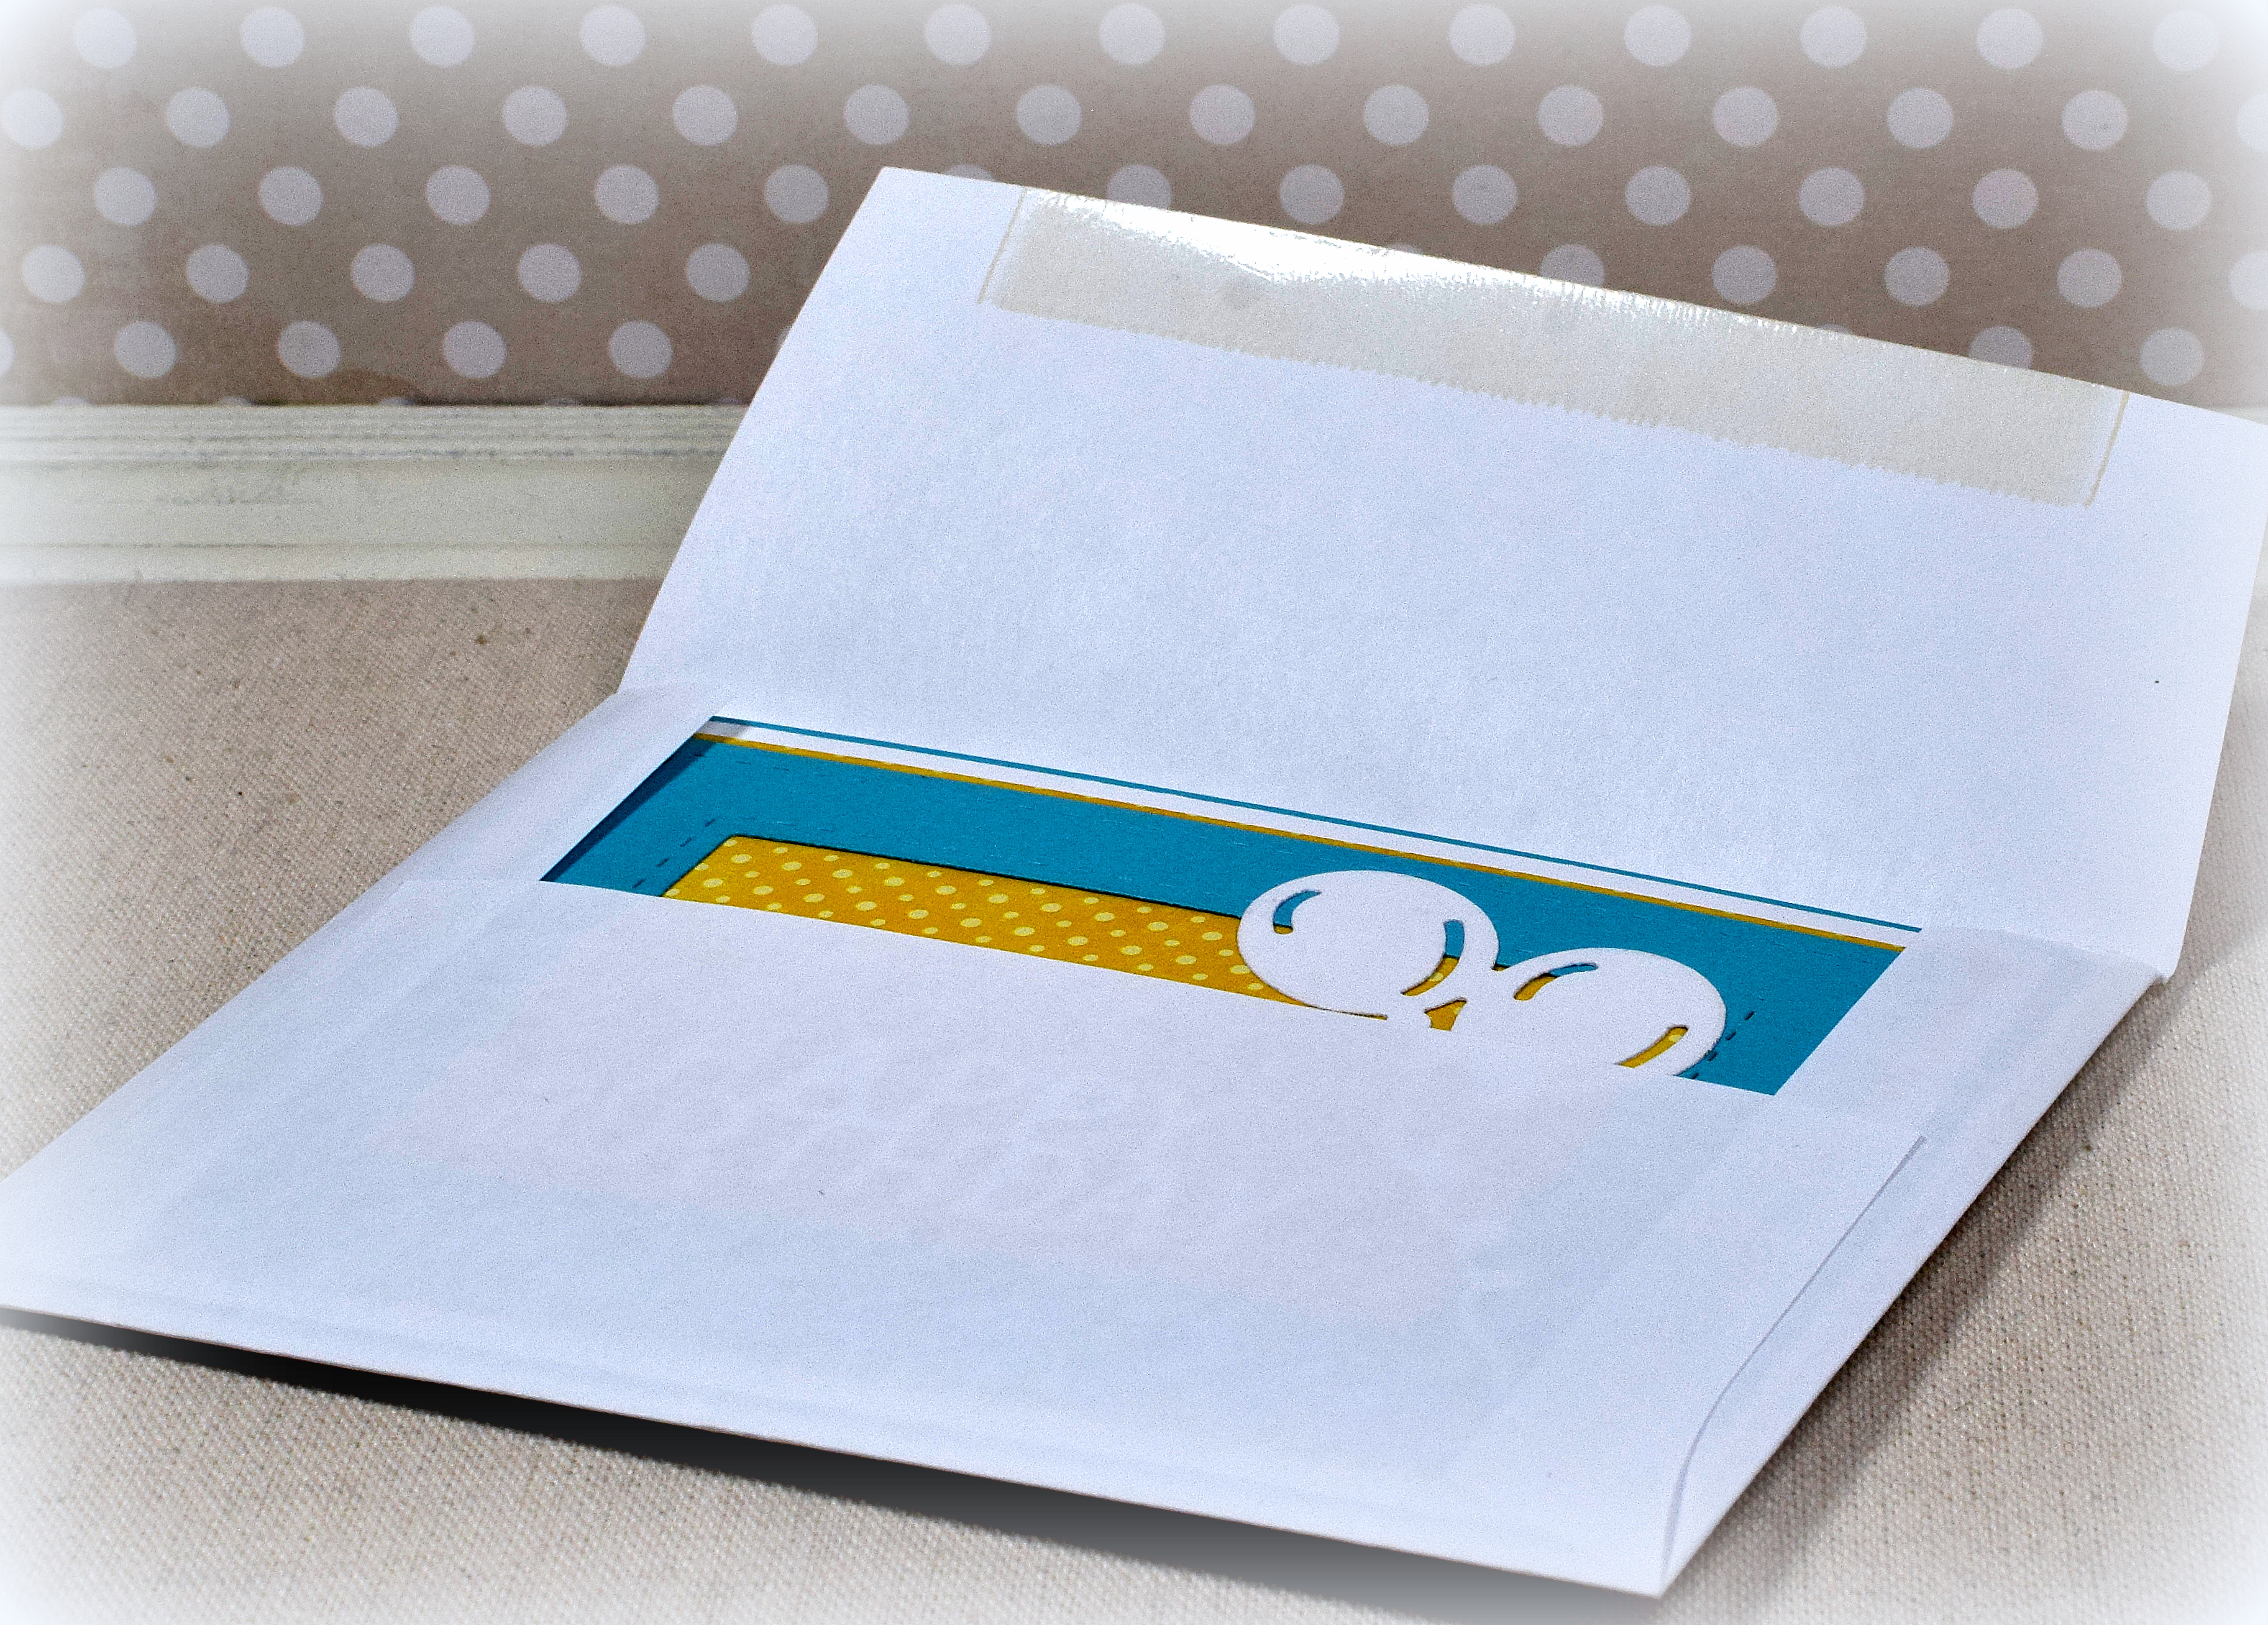
This card folds flat and fits in a regular A2 size envelope for mailing.

wDSC_0930

Thanks for checking out my card project!

This content uses referral links as described in the disclosure policy on my sidebar.

Palm Tree Pop-Up Card

Palm Tree Pop-Up Card

wwwDSC_0899.jpg

This pop-up palm tree was made with a die set called “Palm Tree Pop-Up Dies #1039” by Karen Burniston, and I just love, love, love it!  Karen’s excellent assembly video makes it super easy to make.  This card folds flat for mailing.

palm_tree_pop_up_gif

You can create any size card (at least 3 1/2″ – to cover the tree when the card is closed).  My card is an A2 size card, but Karen shows a larger card in her video where she includes two trees with a hammock.  So many options!

In addition to the dies for the palm tree that pops up, there are dies to create a slightly smaller (flat) palm tree which could be glued to the pop-up tree to create a cluster (I added two to my pop-up tree) and could also be used alone to decorate the card front or any other flat card panel.

Here’s a better look at my card front…

wDSC_0894


… which I created using this sketch:

Mojo218Sketch

Besides turning the sketch on its side, I placed my navy panel behind the long strip so there was more of the lighter piece showing behind the palm tree.  (This sketch is on the Dec. ’11 pdf.)

I used Bazzill “Butter Mints” heavy weight ivory card stock for the card base along with  “Deep Navy” by core’dinations.  I followed Karen’s example and repeatedly stamped a random dot pattern with brown ink onto kraft card stock to create the look of sand.  (She suggests using a dense sponge if you don’t have a stamp like this.)  The patterned paper is “Aqua Scales” by Recollections.  The parts for the trees were cut from scraps I had on hand.

Thanks for checking out my card project!

This content uses referral links as described in the disclosure policy on my sidebar.

Double Z-Fold Card… with a Twist (Wiper Card)

Double Z-Fold Card… with a Twist (Wiper Card)

wwDSC_0988

This “double z-fold” card with a fun pop-up panel is another project I designed for the course I am teaching.

Wiper_Card gif

I recently saw digital cut files, designed by Lori Whitlock, for cute Valentine’s Day cards with this type of pop-up mechanism.  She called them wiper cards.  I started thinking about other elements that would work well on this type of card base and thought this large image from the “Cup of Thanks” stamp set by Studio Katia fit nicely and would be a fun one to color. I watched Lori’s assembly video to get a better idea of how the mechanism worked, and I figured out how to create an A2 size card using a trimmer and score board (instead of the Silhouette).  I’m not sure why it didn’t occur to me to look on YouTube to see if wiper card tutorials existed – they do. Nothing like “reinventing the wheel!”  It’s a good thing I like playing with paper – LOL!!  (Anyway, if you wish to see how I made my pop-up card base, look HERE.)

For this next version, I “smooshed” Memento “Danube Blue” ink spritzed with water onto white card stock.  I love this technique because it is quick and easy to do, it looks great (I think),  and it allows you to customize your panels to match your image with the inks you have on hand.  I inked the edges so the panels would stand out against the white card base.

wDSC_0945

I colored the stamped image with Bic Marking Fashion Permanent alcohol markers (harvest orange, adobe orange, summer melon, ocean view blue, misty blue, deep sea blue, traquil teal, cloud nine grey, and tiki hut tan), and a blender pen.

Double Z-fold cards fold flat for mailing, and this one fits in a regular A2 size envelope.

yDSC_0992

*

Here is one more CAS card design I came up with while playing with this image:

wwwDSC_0934

Thanks for checking out my card projects!

This content uses referral links as described in the disclosure policy on my sidebar.


Birthday Balloons (and Bucks) Bridge Card

Birthday Balloons (and Bucks) Bridge Card

wDSC_0885.jpg

This card features a fun card base, a few die cuts… and some bucks!  I was looking for a fun way to present a monetary gift as part of a card layout and had been meaning to try a bridge card with this (unbranded/no longer available?) “Happy Birthday” die (which is actually supposed to make a birthday hat).

  Happy Birthday Topper die 2

The cake was adapted from an svg file called “Birthday Elements” from svgcuts.  The balloons were made from an unbranded die I found online.  And the flames were cut with the Karen Burniston Cake Pop-Up Die (#1028).

To create this card base which is 5″ x 7″ when folded, I used a 10 1/2″ x 5″ piece of card stock scored at 1 3/4″, 3 1/2″, 7″, and 8 3/4″ and folded as shown:

wDSC_0887

There is plenty of room on the back for a stamped or handwritten sentiment and signature.  This card, with the money, folds flat (kind of).  It fits in a regular A7 size envelope but is a little bulky and would require a trip to the post office if mailed – if you are comfortable mailing cash.

wDSC_0893   wDSC_0893 (2)

And here’s a version without the money.  (This one does fold flat, but some may argue it’s not quite as fun to receive – lol!)

wwDSC_0846

Thanks for checking out my card project!

This content uses referral links as described in the disclosure policy on my sidebar.