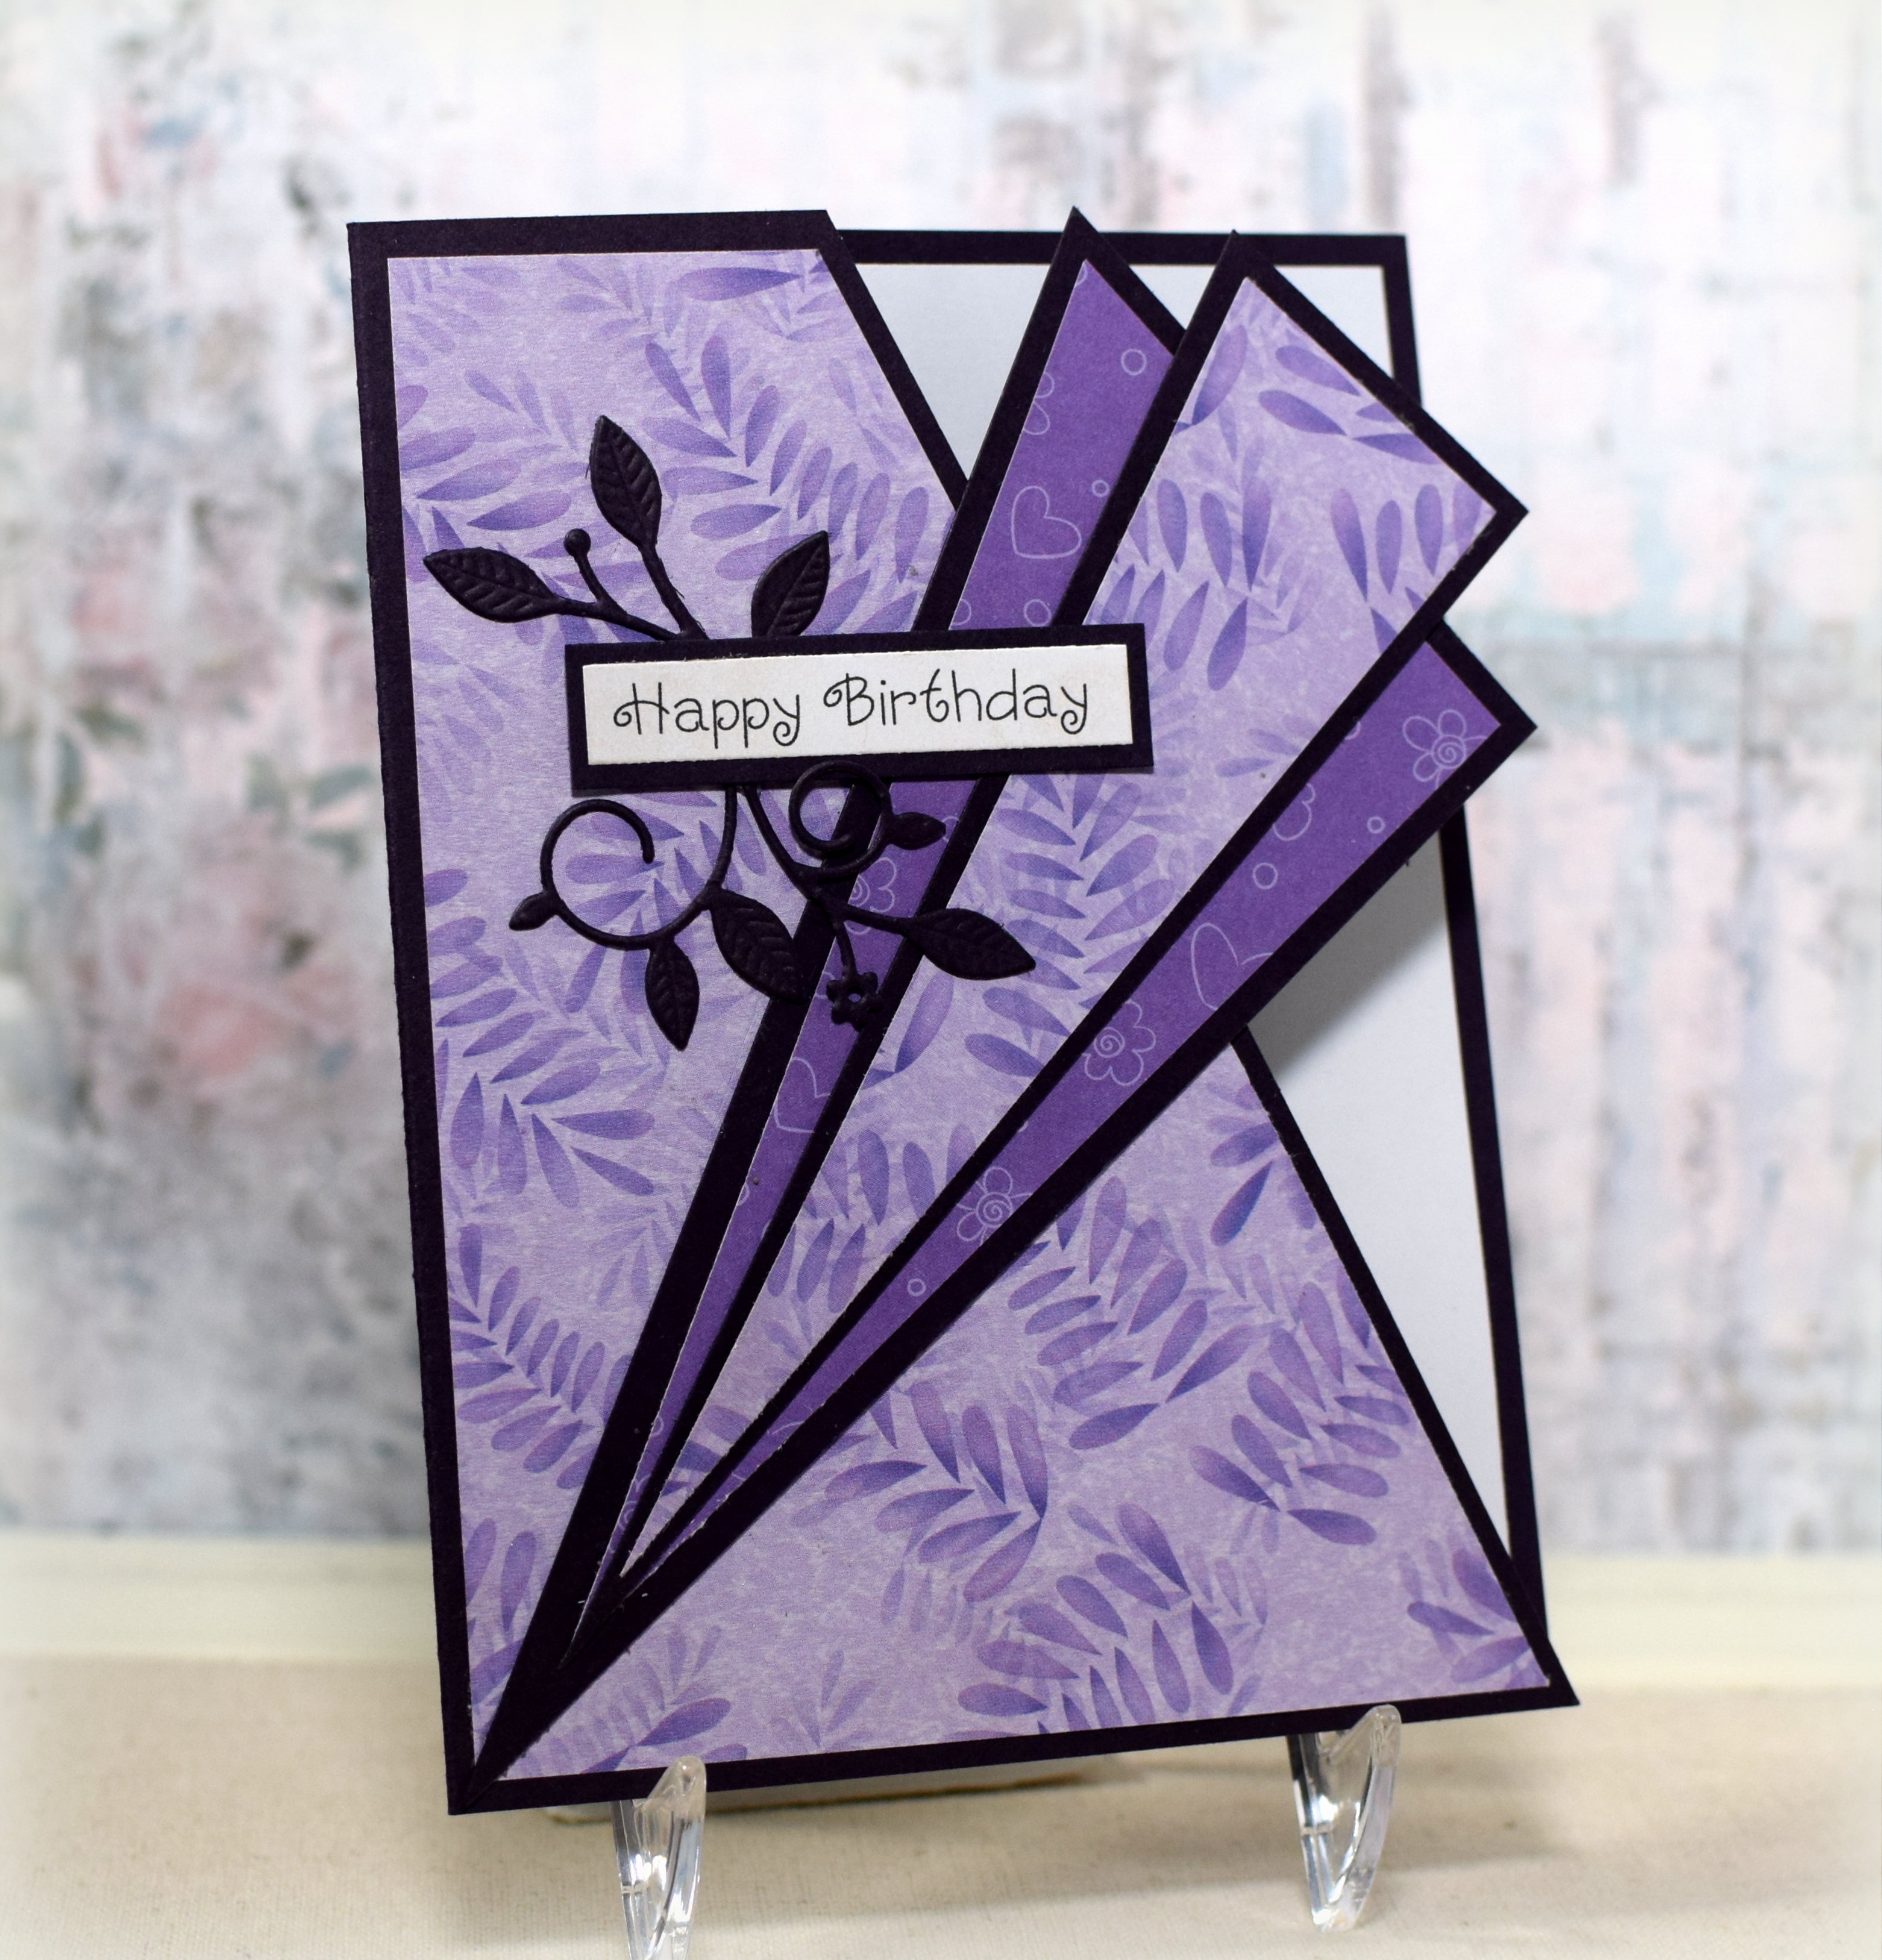
Purple Birthday Fan Card

I saw this technique HERE for an A2 sized fan card and thought I’d give it a try!
I recently cleaned/reorganized my craft room and discovered LOTS of (probably discontinued by now?) paper that I forgot I had or couldn’t get to easily enough to bother with. Hmmm… maybe I never have to buy another piece of paper again???… Anyway, it was fun “shopping my stash,” and I came up with two prints for my fan card. The lighter print is “Soft Purple Ferns” from Hot Off the Press/Paper Pizzazz, and the darker one is “Fairy Tale” from Recollections. The solid card stock is “Edible Eggplant” (not black!!) from Gina K Designs (no longer available?).
The greeting is computer generated (font: CK Curly, 18 pt) , and I cut apart bits from a die cut called “Vignette Floral Branch” from Memory Box to tuck around it.
Deb pops her fan panels up with foam dimensionals, but I just glued mine down flat.
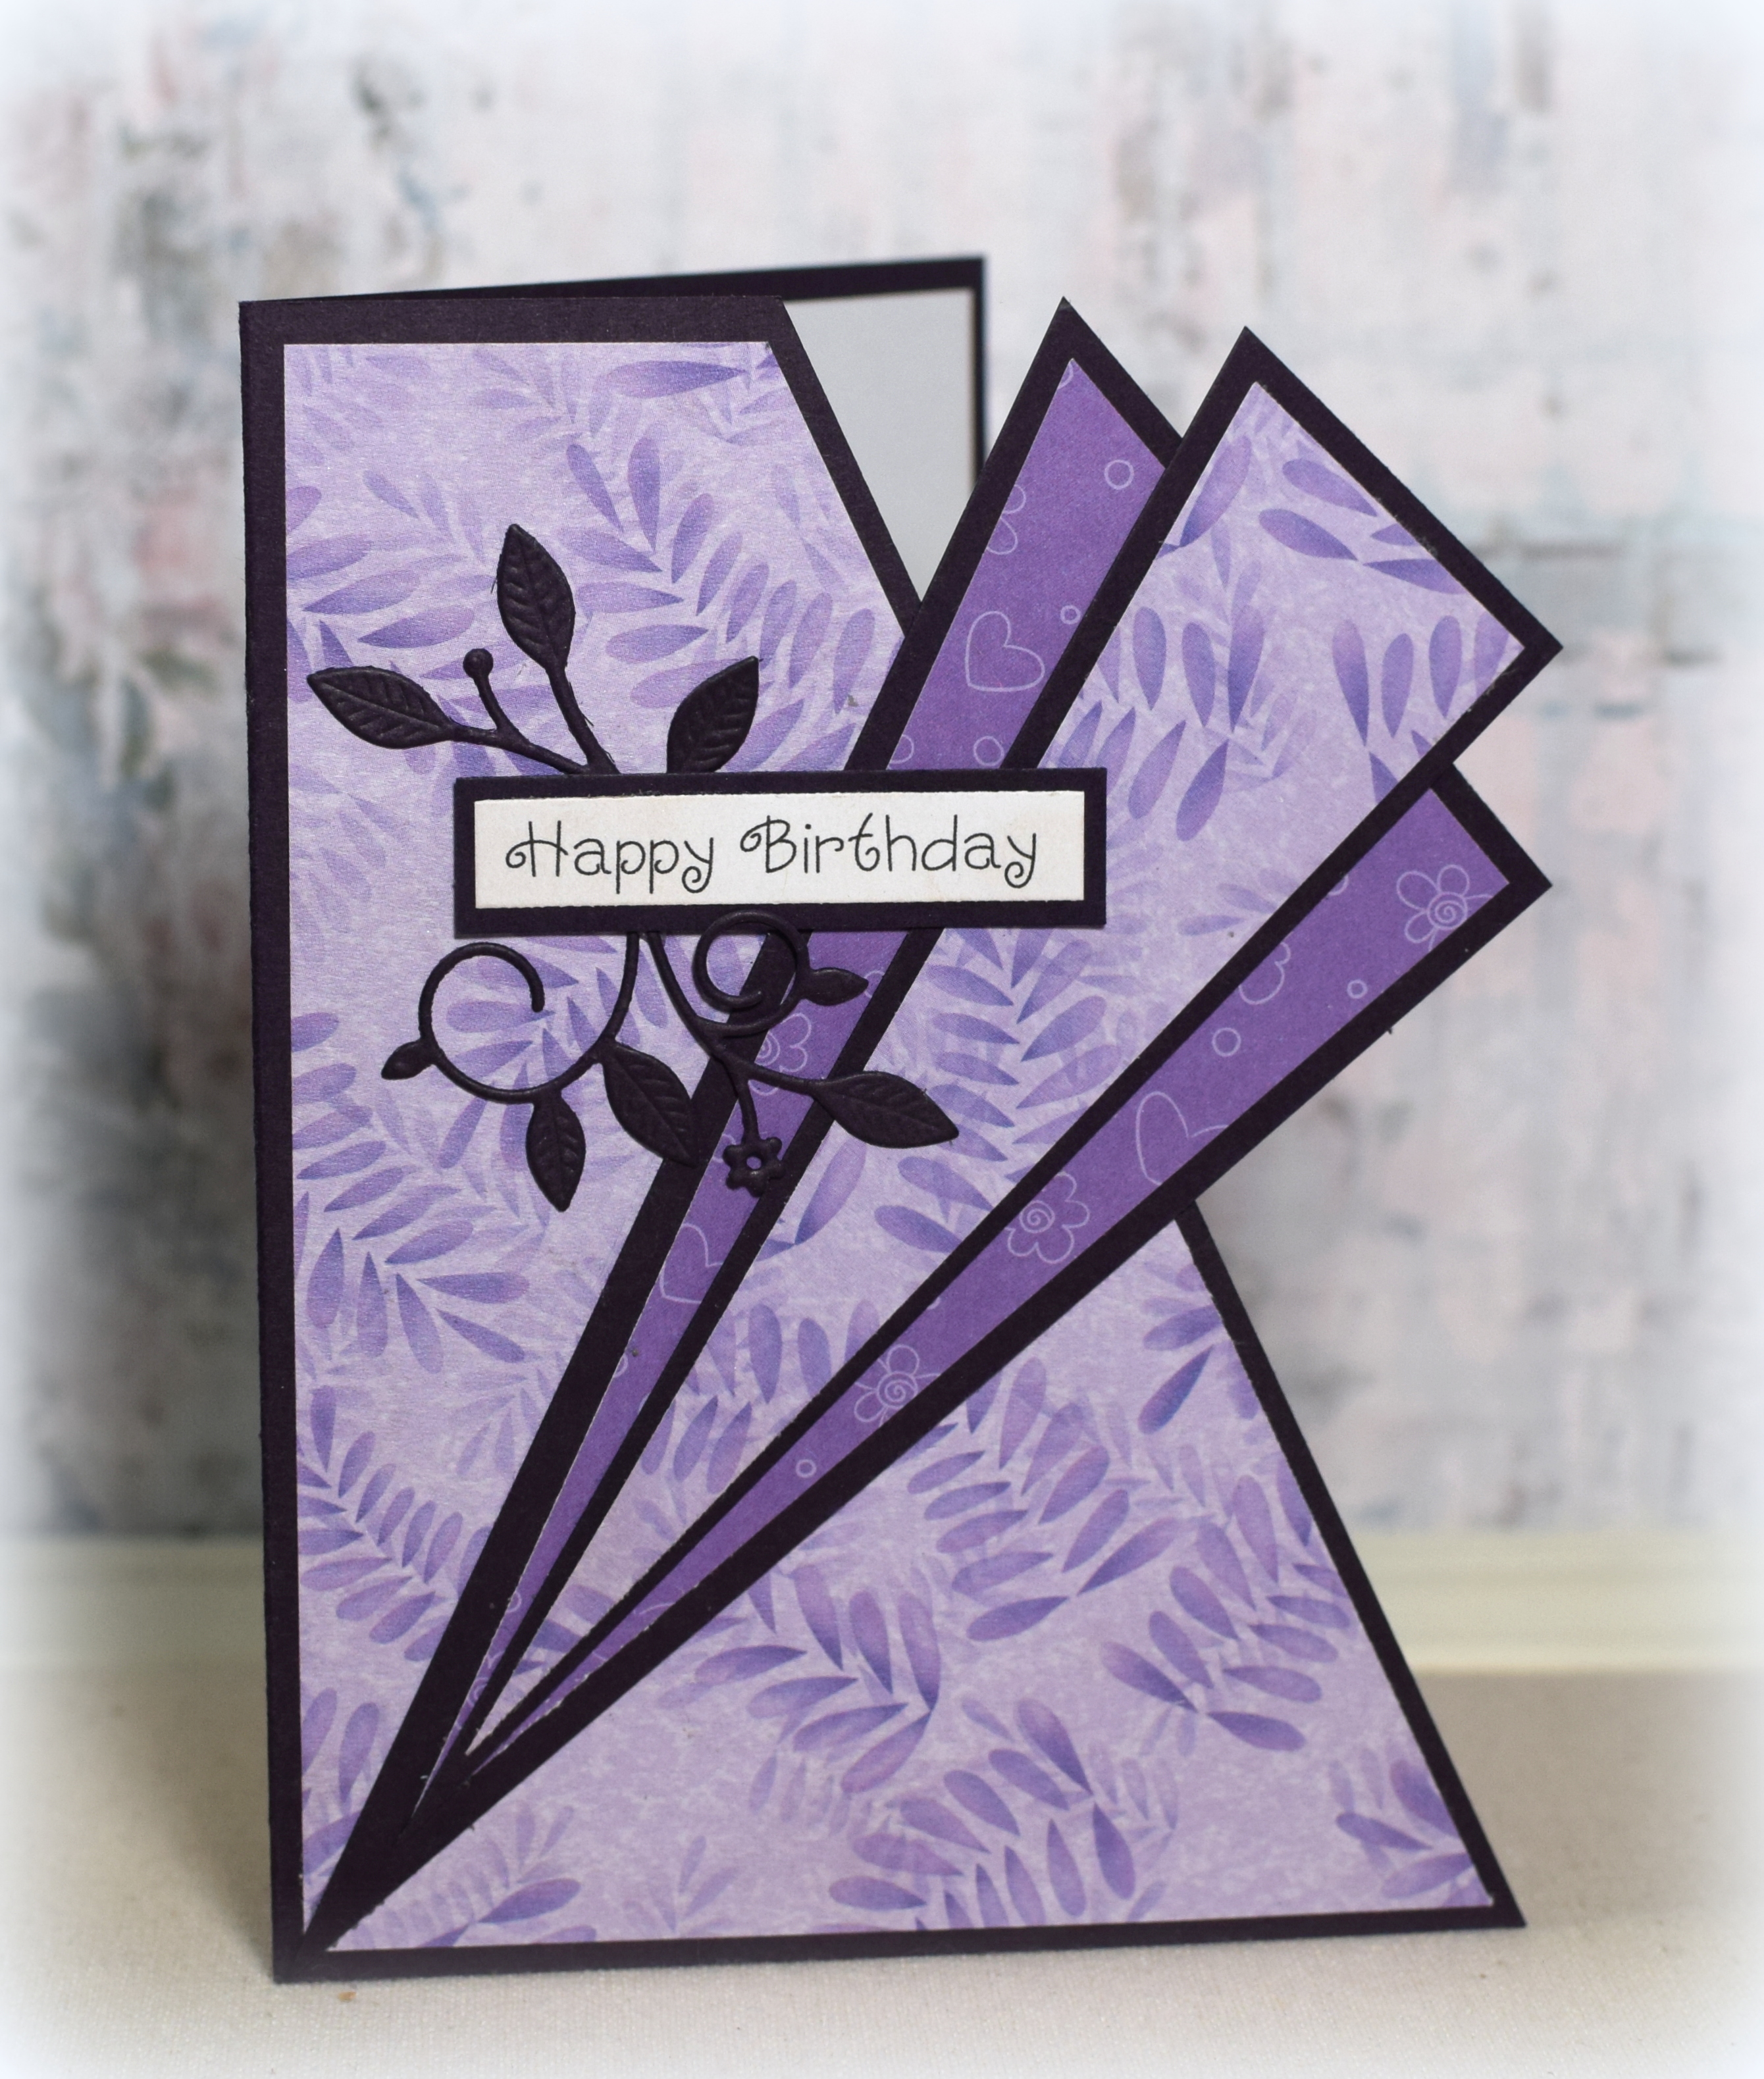
When the card is folded closed, the fan pieces line up with the edges of the card front, but as it opens, it appears to hang over until you can see the cut out shape.
*
*
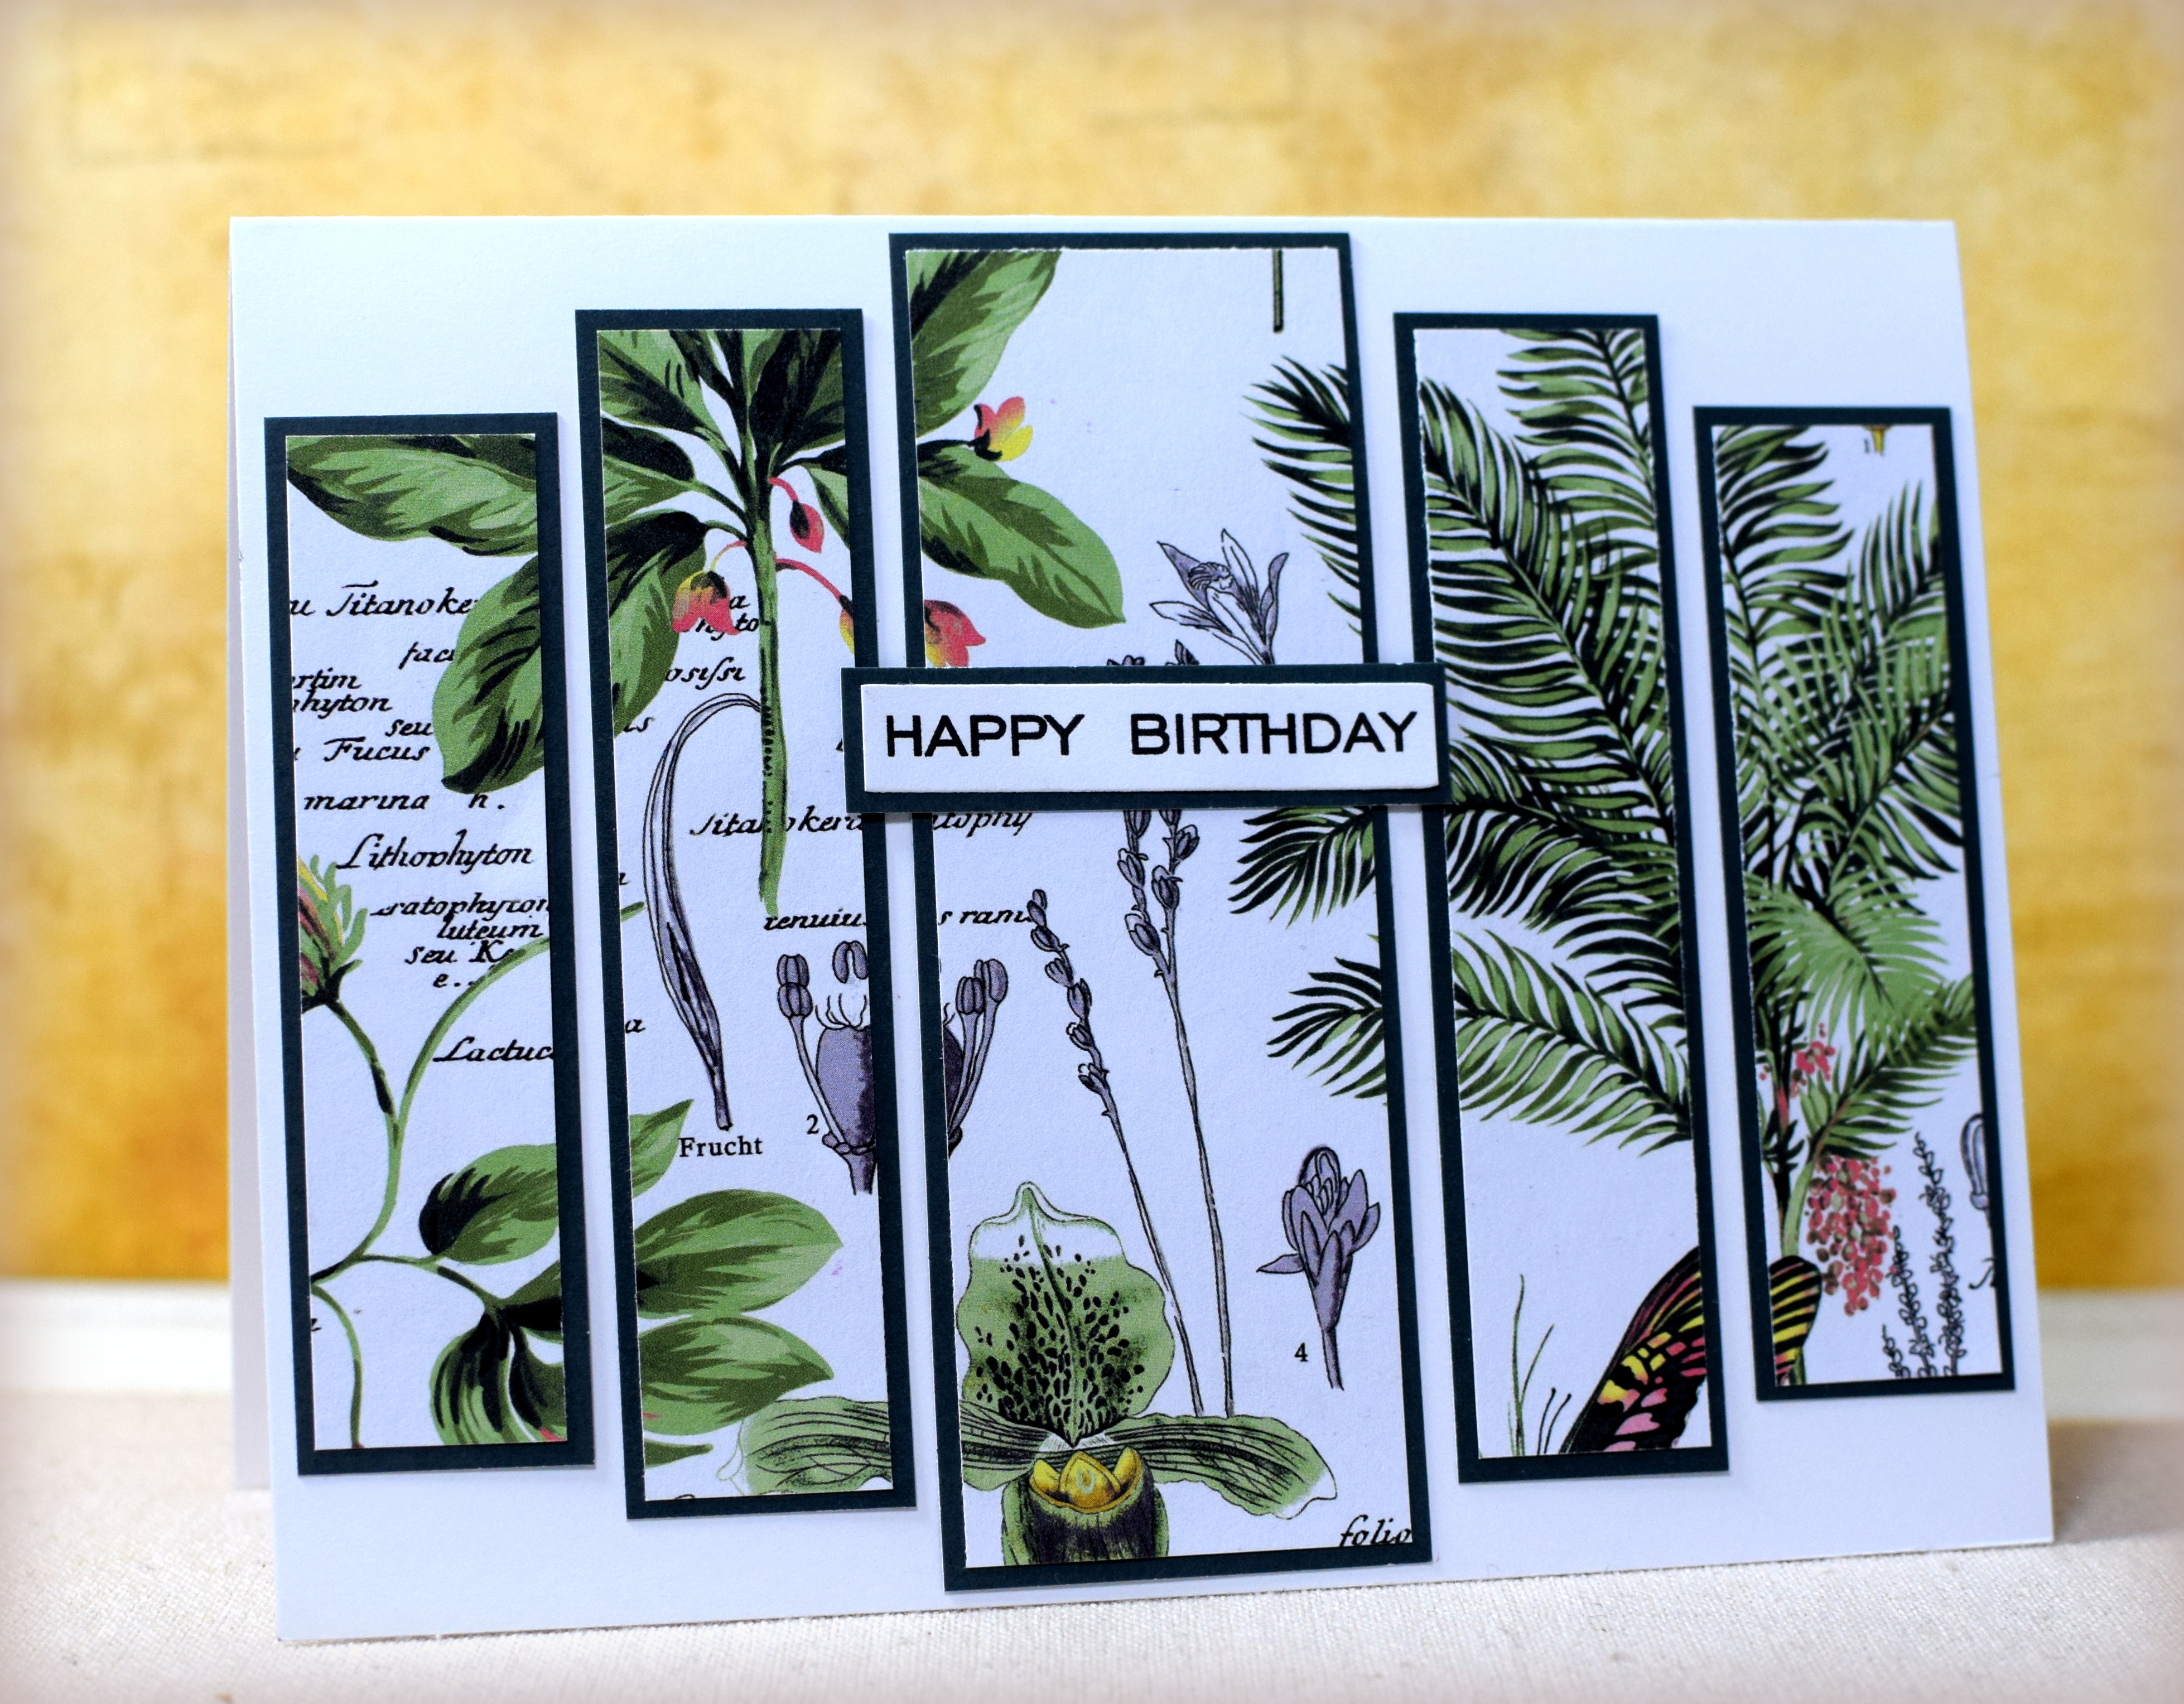
Another great technique to showcase printed paper!
Thanks for checking out my card project!
This content uses referral links as described in the disclosure policy on my sidebar.