Pop-up Flower Pot Birthday Card

Pop-up Flower Pot Birthday Card

DSC_2553cropped 2

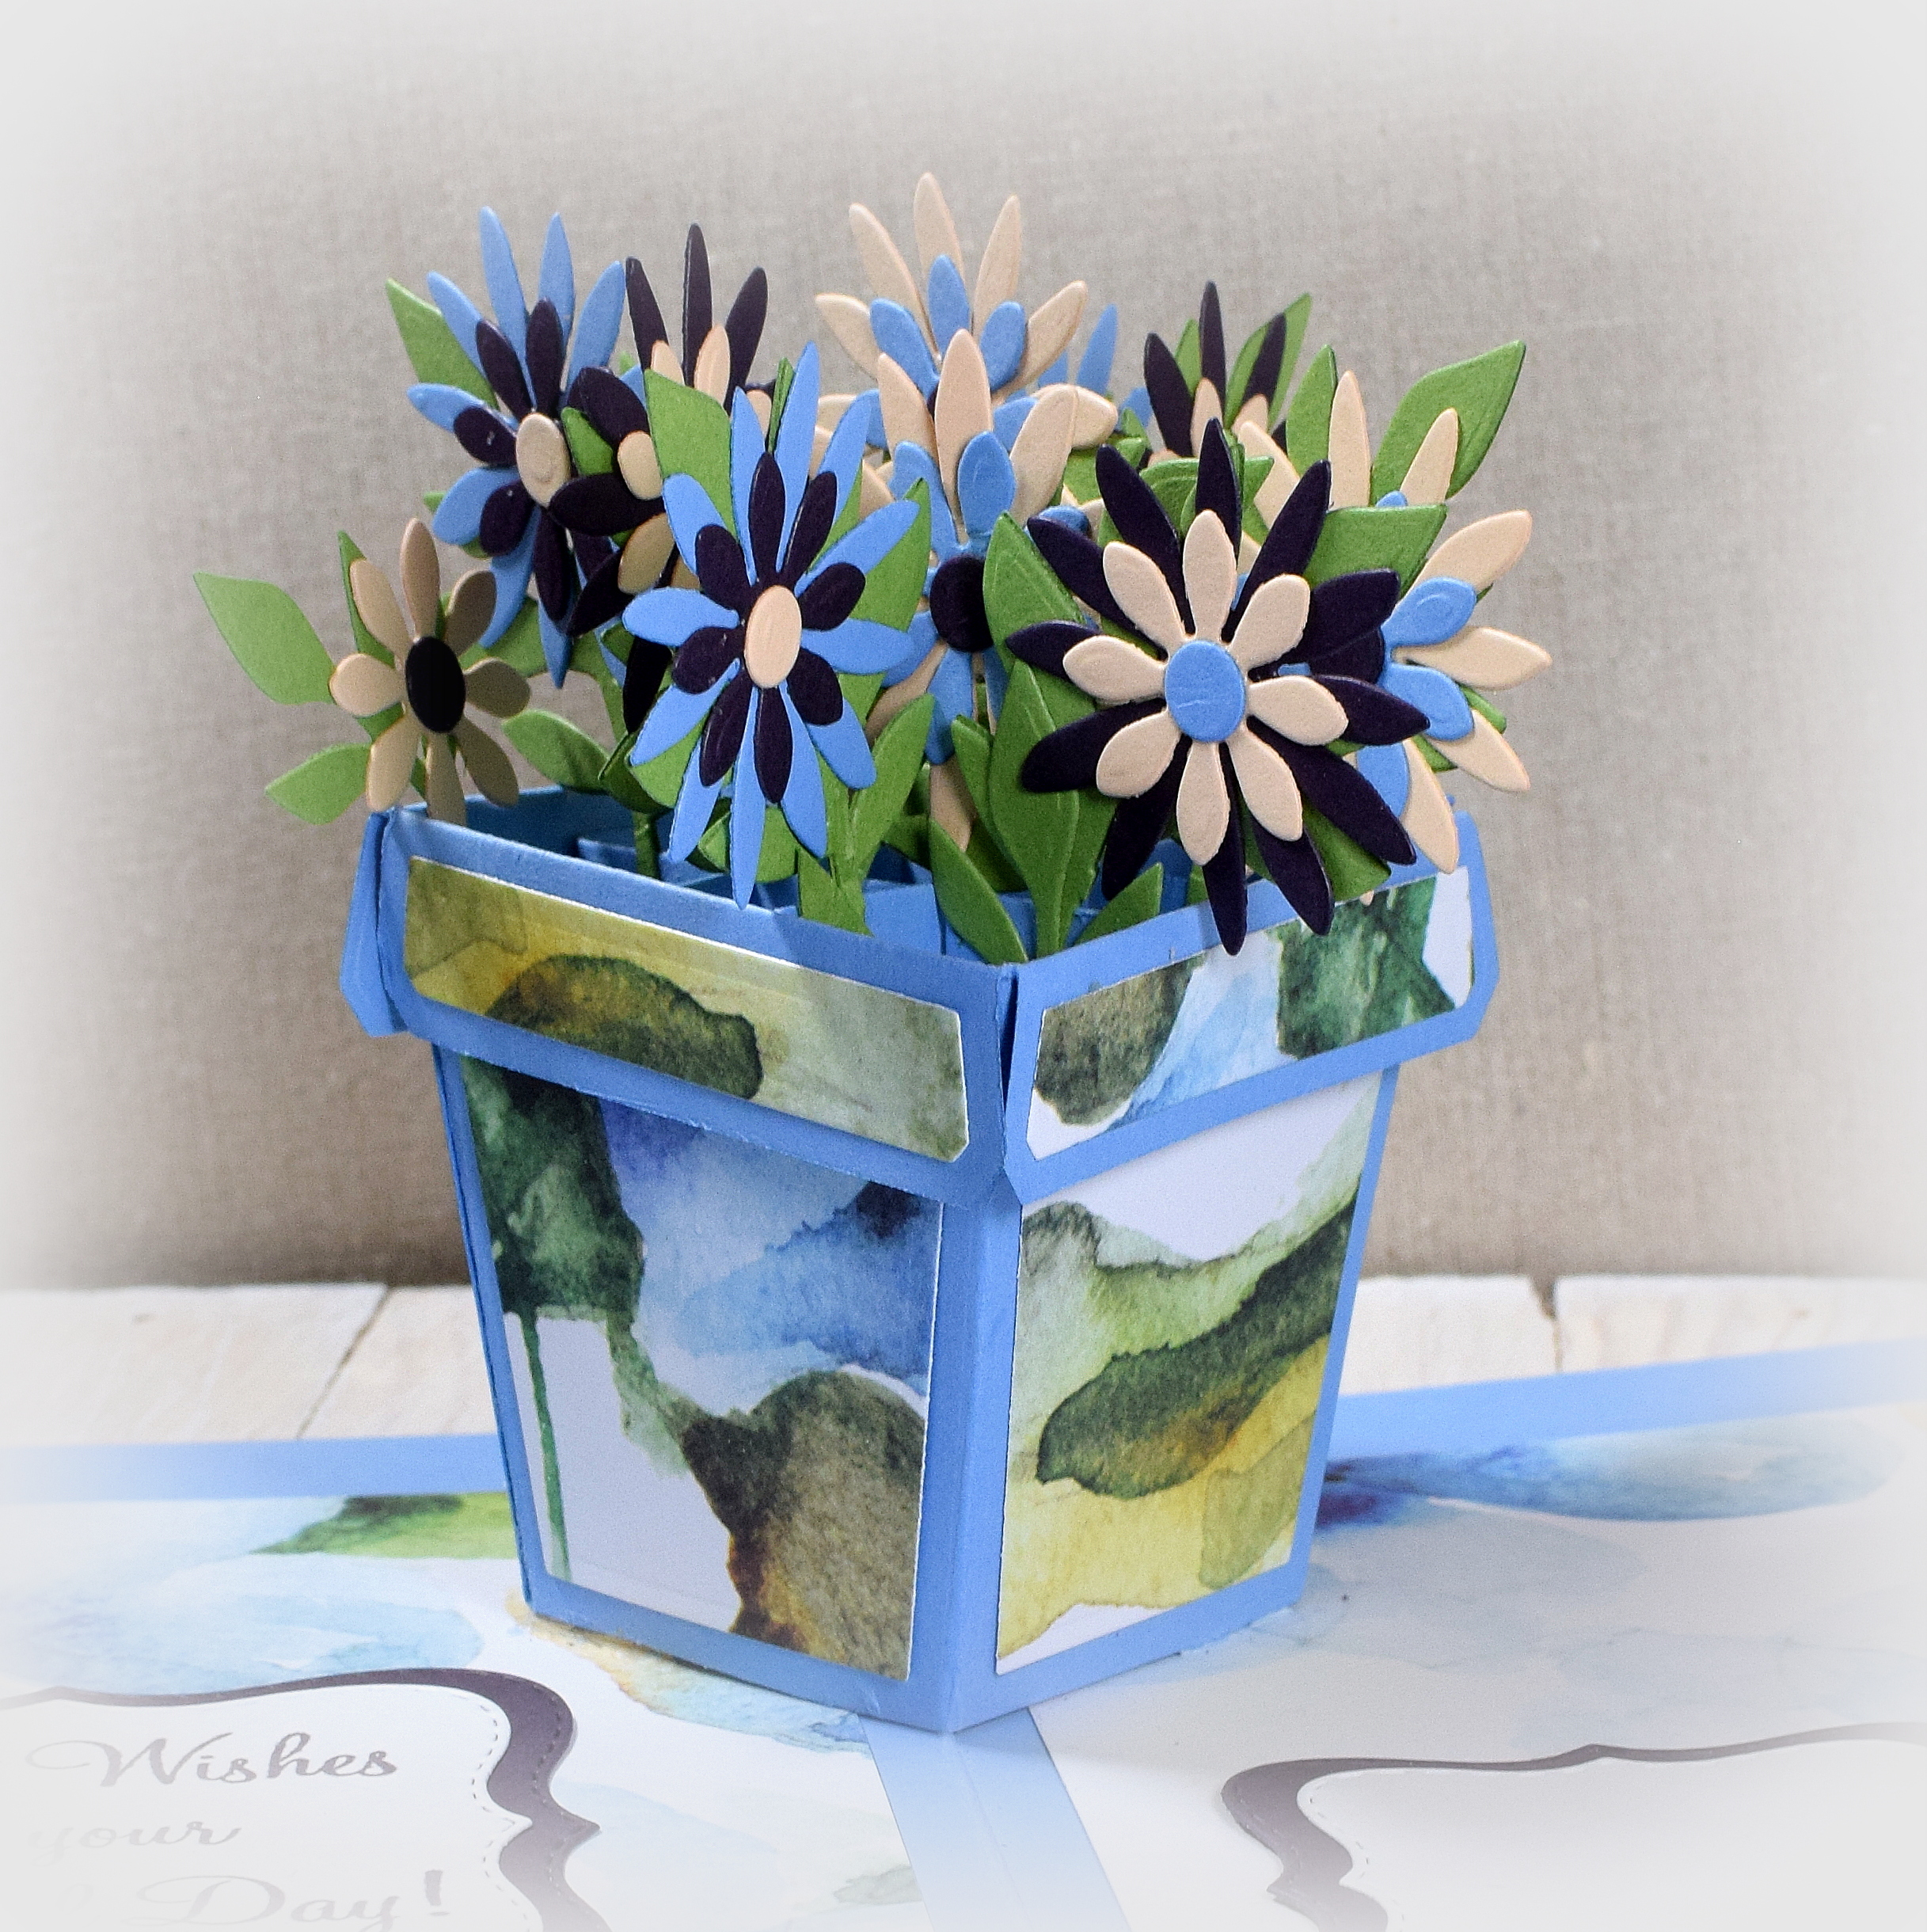
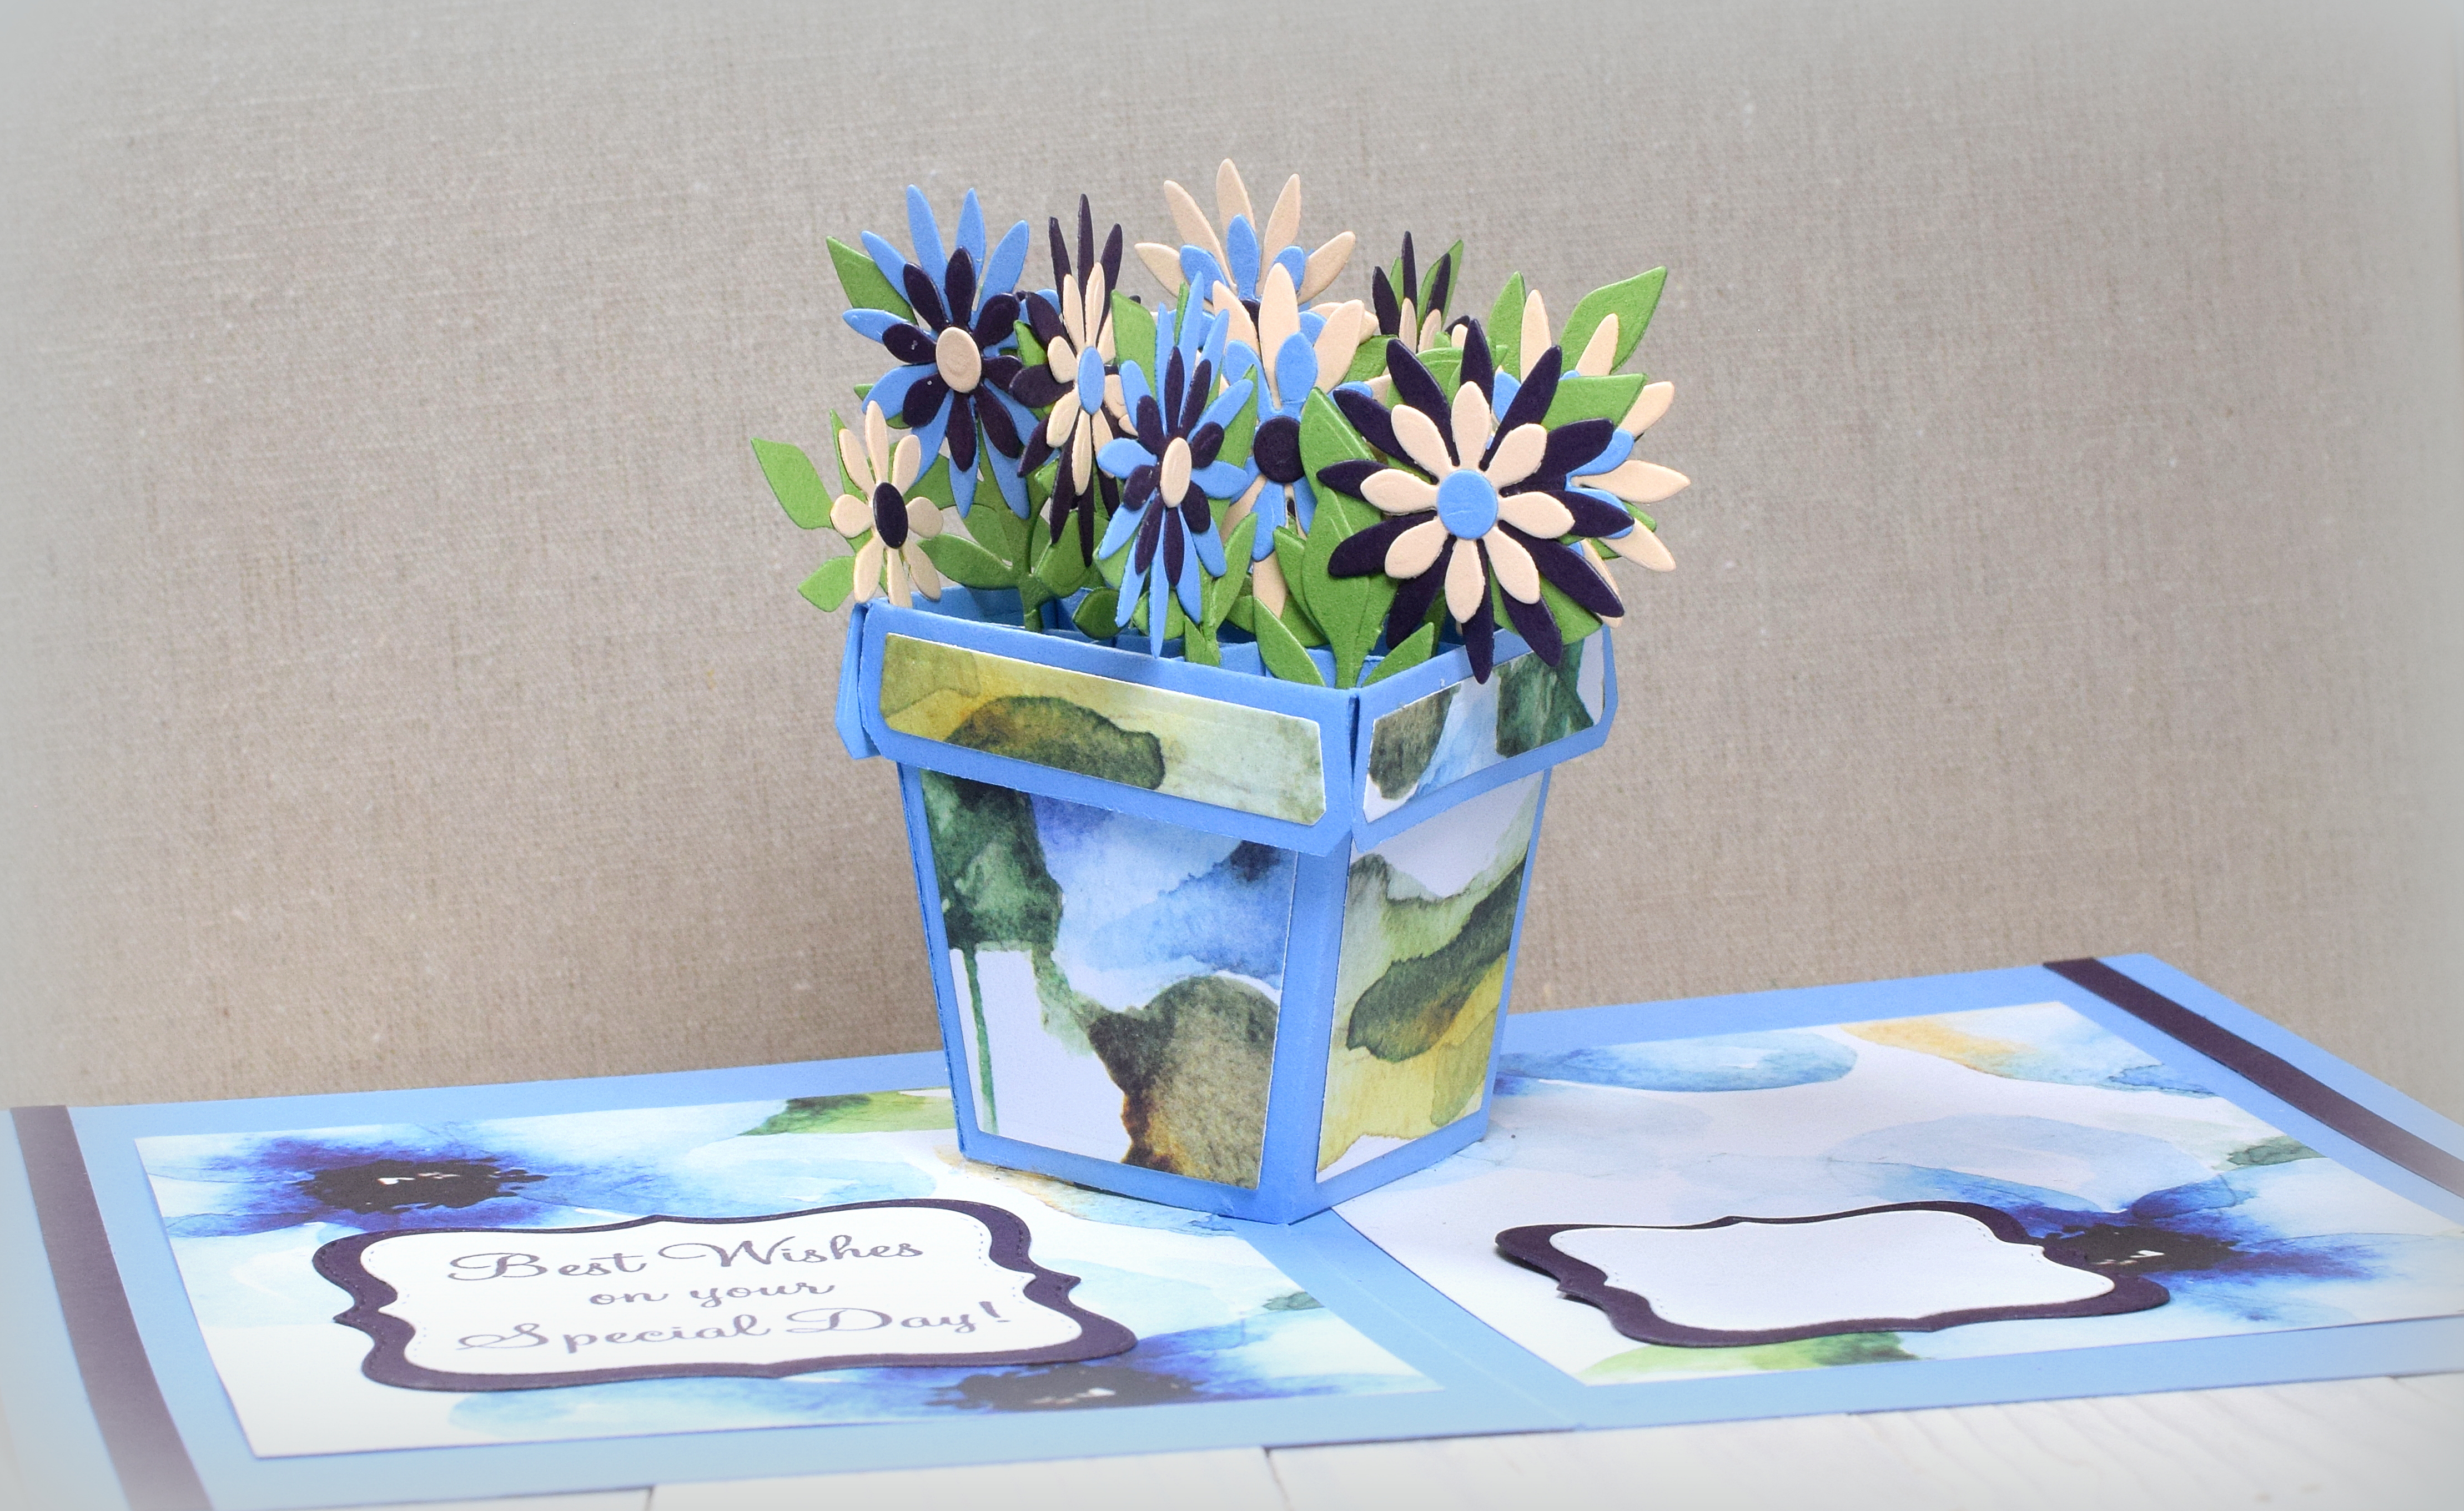
I used Karen Burniston’s “Flowerpot Pop-up” die set (#1010) to create this pot with flowers that pops up when the card is opened.  The die set comes with the dies to create the pop-up element, the pot, the flowers, the leaves, and a bee (which I did not use on this card).  These dies can be used to create either a flat flower pot design or the pop up design.  Theme, colors and size are up to you. (The bigger the card, the bigger/taller you can go with the bouquet.  My card is 5″ x 7″,  but an A2 size card will work if you are careful with how position your flowers and leaves.)

You can see Karen’s assembly tutorial HERE.  This card is not hard to make; there is just a lot of die cutting if you want a full pot – lol!

Pop-up Flower Pot Card Gif

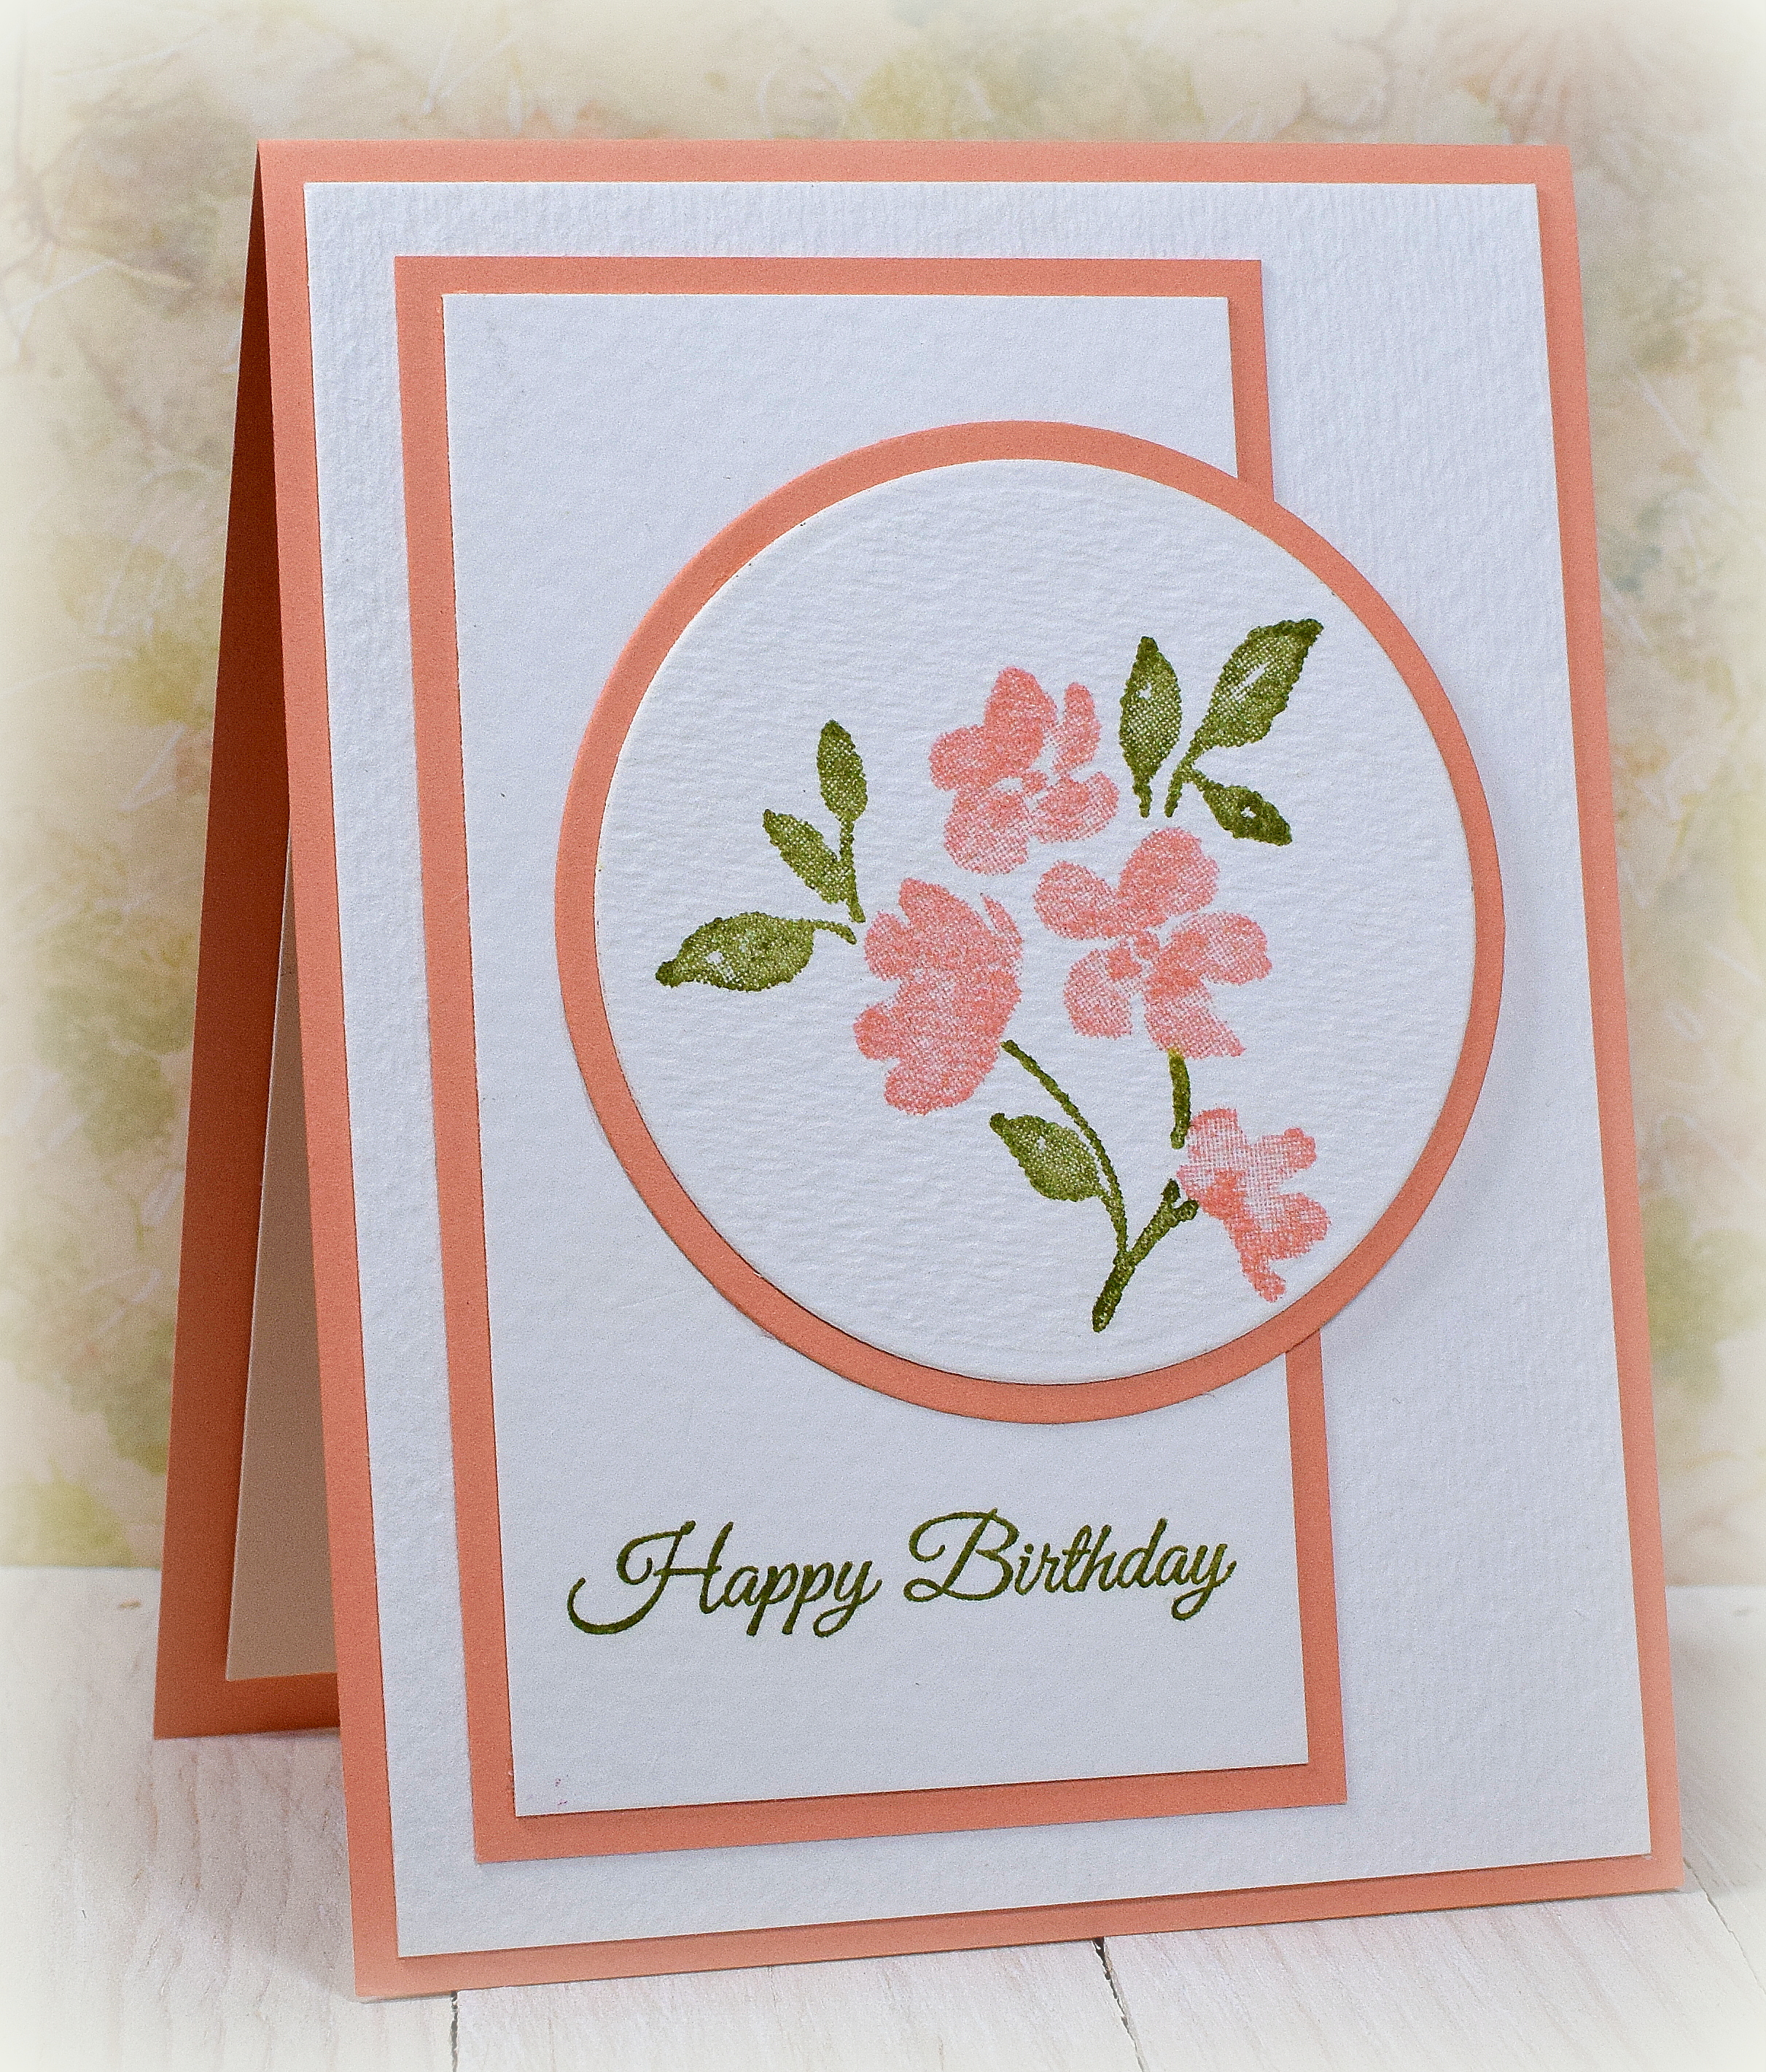
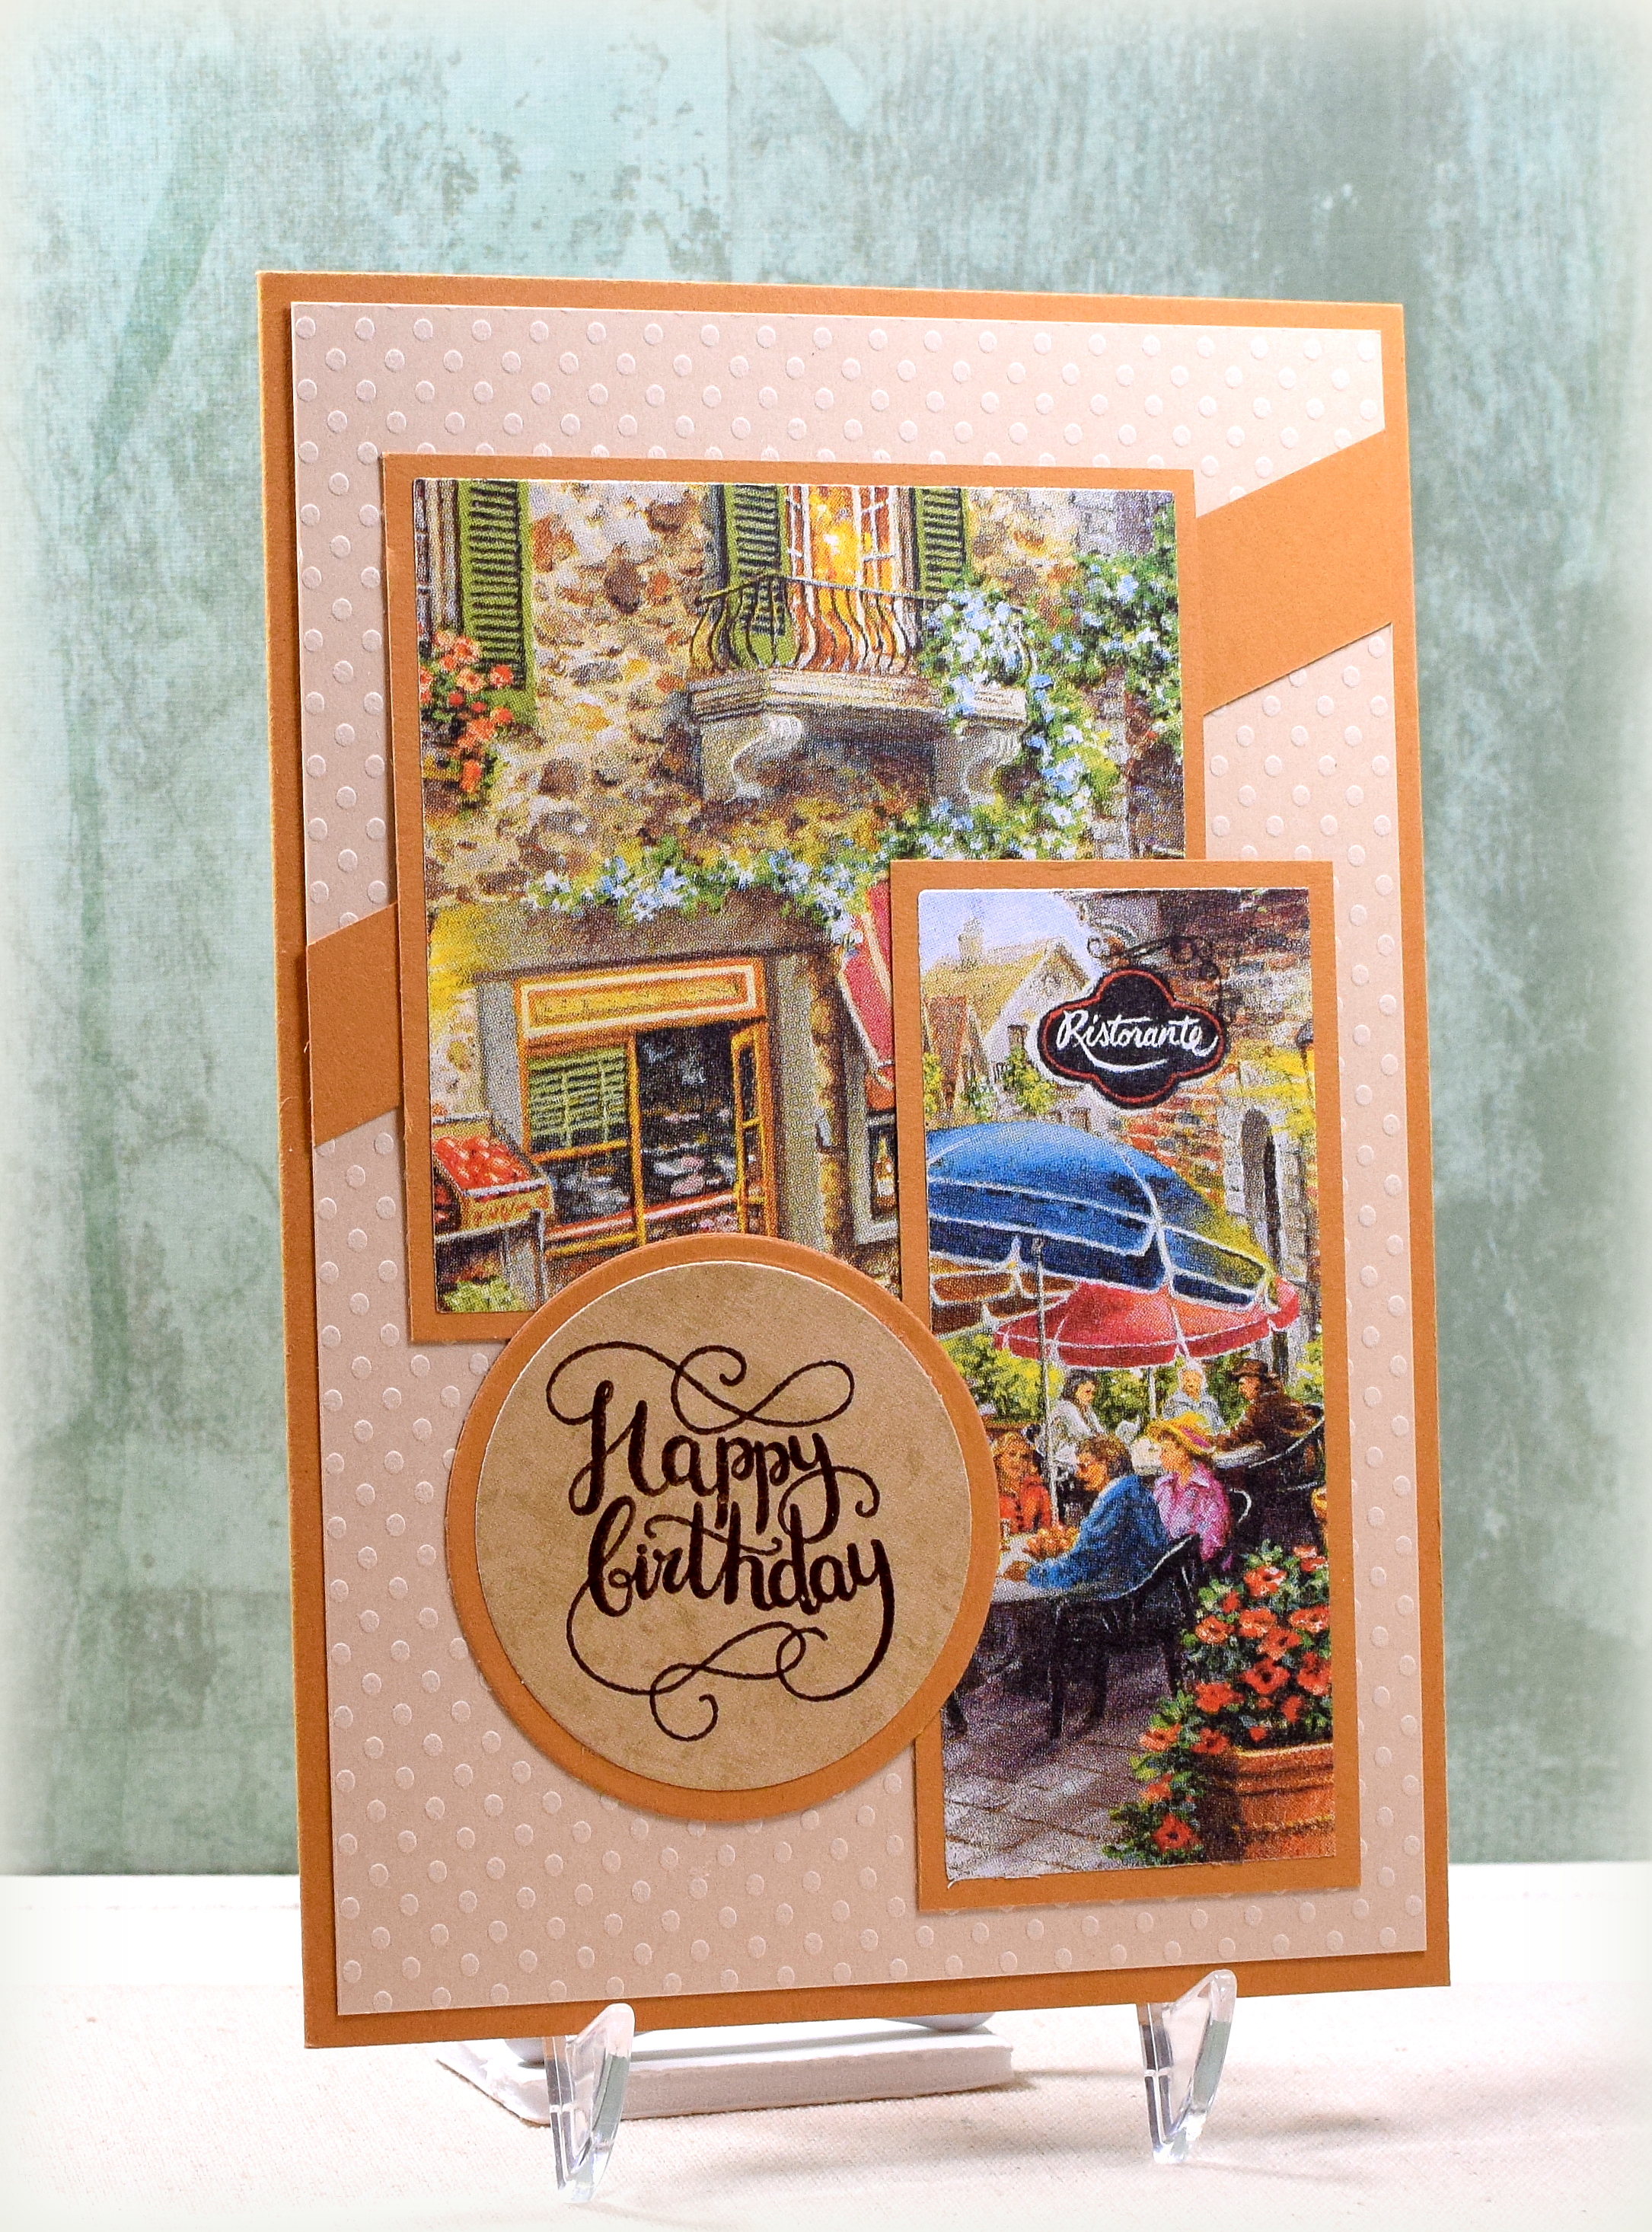
Here is the inside of the card:

DSC_2555w

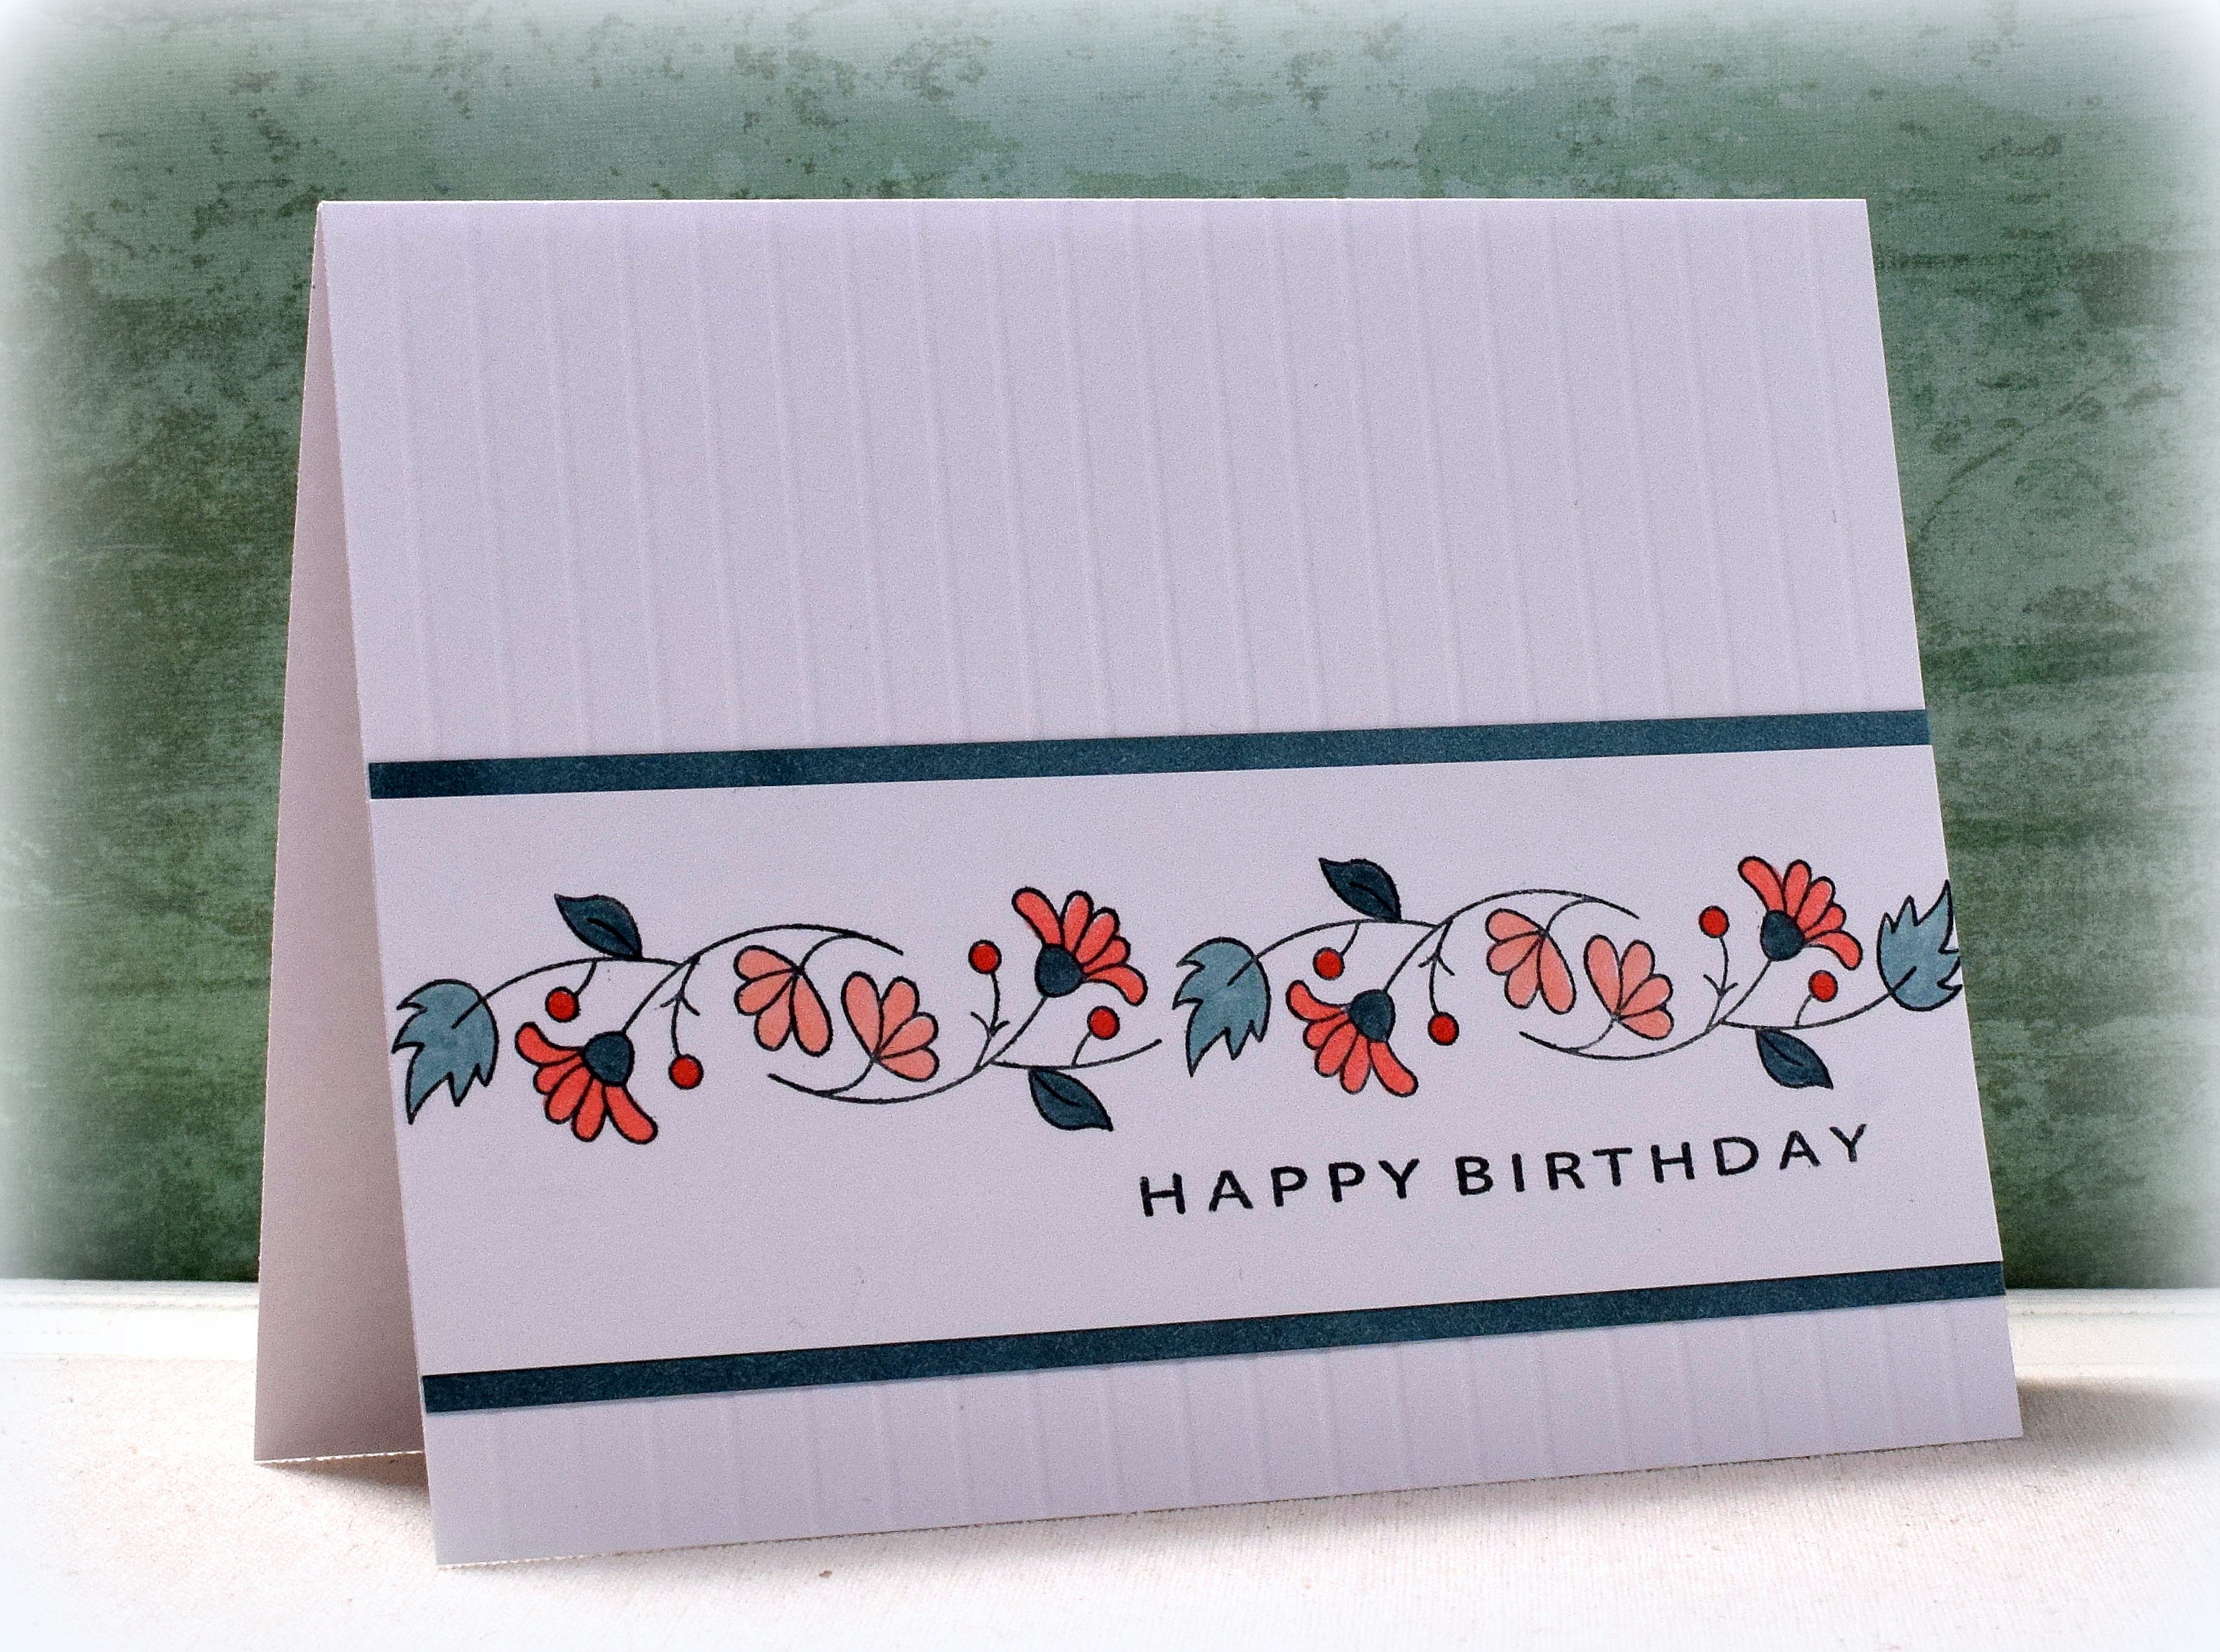
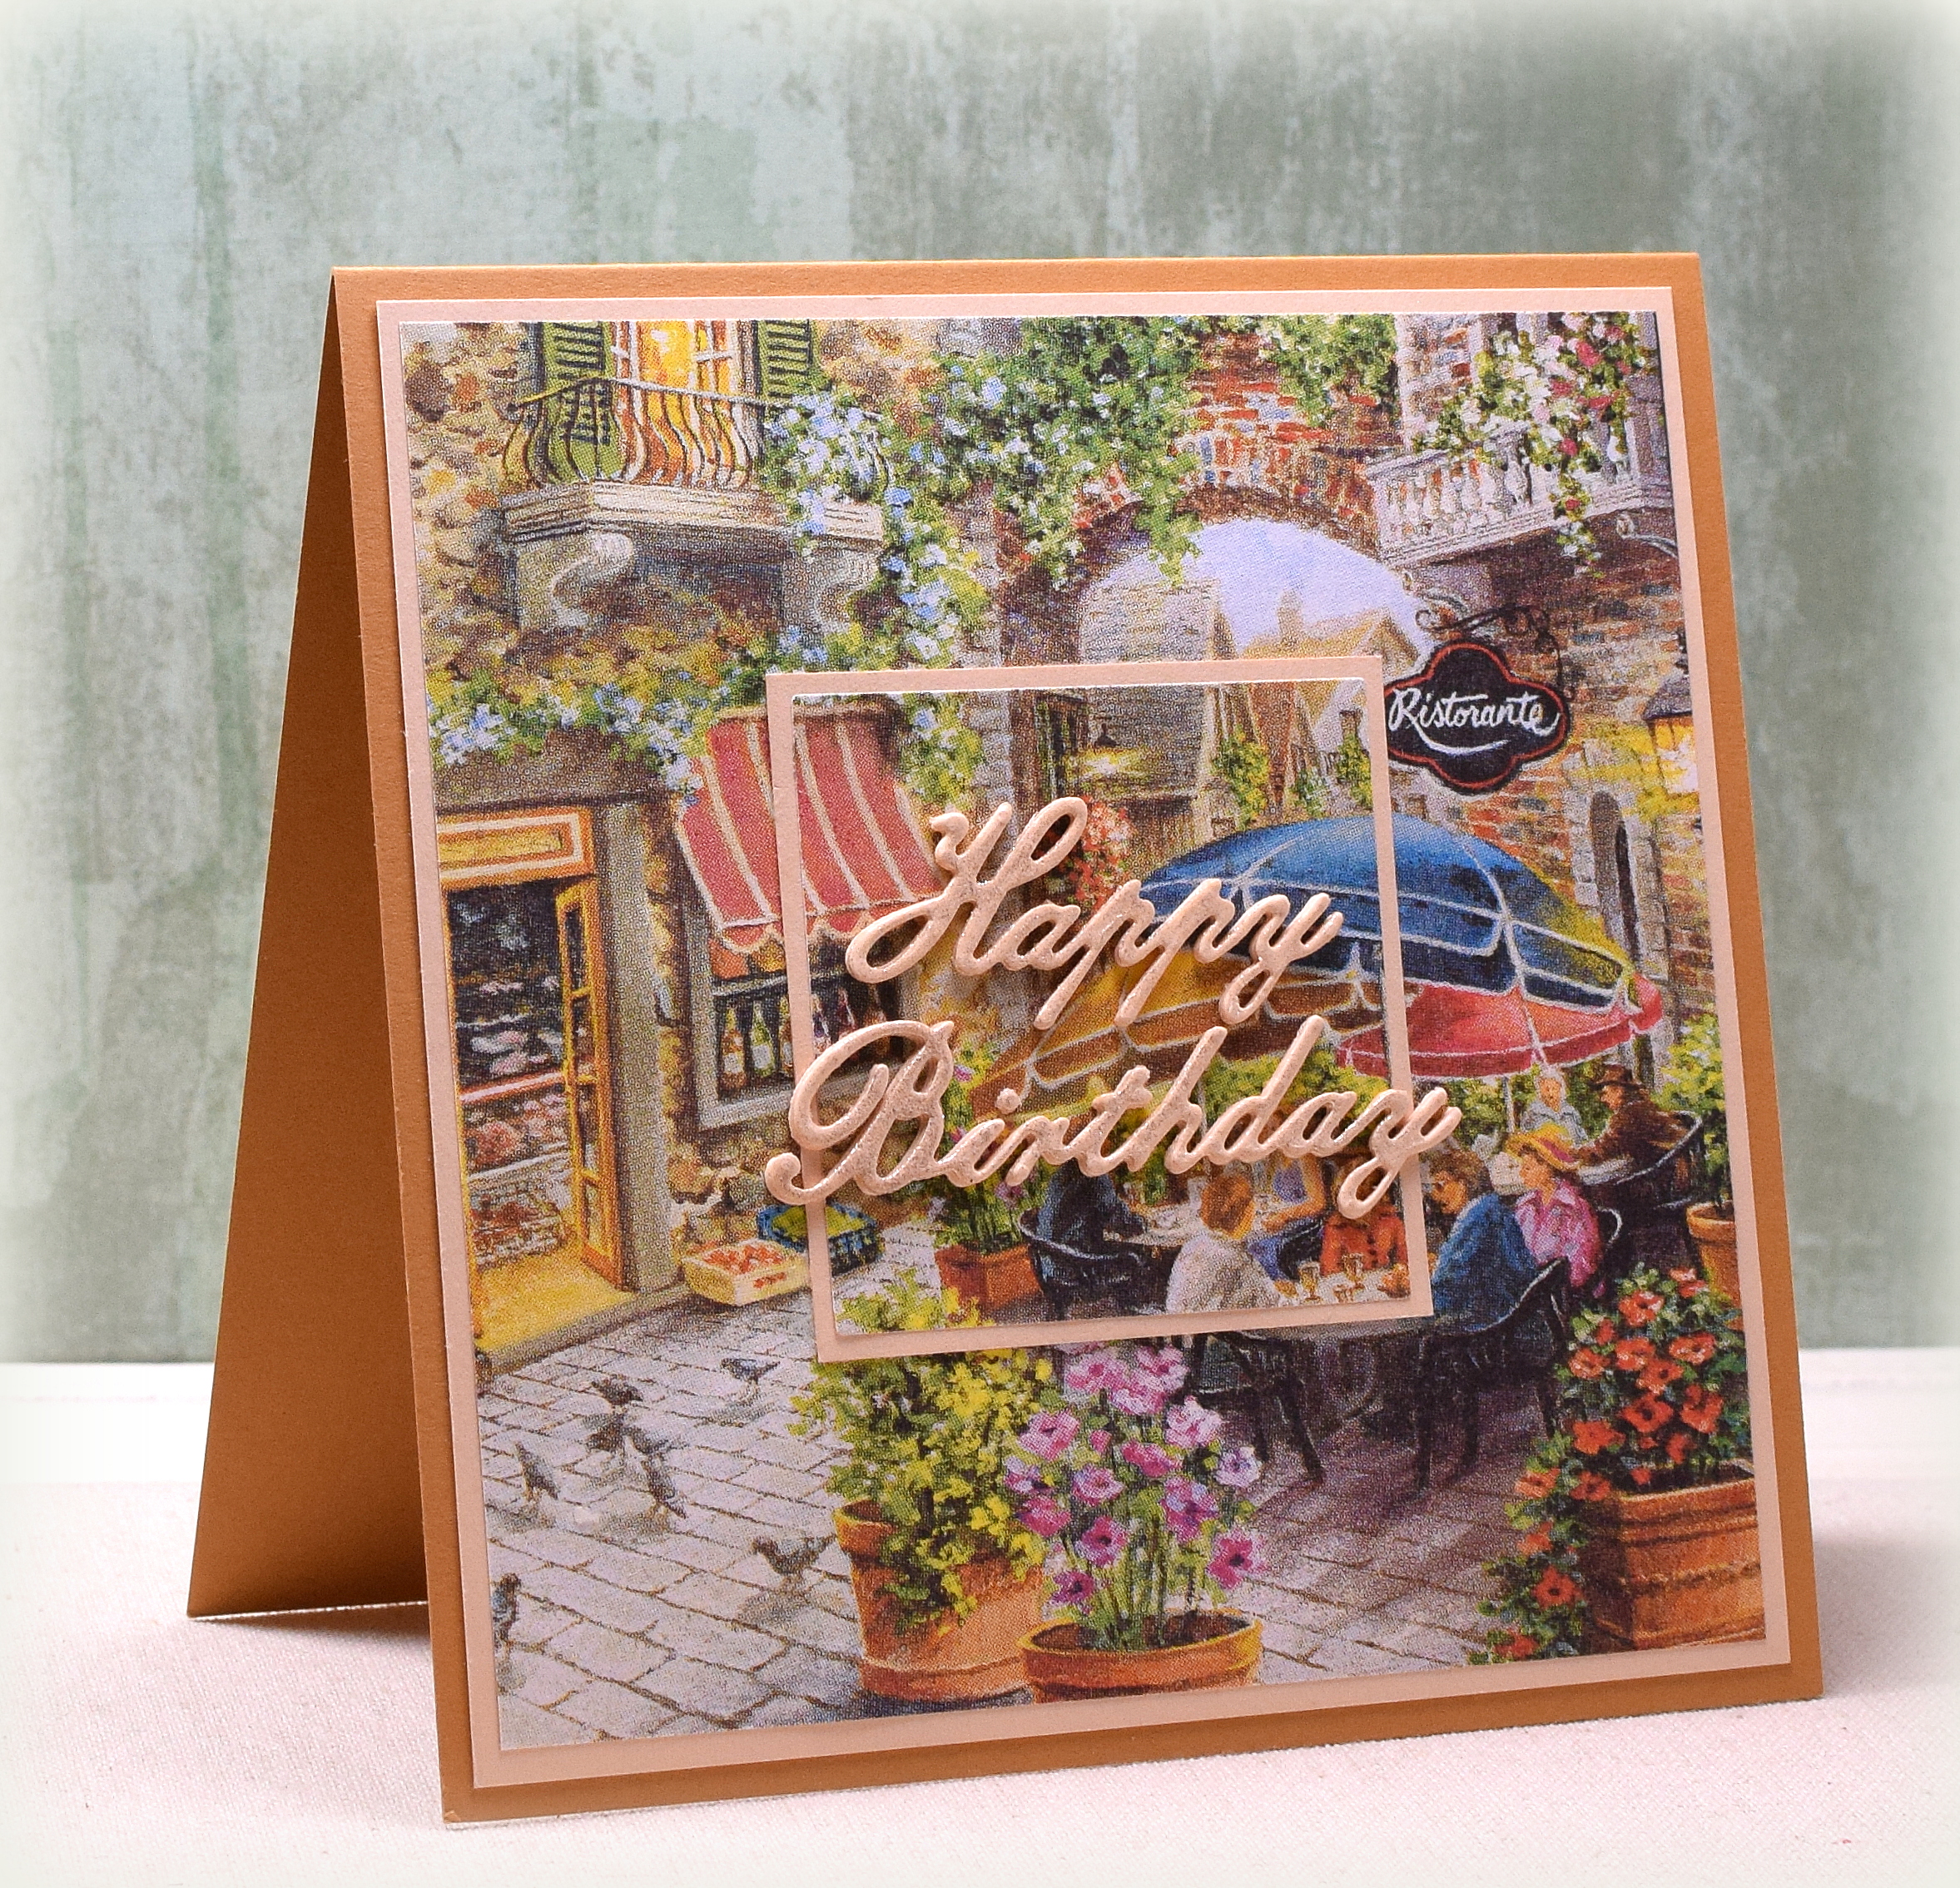
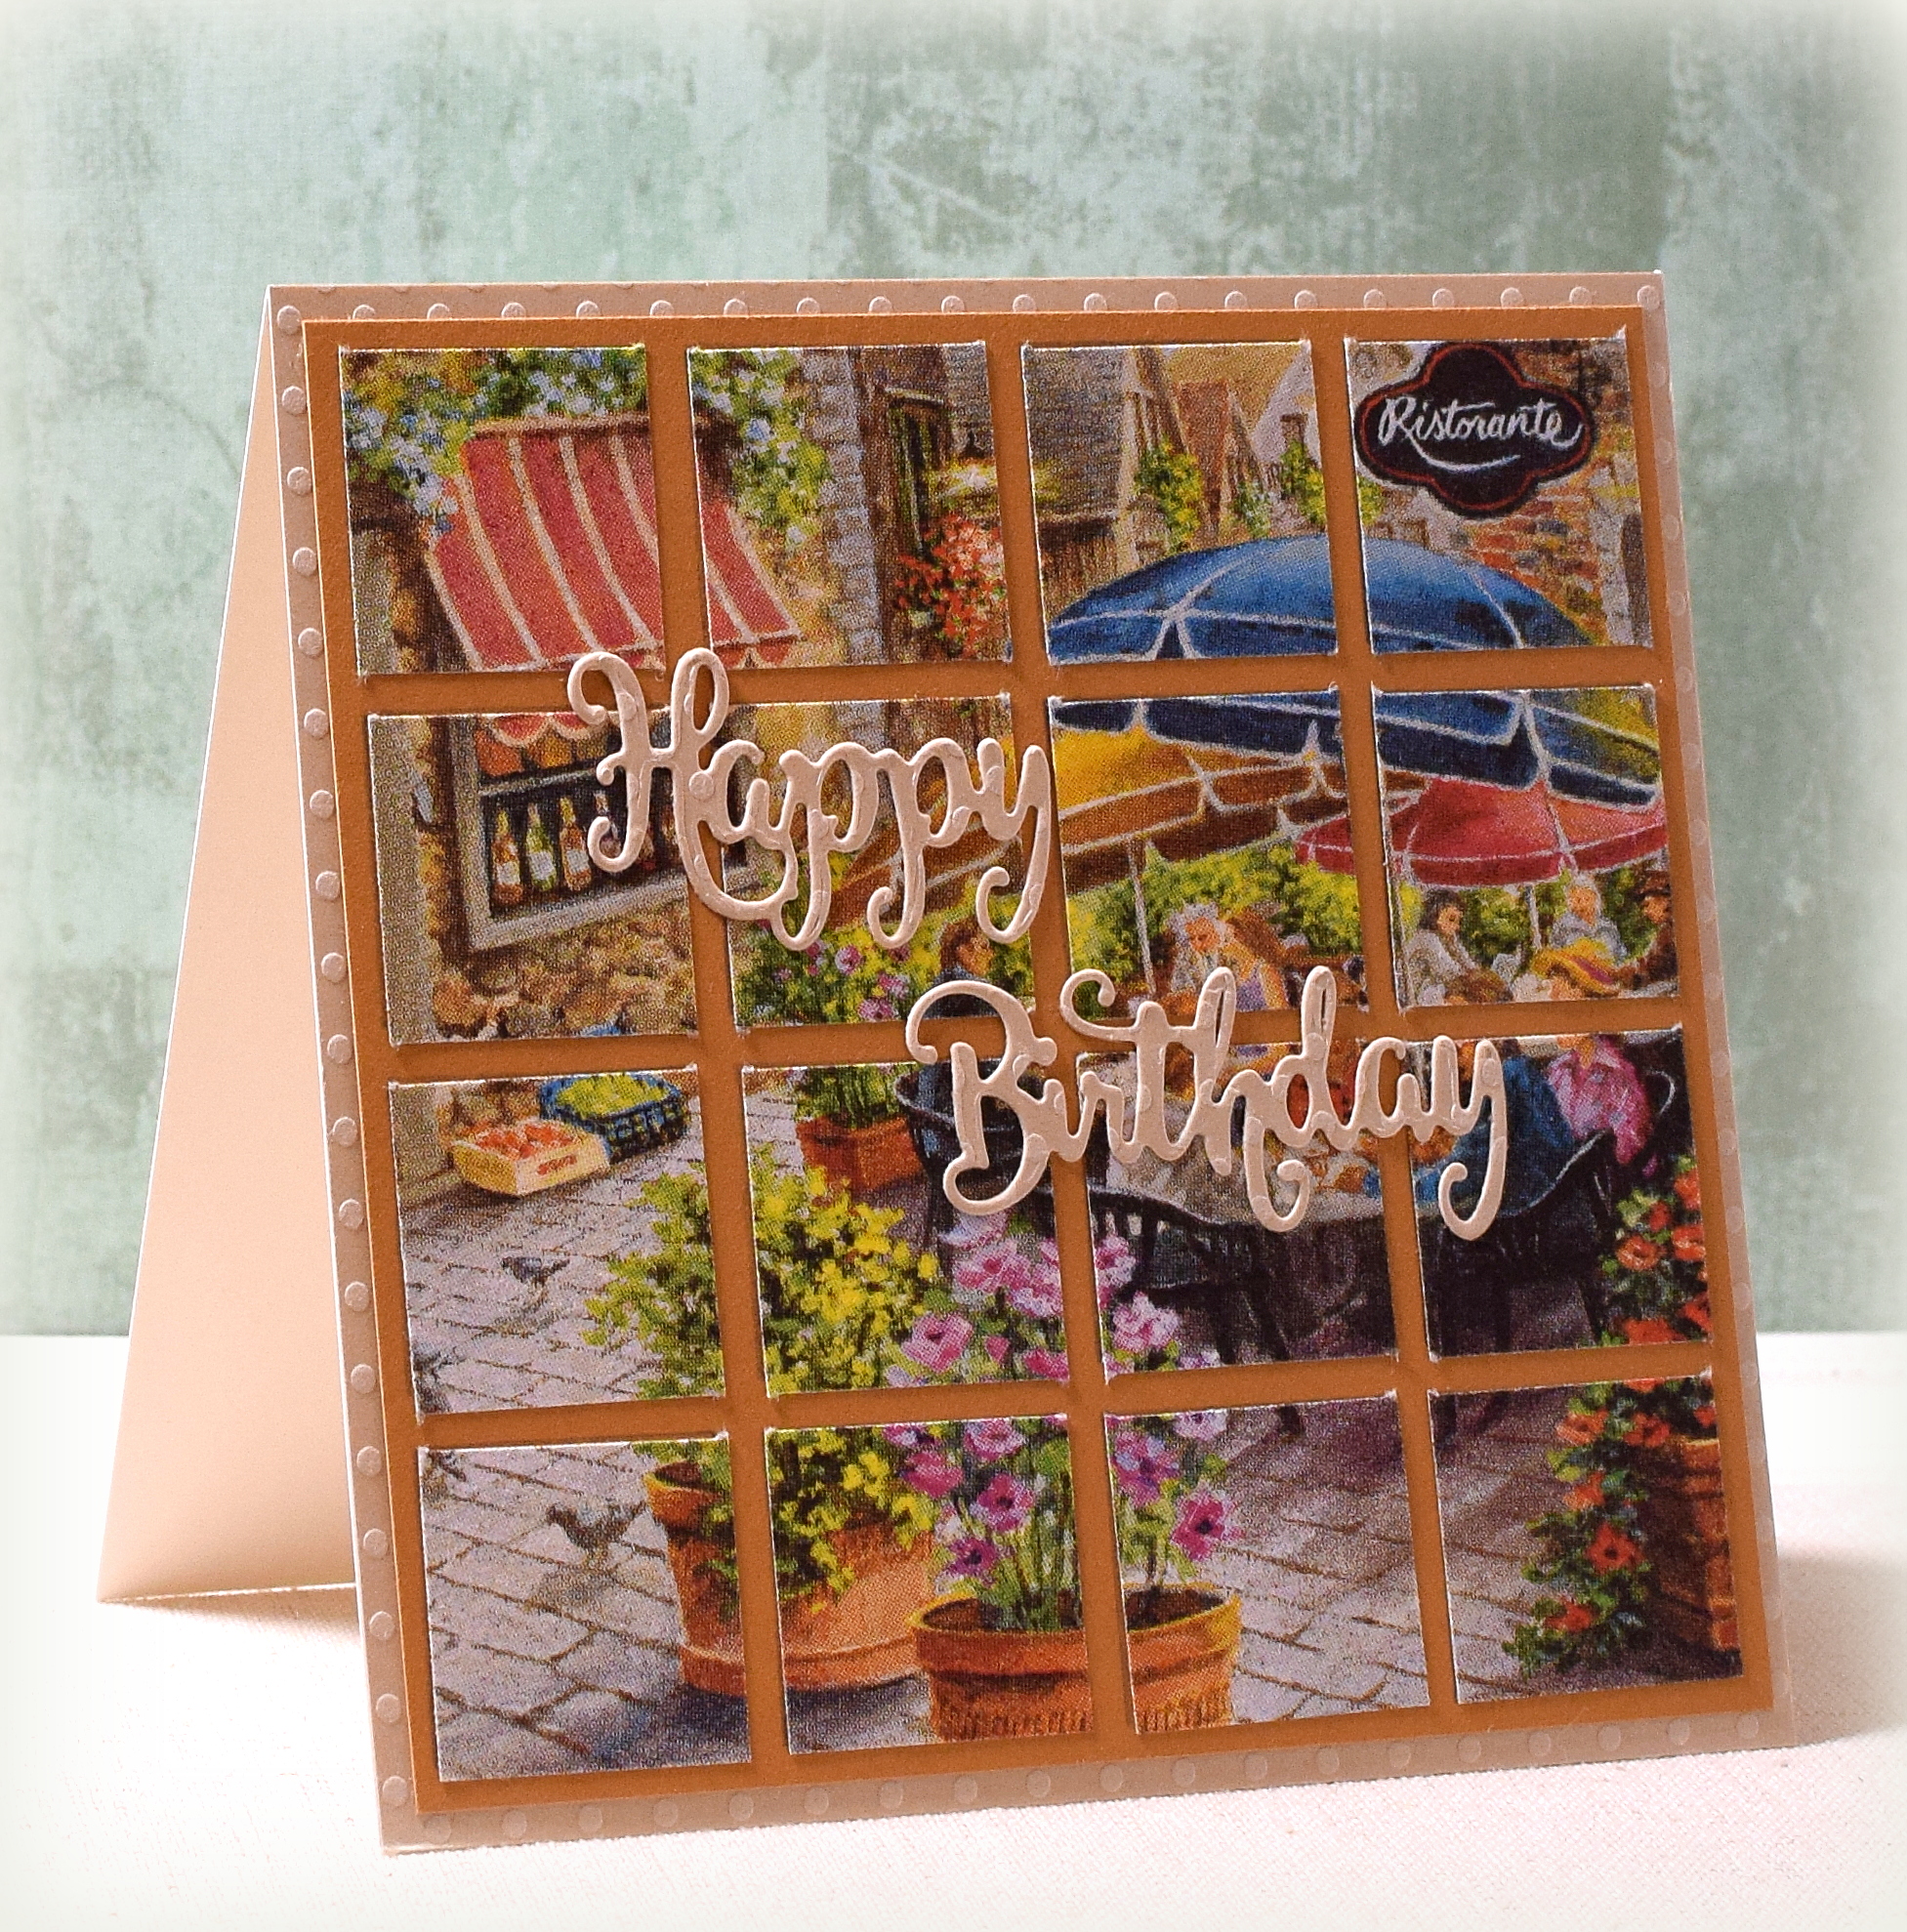
Here is the front of the card:

DSC_2551w

This card folds flat for mailing.

The water color patterned paper (#PPR3507) is by love nicole.  I also used Gina K Designs Grass Green, Warm Glow, Edible Eggplant, and Powder Blue card stock.

The Round Happy Birthday die used on the front is unbranded, and the stitched Nesting Square Parentheses inside can be found at Printable Heaven.  The sentiment is called “Special Day Wishes” (#573F) by DRS Designs and was stamped with GKD Edible Eggplant ink.

DSC_2553v

Thanks for checking out my card project!

This content uses referral links as described in the disclosure policy on my sidebar.

Bordering Blooms Birthday Wishes

Bordering Blooms Birthday Wishes

xDSC_3326

(inside: may your birthday be filled with love, laughter and everything that makes you happy)

I love the fine lines and whimsical style of the flowers and leaves on this stamp from the  “Bordering Blooms” set from Stampin’ Up (retired?).  This stamp is 5 1/2 inches long and fits across an A2 size card.

I stamped the image with Memento Tuxedo Black ink and colored it with Copic markers (BG75, BG72, R24, R22, and R21).  I used the BG75 marker to create the mat as well.

The greeting and inside sentiment are from the “Happy Birthday to You” set from Gina K Designs.  I used my score board to deboss the stripes on the background panel.

Thanks for checking out my card project!

This content uses referral links as described in the disclosure policy on my sidebar.

Painted Petals Birthday Card

Painted Petals Birthday Card

wDSC_1246.jpg

This simple card features stamps from the “Painted Petals” stamp set from Stampin’ Up (retired?).

painted petals stamp set pic

The greeting is from the “Banners” set from Joy! Crafts.  I used Gina K Designs Fresh Asparagus ink and Peach Bellini ink and card stock.  I stamped my images on water color paper for a bit of texture.

Here’s one in pink.

wDSC_1247

Thanks for checking out my card project!


Copper Leaves

Copper Leaves

xDSC_3158

I love how copper and black look on kraft card stock.

To create my leaves, I used gel medium and copper embossing powder.  I applied the gel medium to my panel with a palette knife through a stencil, and while the gel medium was still wet, I sprinkled on the copper embossing powder.  After the gel medium had dried, I heat set the powder with a heat tool.  Love, love, love the results!!

The vine stencil (5×6) was from Stencil RevolutionCopper embossing powder is from Hero Arts.  The stamp is from the “Frame and Flowers 2” set by Gina K Designs as is the lighter Kraft card stock.  The black and kraft card base is by Recollections.  I stamped the greeting with versafine onyx black ink.

Thanks for checking out my card project!

This content uses referral links as described in the disclosure policy on my sidebar.

Italian Ristorante Napkin Cards

Italian Ristorante Napkin Cards

vDSC_3139

(inside:  Wishing you an amazing birthday and your best year yet!)

My sister is very excited about her upcoming trip to Italy so I thought I’d make a card for her birthday using an “Italian Ristorante” scene napkin.  (I think the man and woman in the blue and red vaguely look like my sister and her husband – lol!)

I really struggled with this one and tried a few different layout ideas before “settling” on the design above.  The napkin was just so colorful and busy, and finding the point between “unfinished” and “a hot mess” was tough!!  It’s a good thing each napkin had 4 usable panels as I only ordered 3 individual napkins from Etsy!

The finished card measured 5 1/2 x 5 1/2 inches.  I made a square envelope with my envelope punch board so a trip to the post office was required to mail it .

Here are a few more of the samples that didn’t end up in the trash…

zDSC_3149    zDSC_3141

I had to stack/layer several of the greeting die cuts on each of these in order for them to stand out.  In hindsight, I think a lighter background behind the “mosaic tiles” might have been better on the second sample.  And while I kind of liked both of these layout ideas, “my sister and brother-in-law” weren’t visible!

This next sample (5 x 7) was made using a sketch that was meant for an A2 sized card.

zzDSC_3151

mojo monday sketch jan 2917

I think mine ended up looking a little too tall and stretched out.  In hindsight, I think I would have liked it better as an A2 sized card.  (Not crazy about my diagonal size/placement either!)

At some point however, you just need to move on to the next project – lol!!

Click here to see how I created the napkin panels for my cards.

To see tools and products used on these cards, continue reading….. Continue reading