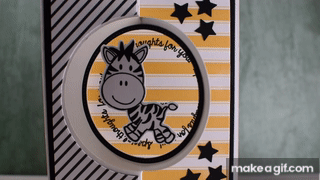
Xavier Zebra Spinner Flip Card

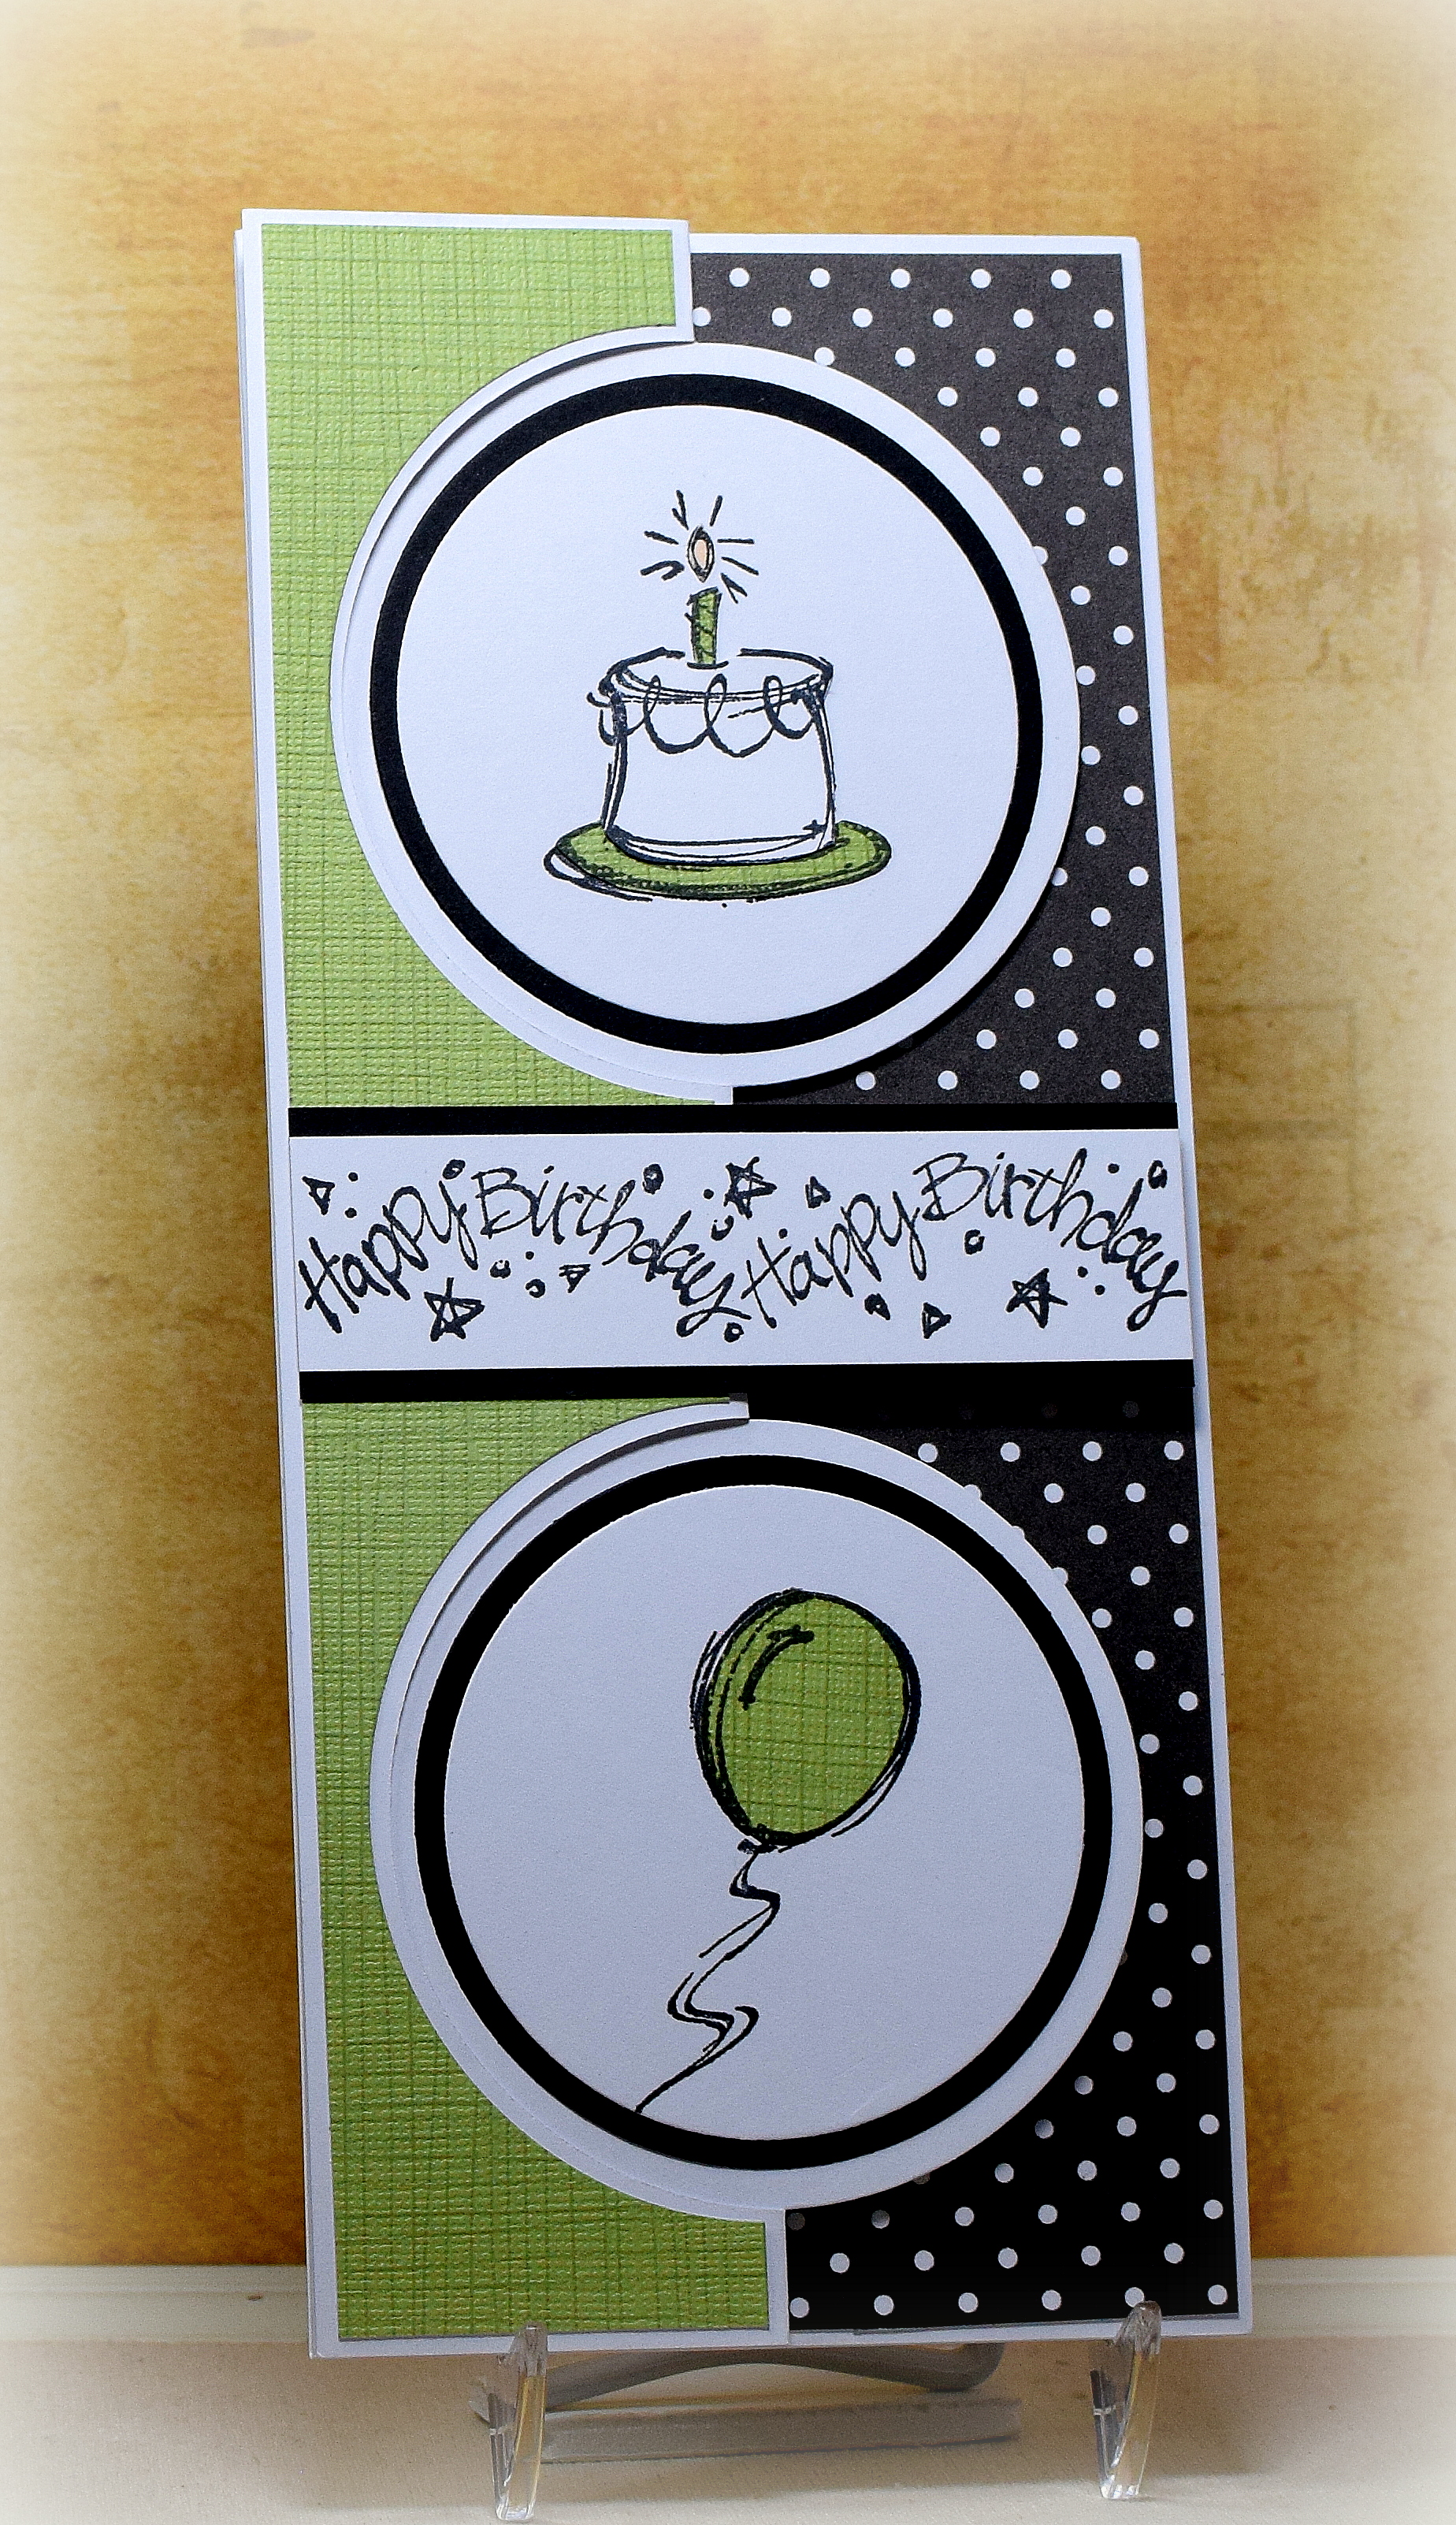
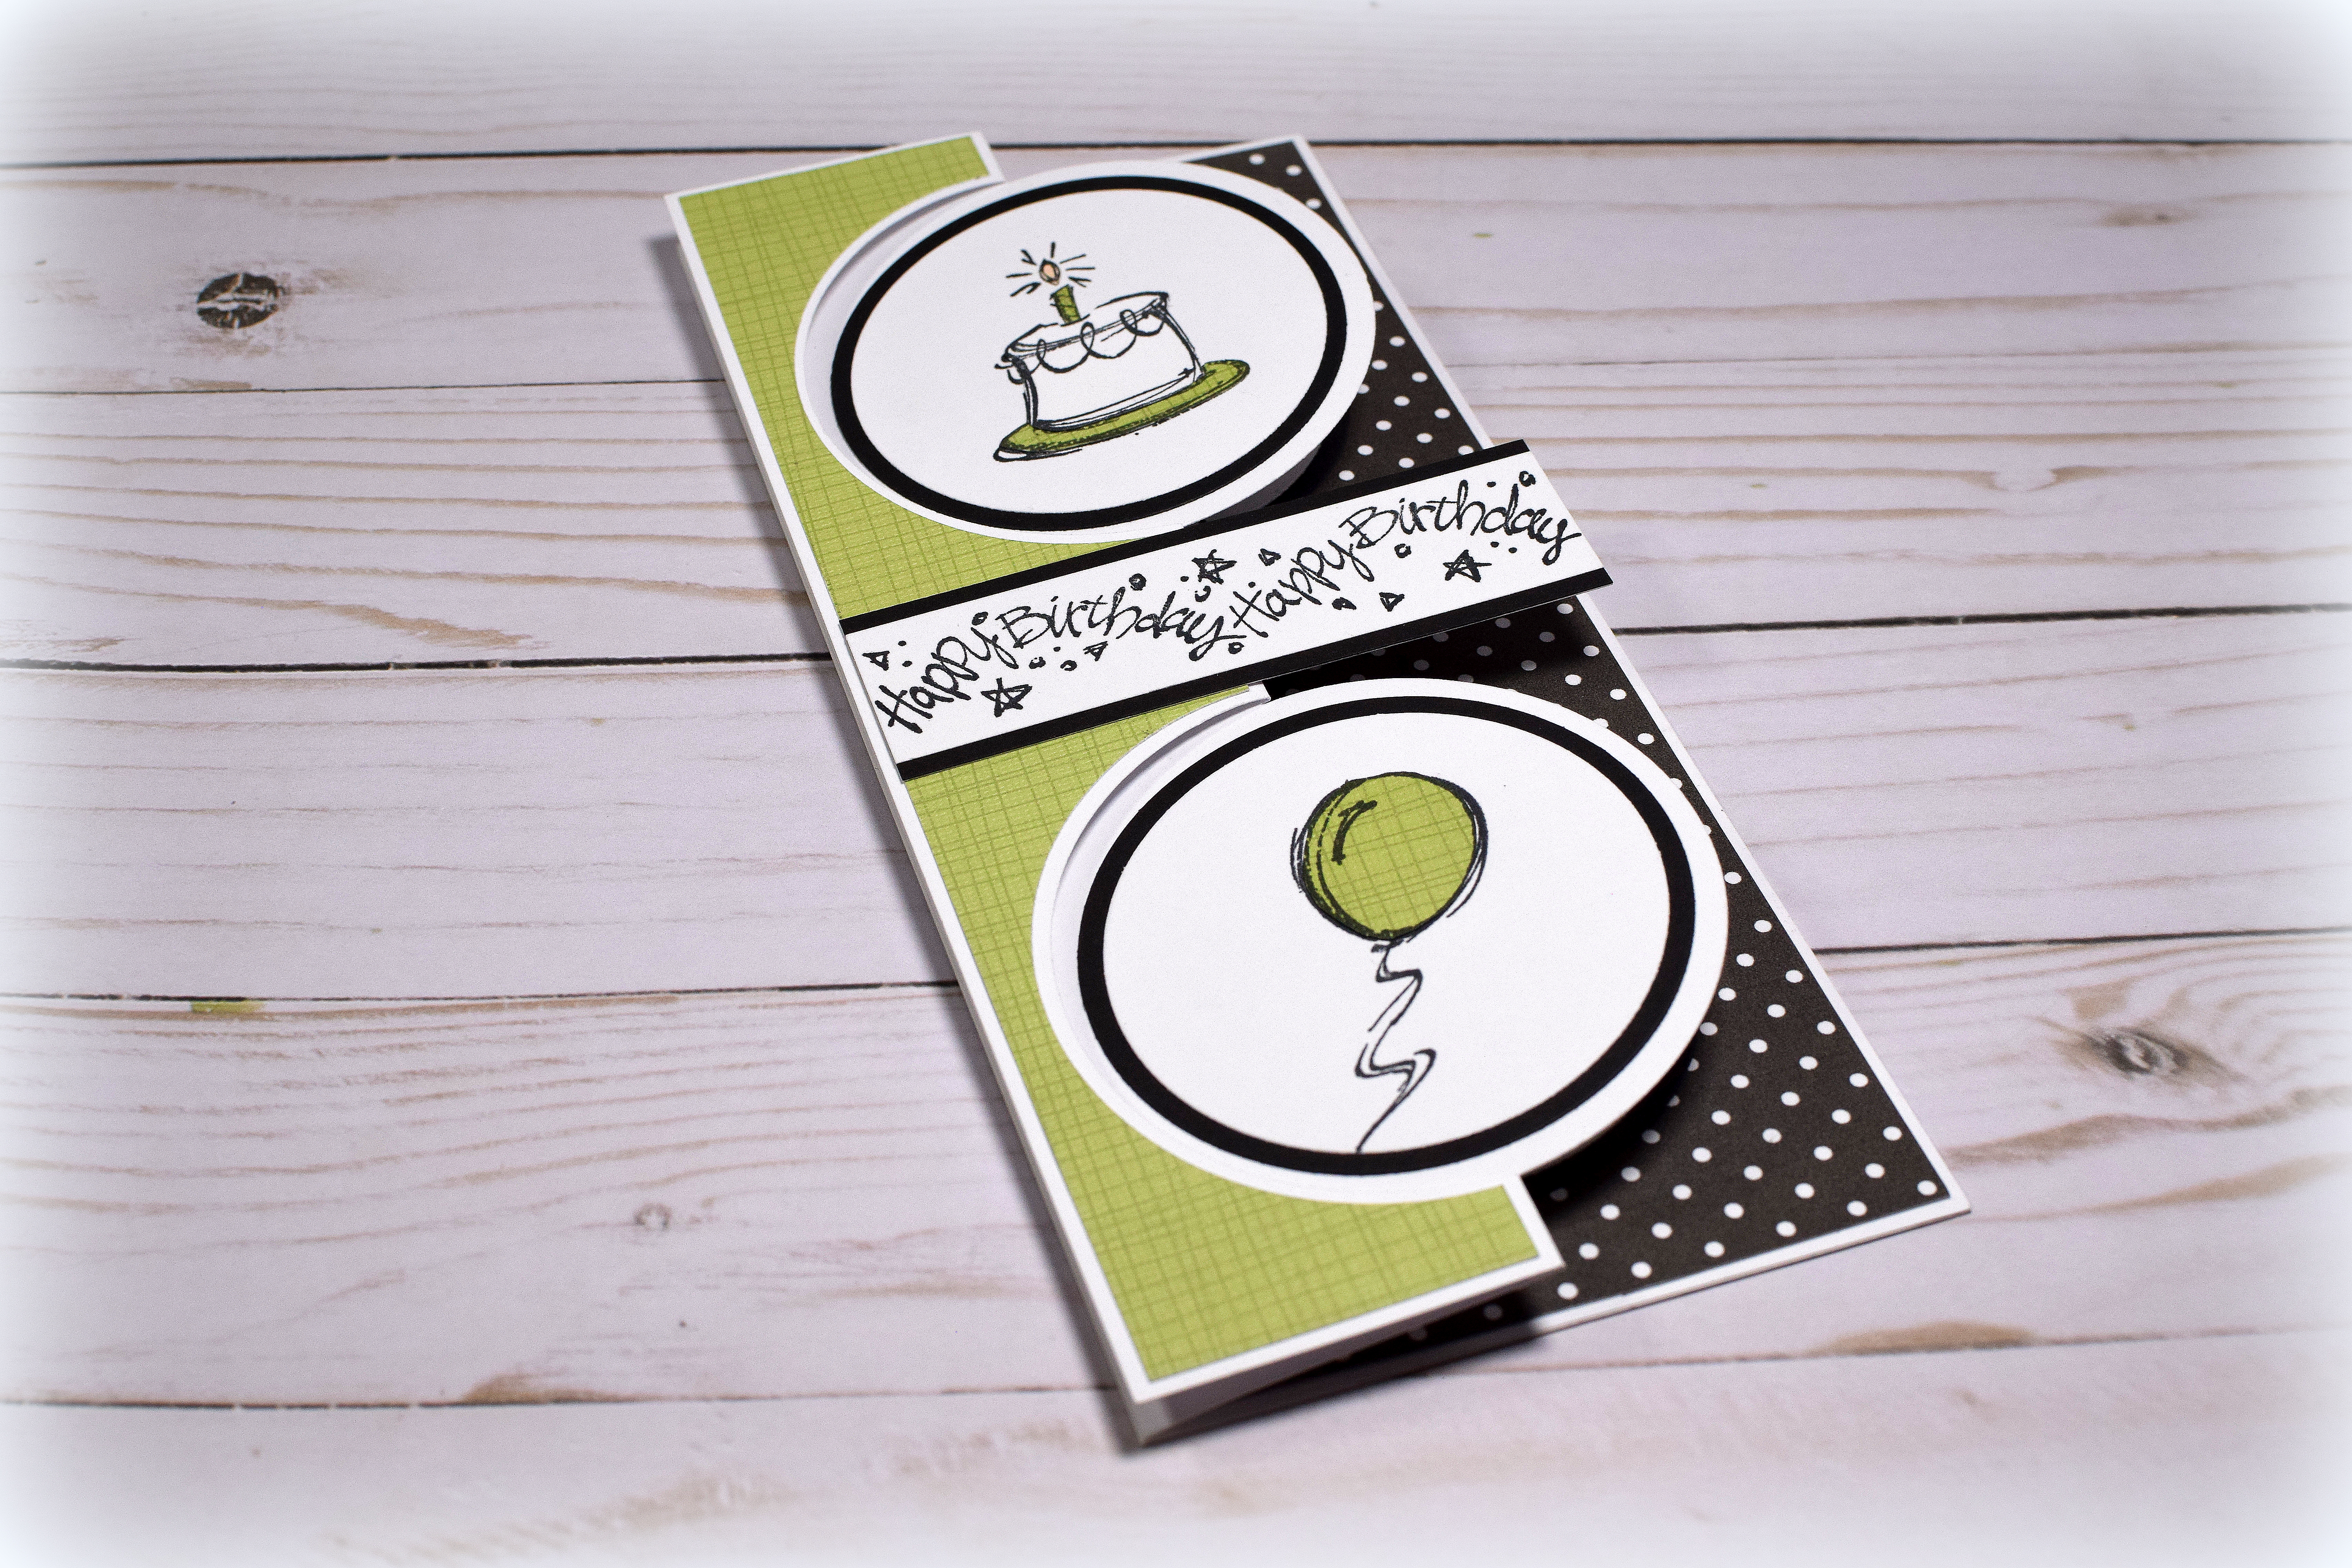
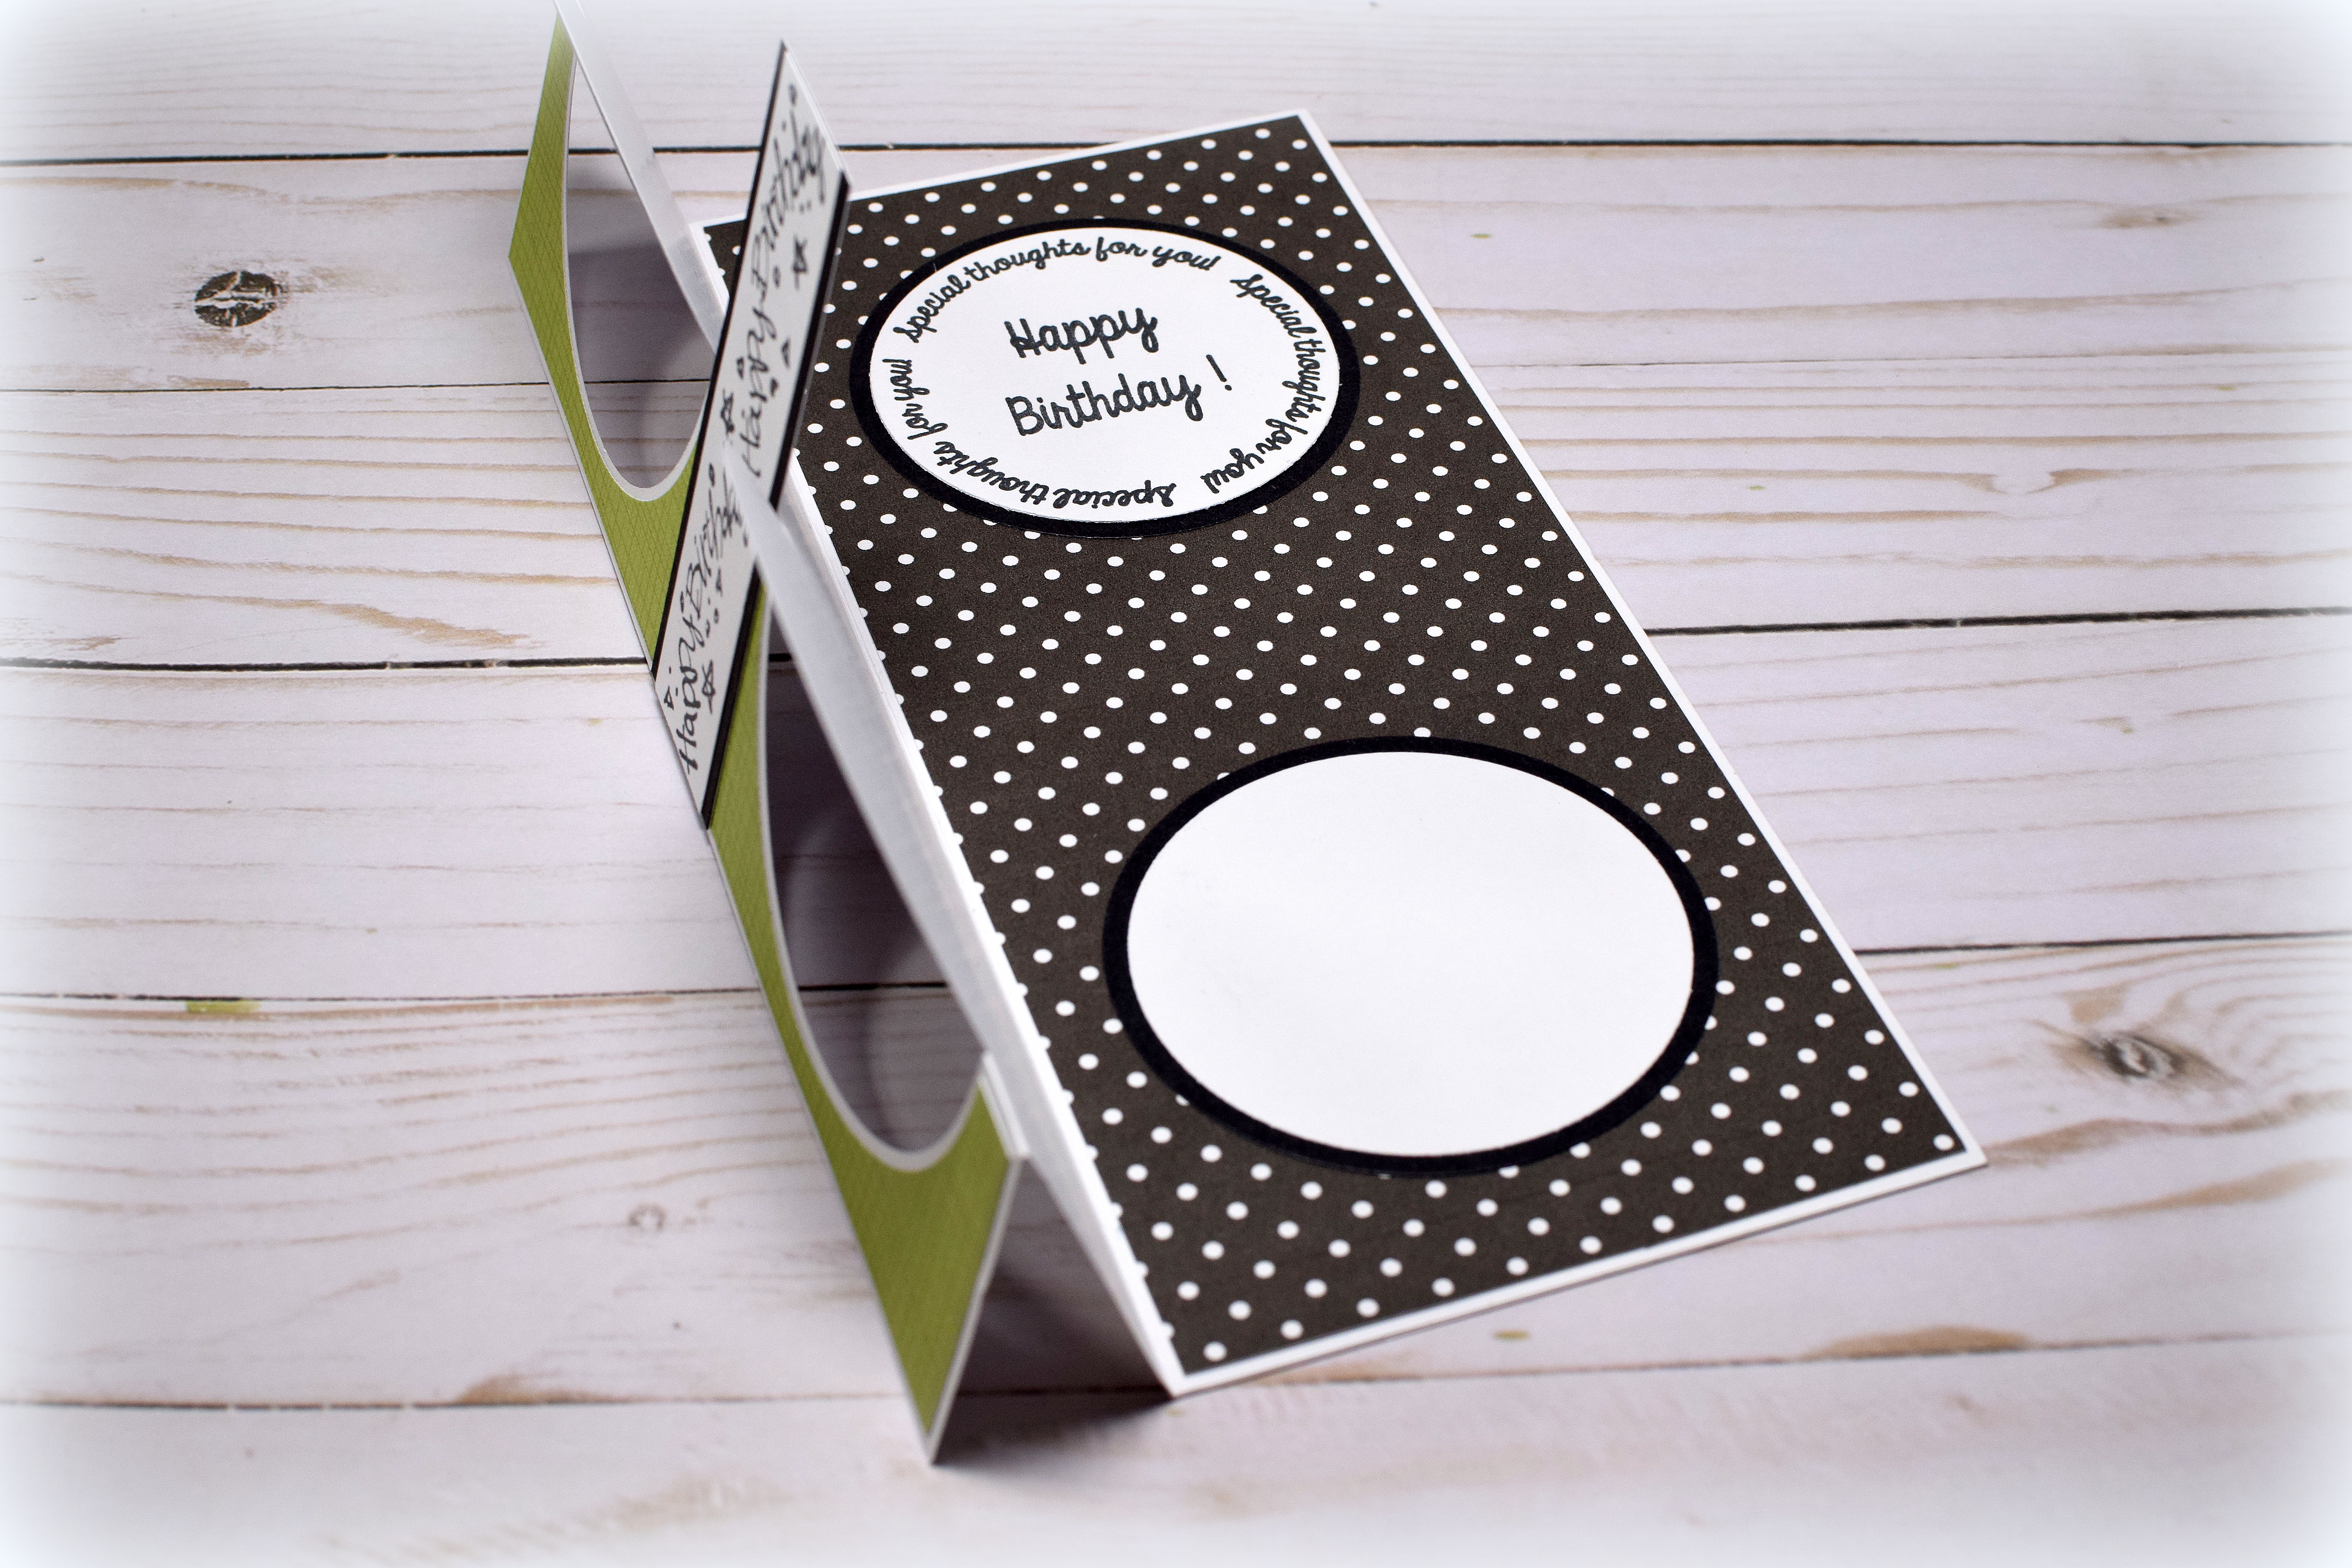
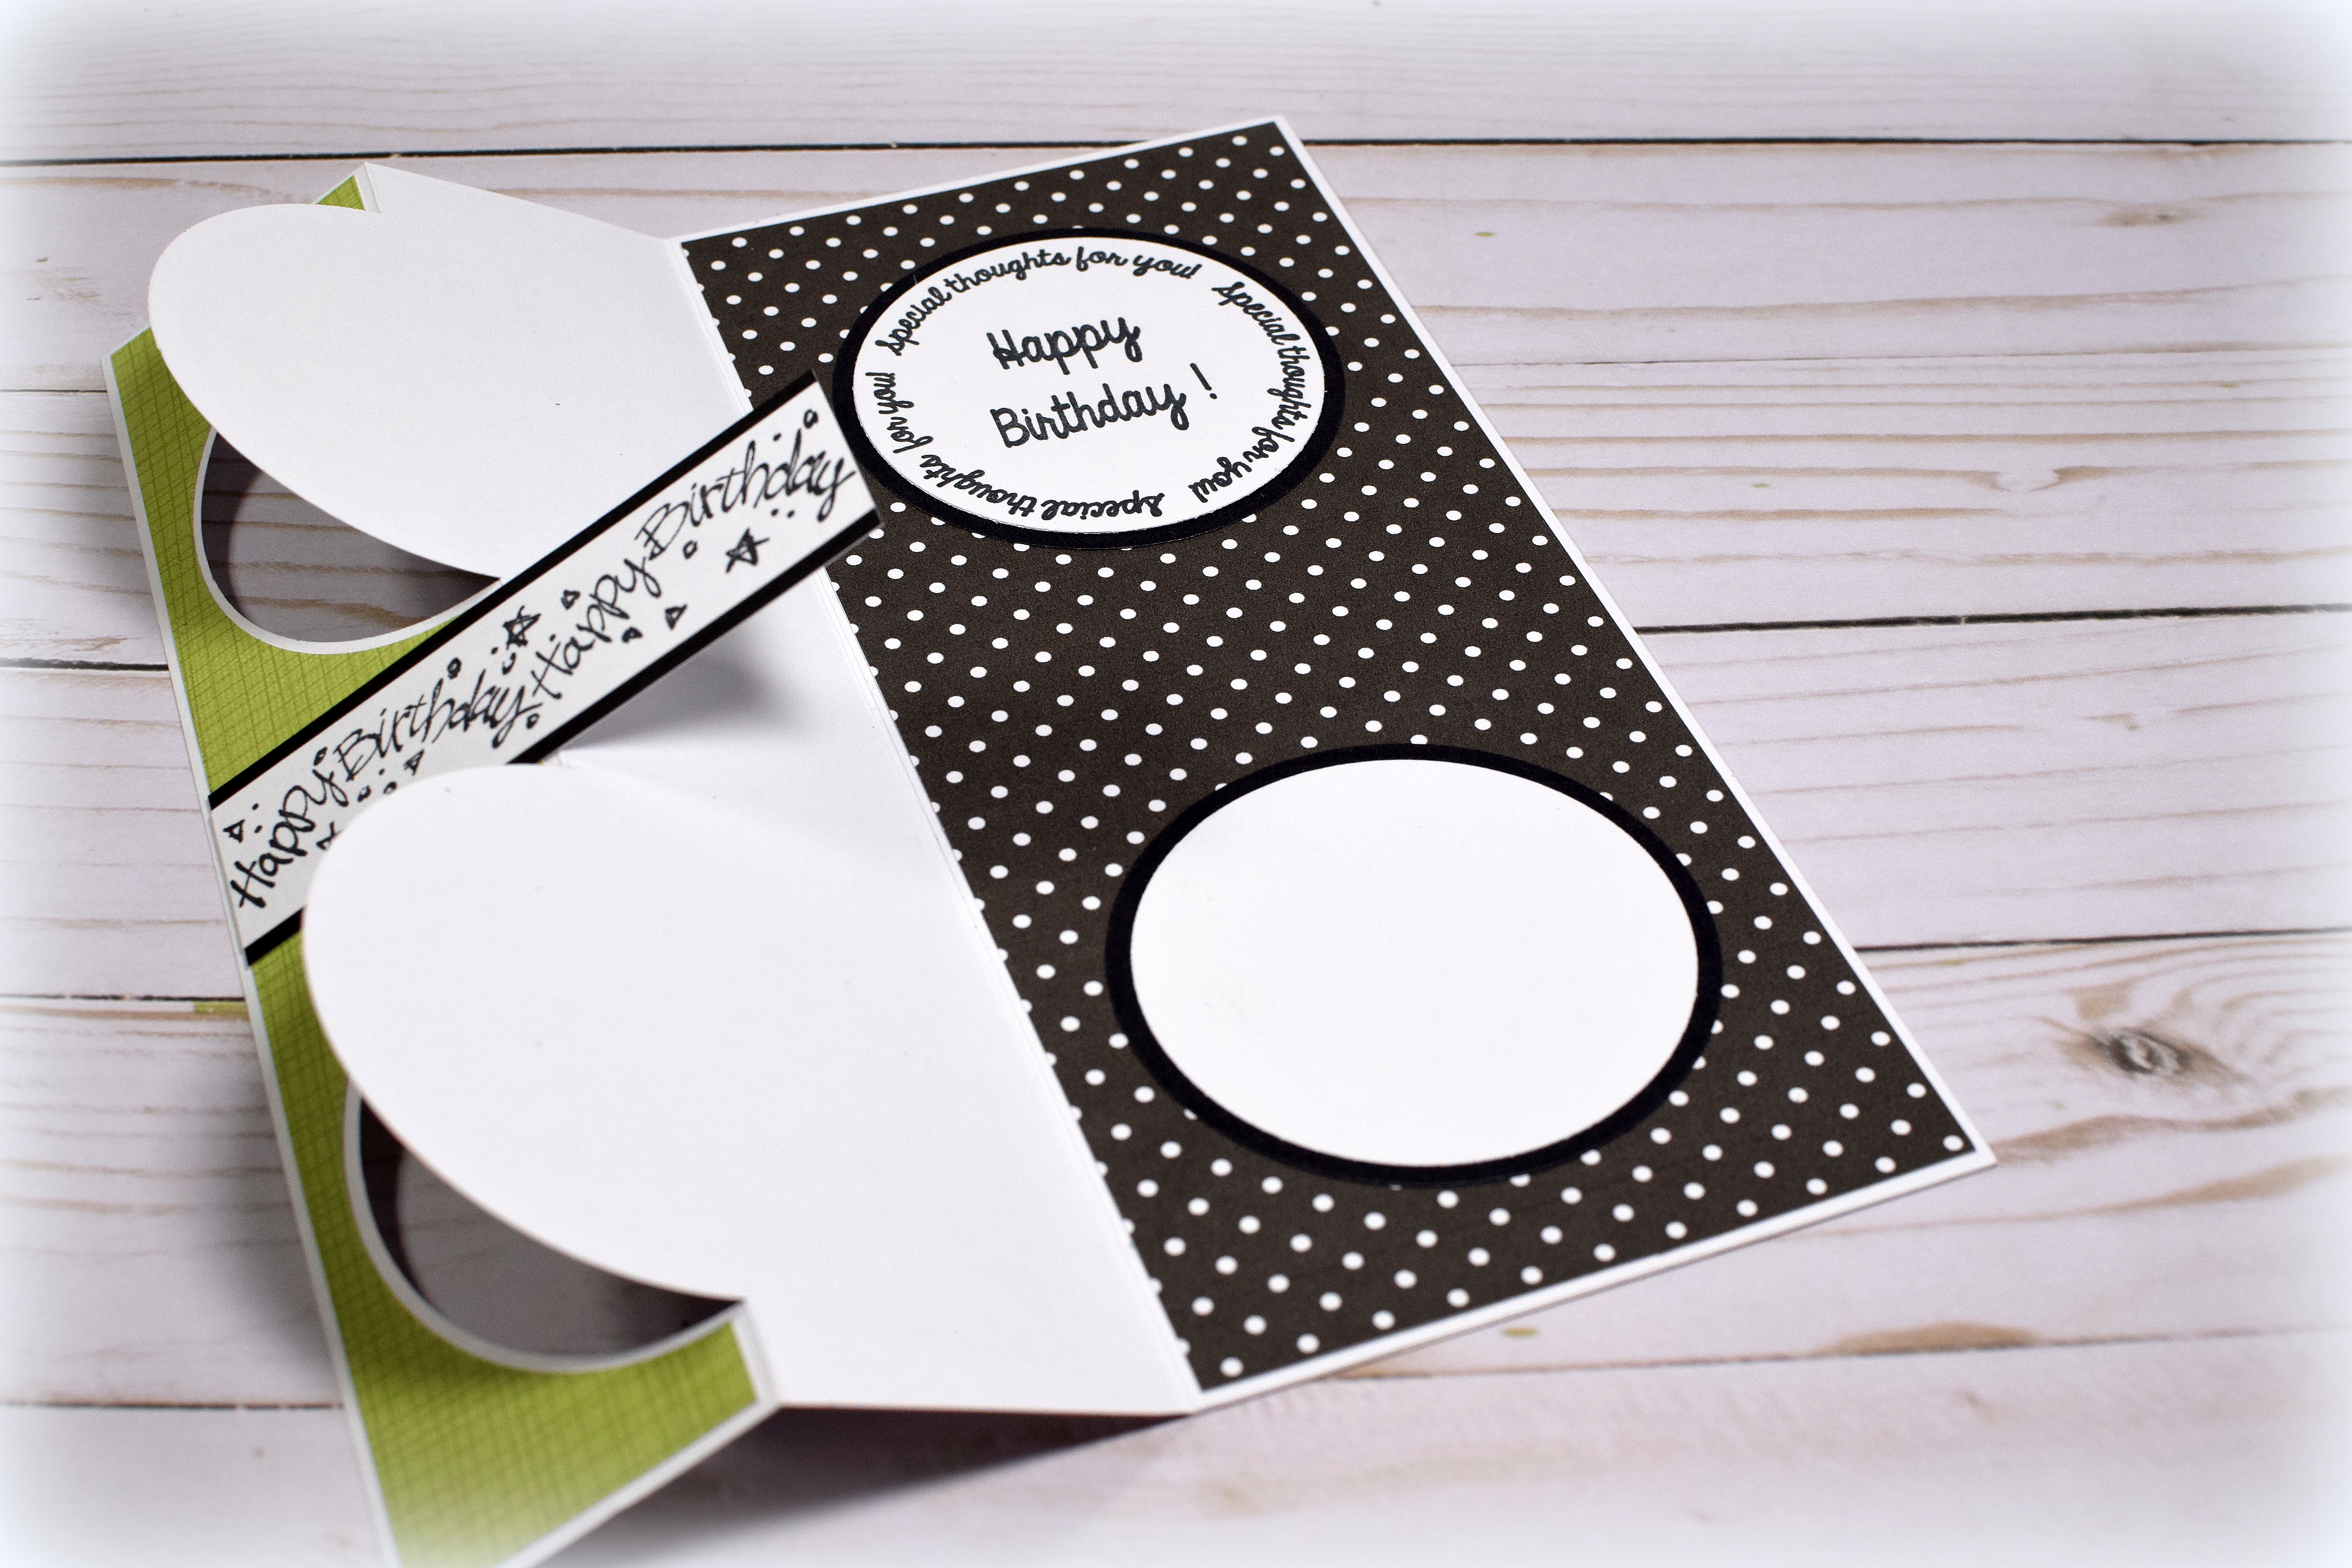
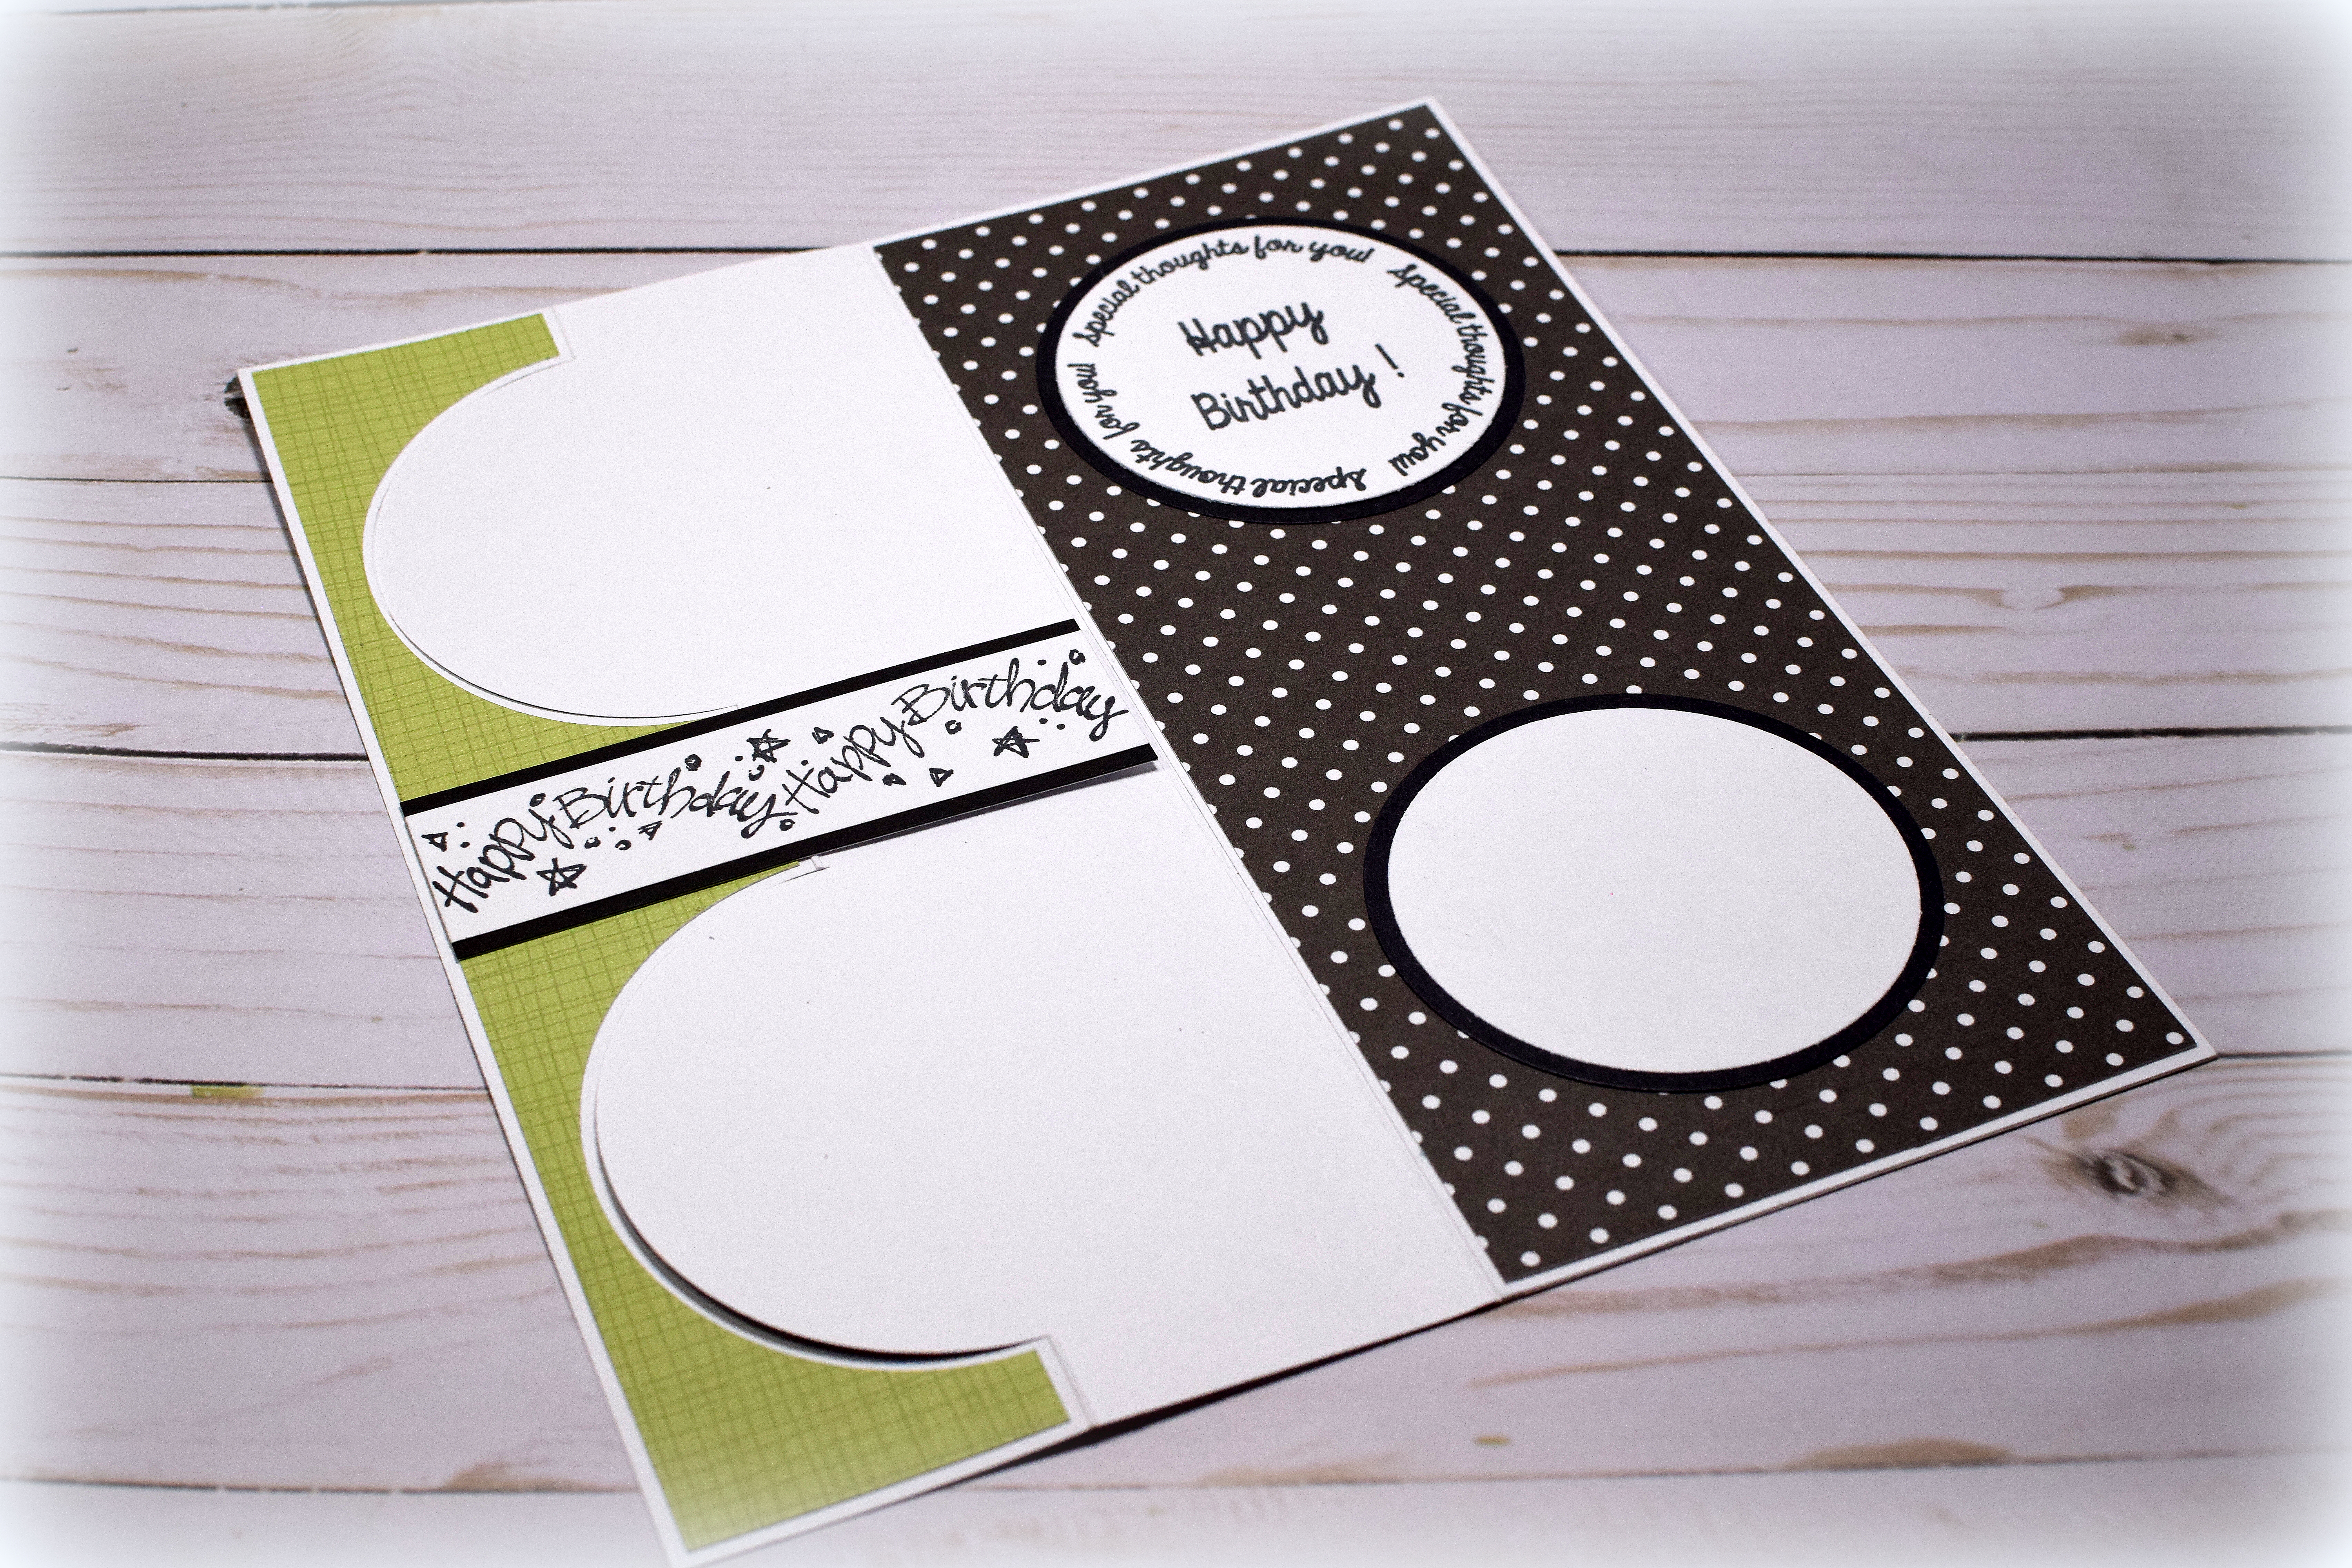
My fifth (and final!) card variation made with the Circle Flip Die Set from Creek Bank Creations is a Spinner Flip Card. This card base is basically a flip card, but the inner part of the circle is “removed” so an element has a place to spin.
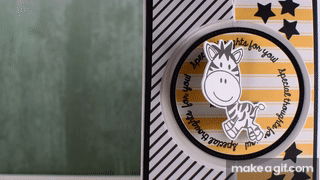
The adorable zebra image is from the “Xavier Zebra” stamp set from Gina K Designs (retired?). The set comes with one zebra stamp, but I needed a second, reversed image so the back of the spinner was not blank. To do this, I did some mirror stamping using my Stampin’ Up Silicone Craft Sheet (as demonstrated HERE), but you could also use a sheet of acetate (as demonstrated HERE) or a flat, solid stamp (as demonstrated HERE). Several companies sell “Mirror Stamping” stamps/tools specifically for this technique as well.
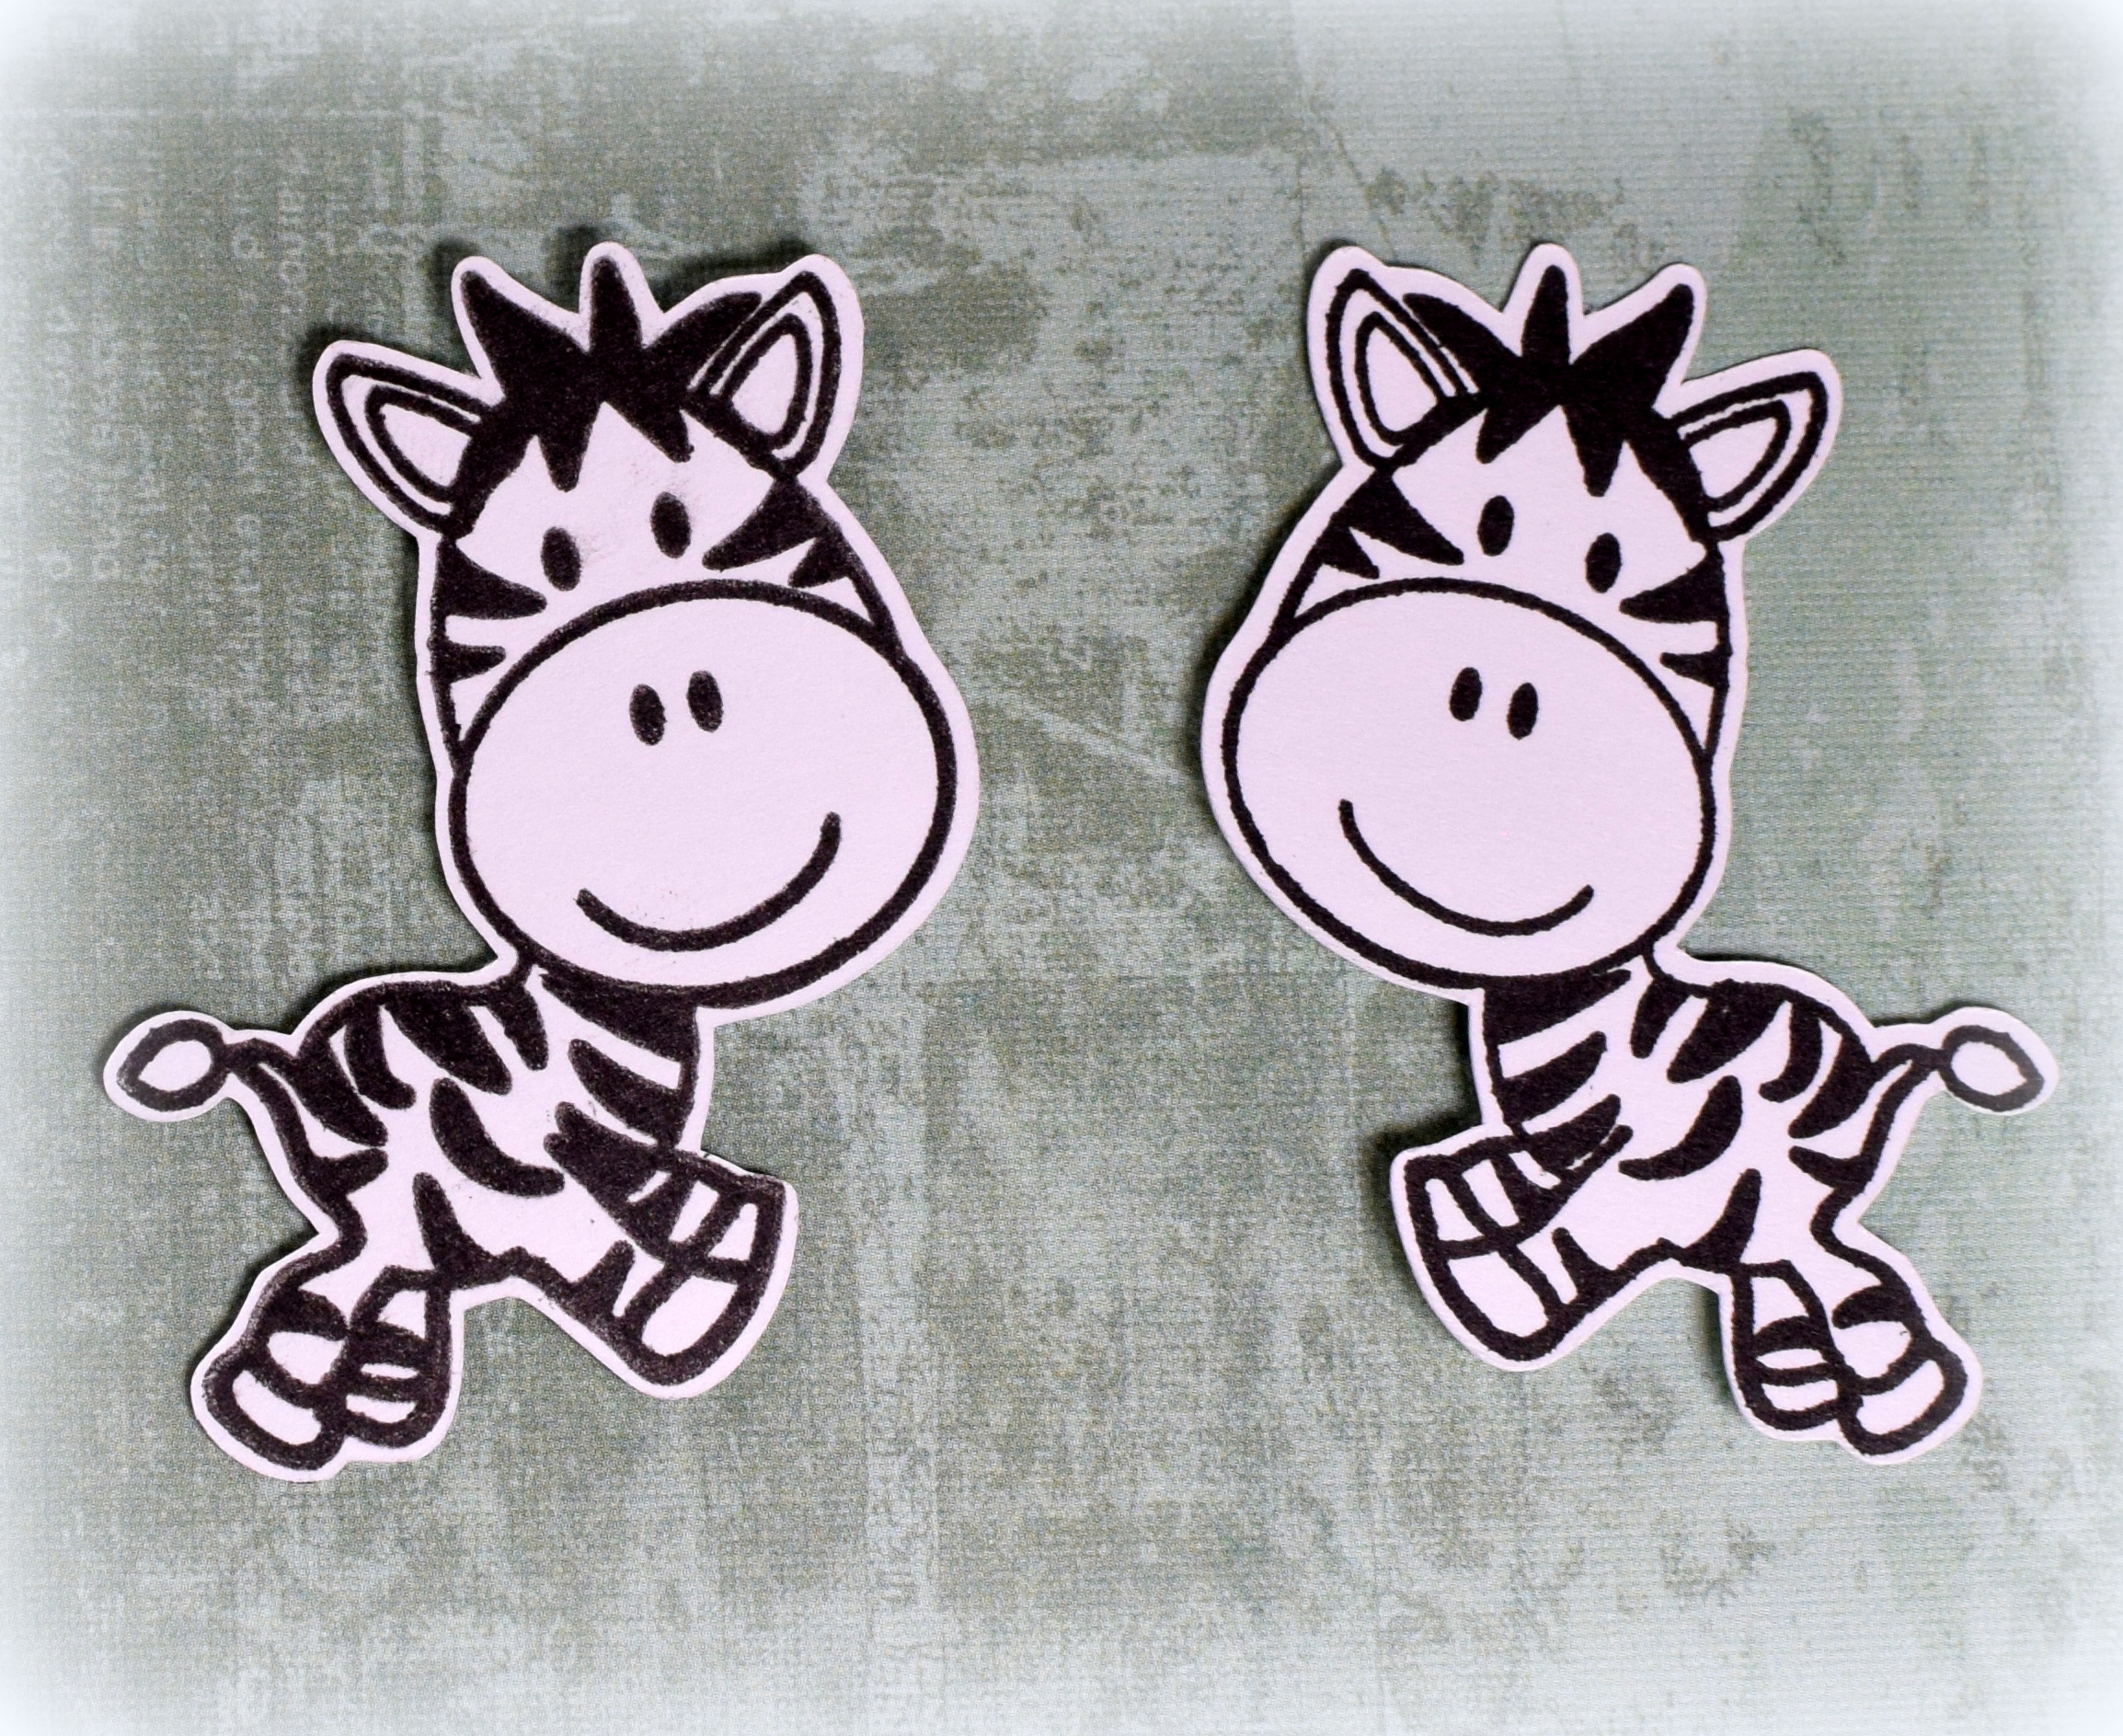
To make the spinner element, I stamped him on two die cuts (front and back) that I made with my Silhouette and sandwiched a long piece of clear thread between the layers before gluing them together. Here is a video (starting at the 2:25 mark) showing how to create this type of card.
I used Versafine Onyx Black ink for all of my stamping. Forgetting that Versafine takes a little longer to dry than dye inks, I got smudges in several spots on the yellow panel. Strategically placed stars solved that problem (for the most part)!
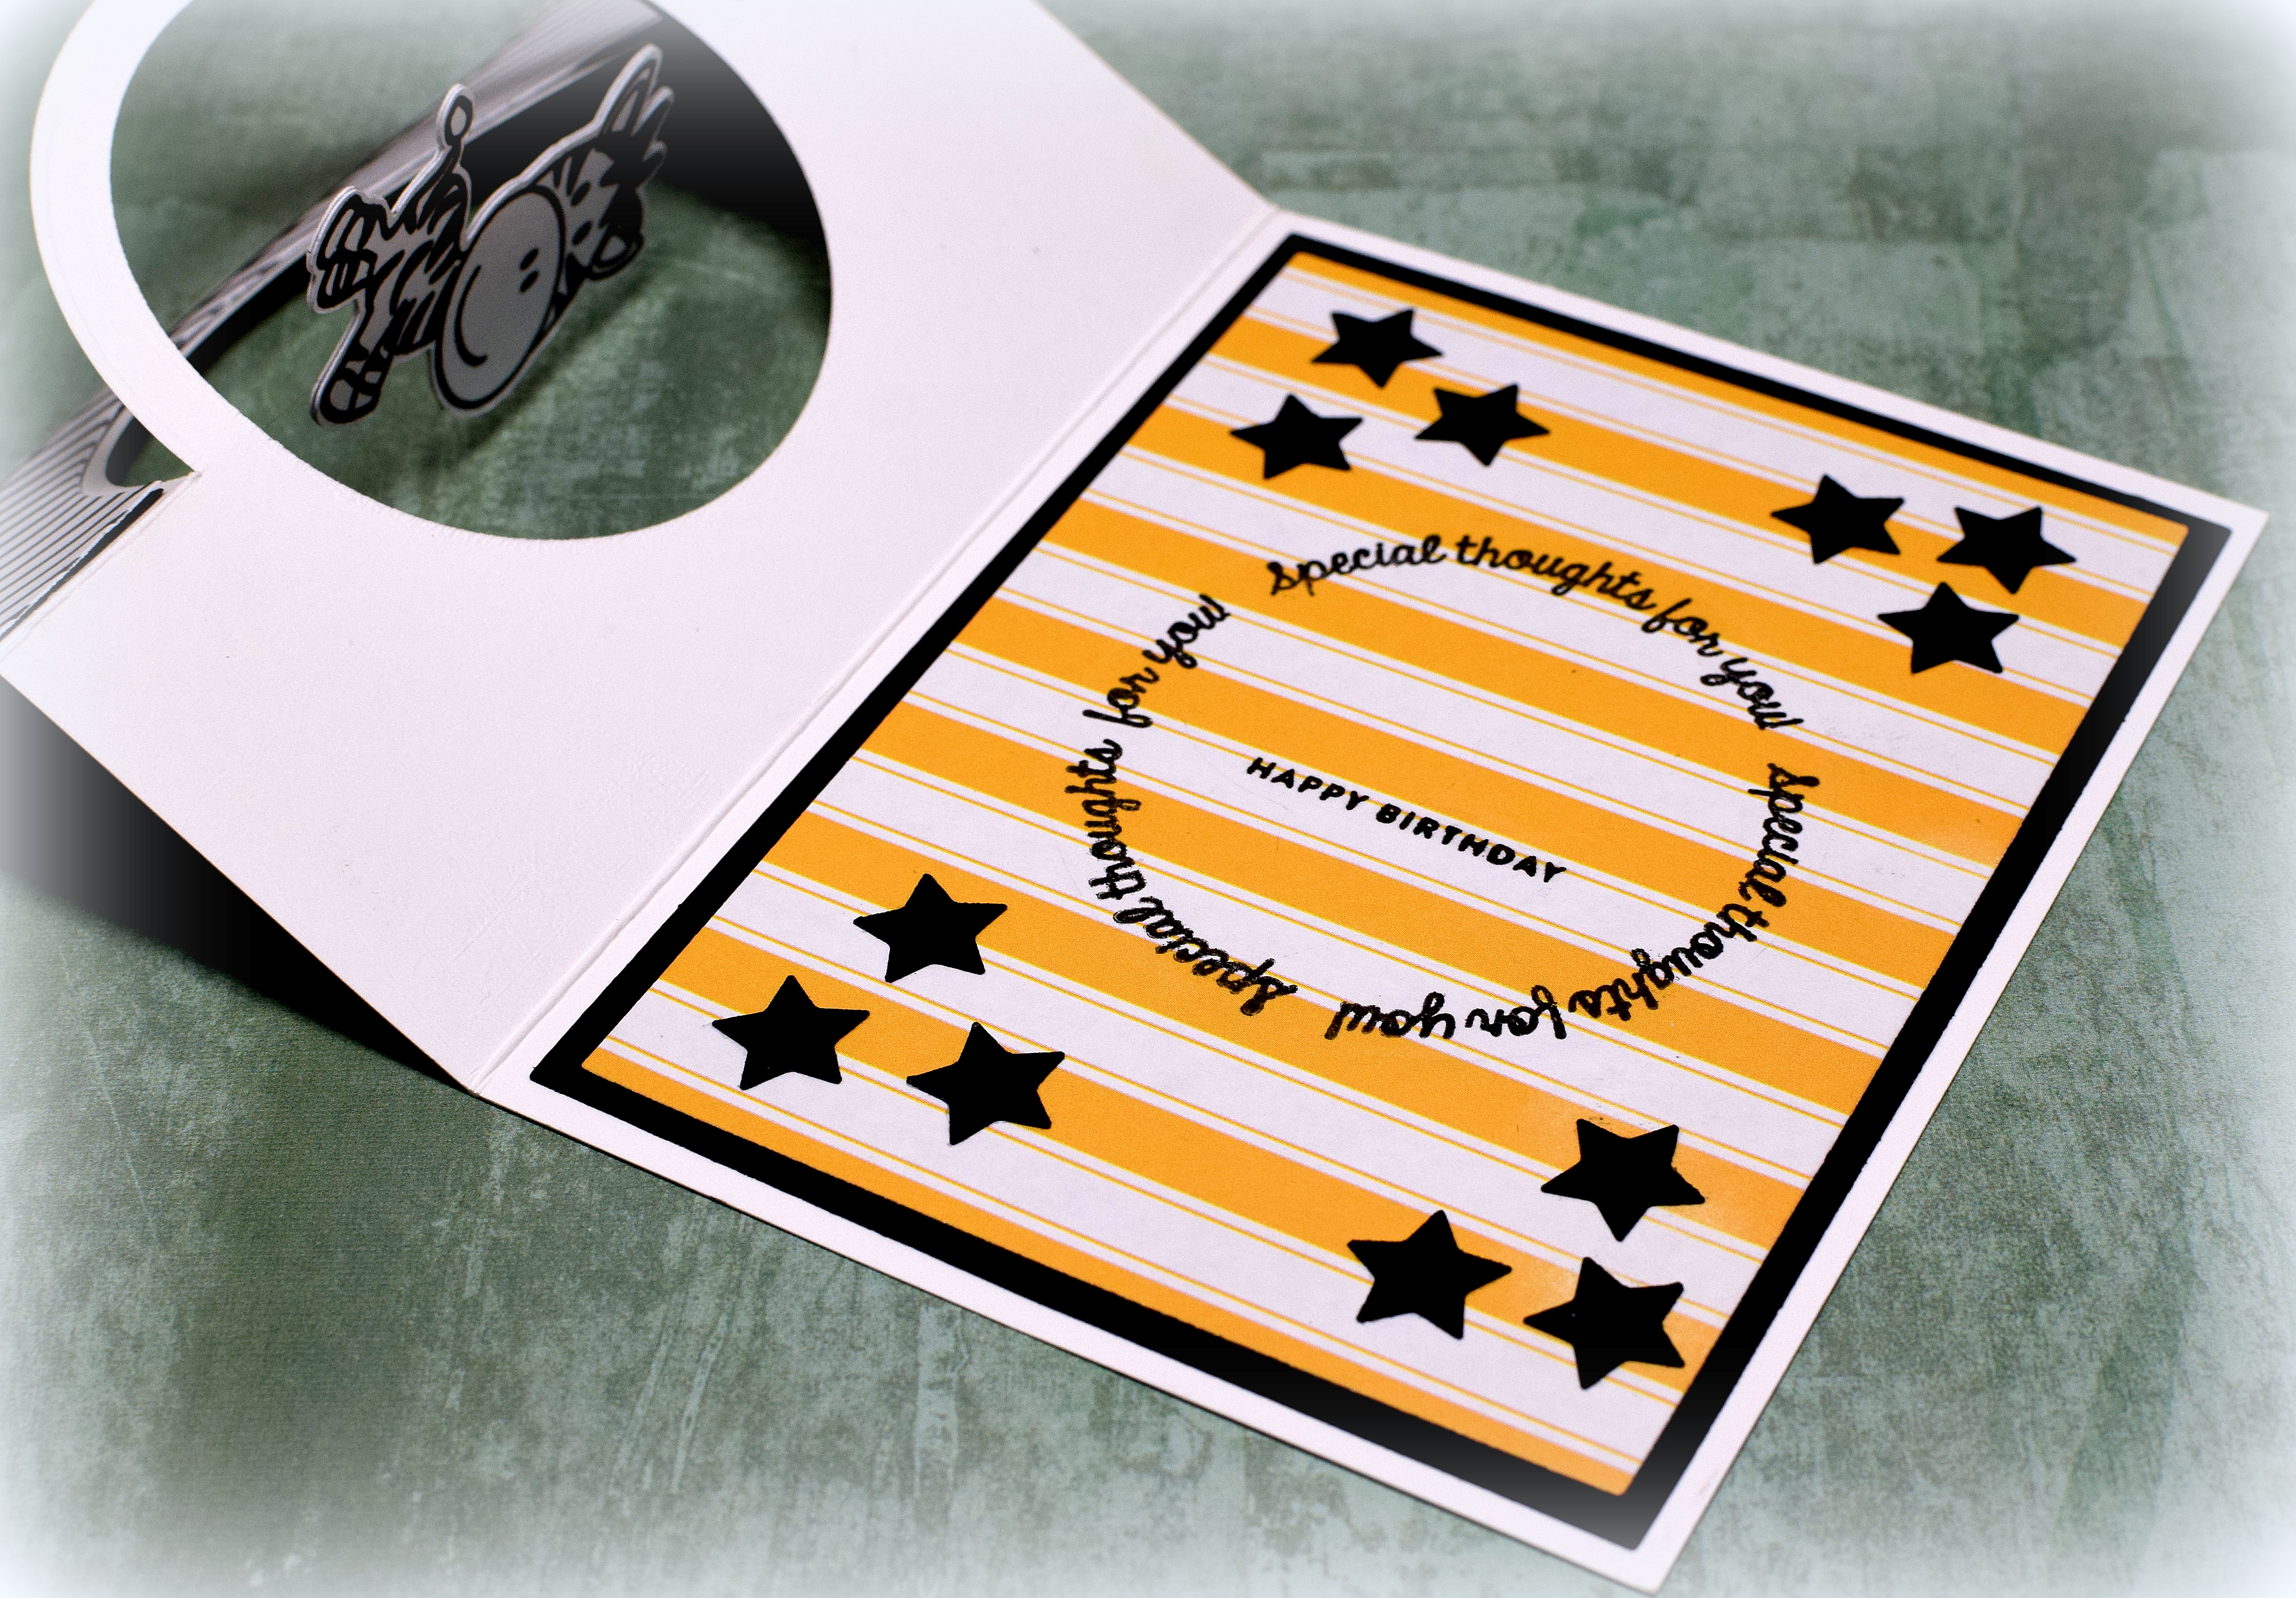
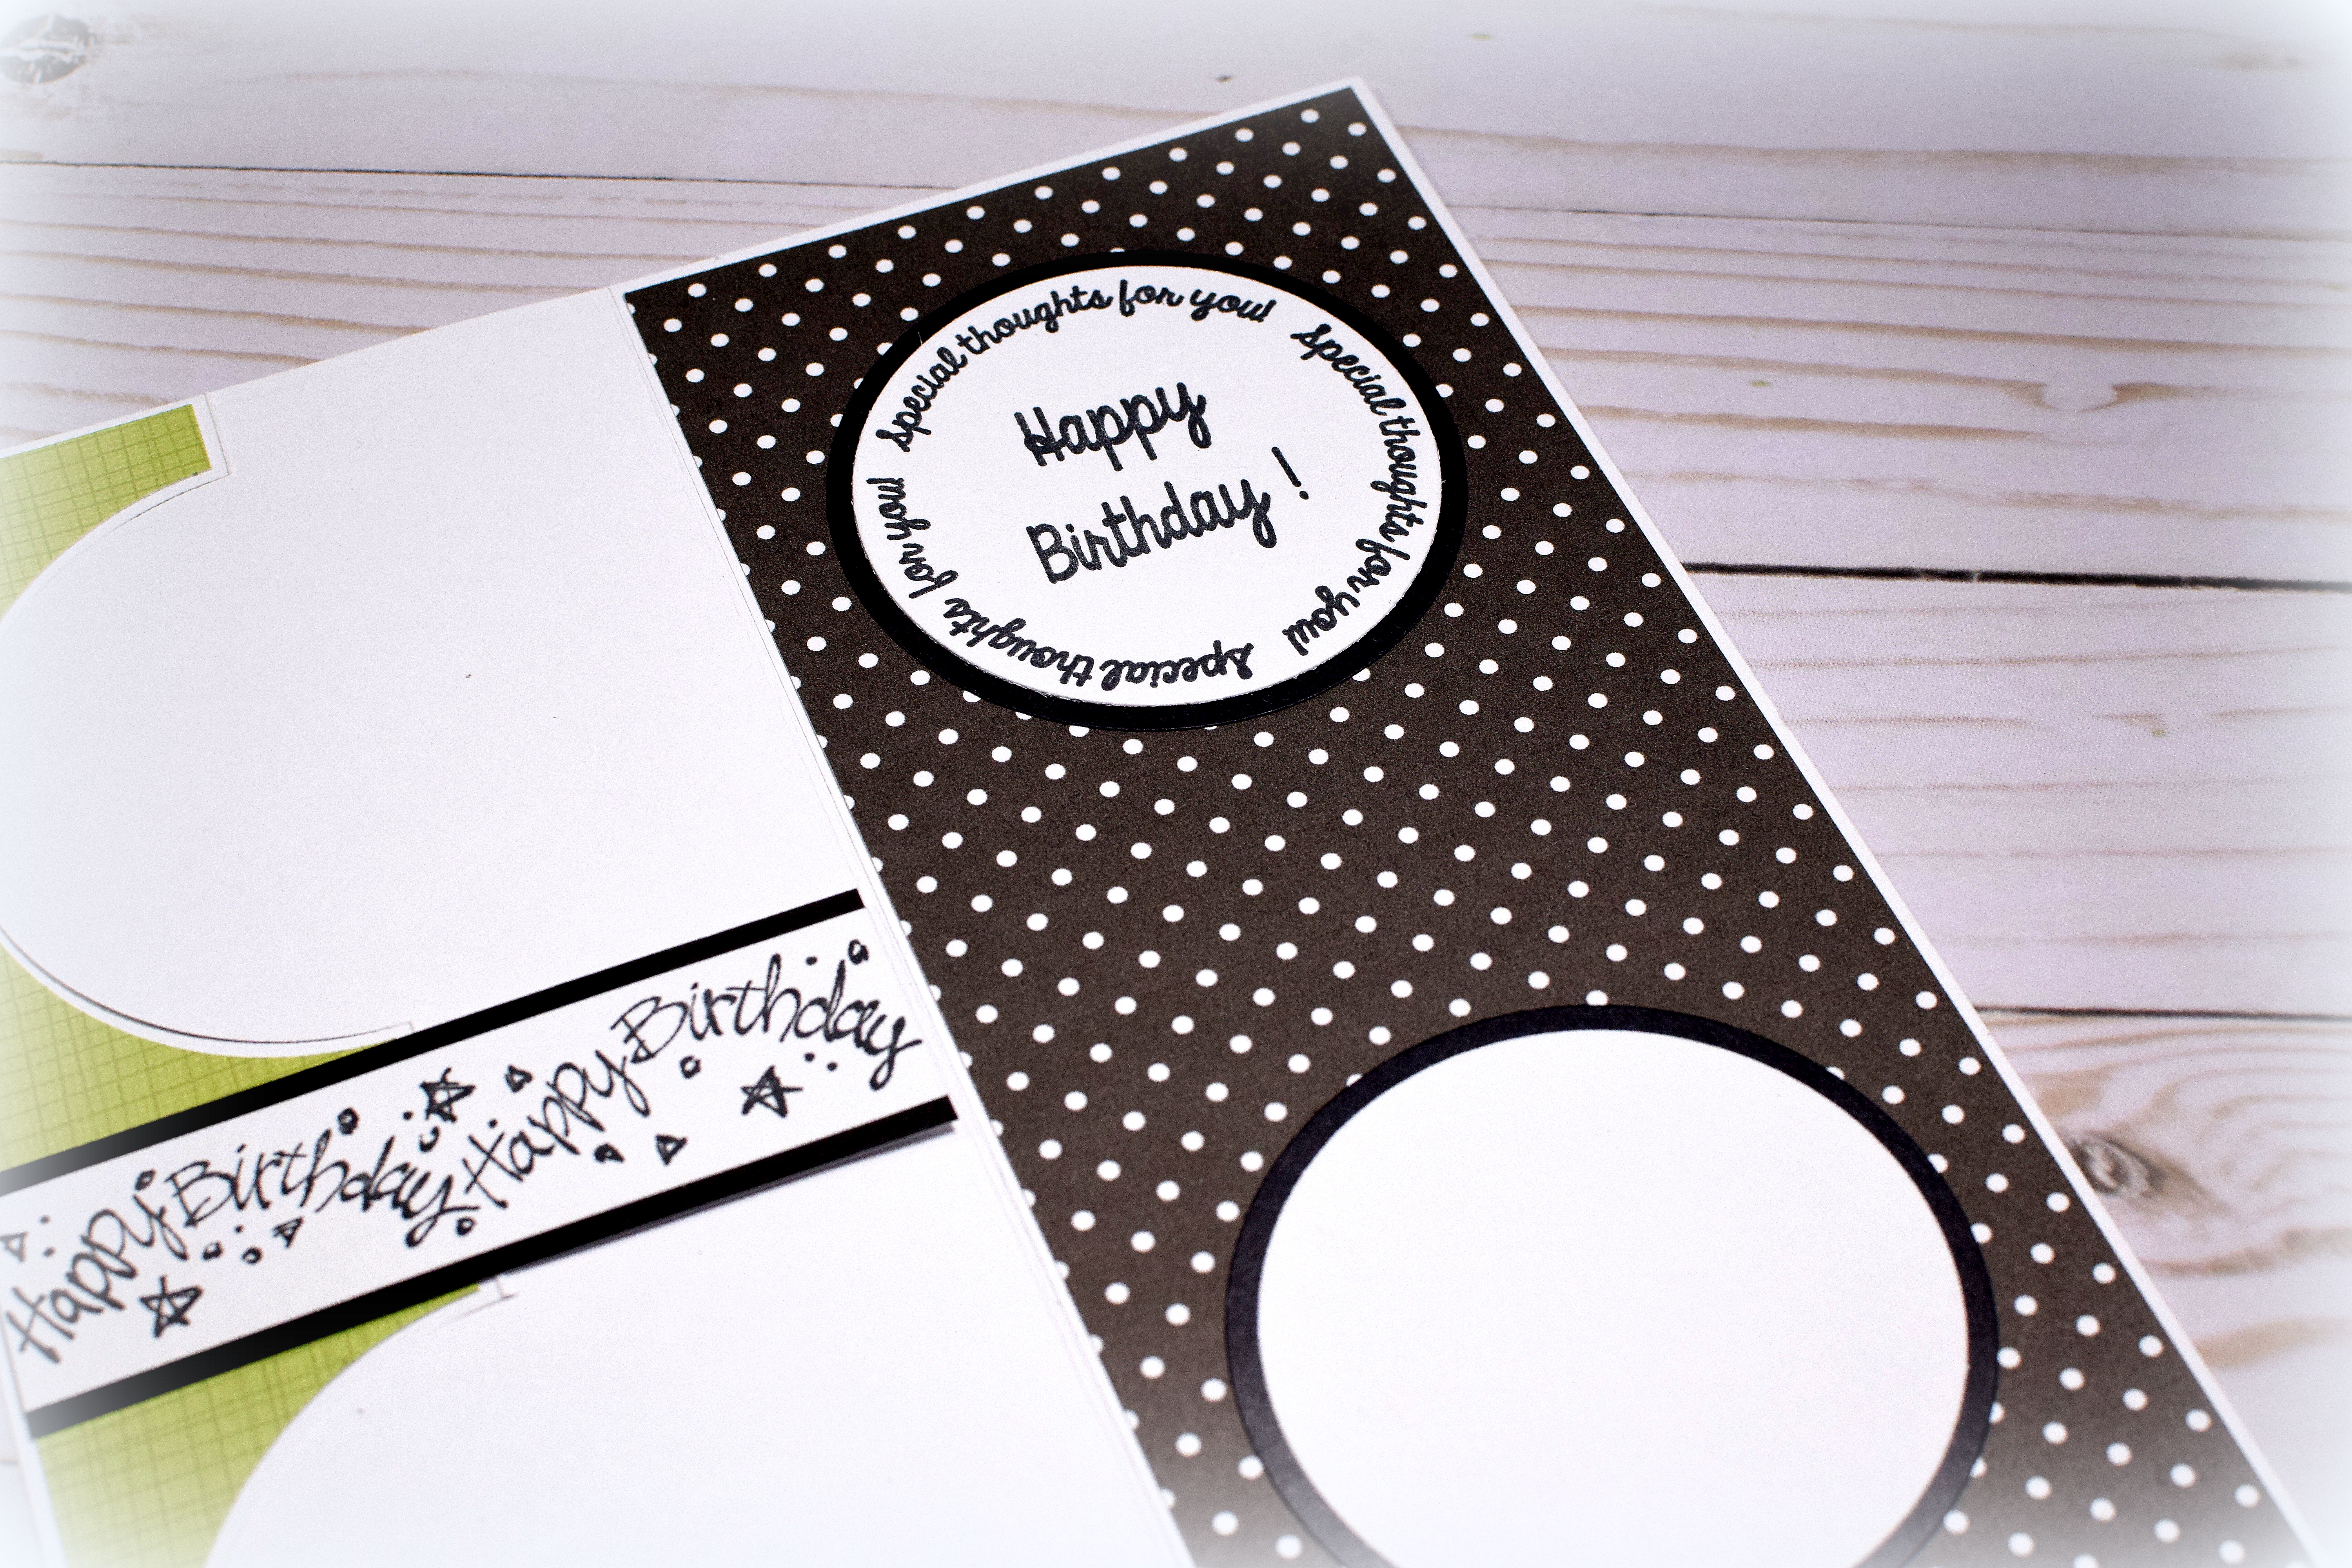
The black frame was cut with a die from the “Stitched Circle Rings Die Set” and the inside greeting is the “Circle Stamp Happy Birthday” stamp which are both from Creek Bank Creations. I didn’t want the center words (from the circle stamp) to be visible when the card is closed so I masked the Happy Birthday portion of the circle stamp and used a smaller greeting from the “Tiny Words #SSS101883” set from Simon Says Stamp instead and positioned it behind the zebra.
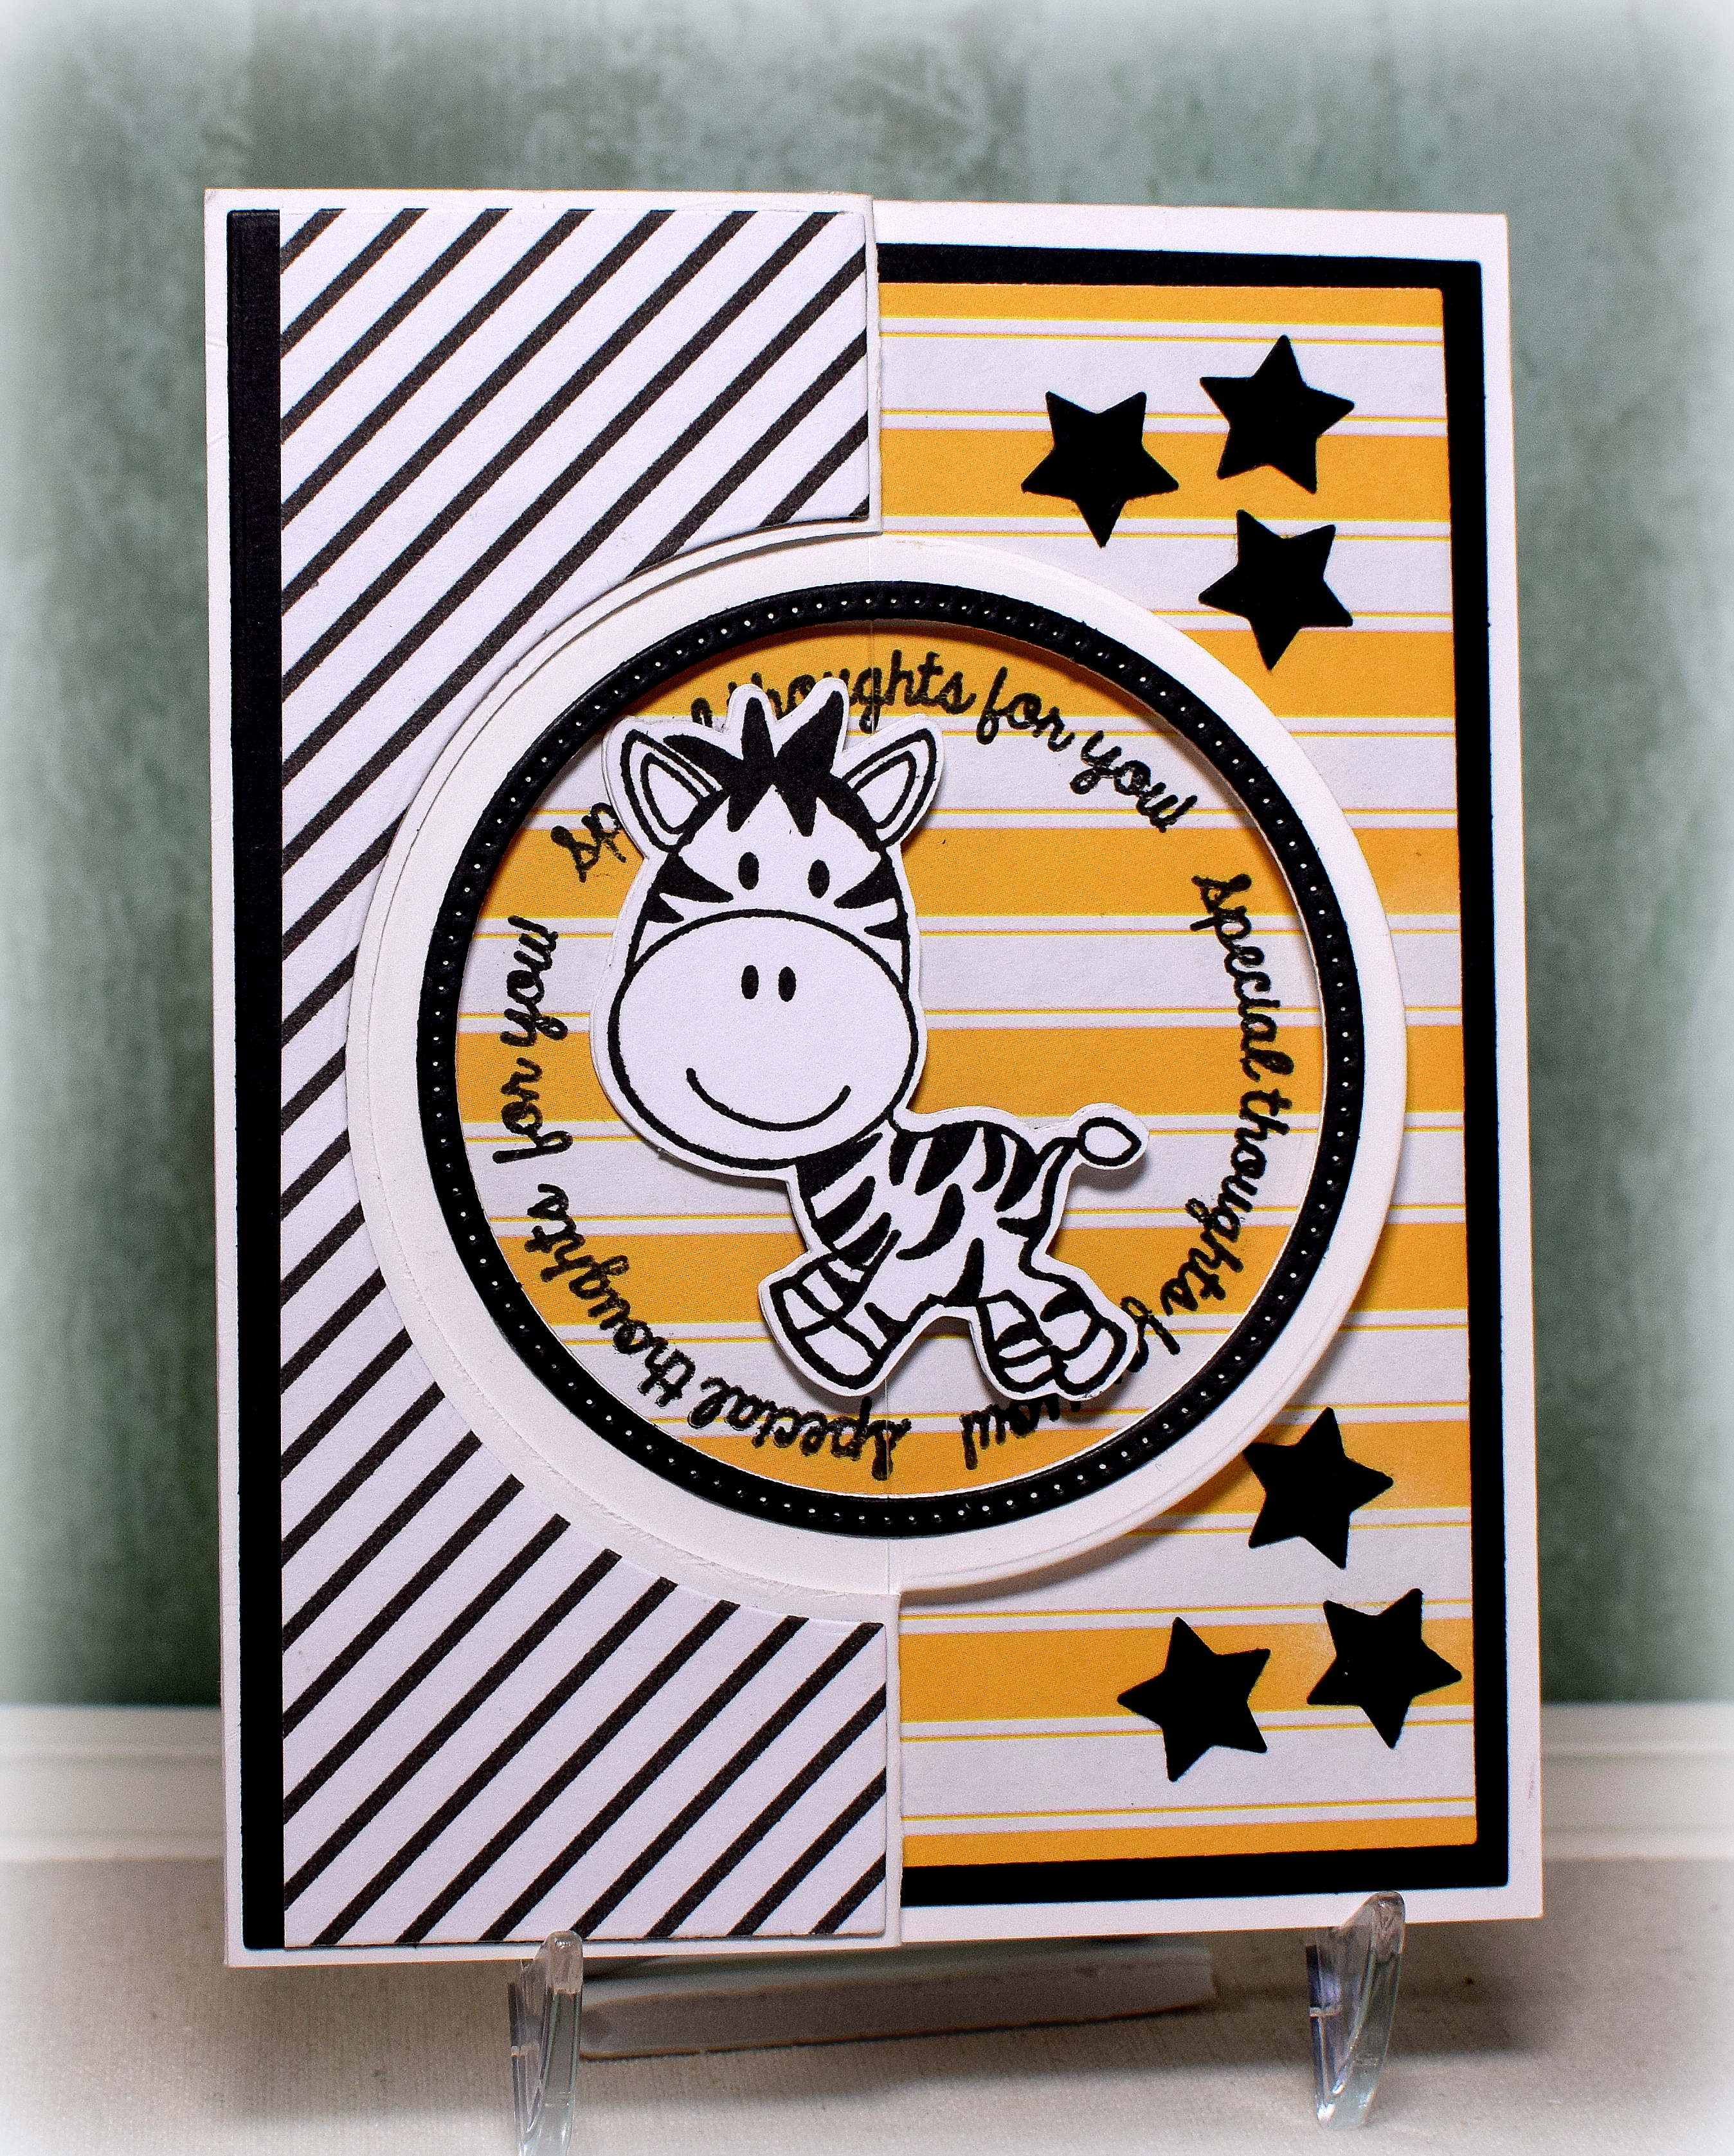
The black and white striped panel is digital paper by TheMockupLoft that I purchased on Etsy. The yellow paper is Bold Yellow Stripe by Recollections. Heavy weight black and white card stock was also used.
I have to say, I am excited that I was able to try all of the styles shown in the videos for this set and now have 5 different card base ideas on which to build for future card projects. (I hope you didn’t get tired of looking at so many circles this week!)
Thanks for checking out my card project!